Weight of the World
Fable III Walkthrough and Guide
by vhayste
Weight of the World
Bowerstone Castle
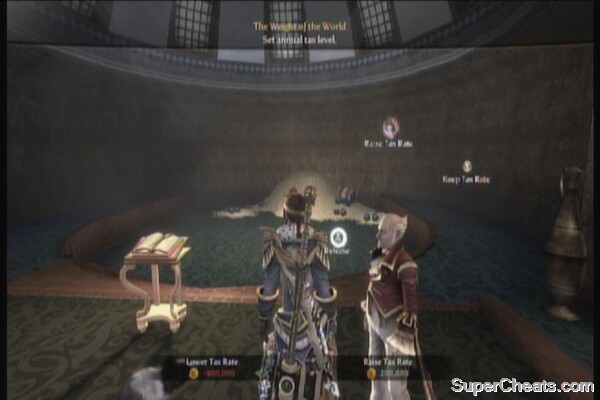
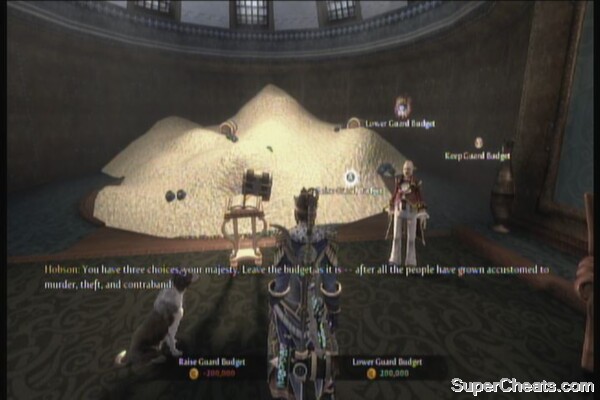
Follow Hobson to the treasury. You'll learn that you need to set the tax rate. You'll be given three choices; set the tax rate lower, higher or retain it. You can also donate your own cash. If you have used this guide's Infinite Money trick, then donating as much gold the kingdom needs should be easy. Take note that the treasury needs 6.5 Million gold to ensure the lowest civilian casualties and to unlock the “Tough Love” achievement. The “good” decisions will leave you short in finances but will greatly have a positive effect on your subjects. Evil decisions will raise considerable amount of gold in your coffers but will adversely affect your people's opinion of you.
 |  |
Bowerstone Industrial
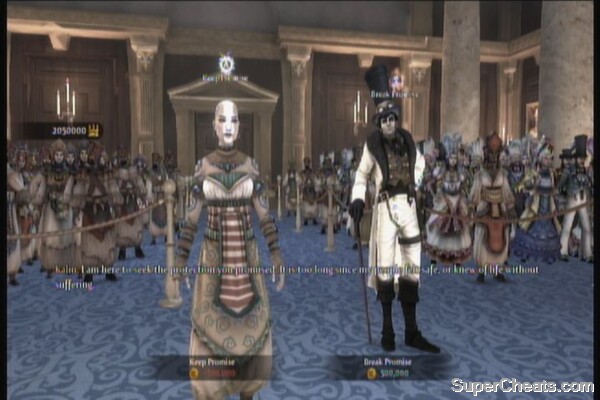
Meet up with Reaver and decide whether to keep your promise or not. The choice will depend heavily on your character's moral standing. Return to the castle once done.
 |
Bowerstone Castle
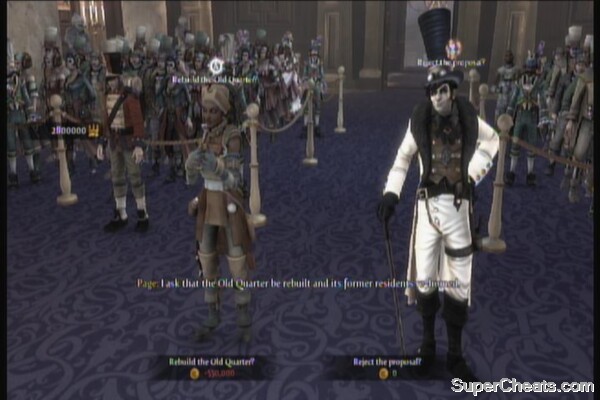
Head to the throne and decide whether you'll have Old Quarter rebuilt or not. After landing on your decision, you'll be taken back the treasury. Here, you'll need to decide the budget for the guards. You'll also be given your new agenda for today. Head to the throne room next.
 |  |
You'll need to decide on the castle's interior design. Next, you'll need to decide on your rule on Aurora.
 |  |
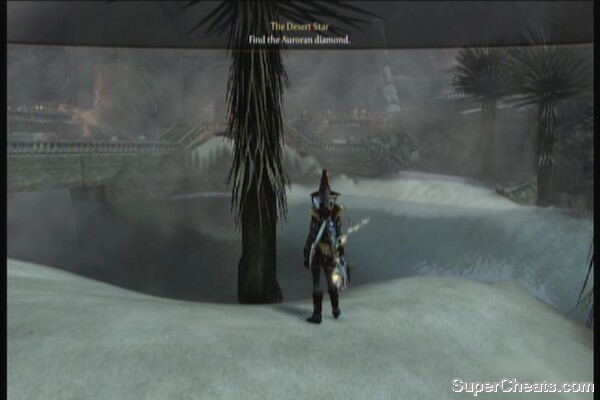
After all that stuff, you'll finally have the time of your own to go on a journey. You may use this time to find the other collectibles in the game. When ready, set the Desert Star as your active quest then fast travel to Aurora.
Aurora
Exit the city and follow the trail to Sandfall Palace, which is a short walk east from the city gates. If you're visiting there for the first time, you'll find two gnomes along the way and a Yellow Auroran Bloom. (See the guide's Gnome collectible section for the exact spots to find the gnomes if you're having problems finding them)
Sandfall Palace
A short walk from the entrance and you'll come across a locked door with a flit switch. If you look up, there's a Ranged orb that you need to shoot three times to activate the switch. Take note that the orb itself has a timer that will return the orb to its starting position if not hit within the set time. Behind the locked door are a chest and a Silver Key.
Silver Key
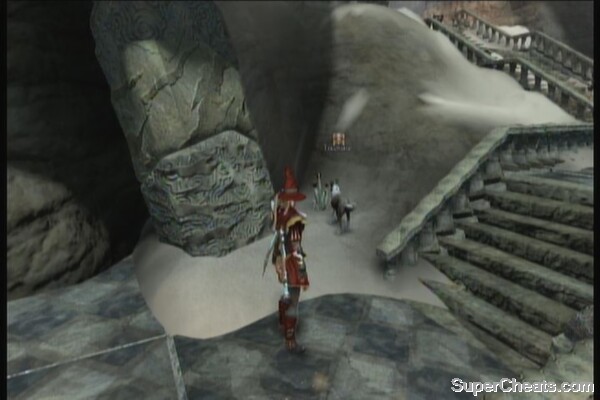
Continue following the path until you reach the stairs leading to the main area. There is a Red Auroran Bloom on the side of the stairs.
 |
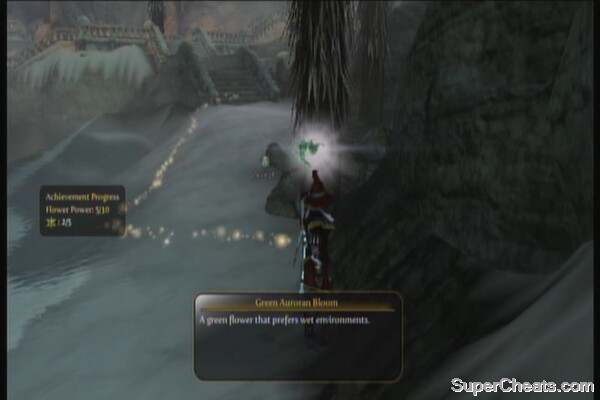
Keep following the path until you reach long walkway across the oasis. Take the stairs left to find a couple of dig spots near the shore and on the small island, as well as a dive spot near it and across the walkway. There is also a Green Auroran Bloom in the corner by the shore.
 |  |
Cross the walkway and before entering the large door, turn to the right to find a rare book (Dangerous Things: Ladders)
Rare Book
Continue upstairs to the next oasis area. There's a dig spot nearby and the gnome should be visible overhead. You can take the stairs and see the gnome as well. There's a Blue Auroran Bloom as well behind the stairs, by the statue.
Gnome
Flower
Don't take the stairs yet; instead, check the area to the left where a dig spot, a Green Auroran Bloom and a chest are located.
Flower
Take the stairs then follow the walkways until you reach the chamber that contains the diamond itself. To the left of the diamond is another Silver Key.
Silver Key
Grab the Desert Star diamond and fend off the incoming attacks by desert furies. Follow the path to the side of the room then grab flower in the corner. Loot the treasure chest downstairs next. Continue following to the path and you'll be back to the first oasis. There's a chest at the end of the walkway as well.
 |
Dive down and head to the exit.
Bowerstone Castle
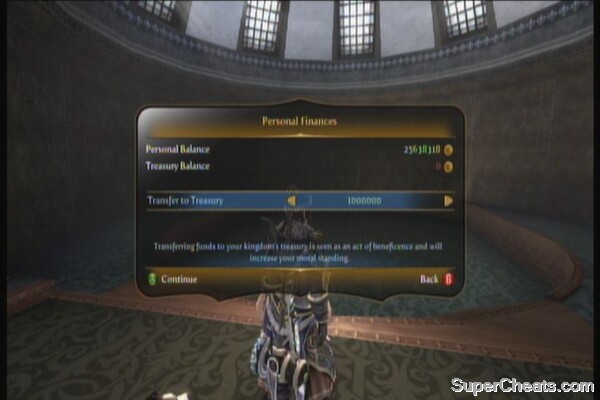
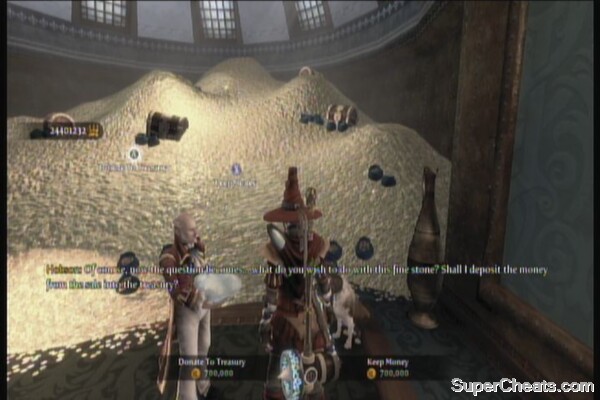
Fast travel to Bowerstone Castle then you'll be given a choice to deposit the reward money to your account or to the treasury. The decision you make will depend and affect your moral standing.
 | 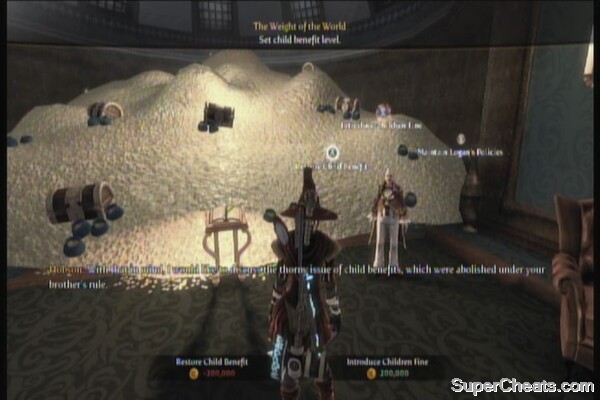 |
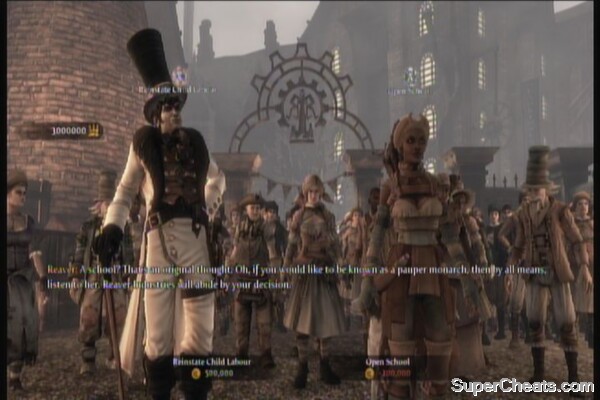
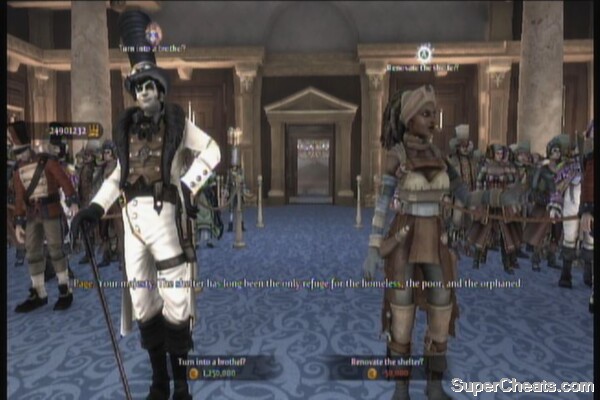
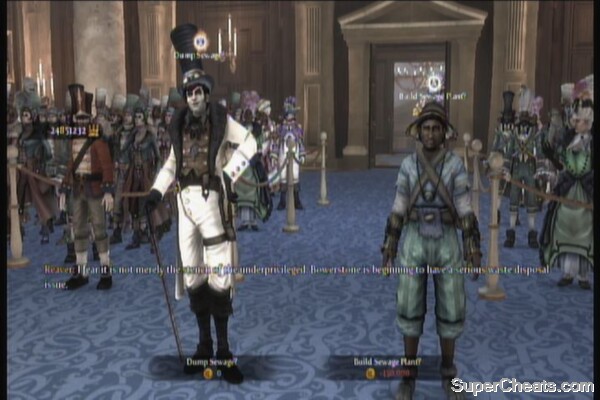
After completing the quest, you'll be asked to set the Child Benefits. Again, the decision will depend on your moral standing (and cost). Your next set of appointments will be displayed. Head to the throne room and decide whether you'll be renovating the shelter or turn it into a brothel. The next proposal is the disposal of the city's wastes.
 |  |
Your next appointment is to meet up with Page. This is a free time to collect other collectibles, especially in the Auroran region. When ready, head to the rebel headquarters in Bowerstone Industrial.
Bowerstone Industrial
Talk to Page to accept the quest. Fast travel to Bowerstone Market next.
Bowerstone Market
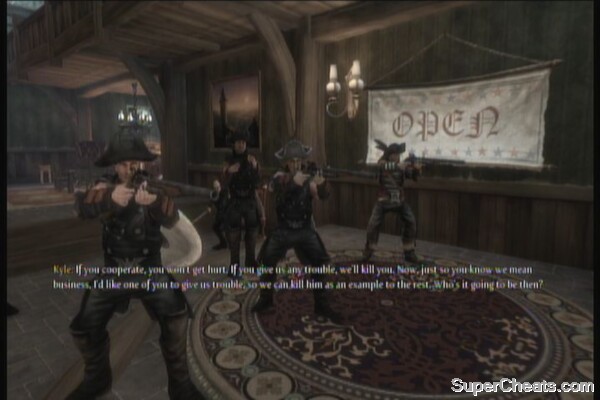
Enter the pub and kill the thugs inside. Then you'll get the key to the Hideout. Exit the tavern the cross the bridge. Enter the hideout from the metal door beside the stairs.
 |  |
Bowerstone Market - Hideout
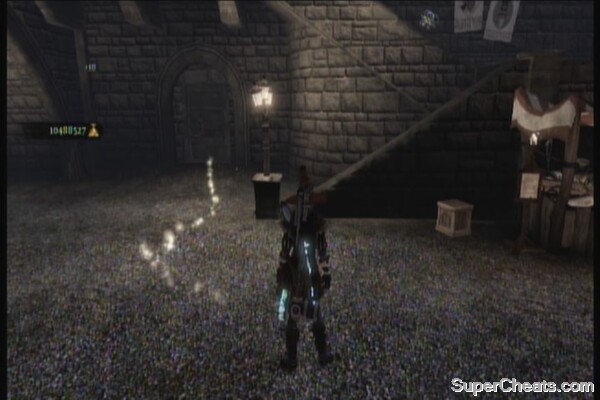
Kill the enemies in the mess hall, then go downstairs to the open door. Follow the path until you reach the prison cells. Instead of following the golden trail that leads to the objective. Open the door to the right then go downstairs. It will lead you to the Silver Key inside a prison cell.
Silver Key
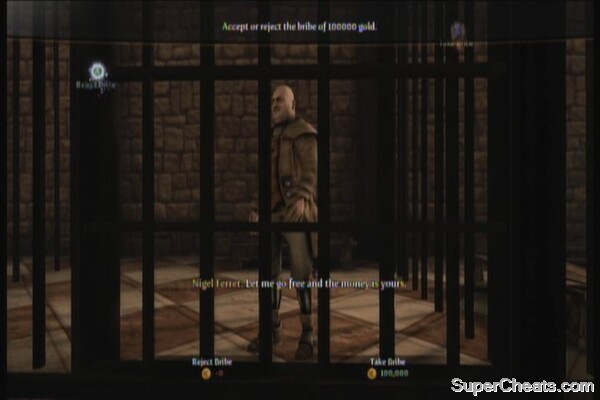
Backtrack up and follow the trail again until you reach the door. You'll need to fight two more thugs. After defeating them, Ferret will attempt to bribe you. Choose whatever you like to complete the quest.
 |
Bowerstone Castle
You'll be asked to decide whether to abolish the alcohol limit or not. Choose what you think is best, and you'll be given your agenda for the day. Head to the throne room and hear the next couple of proposals. When you get your last task for the day, you can head there directly or head to Aurora to deal with the new sidequest available. (Temple's Treasure)
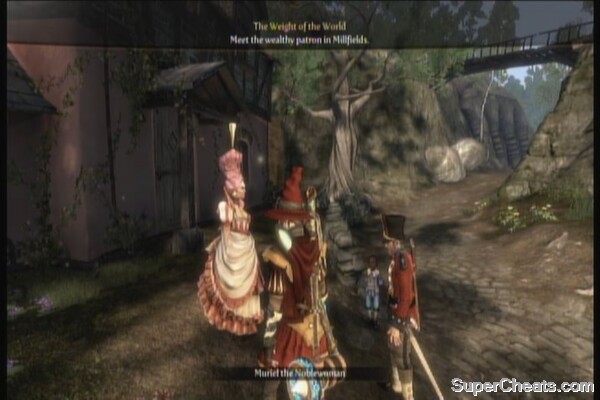
Millfields
Accept the quest from the noblewoman. Follow the trail as it leads you to Silverpines. Read the note on the tree to get more closes.
 | 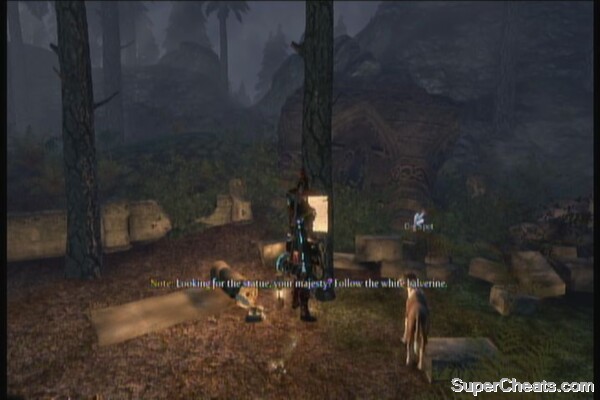 |
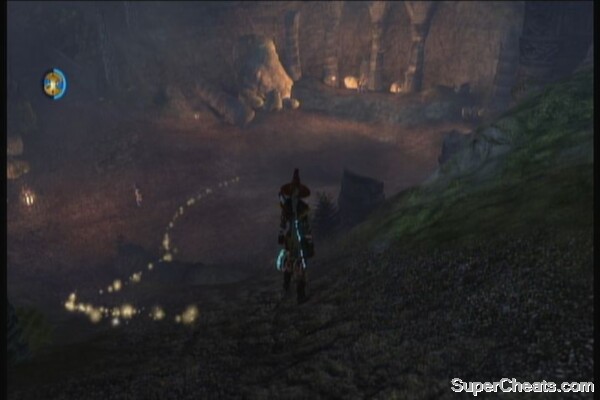
Head to the village to witness a scene. Follow the trail afterward until you reach an altar where you'll meet Connor. He'll try to conspire you whether to destroy the village by destroying the silver nitrate lamps or defend it.
 | 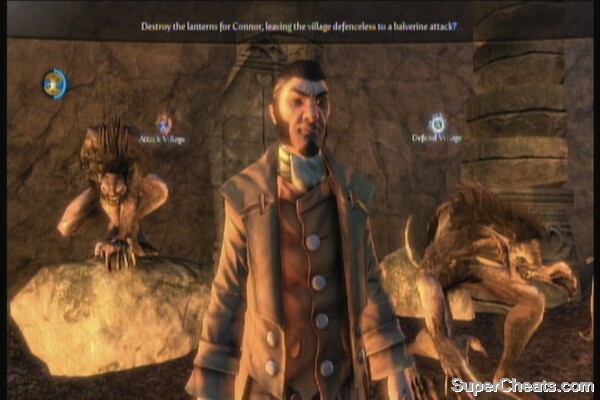 |
Should you decide to defend it (which is the most reasonable choice after all), defeat the enemies that will attack you then rush to the village and destroy the balverines that are attacking the village. Take out the initial wave and Connor will arrive. He'll transform into a balverine himself and will call out a couple of reinforcements. Deal with them and you'll get the statuette back. Deliver it to the noblewoman in Millfields to complete the quest. You'll then have the option to keep the donate or keep the reward money.
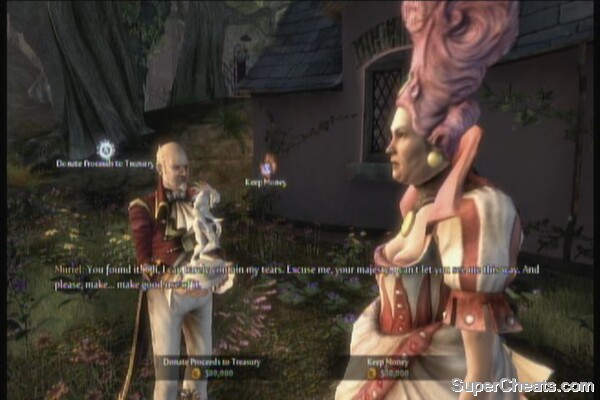 |
Bowerstone Castle
You'll now start the next set of activities and decision making. The days will go by and you'll be celebrating your kingdom's first anniversary. While Hobson is busy planning for the celebration, the portal to Road to Rule will appear. Enter it to reveal your “true” form. Exit when ready.
If you are morally good the choose the options to make the most gold because at the end you will be morally good because you have done what was best for the people!!
Tip : If you want to save the maximum amount of civilians whilst remaining morally good, you'll need at least 8.5 million to 9 million gold when you become ruler