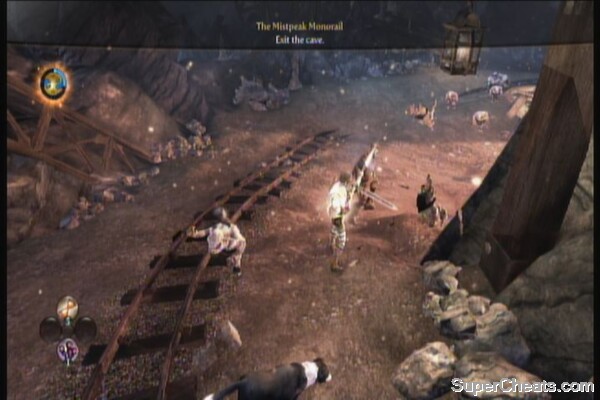
The Mistpeak Monorail
Fable III Walkthrough and Guide
by vhayste
The Mistpeak Monorail
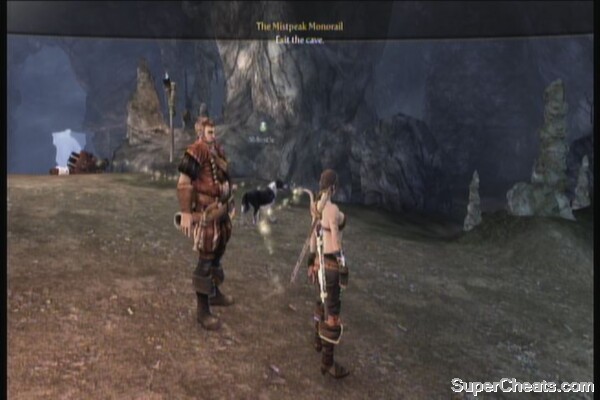
Monorail Station
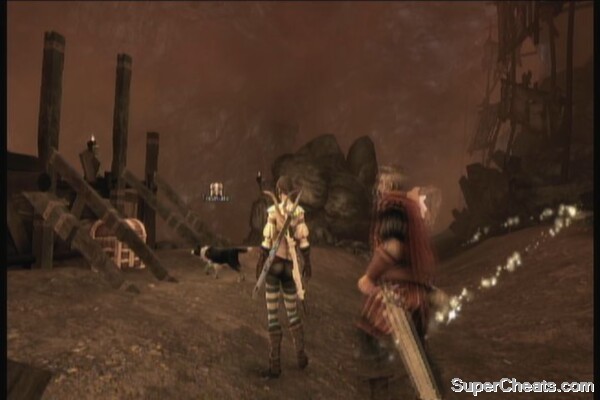
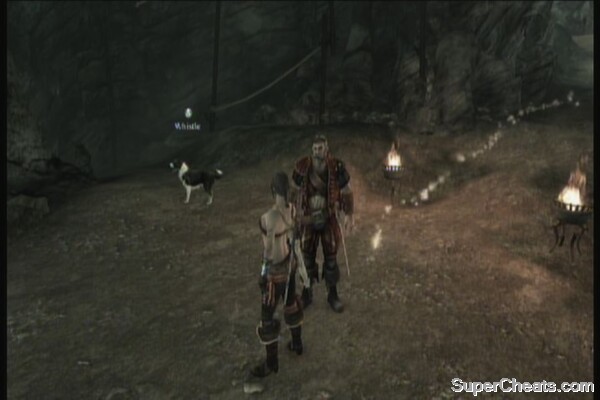
Interact with the people here if you want some free guild seals then approach Sir Walter. After the scene, wait for him to open the gates then head to the lift and activate it.
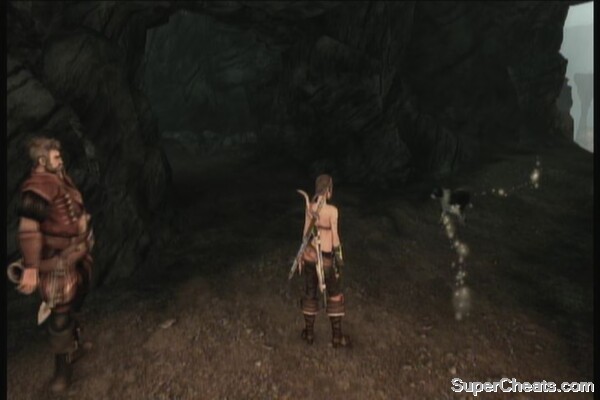
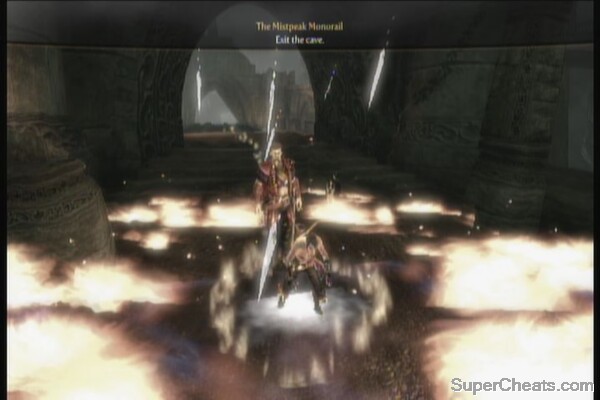
The Hole
Once down, continue walking until you get introduced to new enemies – the hobbes. If you have purchased and equipped Ice Storm, you'll find it most effective against these fiery enemies.
 |
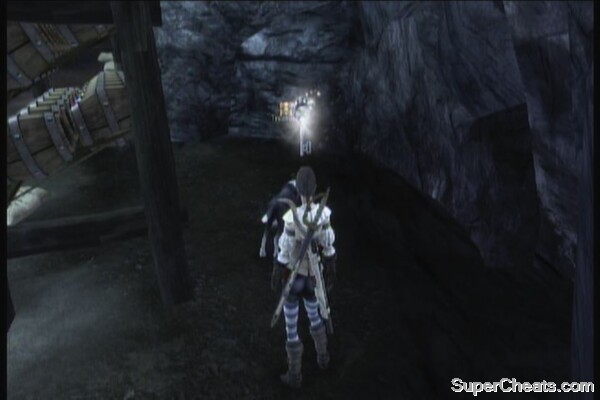
After disposing the enemies, go down the wreckage and you can hear that familiar annoying voice again. Check the metal beam behind the wreck to find a gnome there.
Gnome
Follow the path and kill the enemies you find along the way. Once you find a large area with lots of barrels, get ready for the hobbes that will burst out of some of the barrels. Kill them all then check the space behind the barrel rack to find a Silver Key. There's also a locked gate here so take note of its location for now.
 |  |
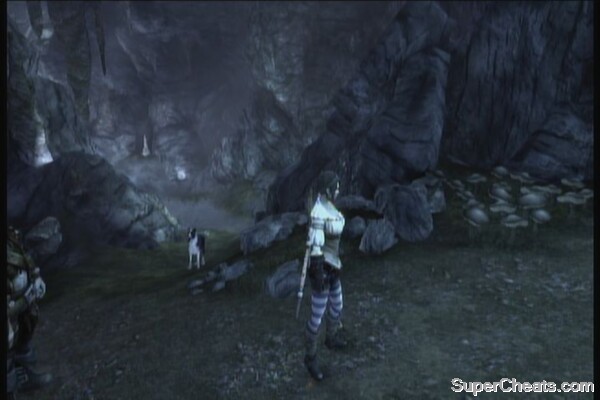
Follow the path and watch out for a small path leading to a shallow spring. There's a diving point there. Return to the main path and follow the course until you find a large cavern. Surprisingly, several hobbes are taking up positions. It's a stupid decision for them though, to line up explosive barrels beside them. Target these with your gun and clear the area easily with some fireworks.
 |  |
Continue following the path until you come across a small hobbe garrison. There'll be a lot of them so make sure to take advantage of the explosive barrels conveniently lined up along the path. Continue past the first gate and you'll encounter a small group of hobbes falling back. Apparently, they're just joining up with their main group that has a few larger brute hobbes. Keep your distance if possible and avoid getting sandwiched between them. Continue along the path and you should find a chest under the sniping platforms you took out earlier. A short walk past that chest is a dig spot.
 | 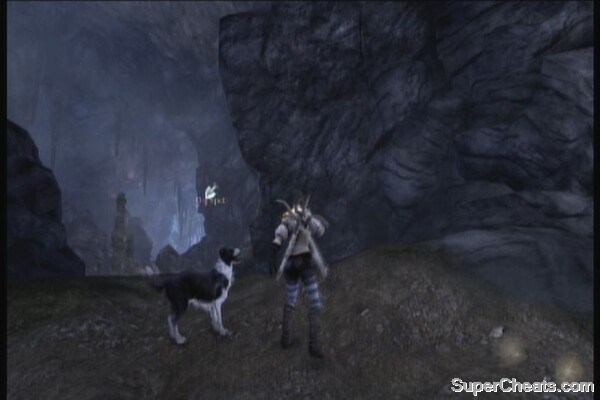 |
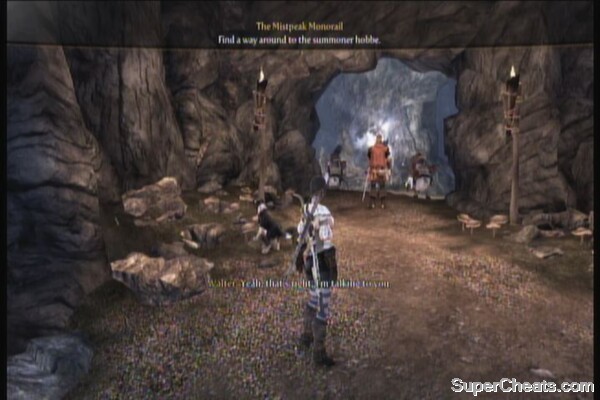
Continue following the path until you encounter a hobbe summoner and some escorts blocking the wall with a magic barrier. Follow the trail as it turns to the right and lead you to an underground stream. Swim there and dive on the diving spots. Once you've reached dry land, kill the bastards.
 |  |
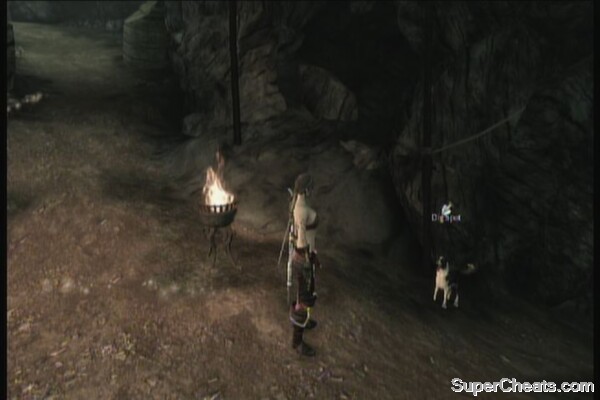
After Walter joins you, don't follow the trail yet; instead, take the small path to the right that leads to a chest. Return to the main path and the dog should discover a dig spot to your left, inside the small cavern. Continue to the next area afterward.
 |  |
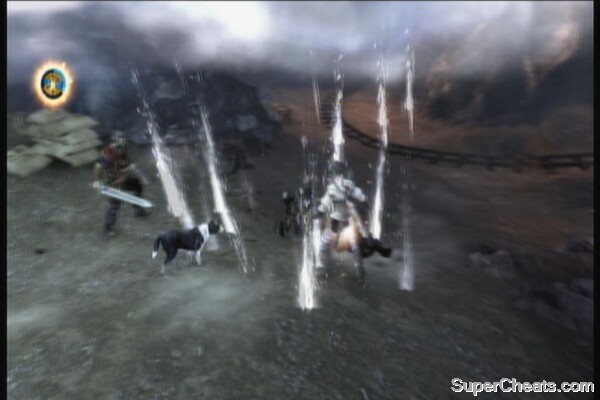
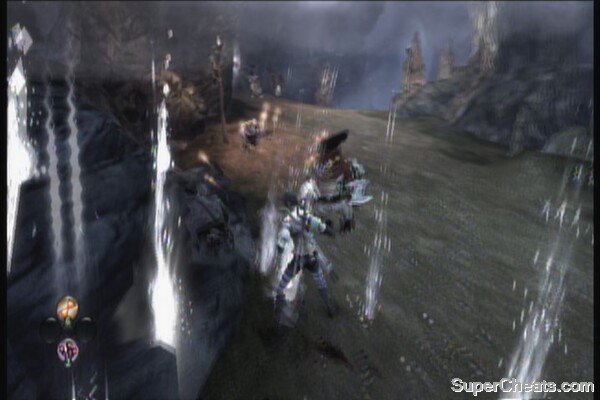
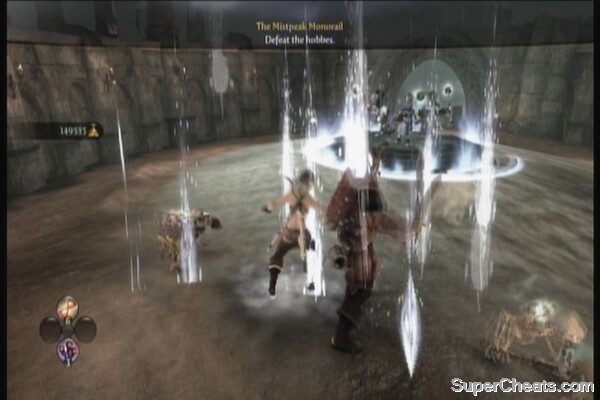
Approach the arena. You should find a dig spot before entering it. The annoying insults of a gnome should be clearly audible as well. Save your game because you'll be in the arena to fight off a hobbe horde. Keep spamming your Ice Storm, use charged attacks when possible. Try to take out the summoners first as they'll keep summoning additional enemies. They will also release projectiles to protect themselves. You may use a Slow Time potion or two to successfully use charge attacks in the middle of the mob. The Road to Rule portal will open after this battle.
 |
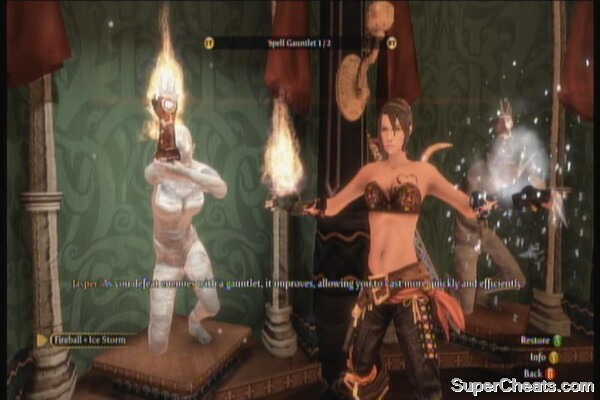
Road to Rule
For the available upgrades, the ones you should get would be the Entrepreneur pack, which will allow you to haggle in shops or purchase your own (further enhancing your constant income)and the Spell Weaving upgrade that will allow you to combine spells by wearing two gauntlets. Buying shops and business establishments are a good thing since they don't detoriate, thus, no repair costs. There's also another spell here which is entirely optional unless you have lots of GS to spare. After buying Spell Weaving, return to your Armory and check out how to use it.
 |  |
The Hole
Once done, you're good to shoot the annoying gnome in the arena.
Gnome
Exit the arena and go downhill to the right to find a dig spot. Cross the bridge to find another dig spot. Across that dig spot is a hidden path leading to a chest with the Technician's Key. This will allow you to access the locked door you came across earlier.
 |  |
Continue following the path and it should lead you out of the cave and to Mourningwood.
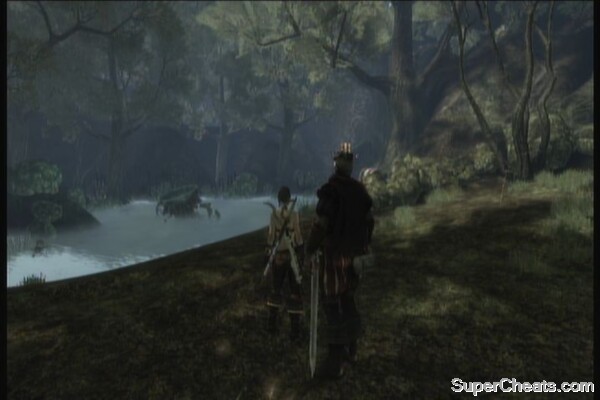
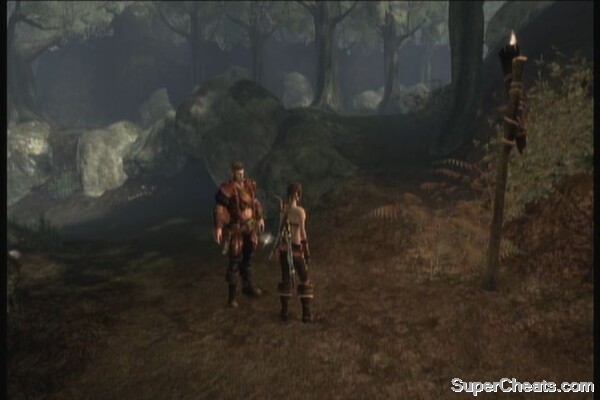
Mourningwood
Follow the path until you find a pond to the right. There's a chest on the shore. Continue following the path, past the bridge and you'll find a fork in the road. The golden trail will turn left. As for you, continue ahead and find a treasure chest behind the rocks. There's also a dig spot in the small area in front of the chest.
 |  |
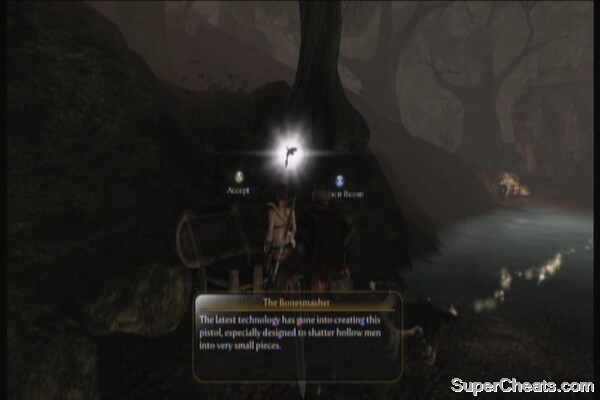
Resume on following the path, and you'll find another chest along the way that contains a new pistol. (Bonesmasher) Continue to the fortification. There's nothing much to do here so just follow Finn upstairs and head to the mortar to practice using it.
 |  |
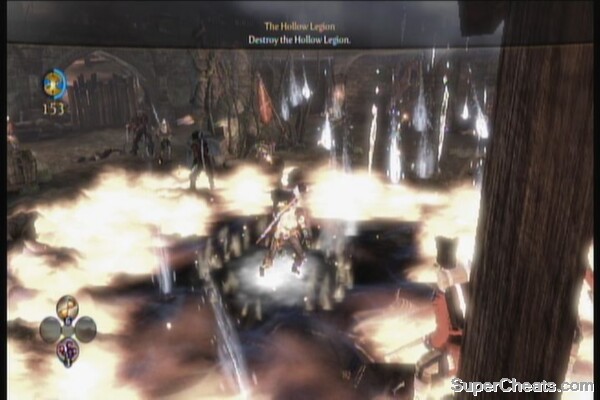
Shortly after, you'll need to use that mortar to fend off a hollow men invasion. It has infinite ammo so the only thing you should worry about is the 2.5 second reload time. Keep destroying as many hollow men as you can and this sequence will end automatically.
Mortar
Jump down and head to the rear gate. Take out the enemies that will break through there. Enemies will also start flooding the area so this is the best time to abuse the power of your Spell Weaving to defeat multiple enemies at the shortest span of time.
 |
After repelling the massive wave of hollow men, a dark power will resurrect one of the dead soldiers. You need to take it out. This will serve as a mini-boss. Use the central barricades to your advantage. Run around in circles while using charged attacks. Spell Weaving does wonders here. Just keep running around and avoid getting hit by the boss as it deals considerable damage.
Hollow Boss Fight
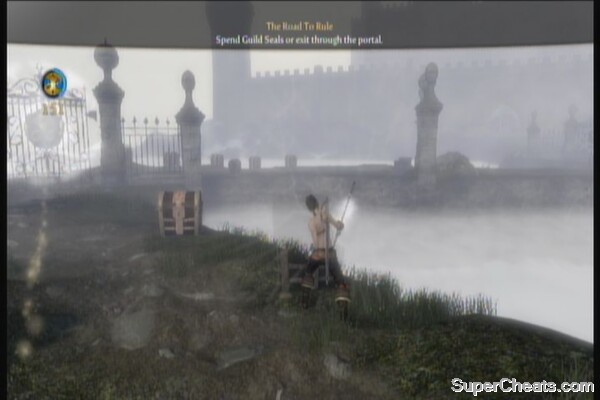
After defeating the boss, promise Major Swift to make him the leader of the Royal Guard. The Road to Rule portal will open once again. You'll also obtain Simmon's Head as your trophy after your business with the Road to Rule.
Road to Rule
As for the upgrades, there are additional expression packs here but they won't do you good if you're building a good character. For now, you can purchase upgrades to your Magic and Ranged primarily. As for Melee, it's up to you if you'll get it now or just later. Exit through the portal after completing your business here.
 |
In morningwood There is a silver chest requiring 10 keys on the path to the right after the fork. Once on the path to the right there is a narrow path to the left leading to the silver chest.