Kill Yuriko
Thank you for printing this page from www.SuperCheats.com.
Remember to come back to check for updates to this guide and much more content for Shin Megami Tensei IV
Follow this guide to hear about updates
Last Updated:
| Client | Reward | Task |
| Tayama | 5000 Macca | Kill Yuriko of the Ring of Gaea |
Use a terminal to travel to Kasumigaseki then exit to the city map. You need to enter Tokyo Station, a short walk to the east.

Tokyo Station
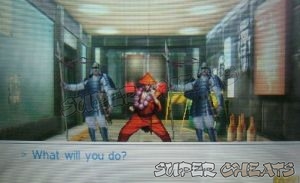
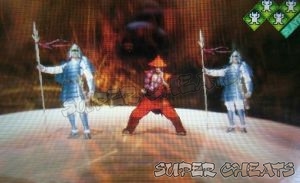
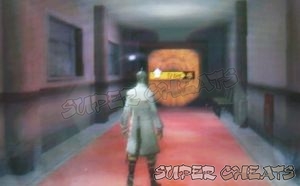
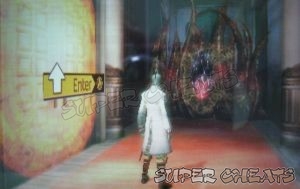
Once inside, head to the southwest corridor where a Ring of Gaea man will stop you. You’ll have to choose if you’ll tell him that you’ve come to kill Yuriko or if you want to join the Ring of Gaea. Either option will still put you in a fight against him and two of his Demons. This battle shouldn’t be that hard. Just head the demons with force attacks and use the extra press turns to deal more damage or concentrate your attacks on the remaining targets until all of them are defeated.
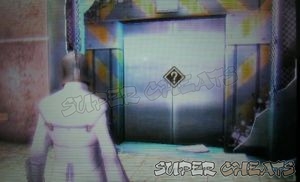
After defeating the man, he’ll tell you to take the entrance test. The Quest will be updated. Continue to the next area afterward.
Ginza- Underground District
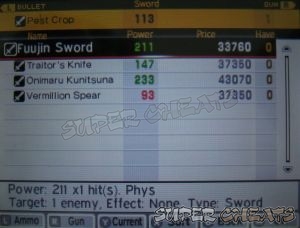
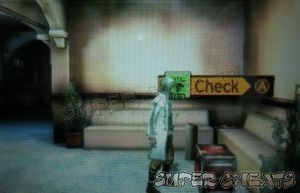
Move forward a bit for your gauntlet to scan the area and create a map for you. Head to the east and you’ll find Ginza’s terminal. It is unguarded so you just need to head there and activate the terminal. This will also update the main Quest Activate All Terminals. There is some new equipment here as well. Browse the weapon shop’s inventory and upgrade your arsenal if you can afford it.
For the main objective, you have to head south to Hongwanji Passage. You’ll find Ginza’s Hunter Associate to the west. Check the bulletin board to get another challenge quest. (The Great Drunkenness) The stairs near the Hunter Association leads to Ginza – 4th District Crosswalk. This is an enclosed area with gates where you need to pay the gatekeepers for them to let you through. (See the “I will Give You My Black Card” quest)

The following part of this walkthrough is optional. If you want to continue with the main story, go to Hongwanji Passage then exit to the city map in the area called Ginza Region.
Ginza – 4th District Crosswalk
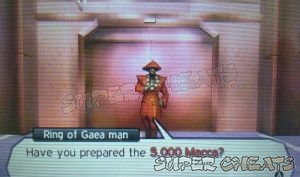
The other gates will be locked and the only one accessible is to the west. However, the Ring of Gaea man guarding it will ask you to pay 5000 macca. Do so and you’ll be able to access the other areas beyond the gate.
Harumi Way A
This is small area with several relic points. After collecting the relics, you can go to the southwest corner of the area to find a staircase that leads to the next area.

Southwest Passage
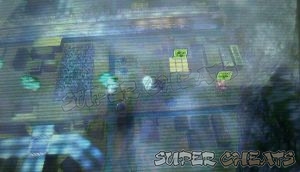
This passage is filled with toxic mist. This won’t cause you to get the poison status immediately however every few steps will slowly drain your party’s HP. This place is worth exploring since there are two chests that contain good loot.
Follow the path south until you see another path leading north. Destroy the wormwood barrier then continue forth until you find a chest. Open it to get a Battle Earring. Return to the main path in the middle then continue east. Get close to the rubble to reveal a vent that you can enter on the ceiling. Ignore it for now.

Take the path going south and destroy the wormwood barrier in another path along the way. Loot the 10-point card from the chest there then destroy the other wormwood barrier in the same corridor if you want. The path further south is a deadend. Backtrack to the vent beside the rubble to the east to reach the next area.

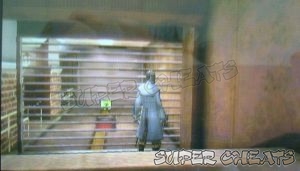
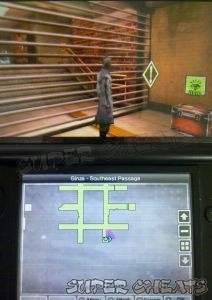
Southeast Passage
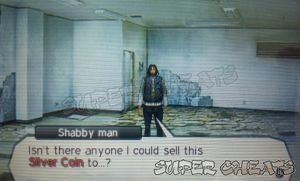
The room to the north contains a shabby man that will sell a Silver Coin. This is part of a Challenge Quest later on so you won’t be able to buy it from him for now. You have to go back again after getting the Platinum Card from the southern gate in the 4th District Crosswalk and once you have 100,000 in your pocket. There’s also a chest to the northeast and southeast though you can’t access them yet.
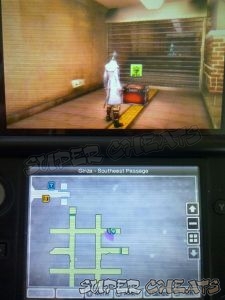
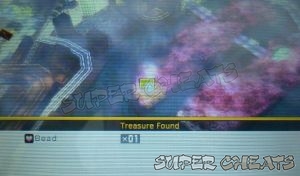
Enter the room to the middle-right to find a hunter that sells a Gold Card for 5,000 macca. However, he will increase the price to 10,000 macca. Buy it from him if you have the cash. The Southeast Passage has two more vents you can enter, one in the southeast corner and one to the southwest. The southwest vent leads to a chest containing a Balm of Rising while the vent in the southeast takes you the enclosed chest containing a Bead. You have to walk your way back to Ginza – 4th District Crosswalk.

Ginza – 4th District Crosswalk
Head to the south to reach the southern gate. The Ring of Gaea woman there will ask you to pay 50,000 macca in addition to the Gold Card you bought earlier before she lets you through. Hand over the cash to gain access to the small area behind the gate.

Central Way A
This is a small, enclosed area. There are two relic points to the western side and two ladders on both ends of the Kabuki Theater’s entrance. The northern ladder leads to a Chakra Pot while the other ladder leads you to the Platinum Card. You can now head back to the 4th District Crosswalk.
Ginza – 4th District Crosswalk
Once you have the Platinum Card, you can now buy the Silver Coin from the man in the Southeast Passage for 100,000. If you head back to the Ginza Hunter Association , you’ll get the challenge quest “I will Give You My Black Card”. Deliver the Silver Coin you bought earlier to finish the quest. Completing this challenge quest allow you complete another challenge quest since you’ll need to use the Black Card to access the last locked down gate.

Harumi Way B
This is a small enclosed area with multiple spawn points. You need to use the Platinum Card to access this area. These spawn points yield 3-star and 4-star relics that you can sell for much higher prices. Other than that, there’s no other interesting objects in the area.

Central Way B – Shopping District

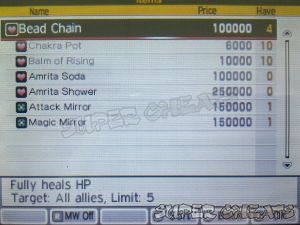
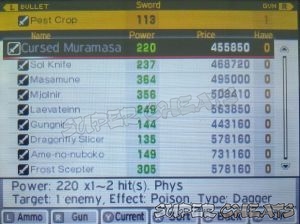
This gate to the north requires the Black Card to access. This immediate area doesn’t have anything of interest aside from a few relic points. Exit to the west to reach the Shopping District. The district has the Members-only Item and Weapon Shops, that sell unbelievably expensive (yet top-quality) items and equipment.

If you have accepted the challenge quest “The Great Drunkenness”, you’ll find a red demon in the northwest corner of the shopping district, right outside the Members-only Weapon Shop.


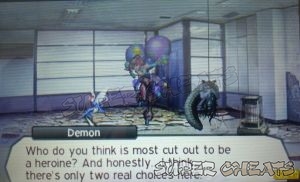
There’s a minor scene where Isabeau finds one of the chapters of the manga she’s reading in a shop behind the weapons shop. There’s also a group of bickering Demons inside a shop to the south of the weapons shop which will ask you which one is the “heroine”. Choose any one of them to receive an item.

There are also a few relic points here. After exploring the area, you can now return to the Ginza Underground District to proceed with the main story. Go through the Hongwanji passage and exit to Ginza Region.
Ginza Region
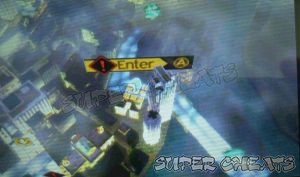
You need to enter the temple that’s right outside of the passage where you came from. However before entering it, you can explore some of the accessible areas in this region.

There’s a chest to the south that contains a Bead. The two locations on the way to the desert portion to the north have demon domains in them. Get past these domains and head further east will lead you to a relic point and a chest containing a Summon Stone. Enter the temple when ready.
Domains:
St. John’s Hospital: LV44 Ghoul x3
Kabuto Shrine: LV75 Alciel (Reward: Kusanagi Tsurugi)
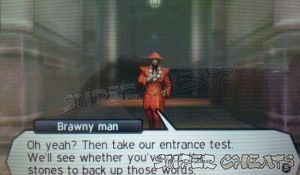
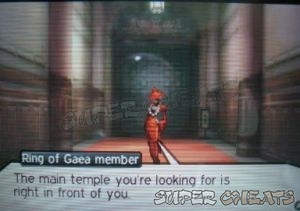
Tsukiji Hongwanji
Once inside, a Ring of Gaea member will greet you. You’ll learn that you have to pass their entrance test. He will upload a new Challenge Quest in your terminal, “Overcome the Trial”.

Accept the Quest from your gauntlet to proceed. You have to reach the main temple before your candle goes out. The candle’s status will be displayed while you’re exploring the place and during the battle. The lesser damage you receive from combat, the better.
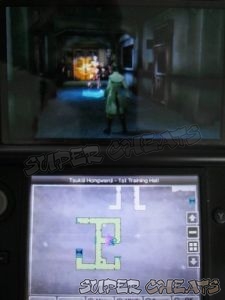
Tsukiji Hongwanji
Your allies will go separate ways so you’ll have to rely on your Demons in battle. The battles will be mandatory so don’t bother going around the stationary demons. From the entrance, refer to your mini-map and head east. Defeat the demon there and follow the path east, pass the other hallways blocked by wormwood barriers then south until you find a portal. Enter it to reach another hallway in the room.
Main Temple
Destroy the wormwood barrier straight ahead then enter the next portal to the left. In the next corridor, defeat two more demon groups ahead and enter the next portal.

1st Training Hall
After emerging in a new area, open the chest nearby to get a Balm of Rising. The path in the middle is blocked by wormwood so you either have to go through the east or western portals. The eastern portal will transport you back to the entrance so head west instead and defeat the demon. Enter the western portal. In the next hallway, go around to the east and follow the corridor until you find a demon along the way. Defeat it and destroy the two wormwood barriers. Enter the portal to reach the next area.
2nd Training Hall
Defeat the demon around the corner and you’ll find two more portals to the north and south. Take the portal to the south to reach the main temple entrance. Before moving forth, save your game. A Ring of Gaea member is waiting there and will serve as your last test before you can proceed further.
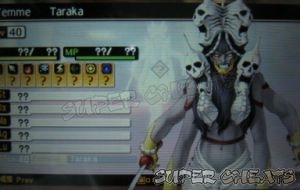
LV40 Taraka
This enemy has no elemental strength or weakness and immune to Light and Dark insta-kills. Its HP is around 2700-2800. It can use Tetrakarn and Mudoon that can easily take out your party one at a time. Concentrate in attacking it using elemental Skills to bypass the effects of Tetrakarn. Since its only means of damaging you is by using ordinary attacks, you can use your own Tetrakarn skill if you have. Bring out Demons that have defenses against dark attacks to increase your chances of winning.
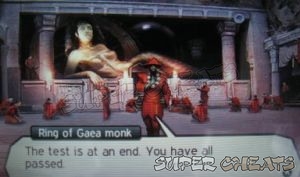
After defeating the boss, you’ll need to go through the door to complete the Challenge. However, you can take the portal where you came from to return to the entrance and fully explore the area to get the other items you may have missed. If you don’t want to bother, just skip the steps below.
Main Temple
(Starting from the entrance) Head west then enter the portal there. In the next corridor, follow the corridor to the west then go around to the north. Defeat the demon along the way then continue along the corridor heading east. Enter the portal there to be transported to the other corridor in the same area that’s blockaded by wormwood. Open the chest containing a Chakra Pot then destroy the wormwood. We’re done in this area so let’s go back to the entrance. Take the portal where you came from a few seconds ago to return to the entrance.
(Starting from the entrance again) Head west then enter the portal there. Instead of going west, head north and enter the portal. (1st Training Hall) Enter the portal in the middle. (2nd Training Hall) Enter the portal to the north. Destroy the wormwood barrier to your immediate left. The portal to the northeast will transport you back to the entrance so take the southwest corridor and defeat the demon there.
Enter the portal to get back to enclosed area in the Main Temple. (Main Temple) Destroy the wormwood in the corridor to the west then follow the path south. Defeat the demon there to get the chest containing Pumpkin Bombs.

After getting the treasures, make your way to the entrance again then follow the steps below to reach the Main Temple. (Main Hall) Go west, enter the portal. In the next corridor, go north and enter the portal again. (1st Training Hall) Enter the portal in the middle. (2nd Training Hall) Follow the corridor to the northwest then enter the southern portal. Enter the large door ahead.
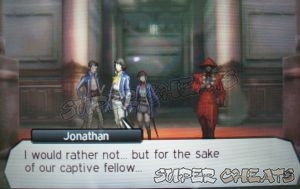
You’ll find your allies in the next room as they have completed the task as well. This Challenge Quest will be complete. However, your celebration is cut short since you’ll be caught in a trap.
Passage of Ethics
After landing on the dungeon-like passage under the temple, the mission will be updated. Continue forth and you’ll find a split path. You’ll be presented with choices which will affect your Alignment. Jonathan’s suggestions tend to incline towards “Law” while Walter’s choices incline toward “Chaos”. You’ll have to make your choices on three different paths along the way.
First Question
You are the ruler of a country. You have called upon your people to gather en masse for a game. Among those who attend, one is extraordinarily tall. What would you do?
If you would exclude this person for the sake of fairness, go right. If you accept one's height is merely a part of their individuality and include this person, go left.
Second Question
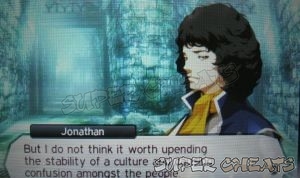
You are the chief of a village which has lived the same way for 1,000 years. One day, a man visits your village, carrying with him revolutionary technology. This technology would greatly ease your people's lives, but would also do away with their current lifestyle.
What would you do? Go right if you would expel the visitor in order to preserve the lifestyle you have always known. Go left if you would welcome the visitor in order to adopt his technology for your village.

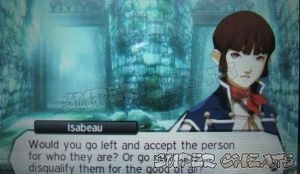
Third Question
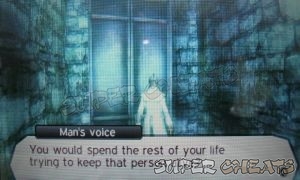
The love of your life lies in front of you, unconscious. There is no hope that they will ever wake again. You have already tried many things, to no avail.
What would you do? If you would care for this person for the rest of your life, go right. If you would stop all treatment and allow this person to perish naturally, go left.
After making your choices, you’ll meet Yuriko herself. After the scene, this Quest will be put on hold and you’ll get another main quest.

This quest will be completed after defeating Lilith by choosing Jonathan’s route. You’ll have the choice whether to join up with Jonathan or Walter after completing the main quest An Important Rendezvous. For tips on how to defeat Lilith, refer to the dedicated (non-quest) section “Kill Lilith.”
Anything missing from this guide?
ASK A QUESTION for Shin Megami Tensei IV
Comments for Kill Yuriko
Add a comment
Please log in above or sign up for free to post commentsNo comments yet. Tell us what you think to be the first.
Table of ContentsClose
Guide Updates
Get notified of updates to this guide
Many of our guides get updated with additional information. To get an email when this guide is updated click below.
 Join us on Discord
Click to close