First Grind plus Upgrades
Part 02 -- Walkthrough Guide
We have now reached the point in the game where there are specific actions that we need to take in order to ensure that both our farm and or strategies bear fruit (in more ways than one).
- Replace the first Hurlimann H-488 with a Lindner Geotrac 94 (Serving as your dedicated Fertilizer)
- Replace the second Hurlimann H-488 with a Steyr Multi 4115 (Dedicated Frontloader + Tipper Hauler)
- Purchase a Frontloader Attachment
- Purchase a Universal Bucket Attachment (for the Frontloader
- Purchase a Power Washer (Placeables) - Optional - to keep fleet clean
- Purchase a Kroger Agroliner HKD 302 Tipper (Pulled by Multi 4115)
- Sold the Brantner E-8041 Tipper (or kept it, your call)
- Purchase Fields 25 and 30
- Sell the Sampo Rosenlew C6 14FT Header
- Purchase a New Holland Varifeed 18FT Header
- Purchase a second Sampo Rosenlew Comia C6 Harvester
- Purchase a second New Holland Varifeeed 18FT Header
You should have already accomplished the following:
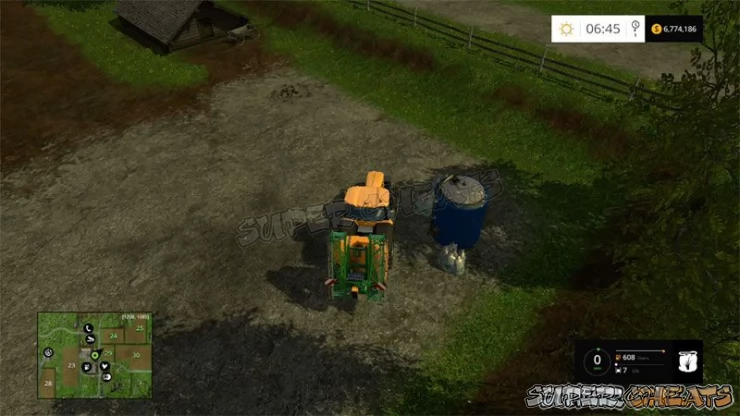
Part One: Improving Efficiency
Between all of the above you should have been planting, growing, and harvesting crops. With two Harvesters active you should be getting that done about twice as fast. Well, not quite twice as fast, as there are some other improvements that need making...
Our goal at this point is, between farming and selling crops - to do the following:
- Sell the Kockerling Trio 300 M Cultivator
- Sell the first Deutz Fahr Agrostar 6.61
- Buy a Vaderstad Rapid A 6005 Sower** (combination Cultivator / Sower)
- Store* your Pottinger Vitasem 302 ADD Sower in a barn or shed on your farm
* You want to keeo - not sell - this Sower because in addition to sowing the standard grains it also does grass, corn, and beets! The unit you are buying to replace the Cultivator with only does the three grains and grass. So you will want to hold on to the other unit for as-needed use...
** The tractor that was towing the Vitasem now tows the A 600S; the Tractor that towed the Cultivator AND the Cultingator itself are now surplus to needs and should be sold due to the higher than average daily maintenance costs associated with it.
Note: When you are selling kit and vehicles you want to bring them TO the Vehicle Store and sell them directly via the square and sell marker because doing it that way (as opposed to selling them in the Management Menu) pays a bonus of 20% of the value. Totally worth the effort!
When you reach the point later when you want to grow grass, potatoes, and other crops that your current Sowing Machine / Cultivator cannot plant you will need to purchase another machine to prepare the land but, when that time comes in place of a Cultivator we are instead going to purchase a Vogel & Noot Heros 1000 Plow (Sticker Price $81,000) and seriously doesn't that sound like something you would find in the world of Harry Potter?!
Magic Purple Piqup Truck
Technically this section of this section could be titled whatever colour you chose to paint your Piqup Truck, so it could be called the Magic Red Piqup Truck, or the Magic Blue Piqup Truck - you get the idea - but the point? Yeah here is the point...
You want to purchase a Piqup Truck - and paint it whatever colour you like best.
After you purchase your Piqup Truck you want to purchase a Mobile Fuel Tank (these are found under the Misc Tab and cost $8,500).
The reason you want to purchase a Fuel Tank is down to the fact that in FS15 (unlike the other games) you do NOT have a buried tank and Fuel Pump on your farm. We do not know why that it, but it is, so when you need to refuel your farm machinery - and you WILL need to do that eventually - the only choice you have is to take it out on to the main roads and drive to a petrol station.
Well we don't have to tell you how much hassle THAT is,. Besides which you can eliminate that hassle by purchasing and filling your Mobile Fuel Tank and then strategically positioning it on your Farm so that all of your machinery has access to it as needed!
And there you go! Oh, why purchase it when you buy your Piqup you wonder? Well that is an easy one. You see the Piqup truck is NOT simply personal transportation. We hate to burst your bubble mates, but like pretty much all of the other kit in your farming arsenal, the Piqup Truck is a TOOL.
In this instance, its heavy-duty hitch can easily take the Mobile Fuel Tank in tow, which means you can use your Piqup Truck to haul the tank and drive it right up to the pump at your local Petrol Station where you can tap RB and take on a massive load of petrol (to the tune of a very expensive load of 4,500 L!!
Once you have filled the tank, drive it back to your Farm and decide where you want to park the Tank for use by your other machinery. Pick someplace convenient - near the Power Washer is good since you can then refuel whenever you wash off the dirt and grime from the fields!
With that mischief managed, go park your Piqup Truck near by one of the Mission / Job Boards and voila! We have completed this section of the section! And well done you!
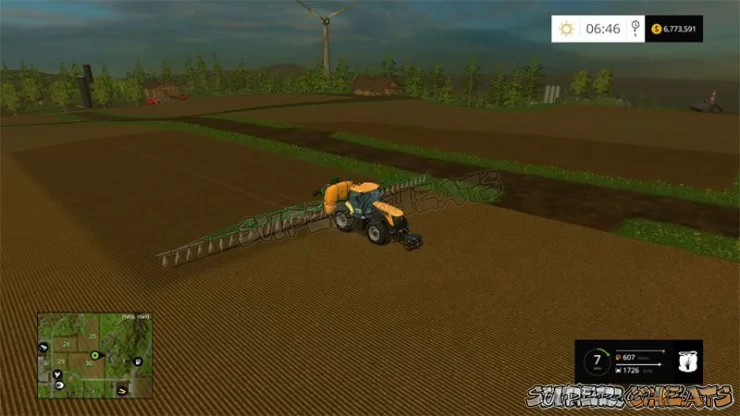
Part Two: Adding Bales to our Farm
As you work through the different crop types in order to build up the fruit on storage in your Silos so that you can take advantage of the higher-demand events in the game, you will notice that while some crop types (Canola for example) only leave a small amount of stem in the field after they have been harvested, while other crop types - most notably Barley and Wheat - leave more.
When you are harvesting both Barley and Wheat the Harvester leaves behind a significant quantity of ejected organic materials that represent what remains of the crop after the fruit has been separated by the harvester from the plant itself.
When we first started out on the farm building and improvement process that ejected organic material was simply plowed under the soil in the process of preparing the soil for sowing. The reason that we did this was simple: we lacked the equipment to recover and monetize that left-over organic material. This is no longer the case!
Before we can actually make use of it though, we are going to need to add some capabilities to our farm. That means purchase more kit! So head to the Vehicle Store and purchase the following:
- Kuhn GA 8521 Windrower ($17,000)
- Arcusin Autostack FS 63-72 ($45,000)
- New Holland Bigbaler 1290 ($128,000)
- Kuhn Model GF 6502 ($10,300)
Total Investment Required = $200,300
These four pieces of equipment are all that you need with the exception of one of your existing Tractors to pull the kit... Note you may be tempted to purchase the Ursus T-127 (8-Bale Loader) because it is cheaper... Don't! The T-127 is NOT compatible with the larger size bales that are created by the Bigbaler 1290.
Our selections above were not made based on price but on efficiency - the combination of kit above gives the most efficient solution to the challenge.
The following are the procedures for making bales - including the procedure for making them from GRASS, which you may want to do as well...
VERY IMPORTANT: If you plan to recover Bales from the ejected materials you need to turn ON the Straw Swath on the Harvester for Wheat or Barley (you do this by holding LB + RB and hitting Y).
Basically what that does is two things - it opens the larger ejection port in the bottom of your Harvester so that the organic material that is obtained when you separate the fruit from the plant is simply dumped on the field rather than pushed along the chute on the bottom rear of the Harvester tank and fed into the Straw Cutter (that is the black piece of equipment that pokes out the back of your Harvester.
If you do NOT do this, the Harvester will push the Straw into the Straw Cutter (again, that is the large black thingy on the back of your Harvester) which will then fine-chop the straw into worthless dust that you cannot bale. That straw dust is basically converted into organics that the Plow / Cultivator then folds back into the soil when you are turning it to prepare it for sowing.
You will know what is happening and how it is set by how the Harvester harvests - if you see a fine spray of dust out the back, the Straw Cutter is engaged and you are NOT going to be obtaining Bale Straw. If large piles of Straw are being ejected from the Harvester out the bottom rear, then you ARE going to be able to make Bales. Easy Peasy Lemon Squeezy
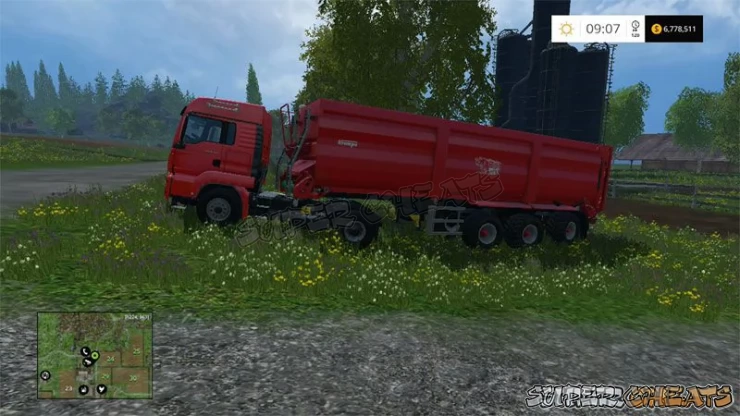
Making Bales from Harvested Fields
- Use the Windrower to line up the organics;
- Use the Baler to bale-up the organics;
- (A) If you made Round Bales, use the Frontloader and Bale Fork to load them onto a Transport Wagon;
- (B) If you made Square Bales use the Bale Loader Wagon to load them up onto it;
- When the transport wagon is full (or you have loaded all the bales) determine the use of the bales.
Making Bales from Grass
- Use a Tedder to turn and dry the Grass to prepare it for baling;
- Use a Windrow to line up the Grass into convenient columns;
- Use a Baler to create Bales (Round or Square)
- Use the appropriate loader/wagon to load up the Bales
- Determine the destination/disposition of your Bales
The Bale Destination / Disposition
Depending on other factors what you actually DO with the Bales you have created will differ. Basically you have two situations:
1. You Have Cows
If you have Cows you will want to convert the Bales into some sort of food product FOR the Cows. Please access the Cows Section of Part 08 of the WTG titled Ranching Stage for the details that apply to using your Bales as part of the Dairy Farm Food Process.
2. You do NOT have Cows
In this case you can take your loaded Bale Wagon to the Hay Shed on your Farm, back it up to the receiving station, and unload it there. You will be paid the going rate for Bales of the type you have created (this can vary) at this point and you are pretty much done with that load of Bales!
Either Way
No matter which situation prevails Bale Production is something that we desire to do - at least for a while - anyway because of the Bale-focused Achievement / Trophy that appears at the end of the Achievements list in the game.
So yeah even if we never actually have a Dairy Farm as our Secondary Agri-Business, we still want to make Bales at least until we have created 100 Bales and the following has been unlocked:
Achievement: Bales of Steel (40g) You created 100 bales in one game.
If you are not in the Ranching Phase of game play - which means you opted to do the bales simply to unlock the related Achievement - and there is nothing at all wrong with that -- but if you are not in need of feed for your Cows then once you have successfully unlocked the related Achievement it would probably be wise to flip the switch on your Harvesters to close the exhaust gate on the tank and re-engage the straw cutter ejection system so that the harvester ejects the straw as dust.
That eliminates the need for you to deal with the straw and bales - and considering hoe labor intensive that whole process is, you'll probably thank us for the suggestion later.
What do you mean, Achievement Whore?!
That is right we ARE basically Achievement Whores when it comes right down to it... No, really the thing is that for a lot of gamers the only way to measure success and keep track in the community is to assess the state of a gamers' Achievements Record.
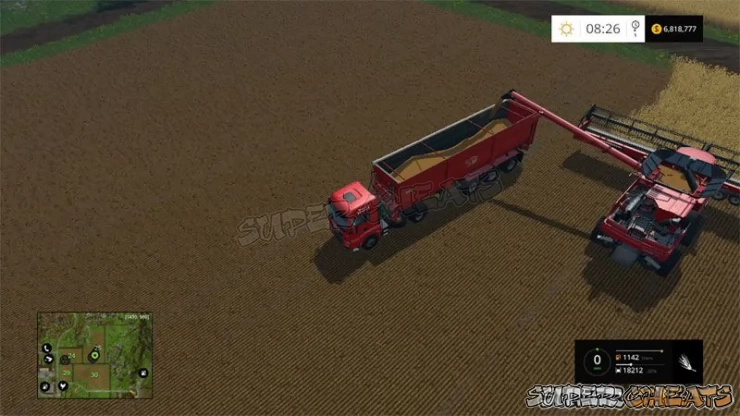
- - - - - - - - - - - - - - - - - - - - - - - - - - - - - - - - - - - - - - - - - - - - - - - - - - - - - - - - - - - -
Achievement Whore
Person who acquires Xbox 360 / Xbox One console games for the sole purpose of getting all of the Achievements for that game to gain Gamerscore.
exmpl: "Dood, have you seen Nick's gamerscore? It is hella high! Woot! Yeah -- he is such an Achievement Whore!"
Urban Dictionary entry on "Achievement Whore"
- - - - - - - - - - - - - - - - - - - - - - - - - - - - - - - - - - - - - - - - - - - - - - - - - - - - - - - - - - - -
Because of that you will often see a gamer who is evaluating another gamer - for example when they are deciding if they want to accept a Group or MP invitation or MAKE such an invitation - one of the first basic steps for evaluating whether the gamer is a lamer or worth playing with is taking a look at and evaluating their Gamerscore and Achievements.
'
We cover that more in-depth in the MP Section, but you should bear in mind that not only will other gamers judge YOU by that publicly available information, if you have access to it blocked or restricted to friends only, they may not be willing to play with you at all!
Part Three: Corn Mastery
In the world of farms and farming all grains are not created equally. And the mastery of each crop does not necessarily fall into a neat single category due to that. For example while Wheat, Barley, and Rape (Canola) all fall into the same grain category as their fruit is largely similar as is the process of preparing the field, planting, and harvesting, Corn on the other hand is a special case.
The differences between the other three grains and Corn is largely down to sowing and harvesting - where we can use the same combo-cultivator-sower for the first three, Corn has to be prepared and planted using dedicated units of kit because there is no combo-cultivator-sower for Corn at the level of farming we are at.
So mastering Corn means that we need to have among our farming implements a dedicated Cultivator (we purchased a Horsch Terrano 5 FM for $18K) and a Sowing Machine capable of handling Corn Seed (our existing starter Sower the Vitasem 302 ADD will work fine).
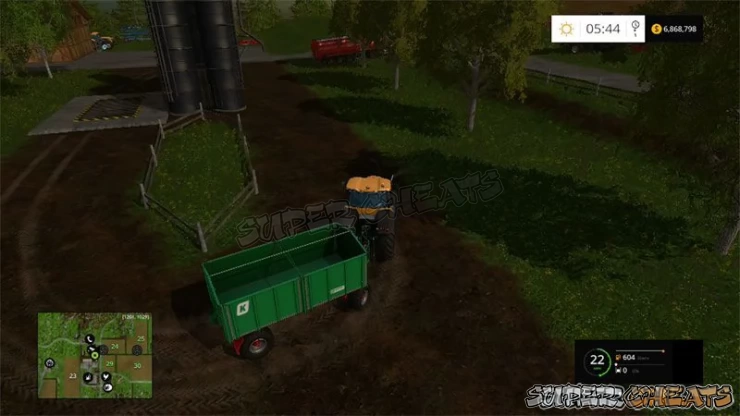
Mastering Corn
Right then, it is time for us to master the final and fourth grain - Corn! To do that after we harvest the current crop - for us that was Rape - we need to take our old and trusty AgroStar 6.61 and hook up the Terrano 5 FM and prepare the fields, plowing under the leavings from the Rape which does not make Straw (so there is no Baling involved with it).
With the fields prepared, we store the 5 FM and hook up the 302 ADD, set the Seed Type to Corn, and then drive it over to our Seed Bank and top off the Seed supply before heading out to the fields and beginning the Sowing procedure.
Once the fields are properly seeded we store the 302 ADD and then look at our harvesting capabilities. At the moment all we have on the farm for harvesting are the pair of Varifeed 18ft harvester heads - but while those work find for the first three types of fruit, they do not work at all for Corn! We need a harvesting head that is rated for Corn that will attach to our Comia C6 Harvesters...
A careful examination of the available attachments in the Harvester Header category shows that while there are a lot of options, when we consider that we will probably only be growing Corn as often as we need to in order to maintain the 100K L reserve we have established in our Silo Storage, what that translates to is that we do not need a high-tech, massive Corn harvesting capability.
So while there are plenty of massive heads what we opted for was the conservative if older gen Capello Quasar F4 Corn Head, which retails for $18K. And we only bought ONE (1) of them, because why pay the overhead for a pair when, as noted, Corn is not going to be one of our frequent plantings?
Opting to have the Farm Supply Store deliver the Header for us (you can do that after you purchase the unit by tapping the Left Joystick then using RB or LB to page to the Vehicle Selection Menu, then Left or Right D-Pad to select Tools/Trailers, and finally Left or Right D-Pad on the second line to select Quasar F4, then down to Reset Vehicle/Tool.
Once we confirm that we do indeed wish to Reset this Tool, the head will be "delivered" to the yard outside the Primary Sheds at the top of the hill closest to the house and Hay Storage. We then just need to take one of the C6's, have it store the Grain Header that is on it and then drive it over to pick up the F4.
At that point it is simply a matter of parking the beast and waiting for the crop to come in. While we wait, we can do Missions, or maintenance on our outer equipment (meaning cleaning mostly).
Once the crop comes in we will harvest it pretty much exactly like the process with the other grain fruit, the only difference being that Corn is a larger and bulkier fruit and that means that the Harvester will fill faster than normal, which means we will need to keep the Tractor/Tipper handy near the fields.
In our experience once you sow the crop and fertilize it you can anticipate a yield of around xxxx L from a base farm that includes Fields 24 & 25 plus 29 and 30. To make that yield even more impressive though you can purchase Field 23 which borders the far side of your main farm facilities.
The addition of Field 23 adds 1.72 ha (4.2 acres) to the existing 4.40 ha (10 acres) which is the combined total of the four fields you already own, for a total of 6.12 ha (or around 15 acres!). While that is not a HUGE farm it is certainly a respectable one.
A typical fertilized harvest from your 15 acres will yield just over 105,540 L total.
Right so that pretty much covers Corn...
Part Four: Preparing for Missions
At this point we should be focused upon growing crops and storing them in the Silo on the farm with an eye towards building up a minimum of 100K L of crop storage for each of the following types: Wheat, Barley, Corn, and Canola.
Whenever one of those types gets a demand notice we should sell off what we have in storage for the bonus and then immediately replace it via farming.
Basically you want to rinse-and-repeat this process until you have at least 100K L of Wheat, Canola, Corn, and Barley in the silo, at which point you want to focus all of your energy upon the following goals:
- Build a cash reserve of $1 Million Euros[
- Purchase a Same Fortis 190 Tractor ($142,000)
- Purchase a Kuhn Model FC 3525 F Front Mower Attachment ($13,500)
- Purchase a Kuhn Model FC 10030 Rear Mower Attachment ($52,000)
- Position the Mower at a location that is central to the different mowing Missions*
- Purchase a Pallet Fork for your Frontloader
* Where you position the tractor and mower combo will depend on the Missions - so you will need to flag and do a few of those before you can decide what the best strategic pre-positioning location is for you. Once you know that, having the tractor already close to the job sites will make the process of completing each mowing mission that much easier. Just bear in mind that every so often you will need to top off its fuel tank.
That completes this section and our efforts. We now have a dedicated mower unit and a Frontloader. which means we are fully prepared to accept pretty much any Mission!
As you work your way through the Missions you will eventually unlock the mission-related Achievement: Mission Master (60g) You have completed 50 missions.
Change to the next Section of the WTG now...
Anything missing from this guide?
ASK A QUESTION for Farming Simulator 15
 Join us on Discord
