Weapon Class Guide
Combat is an integral part of the Horizon Forbidden West. You’ll start off with your trusty bow and spear but as you travel, you’ll be able to unlock additional weapon types. Most weapons from the original game are carried over so veterans of the previous title will be immediately familiar with some of them. New weapons are also introduced in HFW which greatly increases Aloy’s deadly repertoire. Thankfully, the game provides helpful descriptions and details about each weapon, giving you an idea on how and when to wield them properly.
Hunter Bows
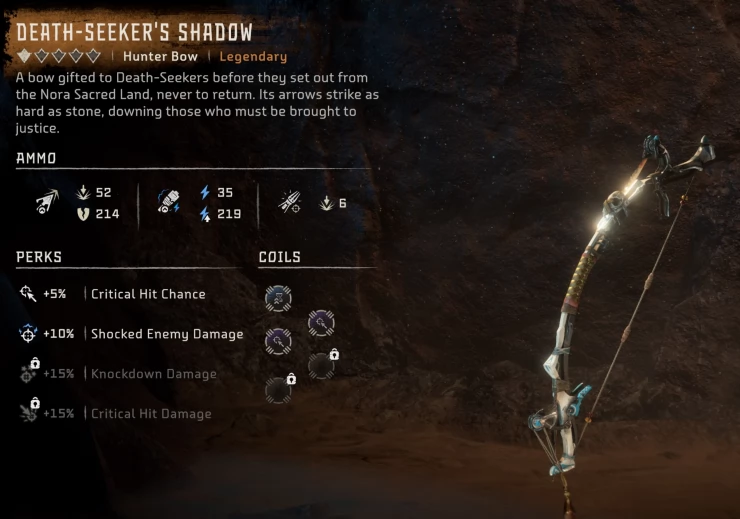
These are versatile mid-range bows with moderate speed and accuracy. They’re capable of dealing average impact and tear damage. They’re best used when fully drawn and will be generally useful in most situations, especially when used frequently with Concentration and Triple Notch. Being a mostly all-rounder weapon, the main downside is their lack of specialization. Hunter Bows can fire elemental arrows which can be used to detonate elemental canisters of the same elemental type. You can’t go wrong with carrying at least one Hunter Bow in your loadout.
Warrior Bows
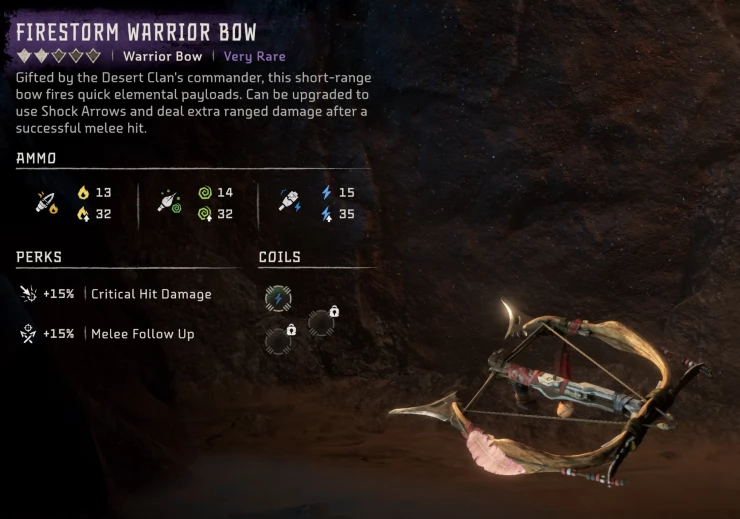
These bows are meant for close-range and quick attacks in between evasive maneuvers. They don’t need to be fully-drawn to inflict their full damage and their quick draw speed allows them to apply elemental status with elemental arrows rather quickly. Like Hunter Bows, you can fire elemental arrows to detonate elemental canisters of the same type on machines or environments.
Sharpshot Bows
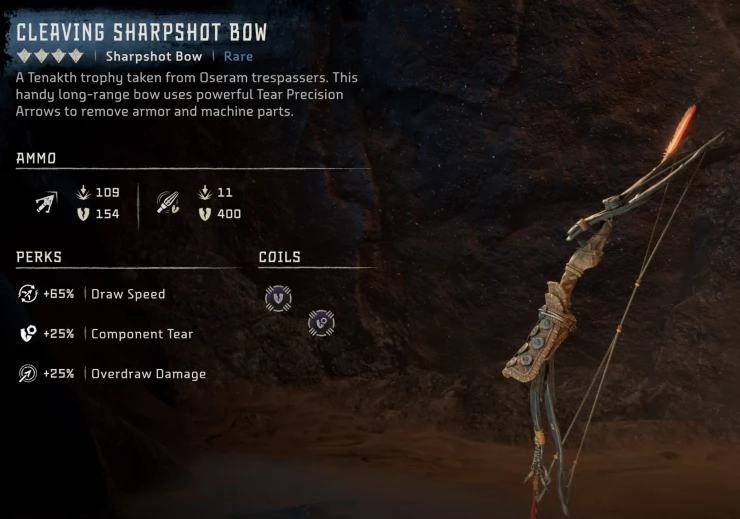
These are the sniper rifles of the game, meant to deal high impact or tear damage from very long distances. Obviously, they have the slowest draw speed of all the bows and will only remain accurate if you’re not moving. Due to their long range and damage, sharpshot bows are perfect for taking out human enemies with headshots (as long as they’re not wearing helmets) or picking off machine parts from afar.
The Focused Shot weapon skill gives you the ability to zoom more while aiming and deal extra damage when the arrow lands on the target so try to learn this skill if you’re planning to use Sharpshot Bows regularly. Additionally, if you find a Cleaving Sharpshot bow, keep it and upgrade it as its powerful, vacuum-inducing Tear Precision arrows can easily pick off specific enemy parts from a safe distance.
Blastslings
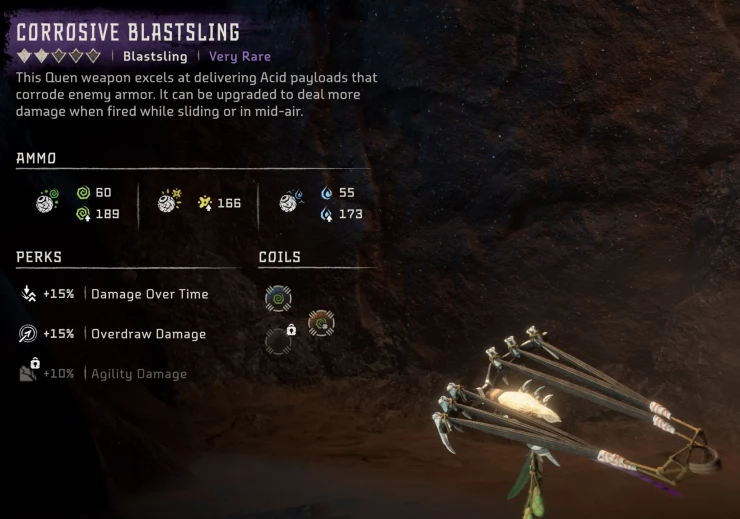
These mid/long-range weapons uses bombs lobbed at a target or surface, dealing massive damage (for explosive ammo) or incredibly high elemental build-up. Furthermore, certain elemental ammo like acid, purgewater, fire, and frost can leave a residual AoE field (depends if you fully draw the sling or not) that will continue to add to the buildup rate of any enemy stepping on it. Unfortunately, this will also affect you so avoid using blastslings in close-quarters combat or very enclosed locations.
Blastslings that can cause Corrosion (acid) or Brittle (frost) are highly recommended as these two status effects can greatly whittle down even the toughest machines. While powerful, blastslings can’t tear machine parts, even the explosive ones.
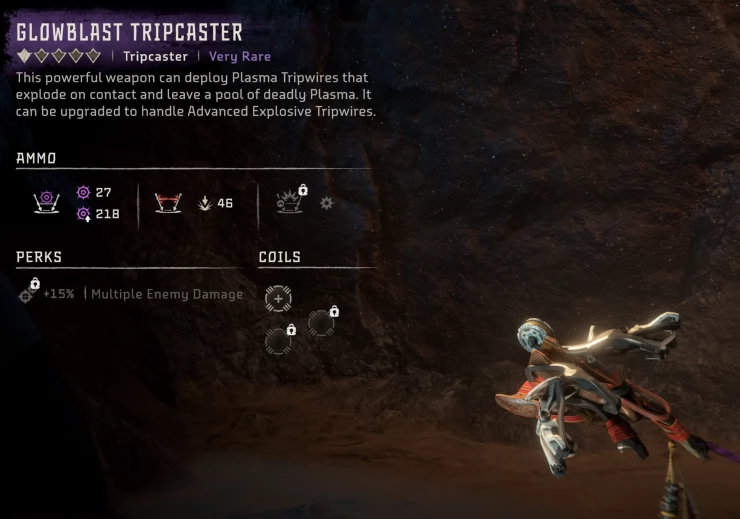
Tripcasters
These are weapons that can lay down explosive or elemental tripwires that will detonate whenever an enemy trips on the cables. Some tripcasters are even capable of producing protective shields. These are best used in a stealthy approach, allowing you to lay down traps or ambush before initiating combat. You can still use this in the heat of a battle especially if you’re running away to gain some space between you and your attacker.
Be warned that human enemies can avoid these Traps by vaulting over them, especially if they see you placing the traps in front of them. Since their use is fairly situational, there’s no immediate need to include them in your loadout but do keep one in your inventory in case you want some extra layer of security for stealth combat.
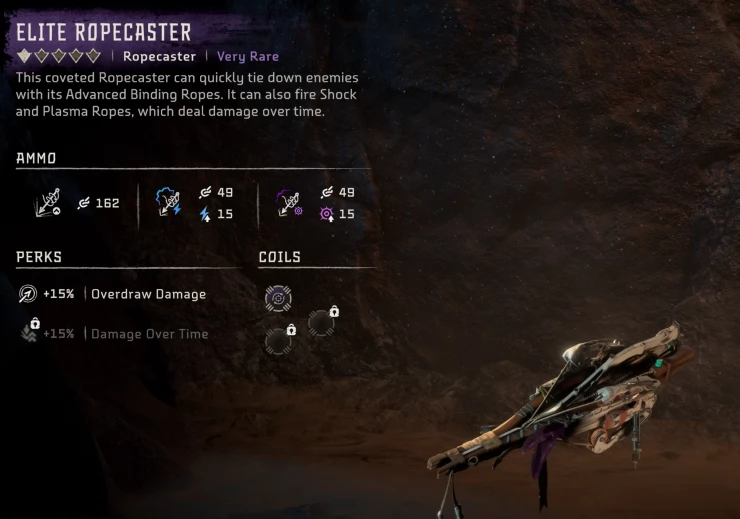
Ropecasters
These are support weapons that attach powerful ropes to machines, temporarily binding them and removing them from combat. This is exceptionally useful in grounding pesky flying machines or limiting the movement of large machines, annoying burrowing or leaping machines. Once an enemy is bound, it will break free automatically after some time. However, if a bound enemy is damaged, the restraint gauge will deplete even faster, freeing up the machine quickly.
Normally, you’ll need to fully draw them so that they’ll have enough power to penetrate armor. Firing them too early will just prevent the ropes from attaching. Learning the Penetrating Rope helps overcome this limitation by firing a rope that is guaranteed to attach to any surface without fully drawing the weapon, at the cost of medium Stamina.
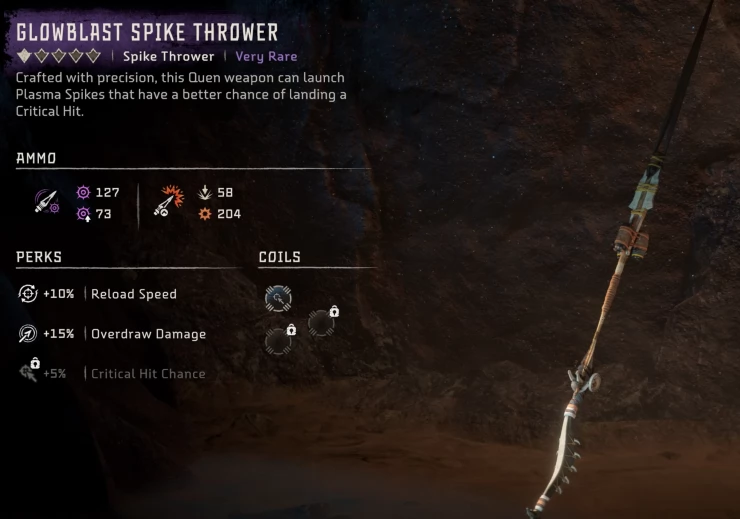
Spike Throwers
These are powerful mid/long range javelin-like weapons that have potential to deal massive explosive damage but below average tear damage. When fully-drawn/ charged, they can penetrate armor. Since these are manually thrown, spikes travel in an arcing trajectory so you have to adjust your aim accordingly. They’re best used against large machines or heavily-armored human enemies.
The main limitation for this weapon type is the ammo’s high crafting cost. This is relatively mitigated by learning the Ammo Expert and Workbench Expert skills. While their raw damage is quite devastating, it’s better to use them on Corroded or Brittle targets (and even while offensive Valor Surges are activated) to deal even more massive damage.
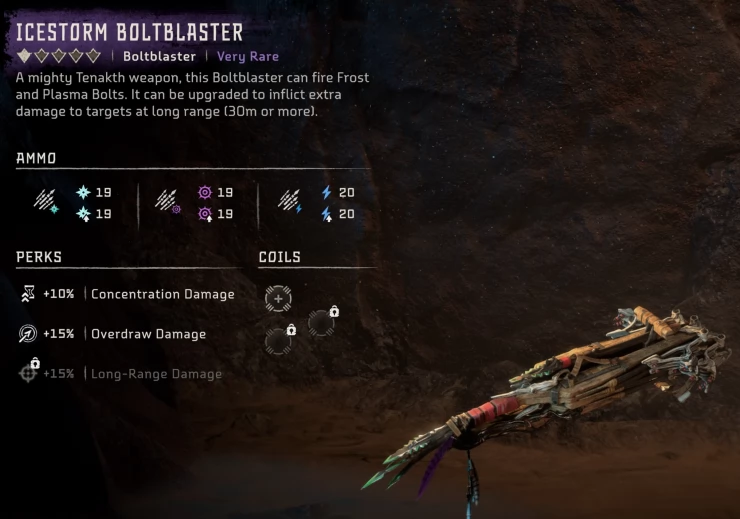
Boltblasters
These heavy weapons have the highest rate of fire in the game and can effectively deal massive damage if used at the right moment. Their heavy weight will prevent Aloy from making any evasive maneuvers or even spriting, until the weapon is stowed away. Unlike other weapons, they must be manually reloaded even when changing ammo so plan ahead especially when using them in active combat. Due to the entirely new / clunky ranged combat style this weapon demands to its user, we don’t recommend this weapon for general use or exploration.
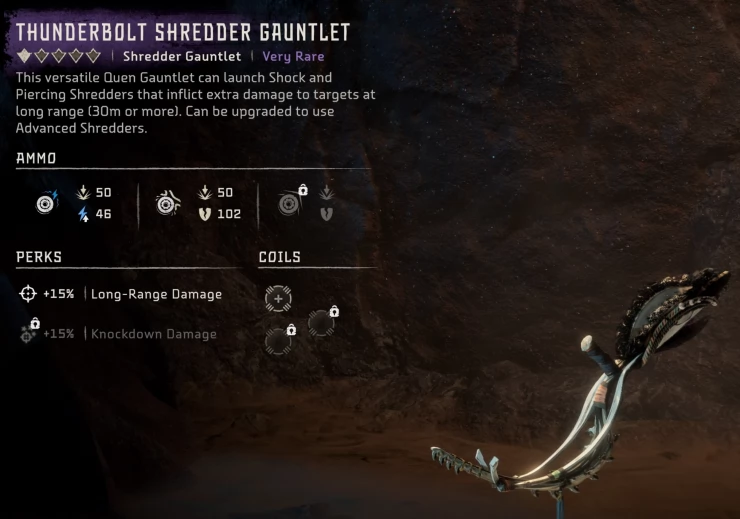
Shredder Gauntlets
These are unique weapons with their own gimmick. They launch shredders that continuously deal damage to the target before returning to you. You can launch it again and repeat this “launch and catch” pattern up to three times to build up the shredder’s power. The next throw will make the shredder ammo explode on impact, dealing higher damage.
You can also charge up the shredder and build up power before launching it. A fully-charged shredder will spin longer and deal more damage before returning to the user. Shredder gauntlets boast the highest tear damage in the game but the weapon itself requires high skill to be able to use it effectively. However, those who master its gimmicks are rewarded with easier teardown of machine parts for their needs.
That concludes our quick guide for the different Weapon Classes in Horizon Forbidden West. For more Horizon Forbidden West content, please check out our other dedicated guide pages for the game.
Comments for Weapon Class Guide
- Exploration Guides
- Combat Guides
- Extras
 Join us on Discord
