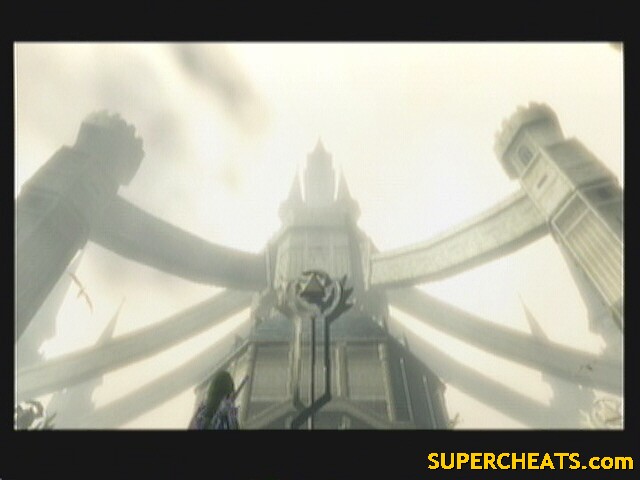
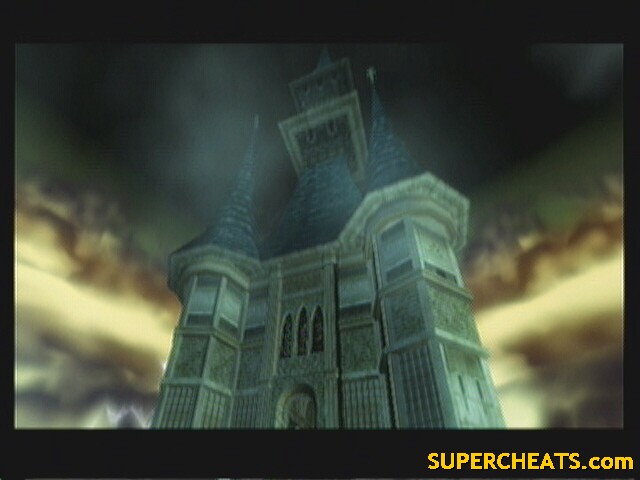
Hyrule Castle
The Legend of Zelda: Twilight Princess Walkthrough and Guide
by SPV999
Zelda: Twilight Princess Guide - Hyrule Castle
Hyrule Castle
No side-quests, no scavenging, no ornate keys to find, straight to the point. If you have ANYTHING else that needs to be done in the game, do it now. This is it, this is the end.
Now, after you finish the game you cant save, so if you start up this save file later you'll be at Hyrule Castle entrance (assuming you save inside the castle).
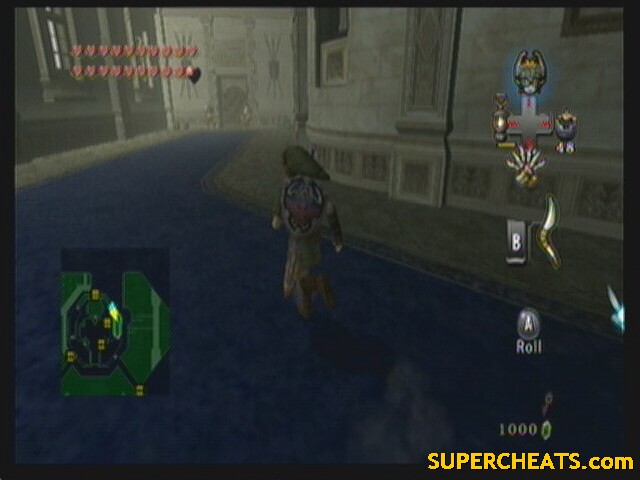
Walk out of the Twilight Realm via the glowing circle in the south of the Courtyard. Have Midna warp you to Castle Town. Turn back into a human and walk right up to the castle.
Negating the fact that the guards let kid who is obviously armed to the teeth into the castle ramparts, Midna will break the barrier, granting you passage to the castle.
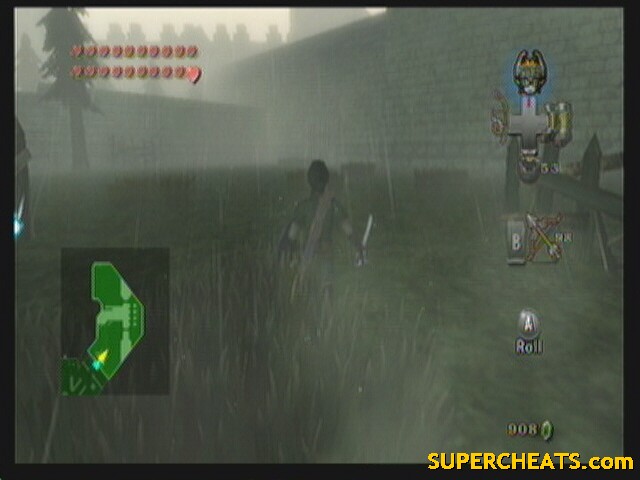
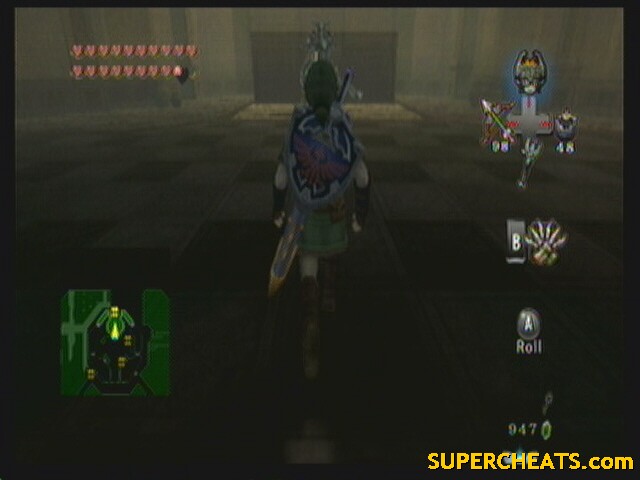
--== Room 1: Southern Courtyard ==--
 |
Enemies: Red Bokoblin, Kargarok
Chests: None
Quest items: None
Walk the east path. A barrier will drop and you'll be forced to fight a bunch of Red Bokoblin. The are fairly hard to kill, considering you almost have to use the Ending Blow to make them stay down, and the Ending Blow doesn't work will in groups. However, you should have far and away more hearts then they could possible take down, so hack and slash.
Enter the eastern door after the fight.
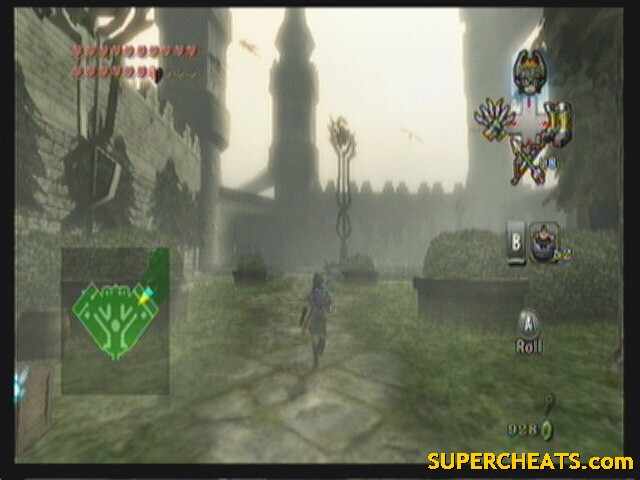
--== Room 2: Eastern Courtyard ==--
 |
Enemies: Red Bokoblin, King Bolblin
Chests: 2 (20 rupees x2)
Quest items: 1 (small key)
Walking to the center instigates another fight. Clear them out and continue to the north end of the room.
When you reach the north chamber, walk onto the arena to be confronted by King Bolblin yet again. He's not on his boar and fights with his giant hammer. The backslice is still the best way to take care of him. However, be much more weary of his attacks, as he can do 5 hearts in one swing.
After the fight he gives you the small key. The chest in the back of the area has one of the 20 rupees, and there is another one up on the wall that separates north from south (you can see the stairs on your map).
--== Room 1: Southern Courtyard ==--
 |
Enemies: Red Bokoblin, Kargarok
Chests: None
Quest items: None
Now we go west. Another army of Red Bokoblin attacks.
--== Room 3: Western Courtyard ==--
 |
Enemies: Red Bokoblin, Bulblin
Chests: 2 (10 rupees, Map)
Quest items: 1 (Map)
Archers will spot you as you enter. Use your bow to snipe them while keeping the Bokoblins at bay. Make your way to the nook between the east and west sides. There should be a passage in the east that leads to a Boar pen. Hop on a boar and start wreaking havoc in their camp while going north. Remember to press A to dash and crush things.
At the north end of the room there is another windmill puzzle like in the forest temple. Stand a few feet in front of the east most pillar. Target the east most pillar first, then the one just to your north, the one south of that, then the one in the center of the back row. Let it fly to open the gate to the map.
In the alcove with the map is a ladder that leads on top of the wall. Way south is the chest with the rupees, but it's not worth it.
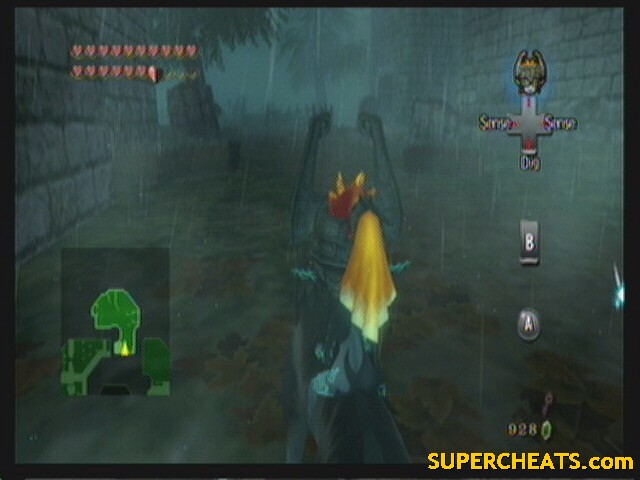
One the ground near the windmills, get up against the north wall as wolf link and look for a place to dig near some leaves. This leads to the Graveyard. (it might take a couple tries to actually enter).
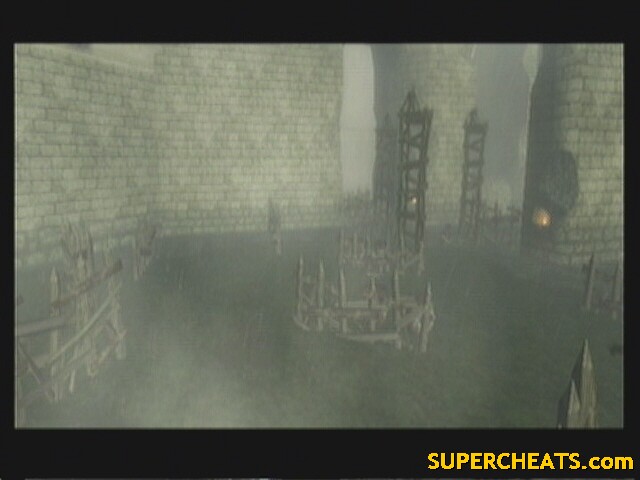
--== Room 4: Graveyard ==--
 |
Enemies: Stalkin, Stalfos
Chests: 4 (1,10,20 rupees, small key)
Quest items: 1 (Small key)
Go to the northwest end of this area, killing any bony foe that gets in your way. There are two large tombstones up against the south wall here. One tells of a cursed grave, the other about stopping the rain.
South of the large tombstones is a tree. There is a bombable rock at it's base. Pant a bomb and step on the switch under it. (want to see something creepy? Use your senses as a wolf around the rock).
The gate opens. Go in and light the torch. The rain will stop temporarily. You must run across to the east side of the graveyard and light the two torches there before it starts raining again. Once lit, the gate between them will open and reveal two stone sentinels.
Use the Dominion Rod and walk the sentinels to the southern end. You should see two notches in the ground against the southern wall. Place them in the notches. Get up on the rubble and jump across using them as a bridge. Open the chest for a key.
Midna will remark about having gotten everything out here, and she's right. Dig in the soil beneath where you currently are to get back to the western courtyard.
--== Room 3: Western Courtyard ==--
 |
Enemies: Doesn't matter
Chests: None
Quest items: None
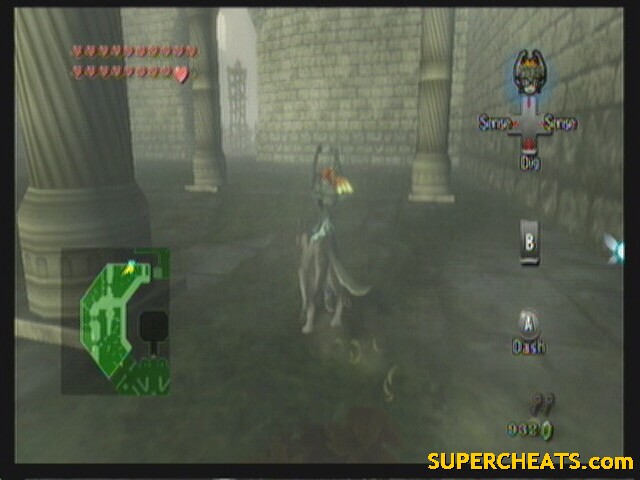
Walk back west. The gates are back up (someone's been busy). There is a boar near the wood gates. Get on it and use it to get back to the southern courtyard.
--== Room 1: Southern Courtyard ==--
 |
Enemies: Kargarok
Chests: None
Quest items: None
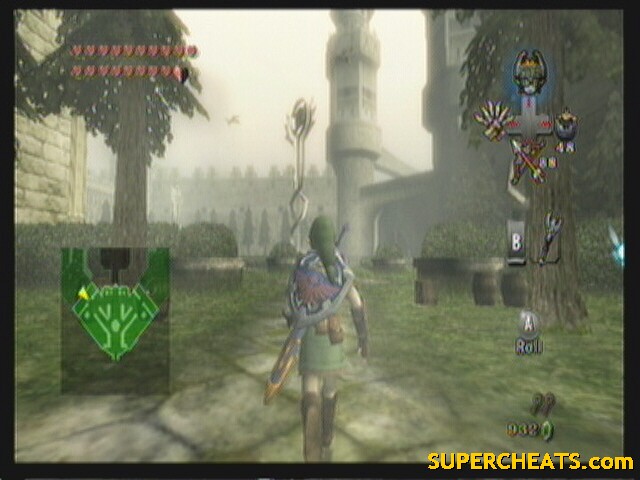
Enter the large door in at the north end.
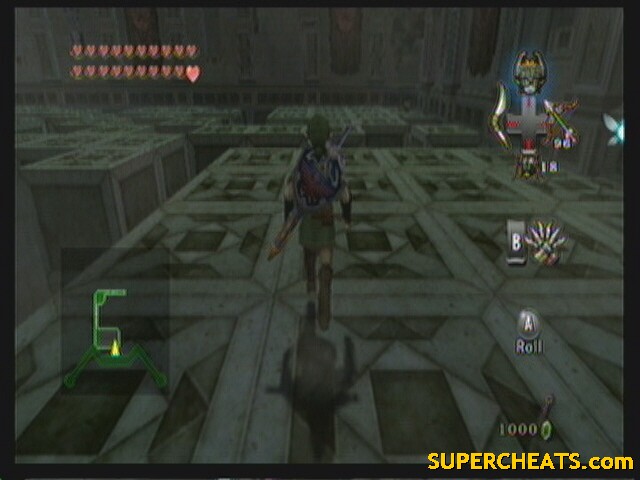
--== Room 5: Castle Foyer ==--
 |
Enemies: Red Bokoblin, Lizalfos
Chests: 3 (Compass, 2 not reachable)
Quest items: 1 (compass)
The enemies in this room swarm you. Even if the barrier wasn't there, you wouldn't be going anywhere fast. Red Bokoblins come in first, then the Lizalfos. The Lizalfos are slightly easier, since they take the same strategy but there are fewer of them.
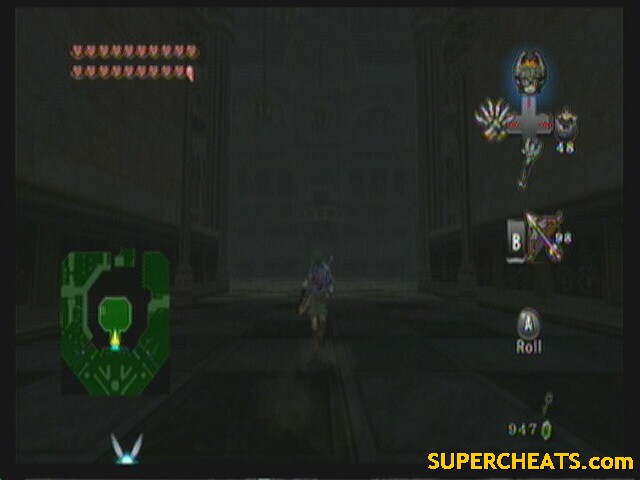
Once all the enemies are down, look for a ramp in the west. Stand at the top and use your clawshot to hang onto the chandelier. Drop down and open the chest for the Compass. Keep going clockwise till you reach the north door.
--== Room 6: Lantern Puzzle ==--
 |
Enemies: Darknut
Chests: 1 (50 rupees)
Quest items: None
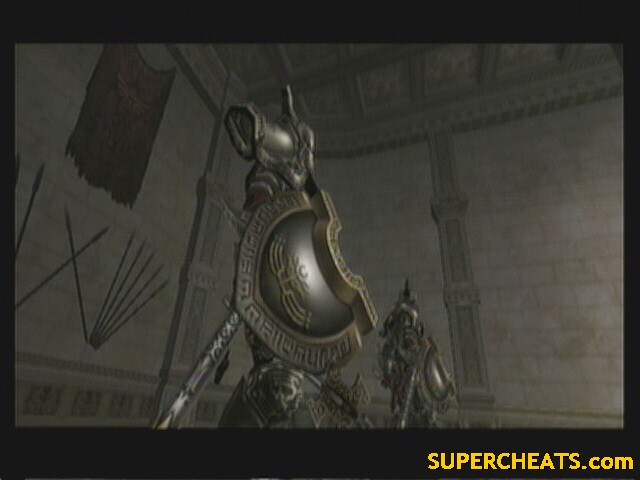
Defeat the Darknut just as before, using the Helm Splitter and Backslice until his armor is off, then just spam the Backslice.
Once he goes down, light the two torches in the west corner. Now go stand near the one that did not raise and face east. Use the boomerang and target the lit torch in the east corner. While your boomerang is in mid-flight, step onto the platform. It will raise as soon as the torch goes out. If you miss your chance, re-light the torch and try again.
 Torch |
Grab your chest. You now have two choices: East or West. East pays off better (250 rupees) but you have to fight two Darknuts, no easy task. West gets you no rupees, but you only have to fight two Armored Dynalfos.
Western Path
--== Room 7: Candle Jack ==--
 |
Enemies: Keese
Chests: None
Quest items: None
Use the bow to shoot down the painting in the dark section. Behind the painting is the solution to opening the door. Light the torches in this order:
Southeast, Northwest, Northeast, Northwest.
You have to light them quickly before the first one burns out.
--== Room 8: Double Dynalfos ==--
 |
Enemies: Armored Dynalfos
Chests: None
Quest items: None
Killing Dynalfos should be easy to you now. You took on more then this in the Temple of Time.
The eastern door leads to a switch that lowers a chandelier, making it easier to get back up later if need be.
The west door leads out.
Eastern Path
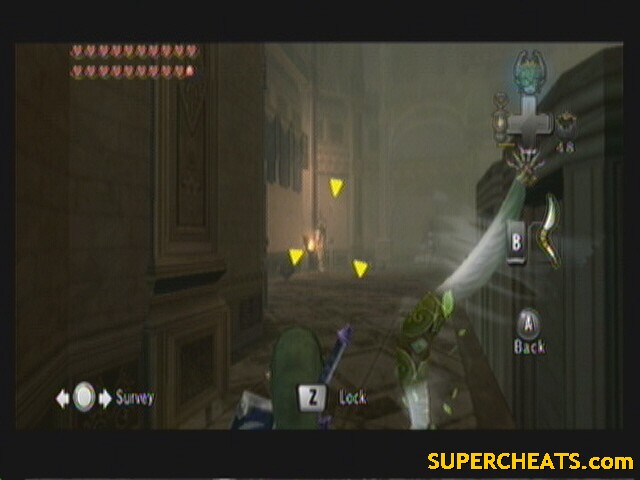
--== Room 7: Ghostly Art ==--
 |
Enemies: Lizalfos, Chuchu
Chests: None
Quest items: None
After defeating the Liazlfos, the doors still don't open. Get some help from your elders, use your senses as a wolf. The spirits will be pointing at one painting. Use your bow and shoot the string holding it up, then shoot the crystal behind it. If you want some Chu jelly, shoot down the other paintings to make some drop.
--== Room 8: Double Darknut ==--
 |
Enemies: Darknut
Chests: None
Quest items: None
You have to fight two hammer Darknuts at once. Try to focus on just one at a time. One he sheds his armor, lure him far away from the other Darknut.
Good luck. Once they are both down, you can take the western door to go back out to the foyer. Here you can grapple counter-clockwise to find a chest with 200 rupees (the other chest is right in front of the door). The eastern door continues the quest, however.
End separated paths
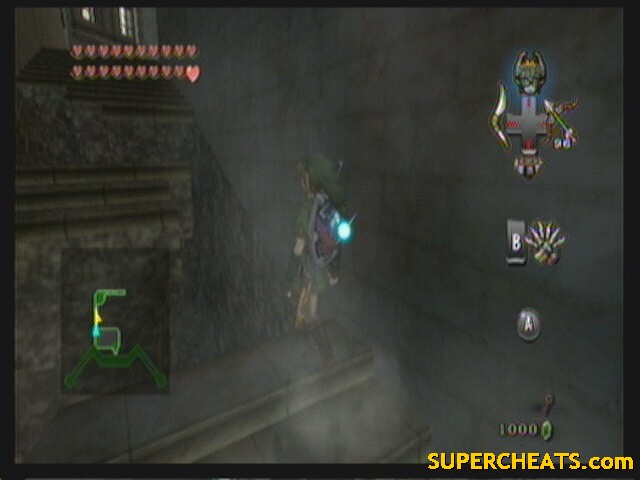
--== Room 9: Castle Walls ==--
Enemies: Aeralfols
Chests: 2 (Big Key, small key)
Quest items: 2 (Big Key, small key)
Regardless of the path you took, you end up here.
At the east end, you get attacked by a lot of enemies at once. However, Telma's army shows up and blasts them all sky high. The chest at the end contains the Big Key.
The west, you have to fight an Aeralfols to get the small key. Remember to grapple when it is about to charge, and to keep your distance when on the ground.
Once you have both, go through the northern door.
--== Room 10: Dead Reckoning ==--
 |
Enemies: Ghoul Rats
Chests: None
Quest items: None
Transform into a wolf. Wait for all the Ghoul Rats to get on you then shake them off at once. Now look around with your senses. You should see more spirit soldiers pointing which way to go. Follow their instructions over the gaps. If you step on the wrong one, you'll fall through.
I start a new room a the north hall.
--== Room 11: Shattered Stairs ==--
 |
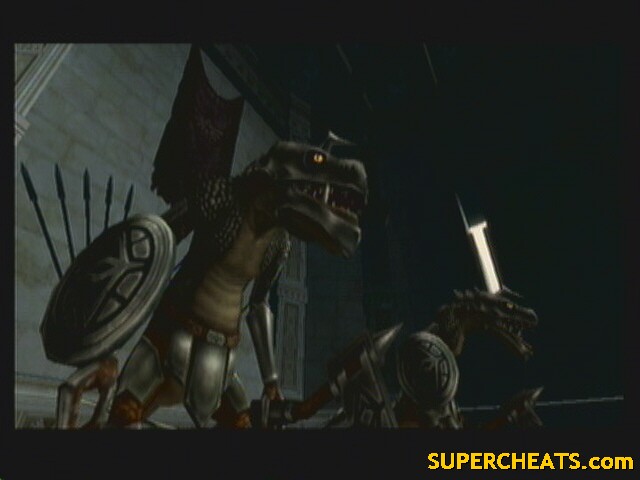
Enemies: Lizalfos, Blade Trap, Darknut
Chests: None
Quest items: None
At the first set, jump from platform to platform to make it up.
First room, defeat the two Lizalfos (easy if you have full hearts, like me. Great Spin! ^_^)
Second set, the lamps act as clawshot targets. Grapple your way up.
Second room, more Lizalfos.
Third set, time the Blade Traps and use the spinner just as the first left hand trap approaches it's apex.
Third room, a Darknut. This should be nothing to you now.
The western door leads to an armory that holds everything imaginable, even stuff you don't need for this fight. The southern door leads to the boss fight.
--== Room 12: Throne Room ==--
 |
Enemies: Zelda, Ganon
Chests: None
Quest items: None
I would save now. Walk up the stairs to start the final fight.
Ganon takes over Zelda in an attempt to catch you off guard.
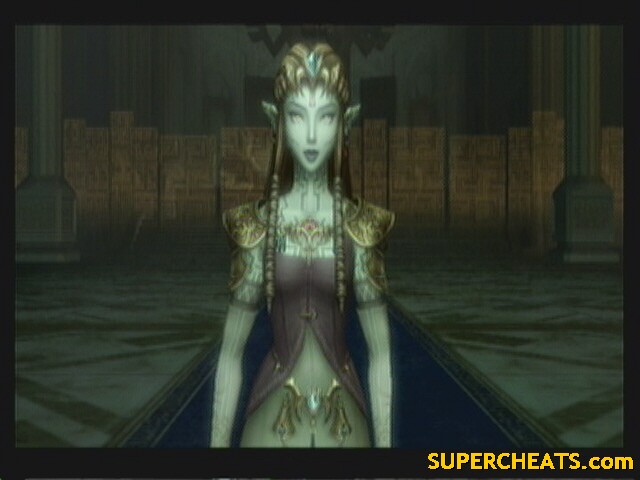 Ganon's Puppet – Zelda |
Zelda has three attacks:
1) Illuminates a triangle on the floor that then explodes with light
2) Lunges at you with her sword
3) Throws a ball of energy at you
The first two are simply paying attention and dodging. The last you don't want to dodge, rather draw your sword and bat it back at her. You'll start playing ping-pong with it till one of you misses. Make her miss three times to start the next stage.
Midna uses her power to squeeze the dark energy out of Zelda. Ganondorf re-forms, but in his beast form. (the stress from having to reform probably caused him to draw too heavily on the triforce, resulting in him taking on his true form)
 Dark Beast – Ganon |
Stage 1:
Ganon will rush around the area crushing things. He also likes to teleport out of the room and teleport back in. When he goes to teleport back in, he makes several fake teleporters first. The real one will turn blue. Draw your bow. You cant lock on, so hopefully you've practiced. Whenever you can get a clear shot, fire at the jewel on his forehead. He'll crash and burn, allowing you to hack at his vulnerable stomach.
Stage 2:
You'll know when stage 2 starts when he starts teleporting whenever you fire an arrow. Transform into a wolf and wait for him to teleport. Get right in his path and wait for the prompt to press A. Press A to have Midna hold him, then tap either left or right repeatedly to have Midna toss him to the side. Walk over and bit his stomach (jump attacks work well)
A cutscene ends this stage.
Zelda is revived, but Ganon comes back in his spirit form. Midna uses the last of her strength to teleport Link and Zelda out, then to transform into that beast once more in an attempt to end this for good.
It doesn't work. Ganondorf, reformed, finds Link and Zelda in Hyrule Field with his ghost riders.
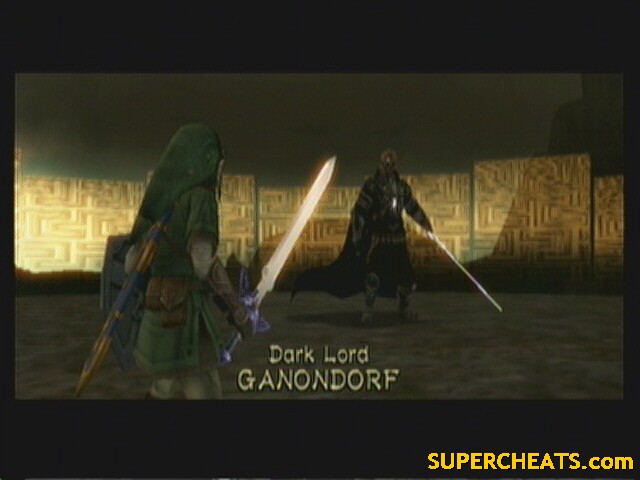 Dark Lord – Ganondorf |
Stage 1:
You have to ride behind him on horseback while Zelda tries to snipe him. This can be very hard at first as the slightest tap can knock you off Epona. Try to stay behind him to get Zelda a clear shot. Once he is stunned, dash beside him and slice him with your sword. After a couple rounds, he wipes out.
Stage 2:
Now you're on foot face to face with Ganondorf. The Backslice is pretty much the ONLY way to hurt him.
Don't get two close or he'll knee you. If you try a jump attack, he jumps away then thrusts, you can dodge the thrust but lets not tempt fate.
He likes to warp away, then reappear and do a spin attack. He normally doesn't appear anywhere near you, but I would still run when he disappears.
Sometimes he'll run at you with his sword held up. If you stand in front of him, you can use a prompt called “Chance.” You and Ganondorf will lock swords. You can win by rapidly pressing A, knocking him off balance and allowing for a good combo. But if you lose, you can suffer a fair amount of damage.
Other then that he doesn't do much. This fight takes a really long time. Good luck.
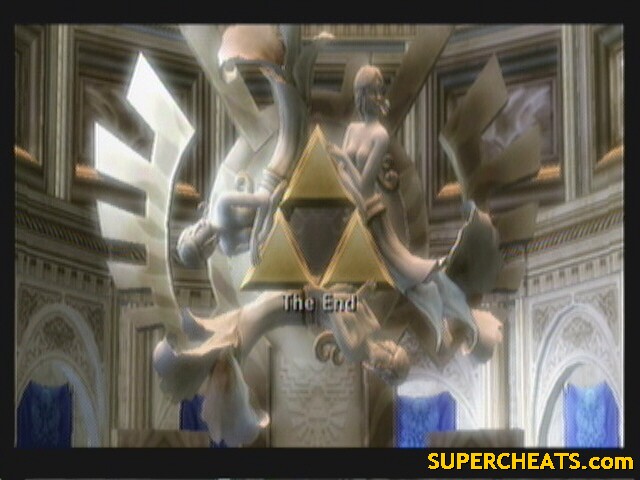
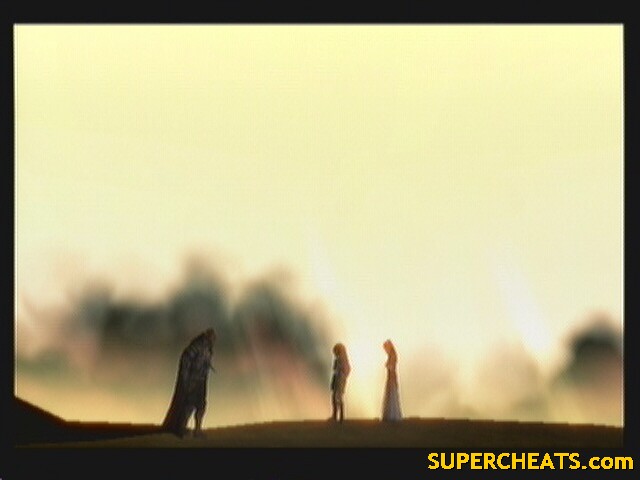 The End |
But wait, what are the light spirits doing?
Watch the credits to get the full ending :)
There is nothing to do after the end screen. You cant save. If you re-load your file, you'll start back at the castle courtyard (assuming you saved while you where inside). This will give you the chance to go out and do some things you may not have finished, or just go fishing.
 |
I don't know if This has been suggested yet, but you can also lure away 1 darknut in the hall.
EASY WAY
GO RIGHT, HUG THE WALL.
LURE THE MOVING DARKNUT ALL THE WAY TO THE OTHER END
FIGHT IT
KILL IT
REPEAT
........ what up with cheats they are ok to me preaty helpfull at times
I don't get it these cheats suck I don't get them some one make better cheats. I love Zelda link and midna
and some he should be she realy sorry for this
ps reeeaaaallllllyyyyyyy sorry for spelling got a small ... huge speling problem
o and well this ordon's girls was a well em lets say thret because it looks like link like her preaty much but zelda wtf now way likn only meets hes 2 times one in begining of game and one in ending so he knows her for around 30 min max so the " on the queue " thing is imposible so coclusion if you ask me i think the real reason midna brake the miror was because she afraid i mean "light and shadow don't mix" and she even if she was obviously in love with lik she still afraid of going agains gods for him ....... HESITATE TWILIGHT PRINSESS :OOOOooOOOOooOOOooOoOO <3<3 ;p
she would defintly try be with him as more as possible and end up with him but this is suposed to be imposibly(my coment stupit idea of writer if they mix there would probably be a new kind of people able to evolve much faster there would be both ligh and shadow together perfect combination perfect form soooooooooo just stupit idea of the writer )and so she should stay away for him in order to forget him so she did somthing selfise and brake the miror if you wonder why selfish think that , out of all people on twilight there would be at least one that want to visit light
xaxaxa indead well think it is what he said i mean zant said in a part that ganon puts (or somthing like that)his power on zant so zant hade some control on ganon i mean it is like ganon couldent have materiality without zant he could only have spiritual form ......or just thats what i think .....
Anyway another think for midna braking the miror i mean the reason was soooooooooooooooooooooooooooooo obvious when he get her true form just check how he look at link like saying i realy love you now or my love you save me and hirule or any way his face just said that he was in love with him (he first love light and as game keeps going he love link i mean remeber this part in desert when he tell him who she realy is who on hell whould did something like that if the other person wasent important for him AND he also told him (in another part of story) that he wanter to just use him in the begining it is like apologising to him ) so she was in realy bad state omg if she could see him
Uhhhhhhh this really sucks I was looking toward to midna like seeing her being a princess of the peeps in the twilight place and wat was up with zant Poppin his neck to kill ganandorf zant found ganandorf to be a god that's crazy
Ps zant looks better with his mask on
I had no idea the backslide was so important for beating enemies like Darknut or ganondorf! Btw that beast thing when Midna puts on the fuse shadows is ugly. 7 legs??? Who does that? And king bubin only takes 3 harts not 5. Why do they make you fight 2 or 3 darkuts at once? That's why I never beat cave of ordeals!!!
I am on the Castle wall where I am Wolf and need to jump across that abyss to get to castle, been stuck there for weeks! Please help
Thank you!
hey with the final boss you can use the lure fisher to stun him and get a few hits in
I like the chance part while fighting ganondorf! Oh! To beat the ogre just ignore the minions and z-target the boss while speeding up on epona, should do the trick after slicing him with the sword.
i still cannot beat the part where the big ugly ogre thing kidnaps collin and sets his minions on me how do ou beat that part?
For the person of 15th Nov 2011 asked: "I am in Hyrule Castle and when you go outside from room 8 on the second floor my map says there is a chest just outside the door. The map says you are basically standing on it but I can't find it anywhere. If you scroll up on this page and look at the map it shows for room 7 you can see the chest is the lowest one on the left (west) side of the map." Go down to the courtyard the west side, then go to where the 6 posts with the wind blades, there is a ladder to climb were the treasure chest is.