Forest Temple
The Legend of Zelda: Twilight Princess Walkthrough and Guide
by SPV999
Zelda: Twilight Princess Guide - Forest Temple
Temple Pre-quest
Tears of Light
 Faron Woods |
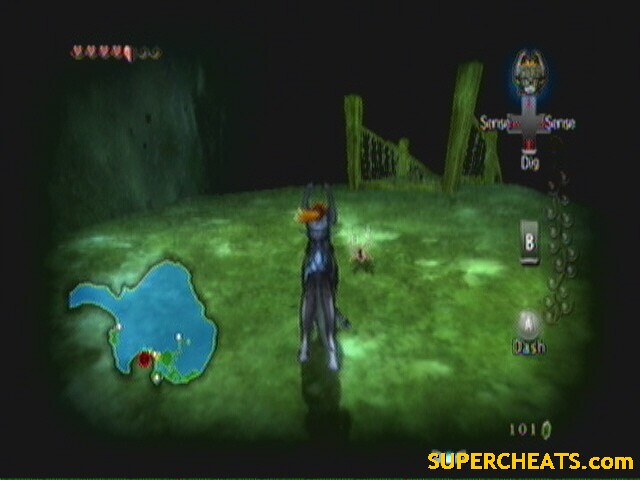
You should be in the twilight again, just inside Faron Woods.
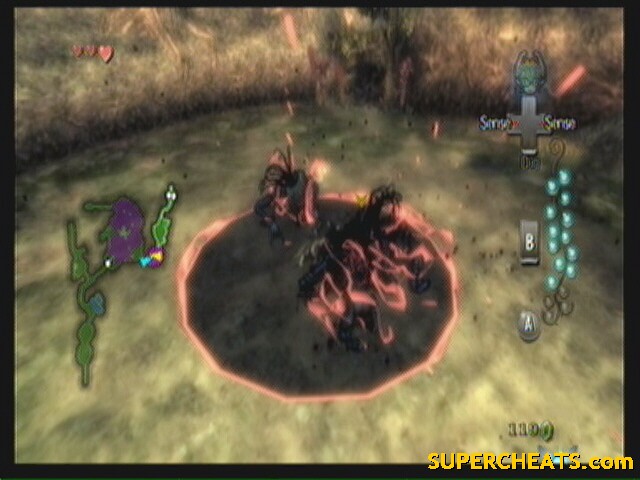
A little ahead, you get ambushed by 3 Shadow Beasts. This time, using a jump attack wont work well, as when you're attacking one, another will knock you off. Also, if you leave just one left standing, it will howl and revive it's friends. You can almost do it with a spin attack if you time it right (you have to hit all of them at the same time, twice).
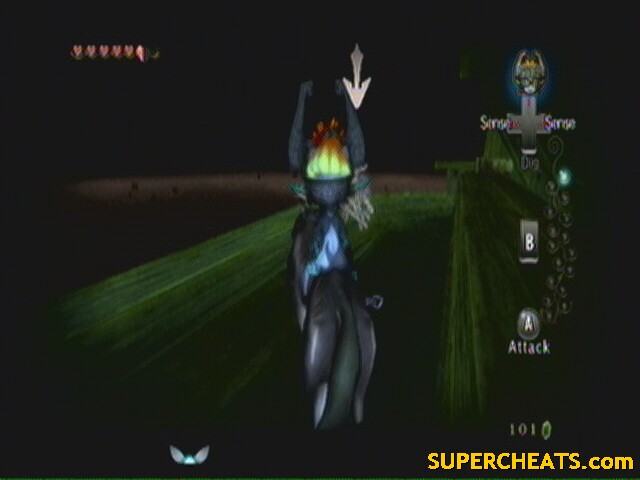
If you take two hits, or if you win, Midna will intervene and teach you a new move (hold B to paint your targets). You'll use this move A LOT.
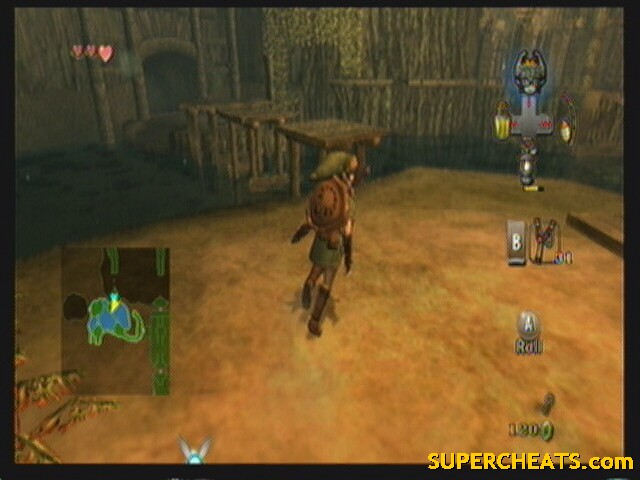
 Go get ‘em |
Anyway, after they're gone, search the grass for some hearts if you need and continue north into the spring. Examine the glowing light for more info on Light Spirits. You now have to go collect the Tears of Light from the Shadow Insects. So, lets get started:
 Shadow Insect Locations |
Remember what the spirit said, you have to use your senses to see the bugs. Further, you have to kill the bugs to get the tears.
1-2: Should be right in that tunnel. Cant miss them. Watch for the Shadow Baba.
3: Remember the guy that sold you the lamp? Go to his house (on the left). Circle around to the northern side. You should see an insect on the side of the house. Lock on and ram the wall to knock it off.
4-5: Go to the southern side of his house.
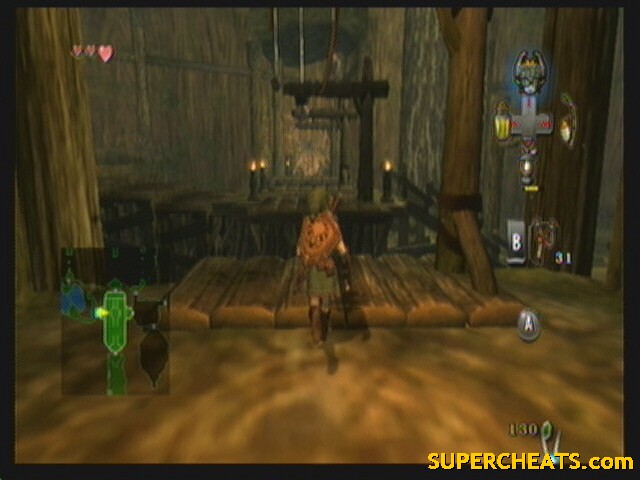
 3-5 are inside, through this window. Walk up and use the prompt to get in |
Once inside, talk to the lantern guy and two bugs will rush out. Kill them and go out the same way you came in.
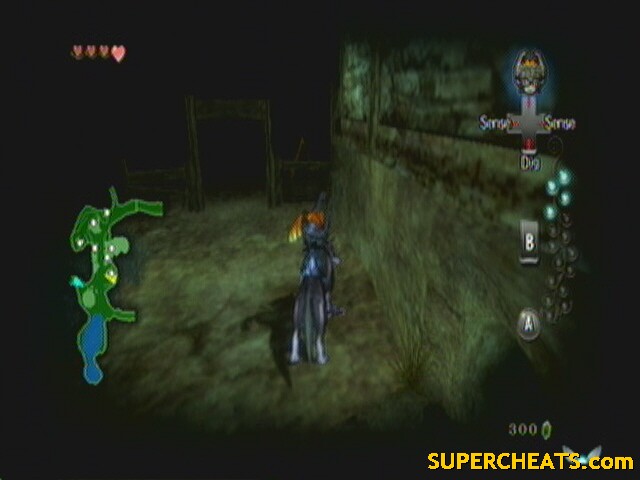
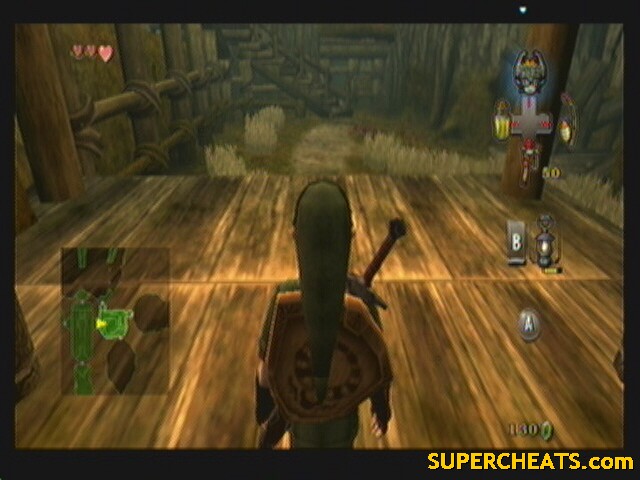
6-7: Back out on the path, take a left to find a locked gate. Use your sense to see a patch of dirt on the right side you can dig in. The bugs are on the other side.
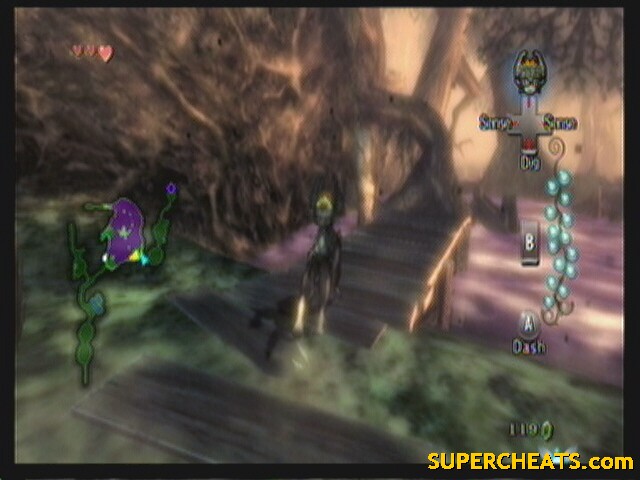
8-9: You have to go through the tunnel. It's not dark and is easy to dash through. As soon as you enter the woods, turn left. The bugs are on the wall. Ram it with a jump attack to knock them down. (I missed this, so the number of tears I have will be two less then yours in the screens).
10-12: Line up here:
 Prompt |
To jump across. Now, climb up the cliff to here:
 Prompt 2 |
And jump across. Use your senses to get 3 bugs on this stump.
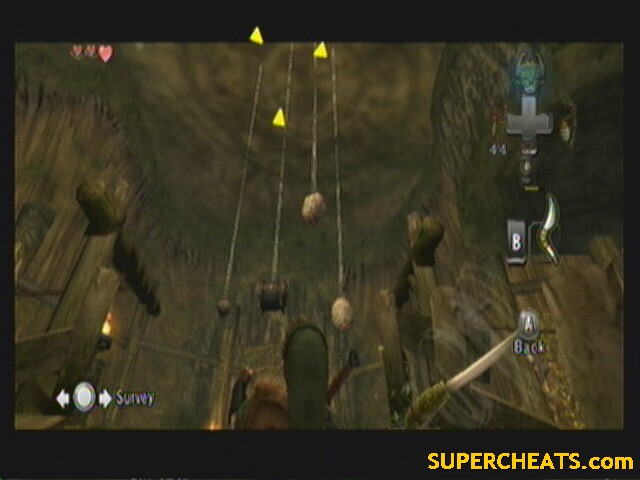
13-14: First we need to finish getting across this lake of gas. Use the montage below to line up correctly. Most of these jumps have an enemy or two along the way that want to knock you off, so jump quickly before they attack:
 Here | 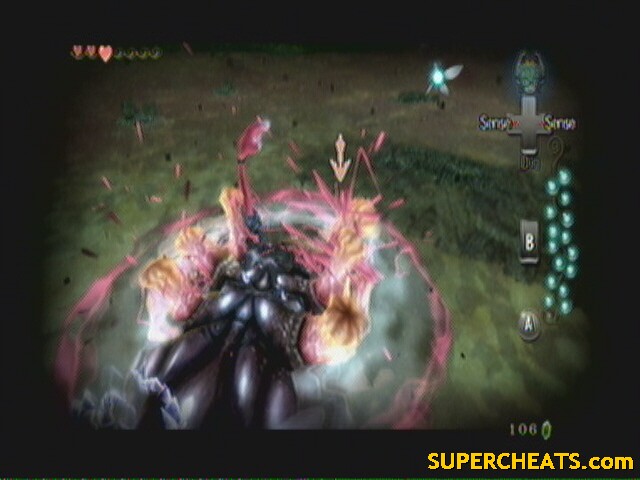 Then here |
 Don't get hit by the log | 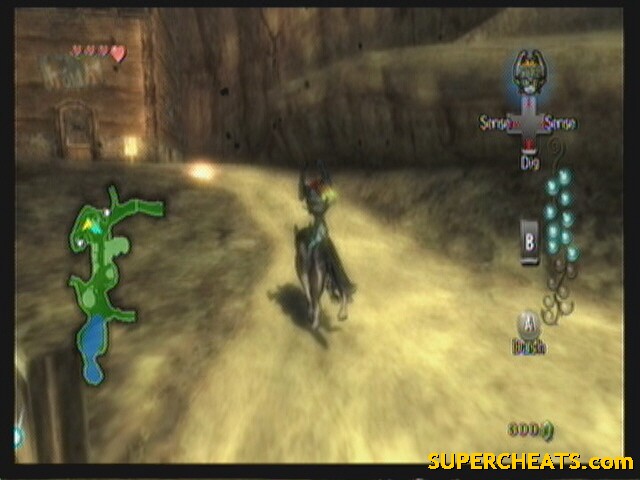 Finally, here |
Once on the ground, you'll see the insects are underground. Use your senses to see a black spot on the ground that looks like the insect. Dig there to get them. Be sure to get both. Continue through the gate.
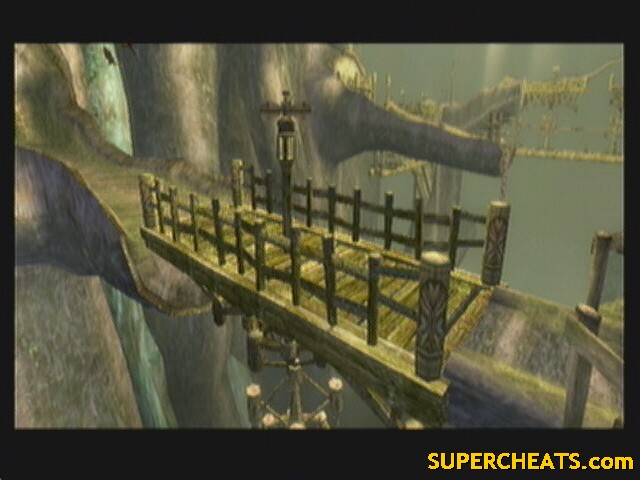
NOTE: If you missed a bug in this area, use this pier:
 Pier |
To jump back to the entrance.
15-16: First thing through, and you're forced to fight 3 more Shadow Beasts.
 Carefully paint your targets |
Also note the large slat of wood propped up there. More on that later. Continue north, all the way till where you rescued Talo before. Use your senses to get the final two bugs. After a scene, you should get warped back to the spring.
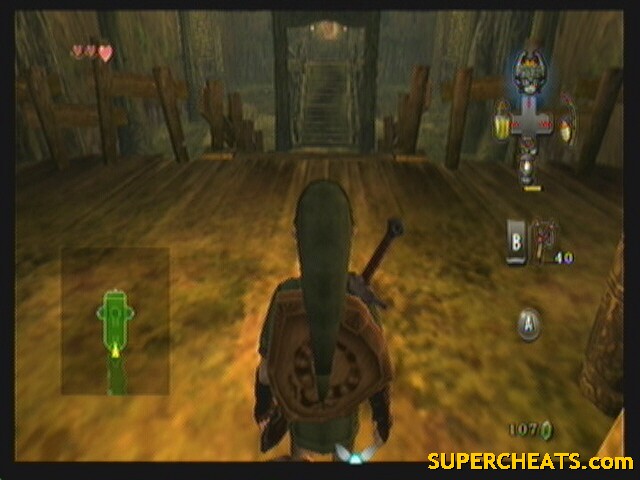
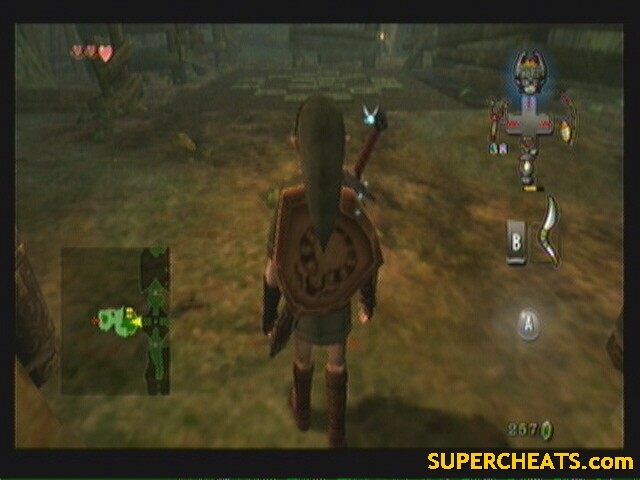
After a cutscene, you're back to your old self, a cool tunic, sword and shield.
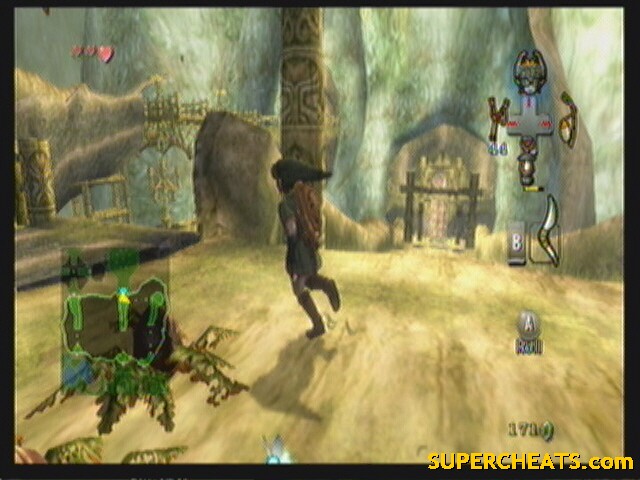
Road to the Temple
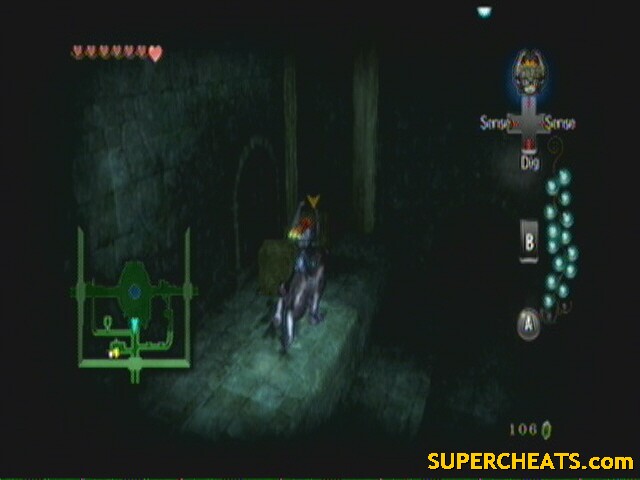
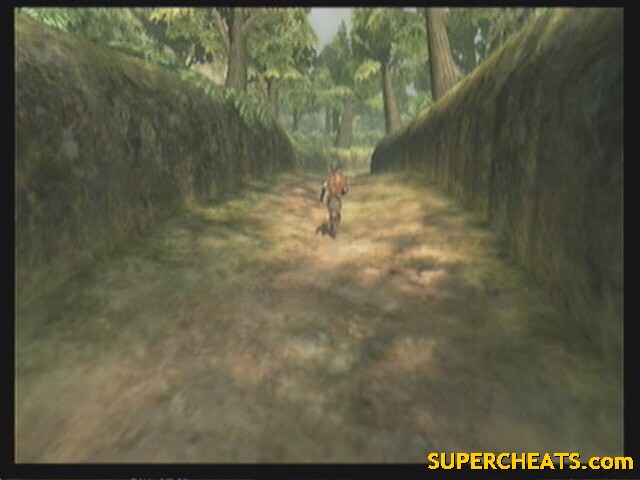
Go back through the tunnel toward the forest again. Watch out for the Deku Baba. The gate is locked, so you'll have to take to the lantern guy to get the key (he also tells you about a “great deal” on lantern oil. Don't do it, it's a rip off).
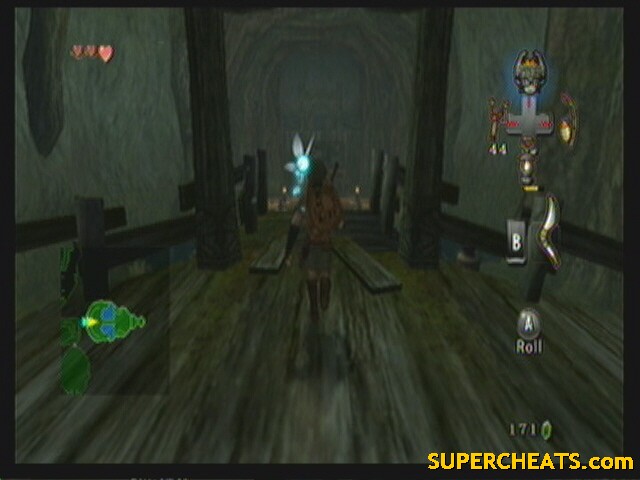
With key in hand, continue through the gate and into the forest. As always, watch the Deku Baba, Keese, and rats in the tunnel.
Though the twilight is gone, the purple fog is still here. Take out your lantern and approach the fog. The monkey should come and steal the lantern, leaving you to get scolded by Midna again.
Follow the monkey through the fog, as she clears it away with your lantern. Several times she'll stop and you'll have to protect her from Keese and a Deku Baba. In the end, you get your lantern back, completely out of oil. Pick it up and head deeper into the forest.
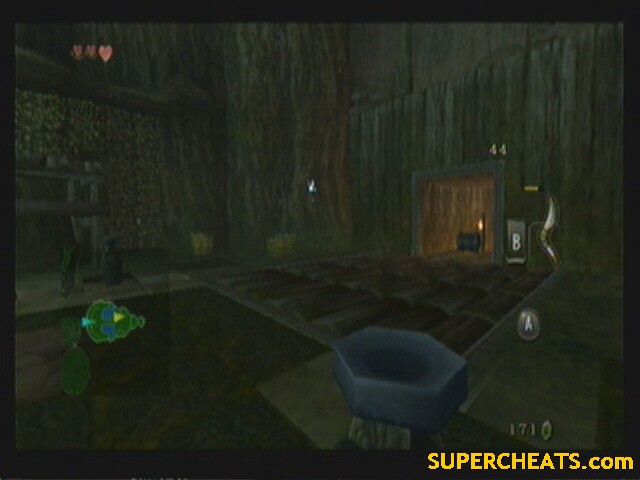
Watch the two Bokoblins. Keep north till you reach that honor system shop again. Hopefully, you have 40 rupees. If not, search the grass, leave the area, and come back. Repeat till you do. Dip your lamp in the oil to fill it up. Now empty out your bottle and dip it in the oil to fill it up. Put 40 in the box (I wouldn't anger the parrot), and continue up the narrow ramp again.
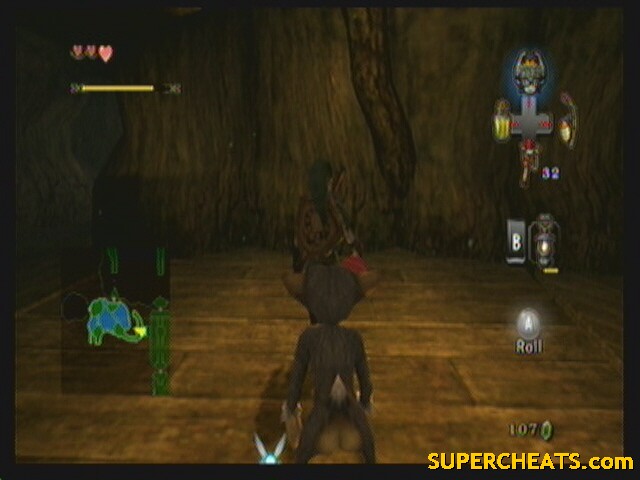
You get ambushed by a glowing wolf.
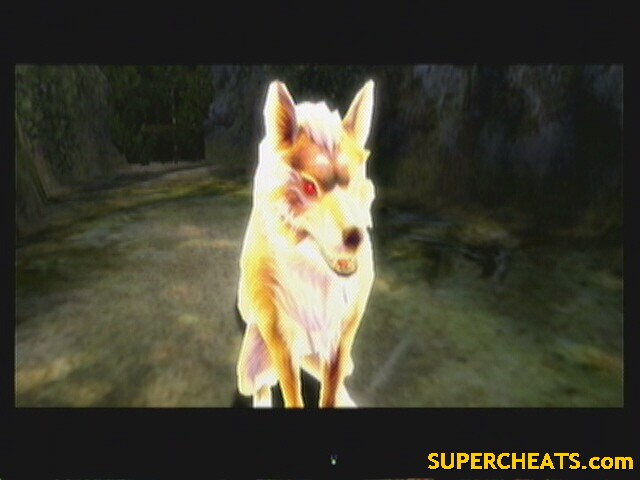 Excellent block there Link... |
Turns out this wolf is actually some ancient solider that wants to teach you fighting techniques. More on him in the Hidden Skills section, though it is just speculation.
 Not a wolf, just as scary |
Anyway attack him and he knocks you over. After his speech, he teaches you the Ending Blow, very useful for enemies that fall over and you have to wait for them to get up. Just knock them over then get close and press A. You'll see him several more times throughout the game, so get used to this as well.
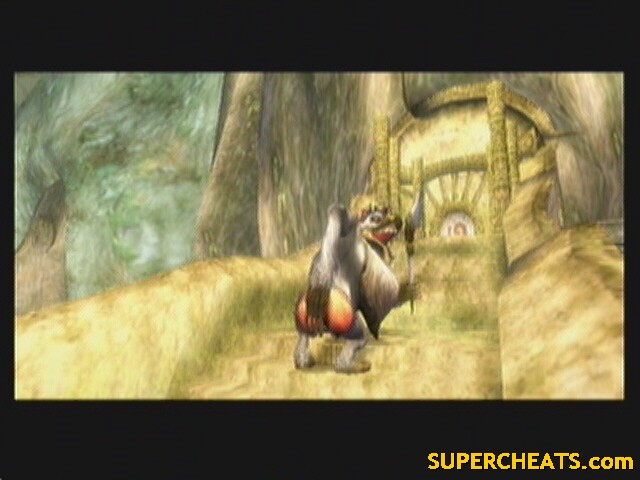
With that over, continue up. Use your lantern to burn down the spider web and enter the temple.
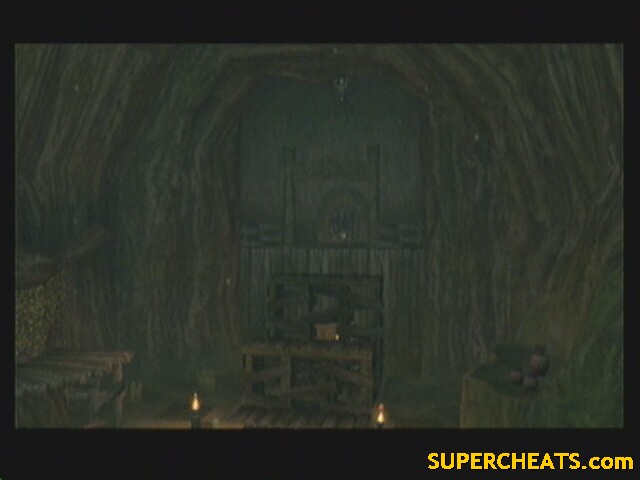
The Forest Temple
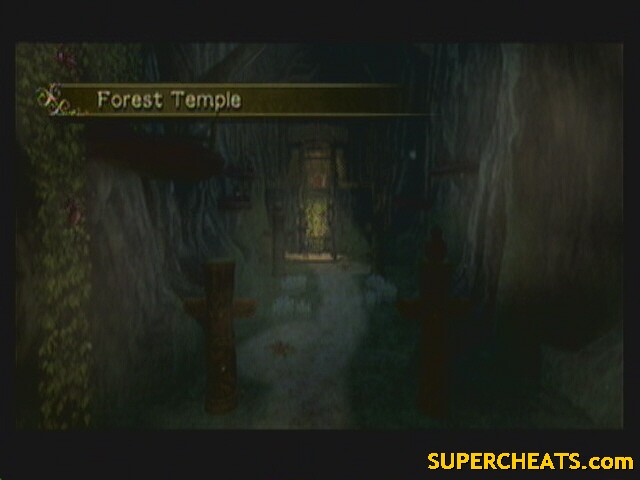 Forest Temple |
Yay, your first temple! I'll put a little note here, the way I do the temples is room-by-room, as such, I give the rooms names so you can tell if you really are where I tell you to be. I also put a picture of what the room looks like as soon as you walk in, so if you go through a door and what you immediately see doesn't match up to the picture, something's not right (sometimes I'll skip the picture if it's just a quick thing).
Anyway, the forest temple is centered around number and wind manipulation puzzles.
--== Room 1: Entrance Hall ==--
Enemies: Keese, Walltula, Bokoblin, Deku Baba
Chests: 1 (10 rupees)
Quest items: 1 (Monkey)
First in the room, watch the Keese that attack in the dark. Once out into the main room, careful walking around as there are several Deku Baba in the grass. Up ahead you'll see the monkey, but don't rush there yet. First, take out the Walltula on the vines just to the west. Climb up for your chest.
Look back toward the entrance from this high platform. You should see a vase on a pillar. Shoot it with your slingshot for a blue rupee (5). Ok, now jump down and rush ahead. Before getting too close, use your slingshot to provoke the Bokoblin. This way you don't get ambushed by Deku Baba. After defeating him, use a spin attack to free the monkey. Take out the Walltula on the vines and climb up. Enter the door (it rolls to the side).
--== Room 2: Temple Hub ==--
 Temple Hub |
Enemies: Skulltula, Deku Baba, Bombling
Chests: 3 (Map, two not reachable)
Quest items: 2 (Map, one not reachable)
You're going to be coming back to this room a lot (hence the name). Walk forward down the stairs. At the bottom, take out your sling and look up at the ceiling above the platform ahead. You should see a Skulltula hanging there. Shoot it down so it doesn't fall on your head. Kill it (if it starts blocking, back up a bit and make it chase you, then attack again), and go up on the central platform.
Use your lantern to light all the un-lit torches. Some platforms rise up, granting entrance to the northern room. Before entering the door, there is a chest just to the left of it containing the map.
--== Room 3: Windy Room ==--
 Windy Room |
Enemies: Kargarok, Bokoblin
Chests: 0 (not reachable)
Quest items: 1 (not reachable)
Darn it, every time I see the name, I think “Demon Wind Shuriken: Windmill of Shadows” >_<
Anyway, not much to do here at this point. Walk in, and Ook will knock down the bridge. Retreat back into Temple Hub.
 Anyone remember I.R Baboon? |
--== Room 2: Temple Hub ==--
 Temple Hub |
Enemies: Deku Baba, Bombling
Chests: 2 (not reachable)
Quest items: 1 (not reachable)
Well, that was a bust. This time, follow your monkey friend west.
She'll create a sort of monkey bars (lulz, pun) for you to swing across. Jump off to grab onto her, then press A when prompted to land.
--== Room 4: Flooded Room ==--
 Flooded Room |
Enemies: Deku Baba, Skulltula, Bombling
Chests: 2 (not reachable)
Quest items: 2 (Ooccoo, one not reachable)
Head right. Use your lantern to see Bombling by some rocks. Hit the bombling to ignite it, then pick it up and set it by the rocks. RUN! After it explodes, go through the opening and break the jars to find Ooccoo. She says she's trying to find something, and that you should team up. Overall, I've never used her, but I guess she could come in handy.
Anyway, continue west into the main room (use the lantern on the web). Watch out for the Deku Baba and follow your monkey across the gaps. Once across, look left across the gap and shoot down the Skulltula (it should then fall in the water and die).
For now, don't follow the monkey. Instead, go through the northern door.
--== Room 3: Windy Room ==--
 Windy Room |
Enemies: Kargarok, Bokoblin
Chests: 0
Quest items: 1 (not reachable)
Walk across the bridge and into the next room.
--== Room 5: Revolving Bridge ==--
 Revolving Bridge |
Enemies: Bokoblin
Chests: 1 (small key)
Quest items: 1 (small key)
Nothing to do here yet but grab a key. Chest on your right. Exit back to the Flooded Room.
--== Room 4: Flooded Room ==--
 Flooded Room |
Enemies: Deku Baba, Bombling
Chests: 2 (not reachable)
Quest items: 1 (one not reachable)
Now follow the monkey west across the gap. Enter the door.
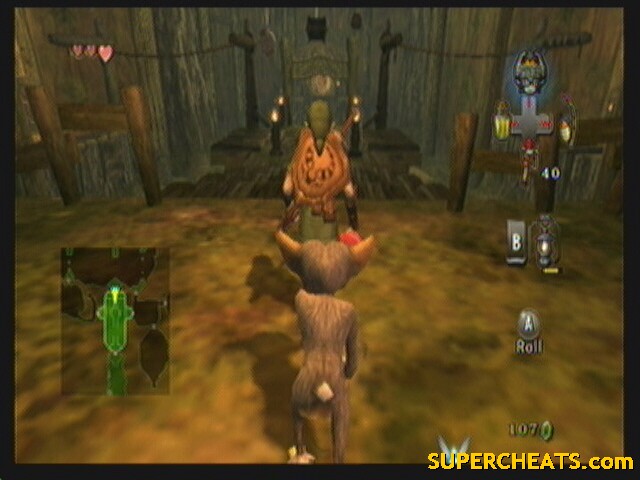
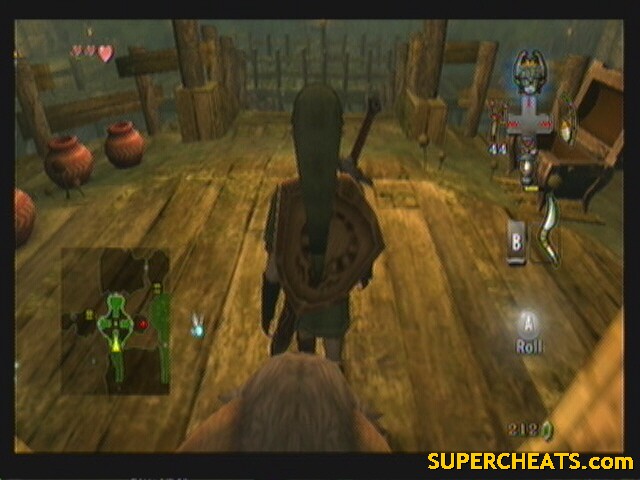
--== Room 6: Monkey #2 ==--
 Monkey #2 |
Enemies: Bokoblin
Chests: 1 (10 rupees)
Quest items: 1 (Monkey)
Walk in and across the collapsing bridge. Drop down to the ground. From here, don't go straight for the monkey. Go back underneath the platform where the entrance is to get your chest. Now go back for the monkey.
Get a running start and roll into the pillar the monkey is on. Once more and the cage falls. However, you seem to have awakened a couple Bokoblins. Take them out (don't worry about the monkeys, they cant get hurt).
Follow the monkeys up towards the door. They form another chain. Swing across and go back through the Flooded Room into the Temple Hub.
--== Room 2: Temple Hub ==--
 Temple Hub |
Enemies: Deku Baba, Bombling
Chests: 2 (not reachable)
Quest items: 1 (not reachable)
Jump across to the center platform, then use the other monkey to get to the eastern platform. Burn the web and enter the door.
--== Room 7: Deku Like Room ==--
 Deku Like Room |
Enemies: Deku Serpent, Deku Like, Bombling, Walltula
Chests: 1 (Heart Piece)
Quest items: 0
*shudders* I hate this room. Deku Like are evil if you don't know how to deal with them. Walk down to the floor and watch the Deku Serpents. They're like Deku Baba, only bigger and will chase after you if you cut their stems off. Keep heading straight and go up the ramps on the left.
Make note of the Deku Like you see on your way up. Keep going till you find a Bombling. Hit the bombling to ignite it, then pick it up and head across the platform on your right (it should take you above the Deku Like). Toss the bombling into the gap to kill the Deku Like, allowing you to pass.
Jump across and head right. You'll see some vines with Walltula on them. Shoot them down then jump across to the vines. Climb up. To the right of the door is another bombling. Activate it and toss it in the gap behind it (south), killing the Deku Like there as well.
Jump down to claim your prize: Heart Piece (H02, 3 2/5)!
 H02, 3 2/5 |
Now climb back up to the vines and through the door you pasted (if you end up in the Windy Room, you took the wrong door).
--== Room 8: Monkey #3 ==--
 Monkey #3 |
Enemies: Big Deku Baba, Bombling
Chests: 0
Quest Items: 1 (monkey)
While it may look scary, Big Deku Baba is really easy to kill. Just take out the Deku Baba sprout first (wait for it to attack and roll out of the way. It will pause for a moment before going back up. Hit it with your sword a few times), then search the room for a bombling and throw the bombling into the Deku Like. Pick up your key.
Use the key to free the monkey in the back of the room.
--== Room 7: Deku Like Room ==--
 Deku Like Room |
Enemies: Deku Serpent, Bombling
Chests: 0
Quest items: 0
Back in here, look ahead across the gap. You should see a bombable rock on a platform. Grab the bombling on your left (the one you used for the heart piece). Jump the gap and toss the bomb by the rock. Either land it beside the rock (hard to do) or wait and throw it so that it explodes in mid-air beside the rock (dangerous).
Either way, it will clear the rock and reveal a door. Enter.
--== Room 9: Monkey #4 ==--
 Monkey #4 |
Enemies: Tile Worm, Skulltula
Chests: 3 (20 rupees, small key, one not reachable)
Quest items: 2 (small key, monkey)
This room is annoying if you don't know about the tile worms. The tile worms hide under the tile on the floor below and take joy in sending you flying through the air if you step on them.
But first things first. Take the left ramp down. You should see two pillars. One of them has a chest on top. Roll into it a couple times to get a small key.
Now for the tile worms. You cant kill them with your current equipment, so you'll just have to avoid them.
On the thing strip going across the water, take the right path. No worms on it. Back on land, approach the southwestern torch from the west and light it. Now approach the northwestern torch from the south. Light it and turn east. Go straight for the stairs that raised up. At the top of the stairs, pause and use the slingshot to knock down the skulltula. Finally, free the monkey.
On your way down, jump off to the right. Use the vines to get up to the other chest that contains 20 rupees.
And we're done here... for now. Go back to the Temple Hub.
--== Room 2: Temple Hub ==--
This is just an honorable mention so you don't get lost. Follow the monkeys through the northern door into the Windy Room.
--== Room 3: Windy Room ==--
Same as above. Use the monkeys to get across the gap. Break the Deku seeds to get some health if needed. Enter the door for the temples mini-boss.
--== Room 10: Mini-Boss: Ook ==--
 Ook |
This boss is really easy. Firstly, watch out for the Deku Serpents he knocks down from the ceiling from time to time.
To defeat Ook, you have to knock him down. Looking at the pillars, you would think just roll into them like we have been so far, but it's not that simple. You have to follow him around and wait for him to stop and throw the boomerang, THEN roll into the pillar he's on. It'll knock him off-balance and his own boomerang will knock him off the post. His only weak spot is his buttocks, so you'll have to get behind him after he falls. A couple more times and he should go down.
With him out of the way, you now have the Gale Boomerang!
With this, there are several rooms we need to re-visit to get some stuff we couldn't before, then we move on to the rest of the temple.
But first, we need to get out of this room. Take out the boomerang and target the fan over the door. Hit it a few times to lift the gate.
--== Room 3: Windy Room ==--
 Windy Room |
Enemies: Kargarok, Bokoblin
Chests: 0
Quest items: 1 (monkey)
Head left. To get the bridges to move, target the fan on top with the boomerang. They wont stay in that position for very long, so run across (if you get stuck on one, just target the fan again).
This next platform has a monkey in a cage guarded by a Bokoblin. Take out the Bokoblin, then use the boomerang to target the web above the cage. The boomerang will cut the web and drop the cage.
All right, you have two more bridges to get across before you're back in...
--== Room 11: Beku Like Room ==--
Deku Like Room |
Enemies: Deku Serpent, Bombling
Chests: 0
Quest items: 0
Cool huh? Head east, into Monkey #4's room (with the tile worms).
--== Room 9: Monkey #4 ==--
 Monkey #4 (tile worm room) |
Enemies: Tile Worm
Chests: 1 (heart piece)
Quest items: 0
Jump down. If you want some revenge, the boomerang has the ability to rip the tile worms right out of the ground and land them at your feet, allowing you to dice them up.
Anyway, once you're back on the ground just before where the monkey was, use the boomerang to put out the fire, rather then light it (and after all the work we went through...). Once the fire is out, the platforms drop to reveal a chest. The chest contains a heart piece (H03, 3 3/5)!
 Heart Piece H03, 3 3/5 |
Ok, we're done here. Go back to the Temple Hub.
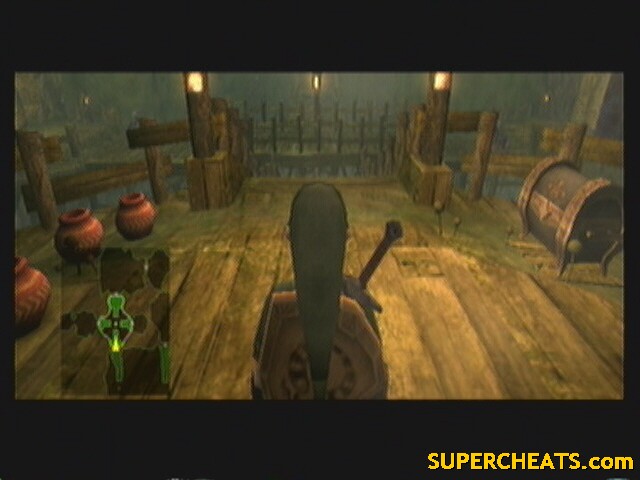
--== Room 2: Temple Hub ==--
 Temple Hub, hanging chest |
Enemies: Deku Baba, Bombling
Chests: 2 (Compass, 20 rupees)
Quest items: 1 (Compass)
Match your screen with the picture above. Use the boomerang to knock down the chest. This gets you the Compass. Now use the boomerang to put out all the flames around the central platform. Just as before, this lowers the wooden stairs, revealing a bombable rock. Use the bombling beside it to detonate the rock and score 20 rupees from the chest.
K, we're going west now, into the Flooded Room.
--== Room 4: Flooded Room ==--
Flooded Room |
Enemies: Deku Baba, Bombling
Chests: 2 (Boss Key, 10 rupees)
Quest items: 1 (Boss Key)
Mind the Deku Baba and get across the gaps on the right. Ignore the door and go left, over the gap. Turn again (facing south). You should see some fans on pillars and an interesting carving on the ground.
Take out the boomerang and lock onto the fans in the order carved into the ground (front left, front right, back left, back right). You have to chain the targets, that is, point at one and press Z, then point at another and press Z, ect, in order until all 4 are targeted. Release to raise the gate.
The chest contains the Big Key (AKA: Boss Key). You'll need this.
Still not done here yet, though, as your compass still shows one chest in this area. Drop down into the water west of the big chest. There should be a small alcove in the wall with a chest containing 10 rupees.
Ok, now we're done. Climb out of the water (there are vines and steps around the room that will let you climb out) and take the northern door into the Windy Room.
--== Room 3: Windy Room ==--
Windy Room |
Enemies: Kargarok
Chests: 0
Quest items: 0
Go across the bridge and into the Revolving Bridge room.
--== Room 5: Revolving Bridge ==--
 Revolving Bridge |
Enemies: Bokoblin
Use the boomerang to swing the bridge to you. Once on the bridge, use the boomerang again to swing the bridge back west-east. Two Bokoblins will attack, they're no threat. Take the east door.
--== Room 12: Monkey #5 ==--
 Monkey #5 |
Enemies: Skulltula, Deku Like, Bombling
Chests: 0
Quest items: 1 (monkey)
A few steps in and stop to look up. Use the boomerang to take down two Skulltula that have perched on the ceiling (one at a time, of course)
Take out your lantern. Under the Skulltula that was hanging in the north was a small web covering a hole. Use the lantern to burn the web (just stand on top and press B). You'll fall down right beside a monkey. Break his cage.
If you turn about and face east, you should see a pillar with some vines on it. That's your way out. Careful jumping down, however, as there is a Skulltula on the ground below, as well as a Deku Like in the south.
Once up and out, go back to the room before (Revolving Bridge.)
--== Room 5: Revolving Bridge ==--
Get on the bridge and spin it to enter the northern door.
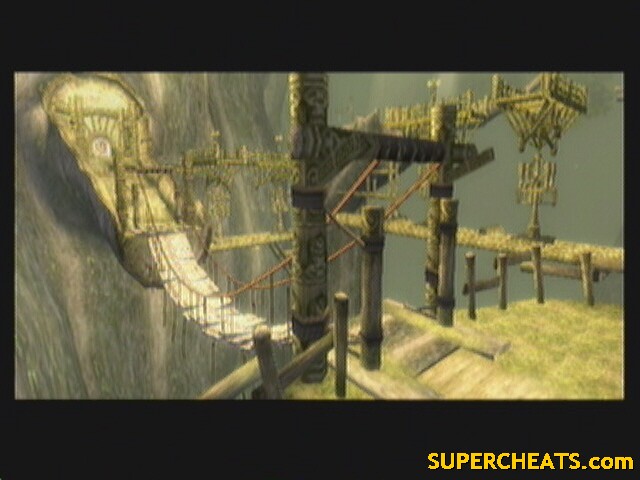
--== Room 13: Monkey Gorge ==--
 Monkey Gorge |
Enemies: Walltula, Bokoblin
Chests: 0
Quest items: 0
There should only be two platforms missing monkeys. If there are any more missing, you missed a monkey somewhere.
Now then, take the right path onto the swinging bridge. Spin it with the boomerang to face another swinging bridge. Get on, then spin it to get off onto the eastern platform.
Take out the Bokoblin, then use your slingshot to get rid of all 3 walltula on the vines in front of you (if you didn't get three, reposition yourself to get a better view. One of them is high up on the southern edge.)
Climb both sets of vines till your at the top. Another Bokoblin guards the door.
--== Room 14: Monkey #6 ==--
 Monkey #6 |
Enemies: Bombling, Deku Like, Deku Serpent
Chests: 1 (small key)
Quest items: 2 (small key, monkey)
Take out the Deku Serpents right in front of you. Over to the north, in the water, is a Bombling. Over to the south, a Deku Like. Target the bombling with the boomerang to have it bring the bomb to you, then throw it in the Deku Like. Jump over and grab the chest for a small key.
Next, climb the stairs (Deku Serpent at the top) and note the bombable rock above the vines. You cant set a bombling up beside it, too tall. So, lock on to the bombling with the boomerang, then turn and lock onto the rock. Let it fly. It should pickup the bombling, then slam it into the rock.
Climb the vines and open the door to release monkey #6. One left!
--== Room 13: Monkey Gorge ==--
Jump down below and navigate the swinging bridges to get back to the southern door.
--== Room 5: Revolving Bridge ==--
Use the bridge to enter the western door.
--== Room 15: Monkey #7 ==--
 Monkey #7 |
Enemies: Tile Worm, Skulltula, Walltula, Deku Serpent
Chests: 1 (20 rupees)
Quest items: 1 (monkey)
Start out by randomly launching the boomerang over the tile worm tiles. You should pull 3 out.
There should be a cave to the west. Enter. Drop down at the end to fight a Skulltula. Look for some vines on the wall. Take out the Walltula on them and climb up.
A Deku Serpent hangs from the ceiling, but don't worry about it for now. Turn and face west. Use the boomerang to target the two fans on either side of the gate, thus releasing the monkey.
Turn east. NOW worry about the Deku Serpent. Use the slingshot to shoot him down and finish him with your sword. Walk through the doorway and head left around the room. Jump the gap to get to a chest containing 20 rupees (we're raking in the money here!).
Exit into the Revolving Bridge, then head north into Monkey Gorge.
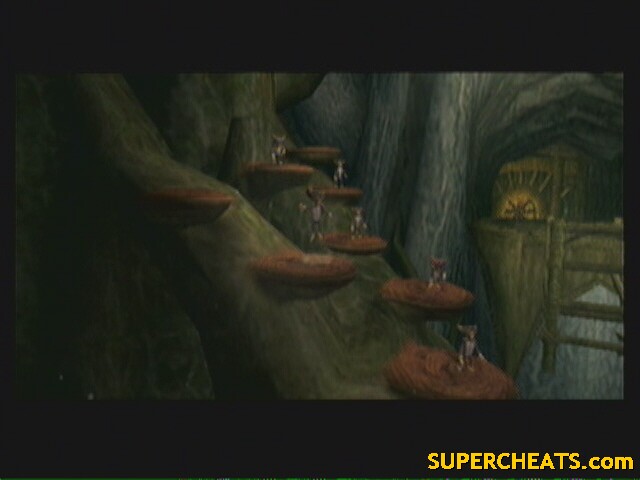
--== Room 13: Monkey Gorge ==--
You should see a cutscene where all the monkeys form a chain, allowing you to jump across. If you don't, you didn't free all the monkeys.
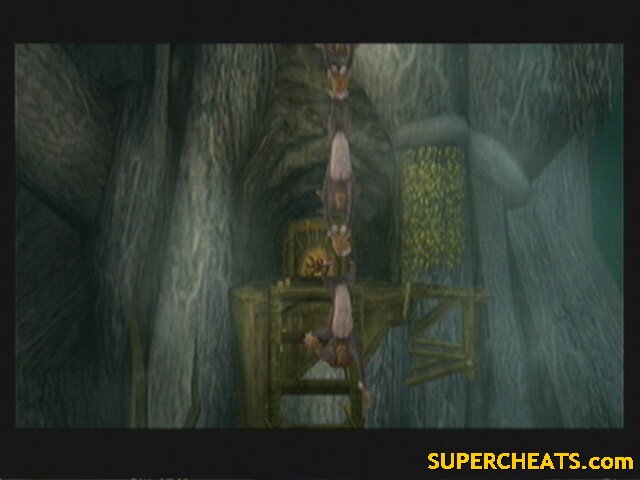 Anyone every play with a Barrel of Monkeys when they were little? |
Use them to cross.
Don't enter the door just yet. Bring out your bottle. Use whatever you had in it, because this is WAY better. The jar on the right contains a pink fairy. Pink fairies can revive you up to 8 full hearts after you die, meaning you don't even have to have it set to an item slot. Break the jars. Once the fairy is out, scoop it up with your bottle. The other jars contain some hearts, so break them if you need healing right now.
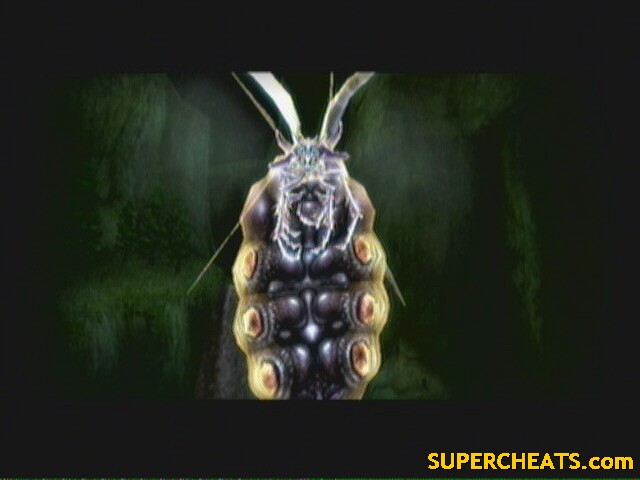
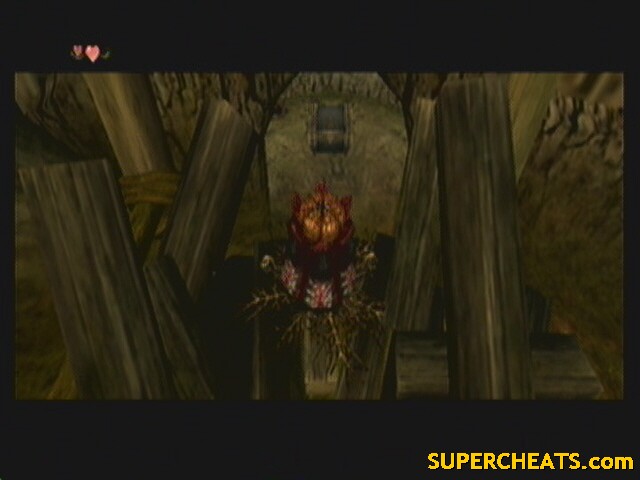
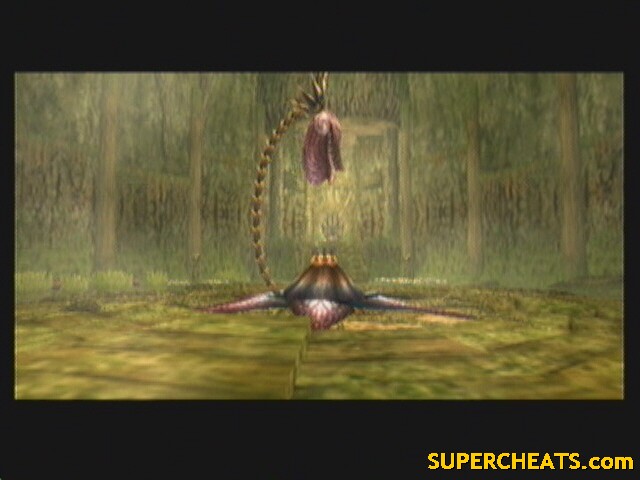
--== Room 16: Boss Fight: Twilight Parasite: Diababa ==--
 Diababa |
It only has two attacks:
- the heads will try to ram you. Just stay a little ways back and you don't even have to dodge, as they cant reach you.
- The main head will spray an acid substance that can do fair damage, but it sprays it in a zig-zag pattern that's easy to predict.
Set your boomerang, as that's the only item you'll need for this fight. Target one of the bomblings in the water, then target one of the Deku heads and let it fly. The head should eat the bomb and explode. Do the same for the second head.
The main body comes out now, and you're without bomblings... until *dun dun dun dun* Ook to the rescue! Whenever Ook swings by, target him, then target one of the (smaller) heads. Once both small heads are down, do the same with the large head (make sure you target the head, not the body).
The main head should fall in front of you, allowing you to chop at it's eyeball. After a few swings, it will get up and the battle will start again. Do the same just one more time should be enough. This time, look to the A button to give the prompt “Finish” when attacking the eye.
And that's it. :)
Midna will appear and tell you to pick up your heart container (4 3/5). Talk to her again to be warped out (just don't miss the heart container!)
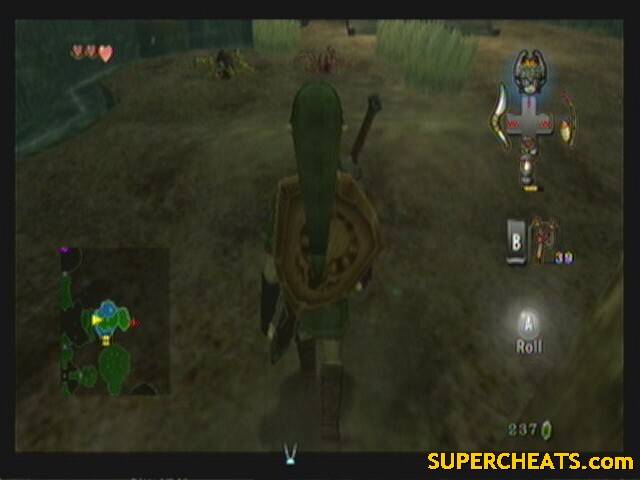
--== Onward to Hyrule! ==--
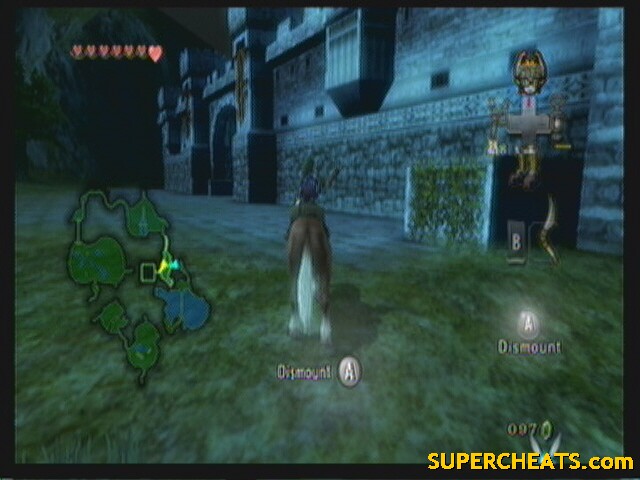
You get warped out back to the spring. Go north to the lantern salesman, and use the path north from his house to get out in Hyrule and start on your way to the next temple!
 You're journey is just getting started... |
when you get the gal boomerang go to the windmill gate look at the z on the floor lock the windmills backwards z pattern it will now open
how do yoh get past the gates to get the big key to boss laer
Thank you so much , I beat this part .
Thanks SOOOOO much, I totally needed that! That temple was like a maze in final fantasy!
omg link is like soooooo hot i have postsers bed spreads dolls and carbord cut outs oh ya i cant get past the big rock can you help me
plz
im on the time temple and I don't know where it is
i got all the 10 monkey how can i cross the other side of the door
Amazing walkthrough! Helped me a lot! thanks
I read on your walkthrough that once you have statues and you go back to the basement to see Shad, not to save while in the house or you would have to restart your game...draaaggg...because I don't see Shad in the basement after getting the statues. I found this on your walkthrough a little late for me, I suppose! Just to be clear, you have to start this whole game over from the beginning? And is there anything you can do once this has happened to not have to start over from the beginning? Also, do you have any single reason why this would do that if you saved in the house? Thank you for your details tho', they are extremely helpful!! Obviously, other sites are not so detailed!! Thanks again for your help!
same here. I was just in Ordan not knowing where to find a cradle.Thanks!
I am starting to enjoy this game more than when I first got it. When I got it the first time I kept getting stuck and lost and couldn't get through the game.
best zelda game i ever played
this game is so cool.
This guide is great, and it really helped me get through some of the tough spots. but when you were talking about room #14, there is a second boulder. how do you break it because the bomblings wont go that far even if i use the gale boomerang.
You basically need to carry the bombing once the gale boomerang gets it and throw it at the Boulder.
omg u r amazing 4 this :P helped alot when i got stuck XP