Arbiter's Grounds
The Legend of Zelda: Twilight Princess Walkthrough and Guide
by SPV999
Zelda: Twilight Princess Guide - Arbiter's Grounds
Gerudo Desert
 Gerudo Desert |
This area is annoying for the amount of backtracking we'll have to do to get everything. Further, the enemies here are probably the most annoying in the series: Moldorm and Leever.
Good news is if you do all this stuff now, you'll never have to come here again... well, almost never.
If it's day time, waist some time by getting these golden bugs. If it is already night, head straight for the Poe's listed below and go back for the bugs later.
The female Dayfly is located in the south-center of the map near a large fissure.
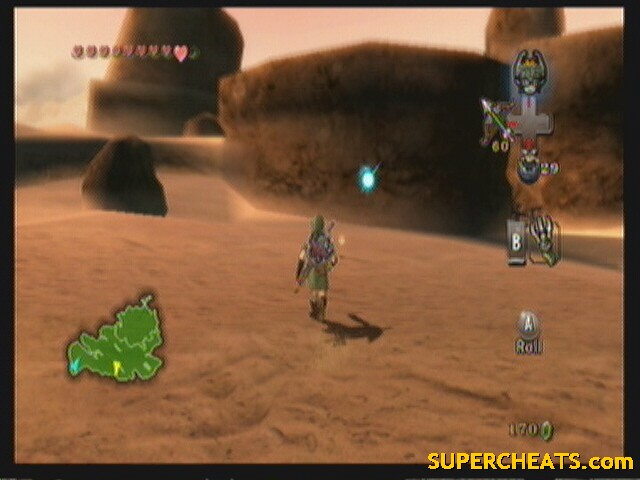 Female Dayfly |
The male is located just north-east of it in a ditch.
 Male Dayfly |
Has it started turning night yet? Good. We need to travel south east to a large rock formation on your map. This formation is not only the entrance to the Cave of Ordeals (not going there yet) but it is also the Eldin Bridge and has a Poe on top of it.
To get onto the formation, use your clawshot and look for a tree. Hook onto it. On top, look overhead for a Peahat. Grab onto that and let it take you over the next ledge. Once you drop, you'll have to fight some shadow beasts. The bridge is just a little further up.
 Poe #25 |
Walk up to the large concrete structure and prompt Midna. Teleport it to the Eldin Bridge to fix it.
Warp back to Lake Hylia and have him shoot you back up (warp puts you a ways from the current objective). There should be a poe right near where you land.
 Poe #26 |
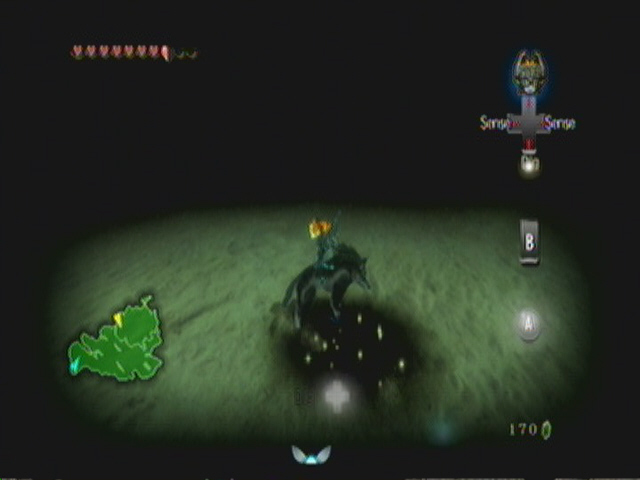
In the dirt below it, you can score 100 rupees by defeating all the skultulla.
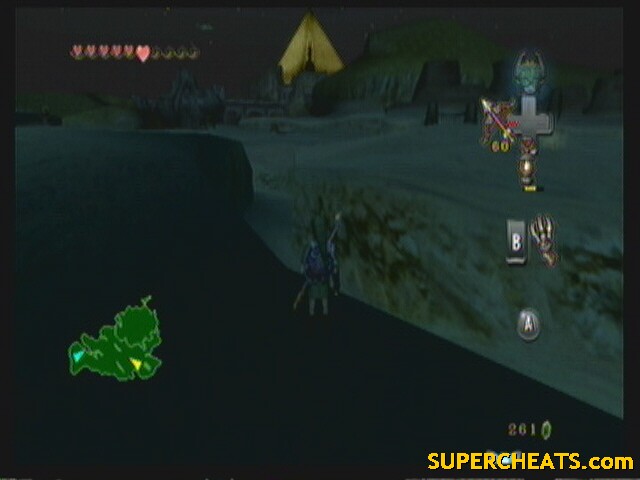
Use wolf link and hike all the way to the place marked below. Careful not to fall into any pits.
 Here. |
Use the clawshot again and look up to hook onto another tree. There should be a poe dead ahead.
 Poe #27 |
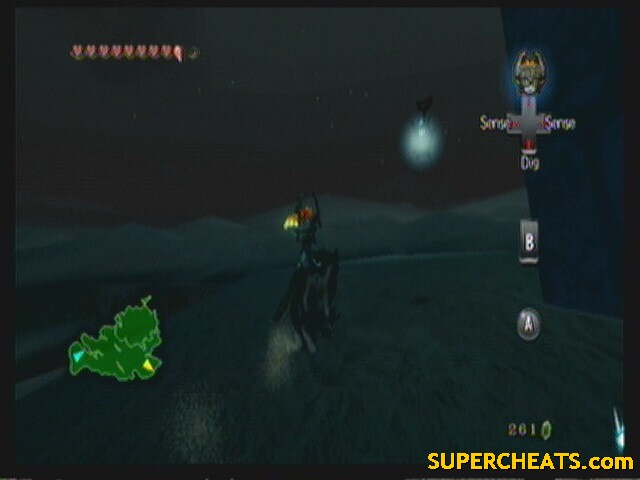
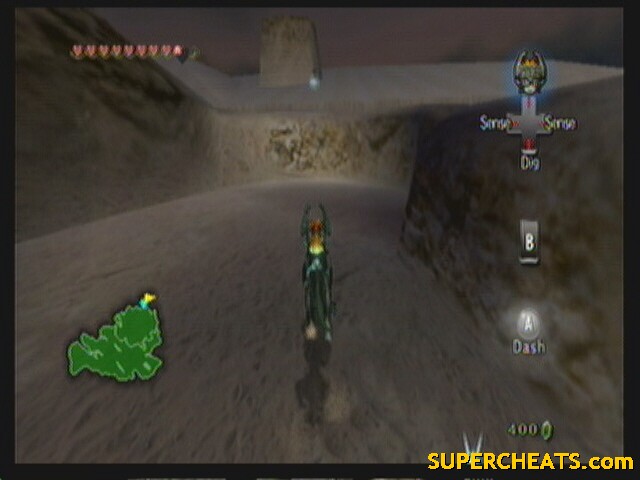
There are also two more poes in the ground under him (dig), as well as another 100 rupees if you blow the rocks and light the torches.
 Poes #28-29 |
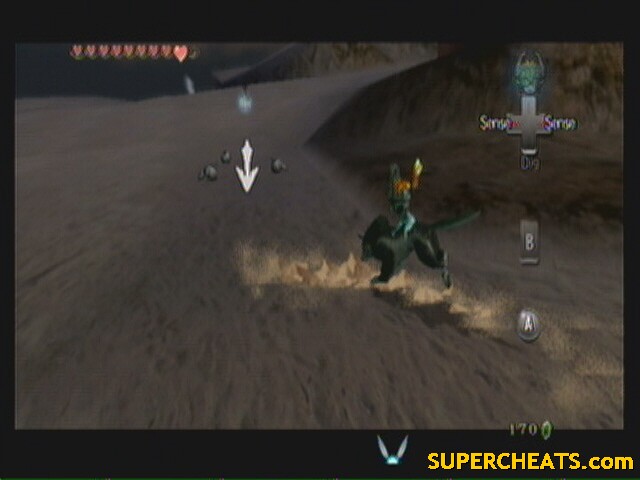
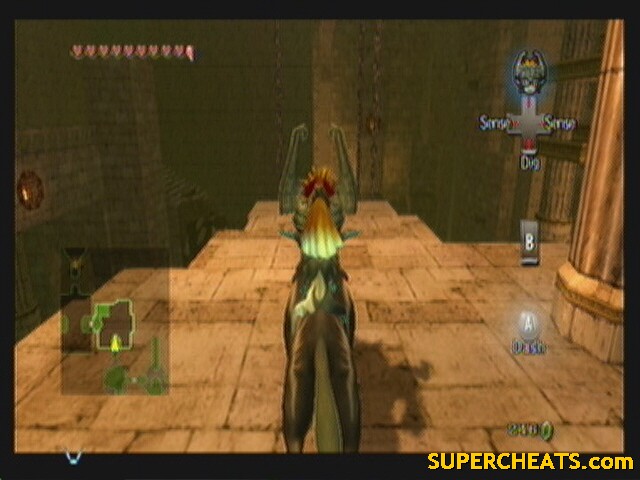
Now day night doesn't matter for a bit. Go north. Watch for the archers on the towers. Try to pick them off before they hit you. As you approach the camp, a couple boars will rush you as well. Take out the riders and commandeer one of the boars.
You can use the boars dash to take out almost any wooden structure. There are a TON of rupees to be had in the area, two of the larger ones are right under the watch towers. You can ride around for a bit to find the others. They're on the outskirts of the area near the game's walls.
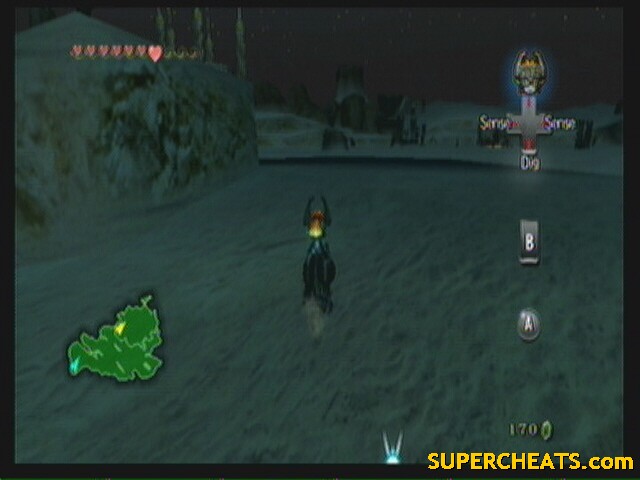
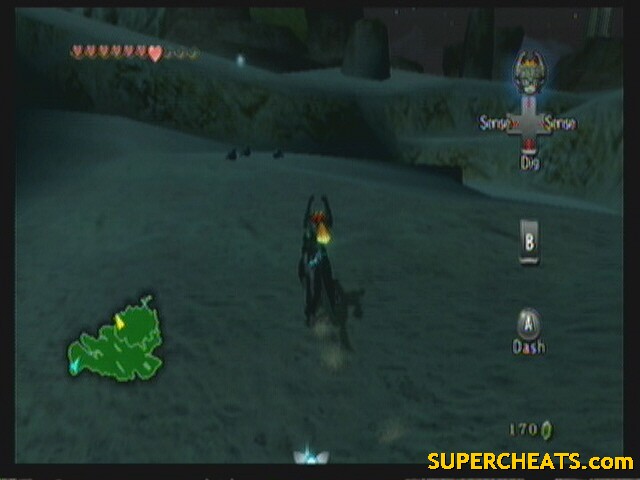
While still on the boar, go south and destroy the gate that separates the northern desert from the southern
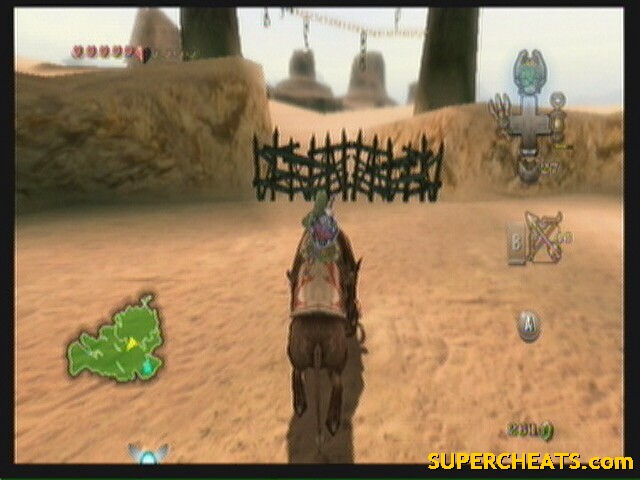 Gate |
Ride it due south till you meet another gate guarding a valley. This leads to another 100 rupees.
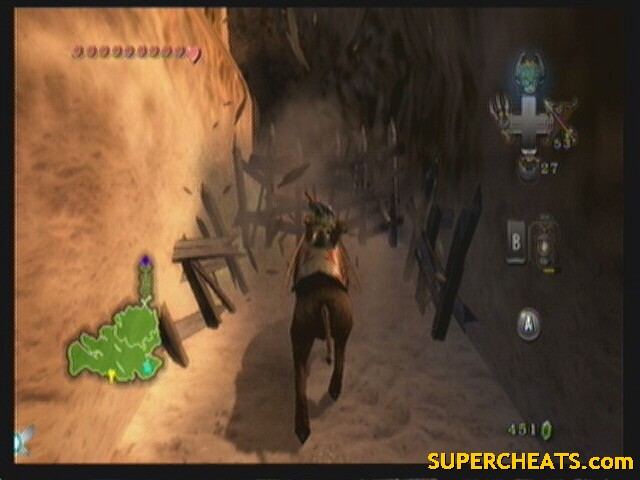 Gate #2 |
At this point, I would consider warping out and going back to Castle Town to donate some more money (maybe finish it off) or going to Kakariko Village and donate some money to the old Goron in Malo Mart to fund their expansion (which leads to the Magic Armor and a heart piece). The boar will be at the camp when you get back.
Anyway, break the wood gates in the north of the desert that lead to the main camp (cant miss them. Right behind the watch towers). Climb the ledge in the back.
Take the right path to run into the wolf again who teaches you Mortal Draw. Really cool, but you wont use it much... least not on purpose.
Wait for it to be night again. The path splits behind the wolf. The right path leads to a Poe and the left the enemy camp.
 Poe #30 |
--== Enemy Camp ==--
This plays like a stealth game. Use your bow and carefully pick off all the Bolblins before they spot you. Work your way north till you see one Bolblin roasting a pig. Shoot him and he'll drop a key. While you're here, hit the pig a few times and he'll drop a heart piece
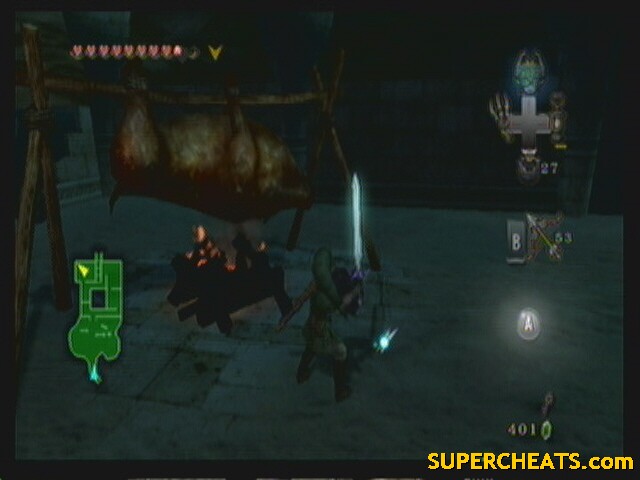 H24 10 3/5 |
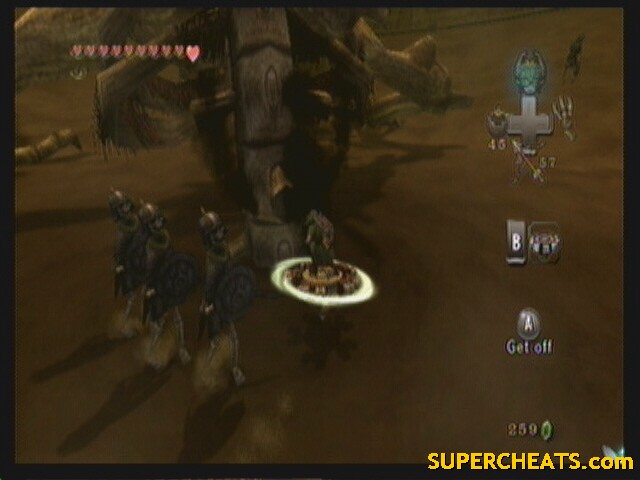
Run back to the large gate you passed on the way here. Unlock it with the key. Inside is a boar you can use to break down the fences across the hall. Before you can get on, however, King Bolblin comes out and wants a dual.
He is really easy to defeat with the secret skills. The backslice and helm splitter work best. Jump attacks are also effective. He should take to long to fell.
He'll retreat and set the barn on fire. Grab the boar and rush out the way you came.
While it's still night, run up the stairs and take a right. Poe again.
 Poe #31 |
Across behind you is some unlit torches. Light them for 50 rupees. Now go back down the stairs and back into the enemy camp. There should be a poe right in front of you in the barn.
 Poe #32 |
Also, if you missed the heart piece in the cooked boar, now would be the time to get it (go out of the barn and take a left before heading to the temple entrance again).
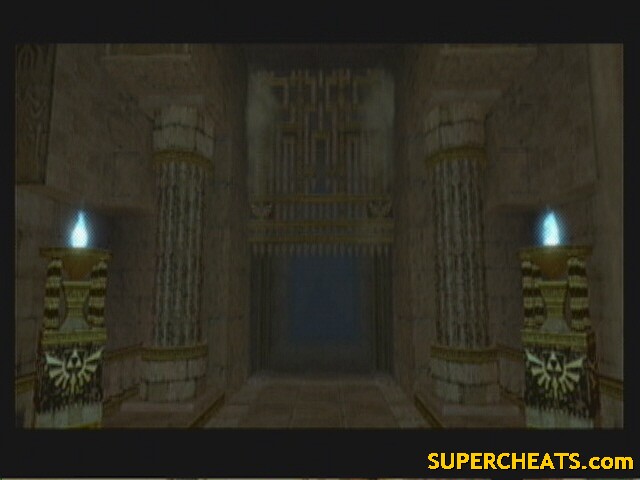
And that's IT. If you did all that, you'll NEVER have to come here again, short of the Cave of Ordeals, but you can warp right to that. Go back to where Poe 31 was and enter the door to the Arbiters Grounds.
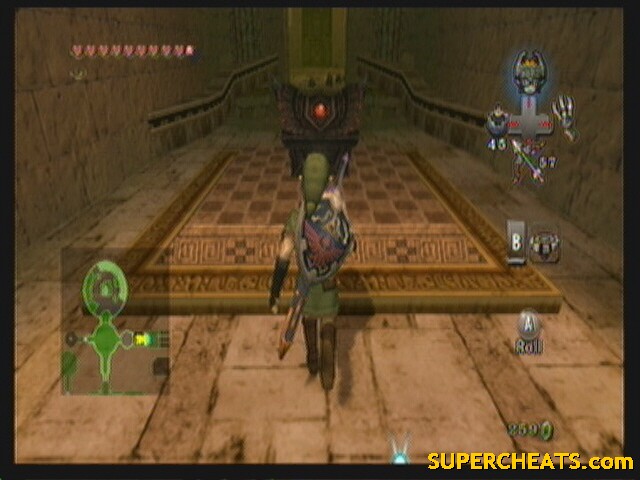
Desert Temple: Arbiter's Grounds
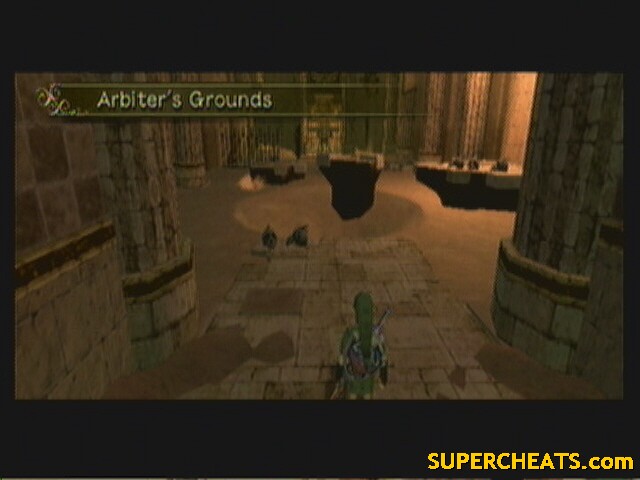 Arbiter's Grounds |
This temple has a lot in common with the Forest and Shadow Temples from OoT, not the Spirit Temple as you would think. It's main key is tracking down 4 Poes that stole the key (flames) to the rest of the temple. It's main traps consist of over-the-top torture devices and quick sand pits. That said, STAY OUT OF THE SAND! The longer you're in it, the more you'll sink till you cant get back out.
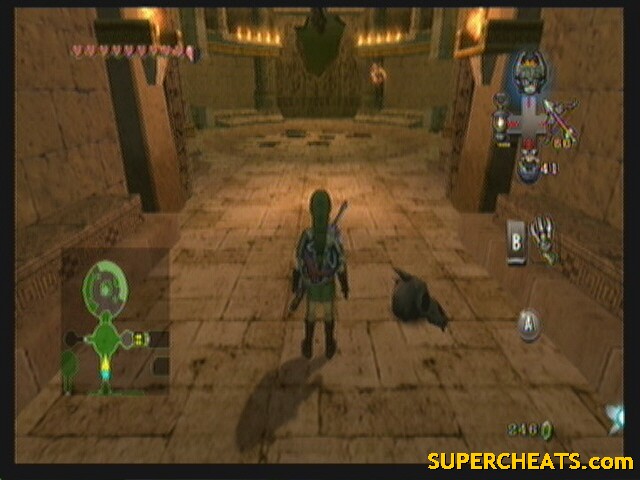
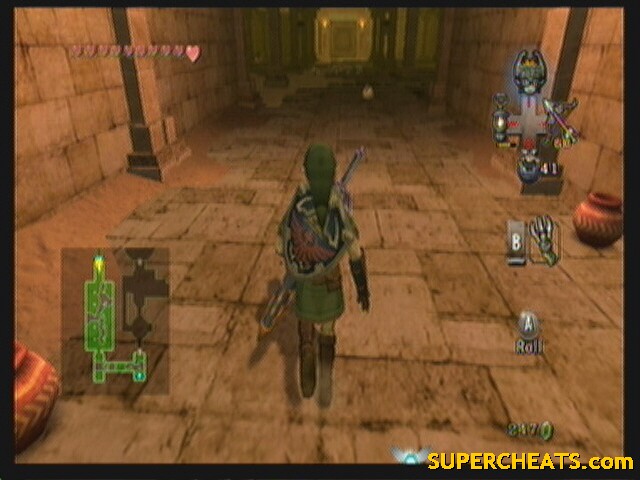
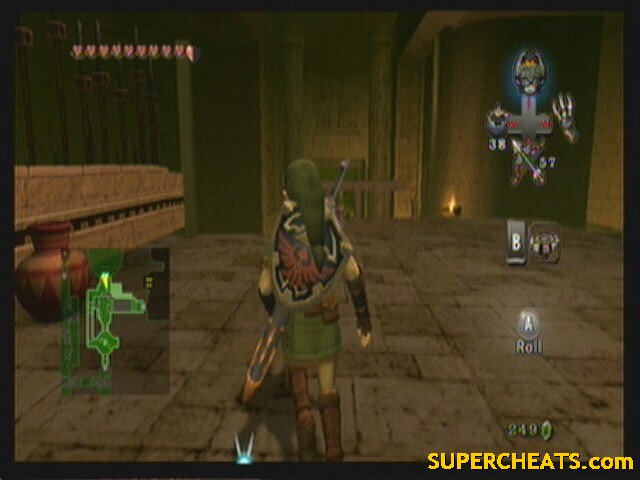
--== Room 1: Entrance Hall ==--
Enemies: Moldworm, Stalkin, Poison Mite
Chests: 1 (small key)
Quest items: 1 (small key)
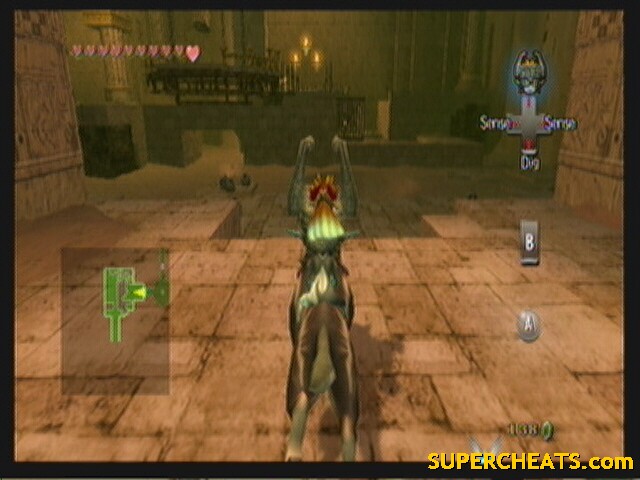
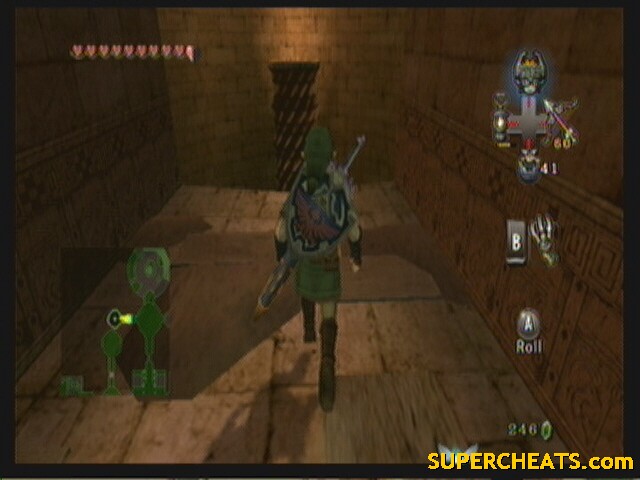
This room is the epitome of the rest of the temple, on a smaller scale. DON'T go in the sand, or you'll be sucked into the whirlpool. Also, be aware of the Moldorms that will leap out at you.
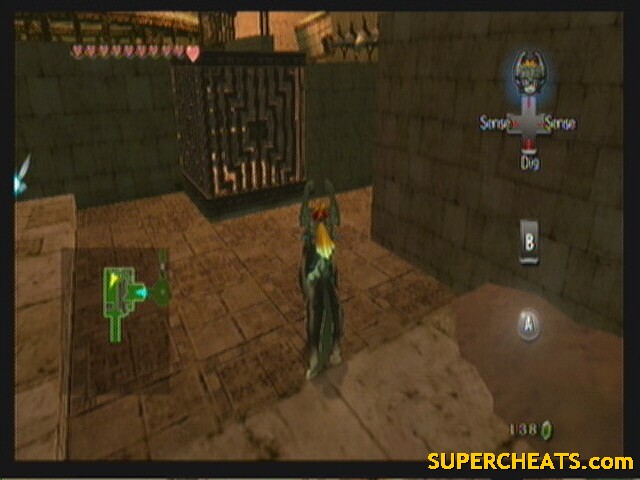
Look for a clawshot target on the right (east) and swing over. Jump to the platform to the west of there, then west again. Turn east and jump to the small block, then the platform after it. Roll across the sand to the gate north. Turn south and roll to the small opening in the fence.
You'll have to fight 3 Stalkin here before anything else. You should see a chain in the sand. DON'T walk to it. Rather, use the clawshot to bring it to you. Pull it back to open the gate to the next area.
In the west is a urn with some oil in it. Fill up your lantern, as you'll be needing it. Break the wood slates in the east, then jump across the sand and open the chest for a small key.
The platform you used to get over will collapse and a swarm of Poison Mite will appear. Either use the lantern to keep them away, or wait for them to cover you then use a spin attack to kill them. While they are on you, you'll be dragged down into the sand faster.
Go back across the sand and enter the locked door (north).
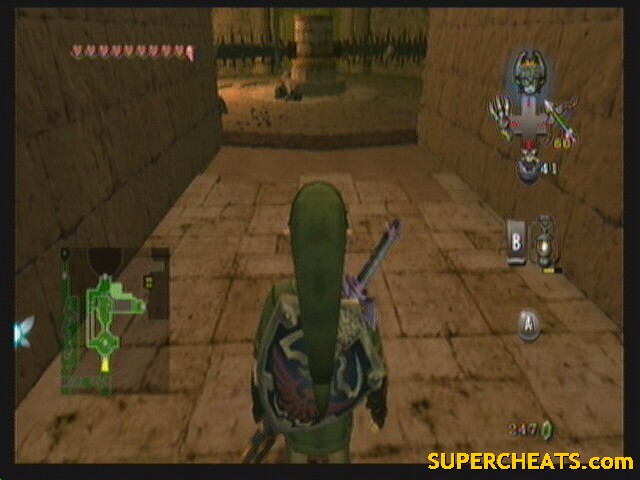
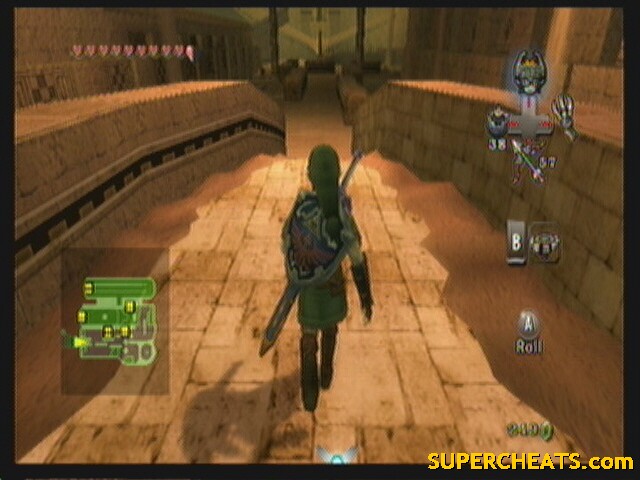
--== Room 2: Ghouls in the darkness ==--
 |
Enemies: Stalkin
Chests: None
Quest items: None
This room has small sand traps and a LOT of Stalkin. You can more or less ignore both, light your lantern and look for the two torches (both right near the door out (north)) to light. Once lit, the gate opens and allows passage.
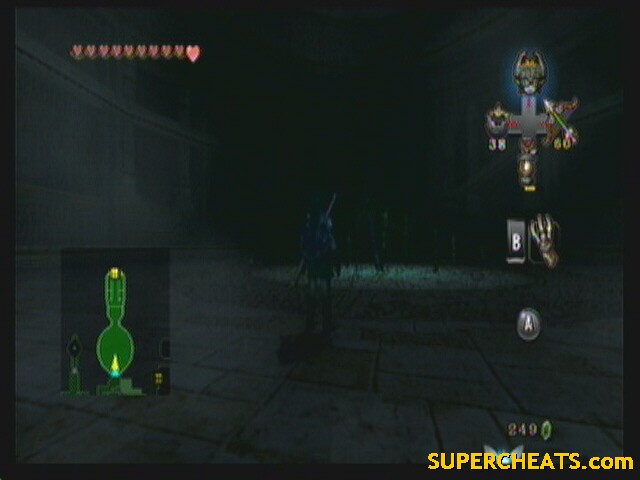
--== Room 3: Blue Flame ==--
 |
Enemies: Bubble, Rats, Poe
Chests: 2 (Map, Heart Piece)
Quest items: 2 (Map, Blue Flame)
As soon as you walk in, 4 Poes will steal the blue flames, closing the gate to the rest of the temple. They all go off forcing you to find them. One stays behind. These are not normal Poes, however. Change into a wolf and use your senses.
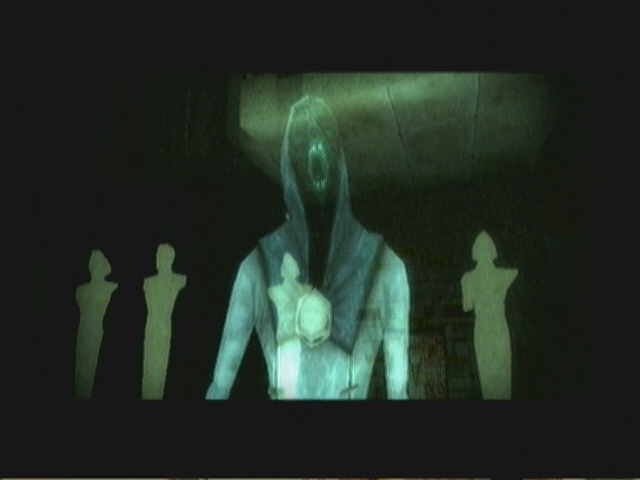 Not your average Poe |
To defeat these Poes, you have to wait until they are getting ready to attack. They'll glow brighter and raise their lantern into the air. When they do this, jump attack to grab onto them and start biting. After about 2 rounds, they'll go down and you can claim their soul, also returning the flame.
Once the first one is down, walk over and sniff him to learn the Poe scent.
There are two chests to get in here: the map is in the north east and requires you get across the sand quickly before the blocks sink, or else you wont be able to get back out.
The heart piece is in the north west. This one you have to grapple over to the platform, then use the blocks to get back across the sand.
 H25 10 4/5 |
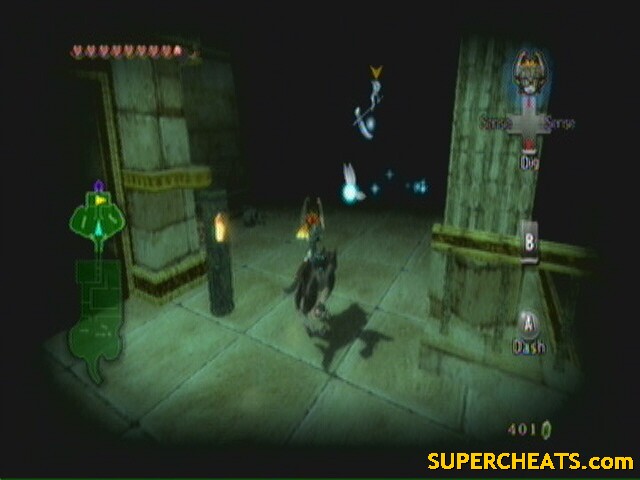
Turn back into a wolf and use your senses to track the scent. It should lead to a patch of sand beside the door in the west. Dig to reveal a chain. Go down the steps that appear.
--== Room 4: Dual-layered Room ==--
 |
Enemies: Rats, Bubble, ReDead Knight
Chests: 1 (small key)
Quest items: 1 (small key)
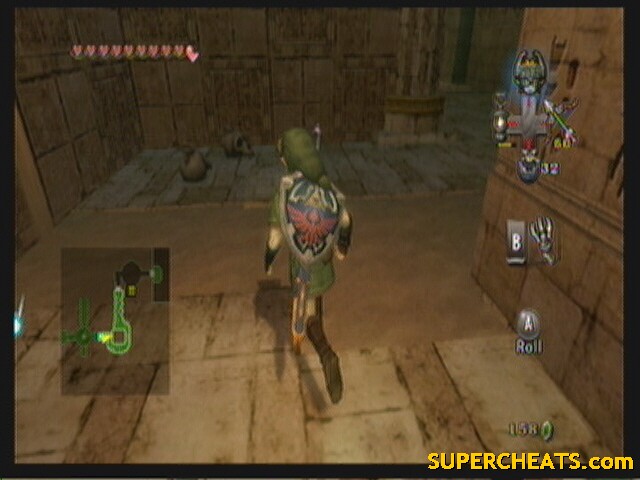
Take out the enemies down here, then push the fin in the middle of the room clockwise. This will rotate the wall and open a passage to a chest north. Still at the chest, turn back human and use the clawshot to look up.
You should see a small opening in the ceiling with a clawshot target on the central pillar. Grapple up and take the northern door there.
--== Room 5: Poe Soul #2 ==--
 |
Enemies: Bubble, Poe
Chests: None
Quest items: 1 (Blue Flame)
Destroy the Bubbles in this room first. Turn back into a wolf to sniff out the Poe. After defeating it, go back into Room 4.
--== Room 4: Dual-layered Room ==--
Enemies: None
Chests: None
Quest items: None
Drop through the hole and push the fin back counterclockwise, revealing the passage east. Go back out into Room 3, then take the upper door back into Room 4. Use the small key on the door west.
--== Room 6: Sand Trap ==--
 |
Enemies: Flame Bubble, Bubble, ReDead Knight
Chests: 2 (small key, compass)
Quest items: 2 (small key, compass)
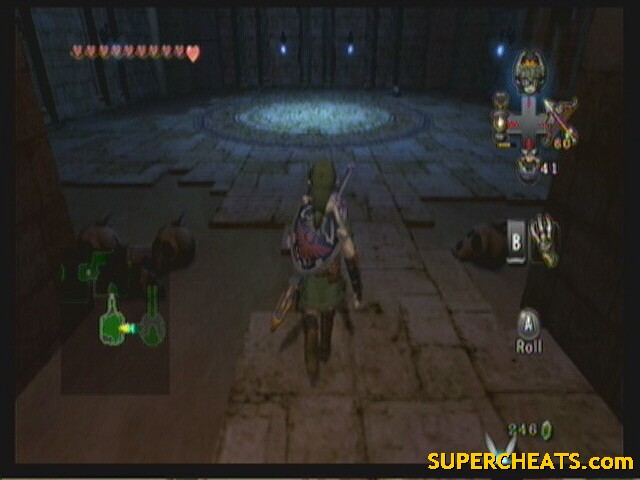
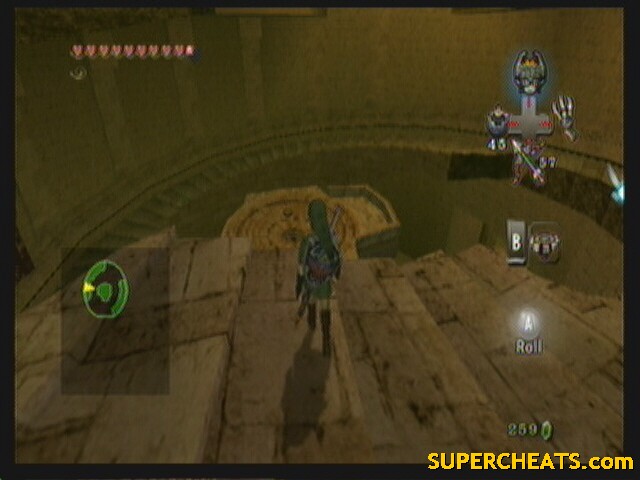
You have to navigate the sand in the north, getting from platform to platform. It looks like you can just run across, but there are spikes that will block your way. Carefully get across to the ledge in the north west.
See that wire grate thing?
 This |
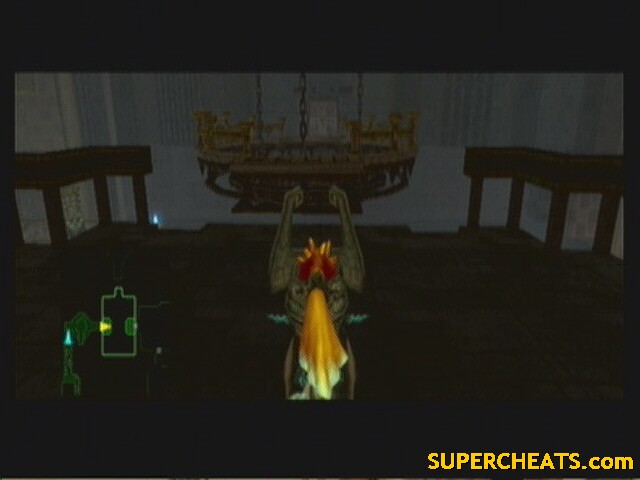
Yeah, that's actually a box. Turn into a human and pull the box out north, then push it west between the two ledges above until it stops. Go back to where it was and climb up between the spike fence, west.
You should see a chain on the ground. Grab it and pull back over the box you pushed into place. The chandelier should lift up. Once the chain stops pulling any further, let it go and quickly get past the chandelier.
Run up the stairs to the next area. Open the chest behind the statue for the compass. Now grab the front of the statue and turn it clockwise to reveal another hall west. Break the wood and kill the ReDead to get the key. Use it on the east door.
--== Room 7: Poe Hall ==--
 |
Enemies: Poe, ReDead Knight, Stalkin
Chests: None
Quest items: 1 (Blue Flame)
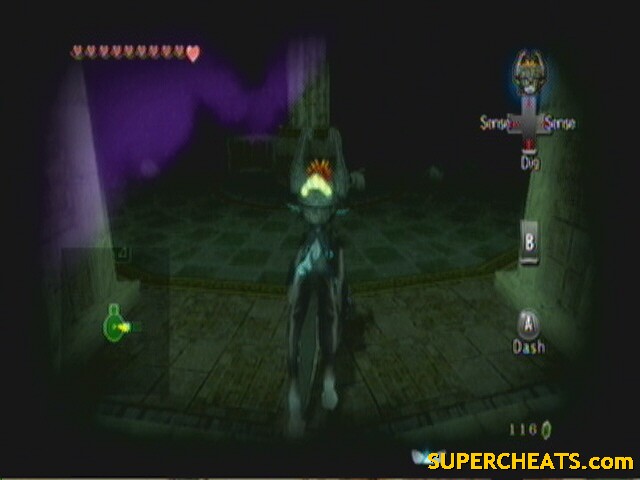
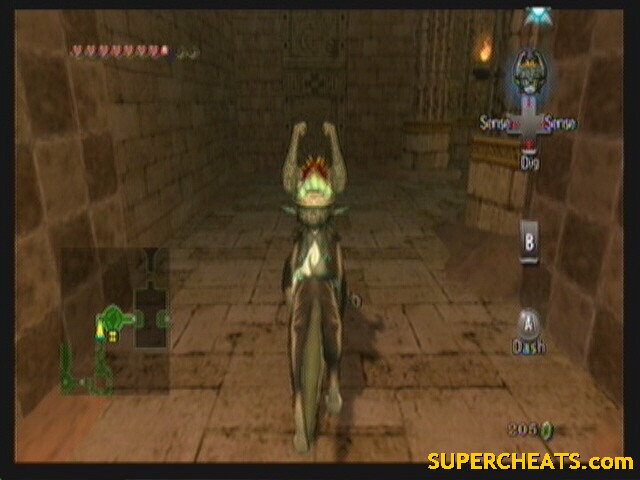
Walk around to the north end of the room, fighting off the stalkin (spin attacks work well) and the two ReDead at the end. Use Wolf form to find the scent leads to another small patch of dirt just before the northern corridor. Dig to reveal a chain. Pulling it lowers the wall on the left, revealing the next Poe.
Continue north to the next room.
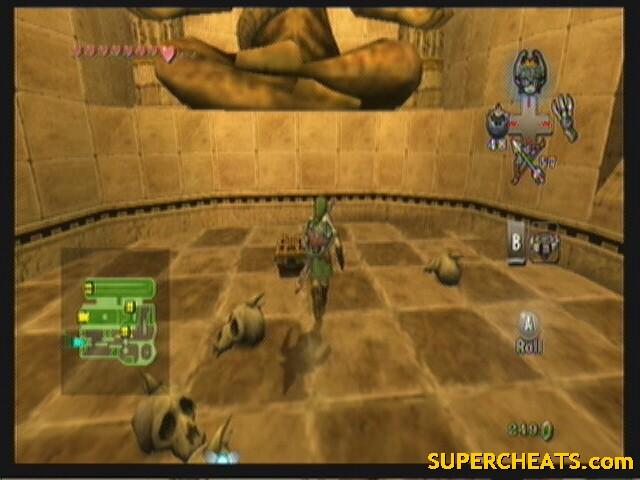
--== Room 8: Ghouls Rats ==--
 |
Enemies: Ghoul Rats
Chests: 1 (small key)
Quest items: 1 (small key)
Make sure you're in wolf form. Jump down and open the chest in the south. A bunch of Ghoul Rats will appear. Use your senses to find them, and spin attacks to get them off you. Open the door east.
--== Room 3: Blue Flame ==--
 |
Enemies: None
Chests: None
Quest items: None
Jump across the chandelier to the other side. If you fall, you'll have to start all back over (minus the Poe fighting).
--== Room 9: Chandelier Drop ==--
 |
Enemies: Moldorm, Bubble
Chests: 2 (20 rupees x2)
Quest items: None
Go right and drop down. Push the wire box east until it stops. It will reveal a passage north that has a chest in it, and also leads back to Room 3, so you now have easy access to this end of the temple.
Anyway, climb up on the box and pull the chain to raise the chandelier. If you want the other rupee, run all the way past it and open the chest, then face west and clawshot your way back.
To continue on, stand directly under the chandelier, right in the center (you'll see it marked on the ground) and let it fall. You are now inside it. Climb up the east side and jump the gap to the door.
--== Room 10: Stalfos ==--
 |
Enemies: Stalfos
Chests: 2 (bombs x2)
Quest items: None
A really small room. Destroy the wood slates and enter. A stalfos will come to life. They look really menacing and were fairly hard to kill in pervious games, but here they're easy. A single bomb arrow will completely destroy them if it makes it past their shield. If not, the helm splitter and backslice are also very effective. If you don't use a bomb arrow, you'll have to plant a bomb on the bones that lay on the ground, or else they'll reassemble. After the fight, the doors will open and you can continue.
--== Room 11: Torch Trap ==--
 |
Enemies: Stalkin
Chests: None
Quest items: None
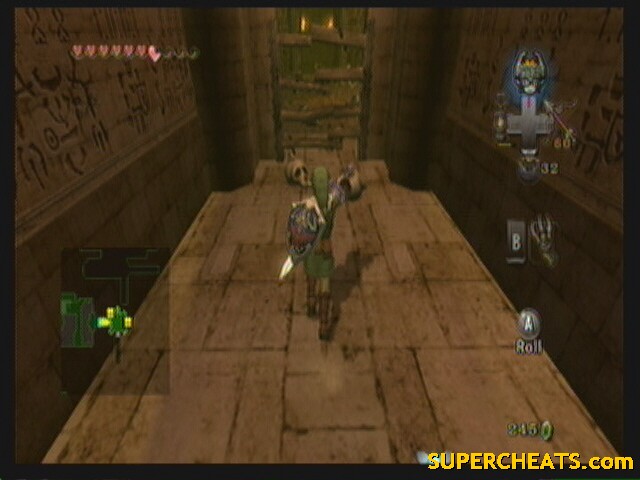
This would be annoying if you didn't have a guide. The key here is to light the correct two torches. If you don't, an army of stalkin appears. The correct torches are: the one that's not in line with the others and the one in the west (right of the first). The door will open and you can go through.
--== Room 12: Poe Soul #4 ==--
 |
Enemies: Poe
Chests: None
Quest items: 1 (Blue Flame)
This fight is very reminiscent of the Forest Temple in OoT. Sniff out the Poe, and the fight starts. Unlike the others, this Poe will create duplicates of himself. Your task is to find the real one. They will encircle you and spin around. Once they stop, look for the one that's glowing brighter then the rest. Quickly lock on and jump on him before they attack. Repeat once or twice more to win.
Exit via the northern door.
--== Room 9: Chandelier Drop ==--
 |
Enemies: Moldorm, Bubble
Chests: None
Quest items: None
Turn back human and target the clawshot target in the west. Enter the door below.
--== Room 3: Blue Flame ==--
 |
Enemies: None
Chests: None
Quest items: None
The gate should now open to the rest of the temple.
For the record, we are roughly half way through the temple right now.
--== Room 13: Mechanical Gears ==--
 |
Enemies: Flame Bubble
Chests: 1 (not reachable)
Quest items: 1 (not reachable)
Enter the door on the west side.
--== Room 14: Corkscrew ==--
 |
Enemies: Flame Bubble
Chests: 1 (small key)
Quest items: 1 (small key)
Drop down to the bottom of the room. Grab the fin and push it counterclockwise by 2 levels. Look for a passage that leads to the small key. Go back to the screw and turn it all the way down (clockwise) till it stops. Open the locked door.
--== Room 15: Invisible Spike Maze ==--
 |
Enemies: Ghoul Rat, Blade Trap, ReDead Knight, Poison Mite
Chests: None
Quest items: 1 (Ooccoo)
This room is divided into two parts: the maze and the hall.
First in the maze, wonder around and kill all the Rat Ghouls in wolf form. Also get a feel for the spikes and kill the ReDead Knight in the southeast corner of the main room. In the south west corner is a chain that pulls a large wall out of the way, granting passage into the second part of the room (much like the fire temple), however you have to hurry before the passage closes off again. You'll have to navigate around the spikes to get in.
The second part is much more straight forward. Get from one end of the hall to the other without sinking in the sand or getting killed by the blade traps on the wall. Keep in human form with either your lantern or spin attack handy to keep the mites at bay. At the end of the hall, Ooccoo is in a vase.
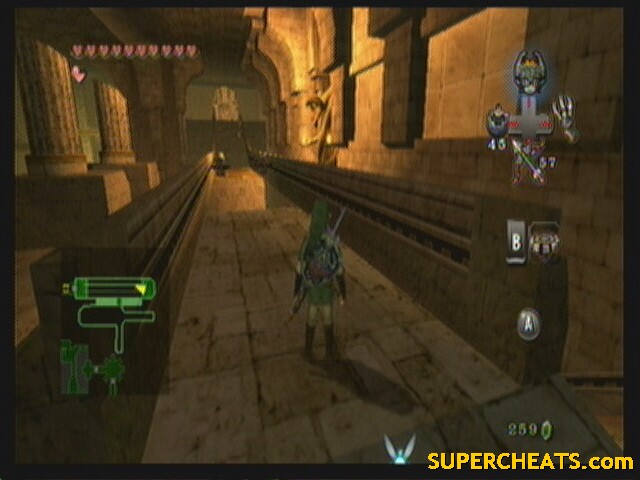
--== Room 16: Torture Chamber ==--
 |
Enemies: Stalfos, Poison Mite
Chests: None
Quest items: None
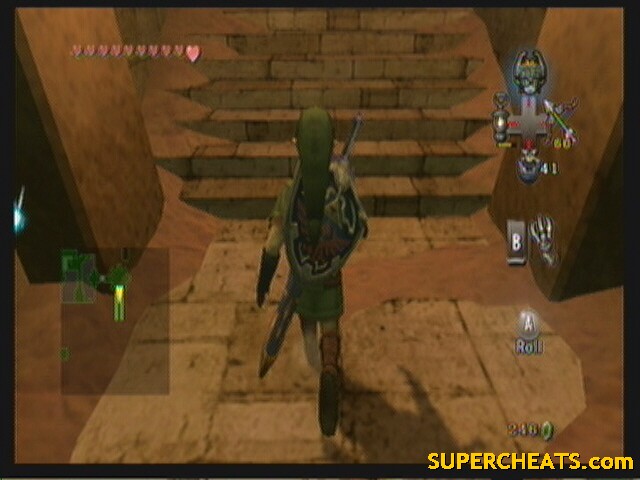
First wait for the Mites to get on you so you can get rid of them. Next, to get around the spinning arms of death, just roll. You can roll right under them as they pass. Head north. In this area, there are three Stalfos. Two as soon as you enter, and one off in a corner in the west. You must kill all three (bomb arrows work well, as they have wood shields and cant defend) to open the gate back by the arms of death.
This hall has poison mites near the end, so take out your lantern and keep it lit till you're through. You'll need to run from unstable platform to the next till you're at the end. Jump the gap and enter the door.
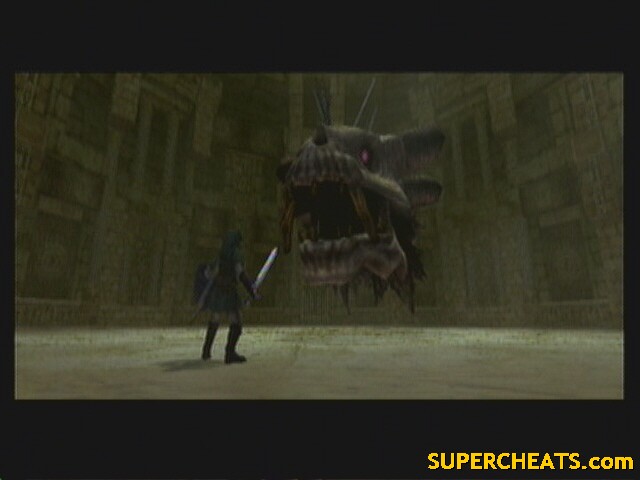
--== Room 17: Mini-boss: Death Sword ==--
 |
Enemies: Death Sword
Chests: 1 (Spinner)
Quest items: 1 (Spinner)
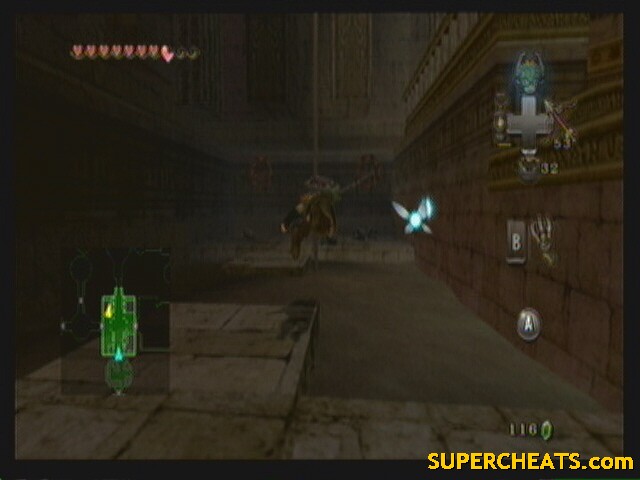
Walk into the room and cut one of the ropes with your sword. The sword will then appear to float in the air. Change into a wolf and use your senses to see otherwise.
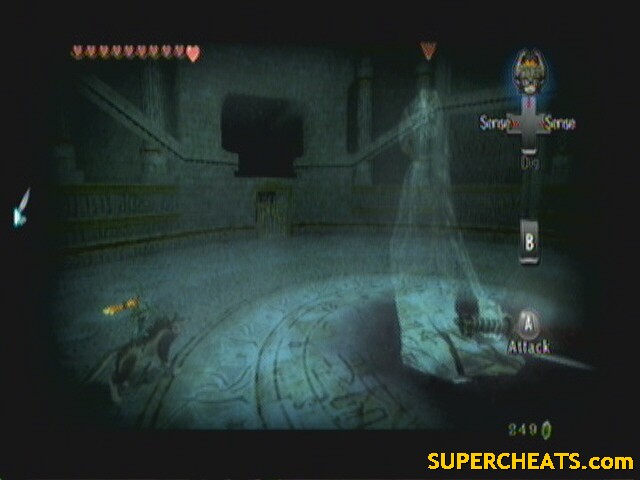 Frankly, this is less scary then a floating sword. |
Like the Poes, you can only attack it once it is about to attack. It will swing it's sword down into the ground. Dodge it, then jump on and start biting. After a round or two, the next stage starts. He'll turn visible so turn back into human.
The next stage is a little harder. He'll float around the room erratically. Use your bow (or clawshot or boomerang) and hit him with it (you cant lock on, you'll have to dumb fire it). He'll then land (or float lower) and start to raise his sword again. Hit him with your sword first and he'll collapse. Start beating on his head till he gets back up. Repeat three more times to bring him down.
Your prize is in the next room: the Spinner.
The spinner allows you to travel over sand for short distances without sinking. It also can zip you along spinner track (the little notched rails in the walls).
When riding on a track, press the B button to jump off and onto an adjacent track. You can also press B when on the ground to use it as an attack.
Hop on and use it to get out of this room.
 |
--== Room 16: Torture Chamber ==--
 |
Enemies: None
Chests: None
Quest items: None
Should be spinner track on your left. Ride it around, then jump off when you see the other track on the right side of the sand pit. Use that track to get to the door.
--== Room 18: Spinner Madness ==--
 |
Enemies: ReDead Knight, Blade Trap, Stalfos
Chests: 5 (bombs, 20 rupees, 10 rupees x2, heart piece)
Quest items: None
Hop on the spinner track as you enter. Jump from track to track till you approach a circular track with a Blade Trap on it. There are several ways to do it, but the punchline is you need to get on the track past it. Note that if the Blade traps knock you off your spinner, it can actually make things easier if you can get to a wall in time.
 See? Now we just need to be on that track ahead. |
Ride it up and fall off, dodging the spinning arms of death. Head straight for the chest at the end.
 H26 11 0/5 |
Now you might want to kill the ReDead Knights before moving on. Hop on the northern track and travel east. Avoiding the spinning arms of death just comes down to luck. Jump from rail to rail till you fall into a round pit. In the pit, get back on the rail traveling clockwise.
You'll fall off into a new section. Defeat the Stalfos and open the chest for 10 rupees. Run up east till your at the top of the ramp, then go up the next ramp west.
 Don't worry, this is FAR, FAR worse then it looks... |
This is probably the hardest spinner track you will every encounter. Timing is sheer luck. Jump back and forth, dodging the Blade Traps.
Enter the door at the end.
--== Room 13: Mechanical Gears ==--
 |
Enemies: Flame Bubble
Chests: 1 (Big Key)
Quest items: 1 (Big Key)
Open the chest, then use the spinner to get across the sand. Back in the main room, use your spinner in a spinner-shaped hole in the ground. Repeatedly press B to spin the gears and open the door.
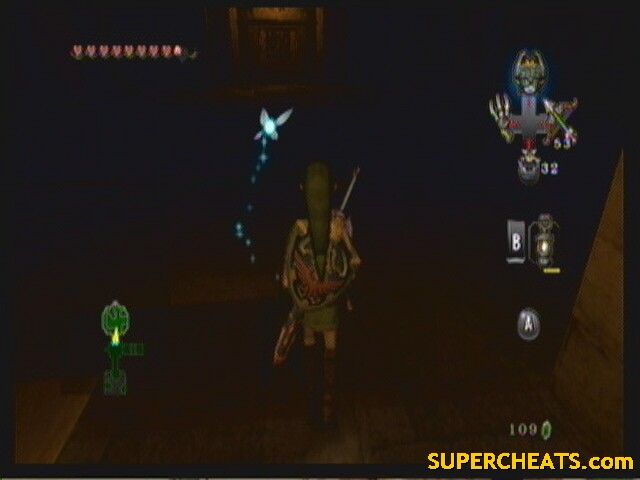
In the next section, use the spinner on the track. You can ride it all the way up to the top to get a fairy, but alls you need to do here is get to a place where you can get off the spinner and jump to the center platform.
 This looks good. |
Use your spinner to power the gears again, this time raising a huge twisting spinner track. Ride it all the way up. Enter the door.
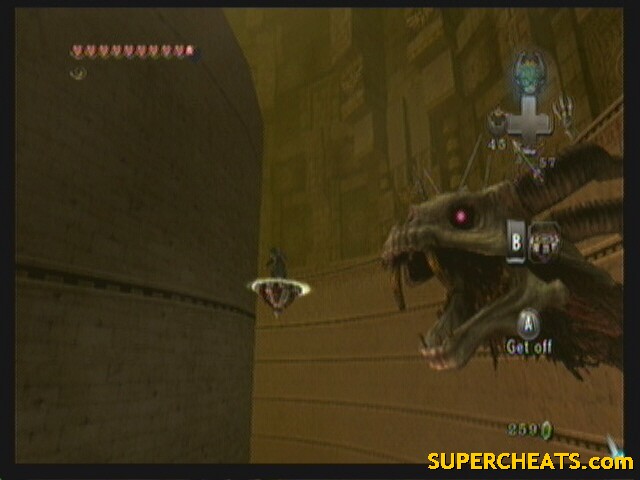
--== Room 19: Boss: Twilit Fossil – Stallord ==--
 |
Enemies: Stallord, Staltroops, Blade trap
Chests: None
Quest items: None
Against your better judgment, walk down the ramp ahead toward the huge pile of bones.
Zant appears and re-energizes the beast, starting the fight.
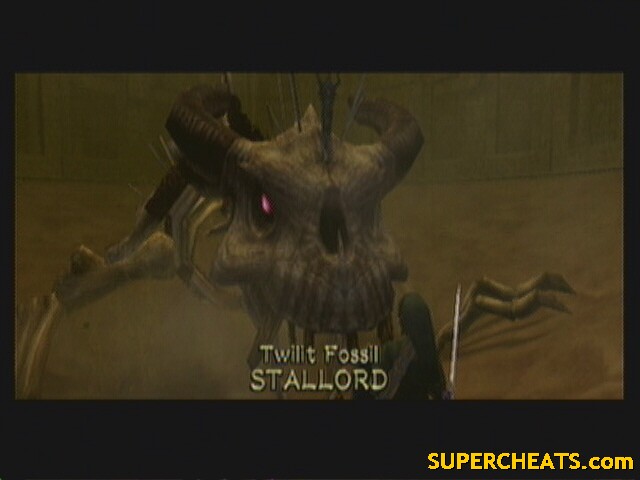 Twilit Fossil – Stallord |
Stage 1: Stallord
Use the spinner track on the outside rim of the sand to get behind him (and avoid his fire breath). Once you're at a good point, jump off the track and aim for his spin. He will summon Staltroops to try to bounce you back. Dodge them and once at his spin, press B to spin and attack it. As you damage him, he will summon more and more Staltroops, and Blade traps will start appearing on the track.
 Careful not to be deflected by the Staltroops. |
After a few hits, he goes down and the sand lowers. There is a spinner slot on the platform. Use it to raise a pillar in the middle of the room. Stallord will come back to life, but just his head, starting stage 2.
 Stage 2: Stallord's Head |
Stage 2: Stallord's Head
This part is NOTHING compared to what you went through in the spinner madness room. At the bottom of the room, use the spinner track on the pillar to catch up to Stallord. He'll come around the corner and start shooting fireballs at you. Jump from side to side to avoid them. As soon as you get close enough, jump off and hit him with your spinner. If you delay, he'll shoot a fireball at point blank range.
 Now! |
He'll fall to the ground along with you. Hack away at the sword in his head (why don't they let you just pull it out?). He'll come back up and the stage will start over. This time, there will be Blade Traps on the track that you have to dodge on the way up, and the window of opportunity to knock him down is small.
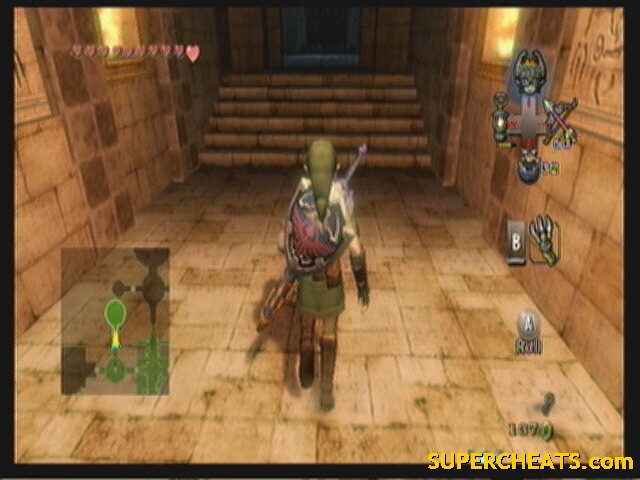
After the fight, get your heart (12 0/5) and go through the door that opens.
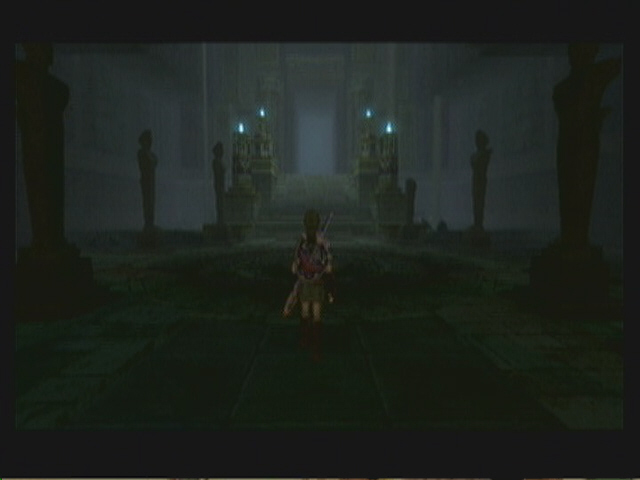
--== Mirror Chamber ==--
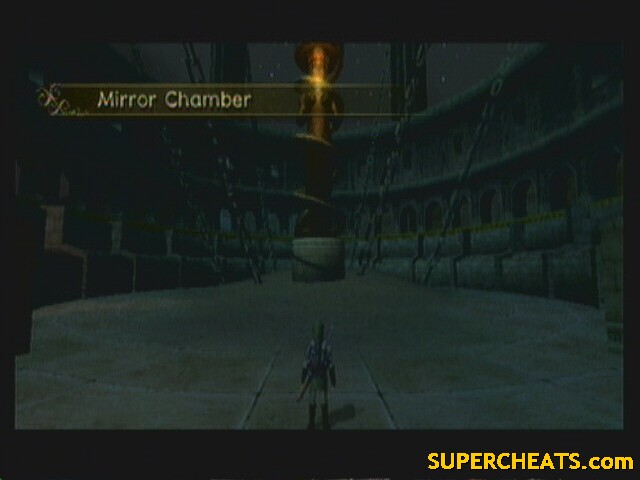 |
Nothing to do here but run up the stairs and down the hall to the top of the room.
At the top, you are attacked by 6 shadow beasts. Defeat them to open a portal. Now ride the spinner track to the top of the statue and use the spinner to turn the gears at the top.
A cutscene ensues that reveals a not-so-twisting plot twist: Ganondorf it behind everything. This means that Ganondorf came back between Ocarina of Time and Twilight Princess, only to be captured by someone who wasn't Link.
Well, that's that. Off on another quest for more magic items.
Tired of the hot, dry sun? We got a place for you to cool off: Onward, to Snowpeak Ruins!
Be effing coherent.
IF YOU MISSED THE BOSS KEY THE FIRST TIME AROUND LIKE I DID, DON'T RESTART YOUR GAME. GO UP TO THE NOW SHUT WALL AND LOOK UP. YOU CAN USE THE GRAPPLE SHOT THING TO GET YOURSELF OVER THE WALL. ITS A PAIN TO GO THROUGH ALL OF THAT AGAIN, BUT ITS BETTER THAN COMPLETELY RESTARTING.
I accendently skipped the boss key room and made it to the boss room, When I tried to go back to retrive the key it wouldn't let me spin the wall back so I could go get it. Can anyone help me?
Can you make a part 2 I need it to get past after I was already done in the mirr[size=12][size=12][size=12][/size] [/size] [/size] ior chamber.
I accidentally killed the boars before breaking down the gate. Is there any way to get them back/get through the gates, or do I have to start the whole game over?
The gate in arbiters ground wont open I cant find the fourth poe
bro that same freakin thing happened to me...im trying to close that door so i can go but i cant...do u think im gonna have to create a new file...plz say theres a way :(
cool man my sister is praising you guys for helping her out! she was in that place for almost 2 whole months! so thank you guys so much!!!!!!!!!!!!!!!!!
I forgot the boss key in the desert temple but I already open the doors with the spinner how do I get the key now
On Stallord phase 1 you forgot the e in spine but the guide is really great. Thanks!
Got this temple done 35 minutes!! This is a fantastic guide! Thanks!!!
I went back to the bridge and no shadow beasts appeared. Went to both sides.
Person above get back to eldin bridge the side that leads to Castle village go down to the bridge there should be a total of 3 shadow beasts you need to kill to get a portal then go try the bridge in Gerudo Mesa again.
trying to warp the big concrete piece from Gerudo Mesa to Eldin Bridge. Only problem is, there is no warp portal at eldin bridge! Tried Kakariko Gorge and Kakariko Villiage and Death Mountain....Any advice?
Thanks!
I'm trying to get the reekfish hook. I went through Arbiters grounds and headed to Telmas but they didn't tell me Ashei went to Zoras.I have the spinner, mirror piece 3rd bomb bag....what am I missing that I didn't get the letter. I also got the heart piece in town sq. and built the bridge and did the water run.