Goron Mines
The Legend of Zelda: Twilight Princess Walkthrough and Guide
by SPV999
Zelda: Twilight Princess - Goron Mines
Temple Pre-quest
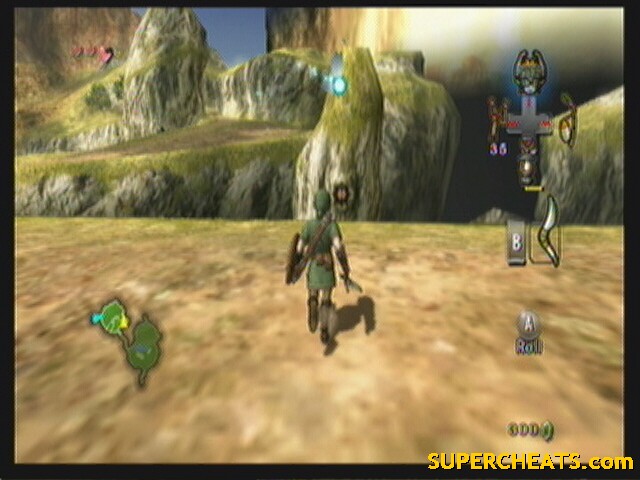
Hyrule Field
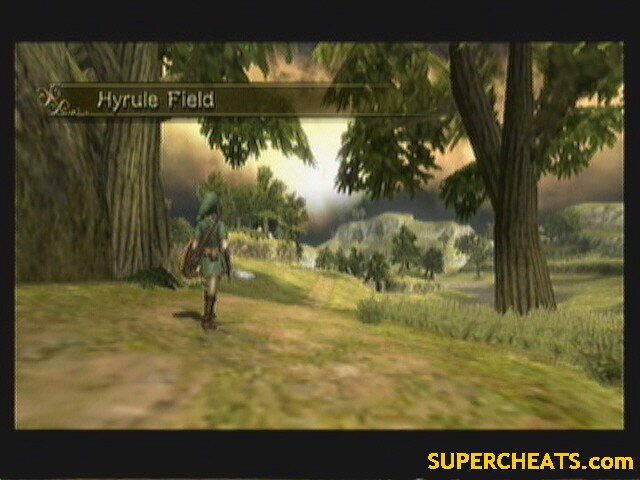 Hyrule Field |
Well, here you are. Your first trip into Hyrule Field. Don't worry, in just a few more hours play time, you'll be very sick of this place.
Anyway, we have a few little things to grab here before moving on with the story.
First, walk down the path. Just before you get to the bridge, there is a tree to the left. Look up in the tree (from a small distance) and you should see a heart piece on a lower branch. Use the boomerang to snatch it down.
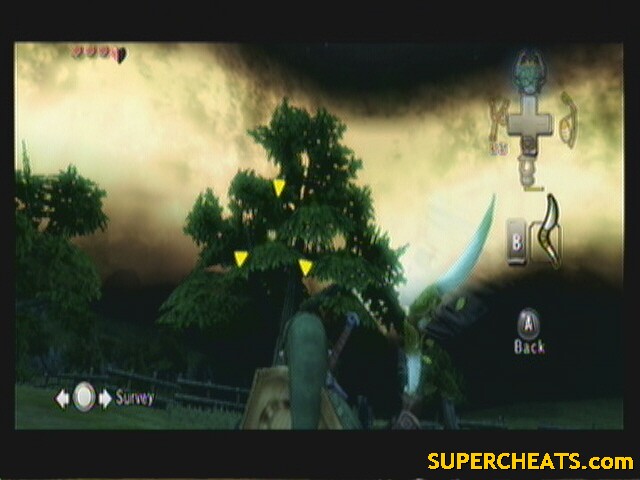 H04, 4 4/5 |
If you're having problems finding it, wait till night when its easier to spot. It'll make your next few finds easier as well.
Next is a Golden Insect.
Head east. Jump off the ledge. There should be a plateau in front of you with some trees on top. On the ground between the plateau and the ledge are a couple trees. The southern tree has a Golden Insect on the side of it.
 Male Beetle |
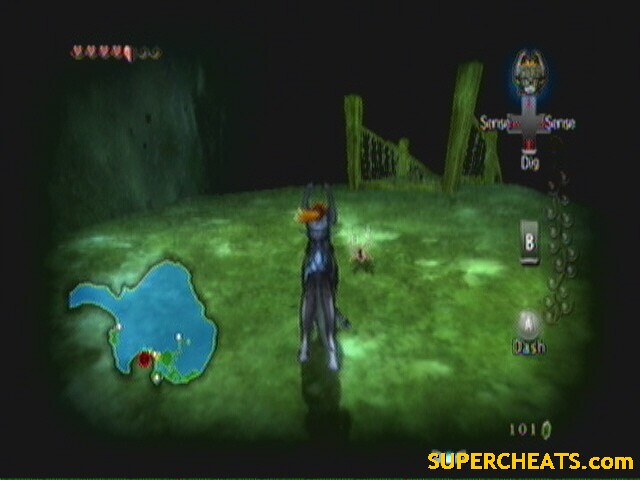
Last one. Another Golden Insect. Its on a plateau on the western edge of the area. Check your map against this picture:
 Female Beetle |
Use the boomerang to get it down then chase it until you can catch it.
Alright, we're done with this area. Head west, back into the twilight.
Oh, and you'll get stopped by the Postman on the way. He gives you all sorts of letters throughout the game, only a few of which are even worth reading >.>
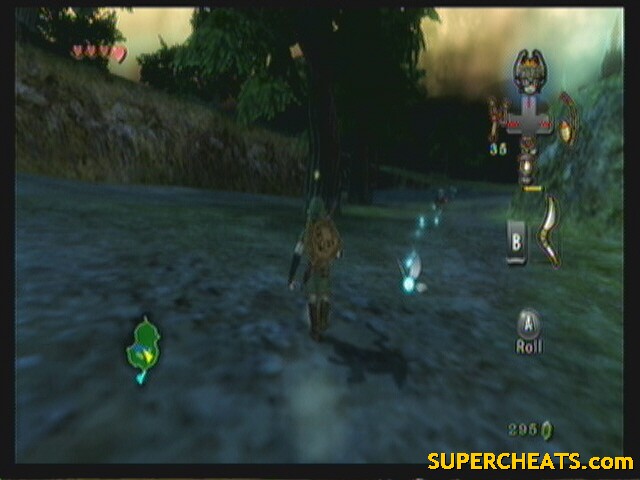
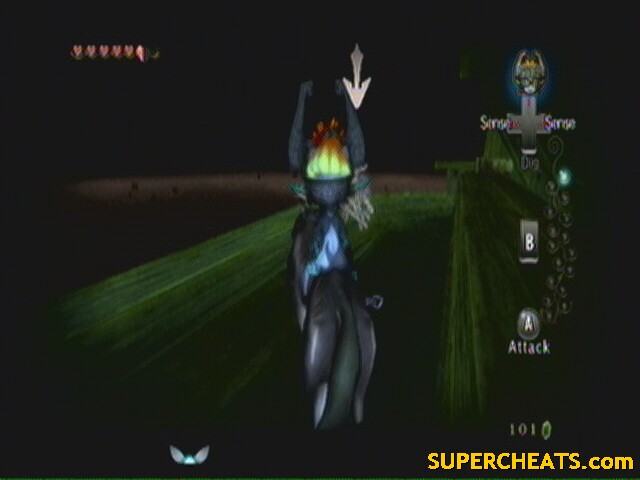
So, back in the twilight. There are some things to get in this area, but we cant when in Wolf form, so later. For now, just walk up to the stick in the road ahead and sniff it. Midna says use your senses to track down the kids, but come on, really? There's only one path through the area...
 More Shadow Beasts ahead |
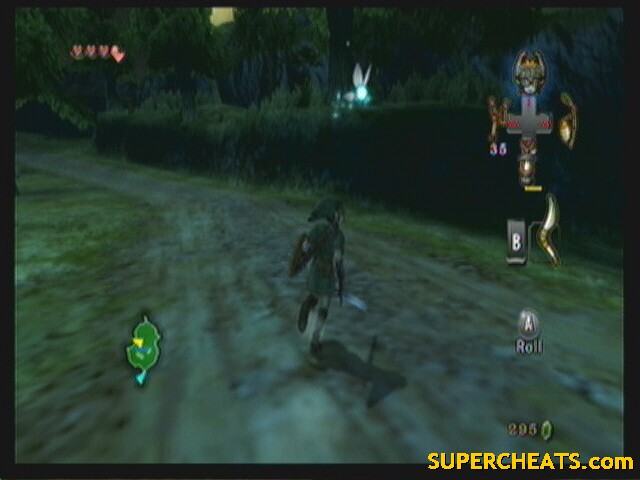
Keep down the path till you run into some more Shadow Beasts. Take them out with Midna as always, only to find the bridge is out. Lovely. But, Midna proves useful again and introduces you to the concept of warping! Yay! There are some catches, but for now just warp to N. Faron Woods (remember?). Once there, walk up to the bridge and cue Midna to warp it back.
 As cool as this is, you'll only do it a few more times |
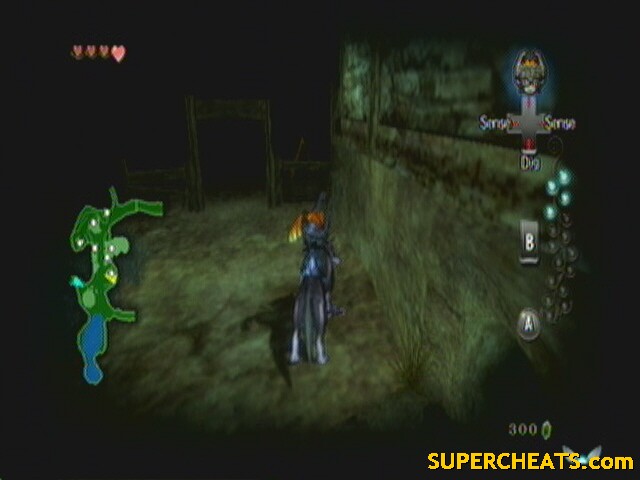
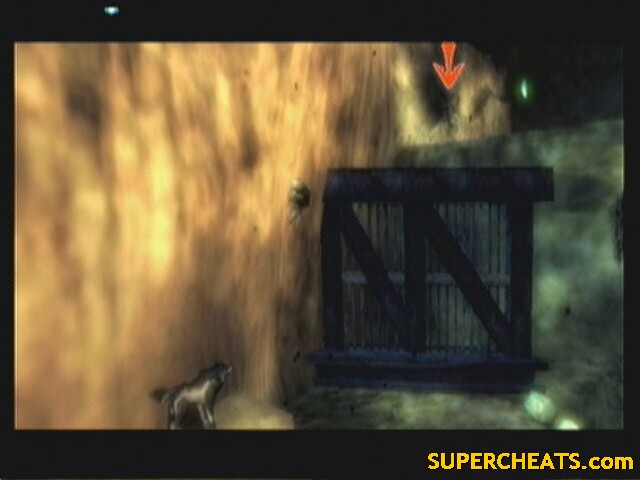
With the bridge in place, walk across and keep on the path. When the path splits, take the left (west) path. Once up to the gate, dig in the soft dirt on the left and enter the next area.
Kakariko Village
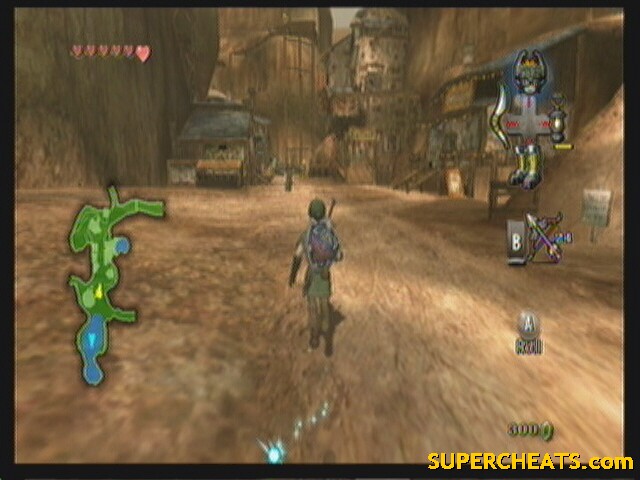 Kakariko Village |
The last hundred years have not been kind to this place...
Course, doesn't help that it's covered in twilight.
Tears of Light
Well, no sooner then you walk in, you get attacked by three more Shadow Beasts, but it's ok now that we know they serve a purpose. Dash past the first two to take out the lowly straggler in the back, then use Midna on the remaining two.
And where there is twilight, there is an all-powerful spirit that couldn't protect itself... Time for more insect hunting! Look at the bright side, after this, you'll only have to do this one more time!
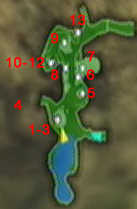 Map |
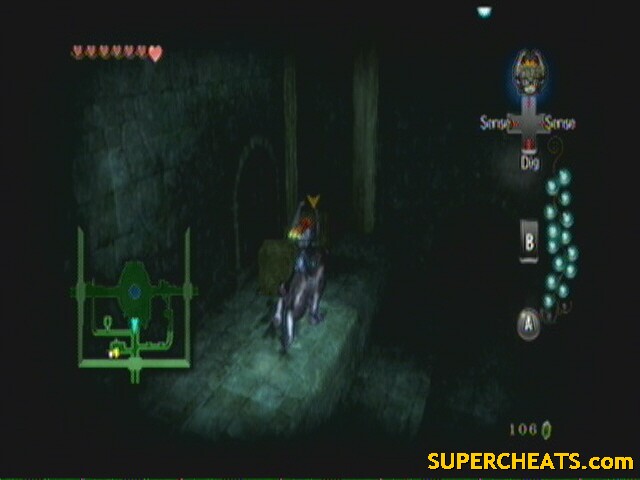
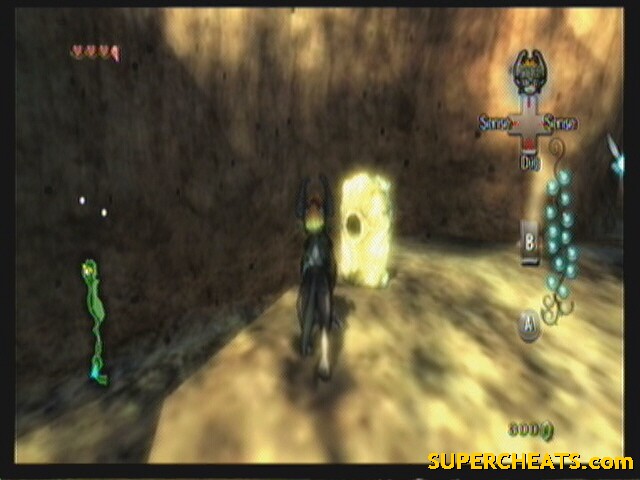
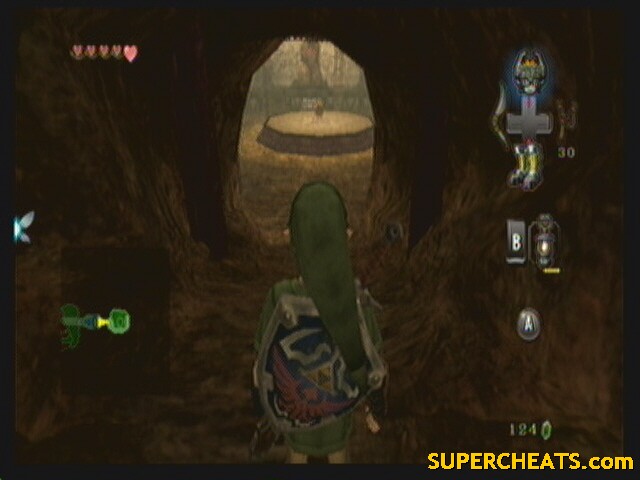
1-3: They are inside the house. Go around to the back and get in the wooden cart there to have a Midna prompt. Once on the roof, stand on the hay to fall through. Use your senses to have a great reunion with your friends, but more importantly learn about the basement. Pick up the stick and light it. Now get up on the ledge and run around the rim of the room, jumping the gaps and lighting the candles.
 make sure you light the right end of the stick... |
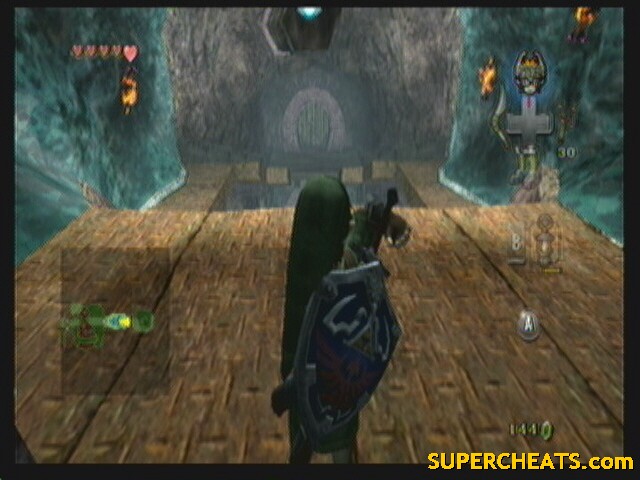
Go into the gap that opens. Once below, the insects are easy to find. At the end of the tunnel there is a another prompt to get out of the cave.
 Twilight doesn't suit this place either... |
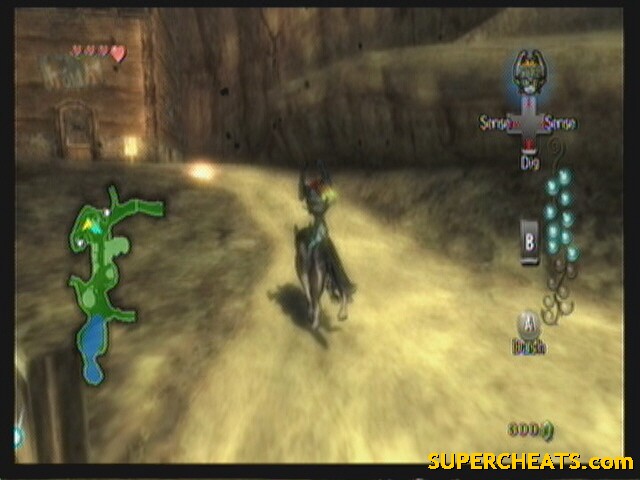
4: after the last set, you are now in Kakariko Graveyard. The insect is hiding in the ground. Dig him up and swat him. Exit in the east.
5: It's in the house again. There is a small nook on the southern side of the house between it and the cliff. Go there and you'll see a space you can crawl through.
 Here |
Once inside, the insect is on the wall right above the hearth. He is NOT on the highest section in the house. Use the same hole to crawl back out again.
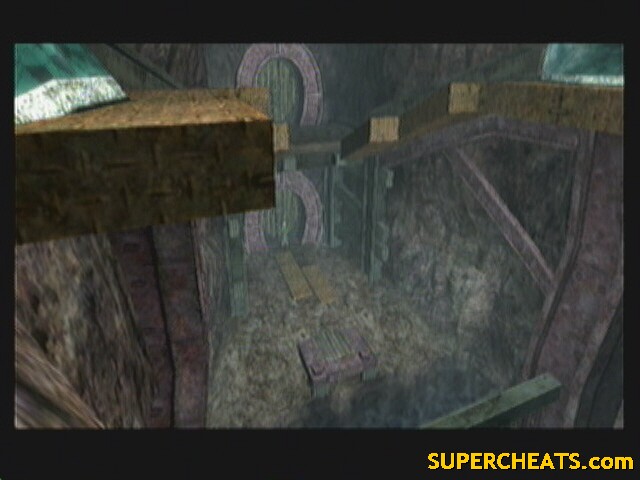
6: Once out, a few feet to the south is a ramp that leads along the cliff. Follow it up. At the end, jump off and onto the wood platform (just like the sign tells you not to).
 In twilight, yes means no! |
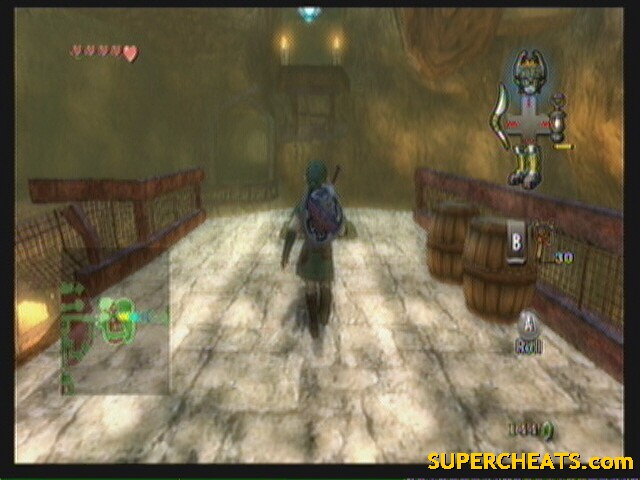
Enter the door that's right in front of you. The insects are in the hearth on the ground. You'll have to smoke ‘em out. Grab a stick and light it on the torch, then light the logs. He'll come running out. Don't exit just yet.
7: One more in this house. By the torch is a doorway to a new area. There are some enemies in here, but nothing to worry about. There is a chest under the stairs that has 20 rupees, however.
 Chest and stairs |
Take the stairs in the south to the upper level. The insect is in a bedroom on the left, over the bed. To get out of here, go back to the first room and use the table and shelves to climb back up and out the window.
8: to get to this insect, you'll have to start at the start of the row of houses south of it. You'll see a ramp that you can run up, and can then jump from roof to roof till you reach the end.
 here |
Some more unsteady hay roofing will let you in. Push the create at the foot of the bed to reveal the insect. Get near the bookcase to prompt your way out.
9: He is in the bomb shop. To get in, you'll need to climb onto a platform just north of the shop, then jump from there through a window into the shop.
 here |
Wind up to the top. The insect is behind a bookcase. Dash into it to tip it and reveal the insect. Climb onto the shelf, and from there to the platform with the window above it to get out.
10-12: you should now be on the roof. Head around northwest to the cliff to see a insect run off into that shed. Follow it in.
 Follow the leader |
They're in the hearth again, so you'll have to light it to get them out. However what you don't know is that this is a bomb shed... yeah. After officially lighting the fuses of dozens of bombs, crawl back out and watch the fireworks. Well, at least you killed the insects...
13: Follow the path on the cliff upward to your final objective. At the very peak is a building. Dig in the dirt on the side. The insect is in one of the vases. Exit and jump down off the cliff.
Wait, that's only 13 insects... there are 16 total right? Yeah, we're not crazy. Its just that the spirit forgot to mention that the other three are at the top of Death Mountain. Take the northern (not northeast) path out of town. I'm not going to bother with a map, as this area is VERY linear.
14: Use the ramp on your left to prompt up to the path above. Just keep heading north till you reach the first dot. Watch for the steam jets, as they'll blow you aside. The insect is in the ground, you'll have to dig him up. Before you leave this area, note the stone that whistles with the wind.
 Howling Stone #1 |
 Pattern |
Walk up to it and press A to listen. Now use the A button to howl and the joy stick to control your pitch. Match each note to get a concert with the Hero's Spirit from before. Match the pattern once more to instigate another training session once you turn human again (the song is Zelda's Lullaby from OoT. It could also be Song of Healing from Majora's Mask). Anyway, that's for later, so lets move on up the mountain.
15: After a rather twilighty shot of Death Mountain, jump down to get into another fight with 4 Shadow Beasts. This one is special, though, as there is one beast that is hidden off in a corner and the others cannot be lured over to it, so you'll have to take him out first, then get the other three. Once that's done, the insect is on a grate just ahead.
 here |
After, use Midna to jump up. Time your jump so the geyser doesn't knock you down!
16: Follow the path east. At the end, you'll need to climb the ramp of ruble near the edge and use Midna to prompt your way up. The insect is in the hotspring, down below on the right.
And that wraps up the insects.
Road to the Temple
You have to go on a little journey before you can enter the temple. A journey that includes... sumo wrestling with old Gorons! Yep.
Well, lets get started. Go back up Death Mountain. You'll get attacked by a Goron and thrown off. Pack up your shame and go back out into town, to be told that Bo has a secret that he used against the Gorons.
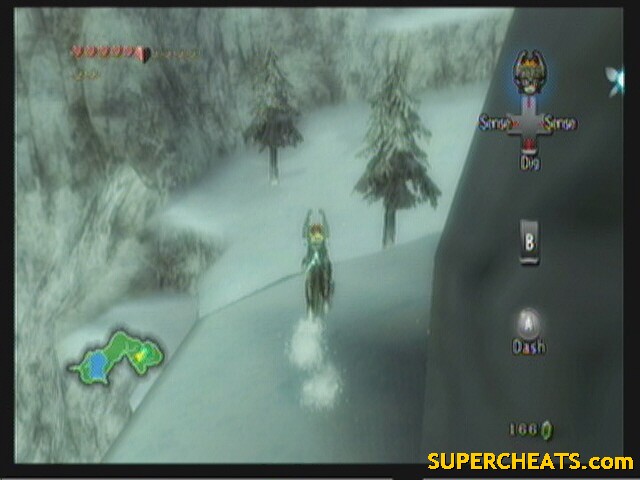
Start heading out (south) of the village, when Epona comes out and zips past you. Link will grab on automatically the first time (if you fall off, you'll have to find a way to approach her an get back on. It's doable, but hard). Use the prompt commands and press left/right on the joy stick in time. At the end you'll get a prompt to press A to finally mount her and stop the rampage.
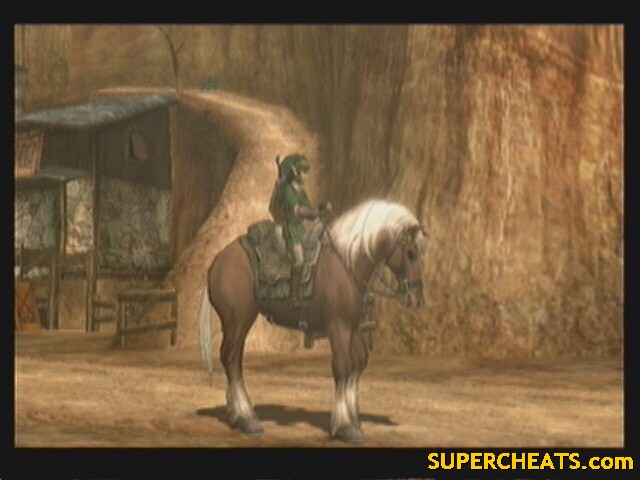 Good girl. |
Well, this will make travel way easier to say the least. Head out of the village (south). You'll have to jump the gate.
--== Hyrule Field ==--
Back out in Hyrule Field, we have a couple more things to take care of (three, actually). 2 bugs and a heart piece.
First bug: right over the gate, follow the wall west. You should end up near some trees and flowers. The bug is around this area somewhere (they tend to fly around, so an exact location is hard). If you have to, mill around till night when you can easily spot them.
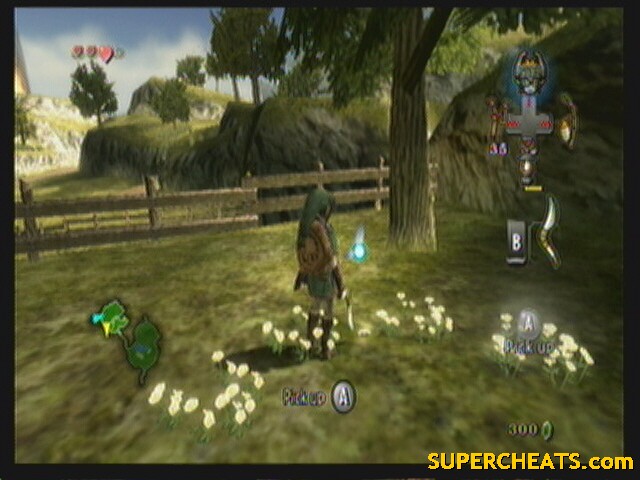 Female Pill Bug |
Second bug: Just over the bridge you warped. Literally.
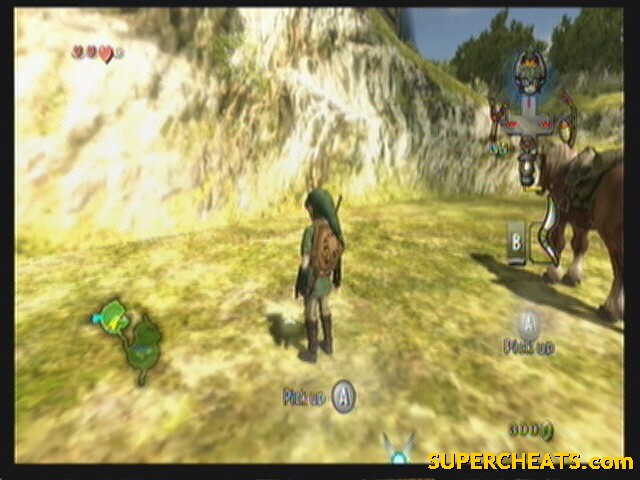 Male Pill Bug |
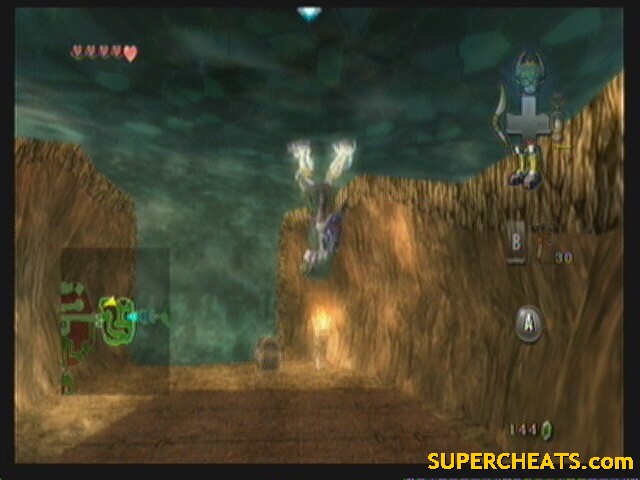
Heart Piece: Off the ledge in the east on the southern side. There is a pillar sticking up out of the void. Its on top (use the boomerang).
 H05, 5 0/5 |
Now that you have an extra full heart, head back to Ordon Province.
--== Ordon Province ==--
Before heading to town, don't forget the Hero's Spirit is waiting!
 Secret Skill 2: Shield Attack |
After a round with him, and a new skill that is REALLY going to come in handy here in a bit, head into town and talk to the mayor (he is in the southwestern side of town).
After a couple questions, he challenges you to a sumo match (...it makes sense once you watch the scene). You have to beat him twice before you get your prize. The game is played out like rock-paper-scissors: slapping -> dodging -> pushing -> slapping. The only move that can actually push your opponent out of the ring, however, is pushing. The other two just make an opening for you. I find the easiest way to win is just jam down on the A button repeatedly. It might take a few tries, but normally works.
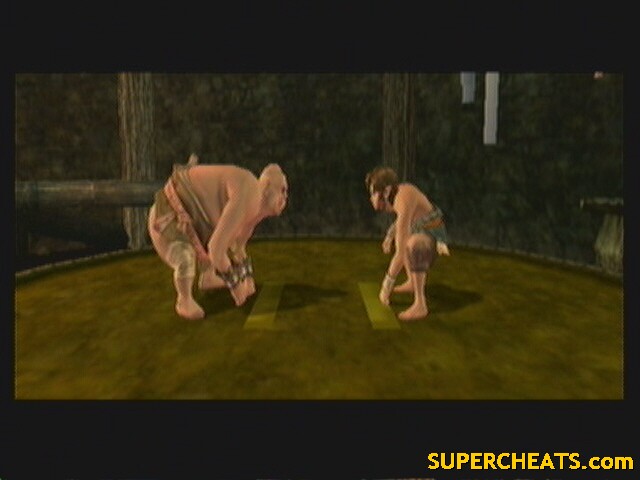 Something about this just doesn't seem right... |
After the fight, you learn that he cheated the Gornons by using Iron shoes, and gives you the Iron Boots, which you will be using a lot throughout the game.
Well, you're done here, but there's still a heart piece to be found in Ordon. Take Epona to the ranch (south of the mayors house) and talk to your friend. At first he just talks, but the second time he asks you to round up his goats again. I *think* you have to beat a time limit of 2 minutes to actually get the heart piece, but I've never come in at over 1:40, so I wouldn't know. Just try your best. Once all the goats are in, talk to him again to get your prize.
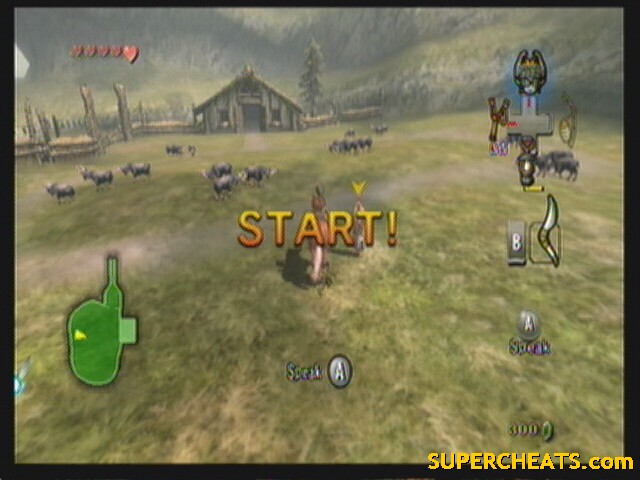 H06, 5 1/5 |
Alright, now we're finished. Go ALL the way back to Kakariko Village.
King Bulblin Fight
 Honey, I'm home! |
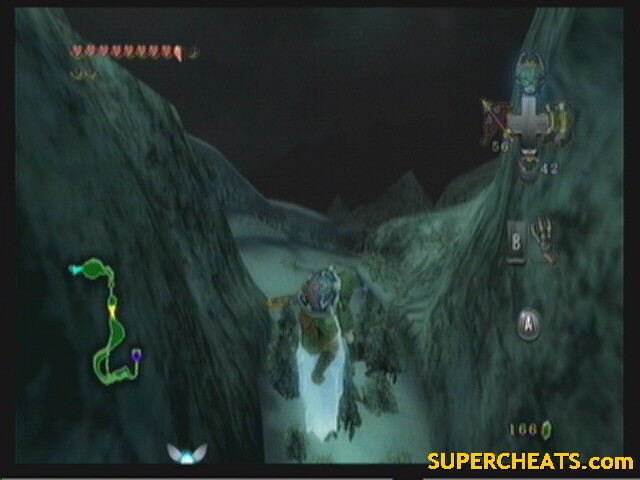
He's back and ready to steal your friends again. Equip your slingshot and give chase out the north end of town. Jump the gate to get into a very good horse battle.
This takes some practice, but it's actually really fluid once you get it. Basically the same as on foot, only you're moving a lot faster and aren't quite as maneuverable.
Little Bollbo will ride along side you and try to force you away from King Bulblin. Use your sword to knock them away (spin attacks work well). When they are in front of you, you can use your slingshot to knock them off. Your slingshot wont work on the King though.
Yeha! |
To catch the king, you have to use your dash to get up along side him. Use them with good timing to get up to him, hack a few times while waiting for a couple to recharge, then use them again to keep pace. Keep doing this, and in about 10 blows he retreats to the bridge.
The bridge battle is actually a lot harder. First, you should know the basics:
1) if you touch the king with anything but your sword, you die via falling off the bridge.
2) you cannot leave the bridge till after the battle.
3) every death costs you 1 heart and the bridge battle starts over till your out of hearts.
4) hits on his war hog don't count, you have to hit him.
 Epic |
Ok, now to win this fight, you simply have to land about 2 blows on the king. To do this, charge down the bridge hugging one side (left or right) then, at the last second, dodge in the opposite direction and do a spin attack. Once at the other side, stop Epona and pull back on the joy stick to quickly turn about and start another run.
--== Kakariko Village ==--
Alright, time to get back to what started this whole mess. Real quick here, we need a new shield, one that wont burst into flames. Malo Mart meets all your heroic needs! The first building on the right side, with Malos picture on it. Try to pick up the shield and Malo will yell at you. They only thing you really need is the Hylian Shield (200 rupees. Hope you've been saving), but if you have an empty bottle some red potion wouldn't kill you.
Onward to Death Mountain!
--== Death Mountain ==--
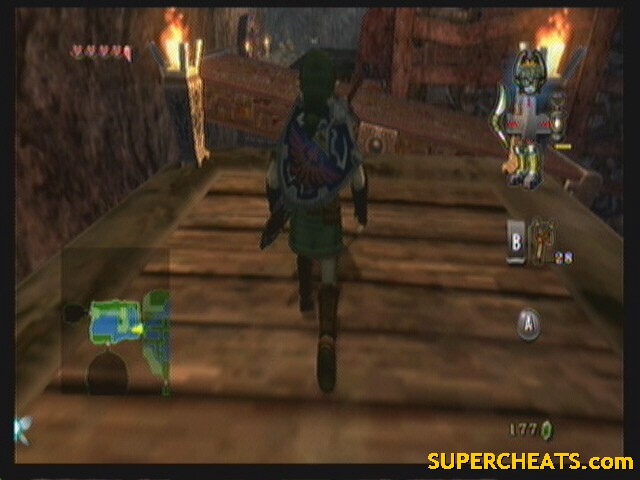
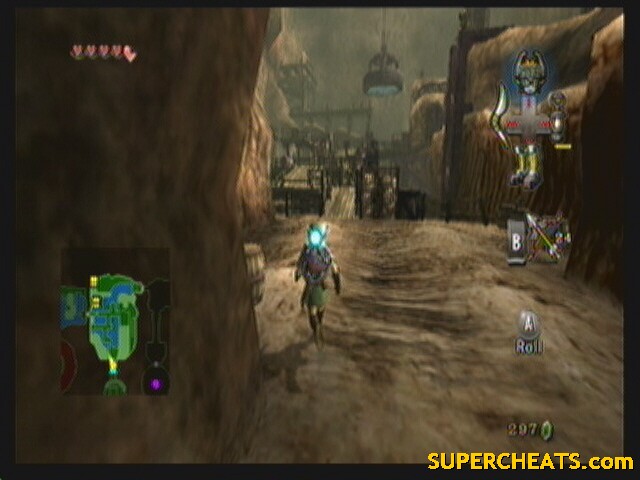
Hope you enjoyed the easy time you had here as Wolf Link, because it just got a whole lot harder. Climb the net. At the top is a Goron that charges you. Quickly equip the iron boots and wait for the A prompt. Press and hold A to throw him aside. You'll be doing this A LOT (five times) all the way up the mountain, so keep the iron boots handy.
At the location of the howling stone is a bunch of archers. You can ignore them for now and just run past. Rocks will start raining from the sky, so watch for shadows. Note how the Goron jumps in the cutscene, because that's what we're going to be doing for a bit.
Walk up to the Goron on the left (about the time you get to him, a huge rock will probably fall from the sky. Don't worry about it for now), anyway, use the shield attack to stun him, then give him a whack to make him curl up. Hop on and position yourself facing the ledge behind him. You'll rocket into the air and land on the ledge.
 Wheee~ |
Do the same to the Goron on the left. Oh, and watch for gyssers, they can push you over the edge. Use the iron boots to get through them without falling.
Through the cave is another jumping Goron. Once on the upper path, use the boots to get through. You enter another cave with another rolling Goron you'll need to toss aside.
The next two jump have very narrow margins for error, so be careful.
Once up top, enter the doorway. The old Goron will come out and challenge you to a sumo match. The first match you get tossed out, but then equip the iron boots and request a rematch. Beat him once to gain entrance to the Mines.
 Again with the wrongness... |
Before entering the mines, however, try to exit the area and you'll be stopped by a Goron that tells you to take the elevator. Take him up on the request and use the iron boots to activate the switch.
Once down, go both east and west and push the stones away from the entrances. This will allow easy access later. Take the elevator back up and enter the mines.
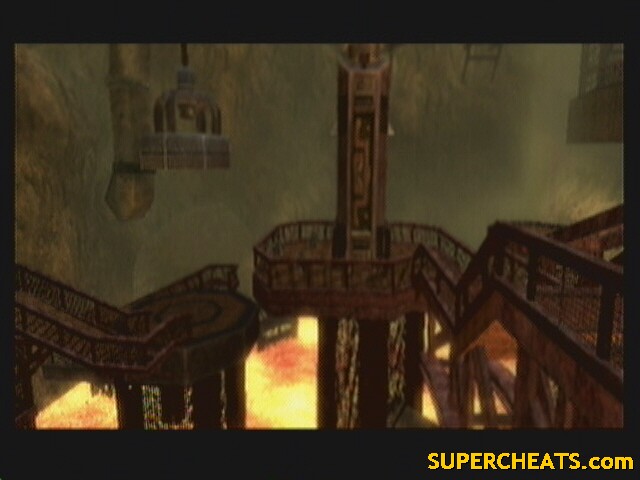
Fire Temple: Goron Mines
 Goron Mines |
Goron Mines favors magnetic and switch based puzzles.
--== Room 1: Entrance Room ==--
Enemies: Toadpoli, Torch Slug
Chests: 1 (20 Rupees)
Quest items: 0
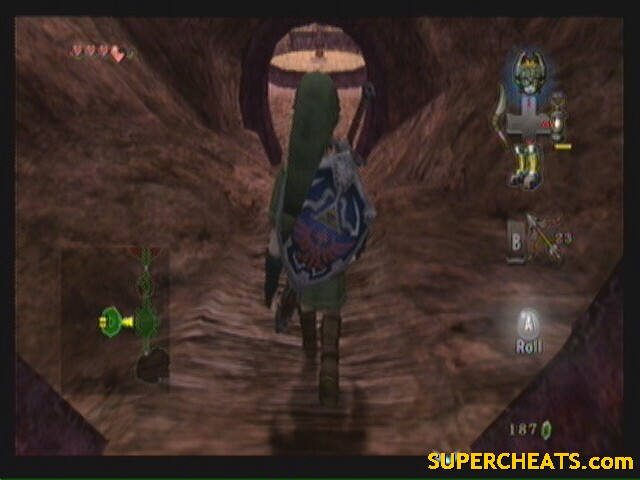
Navigate around the path to the left. Now carefully jump onto the platform in the center. Turn left and jump to the next platform (wait for the pillar of fire to die down first!). cross the rock “bridge” to the next platform then jump to the main land.
Walk to the left side and into the steel cage. Use your sword to break the wooden barricade and proceed forward. Break the wood barricade ahead; by now you should see the flame pillar blocking your path. Turn around and look for a button in the floor on the west side of the cage. Stand on top of it and equip the iron boots; this should deactivate the flame. Now unequipped the boots and run past the flame (it will only stay deactivated for a limited time). To the left is another button. Equip the iron boots to deactivate the next flame. This time, run past the flame, then turn around and cross the bridge, passing the flame again (if you run out of time and don't make it, there is a ladder to the east, climb it and jump back down to the button).
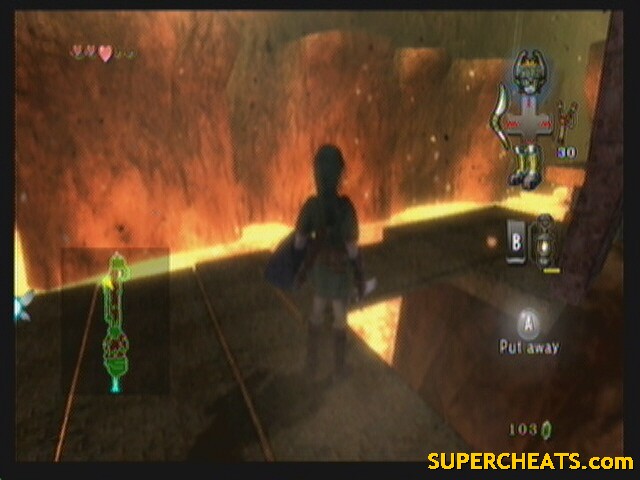 Tic-Toc |
Climb the ladder ahead and jump to the next platform. Open the chest for 20 rupees. Now jump back and turn east. Jump across and turn south. There should be another button ahead. Use the iron boots to deactivate the flame blocking the path to the north. Run back across and past the flame before it reactivates (watch out for the slug just before the flame).
Follow the path around. Before jumping down to ground level, look north. You should see a small platform hanging out the side of the wall beside the door. Jump on it and equip the iron boots to lower it and unlock the door. Go through the door.
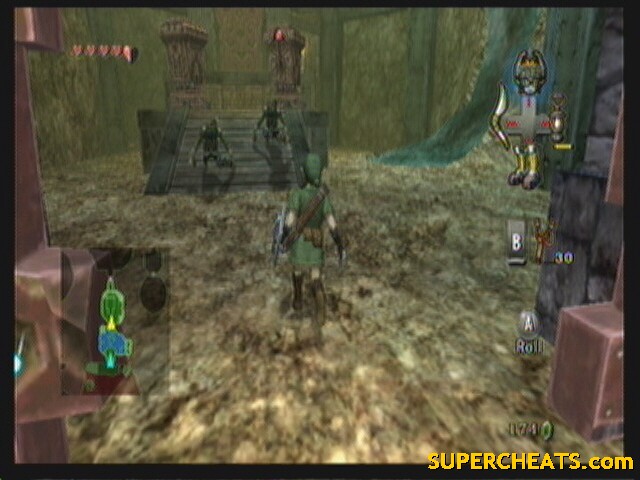
--== Room 2: Electro-magnetic Cranes ==--
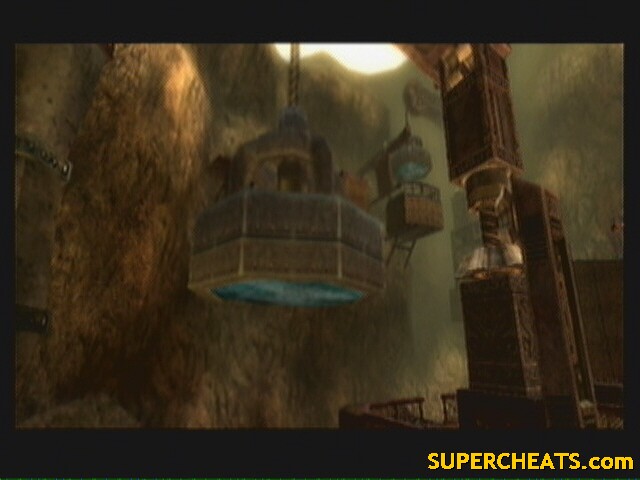 Electro-magnetic Cranes |
Enemies: Boblin
Chests: 1 (small key)
Quest items: 1 (small key)
Alright, walk forward and turn left (west). Down the ramp and fight the three Bolblins. Open the chest of a small key . Walk back up the ramp and this time go east. Up the ramp and HOLD IT RIGHT THERE! You are now faced with a series of 4 jumps. Be careful! The platforms rotate. Wait for the platform to rotate flat and lock in place then quickly jump on it then off it to the central platform. Do the same for the next. Enter the door to the right (east) (KEY 0).
--== Room 3: Quick-jump Room ==--
 Quick-jump Room |
Enemies: Didongo, Torch Slug
Chests: 1 (not reachable)
Quest items: 0
Ok, to the right, down the ramp. You can kill the didongo if you want, but there isn't a need. Be careful and time your jumps as to not run into a pillar of fire, jump west, west, north, west. You should now be on solid ground with another didongo, you should kill this one. Now go to the northern side of the platform and jump east, east. Now you're on land again. Follow the wall until you come across a chain sticking out. Grab the chain and pull the wall back along its track. Pull it all the way back and hold it there; now watch through the steel cage off to the south (in front of you), you should be able to see a pillar of fire come up every so often. Wait for the fire to shoot up into the air for a sec, then let go of the chain and run back to the island you jumped here from, then jump again onto the central platform. Turn east jump for the platform to the island then to the door without pause. If you are fast enough, you should reach the door before the wall you pulled out closes. If not, go back and try again.
--== Room 4: Water Room ==--
 Water Room |
Enemies: Torch Slug
Chests: 0
Quest items: 0
This room is very simple. Run to the edge and jump in the water. Equip the iron boots and sink to the bottom. Now look for an opening in the steel fence and go through. Walk forward and step on the switch. This should activate a magnet, thus pulling you out of the water. DON'T UNEQUIP THE BOOTS UNTIL YOU ARE RIGHT SIDE UP! Walk around to the top of the magnetic slab and enter the door.
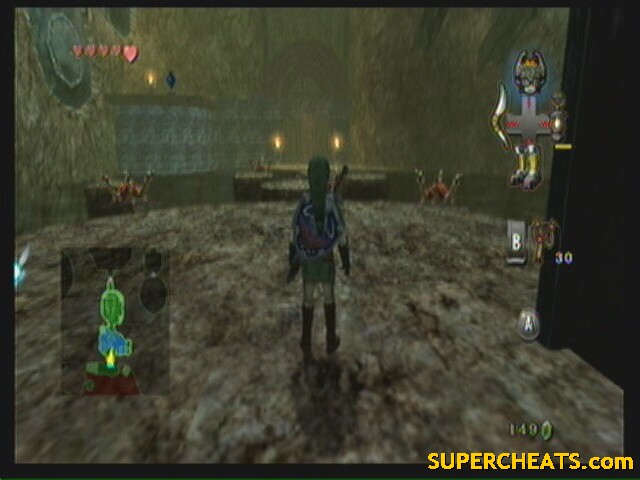
--== Room 5: Old Guy #1 ==--
 Old Guy #1 |
Enemies: 0
Chests: 2 (20 Rupees, Map)
Quest items: 3 (Big Key Shard, Map, Ooccoo)
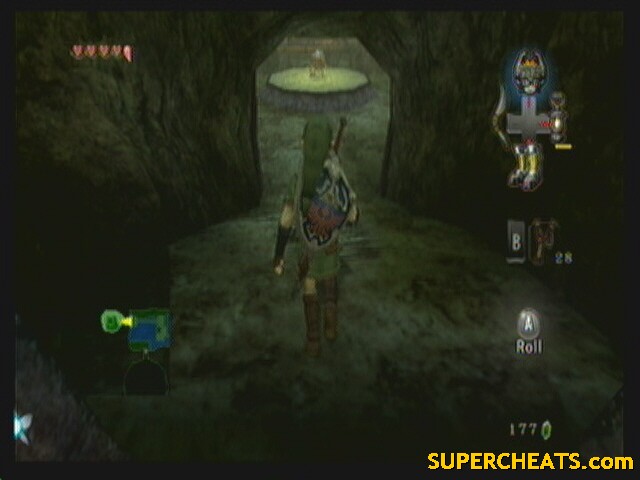
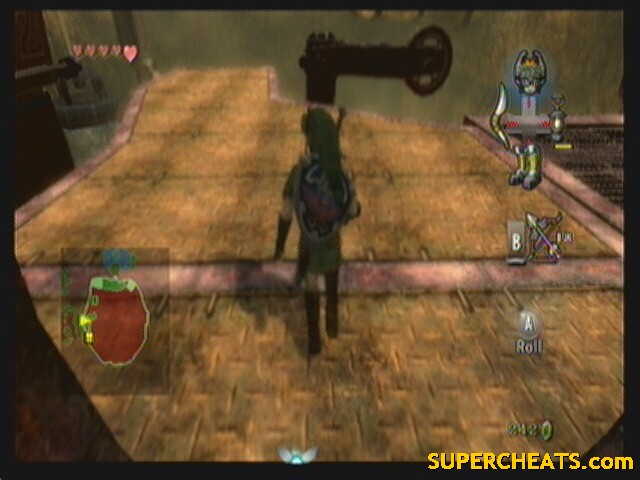
Talk to the old guy in the middle of the room, he will give you the first part of the bosses room key. Now open the chest behind him to find the map. Just to the left there is another chest containing 20 rupees. Onward! Up the ladder in the south east and around to over the door we entered from. On your way, pick up the rattling bottle to re-unite with an old friend Ooccoo. Enter the door.
--== Room 4: Water Rooom ==--
 Water Room |
Enemies: Torch Slug
Chests: 0
Quest items: 0
Equip the iron boots and walk along the right magnetic slab. Watch out for the slug as it can create a fire sphere around it, if you touch it you'll fall off the wall. After walking off, take off the boots and enter the door ahead.
--== Room 3: Quick-jump Room ==--
 Quick-jump Room |
Enemies: Didongo, Torch Slug
Chests: 1 (Heart Piece)
Quest items: 0
Walk forward and equip the iron boots on the button. This will activate a magnate overhead and pull you to the ceiling. Walk around the path to the right (north-west) (watch out for slugs) to obtain a heart piece. Now back to the left (south-east). You should see a small (magnetic) path that leads to over the door in the west. Follow this path and enter the door.
 H07, 5 2/5 |
--== Room 2: Electro-magnetic Cranes ==--
 Electro-magnetic Cranes |
Enemies: Boblin
Chests: 0
Quest items: 0
Walk down the ramp and kill the 4 Bolblins. Activate the switch Then crane above should now rotate from the entrance door, to near where you are not, to a platform further north. Walk over to where it stops near you, equip the iron boots and take a ride to the northern platform. One it stops, take off the boots and fall to the platform. Follow the ramp up. Kill the two Bolblins and two fire bats that come after you. Activate the switch to activate another crane. This one will take you to the northern most platform. Kill the two Bolblins and any remaining bats. Go through the door.
--== Room 6: Underwater Adventure ==--
 Underwater Adventure |
Enemies: Tektite
Chests: 2 (20 rupees, small key)
Quest items: 1 (small key)
Kill all 4 Tektites that come after you. Jump in the water and swim northwest until you see a chest. Sink down and open it to find a small key. Next, jump off the east side of the platform you came in on. equip the iron boots and sink to the bottom. Look for an opening in the steel fence. There is a block in your way, so push it out of the way. Enter the steel cage and take off the boots. Float to the surface and climb up to dry land.
Climb up the small step and activate the switch. Walk over to the magnet that activates. Follow it north and fall off at the end. Walk west and activate the next switch. Now walk over to the steel grate beside you, equip the boots and jump off toward the magnate. Follow the magnetic slab around and fall at the end. Use your sword to hit the diamond shaped switch. This will open the way to the door below. Jump off and run through.
--== Room 7: Beamos ==--
 Beamos |
Enemies: Beamos, Bolblin
Chests: 1 (Heart Piece)
Quest items: 0
(this isn't really its own room, as its connected to room 6, but whatever)
Kill the two Bolblins. Watch out for the Beamos, as they will shoot lasers at you. Climb the magnetic slab in the east. Follow it up and take a right for a heart piece. Climb back up and take a left. Follow the platform around and cut the rope with your sword. Jump down and take the newly opened path. Enter the door (KEY 0).
 H08, 5 3/5 |
--== Room 8: I_hate_archers ==--
 I_hate_archers |
Enemies: Bolblin, Beamos
Chests: 3 (small key, 2 not reachable)
Quest items: 1 (small key)
Walk forward and break the wooden barricade with your sword. Follow the path around and take the first two rights. Watch out for the moving stone statue, open the chest to the right for a small key . Go back out onto the bridge and run straight across to the door ahead.
--== Room 9: Flipping Platforms Magnets = Fun ==--
 Flipping Platforms Magnets = Fun |
Enemies: Tektite
Chests: 0
Quest items: 0
Jump across the platform ahead when it locks in place. Turn right and go up the ramp. Hop onto the small raised platform. Note that the flipping platform ahead is to long to cross by just running when it locks. Instead, run across to the nearest (you may have to wait for it to flip over) magnetic strip, equip the iron boots, then wait for it to flip back over, unequip the boots, and start running again. Repeat until you are on solid ground. Enter the door.
(Note: if you fall off, you can get back up via a ladder in the north, but you'll have to fight through some Tektite)
--== Room 10: Old Guy #2 ==--
 Old Guy #2 |
Enemies: 0
Chests: 1 (10 Rupees)
Quest items: 1 (Big Key Shard)
Walk forward and talk to the old man to get another piece of the key. there is a chest behind and to the left of him that contains 10 rupees. Now that that's done, take the ladder behind the old guy and exit through the upper door.
--== Room 9: Flipping Platforms Magnets = Fun ==--
Turn right and follow the magnetic slab around to the next door. Drop down and enter the door.
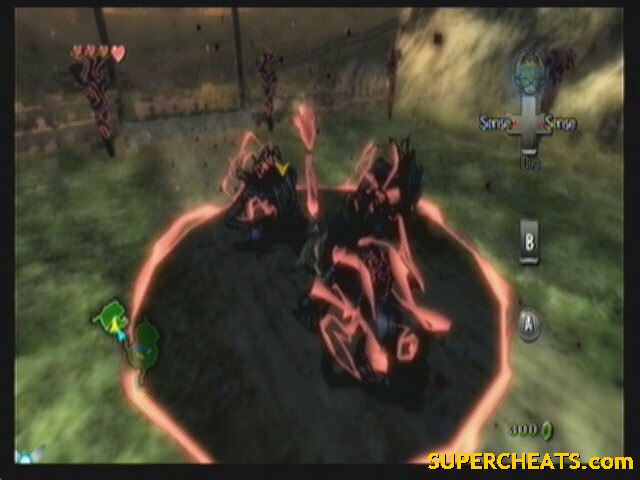
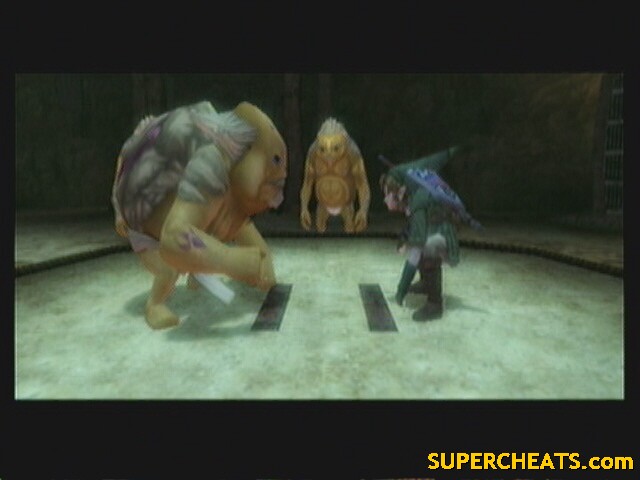
--== Room 11: Mini-boss: Guardian ==--
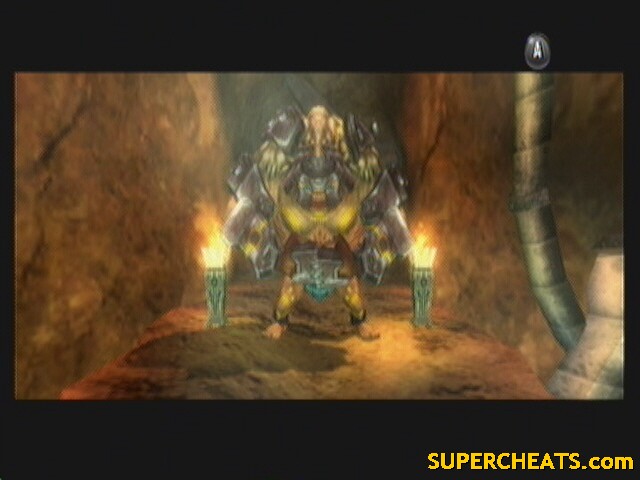 Guardian |
Enemies: Guardian
Chests: 0
Quest items: 0
Walk forward and activate a cut scene. Now, run forward until you are just a few inches from the goron, equip the iron boots and wait for him to hold his hands up in the air. When he does, attack him with your sword. Hit him 5 times in a row to make him fall over and curl up in a ball. When this happens, quickly press and hold A. you will grab him and throw him behind you. Repeat until you throw him off the edge 3 times.
After the battle, the platform will rise back up. Enter the door to the south.
--== Room 12: Prize Room ==--
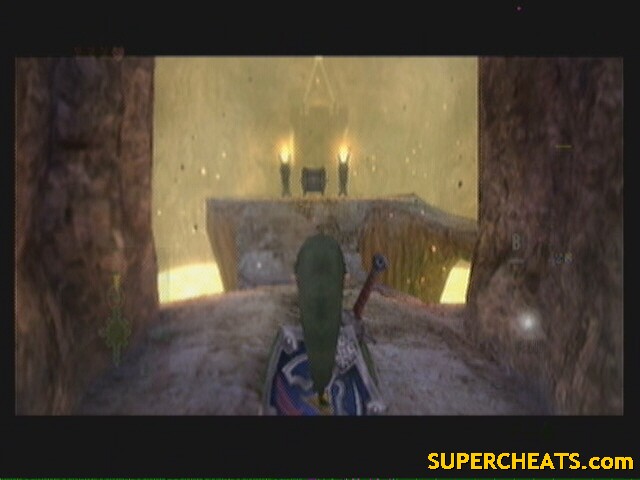 Prize Room |
Enemies: Bemos, Torch Slug
Chests: 2 (Hero's Bow, Compass)
Quest items: 2 (Hero's Bow, Compass)
Walk forward and open the chest. The chest contains the hero's bow. Use it to pick off the rope holding up the gate ahead. Enter the passage and run straight to the other side. This will activate the Beamos. Use the bow to pick off the red gem in there eyes, this will deactivate them and allow you to push/pull them.
Grab the statues and pull them back. each one hides a treasure. Enter each room to claim a prize. Just don't leave until you have acquired the compass. After, enter the door on the west side of the room.
--== Room 13: Old Guy #3 ==--
 Old Guy #3 |
Enemies: 0
Chests: 1 (50 Rupees)
Quest items: 1 (Big Key Shard)
Walk forward and talk to the old guy for the final piece of the key. behind him is a chest containing 50 rupees. Exit the room through the same door you came from.
--== Room 12: Prize Room ==--
This time, exit the room by the door in the south.
--== Room 14: Ceiling Ambush ==--
 Ceiling Ambush |
Enemies: Torch Slug, Didongo, Keese
Chests: 0
Quest items: 0
Take the path right and kill the 4 fire bats that come after you. Roll into the gate ahead to make it fall over. Jump across to the platform on the left. Watch out for the three slugs that fall from the ceiling. Now follow the path up and turn left. There is a didongo on the platform ahead, but more importantly is the slugs on the ceiling over the platforms ahead. Use your bow to pick off all the slugs before proceeding (10 total).
After, jump around the platforms until you are near the gate. Walk up to the switch in the south, but don't activate it yet. Instead, take out your bow and pick off the didongo on the ceiling (about 4 shots to the tail.). Now activate the switch and be pulled to the ceiling. Walk around the magnetic slab until you notice a hole in the wall to the right. Look over to see a diamond switch. Use your bow to activate it, then drop down and enter the door.
--== Room 2: Electro-magnetic Cranes ==--
 Electro-magnetic Cranes |
Enemies: Boblin
Chests: 0
Quest items: 0
Yep. You're back to where you started, just... higher. Go to the right and open the chest for 50 rupees. Now go back and use your bow to lower the gate (aim for the strings). Jump forward and activate the switch. Let the crane take you back around to the northern most platform. Enter the door.
--== Room 6: Underwater Adventure ==--
Jump across the islands and over to the gate. Use your bow to activate the diamond switch and enter the door.
--== Room 7 Beamos ==--
Up the ramp then through the door. You can ignore everything if you want.
--== Room 8 I_hate_archers ==--
 I_hate_archers |
Enemies: Boblin, Beamos
Chests: 2 (50 Rupees x2)
Quest items: 0
This time, use your bow to pick off the archers. There should be 7 total. 4 straight ahead, one to the far left, one slightly to the right beside the crane, and one to the far right. After, walk forward and take the first two rights to where the moving stone statue is. Take it out, then pull it forward. Go through the newly opened path and up the ramp. Turn around and pick off the two archers (BE CAREFUL! The barrels ahead are explosive, if they hit them the barrels will explode. Make sure you are not near by). Continue on the path and activate the switch.
Jump down to the platform the magnate hangs over. Let it pull you up, then on your ride to the next platform pull out your bow and shoot the rope holding up the gate. When the crane stops, drop down.
Jump off to the left (north) and follow the platform down. In one of the jars is a pink fairy. You'll want to grab that before you go. Go back and jump to the door.
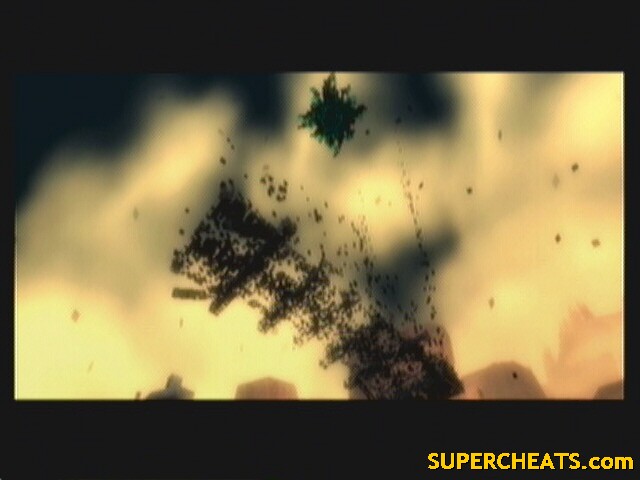
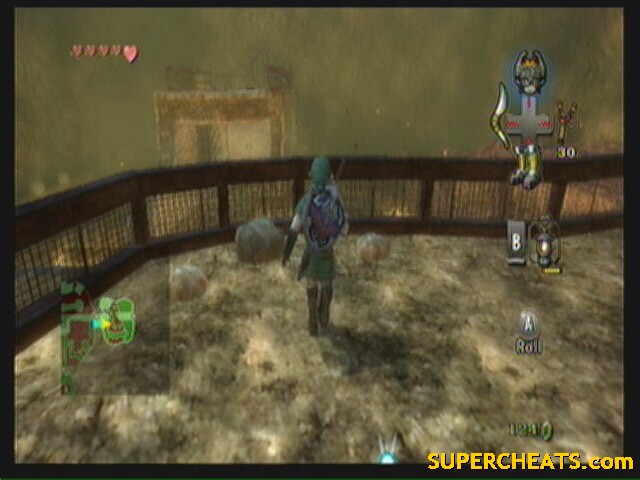
--== Room 15: The Bolblin Horde ==--
 The Bolblin Horde |
Enemies: Boblin
Chests: 0
Quest items: 0
Follow the path around, picking off archers as you go. Once you reach the bottom, shoot the ropes holding up the gate again and jump over. Draw your sword and prepare to fight! There is a horde of Bolblins on the other side, and they all rush you at once. Once that's over, enter the large door.
 Awesomeness. |
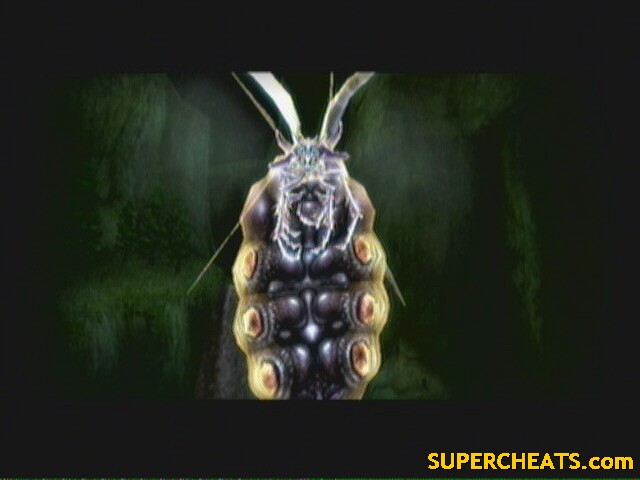
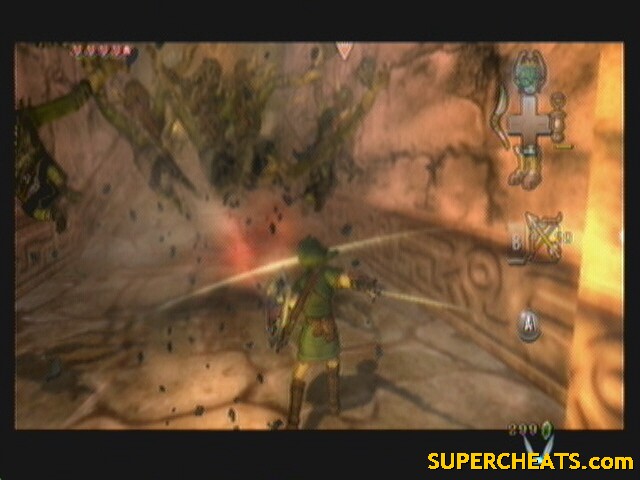
--== Room 16: Bosses Lair: Twilit Igniter – Fyrus ==--
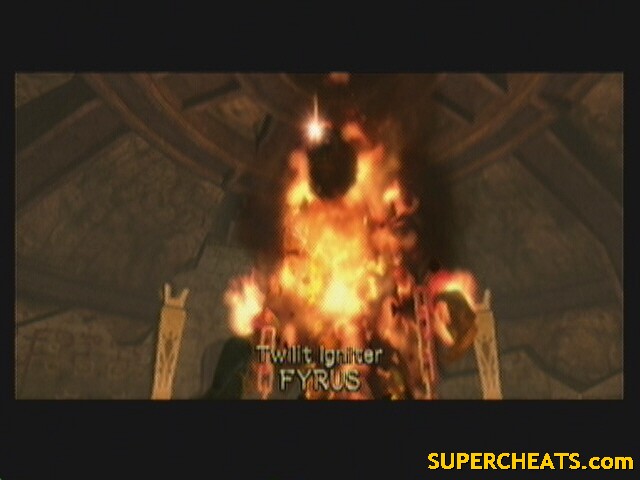 Twilit Igniter – Fyrus |
This is it! the boss fight.
Twilit Igniter – Fyrus
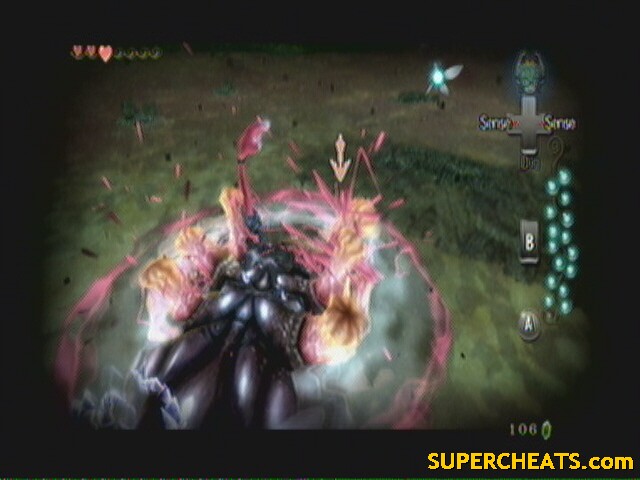
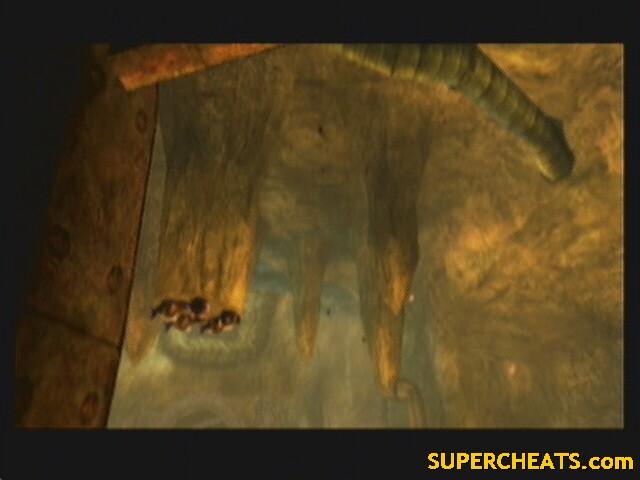
Pull out your bow and shoot the shiny stone on its forehead. When he is hit, he will stammer about. Run over to one of the chains, equip the iron boots, grab and pull the chain. He will fall over. While he is down, run over to his head and hit the stone with your sword. Repeat a few more times until he goes down.
His attacks really aren't much, he just flails about mostly. Sometimes, however, he will start to gather energy into his gem stone. When he does this, RUN! He will just incinerate a huge circular area around himself.
Your prize? Another heart container (6, 3/5) and a fused shadow, what else? Now let Midna warp you out.
In need of a refreshment after taking a dip in all that lava? Well, you're about to get more then you could possibly ever use: onward, to the Water Temple!
Thanks guys from supercheats.com. I have been playing this game for 3 years and only now have I been able to finish it. I made it pretty far on my own before but I missed so many things that you need to win and your walkthrough showed me where everything is at. Just follow their walkthrough people and you will see the fun in this game. wildcat
I need help! I'm really bad at the boos fight, I don't like that he's comming towards me while I aim. So I consequentially died. So I figured, I saved before I came in with full health so I reset to find that when you save in a temple you load to find yourself at the entrance, how do I get back??? Help?
i like it, thanks bro
In kakariko villiage i collected all the tears on the map but it still says I have 3 left to find. Did I miss something?
If you haven't visited the wolf after you were wolf link it will show up on your map as a golded wolf face. You need to be regular link to do the lesson.
I love this game and this walkthrough helps so much!
What happens if you missed the wolf stone part and didn't do the shield lesson? Can u go back and do it later as wolf-link?
Yes get minda to warp you back to the goron mines then you can find the howling stone
practice and develop your sword and riding skills in open fields before battle, focus on the leader, if you lose sight of him it can be difficult to find him, avoid "z" targeting, avoid water, when the leader rides into shallow areas of water, stay on solid ground and you will gain on him, use all your riding skill to avoid getting surrounded by boar riders.
you guys really helped out very much.
my gaming skills have very much inprooved because of your website
i will very much tell my gaming friends about this website
we will rule the gaming world with your website
you've made me very happy
thanks super cheats for your detailed instructions...
I KICKED HIS ASS.
The Boss was harder than I thought it would be I'm just glad I didn't run out of arrows.
How do you defeat the didongo I can't seem to kill him so i can pull the chained wall in the goron fire temple.
me too! have you figured it out yet? plz help!
I'm stuck at the door deep in the Goron mines with a lock that has a hole in it. Not sure what is needed to open it. HELP.
I Beat The Game And Had No Troubles What So Ever Beating The Bublin King
THANK YOU - i have been stuck on this game for 3 years straight! i owe u my life! this game is AWESOME thanks! :D