Boss Guide
The Legend of Zelda: Twilight Princess Walkthrough and Guide
by SPV999
Boss Guide - Zelda: Twilight Princess
 Boss Guide |
So when the above happens, you know how to deal with it. ;)
We'll look at them in order of when they were faced. Sub-bosses only count if you never face them again (Aeralfos and Darknuts are out).
Forest mini-boss: Ook
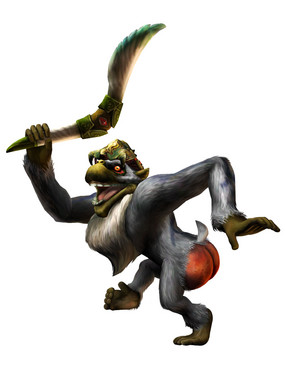 Ook |
 |
Weakness: Buttocks
Weapon: Gale Boomerang
Weapon of Choice: Sword
This boss is really easy. Firstly, watch out for the Deku Serpents he knocks down from the ceiling from time to time.
To defeat Ook, you have to knock him down. Looking at the pillars, you would think just roll into them like we have been so far, but it's not that simple. You have to follow him around and wait for him to stop and throw the boomerang, THEN roll into the pillar he's on. It'll knock him off-balance and his own boomerang will knock him off the post. His only weak spot is his buttocks, so you'll have to get behind him after he falls. A couple more times and he should go down.
Forest Boss: Diababa
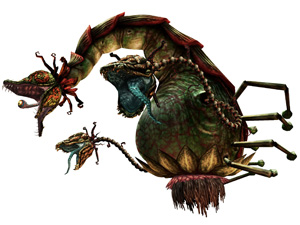 Diababa |
 |
Title: Twilit Parasite
Weakness: Eye
Weapon: Acid
Weapon of choice: Sword, Gale Boomerang
It only has two attacks:
- the heads will try to ram you. Just stay a little ways back and you don't even have to dodge, as they cant reach you.
- The main head will spray an acid substance that can do fair damage, but it sprays it in a zig-zag pattern that's easy to predict.
Set your boomerang, as that's the only item you'll need for this fight. Target one of the bomblings in the water, then target one of the Deku heads and let it fly. The head should eat the bomb and explode. Do the same for the second head.
The main body comes out now, and you're without bomblings... until *dun dun dun dun* Ook to the rescue! Whenever Ook swings by, target him, then target one of the (smaller) heads. Once both small heads are down, do the same with the large head (make sure you target the head, not the body).
The main head should fall in front of you, allowing you to chop at it's eyeball. After a few swings, it will get up and the battle will start again. Do the same just one more time should be enough. This time, look to the A button to give the prompt “Finish” when attacking the eye.
Goron Mines Mini-Boss: Guardian
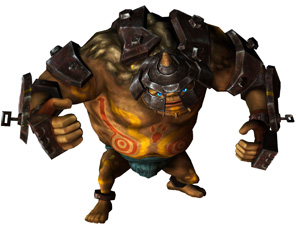 Guardian |
Weakness: Lava
Weapon: Body
Weapon of choice: Sword, Iron Boots
Run forward until you are just a few inches from the Goron, equip the iron boots and wait for him to hold his hands up in the air. When he does, attack him with your sword. Hit him 5 times in a row to make him fall over and curl up in a ball. When this happens, quickly press and hold A. you will grab him and throw him behind you. Repeat until you throw him off the edge 3 times.
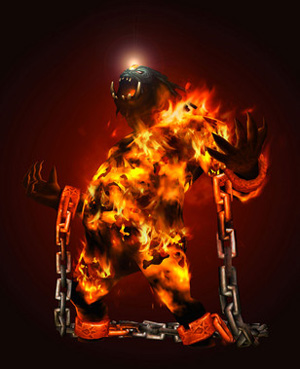
Goron Mines Boss: Fyrus
 Fyrus |
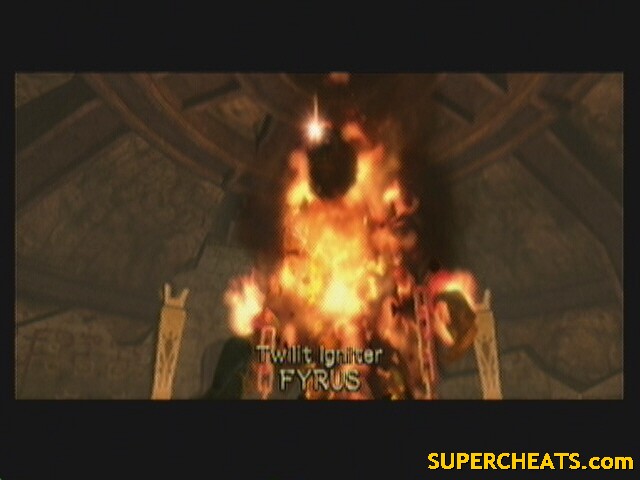 |
Title: Twilit Igniter
Weakness: Jewel on forehead
Weapon: Chains, Fire Blasts
Weapon of Choice: Arrows, Iron Boots, Sword
Pull out your bow and shoot the shiny stone on its forehead. When he is hit, he will stammer about. Run over to one of the chains, equip the iron boots, grab and pull the chain. He will fall over. While he is down, run over to his head and hit the stone with your sword. Repeat a few more times until he goes down.
His attacks really aren't much, he just flails about mostly. Sometimes, however, he will start to gather energy into his gem stone. When he does this, RUN! He will just incinerate a huge circular area around himself.
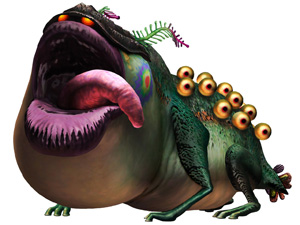
Lakebed Temple Mini-boss: Deku Toad
 Deku Toad |
Weakness: tail, tongue
Weapon: Body, Toado
Weapon of Choice: Sword
Hold up your shield to defend against the Toado and use spin attacks to dispatch them. Once they are gone, Deku Toad will leap into the air and try to crush you. Just run way from the shadow and wait for it to land, then hack and slash it's tongue. Repeat a couple times to trigger a “Finish” command when you target his tongue.
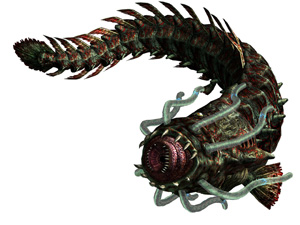
Lakebed Temple Boss: Morpheel
 Morpheel |
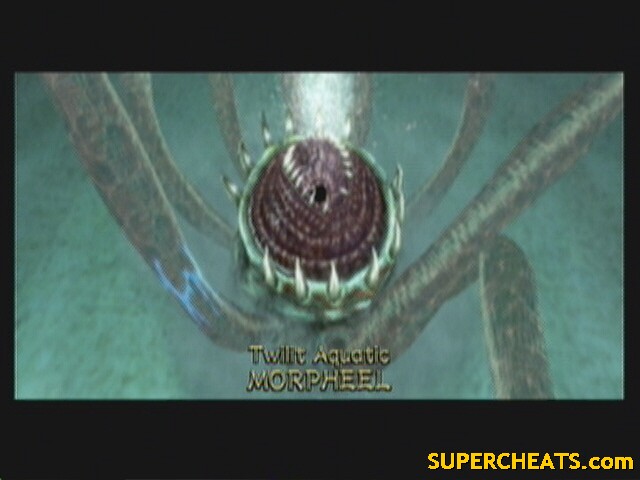 |
Title: Twilit Aquatic
Weakness: Eye
Weapon: Tentacles, Body
Weapon of Choice: Sword, Iron Boots, Clawshot
Stage 1:
This enemy very closely resembles Morpha. It's tentacles will extend and try to grab you and eat you. All you have to do is do a spin attack whenever a tentacle gets close. To fight back, use the clawshot and target the eye that often travels inside one of the tentacles. Drag it toward you then slash it. After three times, the next stage starts.
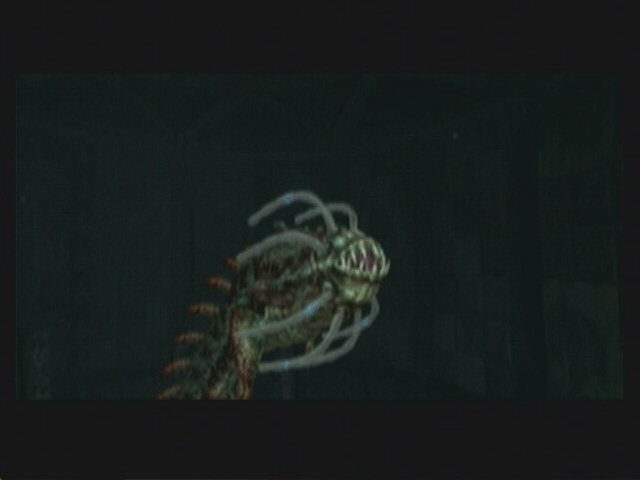 Stage 2 |
Stage 2:
This stage is even easier. Swim around with it and stay locked on to the eye. Try to predict where it's headed, then clawshot the eye and start slashing. Any contact with it's body outside of when you're cutting it will damage you, so stay sharp.
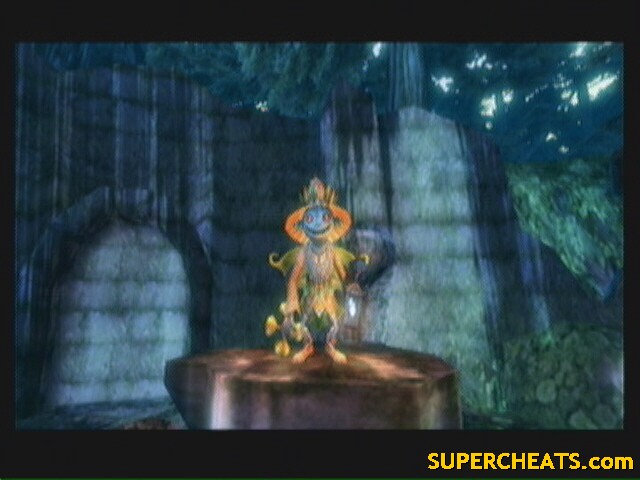
Guarding of the Sacred Grove: Skullkid
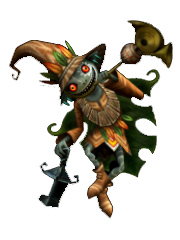 Skullkid |
Weakness: Body
Weapon: Trumpet, Puppets
Weapon of Choice: Fangs, Bow
First fight (Wolf):
He'll jump to a stump and summon some puppets. If you try to get close to Skull Kid, he'll warp away to another stump. Rather, keep a slight distance and destroy all of his puppets. He will then blow on his trumpet to summon more. Attack him while he is blowing (jump attack works best). Repeat three times.
 Second fight |
Second fight (Human):
This time it's much easier as he stays out of sword range, but wont run when you try and attack. Pull your bow and you should be able to hit him all three times without even having to get close to his puppets.
Arbiter's Grounds Mini-boss: Death Sword
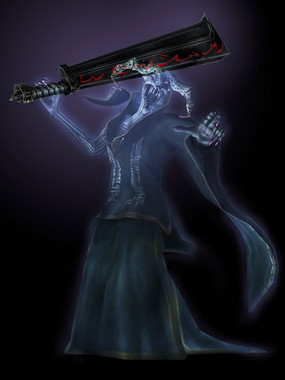 Death Sword |
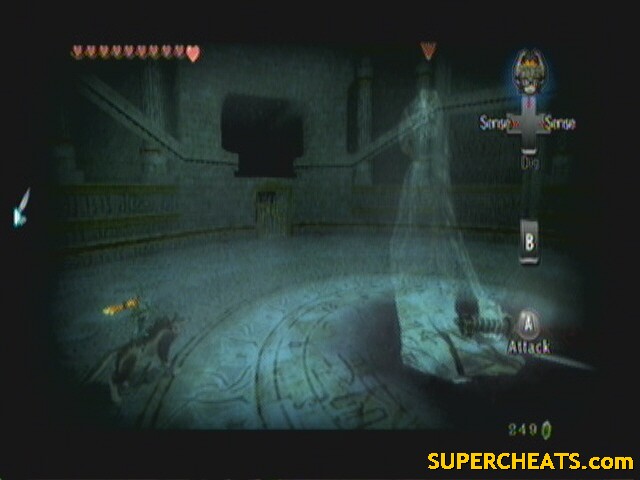 |
Weakness: Body
Weapon: Sword
Weapon of Choice: Fangs, Bow, Sword
Stage 1:
Like the Poes, you can only attack it once it is about to attack. It will swing it's sword down into the ground. Dodge it, then jump on and start biting. After a round or two, the next stage starts. He'll turn visible so turn back into human.
Stage 2:
The next stage is a little harder. He'll float around the room erratically. Use your bow (or clawshot or boomerang) and hit him with it (you cant lock on, you'll have to dumb fire it). He'll then land (or float lower) and start to raise his sword again. Hit him with your sword first and he'll collapse. Start beating on his head till he gets back up. Repeat three more times to bring him down.
Arbiter's Grounds Boss: Stallord
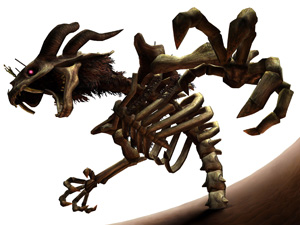 Stallord |
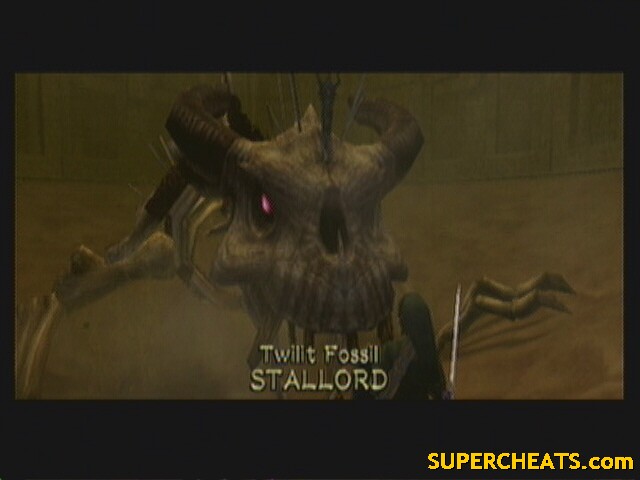 |
 Staltroop |
Title: Twilit Fossil
Weakness: Backbone, Sword in it's skull
Weapon: Laser, fireballs, claws
Weapon of Choice: Spinner, Sword
Stage 1: Stallord
Use the spinner track on the outside rim of the sand to get behind him (and avoid his fire breath). Once you're at a good point, jump off the track and aim for his spin. He will summon Staltroops to try to bounce you back. Dodge them and once at his spin, press B to spin and attack it. As you damage him, he will summon more and more Staltroops, and Blade traps will start appearing on the track.
 Careful not to be deflected by the Staltroops. |
After a few hits, he goes down and the sand lowers. There is a spinner slot on the platform. Use it to raise a pillar in the middle of the room. Stallord will come back to life, but just his head, starting stage 2.
 Stage 2: Stallord's Head |
Stage 2: Stallord's Head
This part is NOTHING compared to what you went through in the spinner madness room. At the bottom of the room, use the spinner track on the pillar to catch up to Stallord. He'll come around the corner and start shooting fireballs at you. Jump from side to side to avoid them. As soon as you get close enough, jump off and hit him with your spinner. If you delay, he'll shoot a fireball at point blank range.
 Now! |
He'll fall to the ground along with you. Hack away at the sword in his head (why don't they let you just pull it out?). He'll come back up and the stage will start over. This time, there will be Blade Traps on the track that you have to dodge on the way up, and the window of opportunity to knock him down is small.
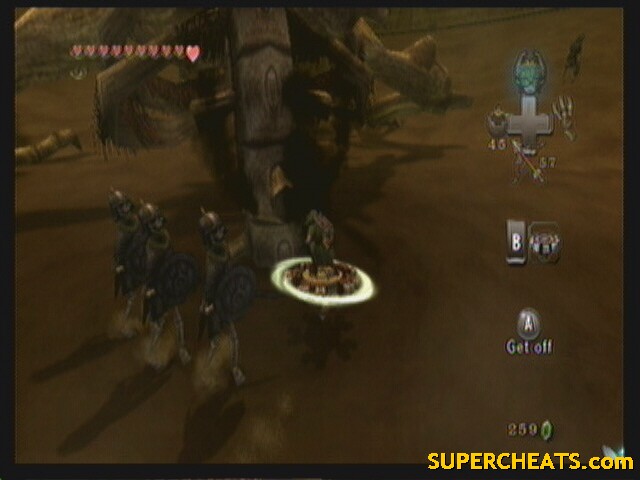
Snowpeak Ruins Mini-Boss: Dark Hammer
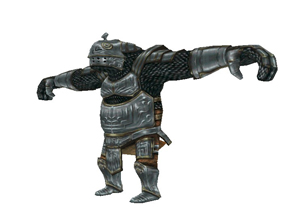 Dark Hammer |
Weakness: Tail
Weapon: Ball and chain
Weapon of Choice: Clawshot, Sword
Dark hammer has two attacks: Throwing the ball and chain, and swinging it around him. Both of these will do a ton of damage if you're hit, so lets not.
He only has one weak point: his tail, and it's only vulnerable for the short time after he throws the ball and before he retracts it.
The key here is to stay on the opposite side of the hall as him, and wait for him to throw it. RUN over to him and attack his tail before he retracts the ball. If he starts closing in on you, you can clawshot the ceiling to get away.
This battle is fairly hard, given the small window of opportunity to attack. His tail is LITTERALLY invulnerable during any other time. You can actually hack and slash away at it for short periods before he starts swinging yet after he retracted it and you wont do any damage.
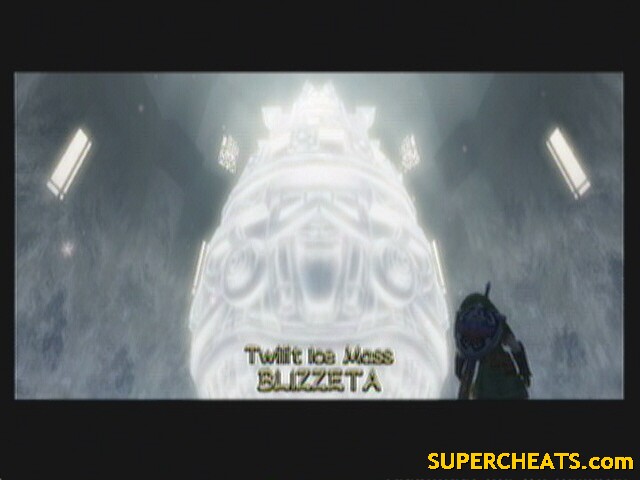
Snowpeak Ruins Boss: Blizzeta
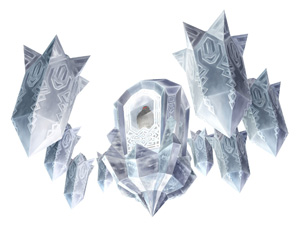 Blizzeta |
[thumb=guid/the-legend-of-zelda-twilight-princess/temple30.jpg titl= ]
Title: Twilit Ice Mass
Weakness: Body
Weapons: Body, Ice Pillars
Weapon of Choice: Ball and chain
 Blizzeta: Stage 1 |
Stage 1:
Not much to this stage. She's basically a giant Mini Freezard (which, by the way, she will launch at you from time to time). Use the ball and chain to break her down to size.
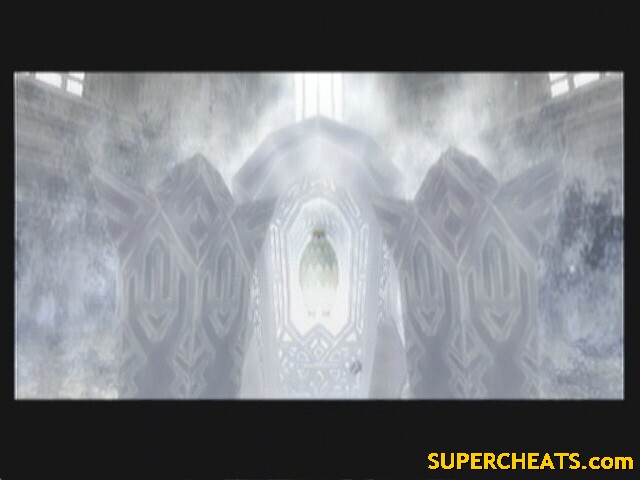 Blizzeta: Stage 2 |
Stage 2:
This stage is a bit harder, but not really. She'll fly up onto the ceiling and throw giant icicles down toward you. You can see them coming thanks to the reflective ice floor. Dodge them by running. She'll then call them back up and form a ring of them. When the ring comes down, you'll want to be on the outside. She'll then slam down in the center of the ring.
The trick is when the first icicles come down, break them with the ball and chain. Then, when she creates a circle with them, the ones you broke will make a gap in the wall, allowing you to target her with the ball and chain.
I find it easiest just to stand still and let the falling icicles hit me, rapidly pressing B to use the ball and chain whenever I get up. Doing this ensures a huge gap in Blizzeta's defense when she uses the ring, as you're sure to destroy 4-5 of the icicles. Run away when the ring falls, then quickly Z-target to turn and chuck the ball without having to aim.
Three hits is all it takes.
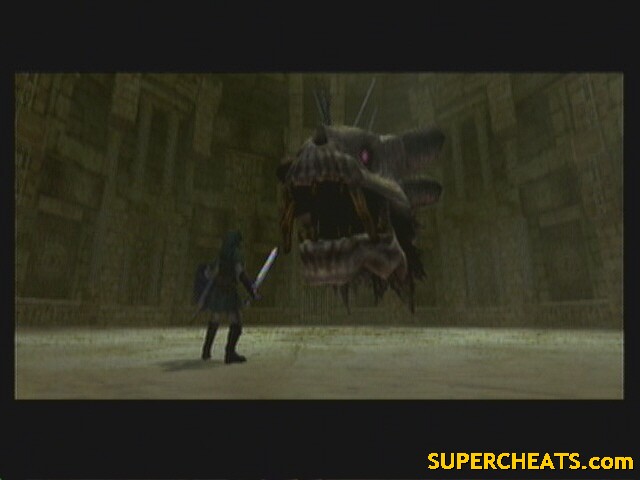
Temple of Time Boss: Armogohma
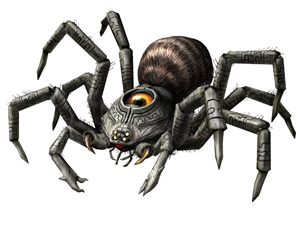 Armogohma |
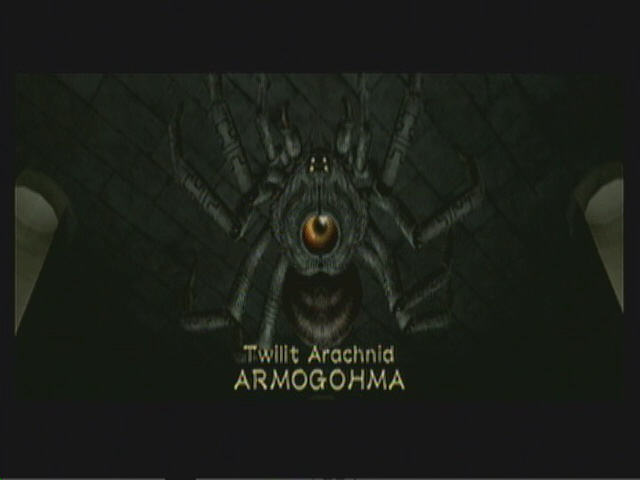 |
Title: Twilit Arachnid
Weakness: Eye
Weapons: Laser, Baby Gohma
Weapon of Choice: Bow, Dominion Rod
This battle is really easy. Armogohma has two attacks: Spawning Baby Gohma and firing a laser beam out it's eye.
When she spawns baby gohma, take them out with spin attacks (they are more aggressive then before, making it easier). The laser is easily dodged by running zig-zag or in circles.
Keep your bow out and aimed at Armogohma's eye. When she stops, wait for her eye to open and shoot it with an arrow (it doesn't matter if she is already firing a laser out it). She'll fall from the ceiling conveniently in front of one of the four large statues. Use the Dominion Rod on the statue and press B to have it pound the spider. Do this three times, and you win!
...Well, kind of. The eye then comes to life and runs around with a bunch of Baby Gohma. Hardly a “stage 2” as it doesn't even attack you. Target it with your bow and fire a few rounds into it.
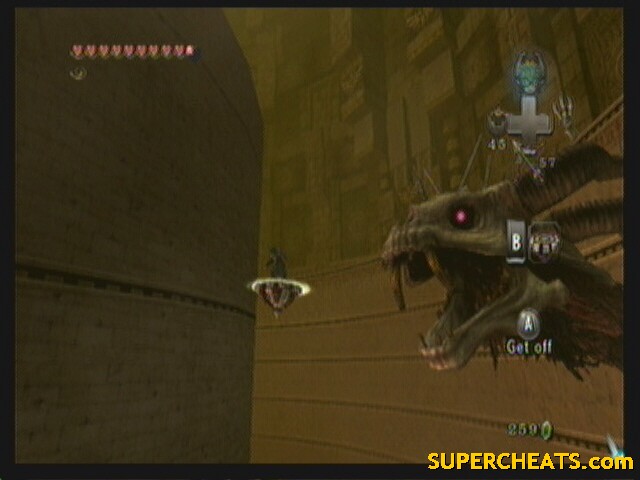
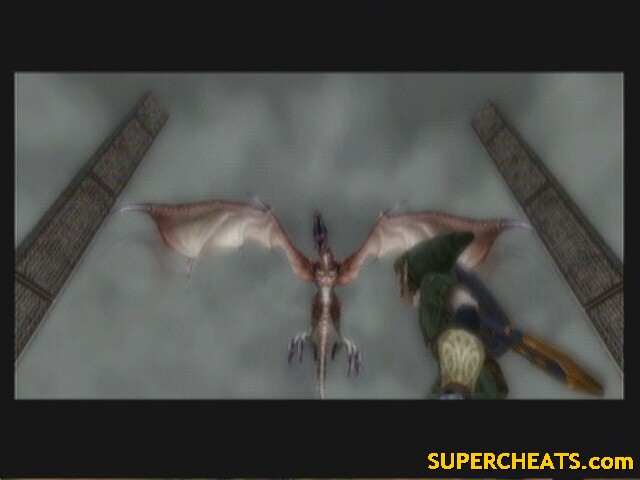
City in the Sky Boss: Argorok
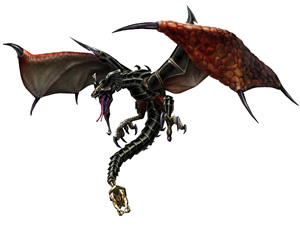 Argorok |
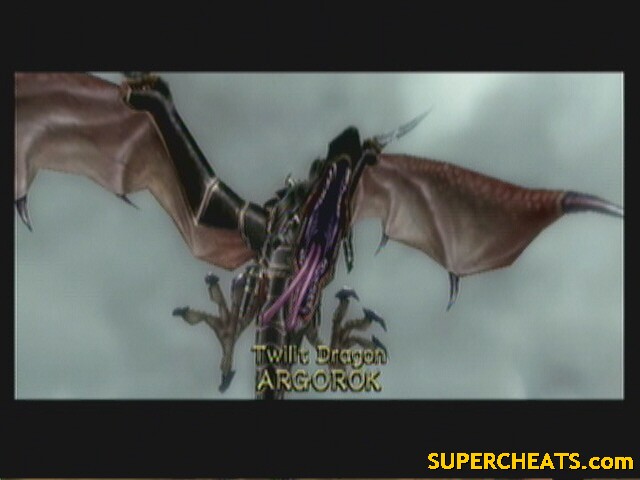 |
Title: Twilit Dragon
Weakness: Eye, tail
Weapons: Fire breath, claws
Weapon of Choice: Clawshot, Sword
Stage 1:
Grapple to one of the four pillars on the platform. Wait to be able to Z-lock onto his tail. Once you can, clawshot it (your range has been greatly increased, being able to reach him from across the stage) and equip the Iron Boots to bring him to the ground.
The second time you do this, the rest of his armor will come off, including your grapple point.
 Stage 2 |
Stage 2:
During stage 2, he will breath fire at you. To damage him, grapple from pillar to pillar, working your way to the top. Once at the top, grapple to one of the Peahats that sprung up. On a Peahat, wait from his head to rear up (meaning his about to breath fire) and start locking on and grappling from Peahat to Peahat. He'll eventually stop, and when he does he hold still long enough for you to grapple behind him. Manually target the glowing orb on his back and grapple over. Start swinging your sword to bring him down. Repeat once more.
After the second time, he will start a new tactic: in the middle of him breathing fire, he will stop, turn to face just ahead of you, and start breathing to opposite direction. You have to then stop, turn, and start grappling the opposite way to avoid getting hit. You have to be fast to still get around behind him in time. After just this one time, he goes down for good.
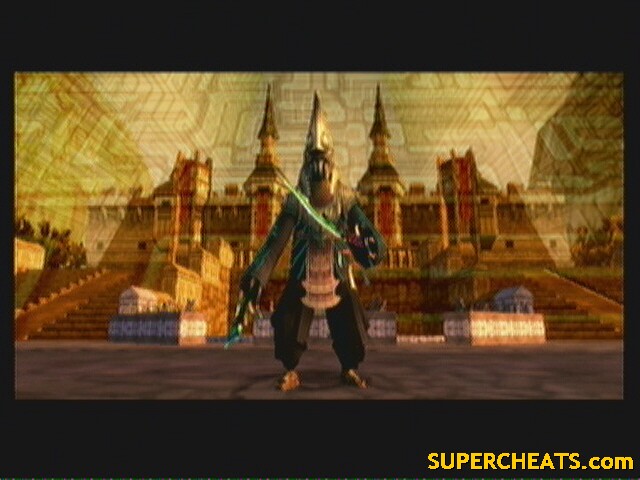
Palace of Twilight Boss: Zant
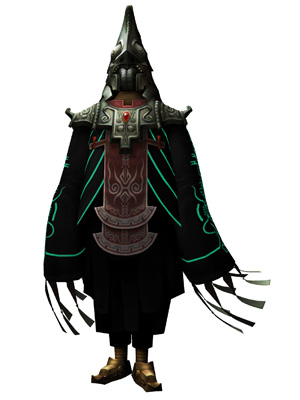 Zant |
 |
Title: Usurper King
Weakness: Depends
Weapon: Energy Machinegun, swords
Weapon of choice: Depends
The fight against Zant will take you to several of the old temples. Each stage takes on a drastically different form. However, what he should realize is that you've bested all the bosses in these areas already, what chance does he have repeating a losing strategy?
 Stage 1: Forest Temple |
Stage 1:
This stage is very easy. Dodge his energy shots and use the Gale Boomerang to draw him to you. Hack away till he warps back and starts over. Note that if you try to block all the energy shots, the last few will knock you off balance and hurt you.
 Stage 2: Goron Mines |
Stage 2:
He will try to fling you off the platform by jumping on it. Use the Iron Boots to stay on. Wait till he starts firing energy balls. Block them, then unequip the boots and rush over while his is taking a breath. Repeat till the next stage.
 Stage 3: Lakebed Temple |
Stage 3:
You'll need to immediately equip the Zora Armor. Besides that, you'll need the clawshot and iron boots. Zant will appear in a large stone head. Block or dodge his energy shots, then use the clawshot and iron boots to drag him out. Hit him a few times and he'll retreat.
The next part he summons multiple stone heads. Get in the center of the area and try to predict which one he'll be in. when he starts firing energy balls, swim past them towards him. When he stops, anchor yourself and pull him out again. Repeat till he gives up on this area.
 Stage 4: Forest Temple Revisited |
Stage 4:
This time he uses the mini-boss room. Watch him as he teleports around on the pillars. Wait for him to stop and start firing. Roll into that pillar twice to knock him off and attack.
 Stage 5: Snowpeak Ruins |
Stage 5:
He'll grow huge and float in the air above you. Keep moving to avoid getting stomped on. When he comes down, turn about and use the Ball and Chain on his foot. He'll shrink down and hop about. Track him and give him a good whack.
 Stage 6: Hyrule Castle |
Stage 6:
This is the final stage. Don't touch the barrier around the area or you'll get hurt. Zant has two main attacks: spinning and slashing. He'll teleport in and start doing one of them. If he starts slashing, use the backslice to get behind and strike. If he is spinning, dodge him a couple times till he stops to get a breather; attack him while he isn't moving.
The last stage is the hardest as you never really get a good attack in and it takes longer to bring him down. Once he does though, you are put back in the throne room.
Hyrule Castle Boss: Ganondorf
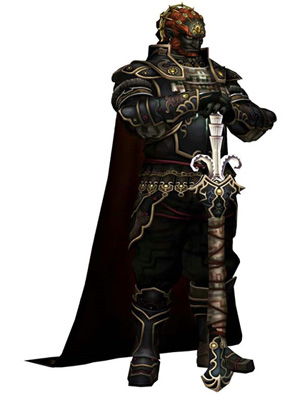 Ganondorf |
Title: Dark Lord
Weakness: Depends
Weapon: Depends
Weapon of Choice: Depends
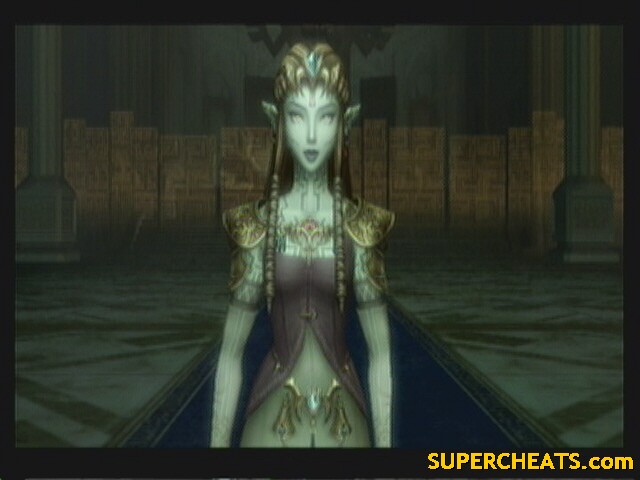 Ganon's Puppet – Zelda |
Zelda has three attacks:
1) Illuminates a triangle on the floor that then explodes with light
2) Lunges at you with her sword
3) Throws a ball of energy at you
The first two are simply paying attention and dodging. The last you don't want to dodge, rather draw your sword and bat it back at her. You'll start playing ping-pong with it till one of you misses. Make her miss three times to start the next stage.
Midna uses her power to squeeze the dark energy out of Zelda. Ganondorf re-forms, but in his beast form. (the stress from having to reform probably caused him to draw too heavily on the triforce, resulting in him taking on his true form)
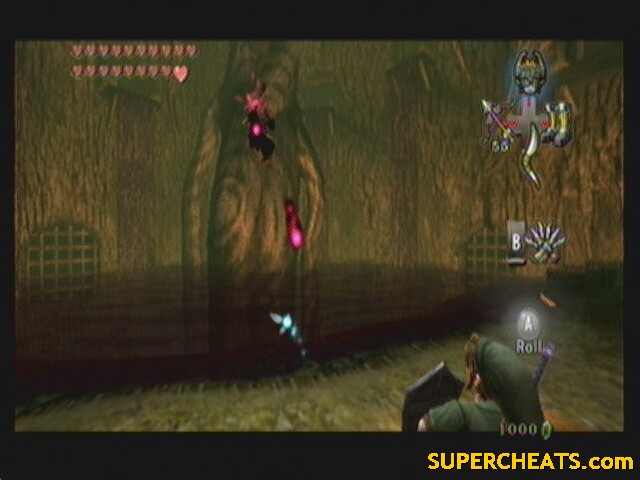
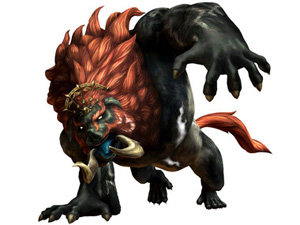 Dark Beast - Ganon |
 |
Stage 1:
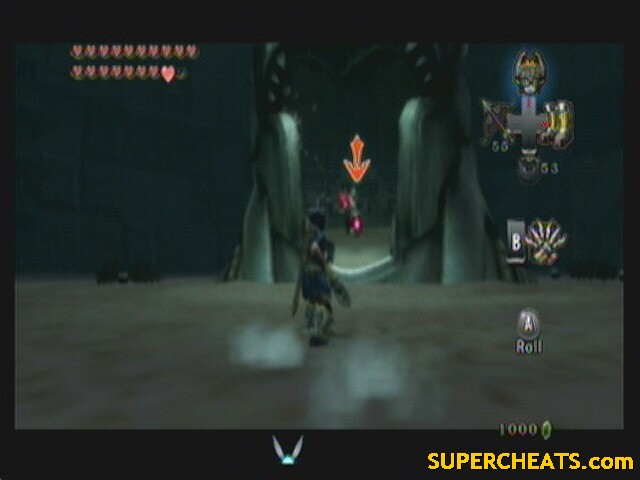
Ganon will rush around the area crushing things. He also likes to teleport out of the room and teleport back in. When he goes to teleport back in, he makes several fake teleporters first. The real one will turn blue. Draw your bow. You cant lock on, so hopefully you've practiced. Whenever you can get a clear shot, fire at the jewel on his forehead. He'll crash and burn, allowing you to hack at his vulnerable stomach.
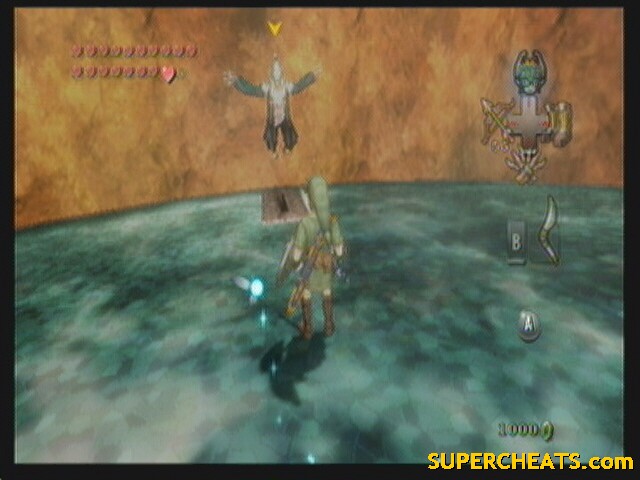
Stage 2:
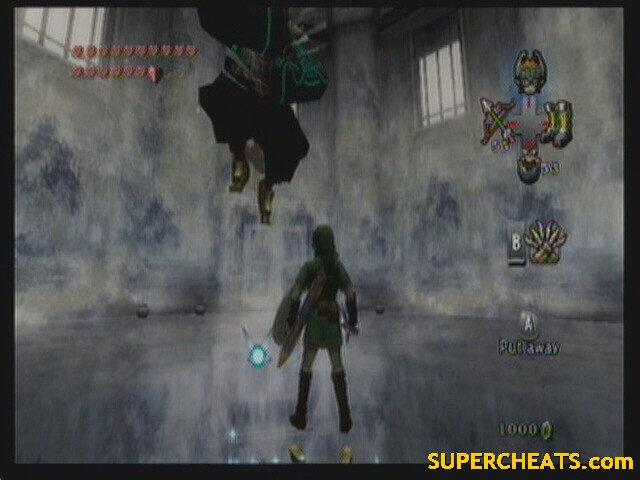
You'll know when stage 2 starts when he starts teleporting whenever you fire an arrow. Transform into a wolf and wait for him to teleport. Get right in his path and wait for the prompt to press A. Press A to have Midna hold him, then tap either left or right repeatedly to have Midna toss him to the side. Walk over and bit his stomach (jump attacks work well)
A cutscene ends this stage.
Zelda is revived, but Ganon comes back in his spirit form. Midna uses the last of her strength to teleport Link and Zelda out, then to transform into that beast once more in an attempt to end this for good.
It doesn't work. Ganondorf, reformed, finds Link and Zelda in Hyrule Field with his ghost riders.
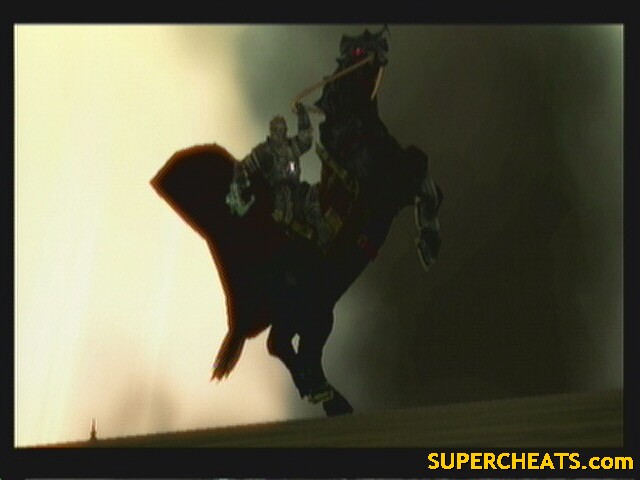
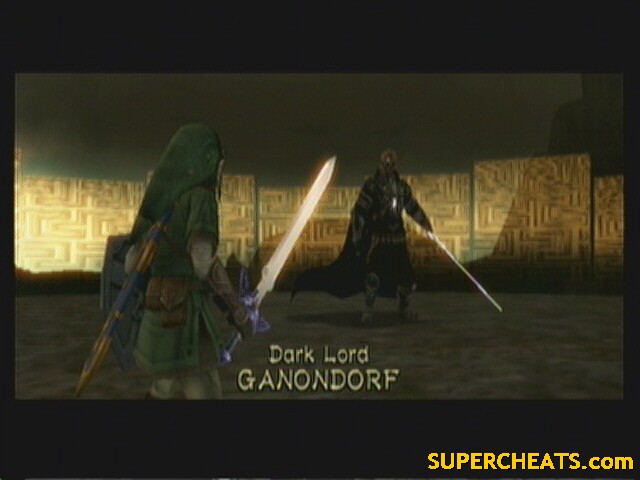 Dark Lord – Ganondorf |
Stage 1:
You have to ride behind him on horseback while Zelda tries to snipe him. This can be very hard at first as the slightest tap can knock you off Epona. Try to stay behind him to get Zelda a clear shot. Once he is stunned, dash beside him and slice him with your sword. After a couple rounds, he wipes out.
Stage 2:
Now you're on foot face to face with Ganondorf. The Backslice is pretty much the ONLY way to hurt him.
Don't get two close or he'll knee you. If you try a jump attack, he jumps away then thrusts, you can dodge the thrust but lets not tempt fate.
He likes to warp away, then reappear and do a spin attack. He normally doesn't appear anywhere near you, but I would still run when he disappears.
Sometimes he'll run at you with his sword held up. If you stand in front of him, you can use a prompt called “Chance.” You and Ganondorf will lock swords. You can win by rapidly pressing A, knocking him off balance and allowing for a good combo. But if you lose, you can suffer a fair amount of damage.
Other then that he doesn't do much. This fight takes a really long time. Good luck.
AWESOMEST GAME EVER THERE HASN'T BEEN ANY BOSS I COULDNT BEAT BUT THATS WHAT STILL CANT RUIN THE GAME
The bosses aren't that hard when u figure out the trick. I'm on the desert temple miny boss super easy when u know what to do. I don't think I've ever had to reatry a boss battle more than 3times. My favorite part so far was when u get the ability to change from wolf to human it kind of makes me feel like a badass
All bosses all easy even the final boss! Ganondorf is a shitty swordsman he can take a lot of hits but still really easy. Zant is kinda annoying but not much of a opponent either. Best boss in this game is Argorok actually i think it might be the best boss fight in legend of zelda history!
After reading all of these comments, I have to tell you all I started playing Zelda for my bad memory and as I am 73 (yes I said 73) every thing doesn't work as fast as it used to. I have finished the Goron Mines after MANY, MANY hearts lost. But it is improving my memory and I am determined to finish Zelda as I have aways loved her games. Also these cheats and Guides have been a life saver.
Thanks All for the help.
Older Gamer
no dificult bosses on this game hhm even ganon is tooo week i mean come on there could be a proper face to face battle with a good shordsman but he is just not a good one wtf why all bosses are so easy
Ya right It was hard for me and im11 butt It was fun
The bosses are so easy; I beat the game when I was 8 and only died once
On the Dark Lord Ganon face-to-face combat (Dark Lord Ganon stage 2) I was messing around and discovered that if you throw out your fishing pole next to him as if you were fishing it distracts him and I got a couple hits in.
Just a tip.
HOW DO YOU GRT TO THE THIRD MINI BOSS!!!!!!!!!!!!!! IT'S LIKE A GAINT MAZE!!!!!!!!!!!!!!!!!!!!!!!!!!!!!!!!!!!!
man fighting mini-boss is almost hard.... and easy. And THE BOSSES OOOH THE BOSSES MAN I KEEP LOSEING HEARTS THAT BADING I mean I am 12 year old and I am a girl!!!!! by the way my is name Share Garcia and I want chuggaaconroy to be my follower yeah I have Twitter baby!!!!
I think the forest temple main boss Diababa is sorta hard cuz when I use gale bomerrang with Ook's bomba the main head just shakes itself off so i think waiting till ook gets another bomb then throwing it so the bomb ook is holding could explode in his face!
Boss difficulty level 1-10
#1 - 1
#2 - 1
#3 - 3
#4 - 4
#5 - ... 0
#6 - 3
#7 - 5
#8 - 4
#9 (1) - 4
#9 (2) - 2
#9 (3) - 2
#9 (4) - 8
Soul Calibur will be cool as Zelda.
the second time I fought ganondof in his final stage it took me five minutes to beat him. It was pretty easy. All I did was wait until I could do the chance thing.
First, Zelda is asleep or passed out. Second, twilight hits Zelda. Third, Midna tries to harm Zelda but she can't. Next, she is awake and she is Possessed Zelda. Then, Puppet Zelda has dying breath. Finally, Midna uses Fused Shadows to get rid of twilight and Zelda is healed and saved.