Prologue
Mass Effect Walkthrough and Guide
Prologue
On The Normandy
After the opening cutscene you discover that a turian Spectre by the name of Nihlus has been sent by the Council to oversee the mission taking place on Eden Prime. As Joker questions Nihlus’ presence, you are presented with your first dialogue option. Generally the top-right dialogue choice on the conversation wheel is a Paragon response, the middle-right choice a neutral one and the bottom-right choice a Renegade response.
The conversation choices you make during conversations may yield Paragon or Renegade points. If you’re striving towards a particular one, choose the top-right or bottom-right choices on the conversation wheel accordingly. In this case, you would receive a small amount of Paragon points by agreeing with Joker, or a small amount of Renegade points for chastising your crewmembers. Choices on the left side of the wheel usually further the conversation, while the choices on the right push the conversation towards its conclusion.
Objective: Speak to the Captain
Captain Anderson wants to see you in the Normandy’s comm. room. The comm room is located at the other end of the Normandy, so follow the walkway behind Joker and Kaiden until you reach the comm room door. Speak to Corporal Jenkins and Doctor Chakwas before entering the comm room and select the Paragon or Renegade choices on the conversation wheel to receive a small number of morality points. You find Nihlus waiting for you upon entering the comm room. Work your way through the dialogue tree and watch the events that unfold.
 Nihlus |
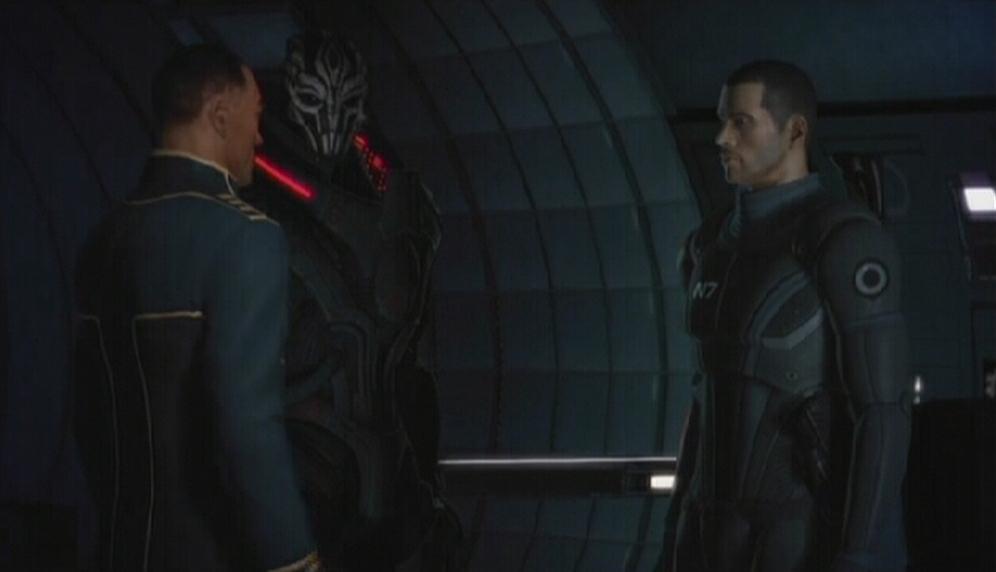 Comm. Room Meeting |
Find the Beacon
Objective: Head to the Dig Site
Your mission is to find and secure the Prothean beacon on Eden Prime. You are joined by crewmembers Kaiden Alenko and Richard Jenkins. Your first task is getting to the Dig Site. Placing a Destination flag on the map can help you get there. To do this, first press the Start button to call up the Mission Computer. On the Mission Computer screen, select the 'Map' option from the choices on the right. Move your cursor over to the 'Dig Site' text and press the A button to set the Destination flag there. Exit out of the Mission Computer and look to the radar on the bottom-right side of the screen. Notice how an arrow is now visible on the radar that points towards the flag you have placed.
As you move towards the Dig Site, a few geth recon drones appear and proceed to gun down Jenkins. This is an unavoidable event, so select one of the conversation choices from the wheel to receive Paragon or Renegade points and move on. The recon drones themselves are easy enough to destroy; simply shoot them down with your pistol or other weapon. When you level up for the first time, select the 'Squad' option on the Mission Computer screen. From here you can distribute the points earned between the various talents available to your character and squad members. The talents available depend on character class. For more information on character classes, check out the 'Military Specialization' section under 'Character Creation.'
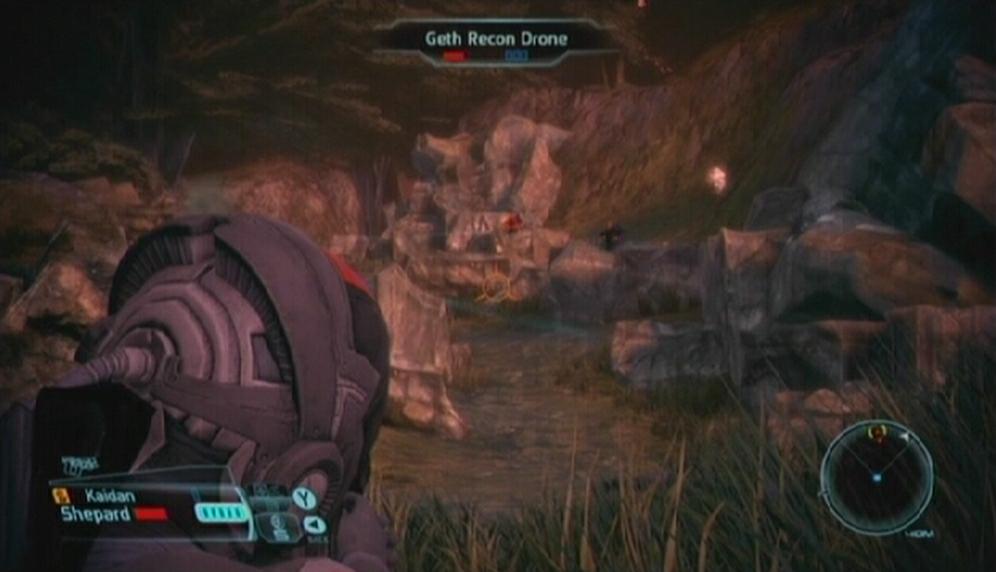 Geth Recon Drones |
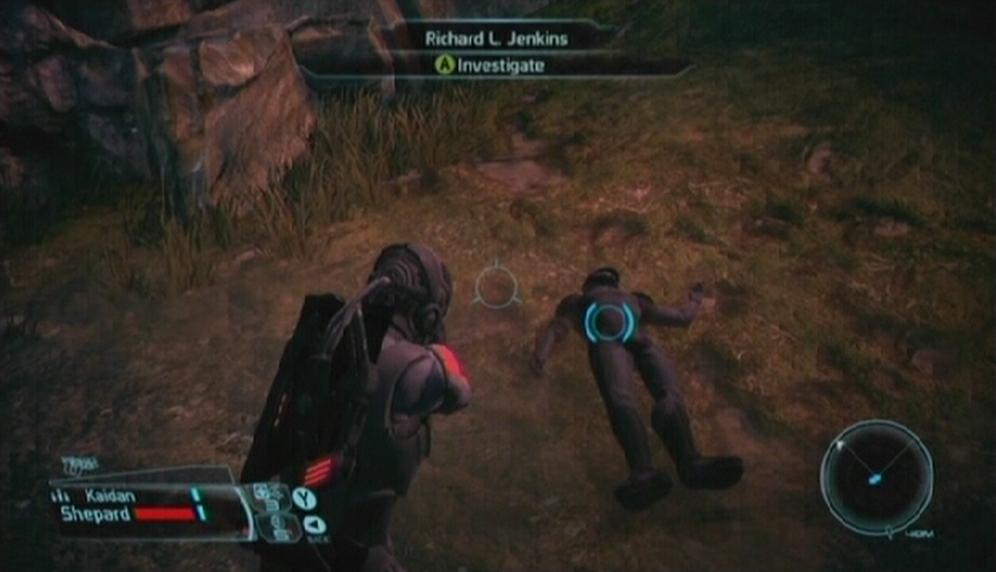 Jenkins |
Continue moving towards the Dig Site and eventually you will meet up with a human soldier named Ashley Williams. Ashley joins Shepard’s squad after a short chat. A small number of geth can be found just before your destination. Take cover behind the rock as instructed and take them out while safely behind cover. This particular variant of geth is easy to destroy, but rest assured that more powerful geth will popup along the way. When the coast is clear, approach the Dig Site and press the A button to investigate.
 Geth |
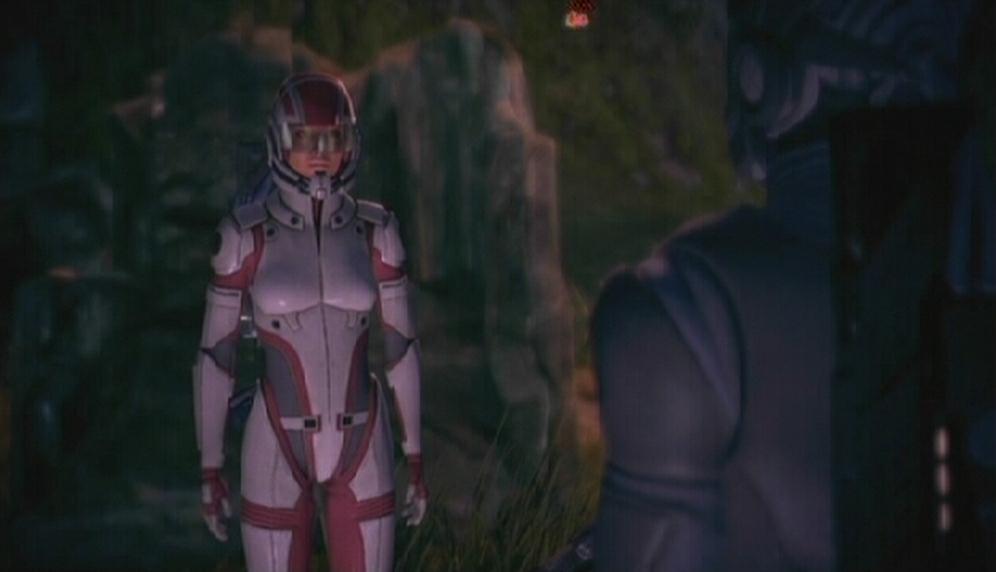 Ashley Williams |
Objective: Investigate Research Camp
There is a small camp beyond the Dig Site. Move up the sloping path behind the Dig Site to reach the battered camp. After a short cutscene a group of husks starts moving towards the squad. Do not let one get too close to you, as the husk’s most damaging attack-a burst of electricity-can cause some severe damage at close range. If one does manage to get close enough, run right up to it and press RT to perform a melee attack which can knock the husk down. While its on the ground, you can then melee the husk or unload your weapon into it to deplete its health bar.
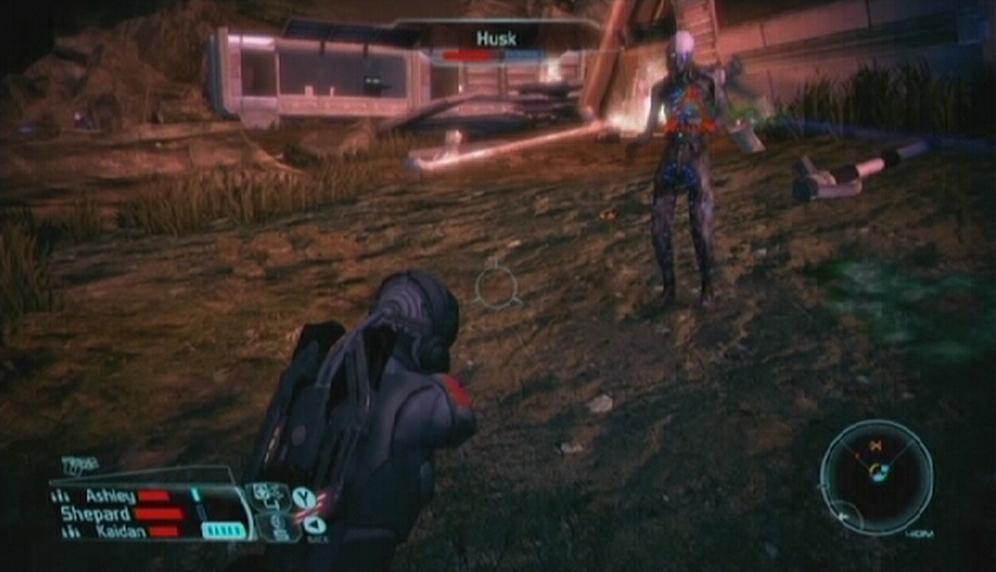 Husk |
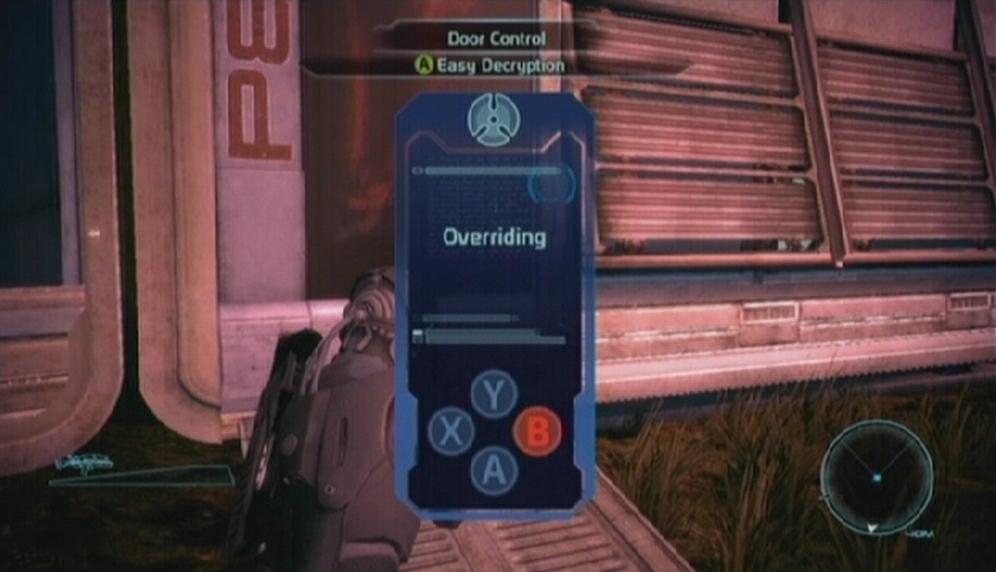
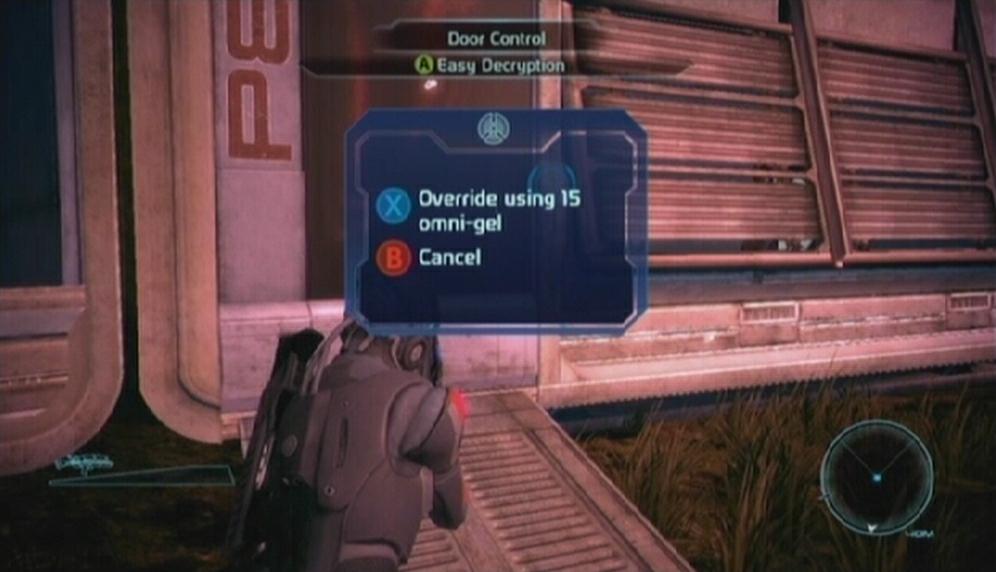
Once the husks have been dealt with, look around for a shelter with a locked door. To unlock this door, approach it and press the A button to start the Decryption mini-game. You must press the buttons that flash onscreen in a timely manner. If you press an incorrect button or do not press the correct button fast enough, the door cannot be unlocked unless you have enough Omni-gel. It is unlikely that you have collected enough Omni-gel thus far, but if you have picked up any equipment that you know will not be of use to you, enter the Equipment screen from the Mission Computer, highlight the equipment that you wish to dispose of, and press the Y button to receive four Omni-gel. You’ll need about twenty to open this door. To avoid the hassle it would be a good idea to save your game before attempting this, though unlocking this door is completely optional.
 Manual Decryption |
 Omni-gel |
Two doctors, Warren and Manuel, can be found inside of the camper. There isn’t much they can tell you, but you can earn a fair number of Renegade points by selecting the 'Assistant' topic under 'Investigate' and knocking Dr. Manuel out.
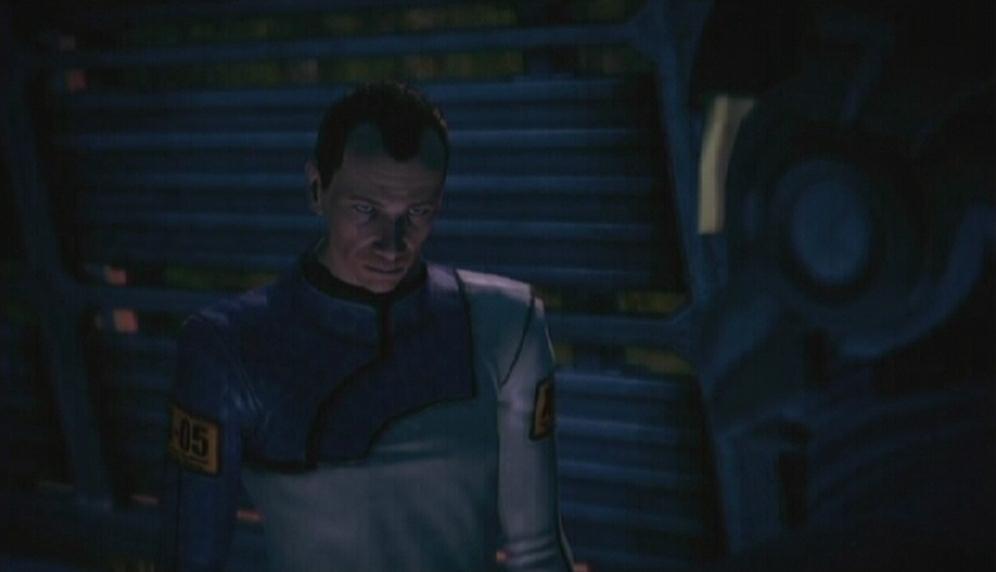 Manuel |
Objective: Head to Spaceport
Your next destination is the Spaceport, located at the top of this map. Set a Destination flag near the 'Train Station' text on the map to make finding your way there easier. Remove the geth that surround the station and then investigate Nihlus’ corpse. After a short conversation with a colonist named Powell, take out the geth along the walkway and move towards the cargo train. Among the geth troopers is a geth destroyer. Use your squad’s abilities to weaken the destroyer before it gets too close, as its melee attack is quite brutal.
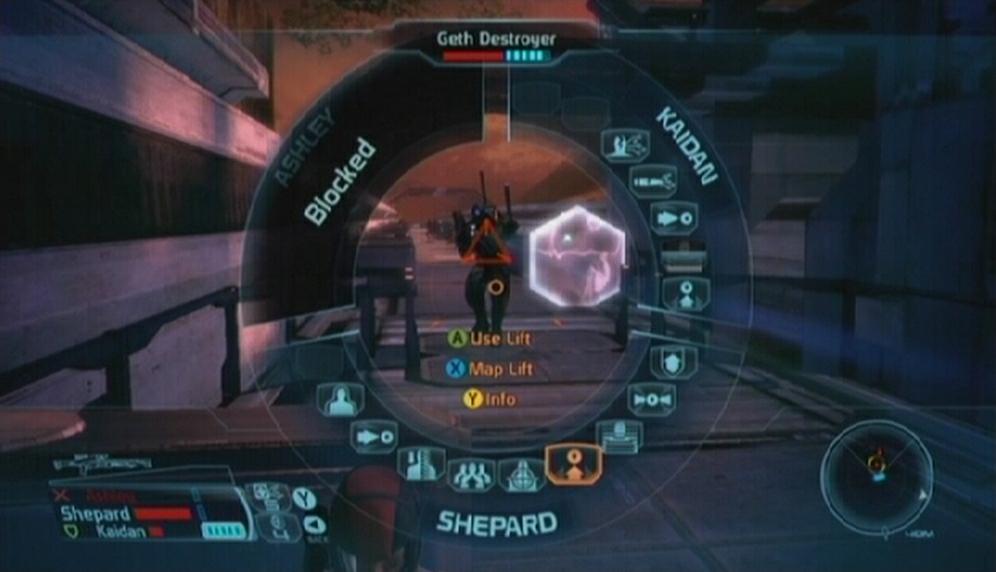
To use an ability first hold down the RB button, target the destroyer and then select a power from the wheel. Good powers to use against the destroyer are Overload, Sabotage, Warp, or weapon abilities (only while a weapon is out). You can command your squad members to use their powers on targeted enemies as well.
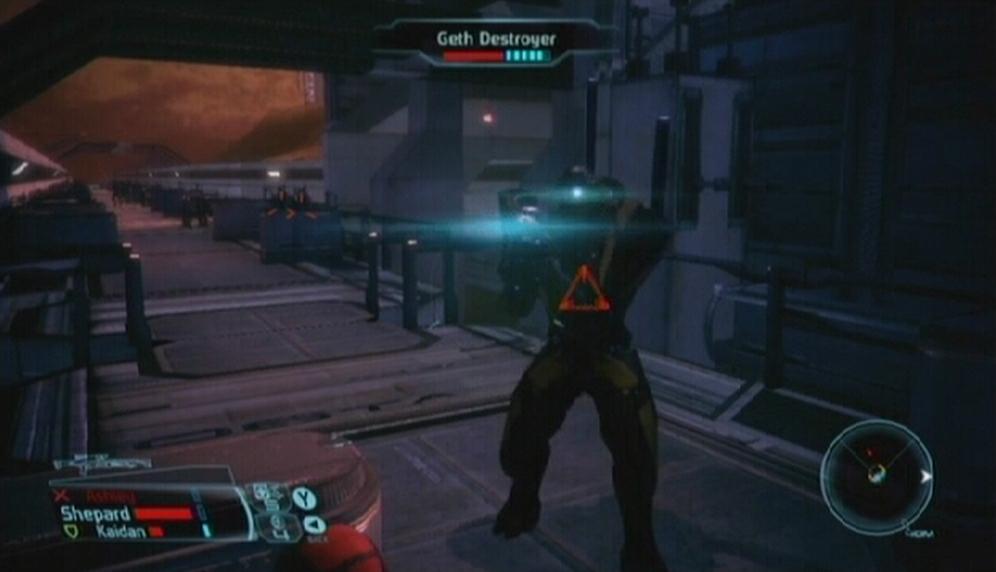 Geth Destroyer |
 Power Wheel |
Objective: Take the Train
Activate the Train Controls when you reach the end of the cargo train. There are four charges to disarm and you have four minutes to do so. The first Demolition Charge is to your left when you step off of the cargo train. Approach the charge and press the A button to begin disarming it. Once the first charge has been disarmed, head up the ramp to reach the walkway above. At the top of the ramp you can either cross to the western walkway or continue to follow the eastern walkway. Take the eastern walkway for the sake of following this walkthrough.
 Demolition Charge |
The western walkway is packed with geth, including a couple of shock troopers. Use your powers to weaken the shock troopers before they can get too close (ex., Overload, Assassination, etc.) or have your allies target them with their Assault Rifles. To order your squad to attack an enemy, press right on the D-pad with that enemy targeted. The remaining charges are found along the second walkway; one at the top, one about halfway down and the last at the very end.
When you have disarmed the final charge, proceed through the opening at the top of the second walkway. Remove the geth and husks surrounding the Prothean Beacon, but don’t investigate the beacon just yet. Take the time to open the locked containers and lockers in the area, as you might find some new equipment. Once you’re all set, investigate the Prothean Beacon to activate a cutscene.
Prothean Beacon |
Objective: Speak to Joker
After the cutscene you find yourself back aboard the Normandy. Once you have regained control over Shepard, leave the medical ward and take the stairs up to the Normandy’s command deck. You can speak with Doctor Chakwas, Ashley and/or Kaiden as you make your way to the bridge to gain some much needed experience. When you’re ready, speak to Joker on the bridge to activate a cutscene and reach your next destination, the Citadel.
Mass Effect Xbox 360
No comments yet. Tell us what you think to be the first.