God of War II - The Temple of the Fates Walkthrough
Skip to Sections...
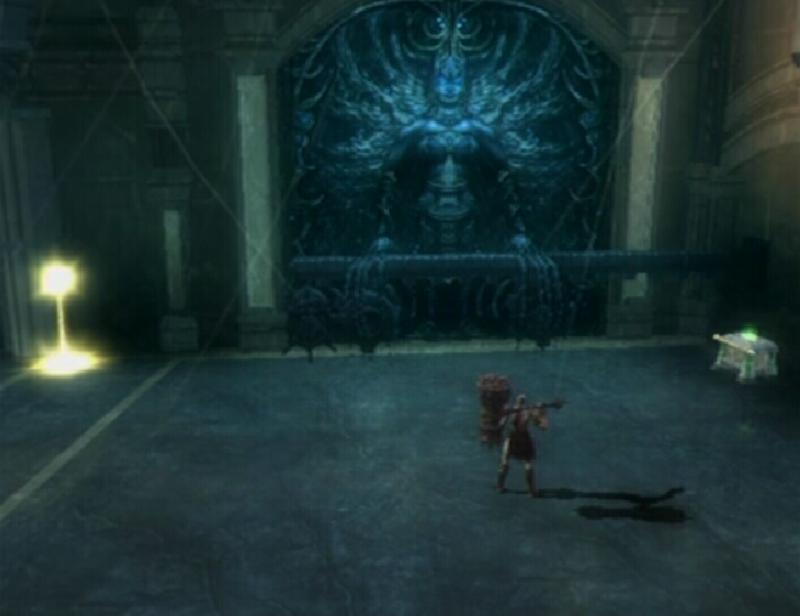
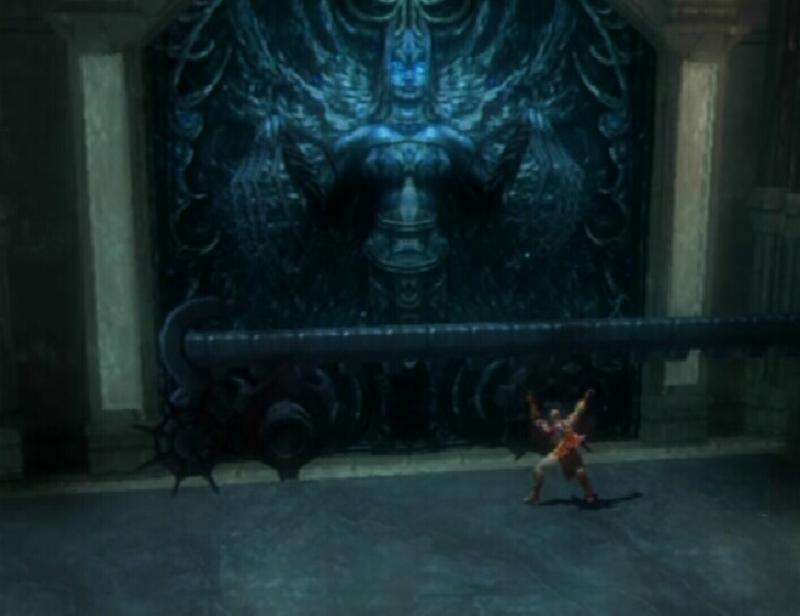
The Temple of the Fates
The Throne of Lahkesis
The Temple of the Oracle
The Throne of Lahkesis
The Inner Sanctum
The Loom Chamber
The Temple of the Fates
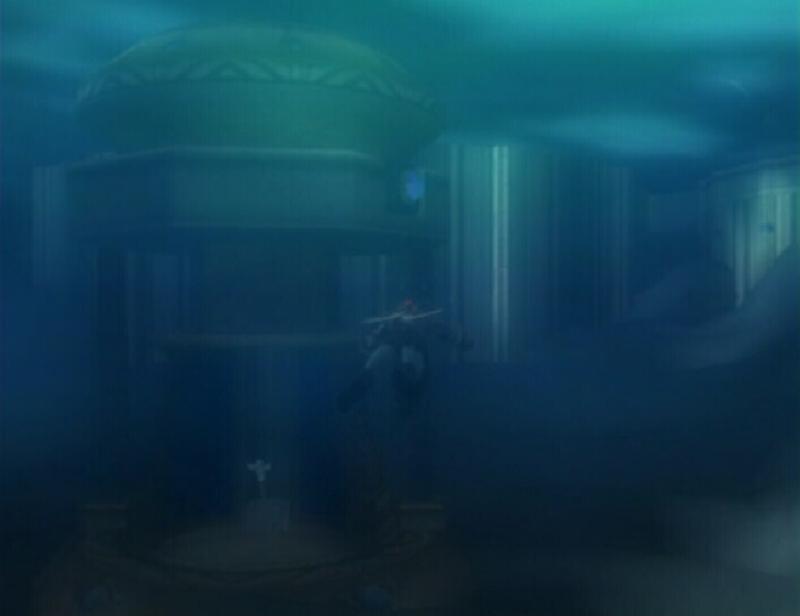
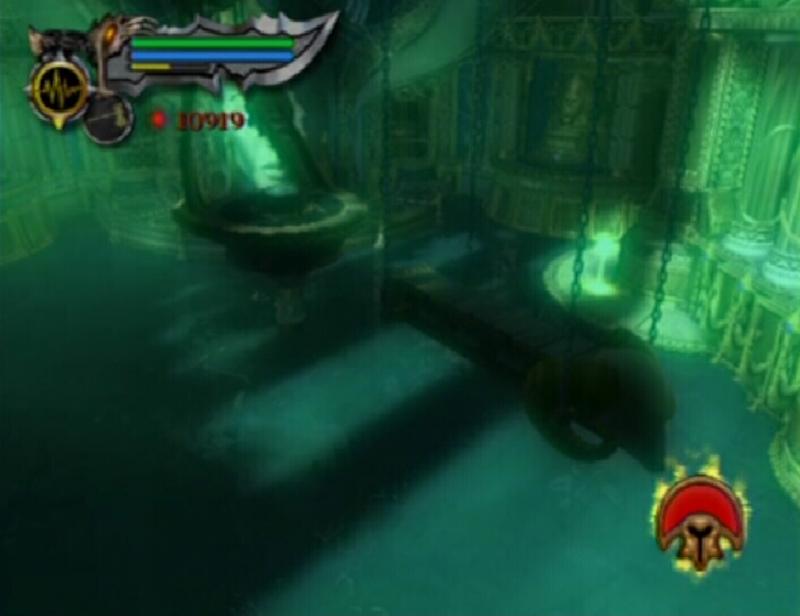
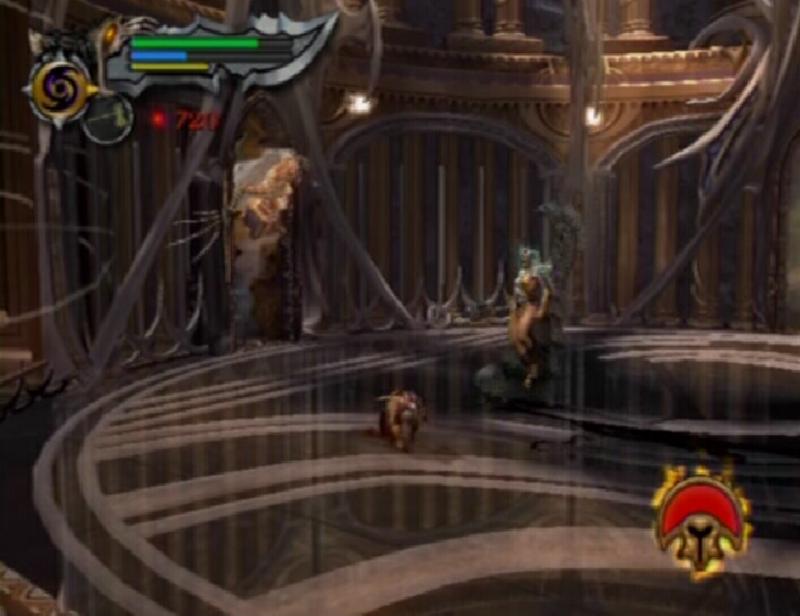
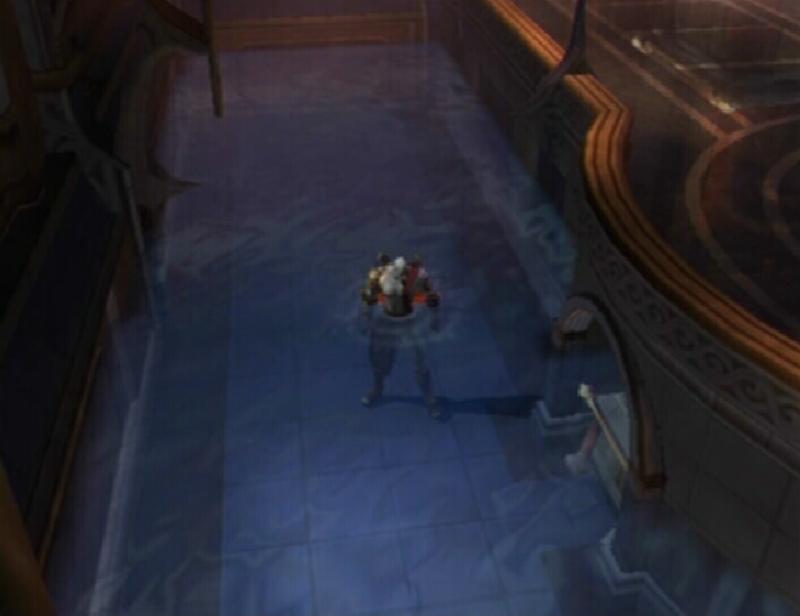
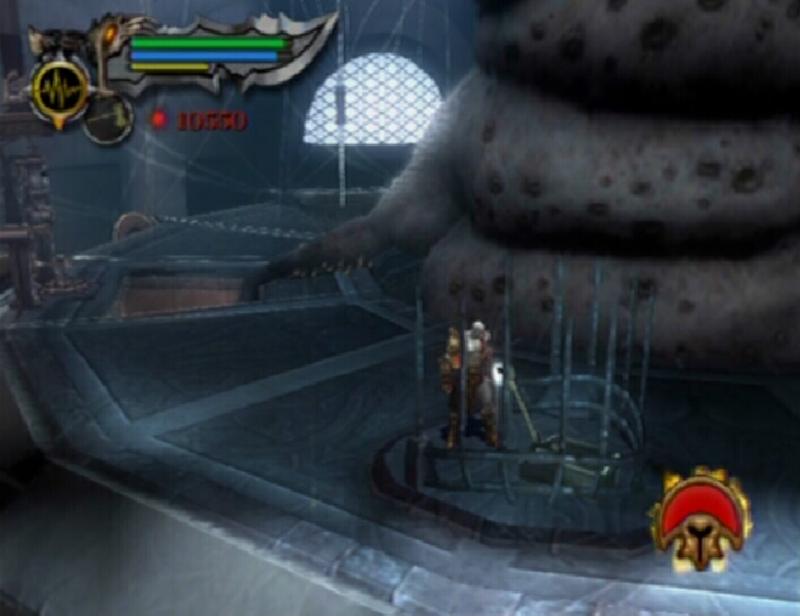
Dive into the water and use the grapple point to reach the platform on the left. Attack the crystal that is on the platform to turn time to a normal pace.

Crystal
|
Your goal now is to make the bell on the left side of the room and the bell on the right side of the room ring at the same time. Make your way to the Titan bell on the right side of this room. Stand before it and press R1 to grab hold of it. Alternate between pressing the L1 and R1 buttons to start ringing the bell. Afterwards, immediately activate the Amulet of the Fates. Glide back over to the western platform. Stand before the ram attached to the platform and press the R1 button to send it towards the bell. If you did this quickly enough both bells should be ringing at the same time, causing the statue to crack.

Titan Bell
|

Ram
|
Next, position yourself on the base of the western platform and grab hold of the handle on the left side of the base. Spin this handle until the crystal visible below the water is aligned with the gap in the hexagon. With this condition met, dive down into the water and pull the lever to raise the hexagon. If everything was done correctly, the crystal that was moved with the handle should fit into the gap. Get back onto the base and use the handle to rotate the platform until the ram is facing the statue.

Lever
|

Platform
|
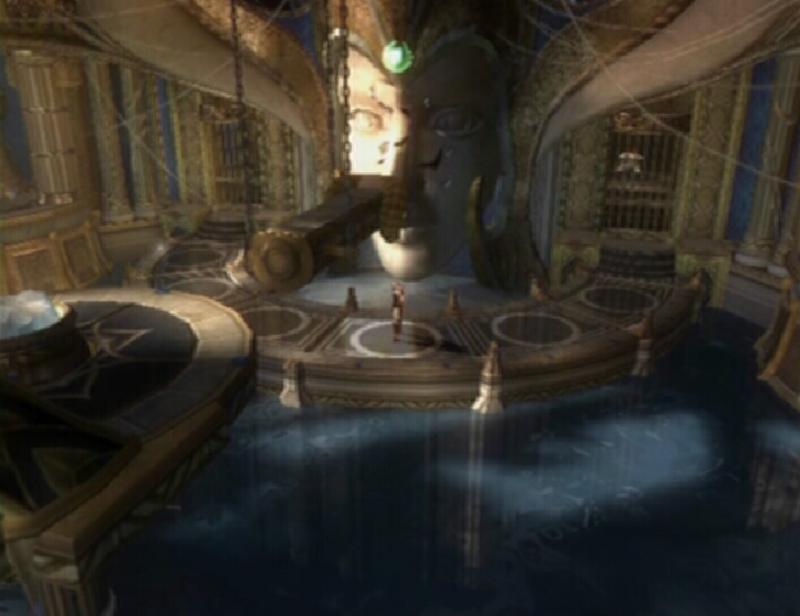
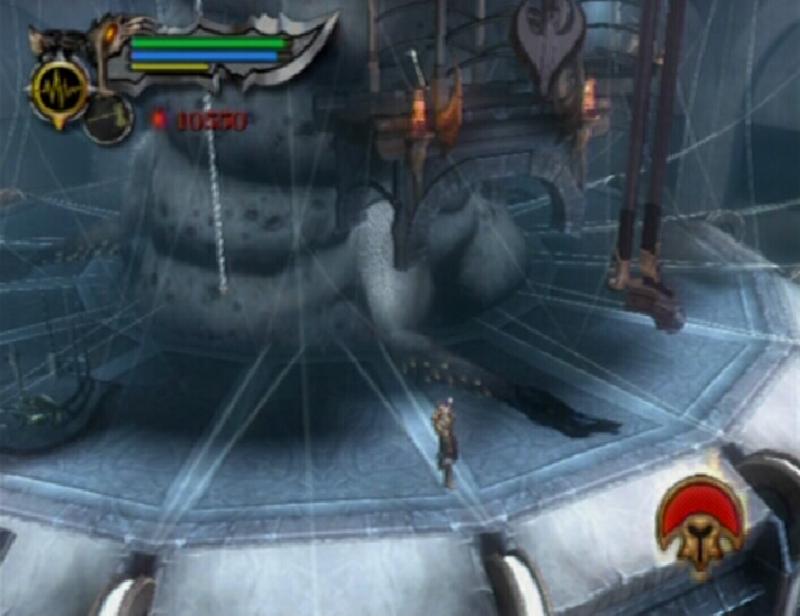
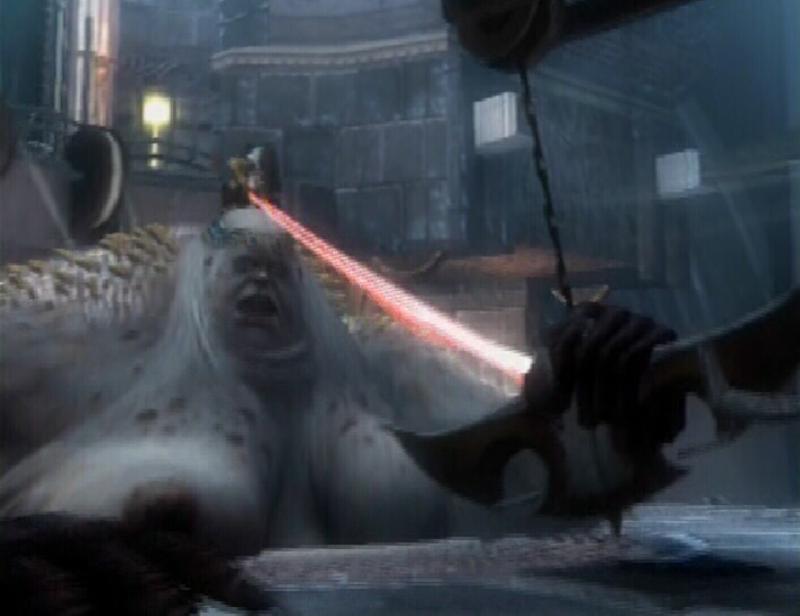
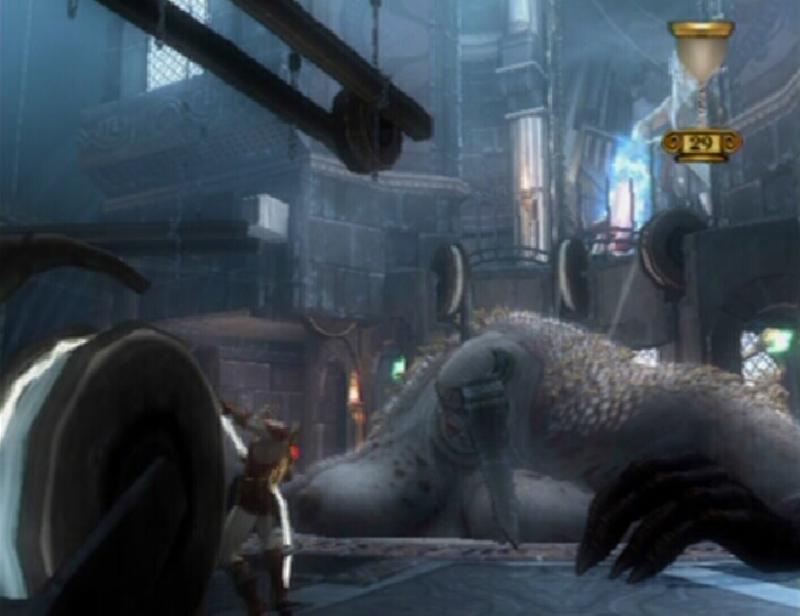
Stand on the platform and use the ram to smash the statue, creating an opening.
GORGON EYE (35/37): Use the handle on the platform's base to turn the ram towards the bottom-left corner of the screen. When the platform is positioned correctly, immediately activate the Amulet of the Fates. Get onto the platform and jump across to the ram. Run to the end of the ram and then glide across to the platform that contains the chest. (If you have found eighteen Gorgon Eyes, these directions will lead you to a Red Orb chest. When opened, this chest will release a large amount of Red Orbs.)
PHOENIX FEATHER (28/30): This chest can be found right next to the Gorgon Eye chest described above. (If you have found eighteen Phoenix Feathers, these directions will lead you to a Red Orb chest. When opened, this chest will release a large amount of Red Orbs.)

Platform Position
|

Gorgon Eye 35 and Phoenix Feather 28
|
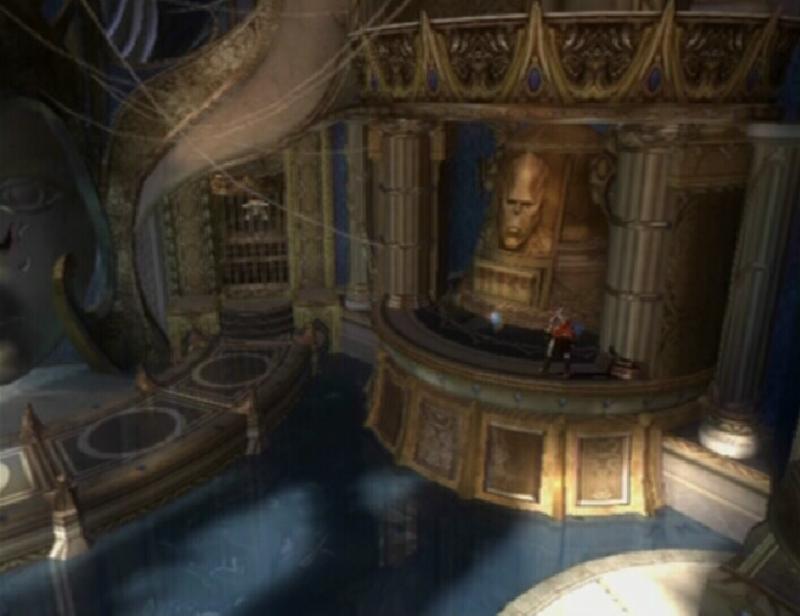
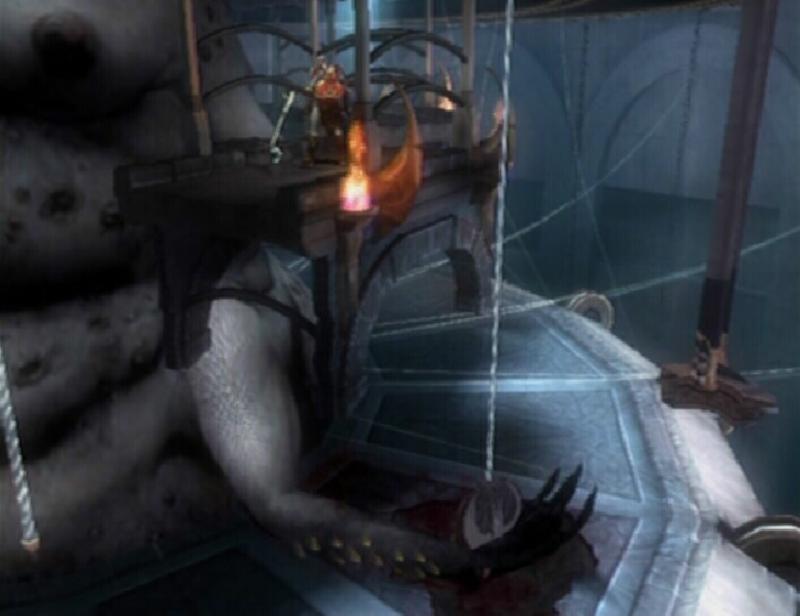
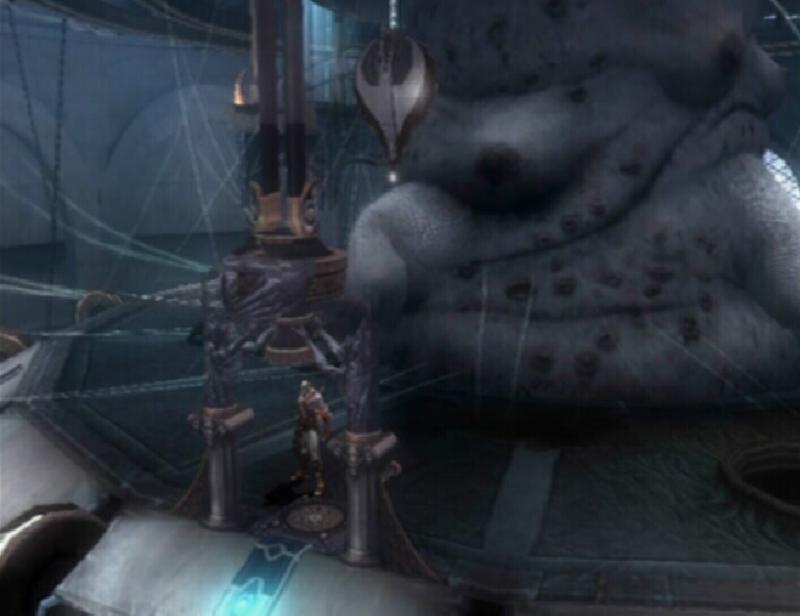
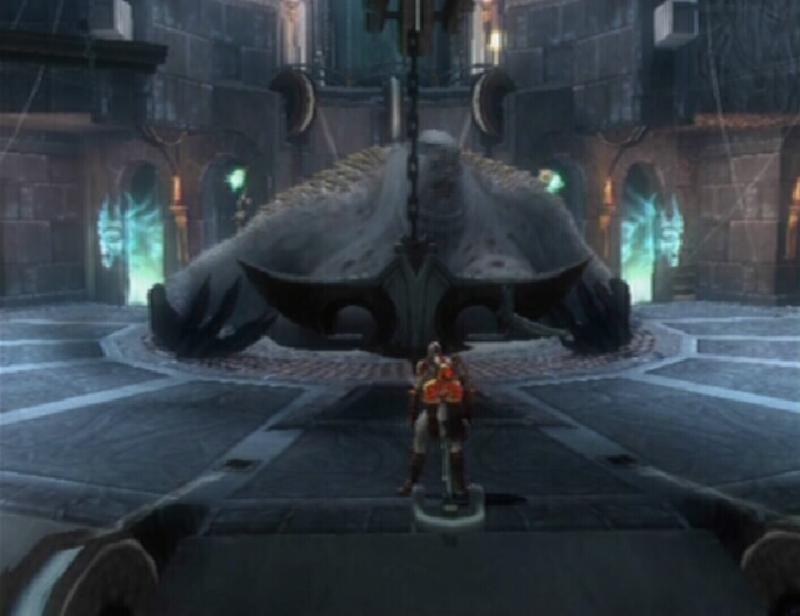
Walk to the end of the ram and jump through the opening in the statue. Proceed into the circular room up ahead. Run around the right side of the room and open the gate that you come to. Climb up the stairs and enter the next area.
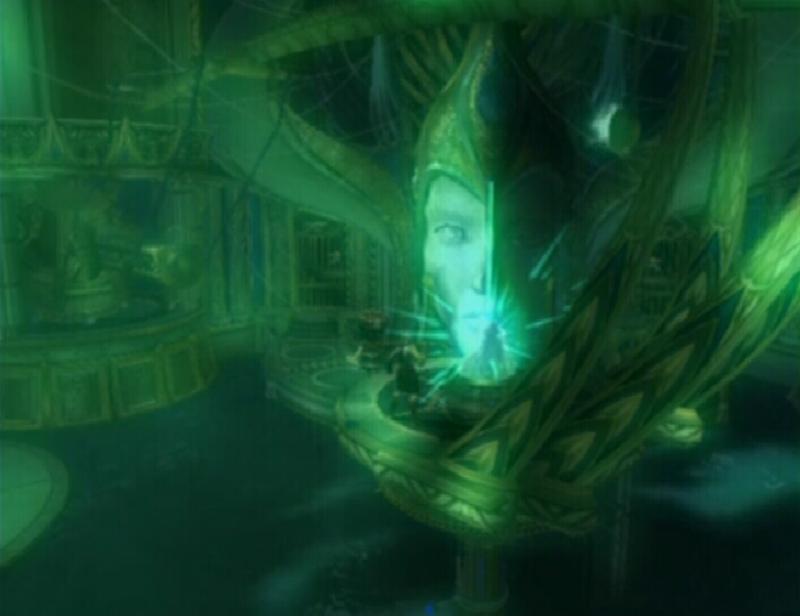
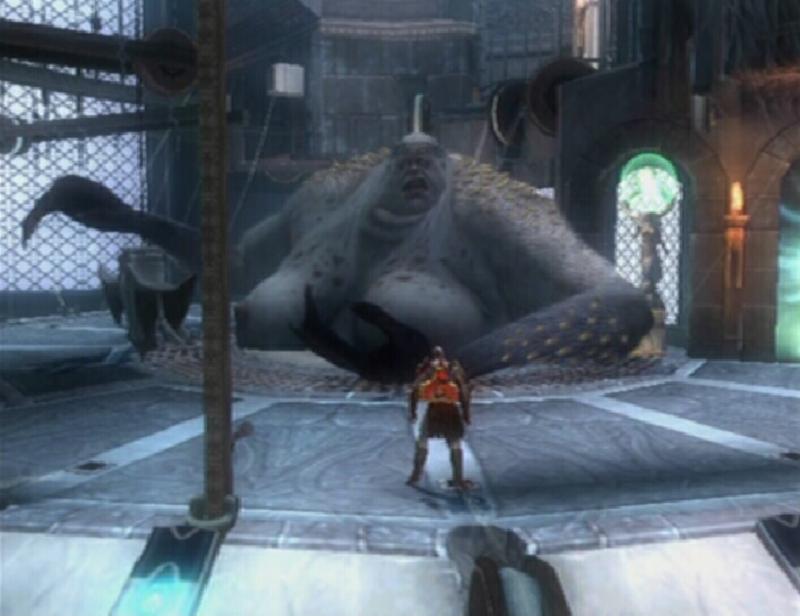
The Throne of Lahkesis
At the top of the stairs, glide over to the platform on the other side of the gap.
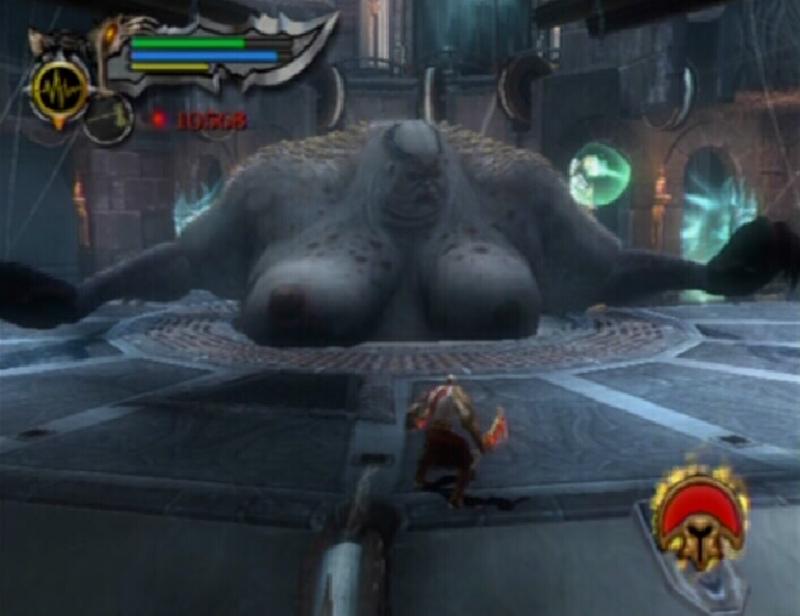
BOSS BATTLE: Lahkesis
Lahkesis has a large amount of health and quite a few different attacks in her arsenal. Initially, all of her attacks can be blocked and the energy attacks can be deflected with Golden Fleece. During the first part of the battle, all Lahkesis will do is launch energy at you from afar using her staff. The energy shots cannot be blocked, but they can be deflected using the Golden Fleece if you time it correctly. If you try to get close to her, she may attempt to hit you with the staff instead. Lahkesis may also float up into the air and then hit the ground, creating a small shockwave around her. To avoid this either run out of the way or attach yourself to one of the grapple points surrounding the platform.

Lahkesis
|
Do not use the Rage of the Titans during this part of the battle; save it for later. To start, use Typhon's Bane to weaken her as much as your magic meter permits. You should have Typhon's Bane upgraded to at least level two of you want this to be effective. Roll out of the way when an energy shot is coming towards you and deflect any shot that you can. Lahkesis will occasionally get knocked back when she is hit by a deflected shot, releasing a number of Green and Blue Orbs.
Once your magic meter has been depleted, you will have to attack her up close. Avoid using long combos such as Cyclone of Chaos. Stick to normal (Square) attacks with Athena's Blades. Doing so permits you to avoid taking too much damage from her attacks since you are vulnerable once you're locked into a combo.
When you have dealt enough damage to Lahkesis, she changes her attack pattern up a bit. She floats around the grapple points surrounding the platform and remains there. Her most deadly attack at this point is when she shocks the floor below. If you touch the floor while it is glowing green, a sizeable chunk of your health is shaved off. To avoid taking damage, attach yourself to a grapple point. While you are hanging from a grapple point, Lahkesis will shoot energy towards you. Jump back and forth between the grapple point you are hanging from and the grapple point closest to that one to avoid the projectiles. Do so until the floor reverts to its normal state.
To attack Lahkesis while she is floating in the air, you must attach yourself to a grapple point near her, then leap off of it and glide towards her. A good attack to use against Lahkesis is Cyclone of Chaos with Athena's Blades. When you reach her, just hold L1 and press the Square button to score a bunch of hits on her. She will occasionally fall to the ground. At this point, activate the Rage of the Titans and tear into her. When she floats back up into position, deactivate the Rage to preserve what's left of the meter.
When you have dealt enough damage, Lahkesis will cease movement and a Circle appears over her head. Attach yourself to a grapple point close by, glide to Lahkesis and press the Circle button to end the battle.
The Temple of the Oracle
BOSS BATTLE: Atropos
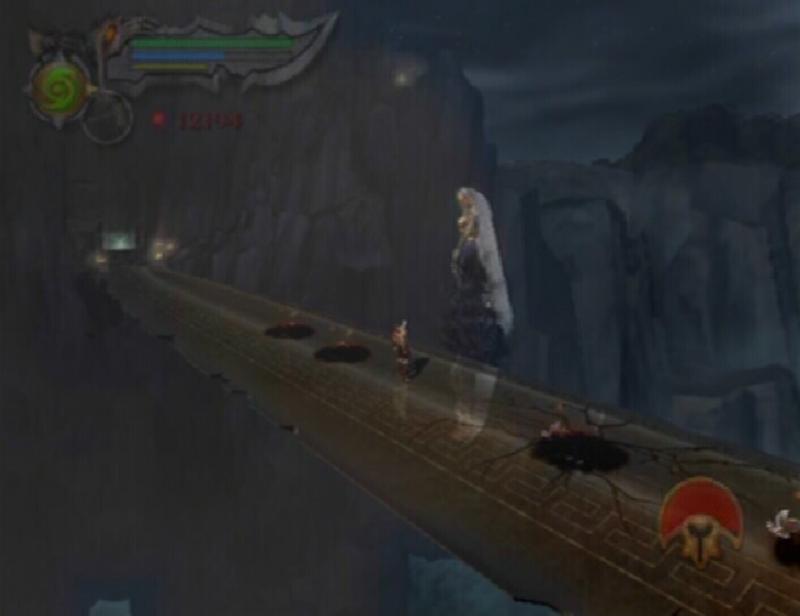
You are transported to the Temple of the Oracle where you will face Atropos. A large number of Sentries spawn along the giant sword. Use Cyclone of Chaos with Athena's Blades to attack all enemies surrounding you. You receive Red Orbs and occasionally a large number of Blue Orbs for killing the Sentries. Atropos, as with Lahkesis, tries to damage you by launching energy projectiles. Atropos', however, follow you, making them much more difficult to dodge. Similar to Lahkesis', they can be deflected back with Golden Fleece, so deflect them whenever you have the opportunity.

Atropos
|
You must end this battle before Atropos destroys the giant sword. She tries to do this by hitting it with energy projectiles and occasionally, she will get close to the sword and start shocking it. To damage Atropos, use Typhon's Bane. Shoot at her whenever she is in sight. When your magic meter is depleted, kill the Sentries surrounding you to receive Blue Orbs, thereby replenishing you magic meter. Of course, the Sentries move nearly as fast as Kratos and won't give you much room to move around; Cyclone of Chaos should be able to clear them out in one go if things are getting too hectic.
Continue hitting Atropos with Typhon's Bane and killing the Sentries for Blue Orbs to replenish your magic meter. Eventually, once you have damaged Atropos enough, a Circle will appear over her head. Approach her and press the Circle button to begin the takedown. Press the appropriate buttons as they appear onscreen to end the battle.
The Throne of Lahkesis
BOSS BATTLE: Lahkesis and Atropos
It's not over yet, you now must face both Sisters of Fate at the same time! Lahkesis' move set remains the same as when you first fought her. As for Atropos, she enters the battle through the mirrors on the left and right sides of the room. While Atropos is an active participant, she will launch energy projectiles towards you and may also shoot out an energy beam. Atropos can be quickly silence by Typhon's Bane, shoot her while she is not releasing an energy beam to momentarily silence her.

Sisters of Fate
|
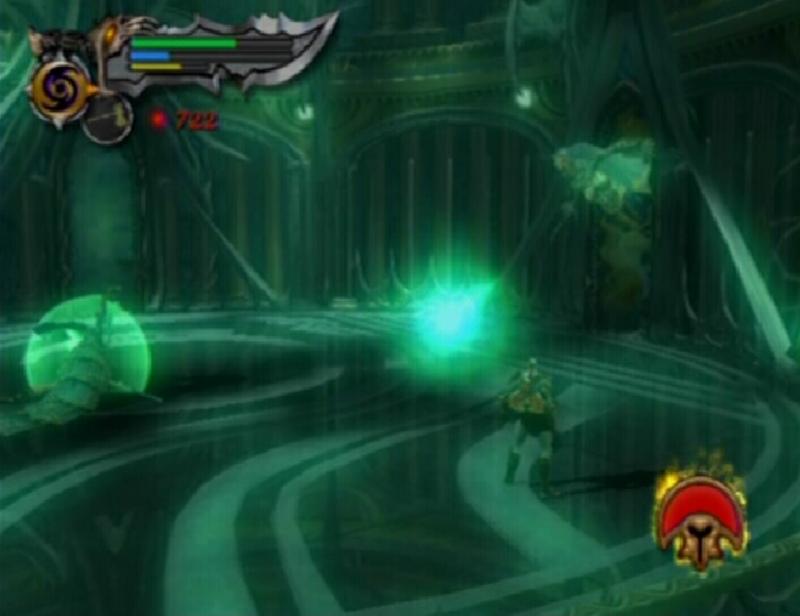
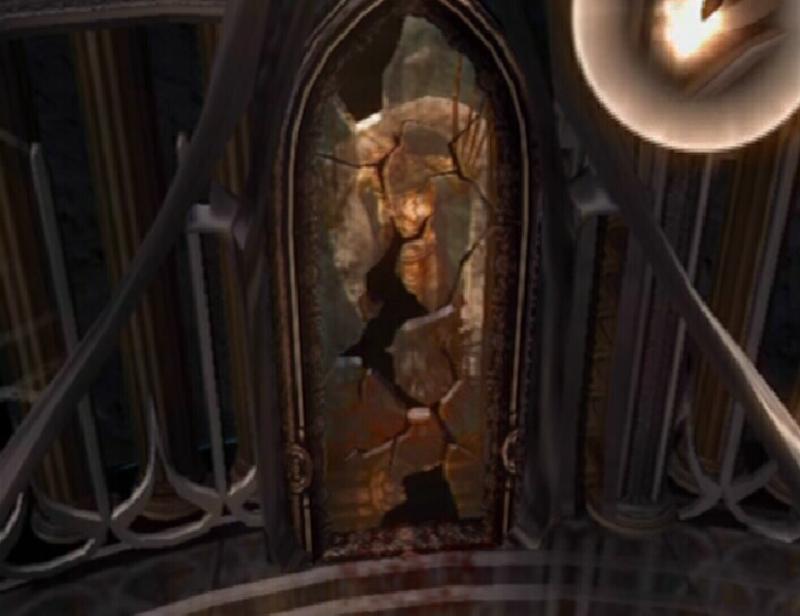
Attack Lahkesis as you did during your first bout with her. Each time Atropos enters the battle, hit her with Typhon's Bane to send her back. If your magic meter is depleted, you'll have to get close to Atropos and melee attack to silence her. Continuously attack Lahkesis until she falls. While she is stunned, use the Amulet of the Fates to slow down time. At this point run to the mirror that Atropos is hanging out from and start attacking her. When time returns to its normal pace and Atropos falls to the ground she will pull herself back through the mirror, causing it to shatter. Attack the broken mirror to completely shatter it.

Amulet of the Fates
|

Cracked Mirror
|
Do this once more to the mirror at the opposite end of the room to permanently lock Atropos out from the fight. Lahkesis changes her attack pattern at this point. She stands in front of the final mirror and launches energy shots, which can be deflected with Golden Fleece, as usual. The most damaging of her new attacks has her summoning pillars of energy around her which are eventually sent towards Kratos. When you observe her preparing the energy, back up as far as you can and avoid the attack by moving through the gap between two of the pillars as they spread apart.
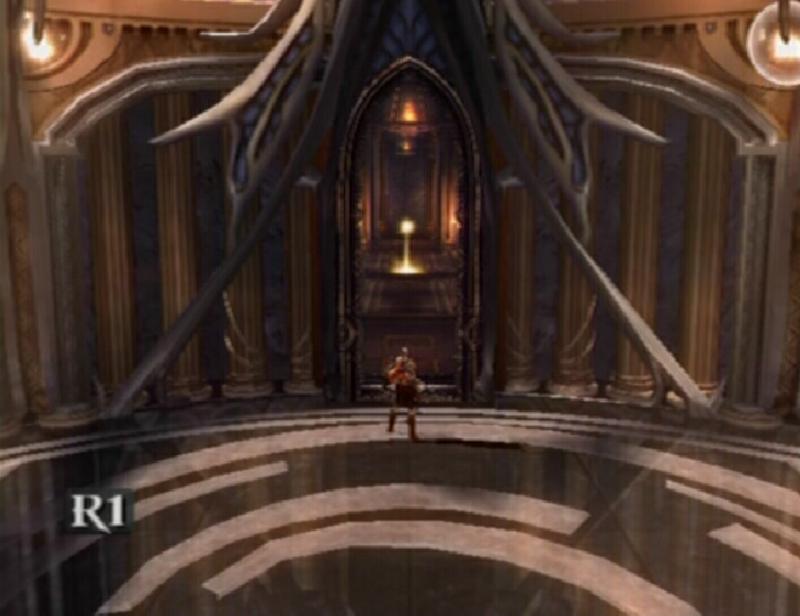
Use either Cronos' Rage or Typhon's Bane to damage Lahkesis while she is at this stage. If your magic meter is empty, use normal attacks (Square) with Athena's Blades. Just be quick to fallback while she is preparing the pillars and deflect any energy shot that you can. When Lahkesis falls, approach her and press the Circle button to start the takedown. Press the appropriate buttons as they appear on screen. Once Kratos has put the Sisters in their place, attack the shattered mirror to destroy it, creating an exit in the process.

Exit
|
The Inner Sanctum
GORGON EYE (36/37): Standing near the save altar, turn left and drop into the water. Look for the chest in an alcove on the side of the platform. (If you have found eighteen Gorgon Eyes, these directions will lead you to a Red Orb chest. When opened, this chest will release a large amount of Red Orbs.)

Gorgon Eye 36
|
PHOENIX FEATHER (29/30): Standing near the save altar, turn right and drop into the water there. Look for the chest in an alcove on the side of the platform. (If you have found eighteen Phoenix Feathers, these directions will lead you to a Red Orb chest. When opened, this chest will release a large amount of Red Orbs.)

Phoenix Feather 29
|
Use the save altar to record your progress. Enter the room beyond the altar and use the scalable wall to reach the ceiling.
GORGON EYE (37/37): Sling along the ceiling and drop down onto the platform at the opposite end of the room. Leap off of this platform from the right side and use the Icarus Wings to glide over to the high alcove along the wall. Grab hold of the ledge and climb up. One of the chests here contains the Gorgon Eye. (If you have found eighteen Gorgon Eyes, these directions will lead you to a Red Orb chest. When opened, this chest will release a large amount of Red Orbs.)
PHOENIX FEATHER (30/30): Follow the directions above to reach the location of this chest. The Phoenix Feather is inside of the chest next to the Gorgon Eye chest. (If you have found eighteen Phoenix Feathers, these directions will lead you to a Red Orb chest. When opened, this chest will release a large amount of Red Orbs.)

Room Exit
|

Gorgon Eye 37 and Phoenix Feather 30
|
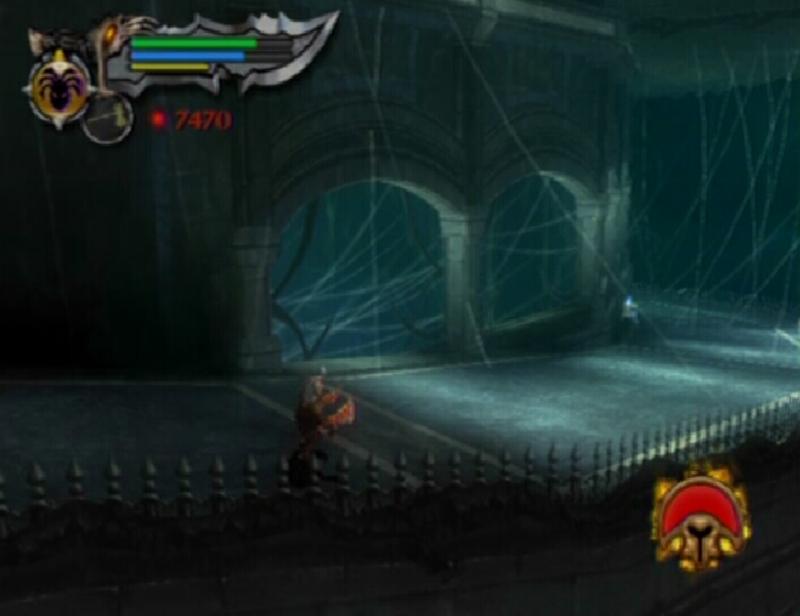
Sling across the ceiling and drop down to the platform on the opposite side of the pillar. Move through the doorway and to the end of the hall. Turn right and attack the damaged wall until it breaks. Down this walkway, you'll have to face several different groups of enemies along the way.

Walkway
|
The first batch of enemies is composed of Undead Legionnaires and Juggernaughts. If able, use Rage of the Titans right now, it will definitely help you most against this group. The Head of Euryale can be used to quickly remove the Juggernaughts from the battle. Switch to the Barbarian Hammer and shatter the petrified Juggernaught with a couple of heavy attacks (Triangle). However unless you have upgraded the Head of Euryale to its maximum level, petrifying a Juggernaught will likely require quite a bit of magic meter.
The moving barriers along the walkway can be used to your advantage; if you run up and down the walkway while the barriers are lowered, you may be able to cut off the faster Legionnaires from the slower Juggernaughts, allowing you to fight one group without interference from the other. The best weapon to use against the Juggernaughts is the Barbarian Hammer. Just hit them with about five heavy attacks (Triangle) and then press Circle to take them down.
The next group consists of Sentries and Legionnaires. In other words, nothing you can't handle. Use Cyclone of Chaos (L1 + Square) with Athena's Blades to take out the Sentries and Plume of Prometheus (Square, Square, Triangle) or Crushing Defeat (L1 + Square) with the Barbarian Hammer against the Legionnaires.
The following wave of enemies is likely the toughest. While facing more than one Gorgon at the same time is bad enough, facing Gorgons and Sirens is even worse. If you become petrified by a Gorgon's gaze, a Siren can instantly shatter you from afar with her lightning projectiles. For this reason, avoid becoming trapped in long combos such as Cyclone of Chaos since while you are performing a combo, an out-of-range Gorgon could be working to petrify you. The Golden Fleece is your best friend during this fight; if you use it to deflect a Gorgon's gaze beam and press the button that appears onscreen, all enemies in the immediate vicinity will be turned to stone. Granted, the Gorgons don't remain petrified for very long at all but you can easily kill the Sirens this way.
After successfully deflecting a Gorgon gaze beam, use Atlas Quake to shatter all petrified Sirens in the vicinity. At level one, it takes two Atlas Quakes to shatter a petrified Gorgon, but you have to be quick about that since they can break free very quickly. Atlas Quake requires quite a bit of your magic meter, luckily there is a Blue Orb chest on this section of the walkway, but opening that chest while surrounded by enemies is no easy task. There is a moving barrier that divides the Blue Orb and Green Orb chests from each other, you will have to lure the Gorgons and Sirens over to the Green Orb chest side and manage to use the barrier to separate yourself from them, allowing you to open the Blue Orb chest to restore your magic meter.
With that group out of the way, be sure to open the Green Orb and/or Blue Orb chest if you haven't already done so. The next wave is made up of Undead Legionnaires. No big deal, wipe them out as you did the last batch. After the skirmish, use the Gold/Blue Chest to restore your magic meter. Rage of the Titans isn't very effective against the next wave of enemies.
The next group consists of Minotaur and Satyrs. The Head of Euryale can only be effective if it is fully levelled, otherwise it requires too much magic meter to freeze one of these enemies. Use Atlas Quake to deal a good amount of damage or Cronos' Rage. Use normal attacks (Square) with Athena's Blades to take out the Satyrs and Cyclone of Chaos or Plume of Prometheus to kill the Minotaur.
There is another group of Sentries and Undead Legionnaires to face as you move down the walkway. Following that group, make your way to the very end of the walkway. The final wave of enemies consists of Cyclops, Undead Legionnaires, and Sentries. Needless to say, if your meters are drained, this could be tough. If you can use Rage of the Titans, use it now. Use the moving barriers here to help you out. If you manage to trap the entire group of enemies on the opposite side of a barrier, you can then use �Might of the King� (L1 + Triangle) with the Barbarian Hammer to severely damage the Sentries and Undead Legionnaire through the barrier.
A couple of heavy attacks with the Barbarian Hammer are enough to remove an Undead Legionnaire and just one is needed to remove a Sentry. If you can separate those enemies from the Cyclops, take them out with the Barbarian Hammer. Be sure to finish off a Cyclops with a fatality. By doing so, you will receive a number of Green Orbs. Once all of the enemies are dead, use the save altar next to the large door to save your progress.

To the Loom Chamber
|
Open the Green and Blue Orb chests on the right wall to replenish your two meters if you haven't already done so. Attack one of the claws to move it out of the way and then approach the mechanism that was underneath the claw. Press the R1 button to unlock it.. Do the same to the other side of the door. With that done, press the R1 button to open the door.

Door Mechanism
|
The Loom Chamber
Proceed through the doorway and carefully make your way past the swinging blades and across the bridge. Turn left and move to the end of the walkway. Attack Clotho's left arm to paralyze it for a short while. While the arm is paralyzed, grab hold of the lever at the end of the walkway and turn it clockwise until the gate above has been completely raised. Attack Clotho's arm again to avoid being whacked by it and start back down the walkway. Get up to the top of the steps along the walkway and glide over to the platform ledge. Grab hold of the ledge and pull yourself up.

Arm
|

Steps
|
Use the ladder on the left to reach the ceiling. Sling across the ceiling all the way to the opposite end of the walkway. As you near the gate Clotho will grab you with her left arm. Move the Left Analog Stick back and forth to break free and disable that arm for a short while. Continue towards the gate and attack the corpse stuck to it to remove it. Drop down to the walkway below and turn the handle clockwise until the gate is completely raised. Turn around and move down the walkway until you reach the steps. Get to the top of the steps, glide over to the platform's ledge and pull yourself up.
Climb up the rope to reach the second level. Attack the arm on the right to incapacitate it and then make your way to the lever nearby. Pull the lever to open the trapdoor under Clotho's paralyzed arm. Clotho's arm falls through the now open trapdoor. Pull the lever again to close it on Clotho's arm, rendering it permanently unusable.

First Arm
|
Move right down the walkway and continue moving in this direction until you reach another of Clotho's arms. Attack this arm until it becomes paralyzed. Once the arm is paralyzed, turn left and climb up the rope there. Pull the lever, doing so the causes the blade above Clotho's arm to fall, pinning it.

Second Arm
|

Blade and Lever
|
Continue moving right down the walkway until you reach Clotho's first arm. Grab hold of the machine's handle and start pulling it down the walkway. Drag it all the way back to Clotho's third arm and lock it into place by putting it above the small object along the side of the walkway. Leave the machine and attack Clotho's third arm to paralyze it. Drag the machine over to the lock nearest to the third arm. By the time you do this, Clotho's arm has likely shaken off its paralysis. Leave the machine and paralyze the arm again. Return to the machine and bring it over to the two hands and blade.

Machine
|

Locked Blade
|
With the machine in place the blade becomes locked to it, allowing you to move the blade along the walkway. Leave the machine and paralyze the arm once more. Next, move the machine over to the lock closest to Clotho's arm. By doing so, the blade falls, disabling the third arm. Climb up to the top of the fallen blade's rope. Jump over to the platform next to the rope and pull the lever to reach the next level.

Third Arm
|

Rope
|
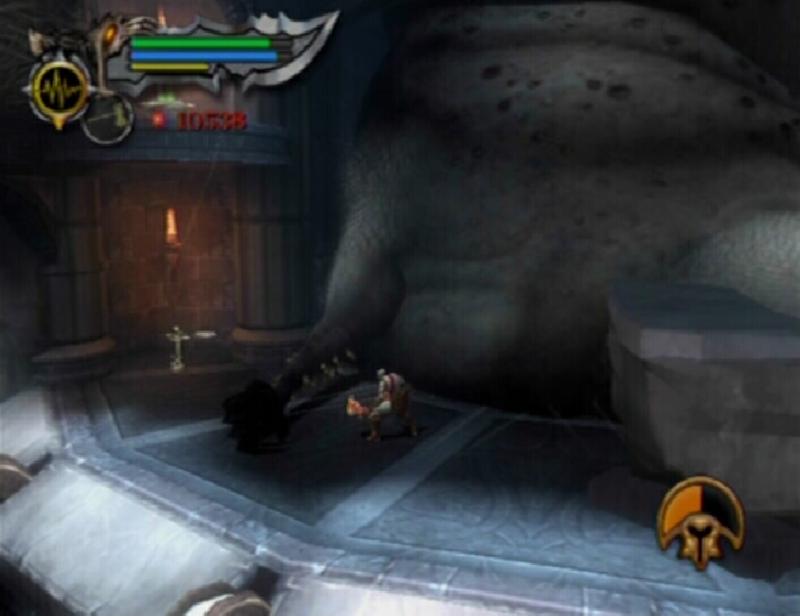
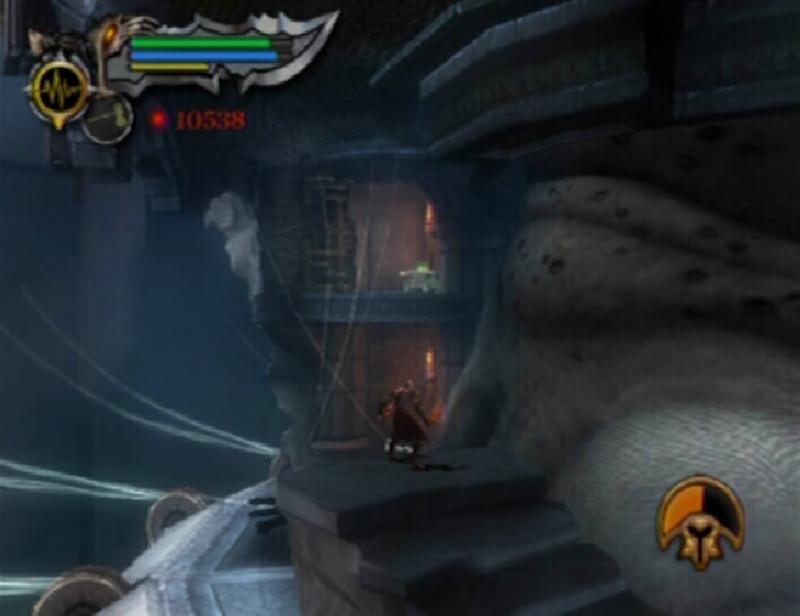
BOSS BATTLE: Clotho
Eugh. Now to kill this abomination real quick. Clotho's only attacks consist of using her fists to pound the ground or whacking you when you are too close to her. Simply roll out of the way to avoid her attacks. You can gain a large amount of health by pulling one of the two levers along the edge of the platform. By doing so, a body is raised onto the platform. You receive a large amount of Green Orbs if one of these corpses is destroyed.

Clotho
|
Let's get started shall we. Turn right and move towards the pole at the far end of the walkway. Attack Clotho's left arm to paralyze it. Before you can move this pole along the walkway, you must remove the corpses attached to it. To do this, use Typhon's Bane or Atlas Quake at the base of the poll. Afterwards, paralyze her arm again. Use the handle on the pole to move it over to the third lock along the walkway. Doing this changes the position of the two levers along the walkway. Move over to the lever in the middle of the walkway. Use the Fates Statue and attack both of Clotho's arms to paralysis both of them at the same time. With this condition met, pull the lever to bring a blade from below up to the top platform.

Pole Locked
|

Blade
|
Use the Fates Statue to paralyze both of her arms again. Stand behind the blade, press and hold the R1 button and use the Left Analog Stick to turn the business end of the blade towards Clotho. Now use the Left Analog Stick to start moving the blade. This begins a takedown sequence. Press the appropriate buttons as they appear on screen. Once Kratos is standing on Clotho's back, rotate the Left Analog Stick to drive the blade into Clotho's skull.

Takedown
|
Proceed through one of the doorways on either side of the platform and pull the lever at the bottom of the stairs. Step off of the lift when it reaches its destination and move through the corridor. Pull the lever that you come to and then return to Clotho's platform. You must a certain thread, using the wrong one cracks the mirror. Approach the thread of time to the right of the lever in the middle of the platform and press the R1 button to take hold of it.
Tap the Circle button to change the moment displayed in the mirror above. Once the mirror has been set to the correct time, a countdown appears in the top-right corner of the screen. You have thirty seconds to make it to the mirror. Immediately use the Amulet of the Fates to freeze time and run through one of the doorways. As you pull the lever time reverts to normal, but at least you were able to save yourself a bit of time. Make your way through the corridor and back to the mirror. When you reach the mirror, jump through it to travel back in time.

Thread of Time
|
This guide is copyright 2007 SuperCheats.com, no part of it may be reproduced without permission.