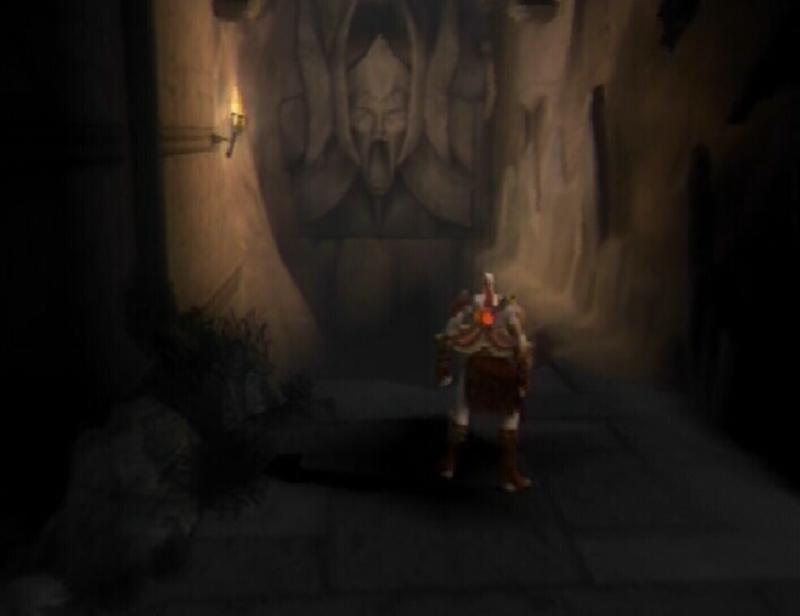
The Temple of Euryale
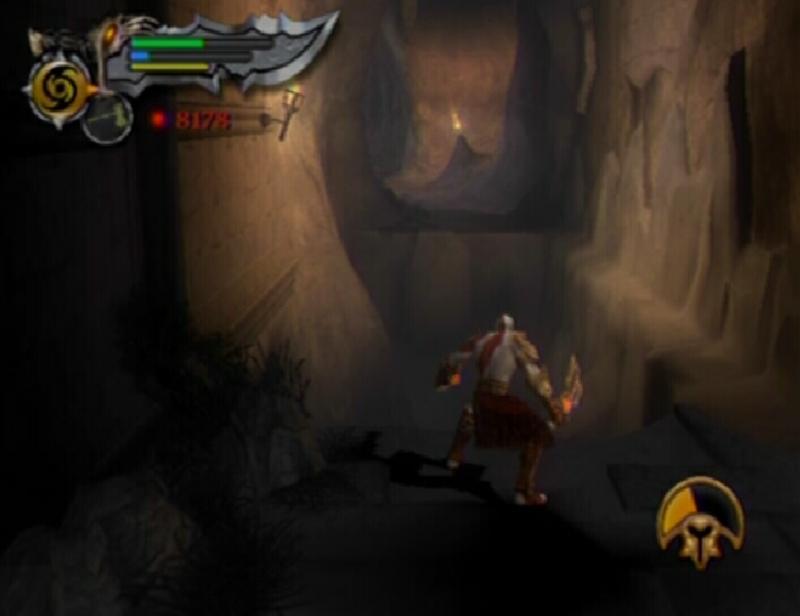
Down the stairs, smash the petrified Legionnaires to shatter them, releasing red orbs. Continue on to the right and quickly shatter the petrified enemies before they break free. You can use Golden Fleece to reflect the Legionnaires attacks back at them. Prepare to reflect when their weapon begins to glow blue and they leap up into the air. Start climbing down the ladder at the end of the hall. Down below, some petrified enemies break free and a hulking Minotaur appears.
Quickly shatter the Legionnaires that have yet to break free and then immediately turn your attention to the other enemies. The Minotaur is surprisingly easy to kill if you have a full magic meter. By using Typhon's Bane you should be able to bring the Minotaur down to its takedown stage. When the Circle appears over the Minotaur's head, approach it and press the Circle button to start the takedown. Press the two buttons that appear on screen then finally rotate the Left Analog Stick as shown to finish the beast off.
Unfortunately, once you have killed enough enemies, another Minotaur appears, but at least if you kill off the first quickly, you won't have to face two of them at the same time. For the Legionnaires use Plume of Prometheus (Square, Square, Triangle) and most importantly, use Golden Fleece to reflect their leap attack. If done successfully, you can damage the surrounding Legionnaires with the reflection as well.
After the battle, head through the doorway to the right of the ladder. This hallway leads to a lift. Grab hold of the handle and rotate the Left Analog Stick to lower the lift down to the level below.
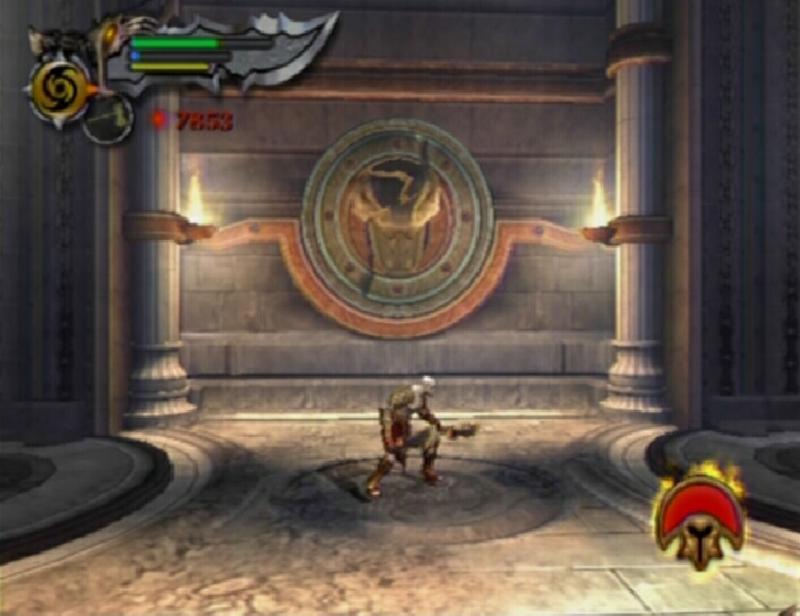
PHOENIX FEATHER (12/30): When the lift has reached the bottom, jump up and attack the snakehead on the wall to reveal an unmarked chest that contains a Phoenix Feather.
Snakehead
Phoenix Feather 12
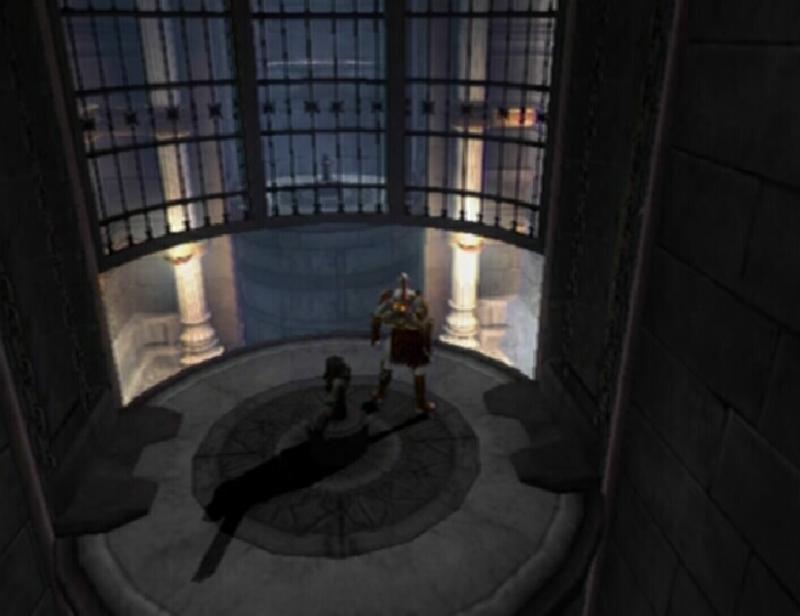
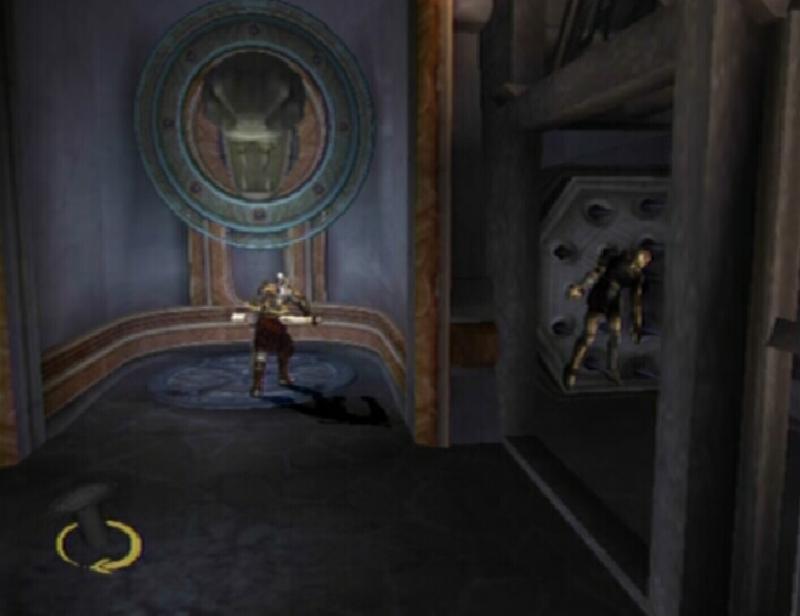
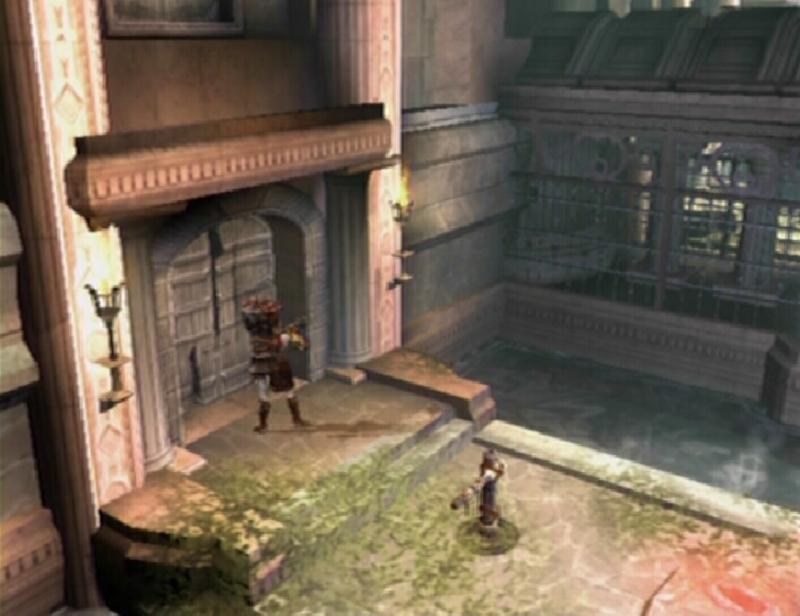
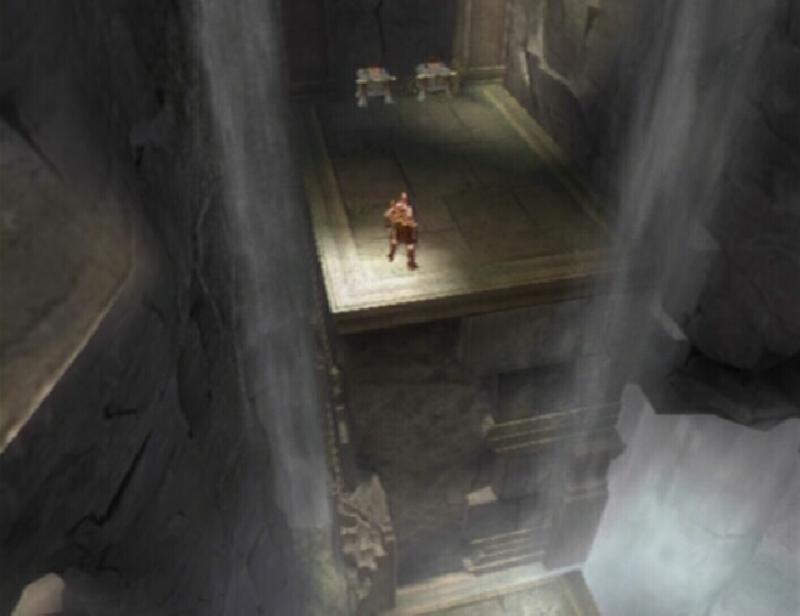
The two lifts in this room influence the height of each other. Since the soldier removed the handle from the lift on the other end of the room, you must use the lift that still has a handle to raise the lift that does not have one. Raise the lift that you used to reach this room as high up as you possibly can while still allowing you to drop down from the lift to the room below. This raises the broken lift up to that same height, allowing you to then climb up onto the raised lift and scale the wall using the ridges along the wall.
Lift
Broken Lift
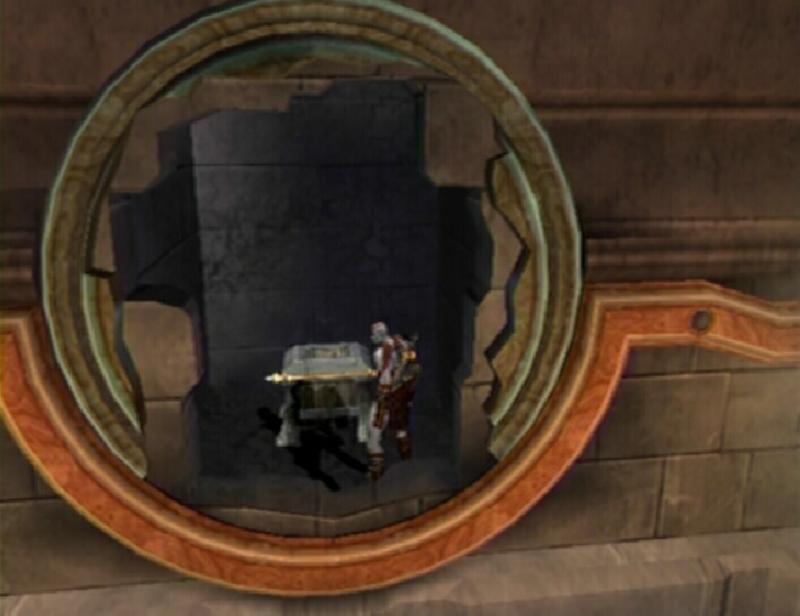
GORGON EYE (19/37): With the first lift positioned as described above, look for a small alcove on the side of the lift. The Gorgon Eye is inside of the chest. (If you have found eighteen Gorgon Eyes, these directions will lead you to a Red Orb chest. When opened, this chest will release a large amount of Red Orbs.)
Gorgon Eye 19
Lowland Vista
You'll find an Elite Legionnaire waiting at the top of the lift. This guy is much stronger than the Legionnaires you've previously faced. His attacks are quick and he is adept at blocking, but by using Golden Fleece, you can reflect his charged strikes. When the Circle appears above his head, approach him and press the Circle button, and then press the button that appears on screen to finish him off. Open the Green Orb chest and use the save altar in the distance to record your progress and then climb up the scalable wall on the left.
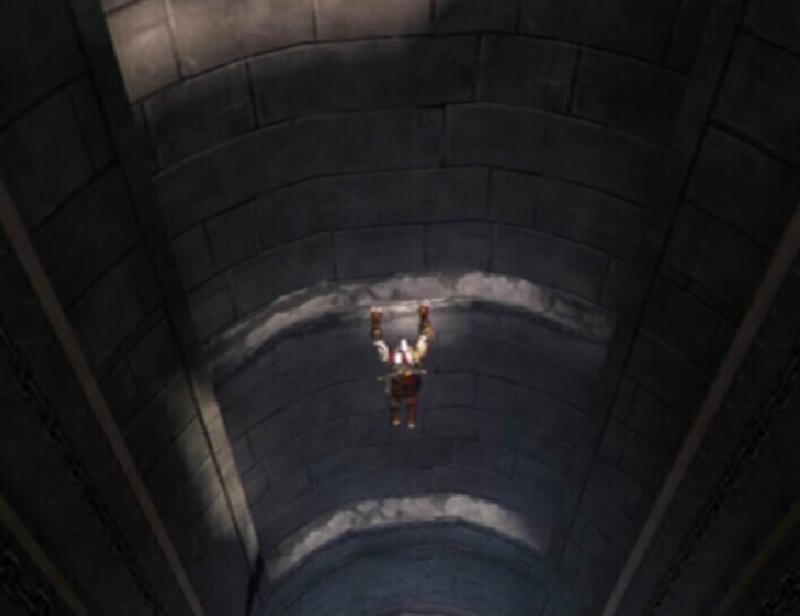
You must cross the ceiling to reach the other side while trying to avoid being chopped up by the moving blades. Climb up the wall and start slinging towards the blades. Basically, wait until the blade blocking the way moves to the side and quickly sling across to the next patch. Only wait on a patch of ceiling and not on a blade's tract. Some of the blades can be tough to avoid and you can only sustain a certain amount of damage before you fall. Luckily there is a Green Orb chest waiting for you at the other end of the room.
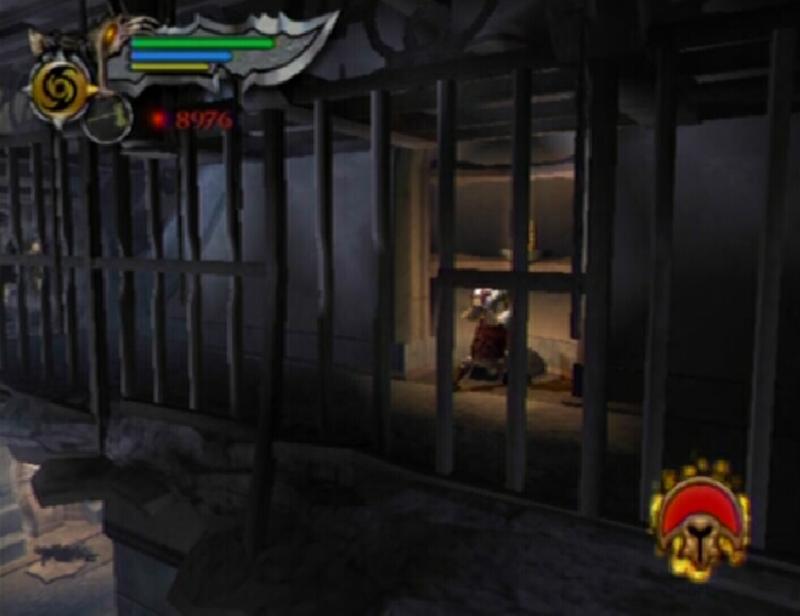
Once you have made it across the ceiling, grab hold of the handle that is below the snakehead and turn it until the masher reaches the end. Run into the cage and start down the tunnel until you reach a lever. Stop to pull this lever, then continue towards the door at the end of the cage and open it by rapidly pressing the Circle button.
Handle
Lever
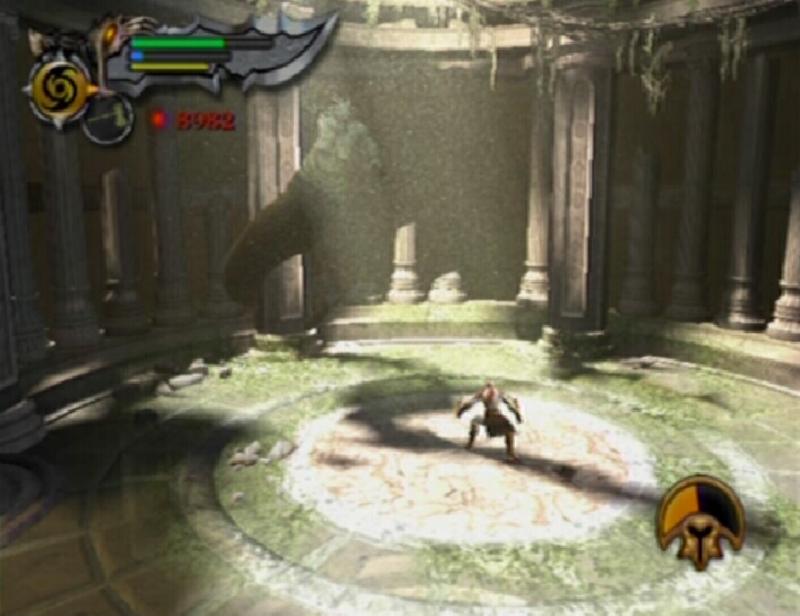
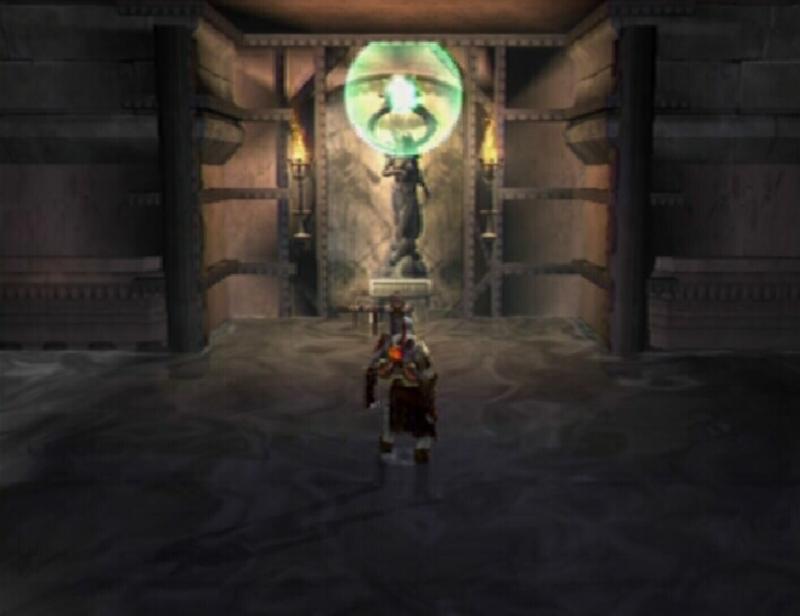
Drop down and start reading the book in the middle of the room.
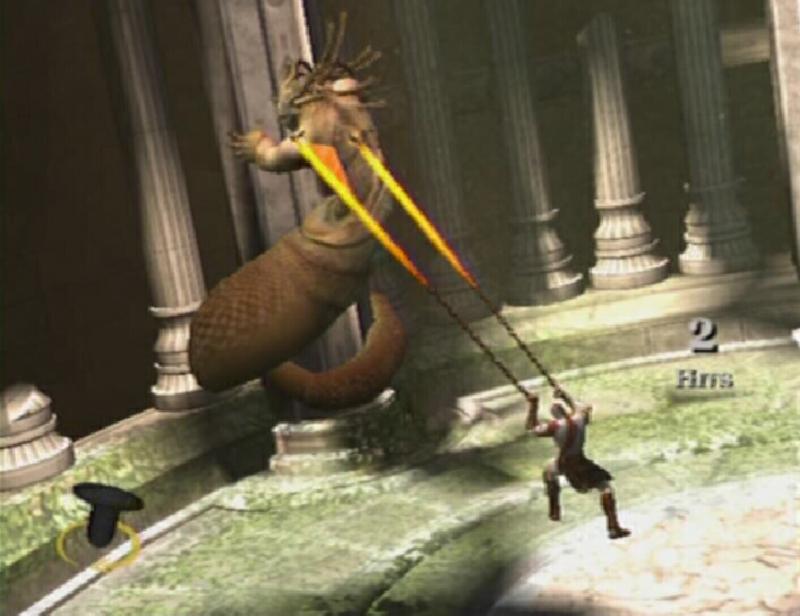
BOSS BATTLE: Euryale
Euryale is a hideous, morbidly obese Gorgon. Being a Gorgon, Euryale can and will attempt to turn you to stone with her Gorgon Gaze. If she succeeds, she then attempts to follow this up by swinging her tail to shatter you. She executes this move very slowly, however, giving you just enough time to free yourself by quickly moving the Left Analog Stick back and forth. Golden Fleece can be used to deflect Euryale's Gorgon gaze, giving you a small amount of Blue Orbs. Her other physical attacks can be blocked normally.
Euryale
If your Rage of the Titans meter is full, go ahead and use it. You are immune to Euryale's Gorgon gaze while enraged, so get as many hits in as you can. By now Athena's Blades should be at least upgraded to level three, and while not necessary, Typhon's Bane and/or Barbarian Hammer upgraded to level two would be helpful. You can start by weakening Euryale with Titan's Bane, and then using Athena's Blades to get a few quick attacks in.
Once you have damaged her enough, Euryale takes off and wraps herself around one of the pillars at the far end of the room. A good move to use against Euryale while she is in this position is �Cyclone of Chaos� (L1 + Square) with Athena's Blades. Jump up into the air and use the attack to get quite a few hits in. While wrapped around a pillar, Euryale can turn Kratos to stone by creating a cloud around her. To avoid this either roll out of the way or deflect it using Golden Fleece. If you are turned to stone, Euryale will attempt to break you with her tail so be quick about freeing yourself. Euryale can also release projectiles that will turn Kratos to stone if they hit him. Same deal here, either deflect or roll out of the way to avoid them. Euryale may occasionally leave the pillar by body slamming into the middle of the room, producing a damaging tremor effect in the process.
When you have damaged her enough, she will slump down while still hanging from the pillar. Approach her and press the Circle button to and tap then rotate the Left Analog Stick to pull her down from the pillar, causing it to collapse on her. You'll receive some Blue Orbs and a small amount of Green Orbs once the pillar is destroyed. Euryale wraps herself around the second pillar so do the exact same thing here to destroy this pillar as well. With both pillars destroyed, all you must do now is finish her off.
Takedown
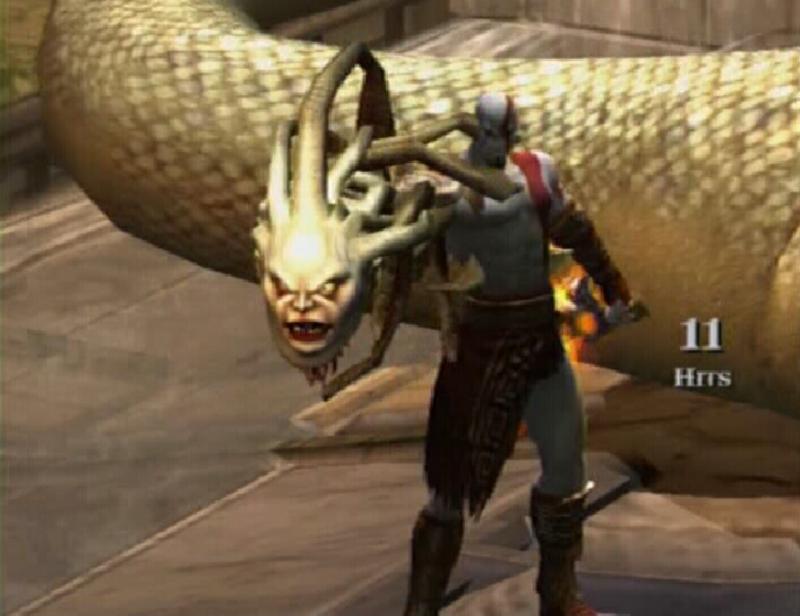
Euryale's attacks are much quicker here, leaving you with little time to block them. Empty your magic meter by using Typhon's Bane, then use normal attacks on Euryale with Athena's Blades, quickly rolling away afterwards to avoid taking damage from her attacks. Once you have dealt enough damage, a Circle appears over the Gorgon's head. Approach her and press the Circle button to start the takedown. Press the buttons as they appear on screen and then tap the Circle button until Kratos tears Euryale's head off.
The Head of Euryale
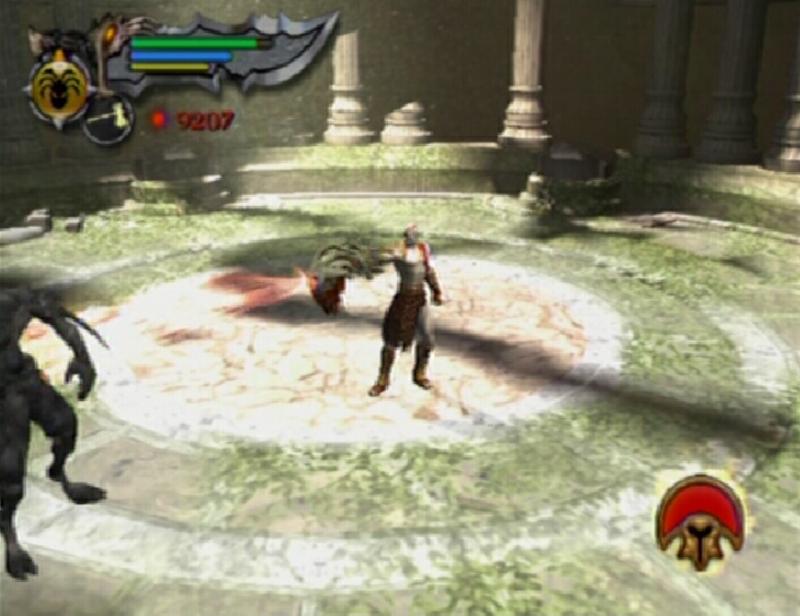
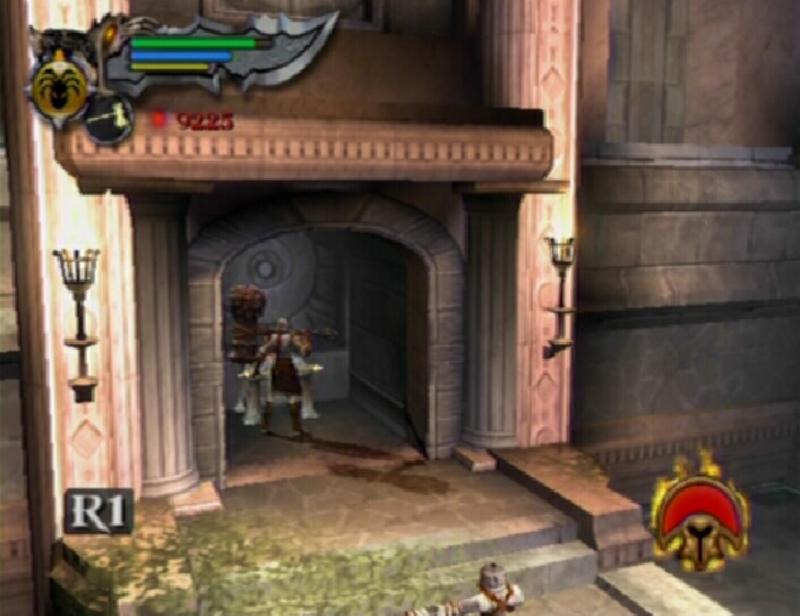
After the battle, use the Directional Buttons to select the Head of Euryale from your available magic. Hold down the L2 button and then the Square button to use the Head of Euryale to turn one of the Sentries to stone. Once they have been petrified, press R2 to switch to the Barbarian Hammer and use it to shatter the petrified Sentry. Shatter five Sentries to raise the gate at the end of the room.
Gorgon Gaze
Euryale's Defeat
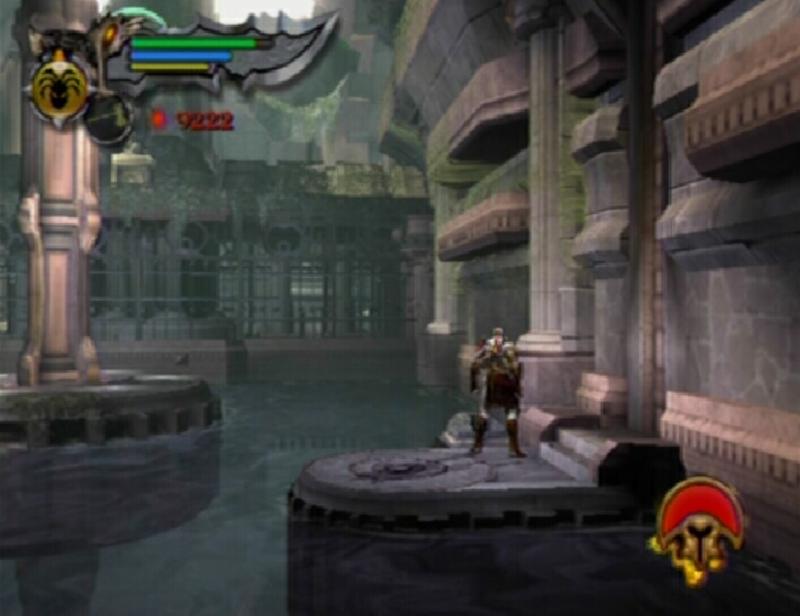
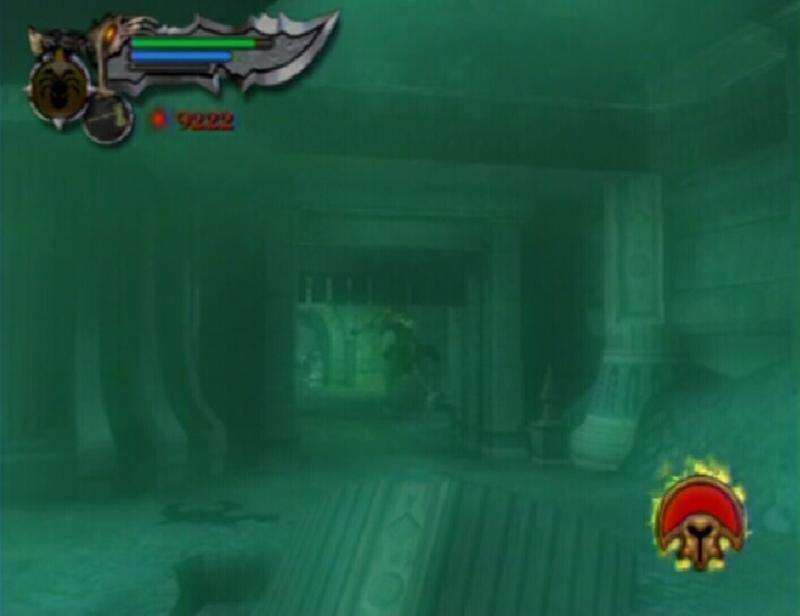
Proceed through the gate, be sure to use the save altar on the right before heading outside. Outside, take hold of the handle and start turning it clockwise until it can no longer be turned. With that done, jump over to the small platform with the lever on it. Pull the lever to raise the underwater gate. After doing that, immediately use the Amulet of the Fates then dive into the water and swim through the raised gate. Climb onto the platform in this section and turn the handle here clockwise until it can't be turned anymore.
Platform Lever
Underwater Gate
Afterwards, jump back into the water and swim down into the right corner of the pool. Use the lever there to raise the adjacent gate and then quickly swim towards the tunnel. Just before the tunnel's mouth, hold the R1 button to charge. Release it and Kratos should clear the entire tunnel, allowing him to get through both of the gates in time. If you don't make it, you can take a right in the tunnel to return to the first section of this area. Swim up to the surface, then climb up onto the surface and turn the handle to raise the column.
Underwater Lever
GORGON EYE (20/37): Destroy the broken door behind the handle. The unmarked chest within contains a Gorgon Eye. (If you have found eighteen Gorgon Eyes, these directions will lead you to a Red Orb chest. When opened, this chest will release a large amount of Red Orbs.)
Door
Gorgon Eye 20
Dive into the water and look in the right corner for a broken gate. Hold R1 to charge and then release the button to break through the gate. Climb up onto the platform in the middle of this section and turn the handle clockwise until the column is completely raised. Jump over to the platform near the column and pull the lever on it to open the gate above. Next, proceed through the tunnel across from the column and turn right.
This room contains a Fates statue and a handle. Start to turn the handle clockwise to spawn a Juggernaught. The Barbarian Hammer is definitely the best weapon to use against these guys, hitting with heavy (Triangle) attacks. He almost never blocks these attacks, and about five hits with a non-upgraded hammer is enough to take him out. After killing the first Juggernaught, some Fiends spawn. Keep in mind their projectiles can be deflected by using Golden Fleece. Two more Juggernaughts spawn. Once they have been killed, you are free to turn the handle uninterrupted.
Fates Statue
Juggernaught
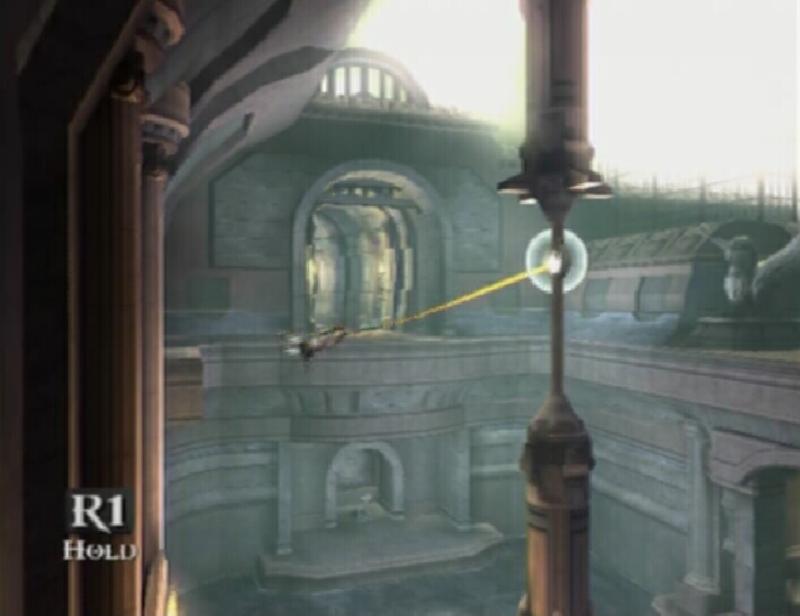
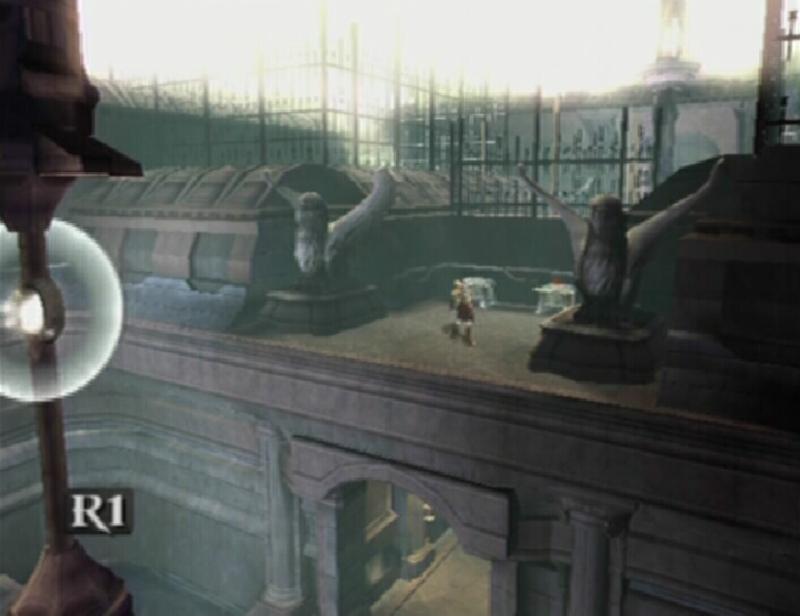
The column in this area will not remain raised indefinitely. With the column completely raised, use the Amulet of the Fates, head back through the corridor and climb up the ladder that you come to. At the top of the ladder, once the Amulet of the Fates effect has ceased, use the Amulet again to restore it. Now you must swing over to the open gate at the end of the area using the grapple points on the raised columns.
PHOENIX FEATHER (13/30): While swinging around the final grapple point, look on the right for a small platform above a doorway with two chests. Swing over to this platform and open the chest to find a Phoenix Feather.
Grapple Point
Phoenix Feather 13
Move through the hallway to reach a lift. Pull the lever to trigger the lift's ascent. A group of Hounds drops down onto the lift. Use Cyclone of Chaos (L1 + Square) with Athena's Blades to quickly wipe them out. When the lift reaches the gate, it continues to rise beyond the gate, threatening to crush Kratos. Rapidly press the Circle button to push the lift away from the ceiling. Following this and two more Hounds will drop down from the vent above. Quickly kill them and prepare to tap Circle again once the lift reaches the ceiling again. Continue to do this until the gate opens sufficiently, allowing you to jump safely through.
Move to the end of the corridor and walk across the narrow beams. When you reach the end of the beams, grab hold of the ridge along the wall and use it to get over to the platform at the other end of the gap.
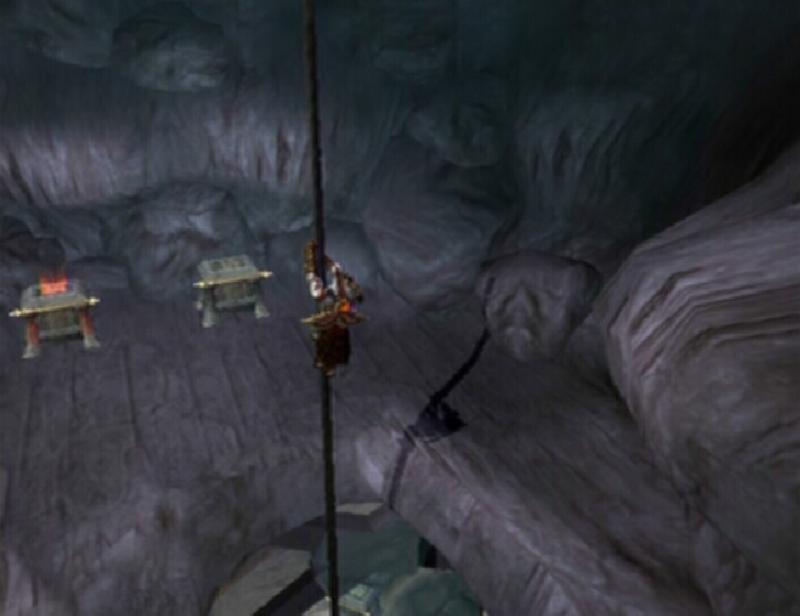
PHOENIX FEATHER (14/30): Once across the gap, turn around, jump and grab hold of the rope hanging there. Climb up this rope to reach a small area containing a Red Orb chest and an unmarked chest containing the Phoenix Feather.
Rope
Phoenix Feather 14
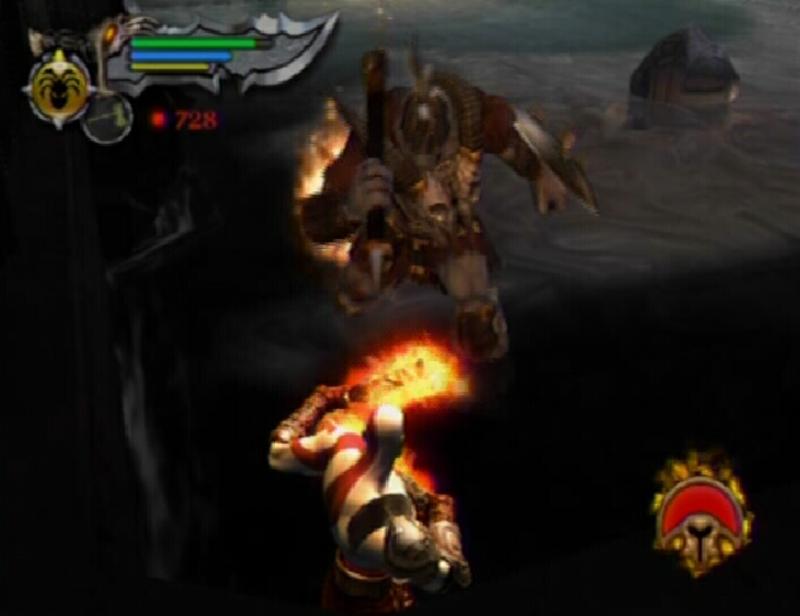
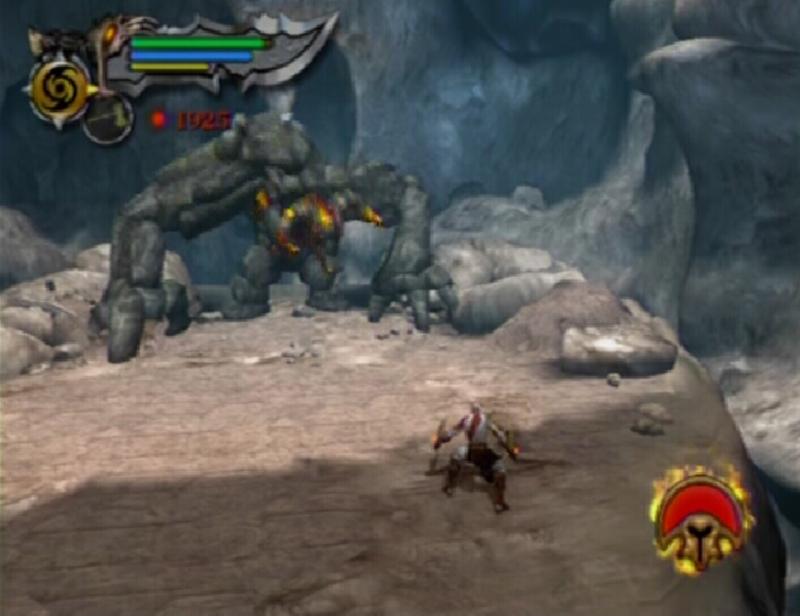
Use the Red/Blue Orb chest to restore your health or magic meter if needed. Approach the giant pile of boulders for another Rock Minotaur bout.
BOSS BATTLE: Rock Minotaur
All of the Rock Minotaur's attacks are quite damaging so you're going to want to be especially careful. If you get too close to the Rock Minotaur it will likely start to pound the ground so quickly roll out of the way to avoid this attack. When you are at a distance, the Minotaur may launch a boulder at you. You can block this boulder but you must block it just before it is about to connect with Kratos. It would be best to simply roll out of the way, however, because even if you do manage to successfully block the boulder, Kratos is still sent flying backwards.
One move you're really going to want to avoid is the Rock Minotaur's double lariat. If you are caught in this, you'll likely take quite a bit of damage. To avoid, this, simply roll backwards. The Rock Minotaur gives you plenty of warning when he is going to start the double lariat; when it twists around and places its left arm next to its right, get out of the way.
Rock Minotaur
Athena's Blades are the best choice here. They allow you to execute attacks quickly enough while still permitting you to roll out of the way to avoid the Minotaur's retaliation afterwards. You can also use Typhon's Bane to knock a bit of its health off. If the Rage of the Titans meter is full, this would be a great time to use it. With Rage of the Titans activated, the Rock Minotaur can be killed very quickly. By the time the meter is empty, the Minotaur should be close to death. Once the Minotaur is wounded, approach it and press the Circle button to start the takedown. Press the buttons as they appear on screen to finish off the Rock Minotaur.
With the Rock Minotaur slain, use the grapple point to swing across the gap up ahead. There is a save altar through this tunnel that can be used to save your progress. Follow the proceeding tunnel to its end. A group of Skeleton Warriors attack but they are easily dealt with. Climb up the spiral staircase and pull the lever at the top. Continue up the staircase extension activated by the lever to find yourself in a familiar setting.
Destiny's Atrium
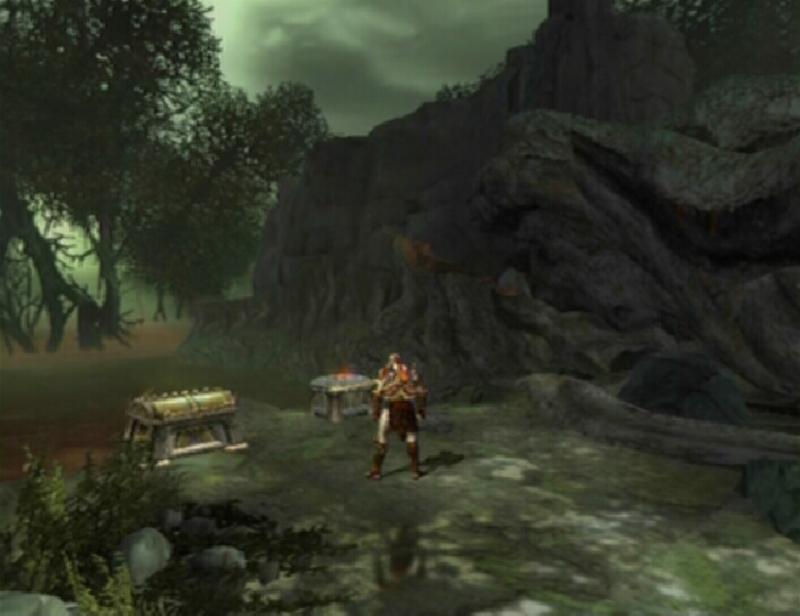
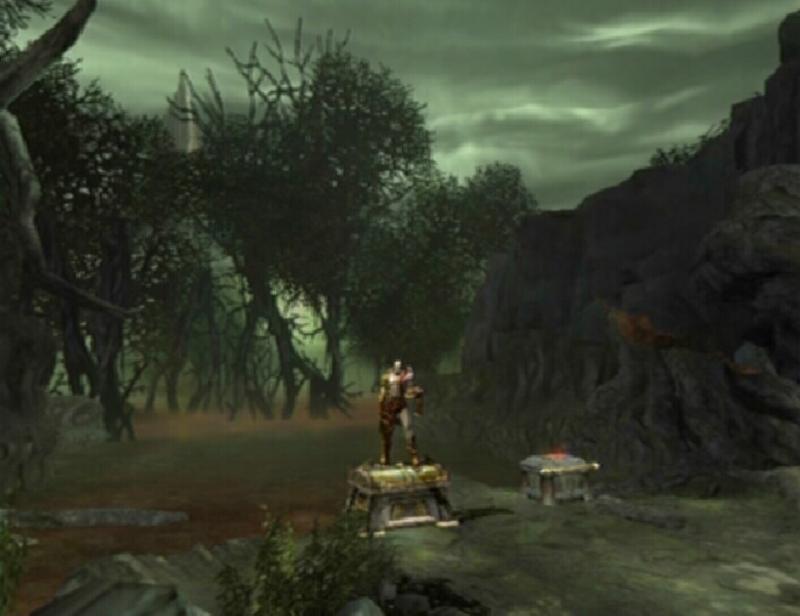
GORGON EYE (21/37): Go past the save altar here to the Bog of the Forgotten. In the Bog, follow the main trail to two chests. The chest on the right contains the Gorgon Eye. (If you have found eighteen Gorgon Eyes, these directions will lead you to a Red Orb chest. When opened, this chest will release a large amount of Red Orbs.)
Gorgon Eye 21
EXPERIENCE CHEST: In the Bog of the Forgotten there is a special Experience Chest next to the Gorgon Eye chest. Opening this chest gives you a huge amount of Red Orbs.
Experience Chest
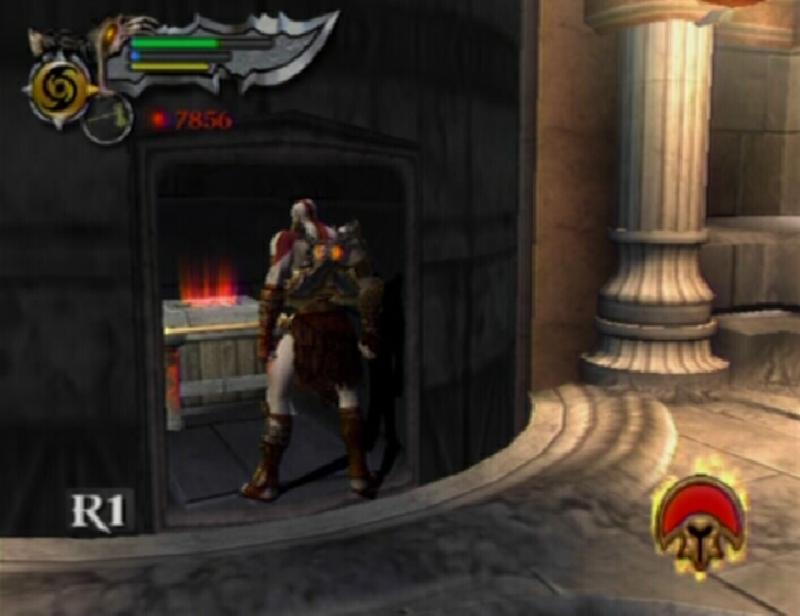
In Destiny's Atrium, perhaps you recall a fire door that you were unable to destroy. Since you have acquired Golden Fleece, you are now able to destroy this door, just as you did the one in Cerberus' lair. Go through the doorway on the left side of this area. Stand on the scorch mark created by the fireballs spit by the door. As the next fireball approaches, press the L1 button just before it hits Kratos and press Square to deflect it back at door, destroying it in the process. Move across the ridge on the right side of the pit to get to the other side.
Fire Door
Destroyed Door
Catacombs of the Fallen
Through the tunnel, open the Green and Blue Orb chests if need be. When you are ready, drop down to the area below. Move down the tunnel. Tear through the Undead Archers you come to and proceed outside. You must face an Elite Legionnaire here. Some Undead Archers are positioned on the cliff edge and two more are across the gap. Use Typhon's Bane to kill Archers first, then if you have magic meter left, use it to weaken or finish off the Elite Legionnaire. �Spirit of Hercules� (Triangle, Triangle, Triangle) works well against the Elite.
GORGON EYE (22/37): Swing across the grapple point to the first platform. Scale the climbable wall to find two chests. The Gorgon Eye is inside of the unmarked chest. (If you have found eighteen Gorgon Eyes, these directions will lead you to a Red Orb chest. When opened, this chest will release a large amount of Red Orbs.)
Gorgon Eye 22
Swing across the grapple points to the platform on the other side. Rip through the Archers and slay the Elite Legionnaire that spawns. Climb up the ladder to reach the Hall of Atropos.
This guide is copyright 2007 SuperCheats.com, no part of it may be reproduced without permission.