God of War II - Atlas Walkthrough
Skip to Sections...
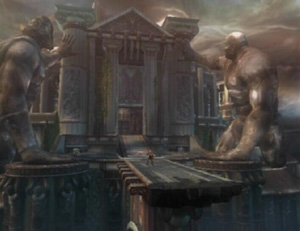
Atlas
Inside The Mighty Titan
Ascension of Atlas
The Great Chasm
Atlas
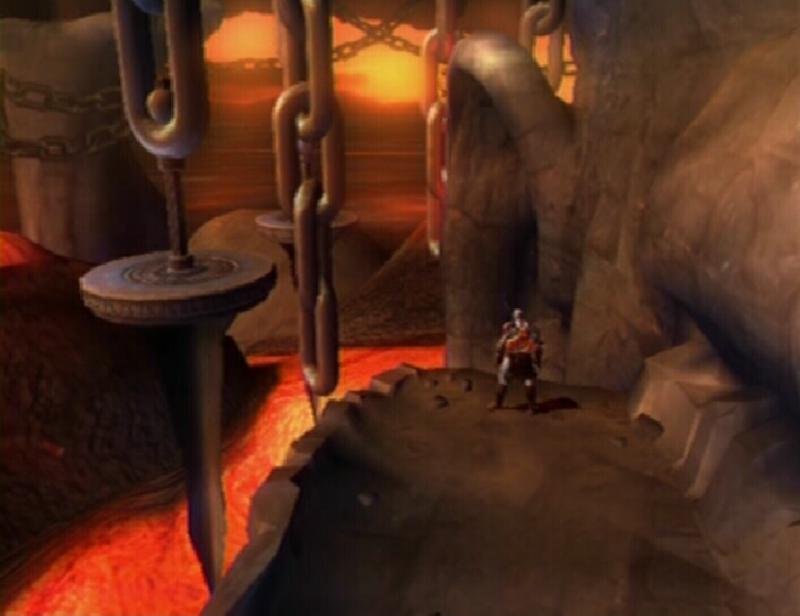
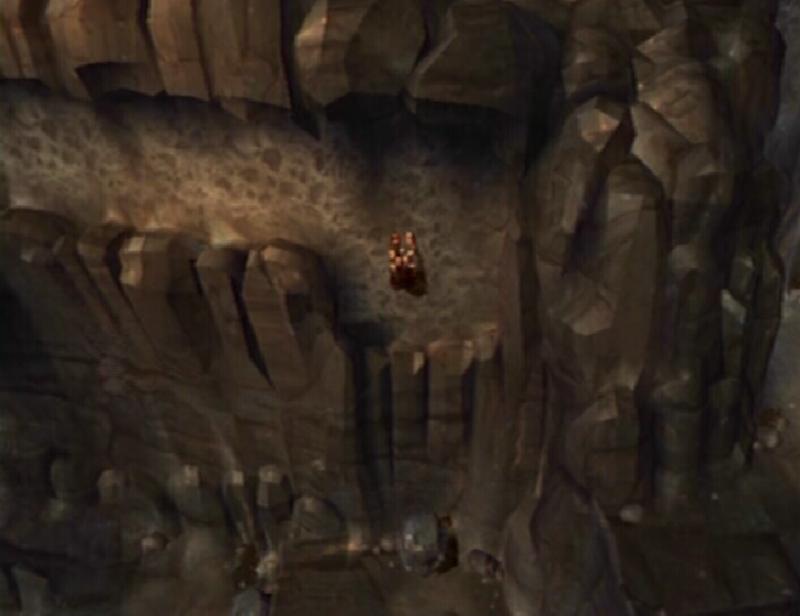
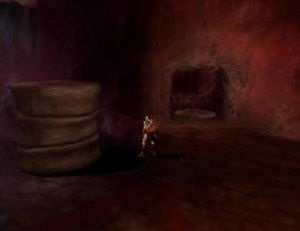
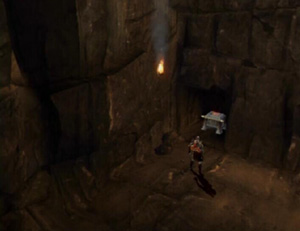
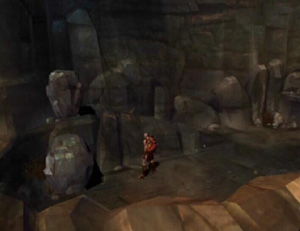
A save altar can be found by following the path along the left side of Atlas� face. Climb up the slope between Atlas� eyes to reach the walkway above. When you reach the end of the walkway, run, double jump into the air and press and hold the X button to use the Icarus Wings to glide over to the platform. Glide over to the next platform, grab hold of the ledge and climb up. Next, glide across the hanging platforms and then through the opening small opening down below.

Hanging Platforms
|
Inside The Mighty Titan
Kill the Satyr and Harpies that spawn.
PHOENIX FEATHER (18/30): Approach the blocked doorway and hit the vines to make them retract. Pull the bone out from the doorway and push it against the wall on the left. Jump up onto the bone and then onto the ledge to discover a Red Orb chest and an unmarked chest. The Phoenix Feather is inside of the unmarked chest.
Bone
|

Phoenix Feather 18
|
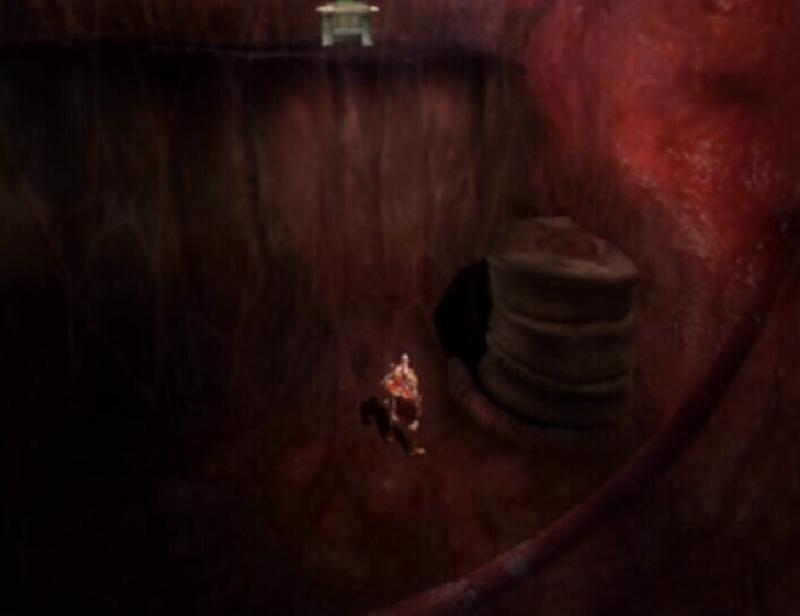
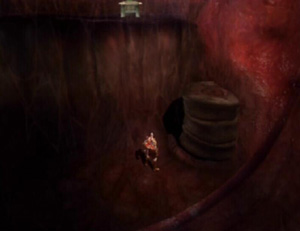
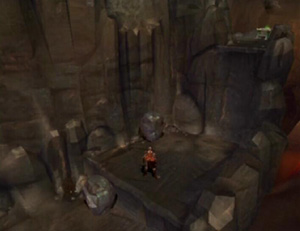
Pull the bone away from the doorway. Proceed through the doorway, grab hold of the bone and attempt to pull it through. It won�t fit, but it does create a platform that you can then use to reach the ledge above. Use the Green Orb chest to restore your health if needed and continue down the tunnel. Glide over to the platform floating in the lava and approach the large pile of boulders.
Bone Platform
|
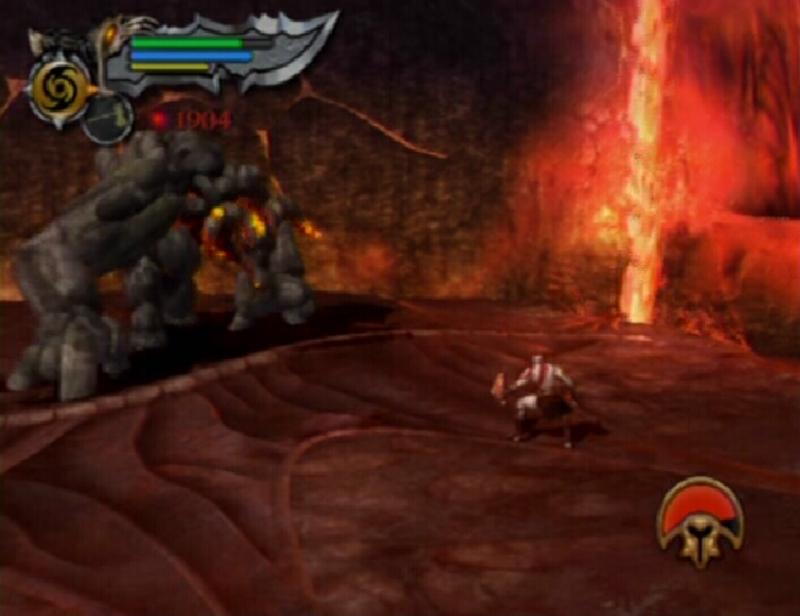
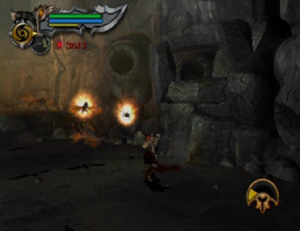
BOSS BATTLE: Rock Minotaur
Yes, another one. This one is a bit tougher than the other two you faced, as you are unavoidably placed into a dangerous situation. All of the Rock Minotaur�s attacks are quite damaging, so you must be especially careful. If you get too close to the Rock Minotaur, it will likely start to pound the ground, quickly roll out of the way to avoid this attack.
One move you�re really going to want to avoid is the Rock Minotaur�s double lariat. If you are caught in this, you can take quite a bit of damage. To avoid, this, simply roll backwards. The Rock Minotaur gives you plenty of warning when he is going to start the double lariat; when it twists around and places its left arm next to its right, get out of the way.

Rock Minotaur
|
Athena�s Blades are the best choice here. They allow you to execute attacks quickly enough while still permitting you to roll out of the way to avoid the Minotaur�s retaliation afterwards. You can also use Typhon�s Bane to knock off a bit of its health. If the Rage of the Titans meter is full, this would be a great time to use it. However, back off if the Minotaur is about to use his double lariat attack, you can still take a great deal of damage from this attack, even while enraged. Cyclone of Chaos (L2 + Square) with Athena�s Blades can be effective, but first double jump up into the air so that you are over the Minotaur while using it, this way you can at least attempt to avoid its ground slam.
When you have dealt enough damage, the Minotaur pounds the ground and releases some Red, Green and Blue Orbs. The platform below you will begin to submerge, quickly run towards the light patch of wall at the top of the screen next and jump to attach yourself to it. While you are on this wall, the Rock Minotaur will throw boulders towards you. Climb up to the very top of the wall and just as the Minotaur releases the boulder, press and hold the R1 button to slide down to the bottom of the wall, hopefully avoiding the boulder. As soon as the boulder hits the wall, push up on the Left Analog Stick and tap the X button to quickly climb back up to the top.

Scalable Wall
|
Eventually the platform will reappear. Jump off from the wall and glide back onto the platform. Attack the Rock Minotaur as you were before and eventually it will collapse, releasing orbs upon its death. Drag the boulder left by the Minotaur over to the edge of the platform near the opening in the wall. Jump onto the rock, double jump and glide over to the ledge. Pull yourself up and move over to the proceeding ledge.
Boulder
|
PHOENIX FEATHER (19/30): Look down from the ledge to the left. You should be able to see a platform that holds two unmarked chests. Glide over to the platform. (If you have found eighteen Phoenix Feathers, these directions will lead you to a Red Orb chest. When opened, this chest will release a large amount of Red Orbs.)
Phoenix Feather 19
|
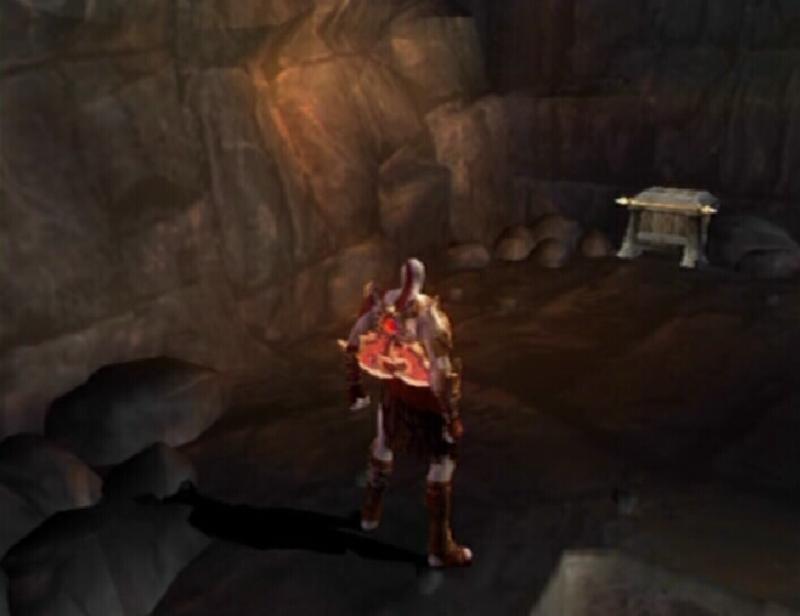
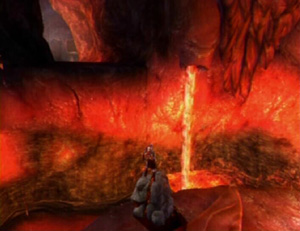
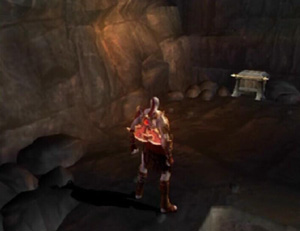
Use the Icarus Wings to glide to the platform across the lava pit. Next, glide over to the central platform. A save altar can be found on the platform to the left. Save your game if you wish, then slash the bones holding the rock to dislodge the rock, sending it down the lava flow. Wait until the rock collides with the object, then jump over to the rock and hit the object to destroy it. As the rock raft reaches the drop, leap towards the grapple point and use it to swing over to the small opening across the pit.
GORGON EYE (25/30): When you reach the boulder, drop down from the ledge and into the depression below. Attack the wall in the top right corner of the depression to reveal a chest. The Gorgon Eye is inside of this chest. (If you have found eighteen Gorgon Eyes, these directions will lead you to a Red Orb chest. When opened, this chest will release a large amount of Red Orbs.)
Gorgon Eye 25
|
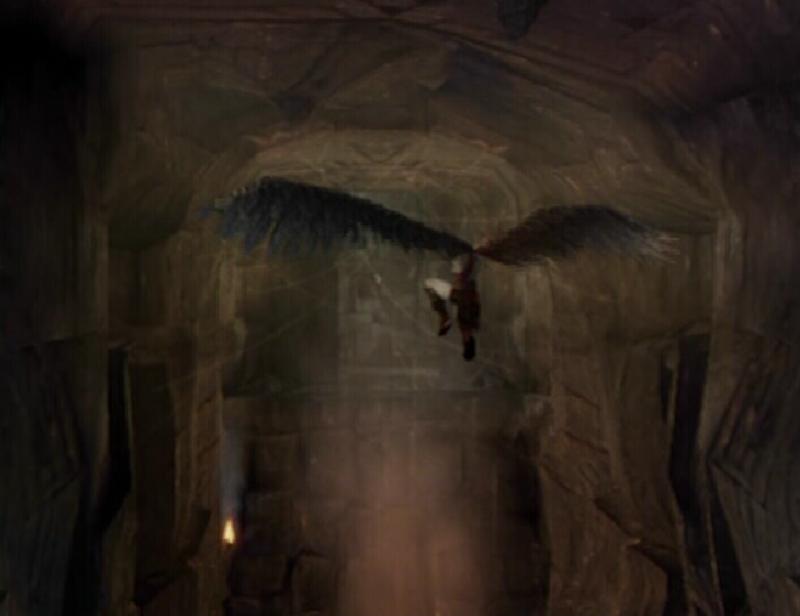
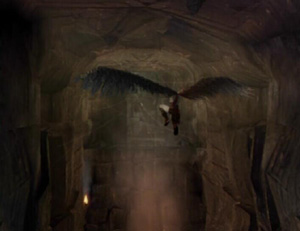
Smash the boulder to reveal a steam vent. Stand on the steam vent, double jump into the air and then press and hold the X button. With the Icarus Wings out, the steam vent will push Kratos up, allowing you to glide over to the high ledge. There are a large number of Firebird nests in the next area. Destroy the shimmering hive to reveal a platform. Move around the entire bottom level and destroy every Firebird nest that you see, they will make it very difficult for you to move along the wall and ceiling if you decide to ignore them.
Use Typhon�s Bane to kill any remaining Firebirds once their nests have been destroyed. Climb up onto the platform and start moving across the scalable wall. When you reach the platform with the two chests, glide over to the scalable wall visible on the right side of the screen. Climb up the wall and start slinging across the ceiling. Attack the stalactite in your path to shatter it. When you reach the end, drop down onto the platform.
Icarus Wings
|
Nests
|
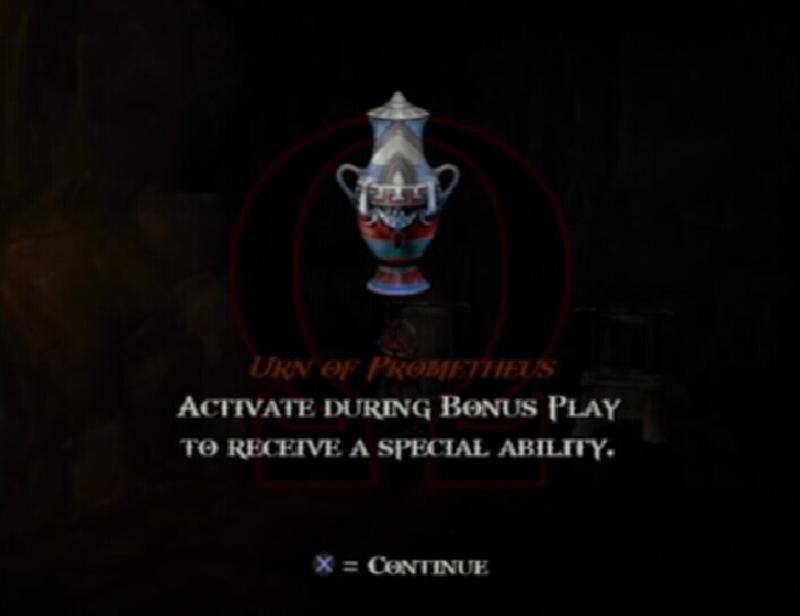
URN OF PROMETHEUS: Use the climbable wall on the left to reach the ceiling. Sling across the ceiling and destroy the first stalactite that you come to. Climb through the square hole that was underneath the stalactite. The unmarked chest on the left contains the Urn of Prometheus.
Urn Chest
|
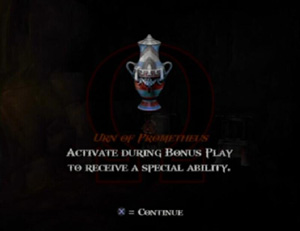
Urn of Prometheus
|
Ascension of Atlas
Sling across the ceiling until you reach a stalactite blocking your path. Destroy the stalactite and climb through the square hole. Move to the end of the cave and drop down onto the circular platform. When the platform lowers, jump over to the climbable wall next to it. Slide down the wall and sling across the ceiling towards the stalactites. Attack them to make them fall, plugging the holes below. Sling across the ceiling until you are hanging over the central platform (next to the save altar) and drop down. Glide towards the steam emitting from the rock formation straight ahead. The steam will push you up into the air, allowing you to reach the ledge beyond.
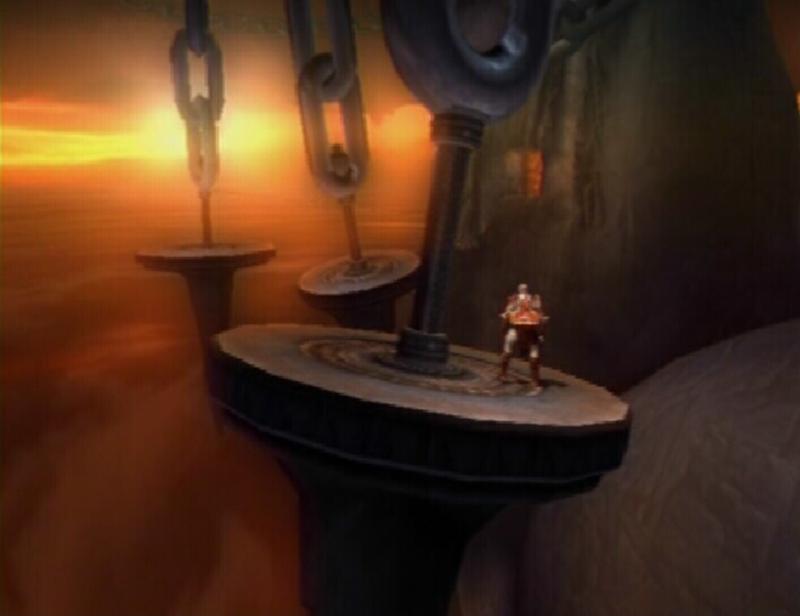
Glide across to the first swinging platforms and then all the way down to the stationary platform visible on the left. Grab hold of the switch to spawn an Elite Legionnaire and some Harpies. This variant of Legionnaire is much tougher than the others you have faced thus far. The Elite Legionnaires can be taken out quickly with the Head of Euryale. With a full magic meter (meaning eighteen Phoenix Feathers collected), about 1/3rd of the meter is needed to turn one of these Legionnaires to stone with an un-upgraded Head of Euryale. Once the Legionnaire is petrified, press R2 to switch to the Barbarian Hammer (if that is set as your secondary weapon) and press Triangle to shatter him. The Harpies are any annoyance, but they can be taken out easily with either Typhon�s Bane, or by jumping up into the air and using Cyclone of Chaos (L1 + Square) with Athena�s Blades.
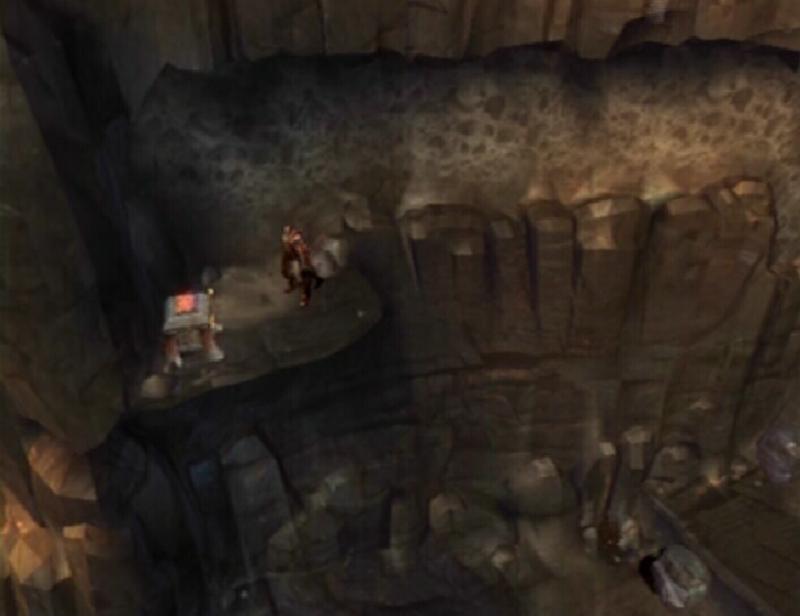
Once you have killed all of the enemies, grab hold of the handle in the middle of the platform and turn it clockwise until it cannot be turned anymore. Glide over to the swinging platform and then across to the one at the far end. Slide down the rope to a ledge. Use the save altar to record your progress if you wish.

Swinging Platforms
|
Scale the climbable wall on the right. After jumping across the gap in the wall, a few Sentries spawn. If they get close to you, press the Circle button for a quick kill. Climb up to the rocks blocking your path. Position yourself next to the rocks on the left and slash at them until they fall. Do the same for the rest of the rocks, just be sure that you are not below the rock to avoid taking damage. Once you are up on the ceiling, position yourself near the grapple point. Press the R1 button to drop from the ceiling. Quickly press the R1 button again as you are falling to latch onto the grapple point. Swing across the grapple point to the next one and then over to the portion of climbable wall at the end.
Climb up to the top of this patch of wall, pull back on the Left Analog Stick and press the X button twice to double jump off of the wall. Jump across the platforms, you will soon reach an area with two boulders. Push the boulder nearest to the ramp up to the top of the ramp. Place the second boulder next to the ramp, below the first one. Get up the top of the ramp and push the boulder onto the boulder below it. Push the stacked boulders over to the ledge. Jump up onto the ledge and drag the top boulder away from the bottom boulder. Place this boulder underneath the climbable wall above.
Boulders on Ramp
|
Boulders in Place
|
GORGON EYE (26/37): Stand on top of the boulder and glide over to the high ledge. From the ledge, glide over to the climbable wall. Move across the wall to a small platform. The chest on this platform contains the Gorgon Eye. (If you have found eighteen Gorgon Eyes, these directions will lead you to a Red Orb chest. When opened, this chest will release a large amount of Red Orbs.)

Climbable Wall
|

Gorgon Eye 26
|
Stand on top of the boulder and jump up to the higher ledge. Scale the wall at the end of the walkway, you come to a divided wall. While you scale this wall, rocks fall from above. To avoid the falling rocks, stay near the gap in the wall and jump over to the opposite side each time a rocks falls. The falling rocks will alternate from the left and right sides of the wall, so as soon as one falls on the side next to you, jump over to that side, push up on the Left Analog Stick and press the X button to ascend. When you reach the top of this wall, switch over to the left side. Press and hold R1 to slide down the long stretch of wall. Navigate over to the second split wall. Same deal as the first wall, but the rocks fall a bit faster.
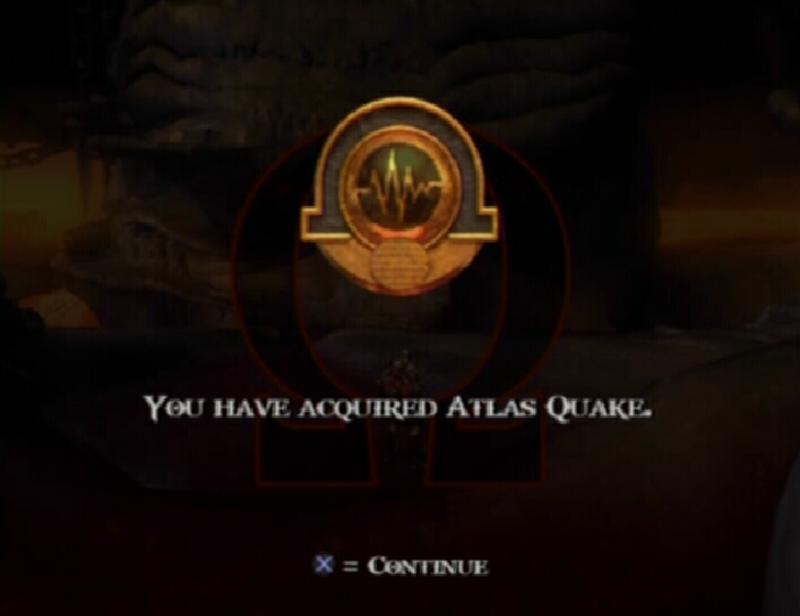
At the top of the wall, attack the chain binding Atlas to free him. After freeing Atlas, he attempts to crush you with his fingers. Alternate between the L1 and R1 buttons to push Atlas� fingers apart to prevent Kratos from being crushed. After a short cutscene, Kratos receives the �Atlas Quake� magic. A large group of Undead Legionnaires spawns. Your magic meter is unlimited for the time being, this is the perfect opportunity to test out the recently acquired ability. Atlas Quake is a powerful magic that deals heavy damage to enemies within its area of effect. This magic will definitely come in handy.

Atlas
|

Atlas Quake
|
The Great Chasm
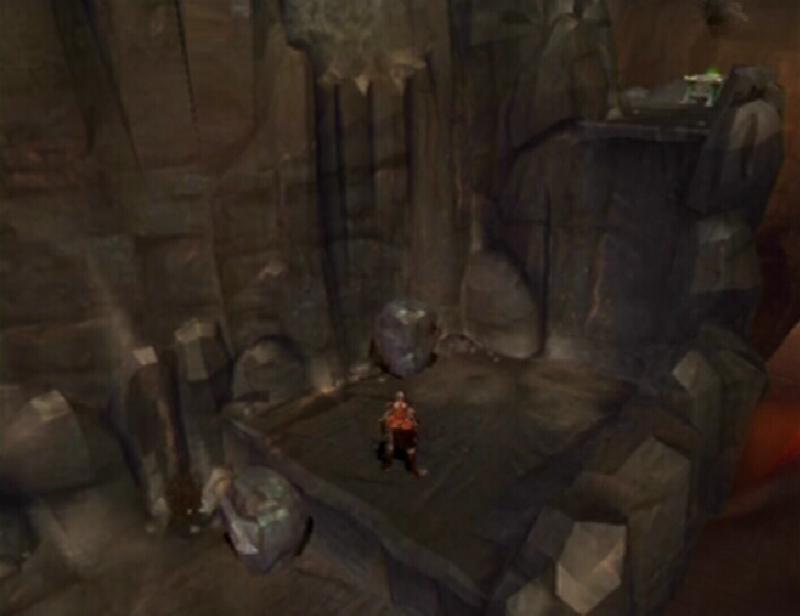
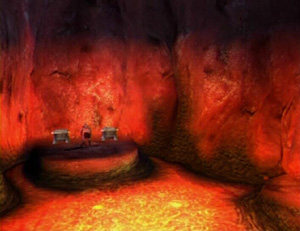
Glide over to the platform up ahead and use the save altar to record your progress.
GORGON EYE (27/37): On the platform with the save altar, turn left and jump to the climbable wall. Climb up to the top of the wall. The chest up here contains the Gorgon Eye. (If you have found eighteen Gorgon Eyes, these directions will lead you to a Red Orb chest. When opened, this chest will release a large amount of Red Orbs.)
Gorgon Eye 27
|
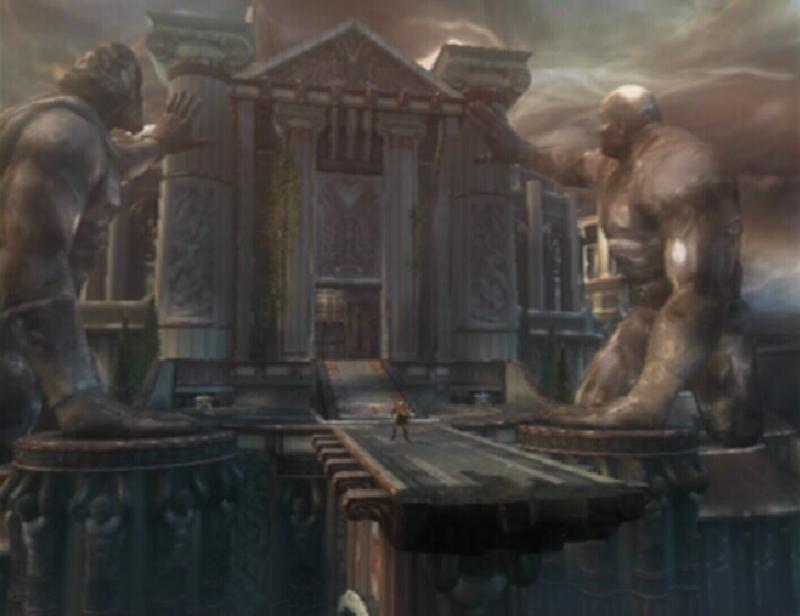
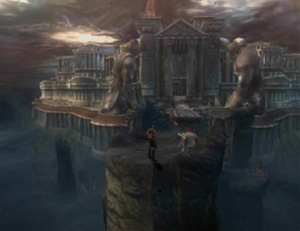
Glide across the three platforms until you reach the climbable portion of wall. Push up on the Left Analog Stick, press the X button to jump away from the wall and then glide over to the platform. From this platform, glide over to the Green Orb chest. Open the chest to restore your health meter, and then glide over to the Palace of the Fates.
Palace of the Fates
|
This guide is copyright 2007 SuperCheats.com, no part of it may be reproduced without permission.