10 - Testing Area, Lucas Passcode, Party Room Solution
11 - Boat House, Mutant Boss FightPrevious Page
9 - Toy Axe, Happy Birthday Video, Master Bedroom, Workshop, Red/Last Keycard
Going further means passing a 'point of no return' of some sorts, so be sure to collect everything so far. Use the keycards on the door in The Yard and go upstairs, then watch TV.
Continue through the hall and pick up a Herb from the shelves, then go through the door. Do NOT continue straight away, but grab your handgun and spot the tripwire/bomb attached to the shelves (check for the red light). Shoot it from a distance to be safe. There's a second bomb in this room as well, on the other side - shoot it too. There's a Wooden Crate and some Handgun Ammo on the shelves in this room.
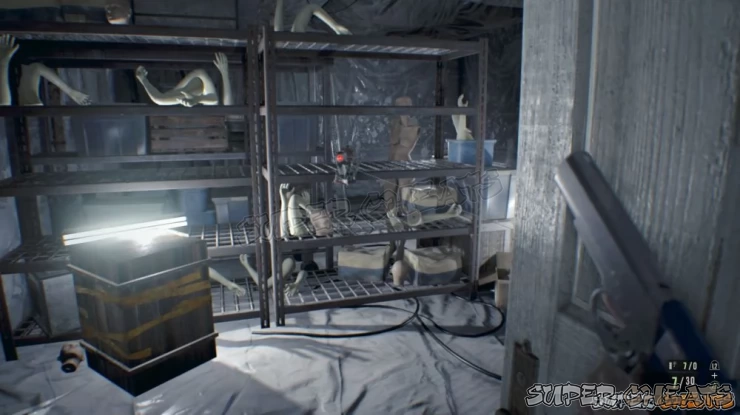
In the next room, crawl underneath the wire and shoot the bomb from a distance. Also shoot the next bomb on the other side of the room. If you grabbed the Treasure Photo earlier on (in the storage room near the Master Bedroom in the Main House), the cage with the dummy head with baseball cap should look familiar to you. Inspect the head to shove it aside and find the Repair Kit. This is used to repair either the Broken Shotgun or the Broken Handgun (if you hadn't repaired it yet).
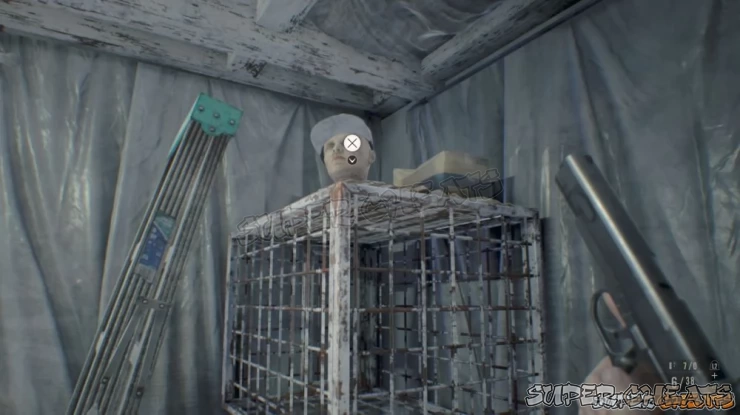
Shoot the last bomb in this room in the corner (follow the wire with your eyes to spot it), then continue through the next door. The first Wooden Box can be safely slashed, the second contains explosives so leave it or shoot it from a distance.
Go downstairs but not through the doorway. Head to the far dead end, turn around and spot the bomb next to the doorway. Shoot it.
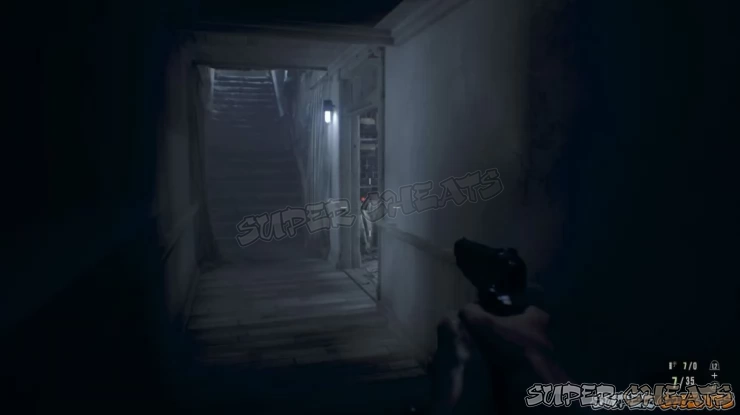
Now crouch and avoid the second wire hanging above the doorway. You can shoot the bomb from a distance. Approach the door with the keypad and enter any of the numbers 0621, 0514 and 0814, and immediately back away from the door as a swinging object slashes in your direction. Input another faulty keycode and a doorway to the south opens up.
Before you continue, use the Item Box in this room (with the keypad) to re-organize your inventory. Most important, you can now create the M21 Shotgun by combining the Repair Kit with the Broken Shotgun. This is a very powerful weapon that can down most creatures in one or two shots, so the fact that it only has a two-shell clip doesn't matter much. Leave your other shotgun behind in the box.
Head south. The first room on the right contains two Wooden Boxes, one of which blows up (the one nearest to the locker), so shoot them. There are also Shotgun Shells in this room to be found in the carriage. The Wooden Box in the hall can be slashed normally. Continue down the hall, but be careful. When you approach the bars, a Crawling Molded will appear behind you. Defeat it with a few well-aimed blasts from your new shotgun.
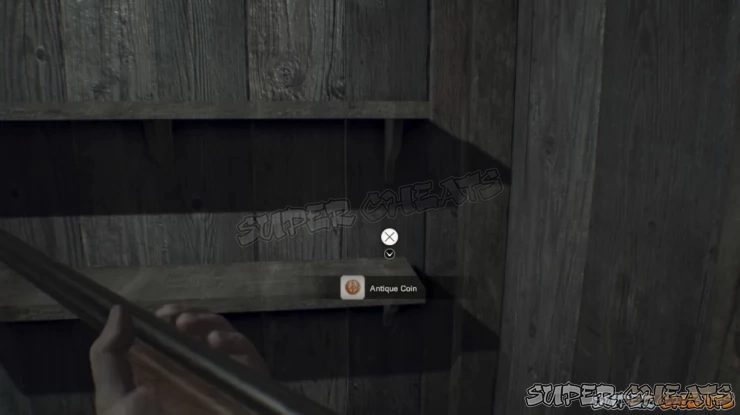
Crouch underneath the explosive attached to the bars and shoot it from the corner. Open the door but don't go through; there are FOUR explosives in this tiny room. The first is on the right near the base of the door, the second is on the ceiling. The third is next to the doorway on the left; crouch and head to the locker in the far right corner of the small room, turn around and shoot the third explosive next to the door. The fourth and last is on the wall to your (now) right. You can find an Antique Coin in the drawer and Steroids in the locker. Don't bother with the crate in the locker; it's an explosive so either shoot it or leave it alone.
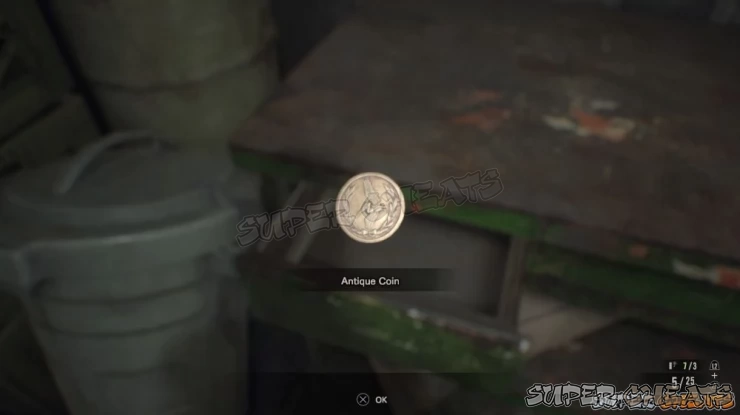
Note: In case you were wondering, yes, it is actually still possible to return to the trailer to spend your last antique coin along with the ones you still had. If you had two left (if you bought the Magnum) then you can now purchase the Steroids, even further increasing your maximum health. It's worth the shot! (Pun intended!)
Now explore the barn itself. There are three enemies here; two regular Molded and one Crawling Molded. The Shotgun or Handgun will work just fine; you can lure them into the long hallway as well. With them taken care of, look for a Herb on the right side of the barn, for some Shotgun Shells behind the hay stack on the right and Magnum Ammo behind the haystack on the left, plus some Gunpowder on the shelves.
Head upstairs to reach a Safe Room. You can find some Ammo here, and sort your inventory, or save. Take along your M21 Shotgun, Grenade Launcher, some ammo and restoratives. In the upper area of the barn, check the south side and pull out your Handgun to shoot the Mr. Everywheres Statue standing on one of the metal beams.
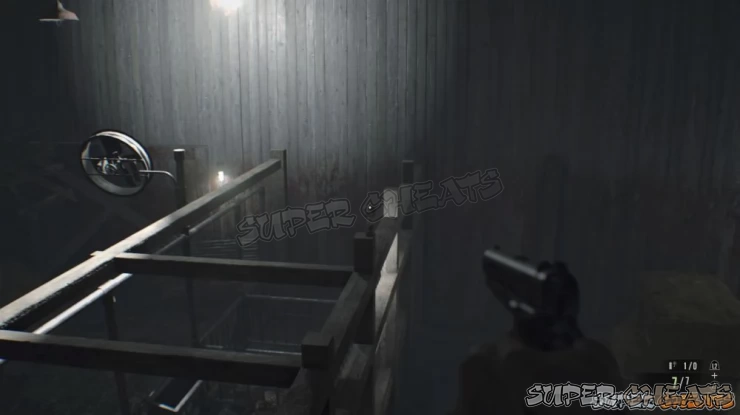
Also loot the two Wooden Boxes on the left and right dead ends (they're safe). Drop down on the other side of the barn and destroy all Wooden Boxes, except the one upstairs on the desk (it's rigged with explosives). There is a Herb there as well, plus the Battery you need to get the elevator started.
A Fat Molded will appear from the elevator. Hide/move around the stack of hay to avoid its harmful spit and keep blasting away at its head with the Shotgun, sometimes putting the creature on fire with a Flame Round if you wish. It shouldn't take long to defeat.

Continue up and go through the short hall. The next room contains Supplements and a Chem Fluid, while on the burnt corpse the Memo on Burnt Corpse file is attached, with a password: 1408. Go through the door and inspect the lower shelf in the corner right in front of you to find an Antique Coin.
Press the button to lower the stairs, then head to the room with the keypad (to the right). Drop all your items in the item box and you can enter.
Since you don't want to die (and you know what happened in the 'Happy Birthday' video), you'll want to do things slightly differently this time. Grab the candle, burn the rope on the door to the far north, enter the 'LOSER' password on the locked door there, grab the valve, then use this on the pipe opposite to the birthday cake. You can now light the candle at the kitchen and stick it in the cake. It'll go off, and a bomb will be dropped. Quickly pull the plank away from the wall and put the bomb inside, then keep your distance. This allows you to go through the wall.
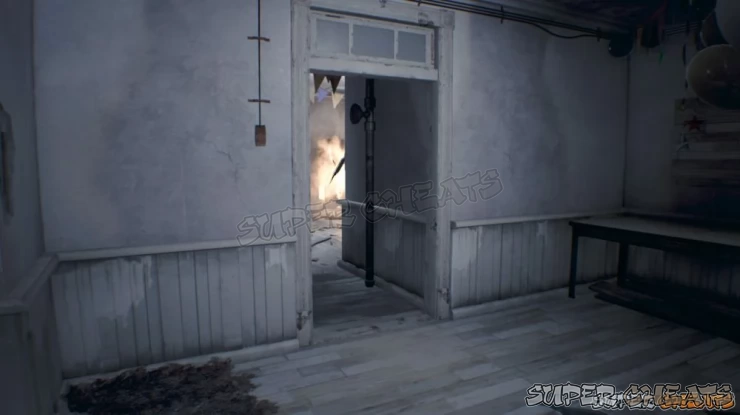
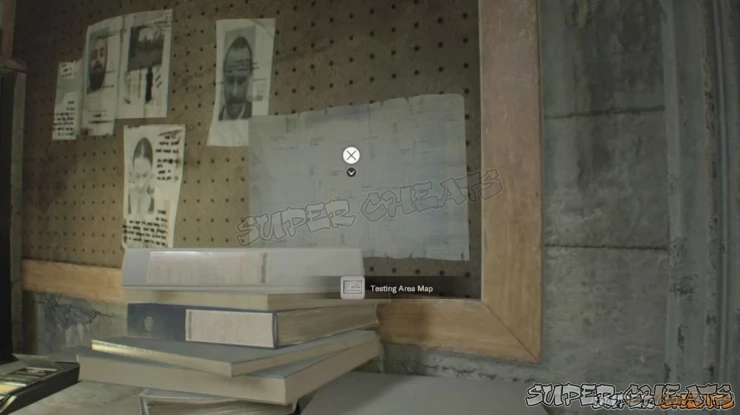
In the control room, check the TV for a scene. Also grab the Testing Area Map from the wall, along with the D-Series Head on the table. Store the testing area items in the box and recover your inventory: Handgun, Shotgun, Grenade Launcher, ammo, restoratives and the Crank (you'll need it later).
Head through the door and turn around immediately. Look up to spot a Mr. Everywhere's Statue on top of the doorway.
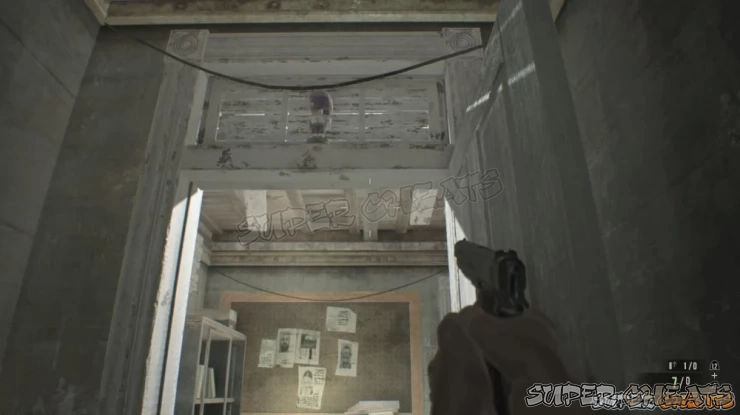
Continue through the next door to head outside.
11 - Boat House, Mutant Boss FightPrevious Page
9 - Toy Axe, Happy Birthday Video, Master Bedroom, Workshop, Red/Last Keycard
Anything missing from this guide?
ASK A QUESTION for Resident Evil 7 Biohazard
 Join us on Discord
