Evacuation Orders
Killzone 3 Walkthrough and Guide
by vhayste
Evacuation Orders
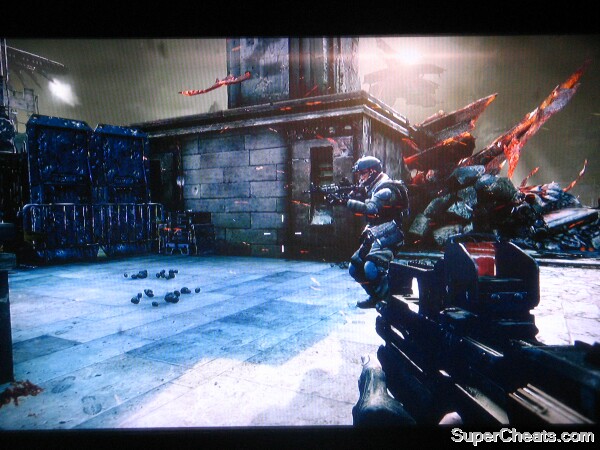
Follow Rico then take out the two Helgs (Helghasts) using melee attacks. Continue running down the street and following Rico. Once you regrouped with a handful of stragglers, fight off the enemies as you make your way to the river. There will be a lot of cover there so use them for your own good. Use your grenades to blast enemies behind cover. There is a Helg here carrying a missile launcher so don't forget to grab it. Replenish your ammo using the crate by the corner, right before the objective point.
 |
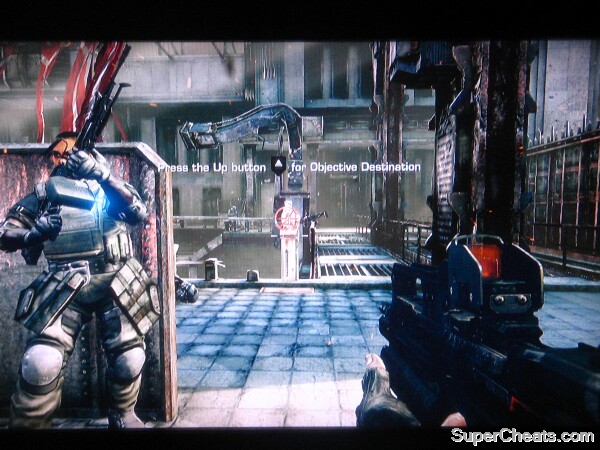
After the scene, enter the next door and kill the Helg by the window. Use the ammo crate nearby if you need to resupply. Fight your way to the main hall and clear it. Once done, open the door and get rid of the helgs in the square. If you picked up a missile launcher along the way, its best to use it now. There's an ammo crate upstairs where you exited from, in case you need to replenish your ammo. Make your way to the stairs and get rid of the enemies. Open the gate using the hand valve. Jump down then move ahead the friendly APCs. Enter the building to the right then boost yourselves up. Watch the following scenes.
 |
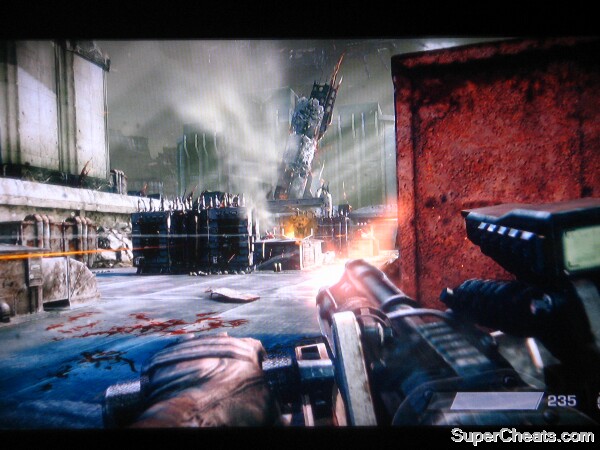
After the scene, man one of the nearby turrets and kill all the helghasts that will appear. You can also detach this minigun and carry it with you. Next, head to the museum. There will be several enemies here as well so take cover and slowly pan the area. Go upstairs and get rid of more helgs along the way. Once you've reached the rooftop, there will be more helgs waiting to be killed. If you've detached and carried the mini-gun earlier, then it should help you clear the area much quicker. Take note that you can also shoot down the dropship to prevent any reinforcements from disembarking. There's also an ammo crate nearby to replenish your ammo.
Turret Fun
 |
After clearing the rooftop, place the charge on the door, keep distance then blow it open. Take cover though and a small helg squad will appear and attempt to ambush you. Replenish your ammo as needed, then follow the straightforward path until you meet up with the rest of the ISA forces.
Note: There are four dropships that you can shoot down using the mini-gun and unlock corresponding trophy. See the “No Witnesses” trophy in the Trophies Section for more details.
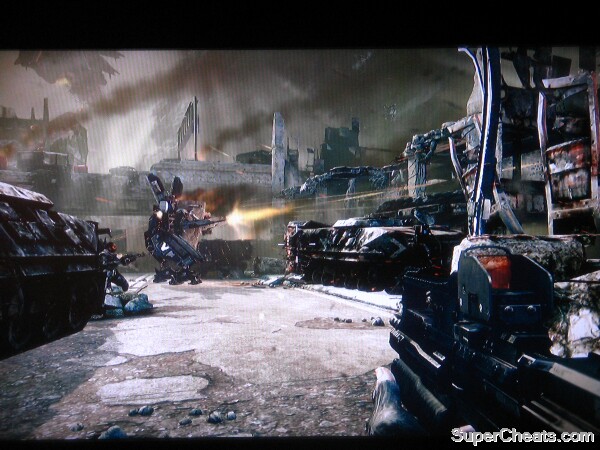
The mini-gun owns them all
You may want to use the mini-gun all-throughout because it will make your job a hell lot easier. Assist the EXO as it clears the path ahead. This armored ally won't last long as it will fall in the hands of the enemy RPG troops. They will appear on the building to the right so make sure you're in good cover otherwise Rico won't be able to revive you easily if you die. Get rid of the enemies on the second floor to the right by shooting the pillars, making the floors overhead crumble and crush them.
 |
After killing the RPG team, head to the next area and more helgs will start pouring in. Clear them out and follow the allied NPCs as it moves along the highway. Replenish your ammo as needed then continue sweeping the helgs along the way until the next scene.
More Killzone 3 on SuperCheats.com
No comments yet. Tell us what you think to be the first.