Chapter 9
Dead Space 2 Walkthrough and Guide
by vhayste
Chapter 9
Fight off this chapter's first wave of enemies then take the lift. As you around the corner, a slasher will burst out from a vent. After dispatching it, follow the corridors. Get rid of the crawlers, carefully if you're after the achievement then head to the Fuel Pressurization Control 2.
Kill the two lurkers and the puker here. Grab the items, including the audio log, Ellie's Story 3. Utilize the store then head to the next area. Here you'll encounter a Divider. This enemy splits into multiple, smaller parts after killing it so be careful. Take the elevator next.
 |
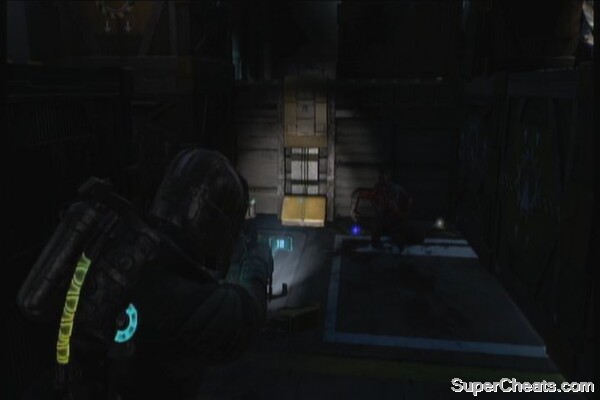
After exiting, grab the power node to the right. A slasher and exploder will attack so get rid of them. Take note that there's also a fragile partition window here so be careful where you shoot. Head to the next area. Destroy the mines in the first ramp to the right then remove the debris to find the schematics for the Flame Fuel and another audio log (Ellie's Story 4)
 |
Continue along the walkway to find a guardian. Use your blast weapons or their alt fire (Pulse Rifle -alt, Detonator, Flamethrower -alt, Line Gun -alt) to kill it safely at a distance. Ride the lift next.
 |
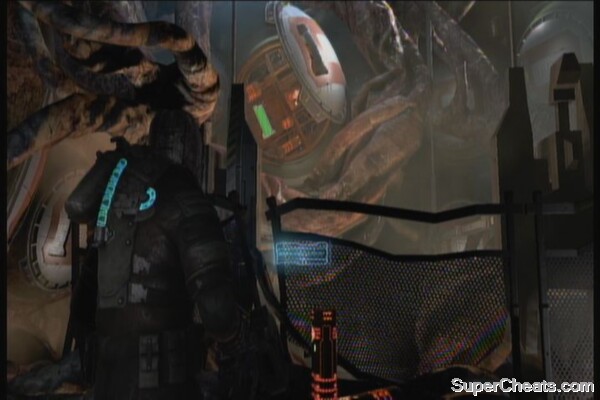
More necromorphs will appear. Take them out then use the workbench and save point inside the room. Grab the spare blue disc on one of the shelves to the right then place it in the machine in the middle. To get the other two parts from the adjacent machines, use kinesis to lift their covers then immediately use stasis so you can grab their parts. Place them in the middle to power it completely. Activate the panel near the window to call the tram. Kill the two advanced slashers that will attack, then ride the tram. Activate it and watch the following scenes.
 |
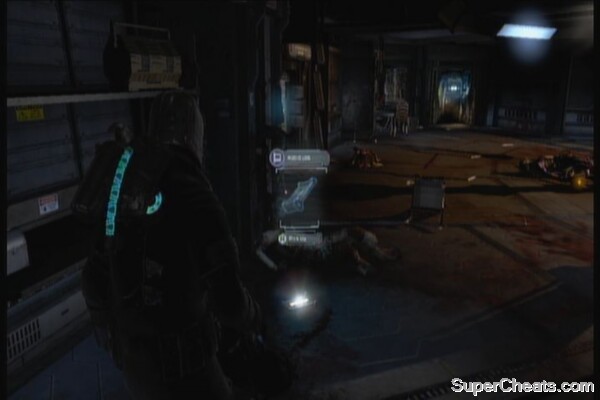
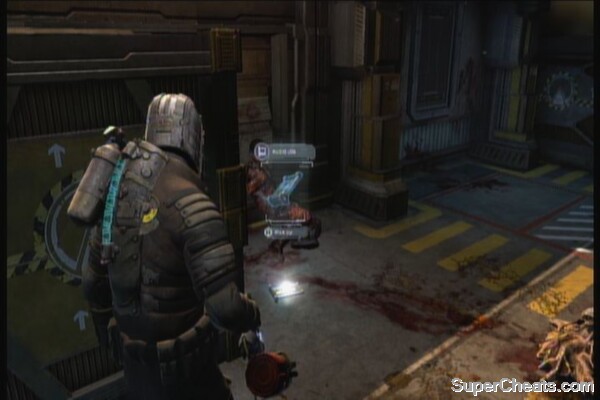
Head to the next area and carefully clear the cysts first. Grab the power node to the left and be careful of the stalkers that will appear shortly. Grab another audio log beside a dead body near the door, a few steps away from the power node container.
 |  |
Fight your way until you find a guardian by the elevator. Kill it and check the space behind it to find the schematics for the Seeker Shells and other goodies.
 |
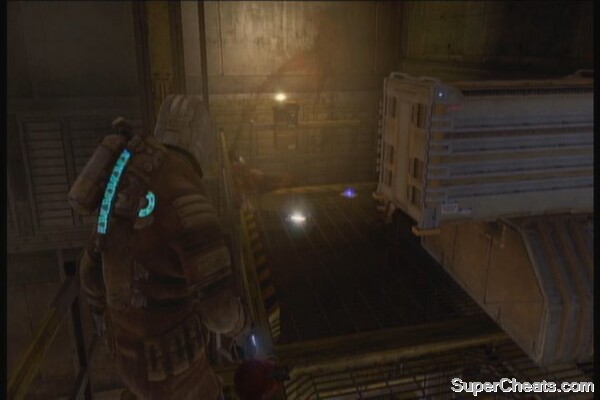
Take the elevator, then clear the next hallway of cysts. Use the store and save your game. Head to the next area. There's a large tentacle blocking the tram tracks. Use kinesis to throw one of the nearby explosive capsules to the pod to detonate it and destroy the tentacle. Use the lift afterward.
 |
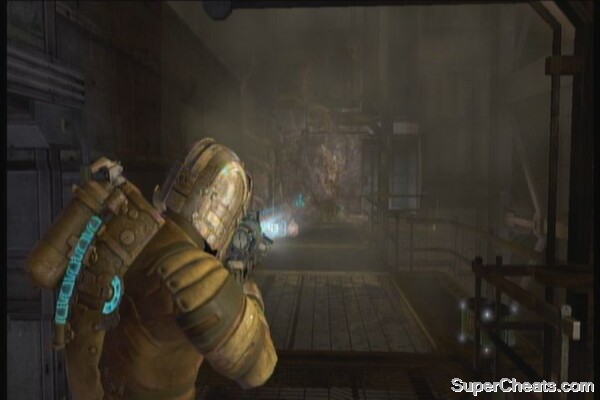
From here, you'll need to throw the explosive capsules to the pod. You need to throw at least 3 to overload it. During this time, tripods will constantly attack you. Don't bother sticking around and killing them as they're infinite during this task. Just use stasis then kill them quickly, grab a explosive capsule and throw it. After successfully overloading the pod, use the lift on the other side of the room then ride the tram.
Fuel Pod Arena
Follow the path until you reach the lift going up. The current chapter concludes.
i could only find two parts