Chapter 7
Dead Space 2 Walkthrough and Guide
by vhayste
Chapter 7
After disembarking from the elevator, you'll be in a room with the save station, workbench and a store. Beware since there's two necromorphs inside as well. There's an achievement for killing enemies using the flamethrower so might as well buy it and equip it now. Also, there's an elevator sequence later in the chapter which you'll need the Detonator Gun for. If you purchased it as soon as you can and have collected ammo for it, then you're in luck. However, if you just bought the gun now, you'll only have three shots.
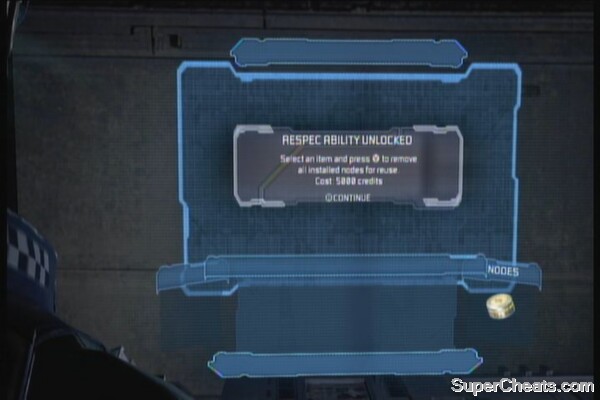
The workbech here will also enable you to use the Respec feature. Pay 5000 credits to remove all installed power nodes on an item so you can use it. This is a really helpful feature in case you mistakenly installed power nodes on other weapons you're not using frequently. When ready, head out to the door.
 |
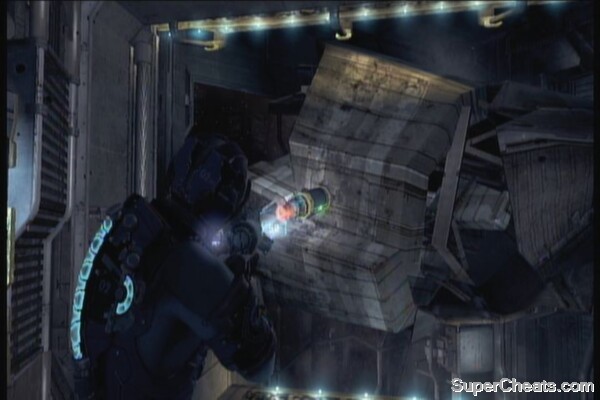
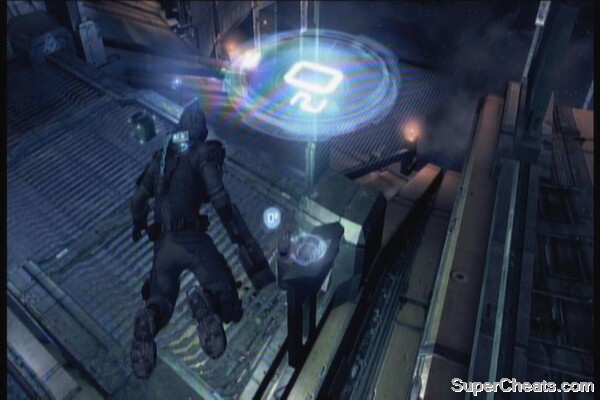
Some swarm may jump on you as you open the door. Just smash them then proceed to the Elevator Maintenance Bay. This is a zero-G area. To move the large debris here, you need to shoot the thrusters attached to them. Collect the items in the area, including the schematics for the Ripper Blades on the floor.
 |  |
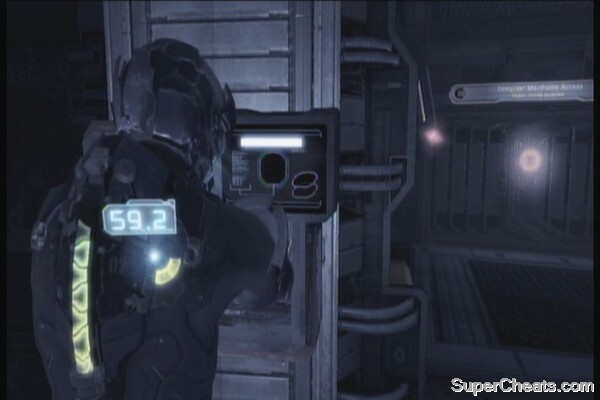
Shoot the two thrusters underneath the elevator. Don't take the elevator just yet; return to store to register the schematic and save your game. Take the elevator and prepare for the assault of tripods. Just shoot them off the window using your Detonator Gun or the grenade launcher of your Pulse Rifle. If you can't kill them all on the first run, you may want to try again on your second playthrough as the schematics for the Detonator rounds won't be available until Chapter 8.
Elevator Sequence
After exiting the elevator, kill the cysts and loot the lockers. If you haven't unlocked the Bouncing Betty achievement earlier, this is the best place to do so since the stasis capsules will slow down the mines, making it easier for your to catch them. You'll also find the schematics for the Force Gun inside one of the lockers here. Head to the exit; be careful of the cyst overhead.
 |
Bouncing Betty Achievement - Alternate method
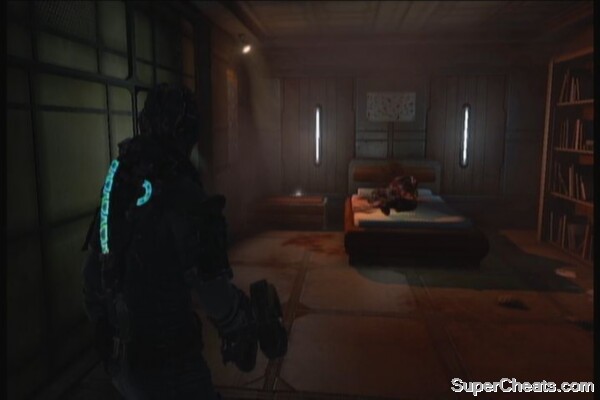
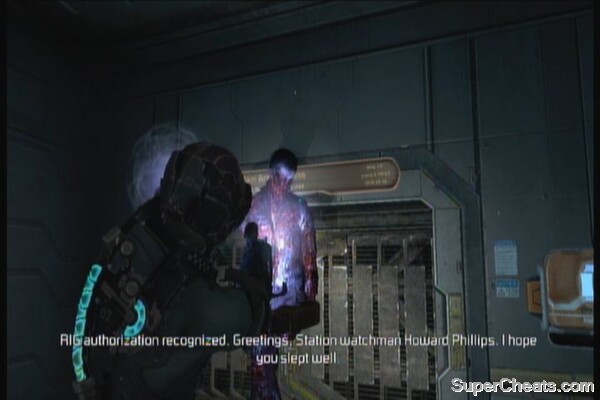
In the next room, you won't be allowed to pass through the door by the AI. Use the store for the meantime (there's a cyst nearby) and save station. Don't forget to grab the power node in the kiosk beside the store. Head to the other room where you'll find a corpse and a text log (Personal Log: Howard Phillips: Record Number 302 ). Drag his body to the scanner to open the door.
 |  |
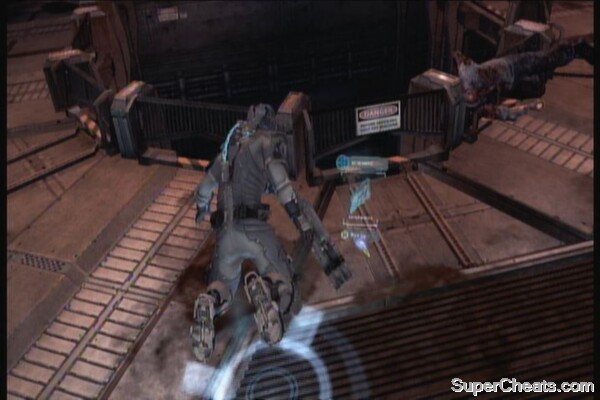
Carefully walk to the corridor until the AI raises its anti-personnel tripwire. You can hurl objects to trigger the tripwires at a distance. The walkway to the left has a wall locker and a power node container that you shouldn't miss. Exit to the next room.
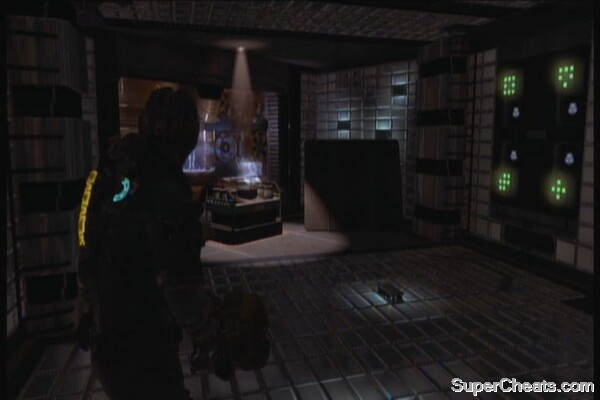
Carefully walk in the middle of the room as the AI will deploy tripwires again that will open the vacuum. More necromorphs will attack so get rid of them. Head to the control room and open the lockers for some items, including the second text log in the chapter. (Personal Log: Howard Phillips: Record Number 466)
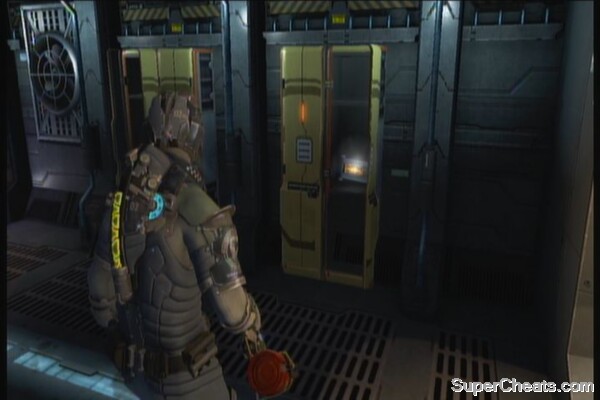 |
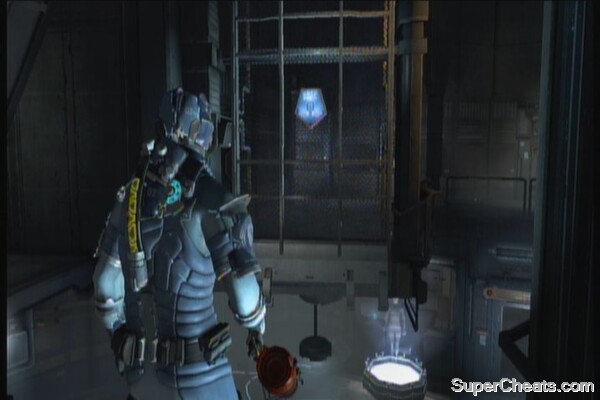
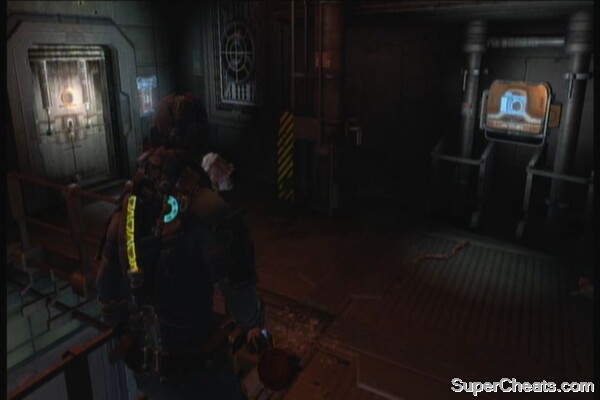
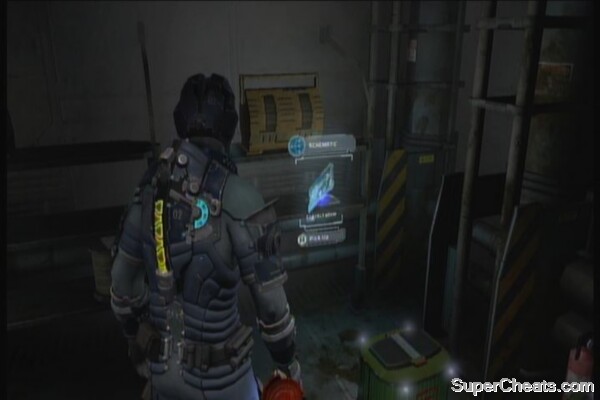
Hack the panel nearby. Once done, kill off the necromorphs that will ambush you, then take the lift. Use the workbench nearby then follow the walkway. Remove the GRIP objects using your kinesis to create a path for you. Tripwires will be deployed as well so be careful. Check the lockers left of the save point for items and a power node. Save your game.
 |
Enter the next hallway. There's a stalker here so carefully move ahead. Kill them quickly then hack the panel to proceed, before your air runs out.
 |
In the next room, the AI will lock you down. Take note that this is also the place where you can find the rare Peng Treasure, that's also part of the achievement. See the videos below for details.
First, you need to activate re-route then take the maintenance vent. This will take you to the mainframe room. Remove the GRIP covers, grab the blocks and place them in the panel to the left. Take note that the color of the block must turn blue. Just place all blocks until they all turn blue. Look behind you to reveal a new re-route panel. Activate it and the maintenance vent will take you directly to the Peng treasure, along with other goodies.
Peng Treasure Achievement
Return to the mainframe room then re-arranged the blocks until they all turn green this time. This will reveal a control panel. Use it to deactivate the mainframe's shielding. Hit re-route again, then exit to the other side.
 |
After exiting, hit re-route once more to reach the other mainframe room. Do the same thing then activate the second panel to proceed. Expect necromorphs as you exit the maintenance vent. Destroy all the power fuses to completely shut down the AI and open the door to the next area. Clear the hallway then head to the next room.
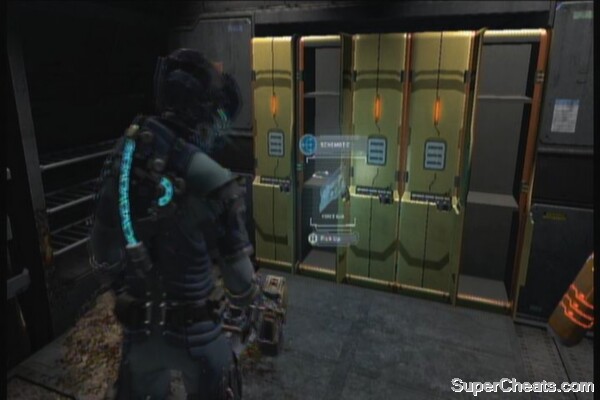
Kill the enemies here, then open the locked supply room to the left of the save point. Inside, you'll also find the schematics for the Contact Beam and the last log for this chapter. (Personal Log: Howard Phillips: Record Number 497)
 |
|  |
Once done, save your game then hack the panel. Head to the solar panel control pod. You'll need to exit to space to align the solar panels. There are also oxygen recharge stations here to refill your air if you need. You need to align two panels by flying to their panels and manually pointing them using your right stick.
 |  |
There's also a large necromorph here called the Nest. It shoots homing projectiles which you can easily evade. Just shoot those juicy sacs to kill it.
Nest
After aligning the two panels and activating the solar array, fly back to the control pod in the middle. Examine the seat and control Isaac to avoid the debris, until he makes it back to the station.
Crashing down
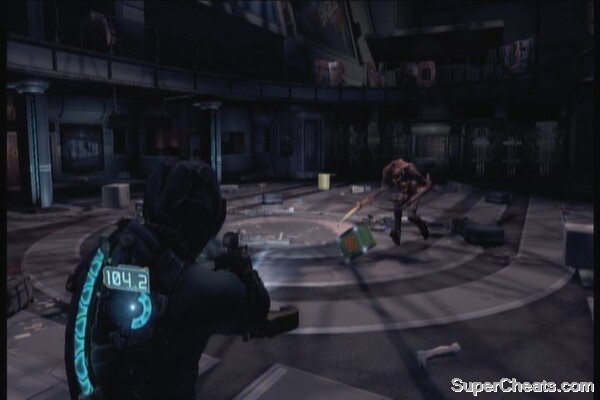
After landing, use the store to free up your inventory then loot the room before heading to the transport hub. Collect all the items until the area becomes a vacuum, and necromorphs start to attack you. You need to wait for Ellie to open the door for you to escape. But for the meantime, you need to fend them all off. The ripper will do its job perfectly here. Just remember to quickly loot the bodies as you kill them. Be careful of the pukers since their bile will slow you down and restrict your mobility, which spells bad news if you're surrounded by packs and slashers. Once Ellie opens the door, run towards it and activate the elevator.
 |
No comments yet. Tell us what you think to be the first.