Chapter 10
Dead Space 2 Walkthrough and Guide
by vhayste
Chapter 10
You'll now be back in the ship where it all began. If you played the original Dead Space, you may feel a bit nostalgic – unless you're creeped out. After reaching the landing dock of the Ishimura, remove the blockade on the first door to the left then grab the first text log of the chapter. (The Clogger). Continue inside to find a power node to the right and another log on the left.
 |  |
Exit the bathroom then head to the lounge and perform a diagnostic report. Follow the path, take the elevator down and you'll reach a room with a workbench. Use it if you want, then continue forth until you reach the control room with the save point. Exit but before heading right to the objective, turn to the left and grab another log. (No Transfer)
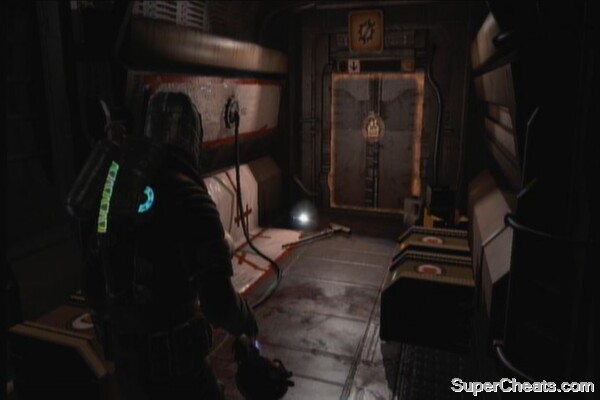 |
Continue forth until you reach a long, large tunnel. Be careful though since this is the part where the enemies will start showing up again. Fight your way to the end of the tunnel to reach the lift. Grab the power node in the far end, then hack the panel. Use the lift up.
 |
Follow the path until you reach the store and save point. Take the elevator and grab an audio log inside (Re-Animate) Exit the elevator to reach another room. Use the workbench there if you want. Enter the central room when ready. Wait for the decontamination to finish.
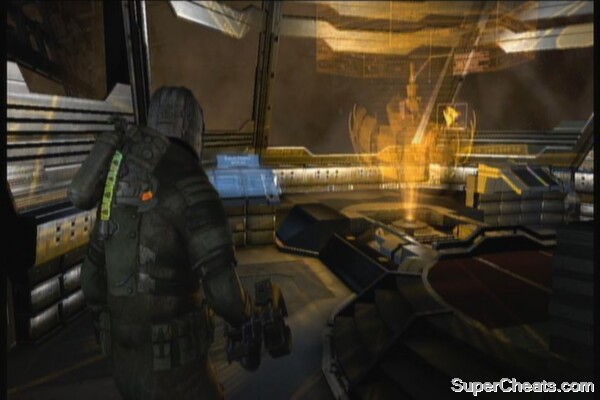
Once done, head to the next arcing hallway. There will tons of enemies here so have your weapon ready. Head to the left first to find a power node at the end. Fight your way to the objective point; just be careful of the enemies sneaking behind you. Keep going until you reach the zero-g area. There's a Force Energy schematic in this area as well.
 |
Schematics for Force Energy
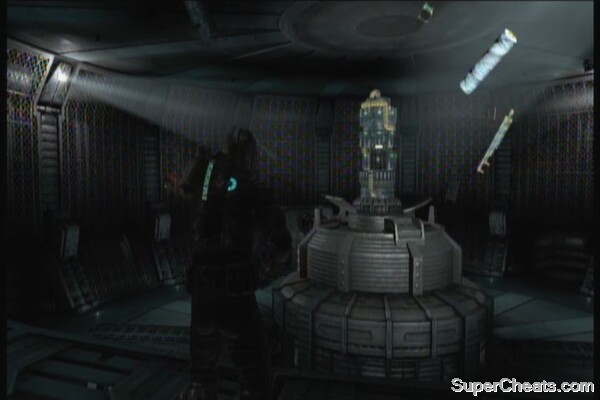
The centrifuge is missing some components which are those floating parts with red blinkers. Grab them and place them in the center of the centrifuge. They'll turn green if they're placed correctly. Once done, land on the catwalk and activate the controls.
Once the centrifuge is online, run back to the decontamination room. Prepare for battle since enemies will start swarming in. Once done, make your way back to the elevator. Be careful of the necrom that's playing dead by the elevator entrance. Save your game if your game then continue backtracking until you reach the transport. Ride it till you reach the medical deck.
Fight your way through the first hallway of the medical deck until you reach the observation room. Grab the power node in the middle, then enter the room. Be careful since two pairs of advanced slasher and exploder will attack. Hack the panel to open the door.
 |
More enemies will attack as soon as you finish hacking. Get rid of them then follow the path. Loot the lockers along the way, then grab the items and the power node inside the next room. Continue forth until you reach the lift.
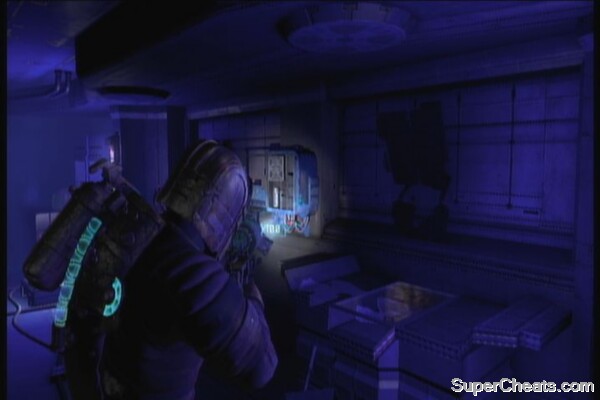
Head up, then use your kinesis on the GRIP platform to create a walkway for you. Walk around and do the same to reach the next lift. Take the enemies then enter the room behind you to find a power node and more items. You need to power off the electrical surge by pulling out the battery.
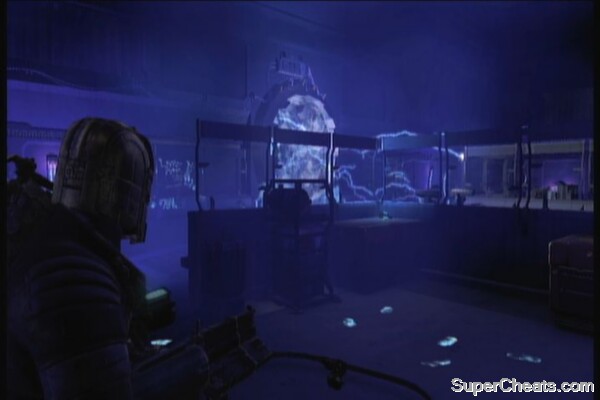 |
More enemies will appear as soon as you power off the surge. After getting rid of them, grab the Ruby Semi-conductor inside the tube in the middle. There's a workbench nearby, as well as an emergency supply room filled with health packs. Continue forth until you reach the save station. Use the store nearby as well. Follow the path until you reach the zero-g tunnel. Kill the lurkers you encounter along the way, until you reach the next platform. Follow the path until you reach the ship's bridge area.
 |
There will be several enemies here. The last log for this chapter is located in the room to the left, by the workbench. Kill all the necromorphs here then make your way in the middle. Save your game then open the door below to find the bridge. Press and hold on the panel to activate the tethers.
 |
Once done, exit the bridge then ride the escape pod. Watch the following scenes and this chapter ends.
No comments yet. Tell us what you think to be the first.