Chapter 4
Dead Space 2 Walkthrough and Guide
by vhayste
Chapter 4
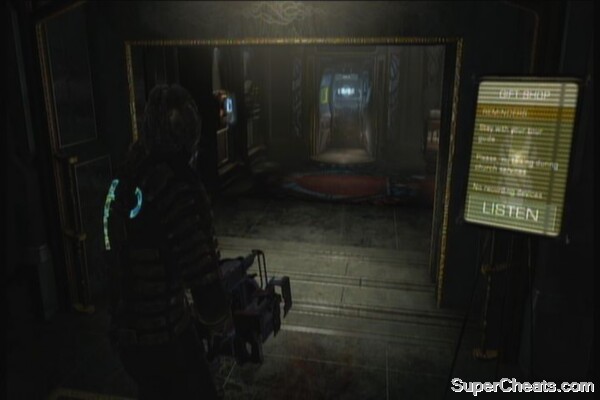
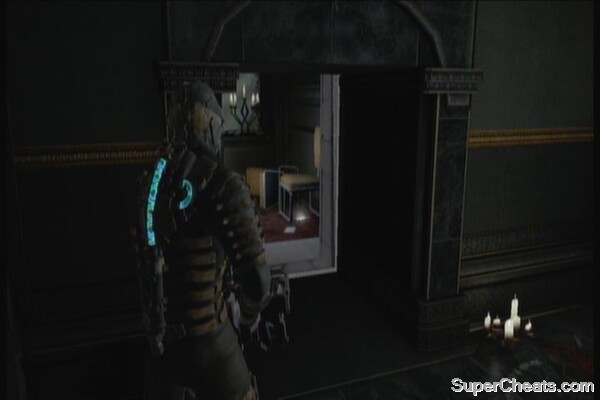
The objective tracker will point you to the right but you should check the gift shop to the left, containing a store, save station and workbench. There's a text log (Tour Staff) on the floor, between the seats in the reception counter in the ground floor as well.
 | 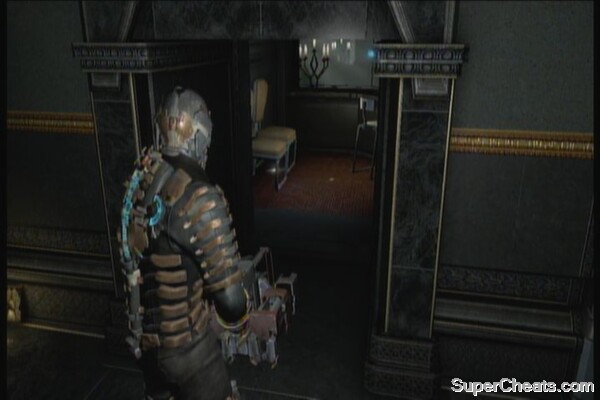 |
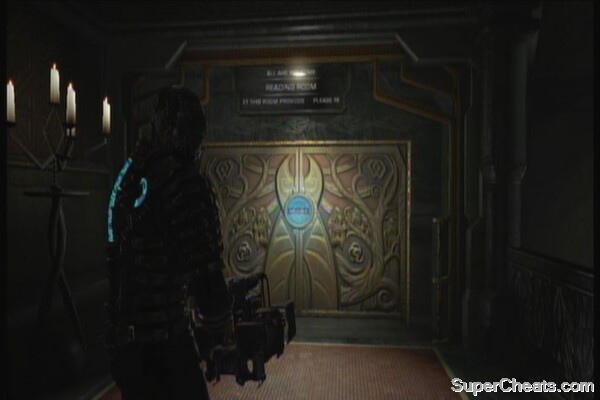
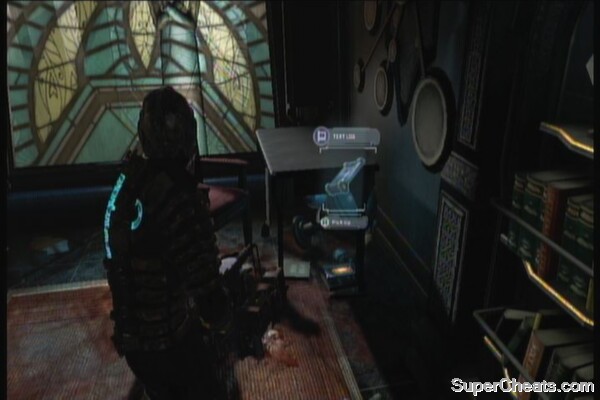
Go upstairs and check the reading room there to find a text log (Two Tines) and a power node. A necrom will drop down from the ceiling as well. Once ready, head to the next other side.
 |  |
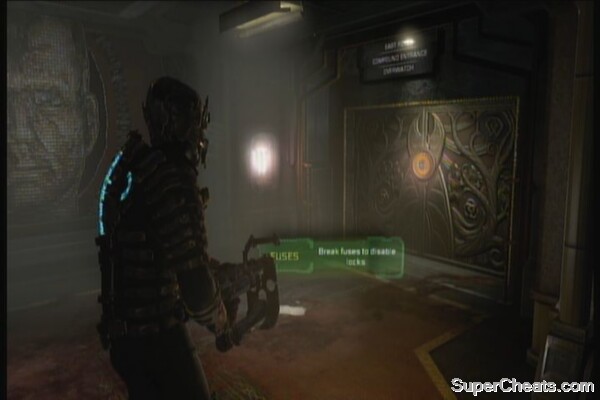
Check the floor of the second reception counter to find an audio log (Harsh Pressure). Continue upstairs. Clear the enemies in the next area then take the elevator. Head to the next corridor, then go to the right first to find a fuse. Shoot it to open a shortcut. If you want to, you can return to the gift shop to clear up your inventory before proceeding.
 |  |
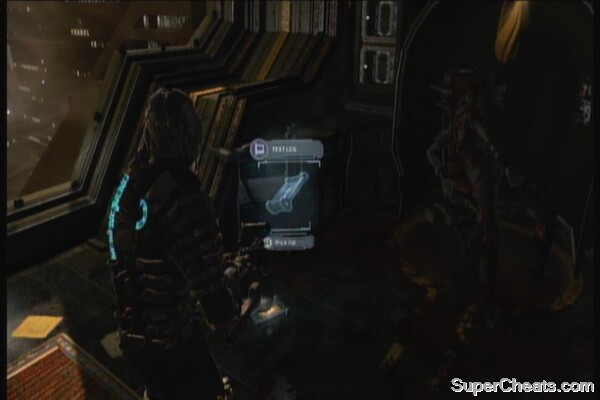
Head to the next room and enter the room to the right. You need to replace the lost power panel in the upper right, using an available one from one of the broken viewing seats there. There's also a text log (Recruit Test Results) on the floor and some containers as well. As you exit, more enemies will appear. You can shoot the glass partition then enter the room to avoid getting sucked out.
 |
Recruit testing room
Use stasis on the door then enter the security room. Grab the ammo and items inside, including the schematics for the Security Suit. If you want, you can head back to the gift shop to change your suit, as it offers better protection and more item slots.
 |
When ready, enter the maintenance vent in the security room. Upon exiting, press A repeatedly to prevent yourself getting killed, then grab the power node and 1000 credits on the tables. Exit the room then shoot the fuse to the left open yet another shortcut for you.
Head to the objective point and grab the items in the balcony. Take the lift down. Approach the door and it will be disabled by a large... thing. Run back in the middle of the room to find new enemies called stalkers. These enemies will rush towards you and will run back to hide after knocking you down. They'll hide behind cover and stalk you. They're fast so use your stasis to slow them down. An achievement (Clever Girls) will be automatically unlocked after defeating them.
 |
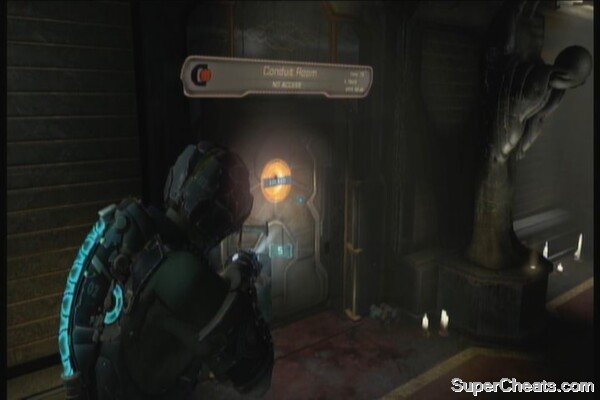
Hack the panel to activate the lift, then ride it up. Check the corpse to the left to find a power node. Follow the objective marker to reach the hallway. There's a Conduit Room to the left should you have access to it.
 |
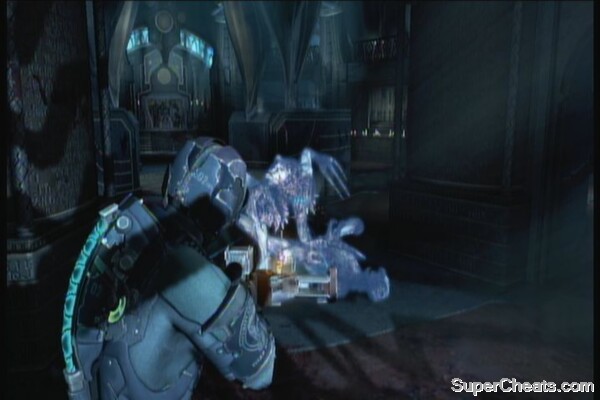
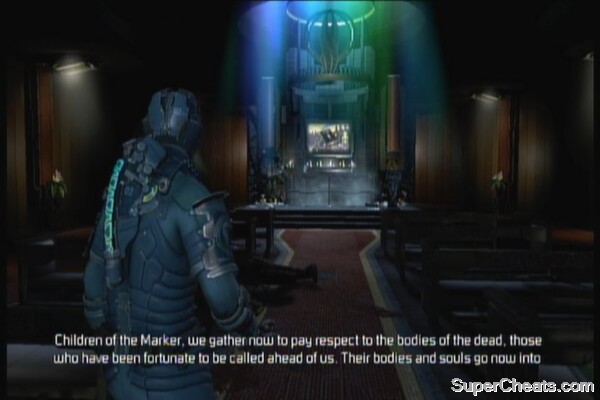
Follow the path but before going to the main door, continue ahead and shoot the fuse to unlock a shortcut that will take you directly to the gift shop. When ready, head to the main door. Approach the altar slowly then kill the slashers and the swarm that will appear. Loot the bodies and grab the credit offerings by the casket. Kill the pretentious necrom by the elevator entrance, then ride the elevator down.
 |
Continue downstairs to reach the save station. The chapter concludes.
this game is so creepy but i love it