Chapter 5
Dead Space 2 Walkthrough and Guide
by vhayste
Chapter 5
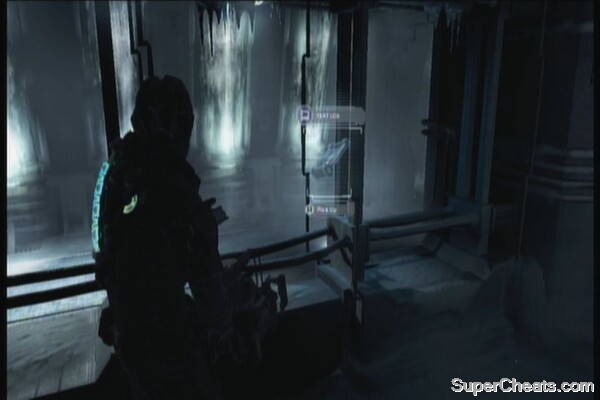
Proceed to the cryo chambers and destroy the wall containers to reveal the items inside. Keep heading through first three chambers. On the third one, you'll find a text log (Thawed Bodies)
 |
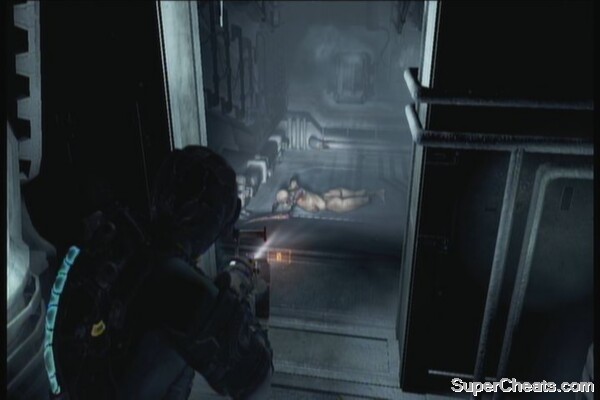
Continue forth and kill enemies along the way. The last chamber has several necroms. Be wary of the acid-spewing Puker as your movement will be restricted due to their corrosive bile. Also, there's a pretentious necrom by the door on the last chamber.
 |
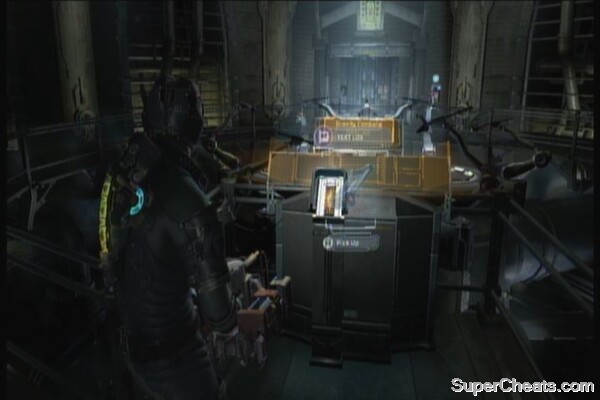
Exit to the coffin disposal room and grab the text log by the control panel (Stuck Coffins). Take the lift down. Grab the schematic for the Ripper in the wall near the control panel. Approach the panel to grab the power node and hack it to release the capture arms. Use kinesis to pull them down and use stasis afterward to give you enough time to work on the other arms. Recharge your stasis, then launch yourself. Use stasis on the fan the boost your way up.
 |  |
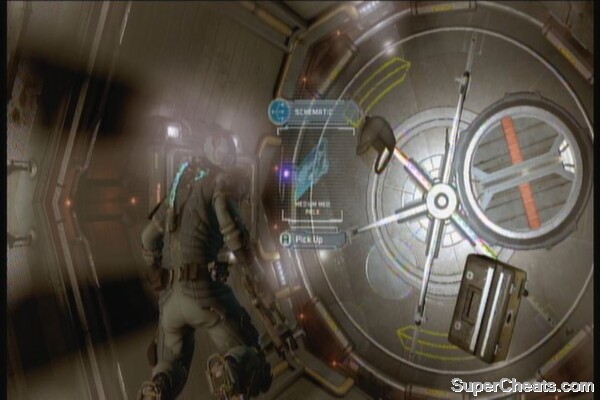
On the other side, you'll find the schematics for Medium Health Pack floating around in the middle so grab it.
 |
Land on the catwalk and activate the gravity control again. Enter the next door where a store is waiting for you. There's a workbench in the next room, and 1000 credits across it. Move the hanging containers to free up the save station and the maintenance vent. Save your game then enter it.
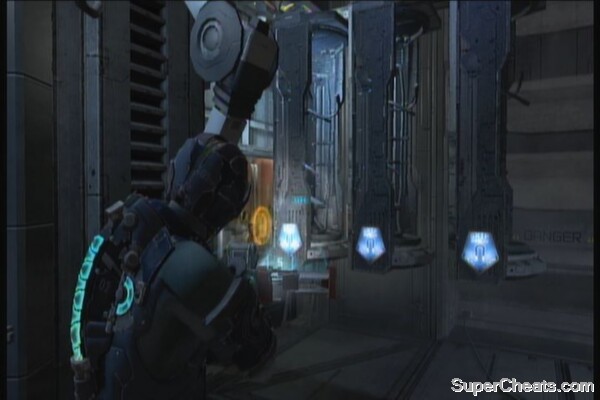 |
Traverse the maintenance vent until you fall down. Check the items behind you, including 10,000 credits on top of a crate. Continue forth to the next room. Find the schematics for the Line Racks in the shelf in one corner of the room. Grab the other items inside.
Schematics for Line Racks
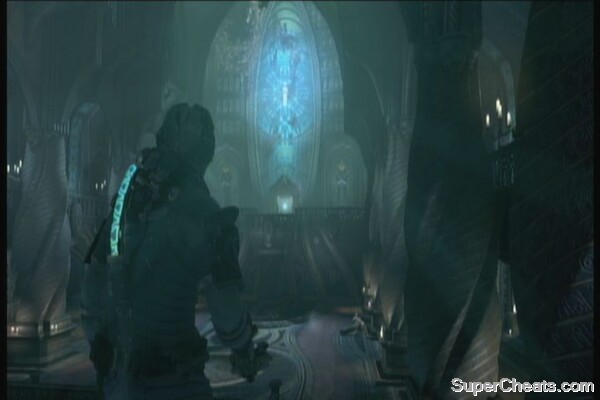
Exit to the next hallway and kill the enemies. Follow the path until you reach another church area. A large tripod will leap on you so just shoot its glowing limb to force it to flee. The pack bastards will swarm towards you again so kill them all. Go upstairs and be careful of the enemies that will stop you along the way. Don't forget to grab the medium health pack in the middle balcony, across the door. Continue heading to the next rooms then ride the elevator up.
 |
A slasher will drop down in the elevator so don't get surprised. Exit the elevator the talk a short sprint around the corner. There's a room with the save station, power node and the schematics for the Detonator Gun. Grab the other items and save your game.
Schematics for Detonator Gun
Follow the corridor and open the door. Watch the following scenes. Once you're prompted to, keep hitting A to open the vent and escape the gunship.
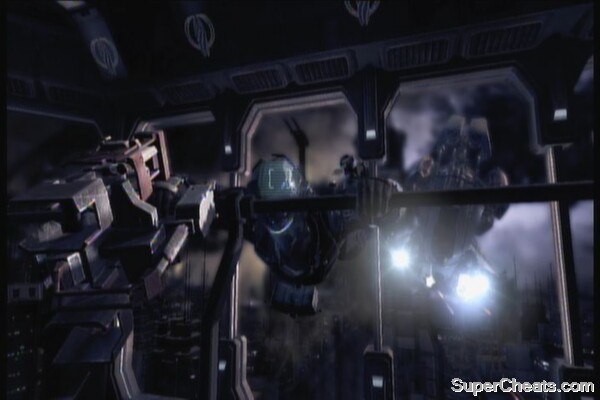 |
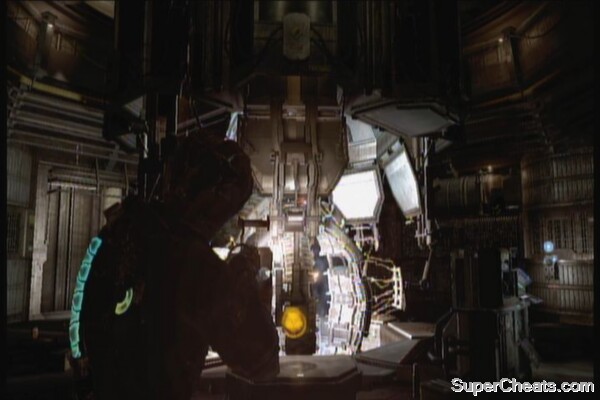
After reaching the vent, a tormentor will attack you. Just keep shooting the orange part until it releases you. Once you're back in your feet, run towards the hatch and use kinesis to open it. Continue running towards the window and watch the following scenes again. Once you have the chance to shoot, aim for the fuel cells to make them explode. You'll be miraculously thrown back to the station and you'll unlock an achievement (Torment Me No More) shortly after.
Tormentor sequence
Great walkthrough