Chapter 3
Dead Space 2 Walkthrough and Guide
by vhayste
Chapter 3
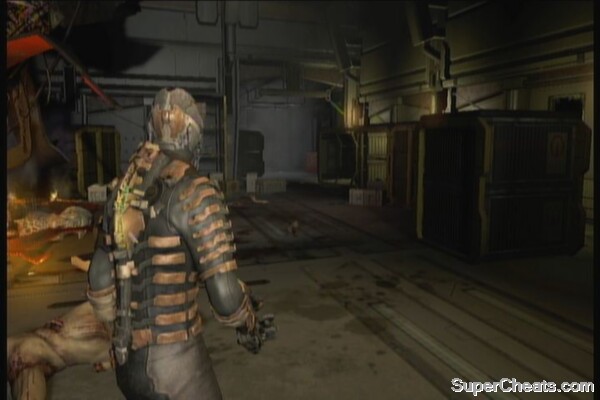
Once you're back in your feet, check the crates behind you to find a Power Node. Check the containers in the left side of the room, behind the burning debris to find the schematics for the Pulse Rifle.
 |  |
Schematics for Pulse Rifle
Don't break the crates here or open wall lockers yet since you probably have full inventory at the moment. There's a store nearby so you can backtrack in a short while. Head to the ramps and grab the 1000 credits along the way. Use the save station above then enter the door.
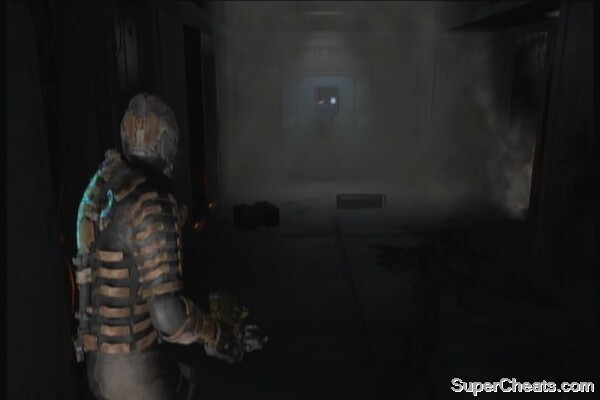
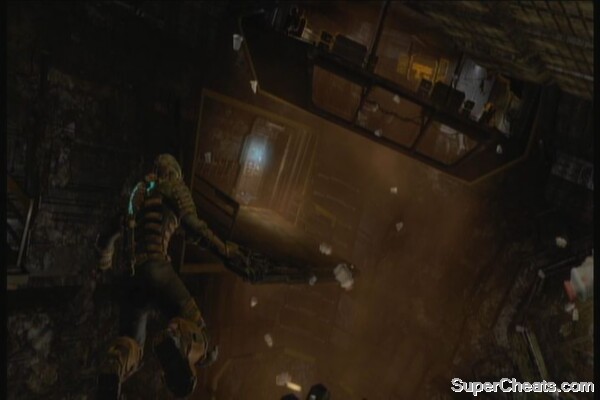
After entering the next room and getting the creepy silhouette of a pack, turn to the left to find a power node. There's also a slasher that's playing dead near the ramp so don't let it take by surprise. Continue forth and exit until you reach the large hallway.
 |
Carefully approach the store and the pack will rush at you. These are persistent and fast little guys so swing your weapon if ever they come too close. There are two possible achievements (My Boom Stick and Shock Therapy) that you can get here, provided that you bought the Line Gun and the Javelin. Refer to the achievement list for more details and videos. After taking care of them, check out the store to clear your inventory, then backtrack to grab the loot you haven't collected before.
Persistent little guys
Once ready, take the elevator. Upon exiting, you can take out the head of the rotating statue for an achievement.
Lightspeed de Milo Achievement
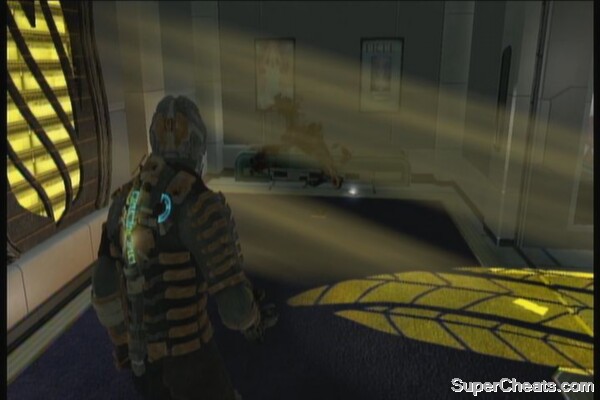
Check the floor in front of the bar to the left to find a text log (Titan Part 2). Check the whole mezzanine for some stray credits. Don't forget to pick up the gold semi-conductor in lower floor; just use kinesis to pick it up.
 | |
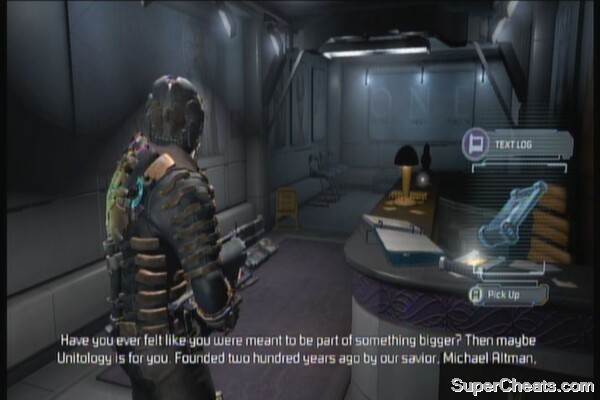
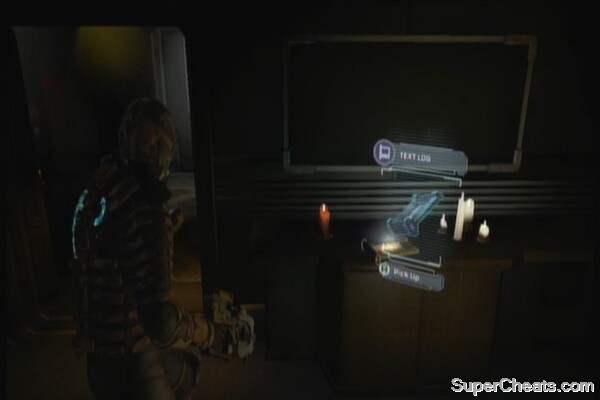
Once done, head to the elevator. Just across it is another text log (Altman's Footsteps). Hack the panel to power up the elevator then head down. Upon exiting the elevator, grab the text log (Recruiting) and credit on the table.
 |  |
You can get another achievement here by using a rod to pin a necrom to the glass partition. You need to shoot the red triangle at the top to close the blast doors and survive. Don't worry if you fail as the checkpoint is registered right after you stepped out of the elevator. Refer to the video below for more information. Additionally, using the vacuum of space to kill enemies without getting sucked out yourself is counted towards the “Vacuum Cleaner” achievement. Refer to this guide's achievements section for more details.
Skewered in Space
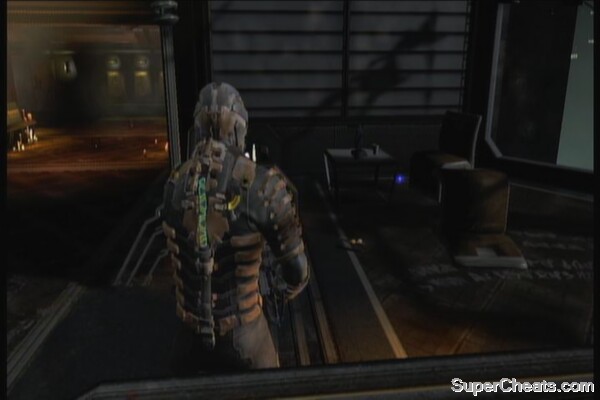
Take out the remaining enemies then crawl in the maintenance vent nearby. Upon exiting, stomp on the nearby containers for some items and credits. Go up the ramp to access the control room. You can also find a workbench and a save station there. Upgrade whatever you want, loot the nearby wall locker then save your game. Examine the control panel to put the area in diagnostic mode, enabling you to safely navigate the area. More necroms will appear as you exit so be prepared.
 |
Exit to the zero-g area then click LS to hover. Check the room under the control room for some wall lockers and a power node. Check the other door to find another control panel to activate the pump. Exit then hover through the opening. Boost your way to find the next door at the end. An achievement will be automatically unlocked after landing there.
 |  |
Enter the room and smash the nearby containers for more items. The power will go out so just advance carefully as a necrom will spring out of nowhere. Kill it then grab the nearby power cell using your kinesis then place it in the power slot to restore the lights. Use a power node in the locked door nearby to access the items inside. Use the elevator.
 |
After getting off from the elevator, grab the power node nearby then exit to the door. Check the room to your immediate left to find a text log (Sally 3). Kill the small critters first then loot the body in the bathroom for 1000 credits.
 |
Clear the next rooms until you reach the exterior balcony. Head to the other side, kill the necrom that will jump from the vent to the left then take the elevator down. There's a nearby save station so use it then head to the next area. There's a lot of enemies here so kill them all, then loot their bodies. Don't forget to grab the schematics for the Javelin Spears under the seats left of the marker replica. Enter the large door next then keep running until you reach the Church of Unitology.
 |
No comments yet. Tell us what you think to be the first.