Chapter 13
Dead Space 2 Walkthrough and Guide
by vhayste
Chapter 13
Follow the corridor and grab items along the way. Your objective is on the first door to the left, by the corner. Don't go there yet; instead, turn right and follow the path to find a power node and more items. Head to the Security Gunship Docking Bay next. Approach the panel and watch the scenes.
Once in control, follow the walkway to reach the shop and savepoint. Take the elevator the head to the lounge. There will be several enemies here so do your best to fend them off. After clearing the area, check the other side of the room for a power node. Take the stairs next then hack the panel to open the door.
 |
Once inside, go down. When you enemy soldiers appear, quickly enter the bathroom to the right. Grab the power node and other items then take the maintenance vent. After exiting, continue upstairs to reach an office. There's a power panel inside. Pull out the power cell to turn the power off. Watch the horror of the soldiers below you.
 |
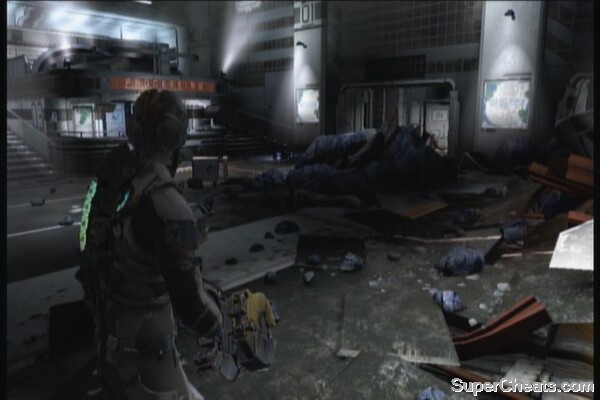
Once ready, head out and kill the enemies. Enter the office then loot the containers. Head to the next room and use the nearby body to remove the barrier. Follow the path then grab the audio log on the floor (Patient Four)
 |  |
Continue forth to reach the save point. More enemies will appear so take them out. Proceed to the next area and sweep it clean from necromorphs. Find the second log (Shield Questions) behind the desk by the entrance.
 |
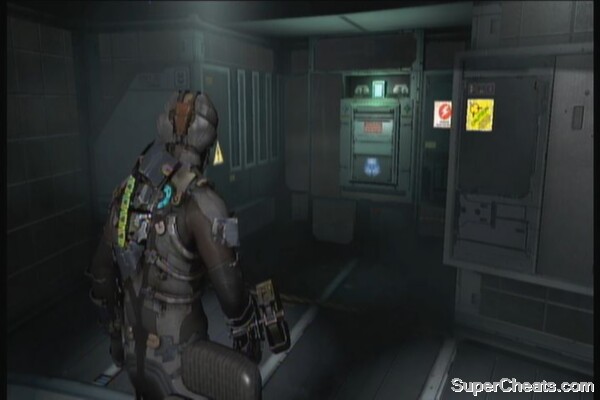
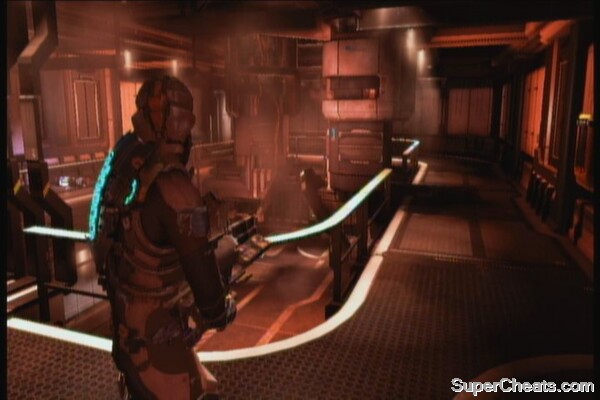
Continue down to the next room where you'll find an emergency supply room and a workbench. There's a divider that will appear here as well so be careful. Head to the next area, where you'll need to fight off some annoying stalkers again. Grab the power cell hanging from above then replace the one by the door. You can also pick up another log (Same Signal) by the sludge on the floor, near the two wall lockers.
 |  |
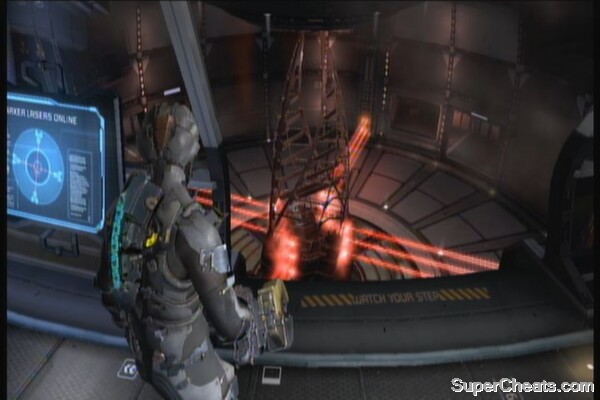
Head to the next hallway to find a savepoint. Continue down to the next area and you'll find yourself in a room with rotating laser centrifuge. Kill off the enemies, including some crawlers. Ready yourself and use stasis on the centrifuge arm behind, then quickly run to the next room. Kill off the enemies and grab the power node and items inside. Repeat the process to the next two rooms.
 |
After reaching the larger side room, use the lift to go to the second level. Use the panel to disable to laser centrifuge. Once its offline, use kinesis to the GRIP platforms to create walkways for you to reach the other side of the room. Loot the items then enter through the door.
 |
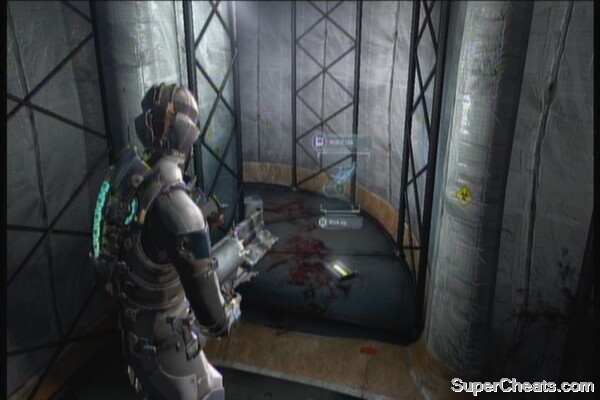
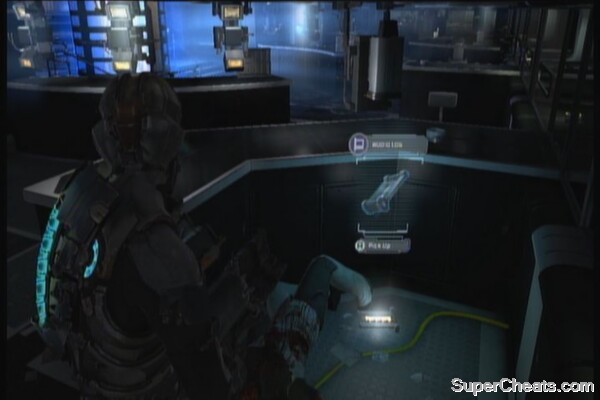
Continue to the data monitoring room and stomp on the corpses to loot more items. Pick up on the log beside the round display module in the middle of the room. (Marker Success) Save your game then continue to the next room. You need to head down to the lowest level and in each level, there will be multiple enemies that will come it in all directions. Fight your way to the lowest level. You'll find another log on the floor near the entrance (Tiny Marker). Approach the panel and a brute will appear. With your upgraded weapons, you should be able to defeat it without that much of a problem.
 |  |
Brute battle
Hack the panel then continue through the next few doors until you reach the store and save point. There's another log here as well. (Dire) Just across it is another log (It's Making Use Make It!) across the first one you found, hidden behind a helmet. Use the workbench then take the elevator when ready.
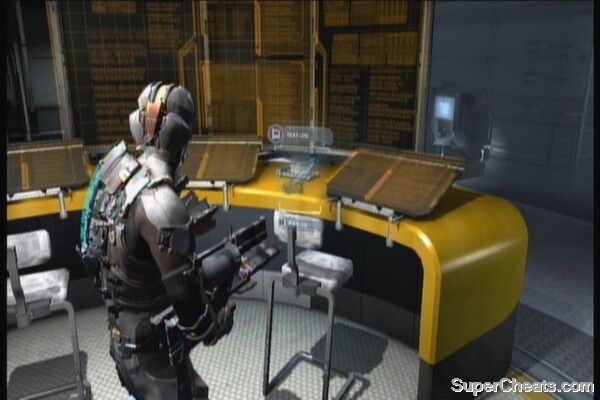 |
Continue forth to trigger some scenes. When ready, step on the machine. You need to manually and carefully guide the needle towards Isaac's iris. You may want to do it slowly as Isaac will easily panic and his eyes will become extremely erratic. Once done, watch the following scenes. An achievement (Cross your Heart, Hope to Die) will be unlocked.
Eye Poke Machine
Is it possible to fend off the necromorphs with low health and low ammo
How can I open the door after poke machine I'm facing a beast didn't die and I have open a door
I want to know if u can just kill the guards in chptr 13 without letting in the heavy volume of necromorphs?? U know through stasis and the alt on the pulse rifle.