- Games
- Guides
- Complete Guide to Monopoly GO!Blue Prince Walktrough and GuidesRise of Kingdoms Tips and GuideInfinite Craft Recipe Guide
- Robux GuideWuthering Waves walkthrough and guideRoblox Arsenal GuidesPalworld Walkthough Guide
- The Walking Dead: Survivors Beginners ..Ravenlock WalkthroughWarzone 2 GuidesHogwarts Legacy Walkthrough and Guide
- Latest
- More
- General ForumsChat and have fun Video Game ForumsFind friend, get help Achievements & Trophies'chieve lists and hints to help
- Pokémon HubFind it all PokédexAll the stats ModsMods and and-ons
- Action Replay CodesAR Codes and cheats GameShark CodesGS Codes and cheats CodeBreaker CodesCB Codes and cheats
Submit Your Stuff· Send in your cheats, hints and codes
· Need help? Ask a question here Help a gamer Can you provide the answers for fellow gamers questions- Forums
- Pokemon
Log into your account here:
Not registered? Sign Up for free
Registration allows you to keep track of all your content and comments, save bookmarks, and post in all our forums.
-
PlayStation 5
PlayStation 4
PlayStation 3
PlayStation 2
PlayStation
PS Vita
PSP
-
Xbox Series X
Xbox One
Xbox 360
Xbox
-
Switch
Wii
Wii U
3 DS
Nintendo DS
Nintendo 64
Gameboy Adv.
Gameboy
GameCube
SNES
NES
-
Roblox
iPhone
Android
PC
FaceBook
Mac
Dreamcast
Arcade
- General Forums
- Video Game Forums
- Teams Forums
- Pokémon Hub
- Pokédex
- Technical FAQ's
- Achievements & Trophies
- Hall of Fame
- Enter a game name to find below:
-
- Or click here to search for specific content.
- All Our Full Guides More Game Walkthroughs Cheats, Hints and Codes Questions and Answers Recent Guide Updates
- Complete Guide to Monopoly GO!Blue Prince Walktrough and GuidesRise of Kingdoms Tips and GuideInfinite Craft Recipe Guide
- Robux GuideWuthering Waves walkthrough and guideRoblox Arsenal GuidesPalworld Walkthough Guide
- The Walking Dead: Survivors Beginners ..Ravenlock WalkthroughWarzone 2 GuidesHogwarts Legacy Walkthrough and Guide
The Basics Controls Active Reload Weapons Enemies
Campaign Walkthrough Act 1: Ashes Act 2: Nightfall Act 3: Belly of the Beast Act 4: The Long Road Home Act 5: Desperation
COG Tag Locations Achievements
Gears of Wars - Act 3: Belly of the Beast
Skip to Sections...
Downpour
Evolution Coalition Cargo
Darkest Before Dawn
Angry Titan
Tip of The Iceberg
Downpour
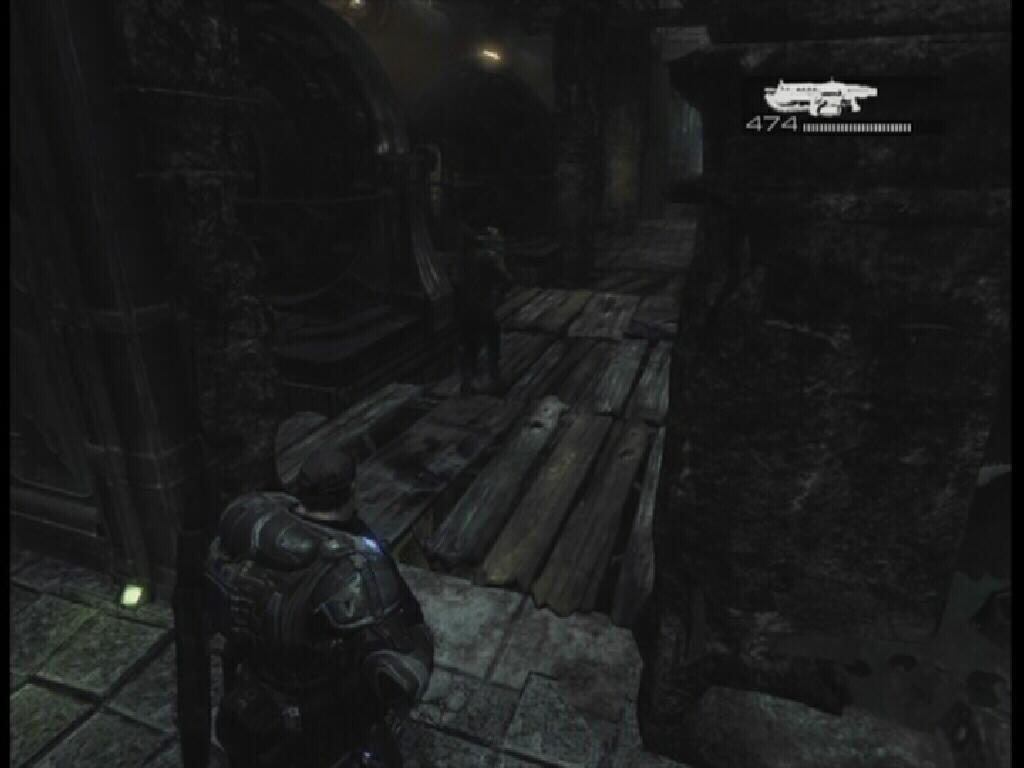
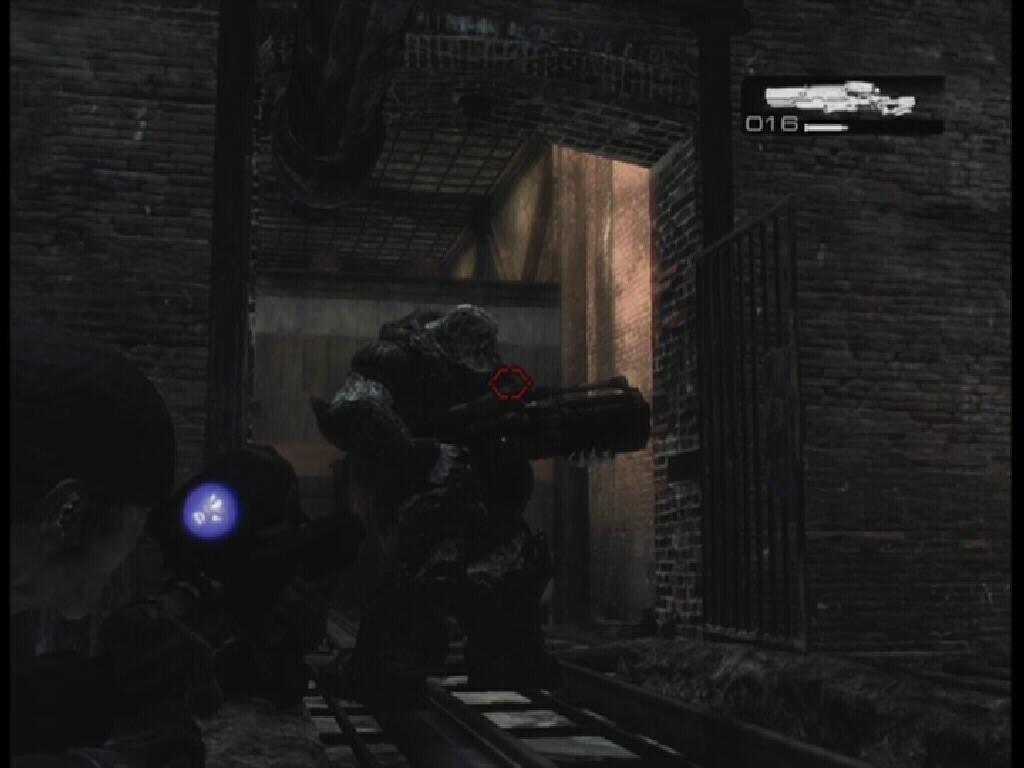
After the transmission, follow Dom down the path and eventually you will activate a cutscene. After the cutscene, follow the road in front of you until you encounter the Lambent Wretches. There's really only one significant difference between a Lambent Wretch and the normal variation that you are probably used to by now. Lambent Wretches explode when killed. Granted, this is a rather troubling difference, but the Lambent Wretches are a good distance away from you when they appear, giving you ample time to take them out with your Lancer before they are close enough to damage you with their explosive deaths. So that means no beating down the Lambent Wretches. You'll be able to survive a blast from this variant of Wretch on Casual or Hardcore, but if you move on to Insane, just one will kill you. Not fun.
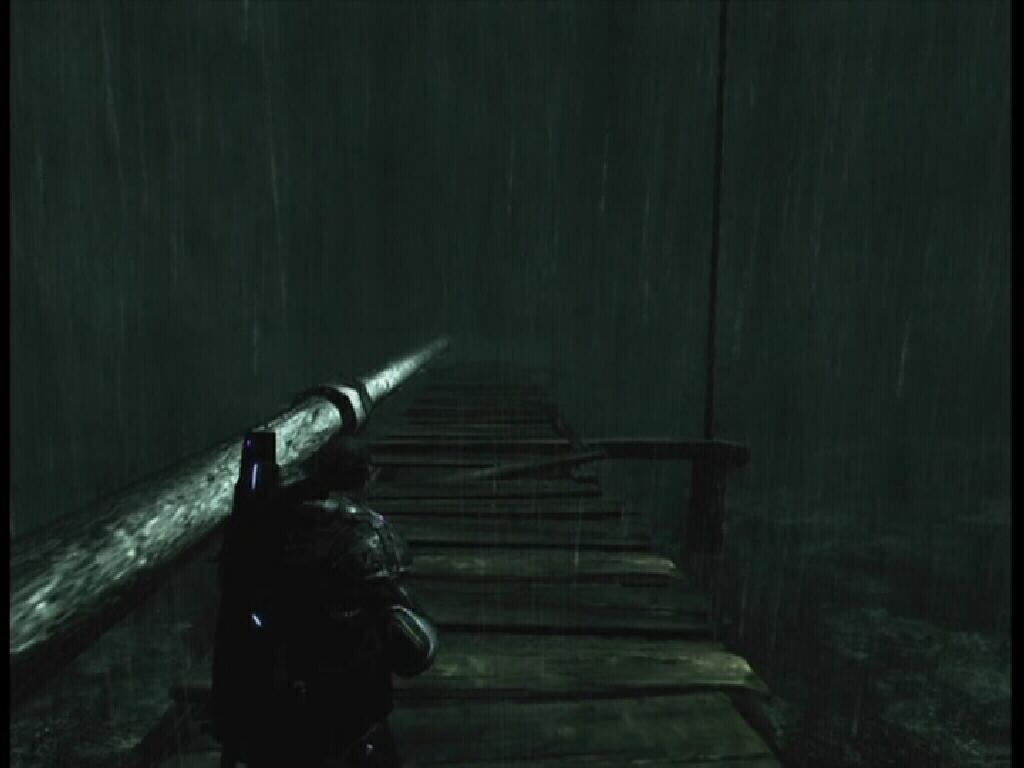
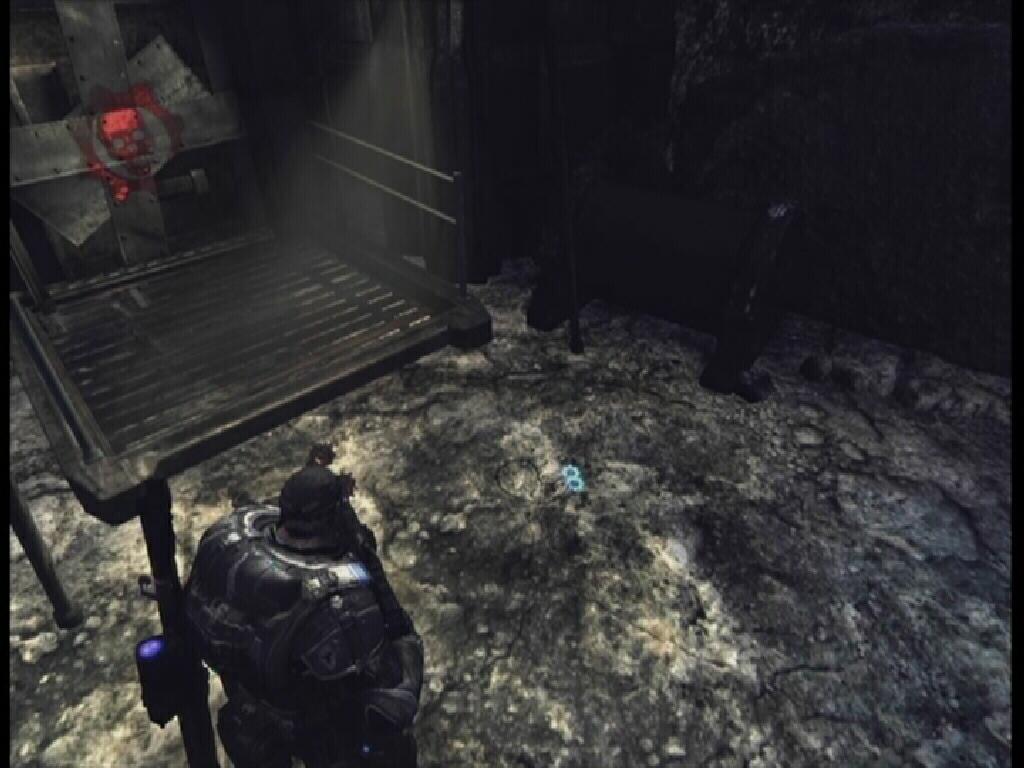
Once the initial wave of Wretches has been dealt with, head through the doorway to the walkway and kill the Wretches that appear. Travel the walkway to its end, and as you walk along watch for a Crimson Omen on the wall to your right.
COG Tag 19: Go behind the building with the mark on it and follow the bridge to its end to find the tag.
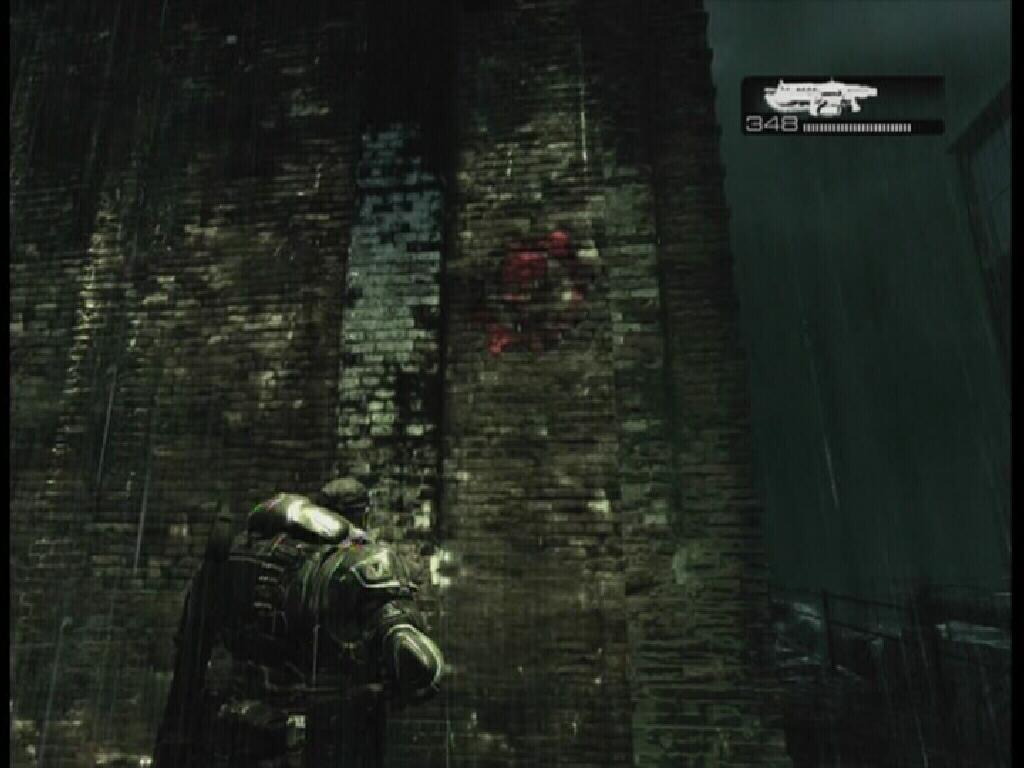 Crimson Omen |
 Cog Tag 19 |
 Power Generator |
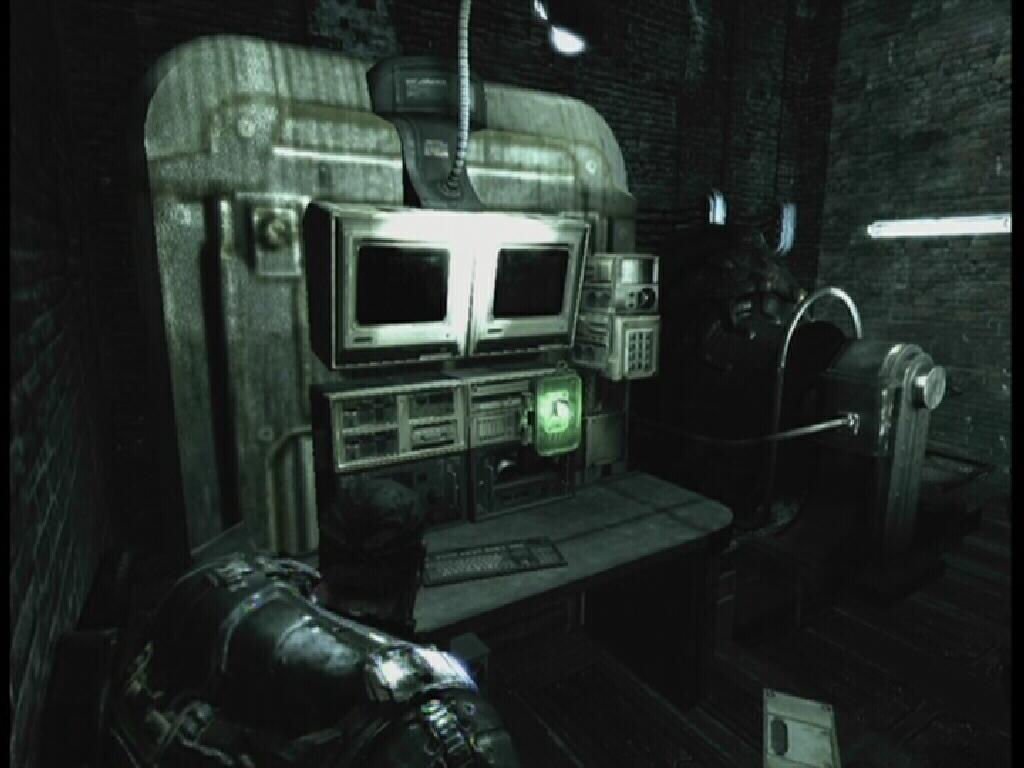
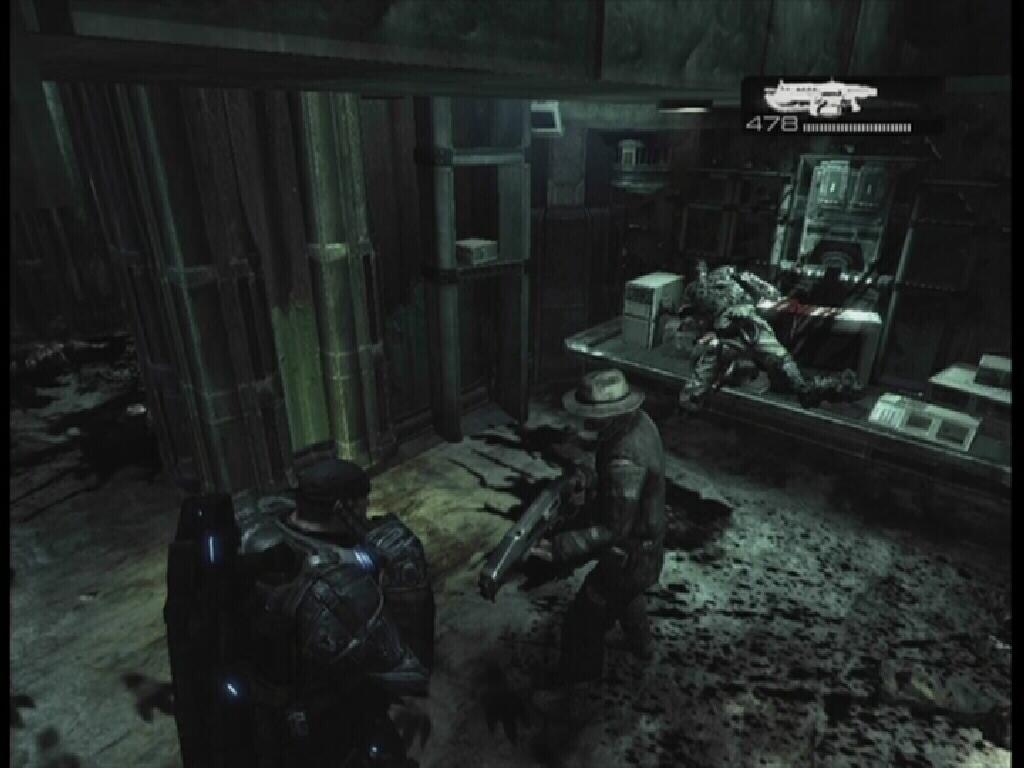
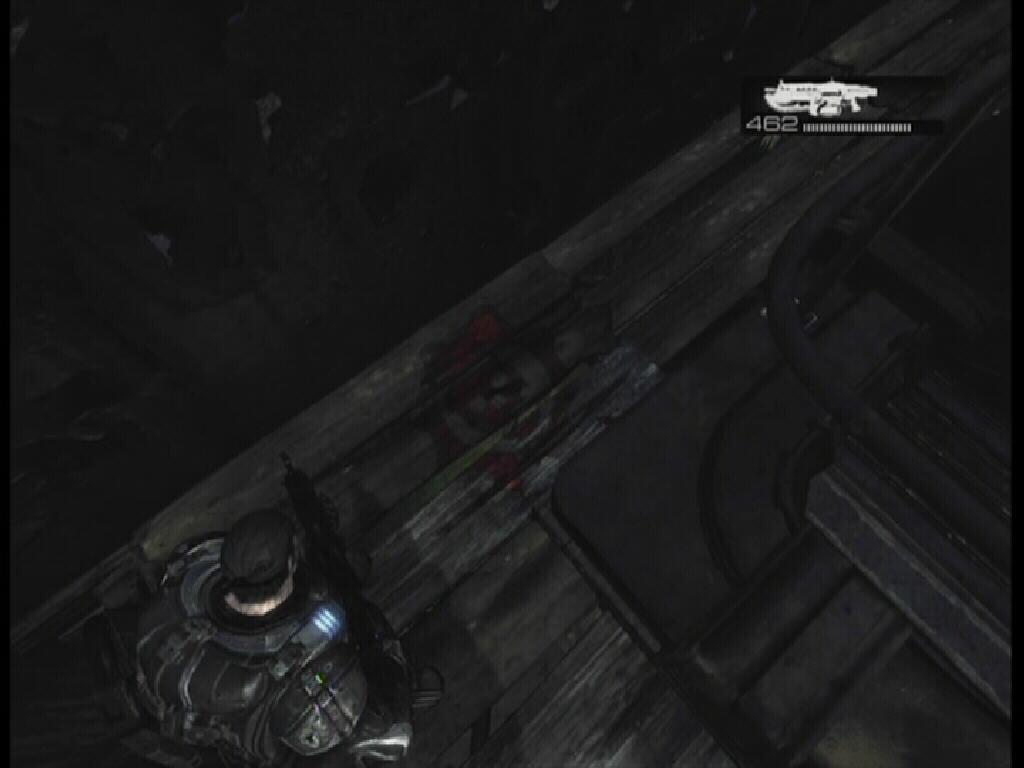
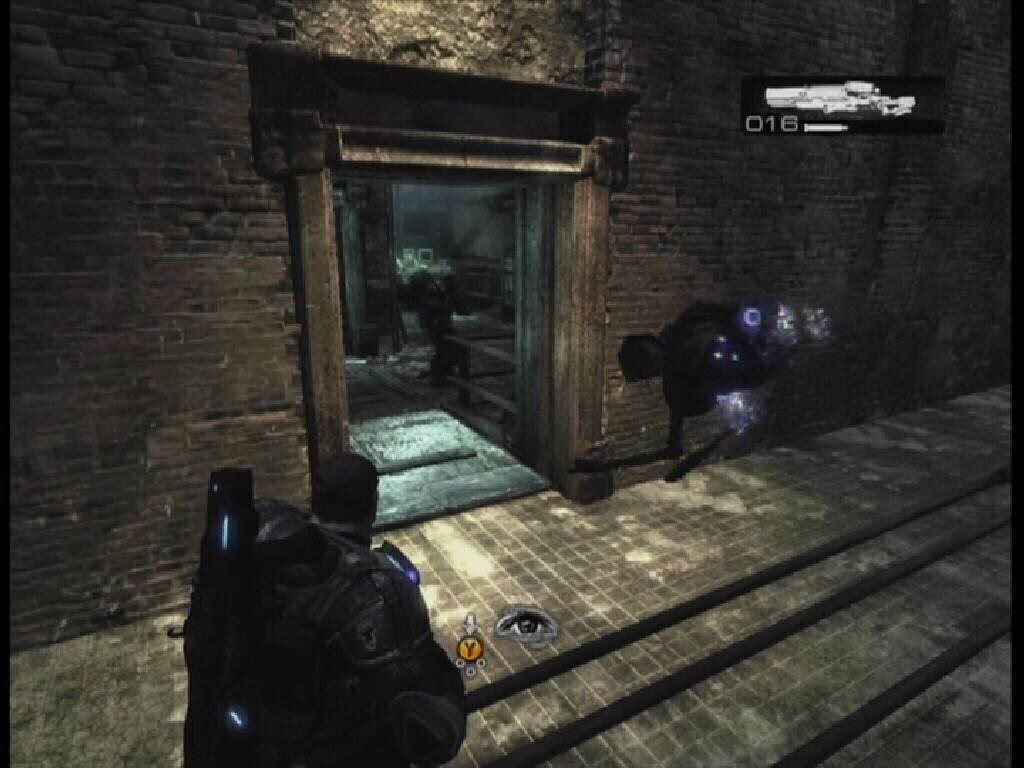
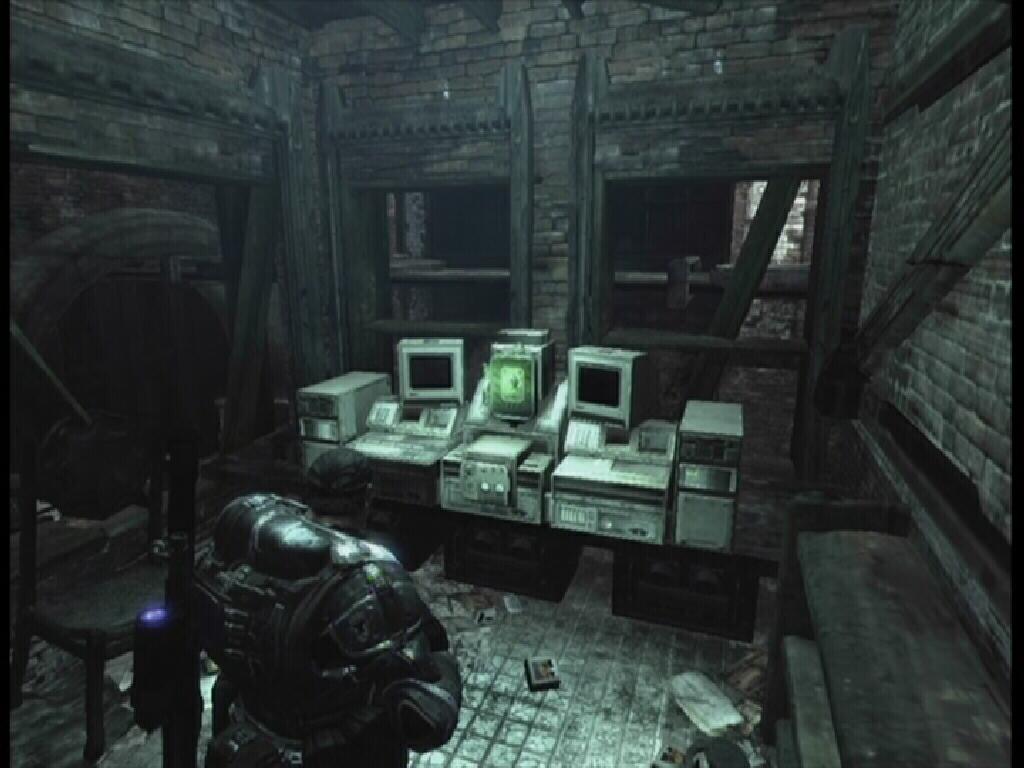
After the transmission, turn right and go down the hall, pressing the button next to the door at the end. The door here is locked, though, so you will have to find a different route. Simply return to the previous room and go through the other hall. This door works. Grab the box of ammo at the end of the hall if needed. Go through the doorway into the adjoining hallway. Kick in the door at the end where you will come to a grisly scene. Once you're done gawking, use the switch to unlock the door and go through. Here you will meet one of the Stranded. All you must do now is follow the Stranded until you come to an area with a wooden floor.
 Stranded |
 Rotting Boards |
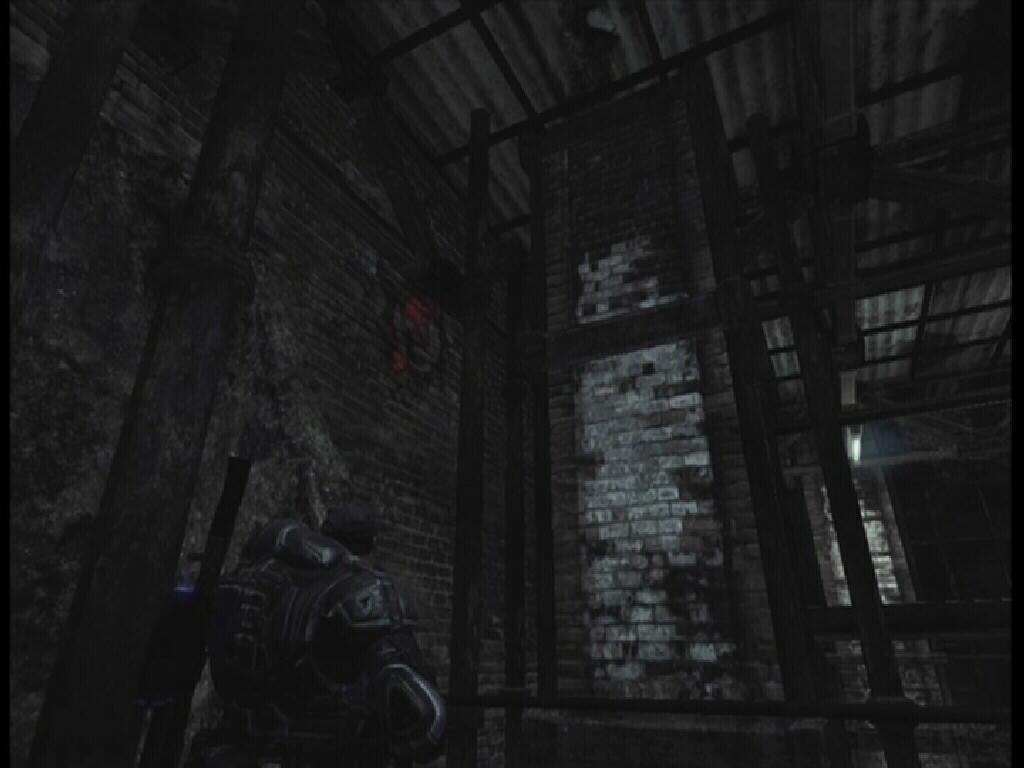
COG Tag 20: This tag can be found in the far right corner of the rotting boards. Watch your step!
 Crimson Omen |
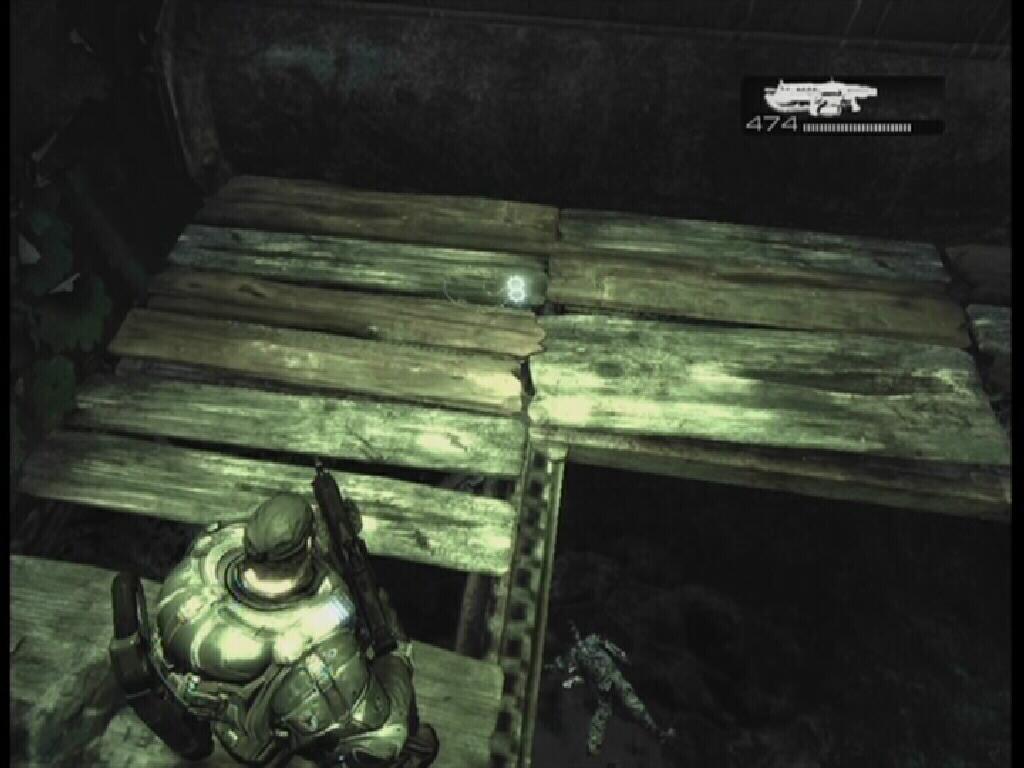 Cog Tag 20 |
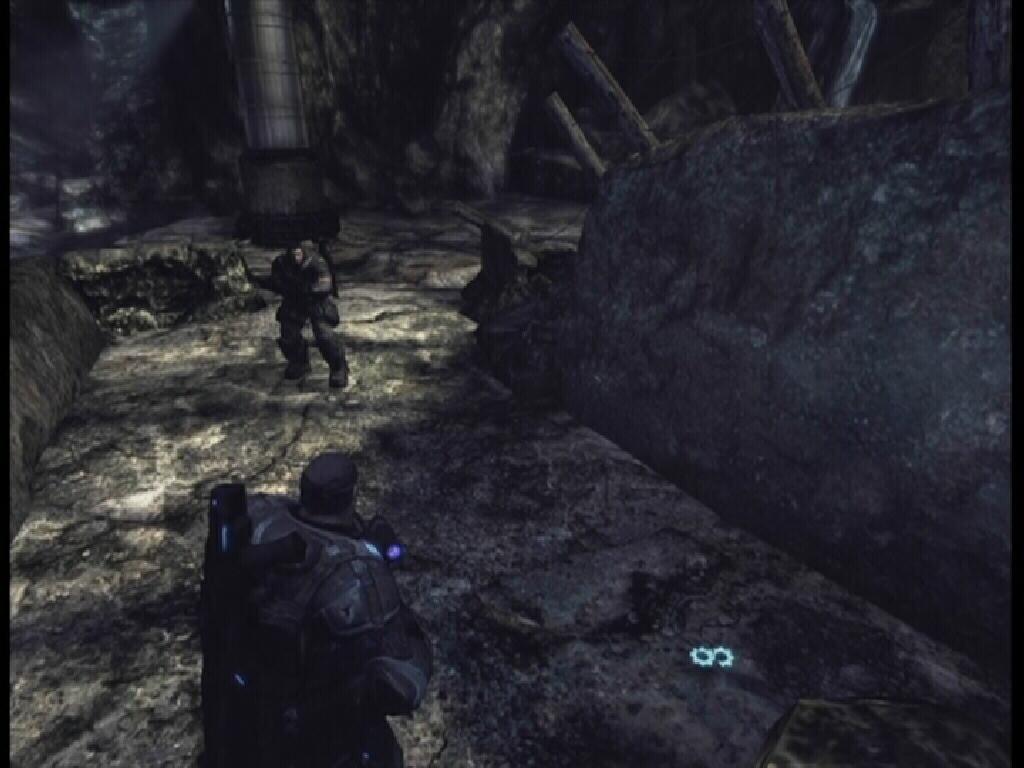
With all of the Wretches dead, go through the doorway on the opposite side of this area. Watch out for the lone Wretch down this hall. In the next room, get on the handwheel and turn it to open the door to the right of it. Grab the ammo and proceed through the door to the left of the handwheel. There's a Longshot down the stairs that would be best to take with you if you don't already have one.
Through the next door, you will be reunited with the other two members of the squad. There is a gate to the left of where those members came out from, use the handwheel on the wall next to the gate to lift it up. More Lambent Wretches, wonderful. Just keep your distance and you'll be fine. Watch your back and fallback if necessary. There are Drones about, too, which might make things a bit hectic since you can't stay behind cover for too long with the Wretches in the area. Hopefully you have a Longshot with you, if you do you can kill the Drones from afar, leaving they're weapons harmless. There are Wretches littering your path, again just watch your back.
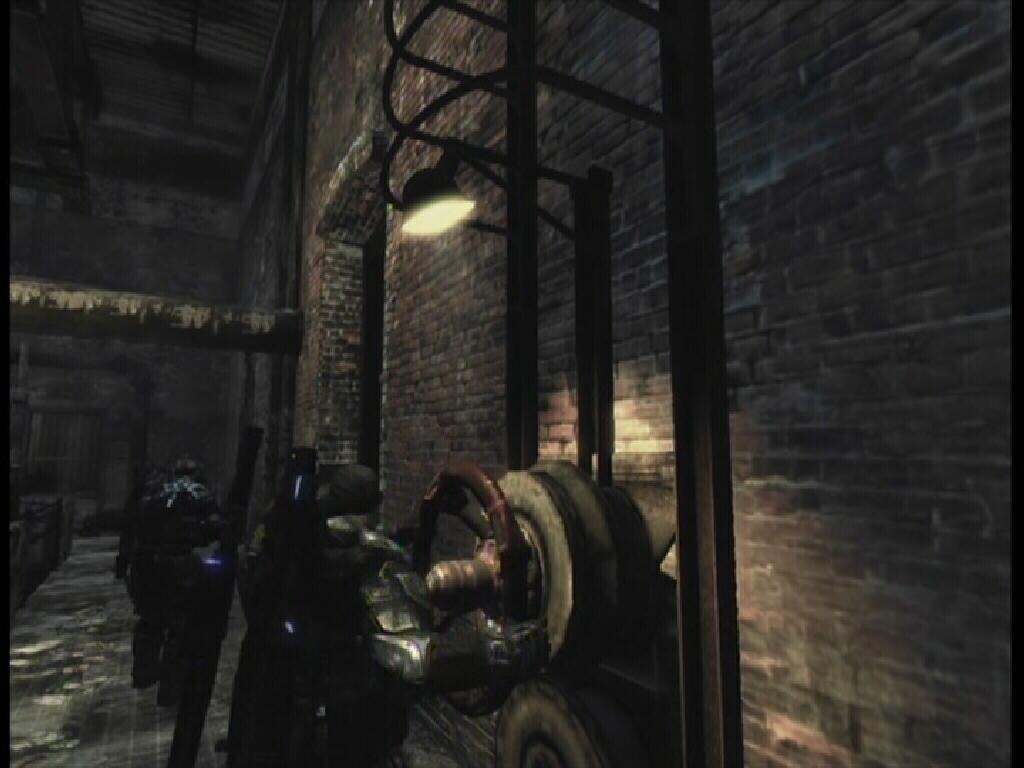 Handwheel |
 Boomer |
 Jack |
There is plenty of ammo in here, so stock up.
COG Tag 21: Before touching the green switch to the right, go through the doorway to your left. Down the stairs, turn right and look next to the stairs near the plant to find the COG Tag.
 Crimson Omen |
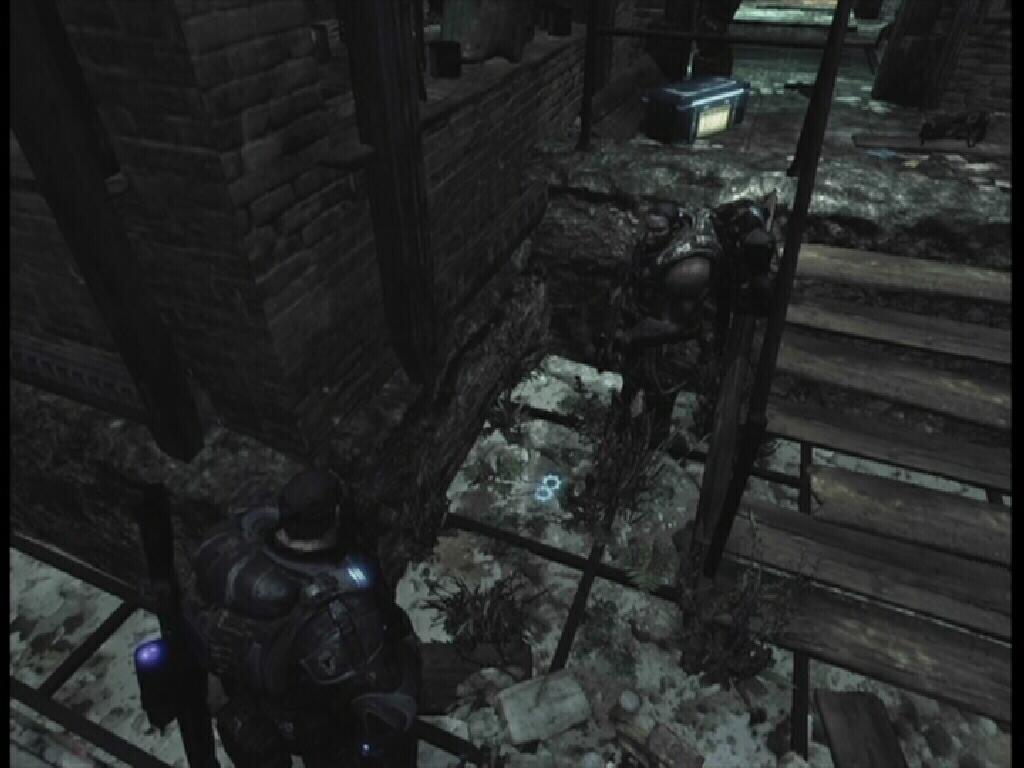 Cog Tag 21 |
 Switch |
 Cart |
When the Boomer reaches the walkway, walk up to him and stick the Frag Grenade on him by pressing the B button. Once the grenade is attached, immediately roll back away from the Boomer. If you don't want to take the risk, stay back behind the metal railing and use your Longshot, or throw Frag Grenades to kill the Boomer while using the railing for cover. Either way, once the Boomer on your side is dead, help your buddies out with theirs.
 Cover |
COG Tag 22: Travel along the underground path and you will eventually see a Crimson Omen on the wall in the distance. The tag is on the ground just before the omen.
 Crimson Omen |
 Cog Tag 22 |
COG Tag 23: After the battle, cross the stream and turn right. Look next to the ruined stone steps.
|
Crimson Omen |
 Cog Tag 23 |
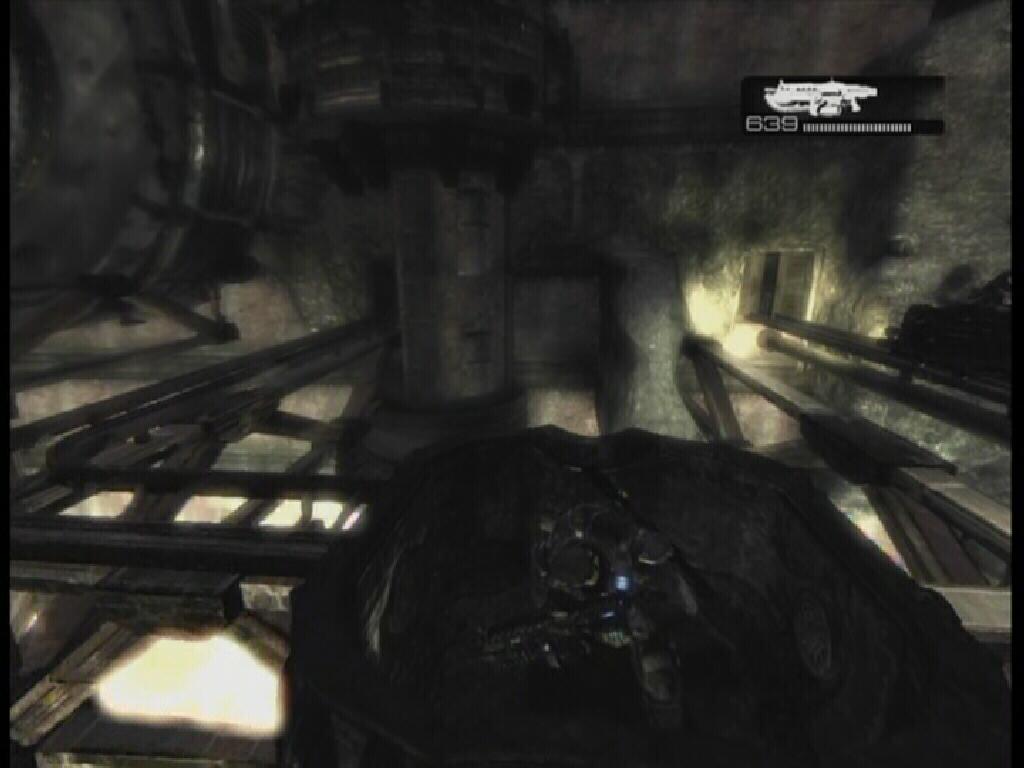
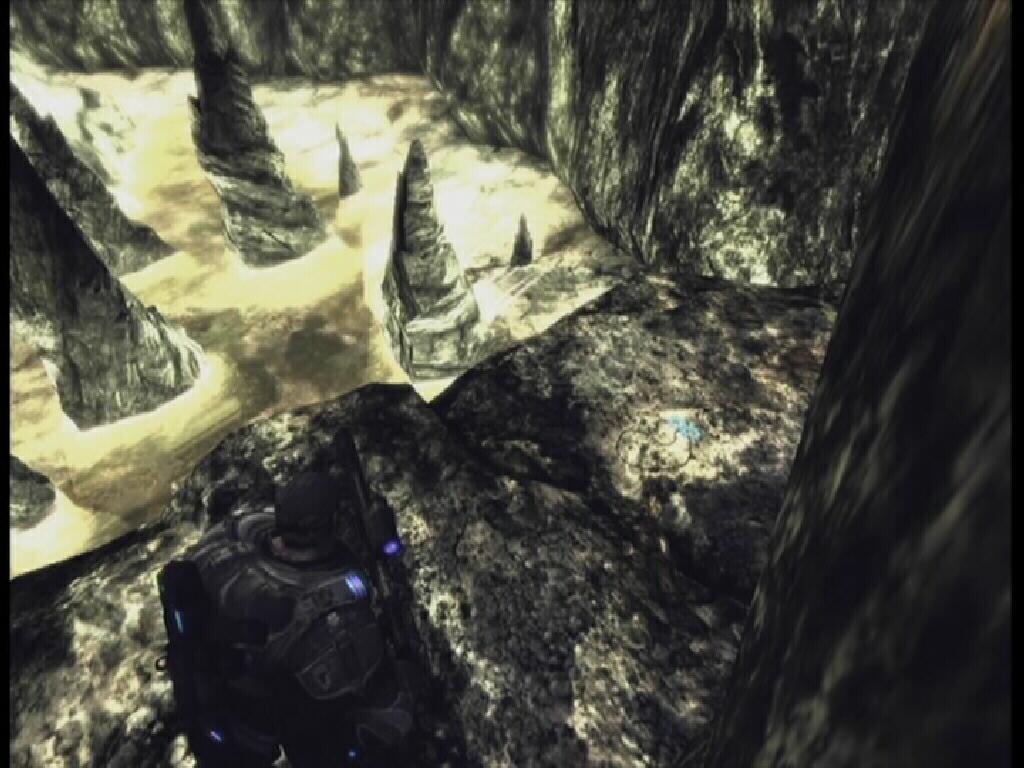
Moving on, more Wretches, so again, take it slow. You will eventually come to another Boomer. Just kill him from afar with your Longshot. At the same time you will have to take out the Lambent Wretches that are running towards your cover. Boomers and Wretches do not mix well, not in your favor anyway. A couple of perfect reload headshots should take that Boomer right out. With the way clear, travel along to the left. There is an ammo box next to a fallen COG soldier if you are in need of ammo.
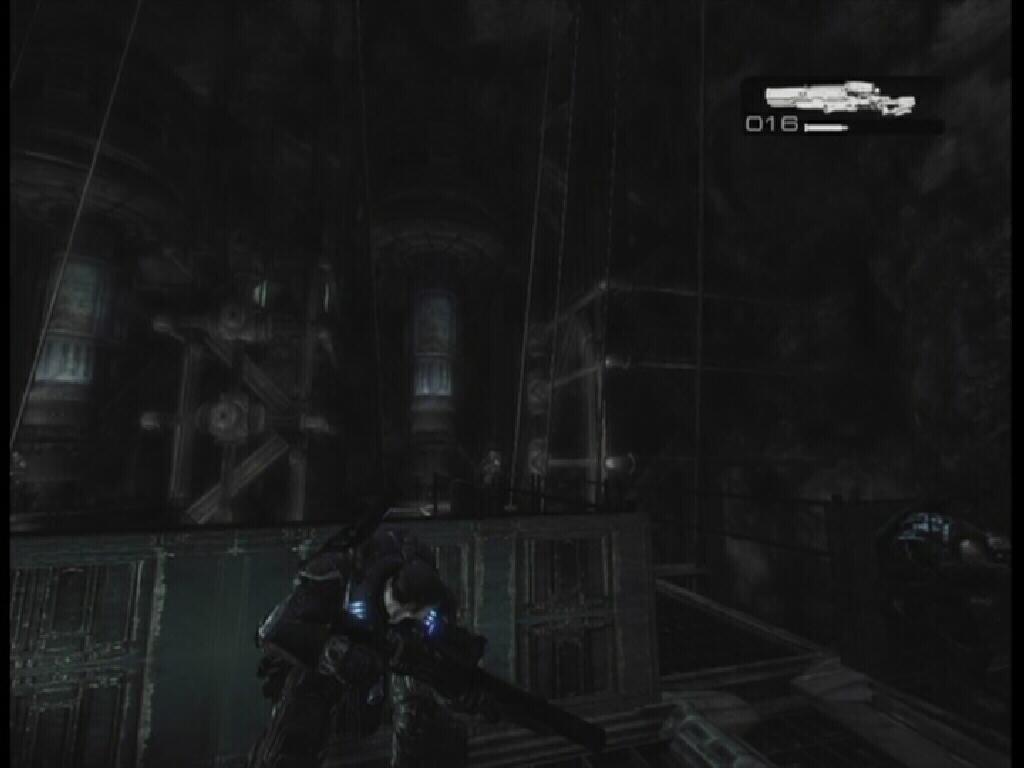
Continue along the path until you fall to a lower level. Here you will be assaulted by Wretches. Get your Lancer out and blast them while walking backwards; make sure you roll back to avoid their explosive deaths. After that onslaught, Marcus and Dom must split up. It doesn't matter which path you choose, you will not miss anything if you take either one over the other. For the purpose of following this walkthrough, take the left path.
 Lambent Wretch |
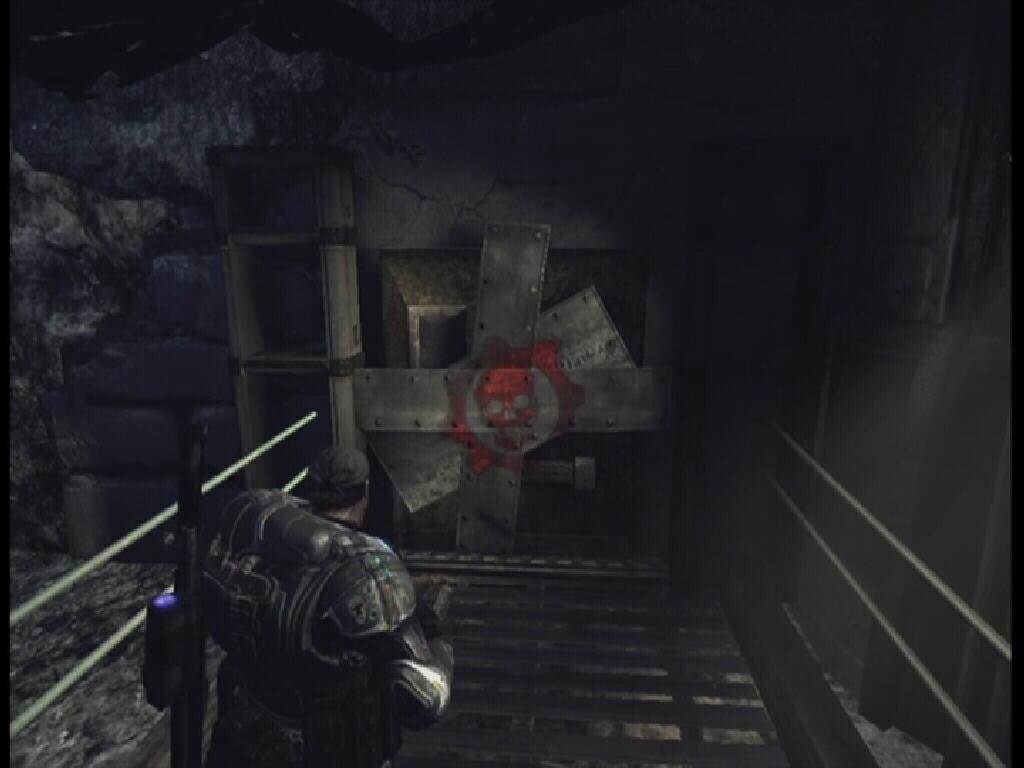
COG Tag 24: When you reach the end of the tunnel, look for the Crimson Omen on the left side of the wall. As soon as the tunnel leads into the larger, open area, turn right and follow this wall, past the ammo box, to the COG Tag.
 Crimson Omen |
 Cog Tag 24 |
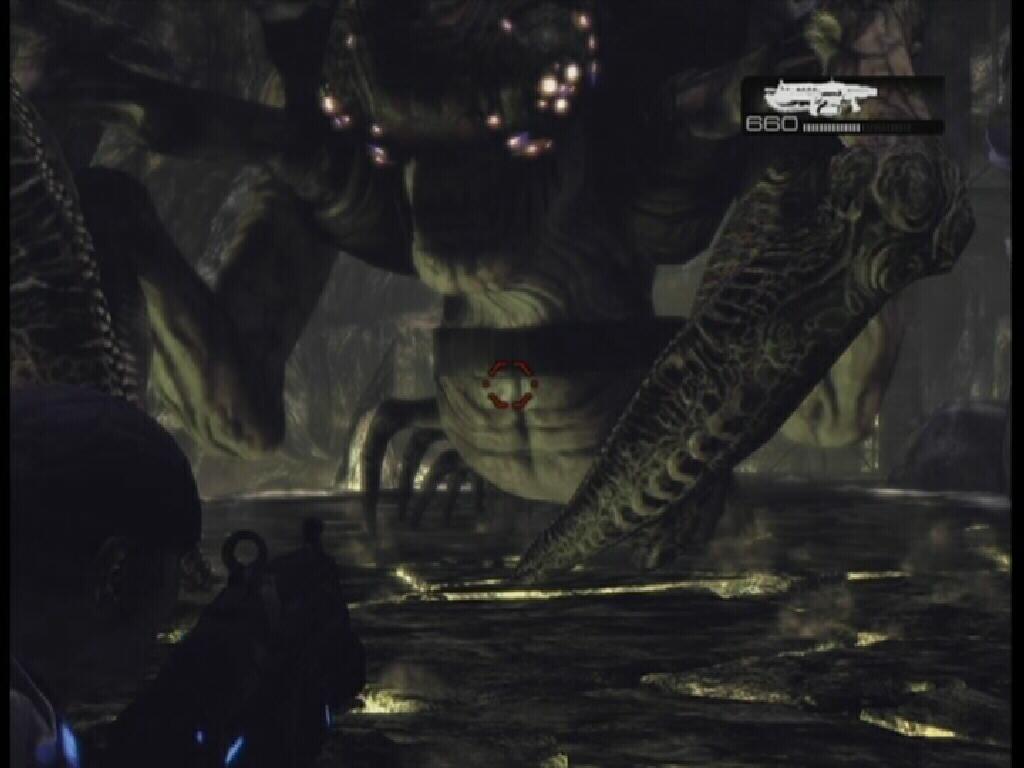
Huh? Well that sure is a big Locust, isn't it?
BOSS BATTLE: Corpser
This is a fairly simple battle; just try your best to avoid being crushed by those giant claws. Don't get too close, you can kill this thing while still retaining a good distance. If you're packing a Longshot here, you'll find that it isn't very useful against the Corpser, the Lancer will work much better. Wait until the Corpser raises its giant claws to bring them down upon you, then while the beast's stomach is exposed, unload the Lancer into it.
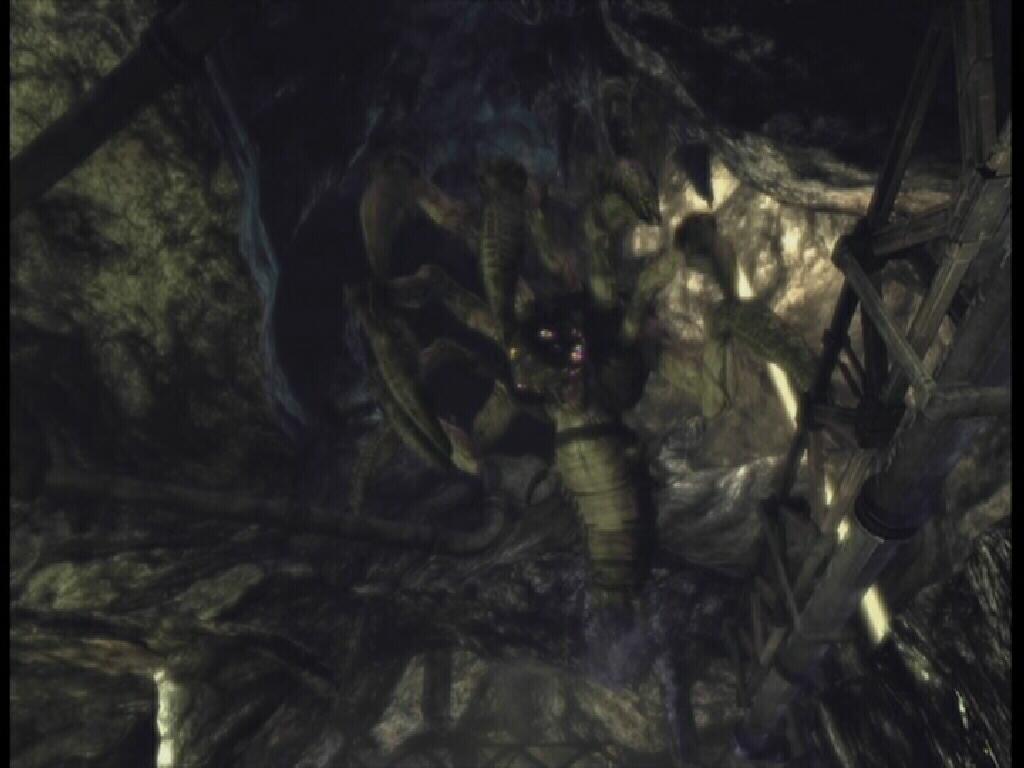 Corpser |
 Weak Spot |
|
Launch in external player Corpser Video |
With the Corpser out of the way, take the path to the right of the fallen platform and regroup with your squad mates.
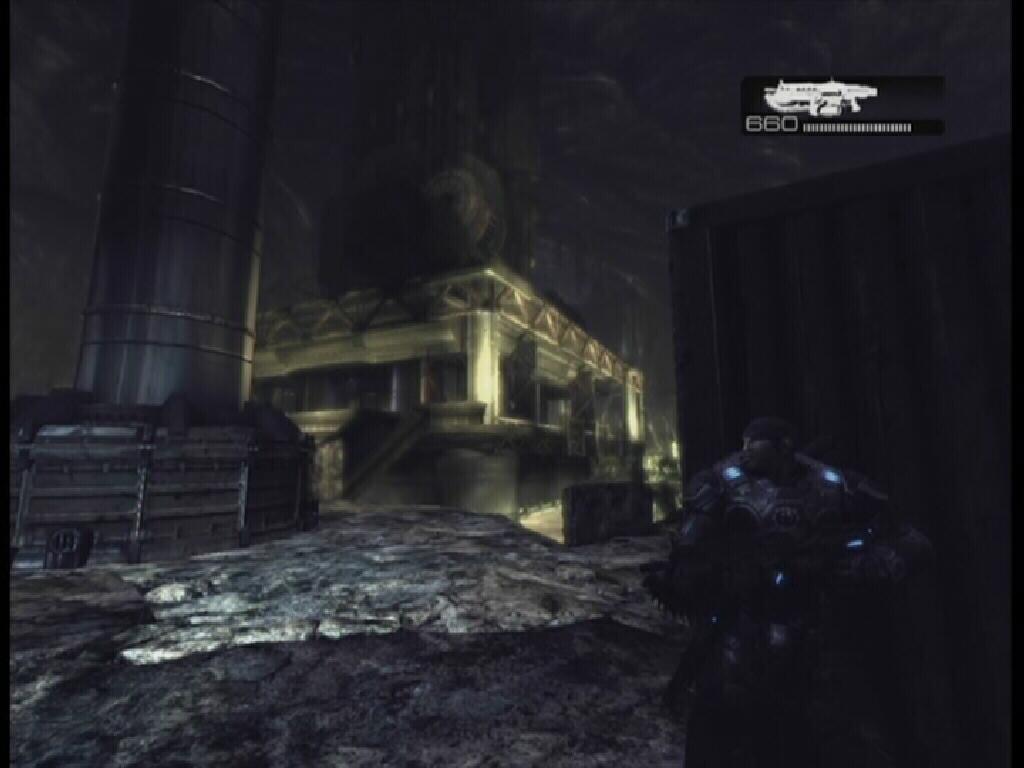
Tip of the Iceberg
You'll eventually reach the pumping station. Be sure to pick up the boxes of ammo as you go. Along the way, a Torque Bow will be pointed out to you. The Torque Bow is a powerful weapon. You can take it with you if you like, but the Longshot is preferable. The Torque Bow will prove useful against what you are about to face, however. If you've been using the Longshot against Drones primarily at this point, it would probably be safe to switch out the Lancer for the Torque Bow. If it helps, you won't be running into any more Wretches. Make your decision and proceed down the path. As Marcus explains, you're going straight through the middle, so when the path splits, continue moving forward.
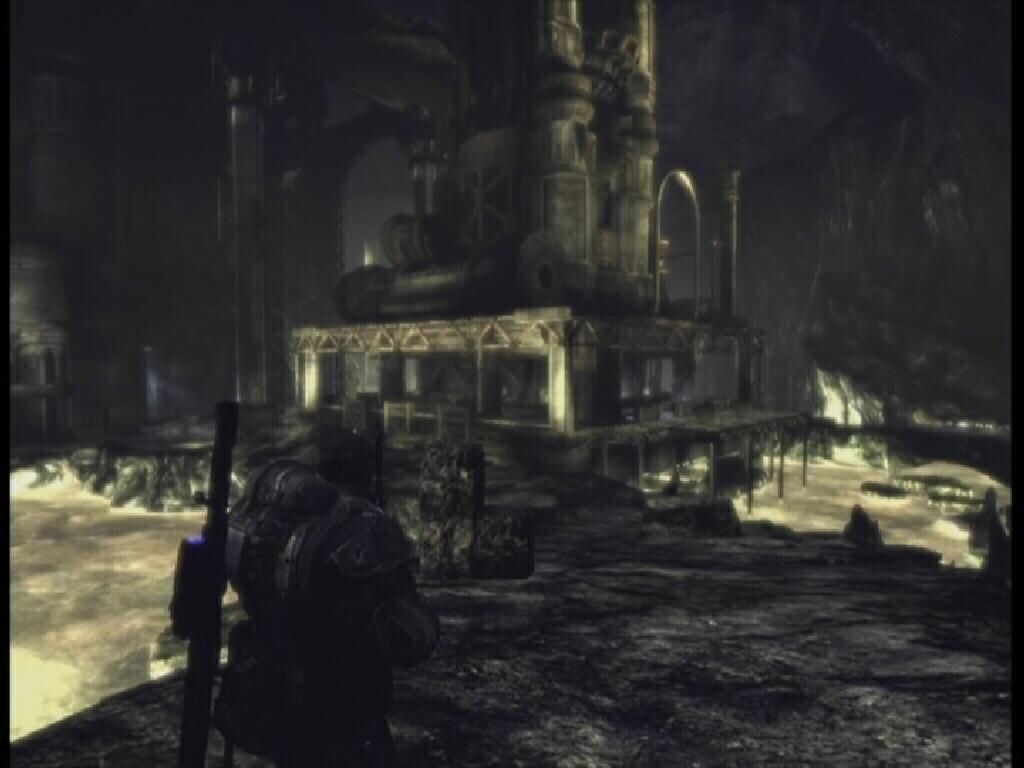 Pumping Station |
 Torque Bow |
 Box |
© Web Media Network Limited, 1999 - 2026. This site is not affiliated in any way with Microsoft, Sony, Sega, Nintendo or any video game publishers.
Privacy Policy | Terms of Service.
Super Cheats is an unofficial resource with submissions provided by members of the public. These are not usually tested by us (because there are so many), so please use them at your own risk.