- Games
- Guides
- Complete Guide to Monopoly GO!Blue Prince Walktrough and GuidesRise of Kingdoms Tips and GuideInfinite Craft Recipe Guide
- Robux GuideWuthering Waves walkthrough and guideRoblox Arsenal GuidesPalworld Walkthough Guide
- The Walking Dead: Survivors Beginners ..Ravenlock WalkthroughWarzone 2 GuidesHogwarts Legacy Walkthrough and Guide
- Latest
- More
- General ForumsChat and have fun Video Game ForumsFind friend, get help Achievements & Trophies'chieve lists and hints to help
- Pokémon HubFind it all PokédexAll the stats ModsMods and and-ons
- Action Replay CodesAR Codes and cheats GameShark CodesGS Codes and cheats CodeBreaker CodesCB Codes and cheats
Submit Your Stuff· Send in your cheats, hints and codes
· Need help? Ask a question here Help a gamer Can you provide the answers for fellow gamers questions- Forums
- Pokemon
Log into your account here:
Not registered? Sign Up for free
Registration allows you to keep track of all your content and comments, save bookmarks, and post in all our forums.
-
PlayStation 5
PlayStation 4
PlayStation 3
PlayStation 2
PlayStation
PS Vita
PSP
-
Xbox Series X
Xbox One
Xbox 360
Xbox
-
Switch
Wii
Wii U
3 DS
Nintendo DS
Nintendo 64
Gameboy Adv.
Gameboy
GameCube
SNES
NES
-
Roblox
iPhone
Android
PC
FaceBook
Mac
Dreamcast
Arcade
- General Forums
- Video Game Forums
- Teams Forums
- Pokémon Hub
- Pokédex
- Technical FAQ's
- Achievements & Trophies
- Hall of Fame
- Enter a game name to find below:
-
- Or click here to search for specific content.
- All Our Full Guides More Game Walkthroughs Cheats, Hints and Codes Questions and Answers Recent Guide Updates
- Complete Guide to Monopoly GO!Blue Prince Walktrough and GuidesRise of Kingdoms Tips and GuideInfinite Craft Recipe Guide
- Robux GuideWuthering Waves walkthrough and guideRoblox Arsenal GuidesPalworld Walkthough Guide
- The Walking Dead: Survivors Beginners ..Ravenlock WalkthroughWarzone 2 GuidesHogwarts Legacy Walkthrough and Guide
The Basics Controls Active Reload Weapons Enemies
Campaign Walkthrough Act 1: Ashes Act 2: Nightfall Act 3: Belly of the Beast Act 4: The Long Road Home Act 5: Desperation
COG Tag Locations Achievements
Gears of Wars - Act 2: Nightfall
Skip to Sections...
Tick Tick Boom
Grist Outpost
Lethal Dusk
Dark Labyrinth
Powder Keg
Burnt Rubber
Last Stand
Tick Tick Boom
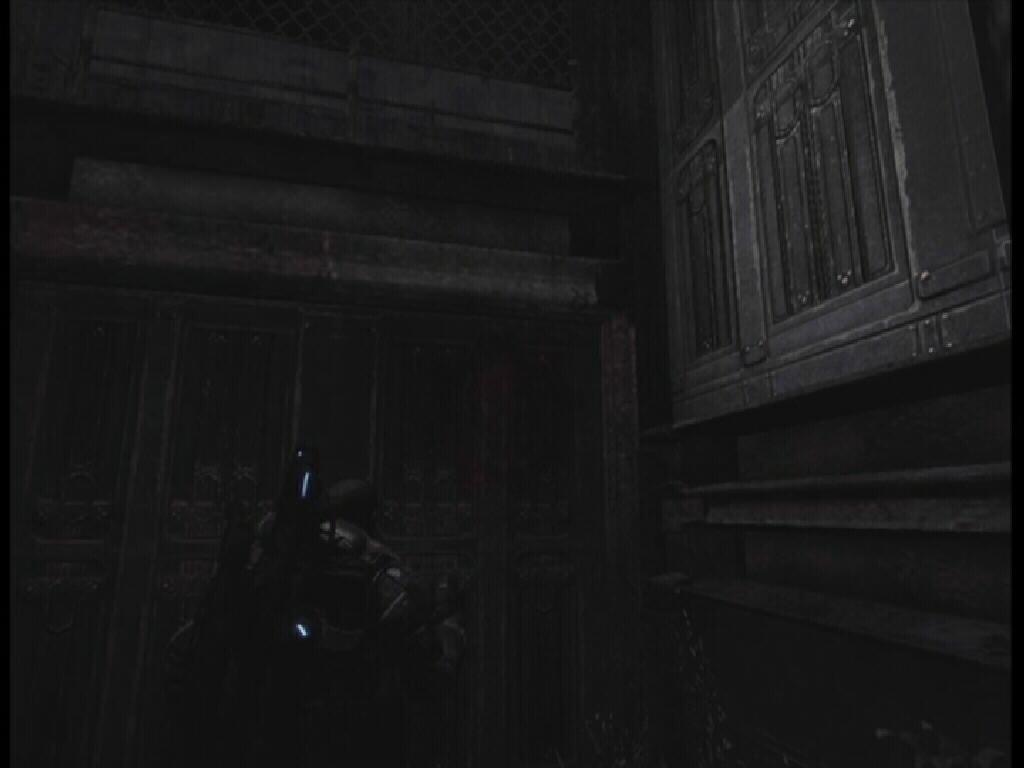
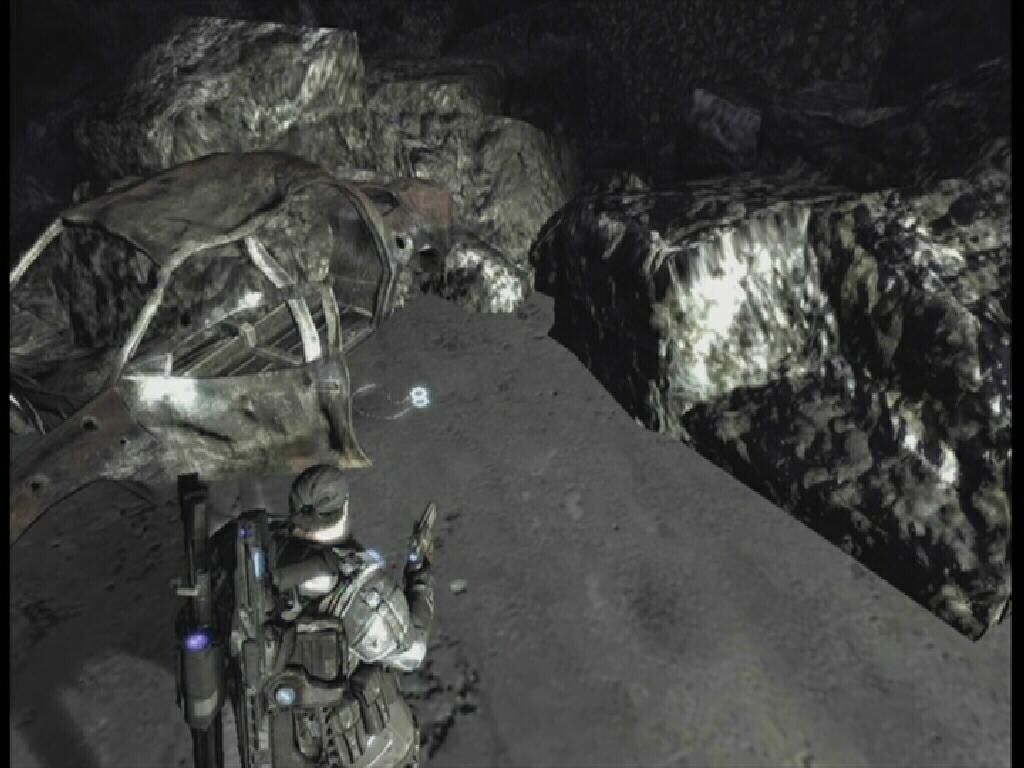
Start down the road until you receive a transmission from Anya telling you that the Hammer of Dawn is offline. Continuing along the road you should come to a dead COG soldier to your right. Here you can swap your Hammer of Dawn for the dead soldier's shotgun. You will eventually come to a checkpoint and a fork in the road. For the purpose of following this walkthrough, take the LEFT path. You won't miss anything by taking one path over the other.
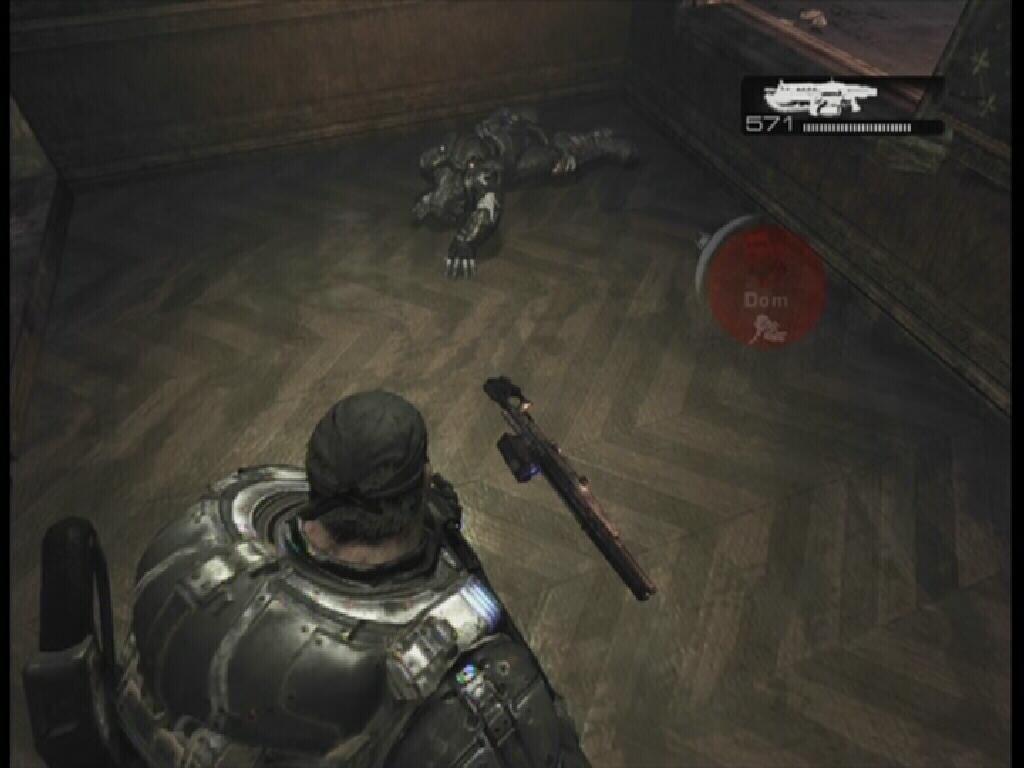
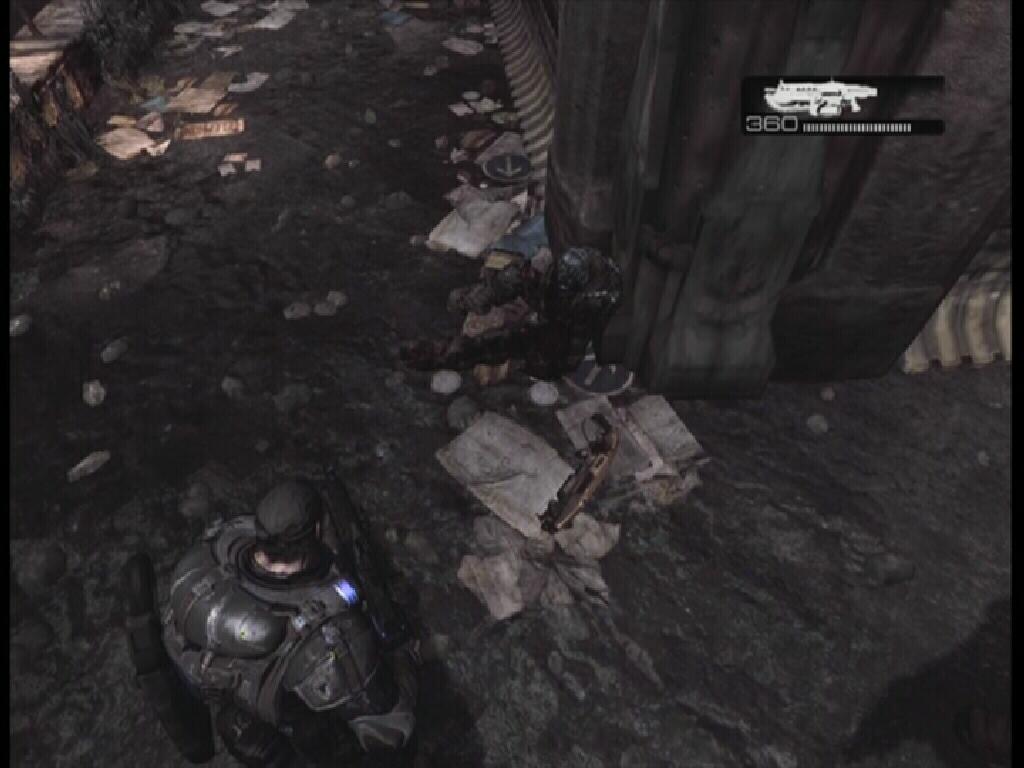 Dead Soldier |
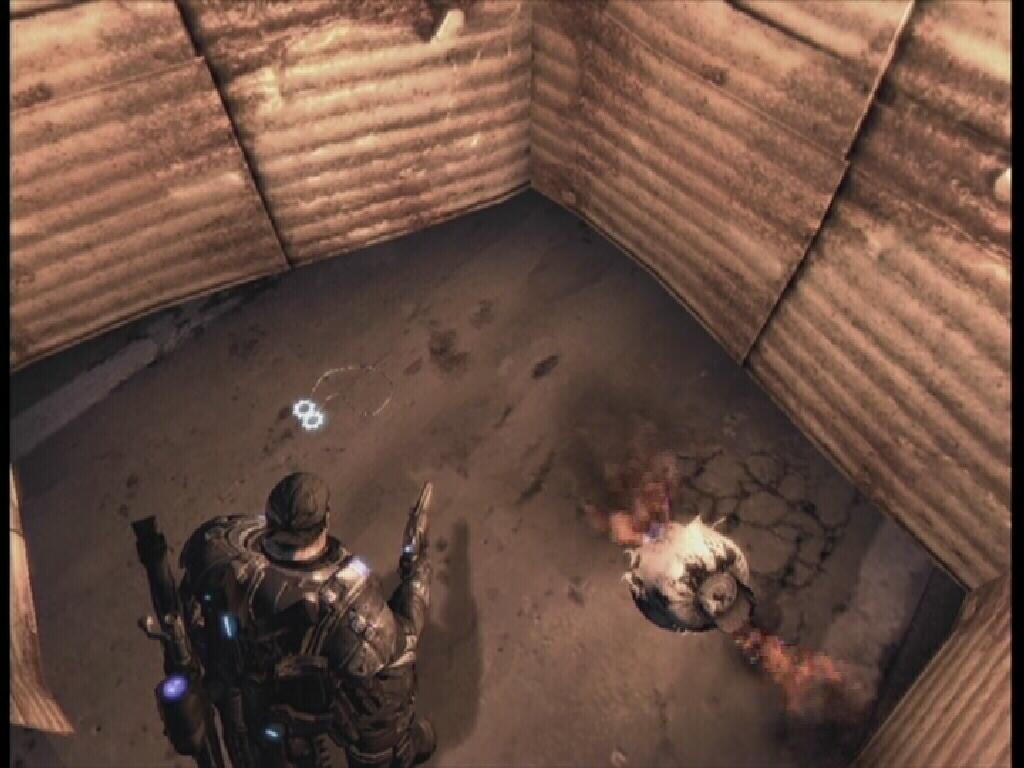
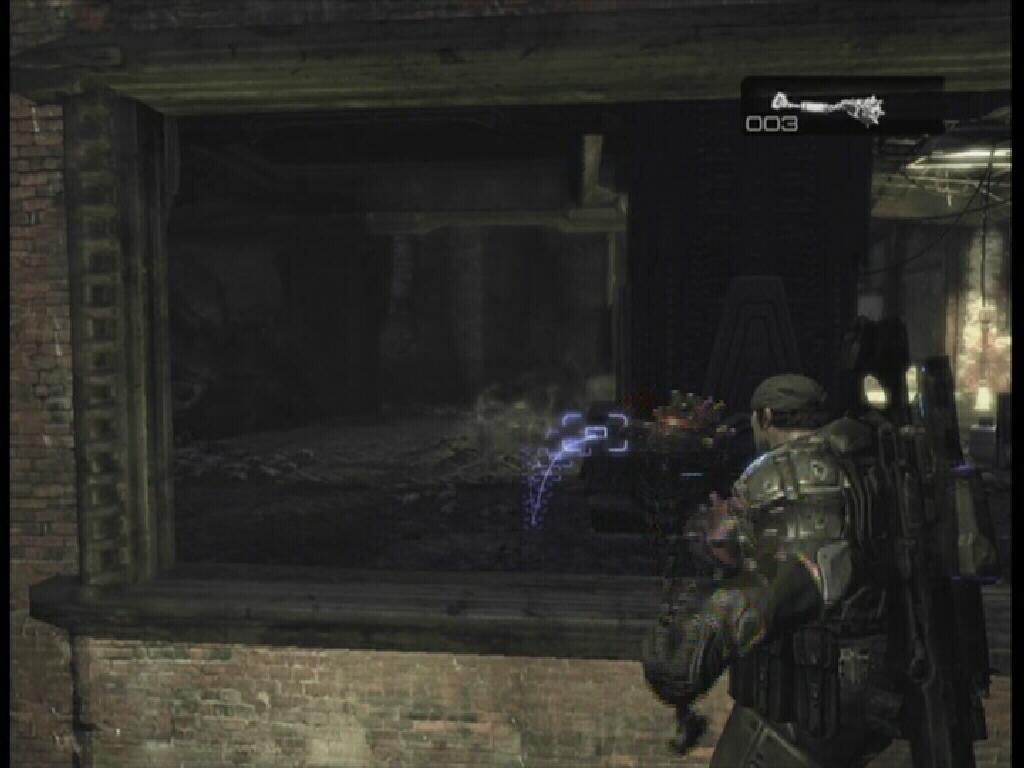
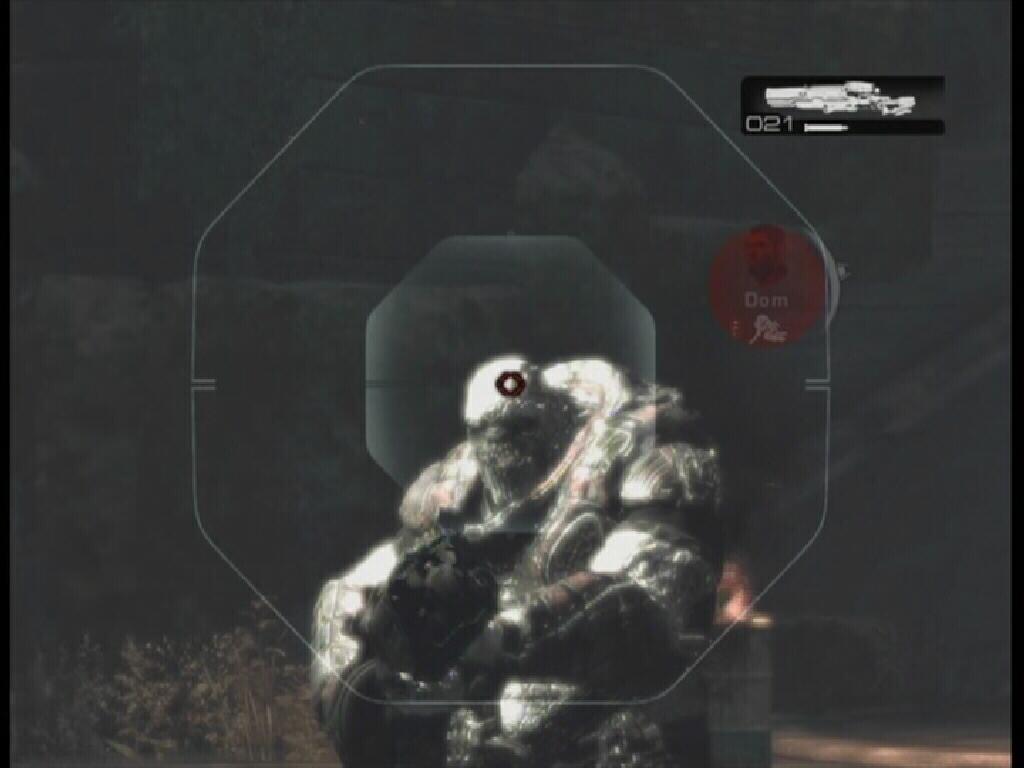
Assuming that you are down below, things are going to get a little bit tricky here. Boomers are heavily armored enemies and can take a large amount of fire before they go down. Oh, and they're packing Boomshots. Of course there is a couple of ways to defeat them with relative ease. Since you just hit a checkpoint outside of this room, you don't have to be overly cautious here. One straight shot from a Boomshot and you are in pieces, so cover is essential.
You should have Frag Grenades with you. If not, there are some grenades in an alcove on the other side of the room across from the Boomer doorway. With Frag Grenades in hand, get behind the long stone cover just across from the Boomer doorway. Try to blind throw it since, with a Boomshot, the Boomers can get a shot off real quick. To blind throw: With the frag in hand (behind cover while not aiming) tilt the screen up and press pull the Right Trigger to lob the grenade over your shoulder. It may take some practice, but luckily you recently hit a checkpoint.
 Boomer |
 Boomshot |
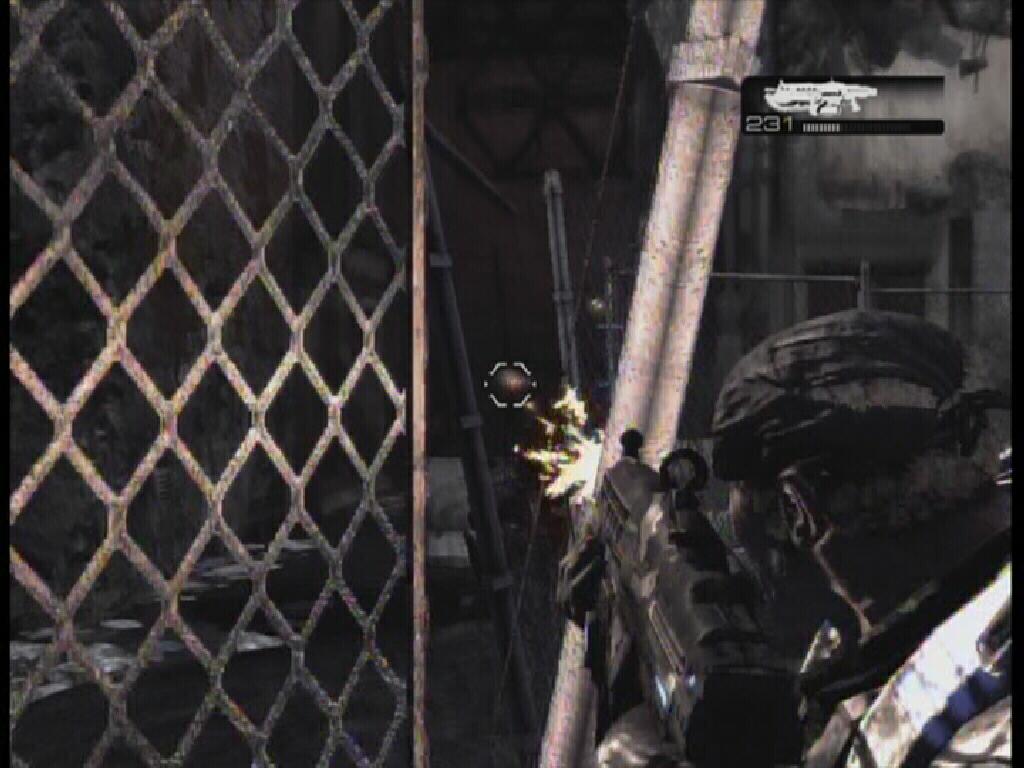
You can also help your buddies by shooting the Drones they are facing on the other side of the fence. There is a sniper in the upper level of the building above, so take him out first. Don't get too close to the masked Drones as they have Lancers and will not be reluctant to saw you in half. Through the doorway to the right, there is a Troika Gunner, so be careful. Use the Boomshot when the gunner is turned the other way, or Frag Grenades, to take him out.
 Sniper |
 Through The Fence |
 Jack |
 Crimson Omen |
 Cog Tag 13 |
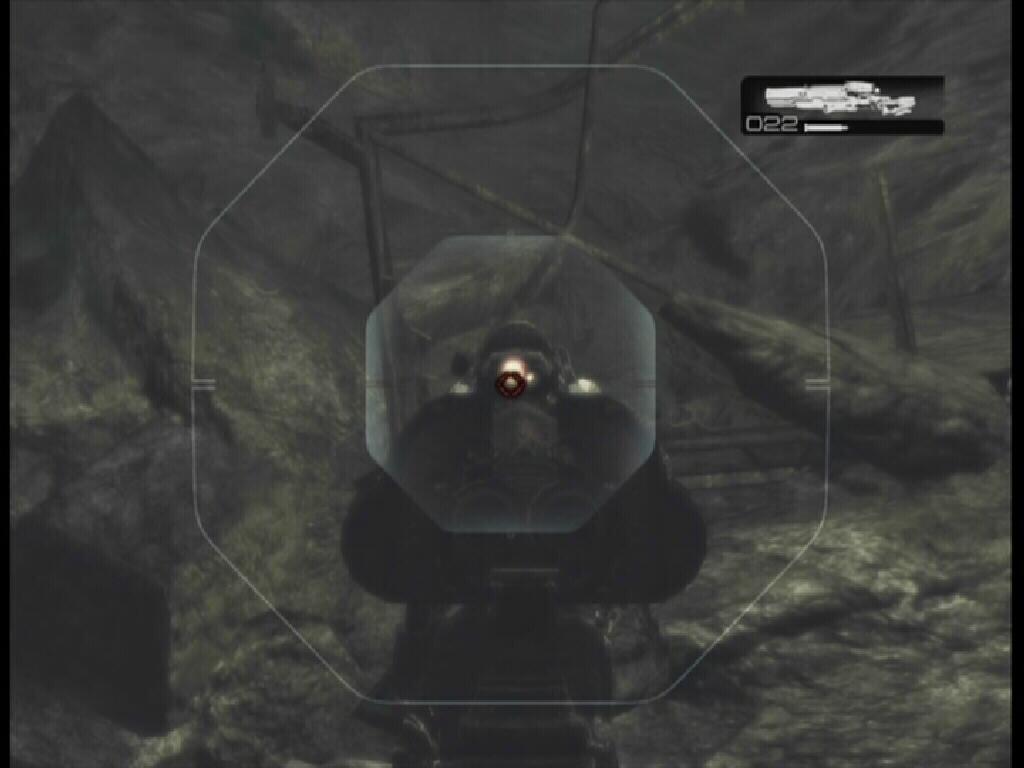
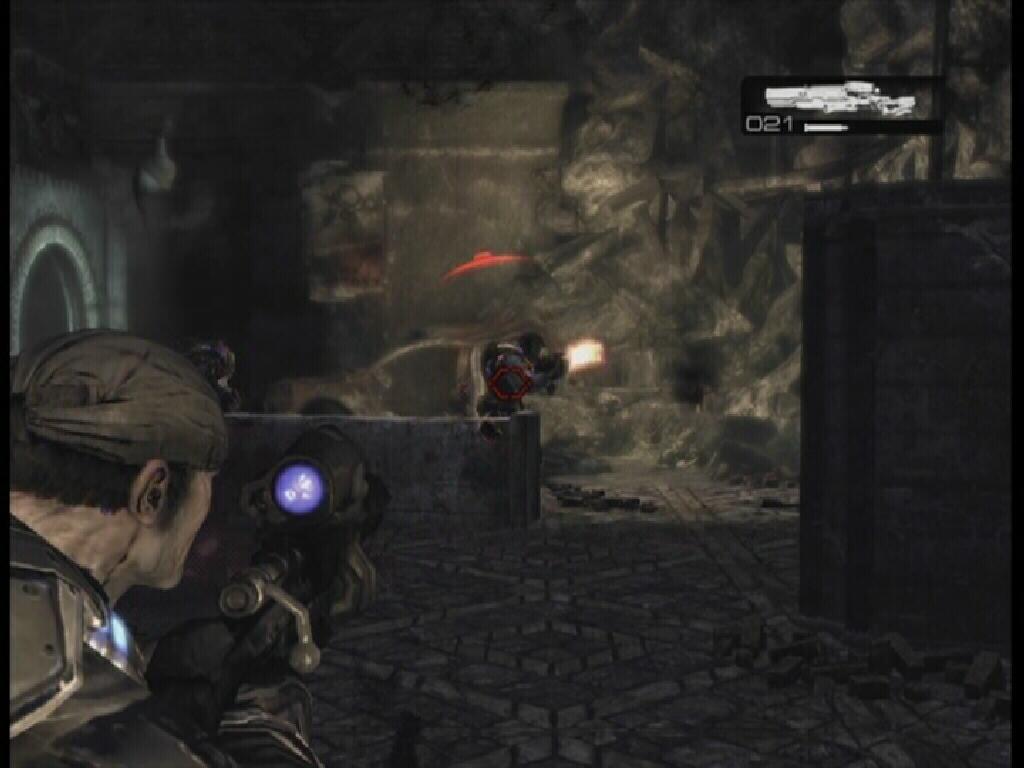
Head back up the stairs and kick in the door. Through this door another battle will ensue, so immediately take cover. You are facing another Boomer but you should still have some Boomshot ammo left, so use it to take out the Boomer in the distance. Don't get too close and don't stay up out of cover for too long. It may take a few Boomshot hits to kill the Boomer. If you don't have any ammo for the Boomshot left, use Frag Grenades, but for that you will have to get a bit closer. Once the Boomer has been dealt with, you can get closer, just watch for the Gnasher users who will charge at you. Don't leave yourself too exposed because there are Drones in the building to the right as well. There are also two snipers that need to be dealt with in the windows to the right.
|
Boomer |
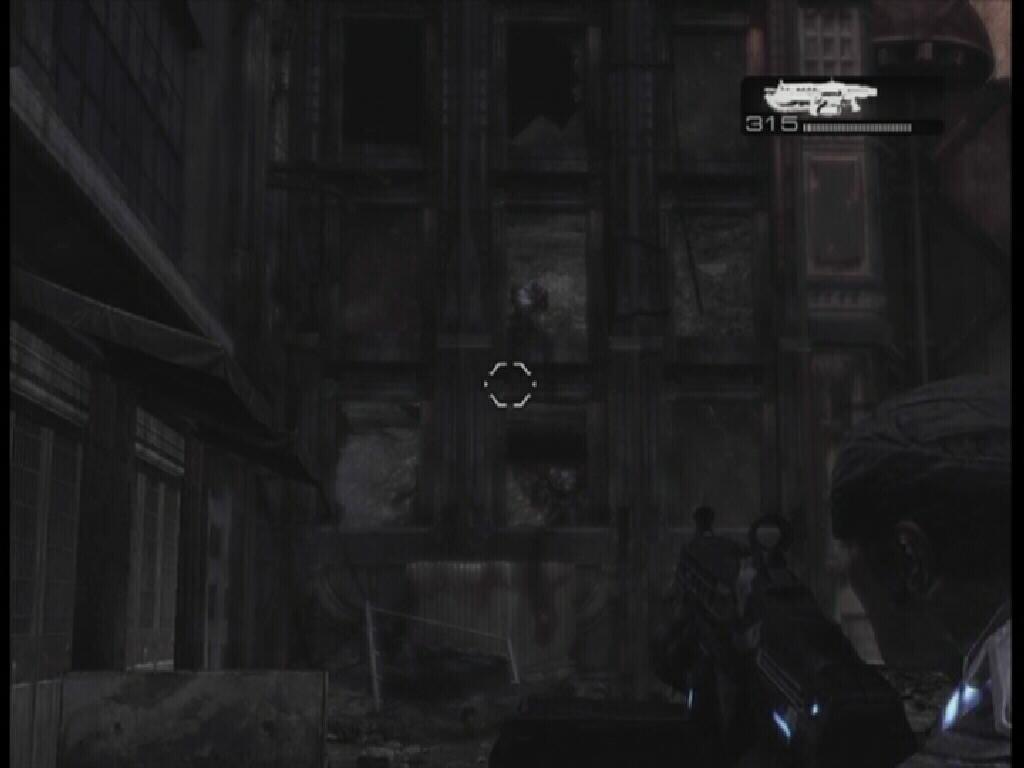 Snipers |
COG Tag 14: Take the stairs down, turn right and go behind the stairs to find the COG Tag.
 Crimson Omen |
 Cog Tag 14 |
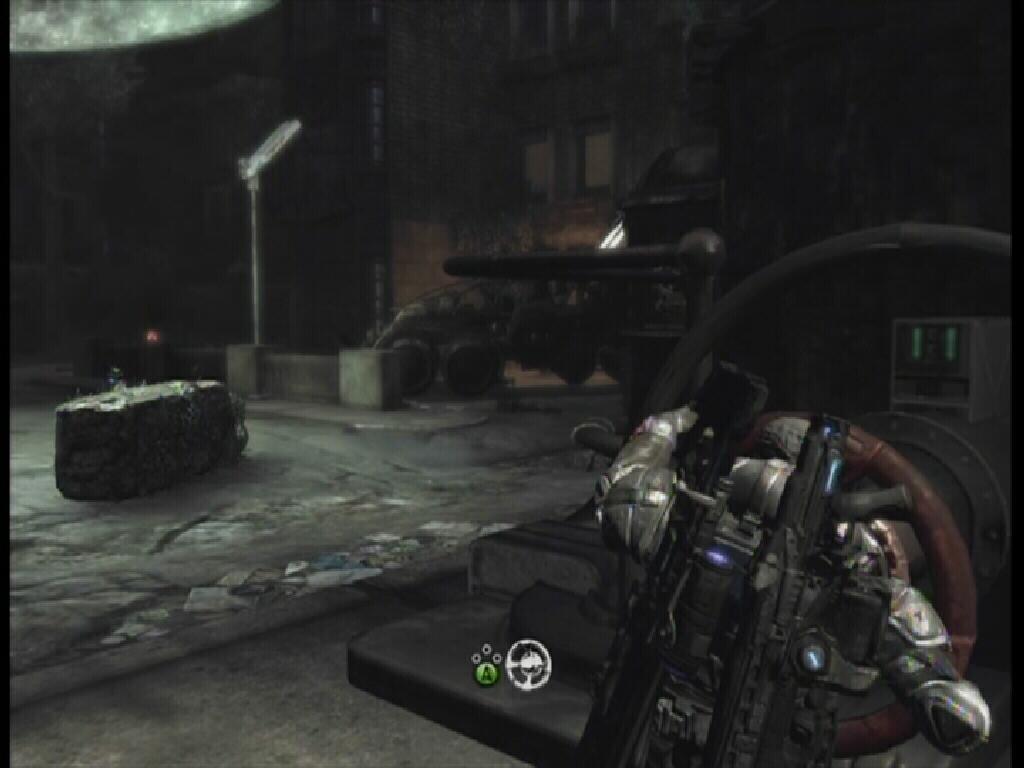
Hop over the cover and get behind the car. You can use tap the X button to push the car along the road, allowing you to move up along the road while avoiding the Troika fire. When you reach the end of the tract, you will have to deal with the Troika Gunner to your right. Switch cover to the overturned van to the right. There are some Frag Grenades here if you need more. As with the two Boomers, try to blind throw the frag next to the Troika Gunner. Again, it may take a few tries, but luckily you recently hit a checkpoint. Just try and tilt the camera up so it looks like it would land near the gunner if thrown, then pull the Right Trigger to throw the frag.
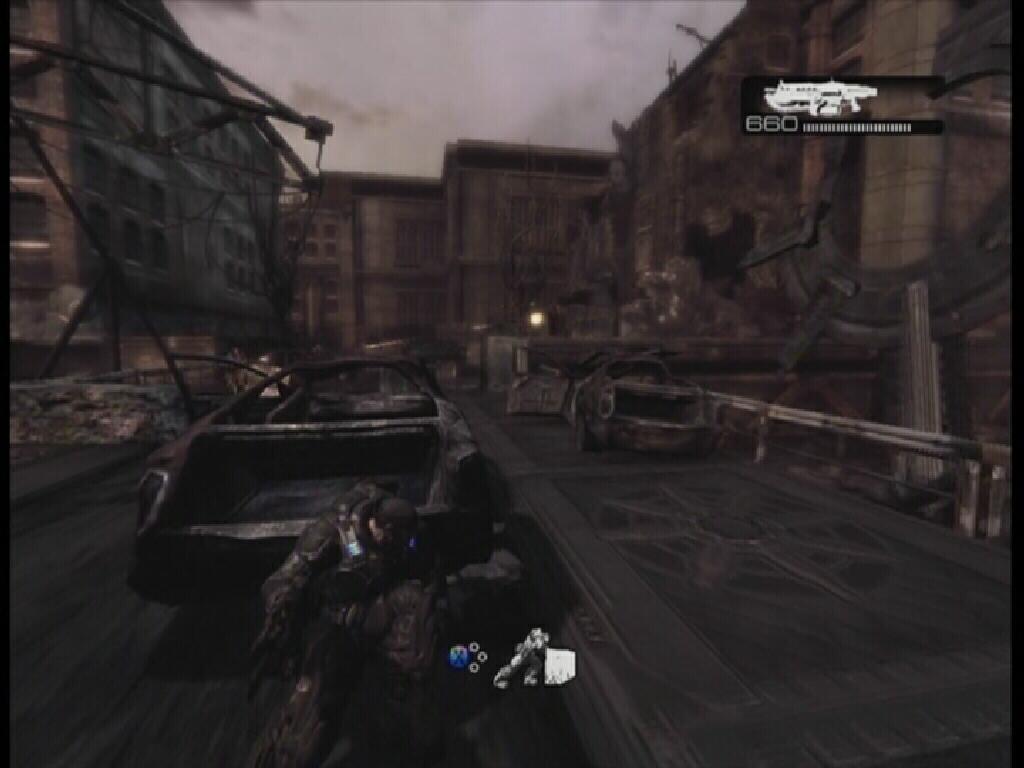 Car |
 Van |
When the battle is over, continue down the road and take the path in the back. You will eventually come to some stairs. At the top of the stairs look to your right. That's the Stranded settlement.
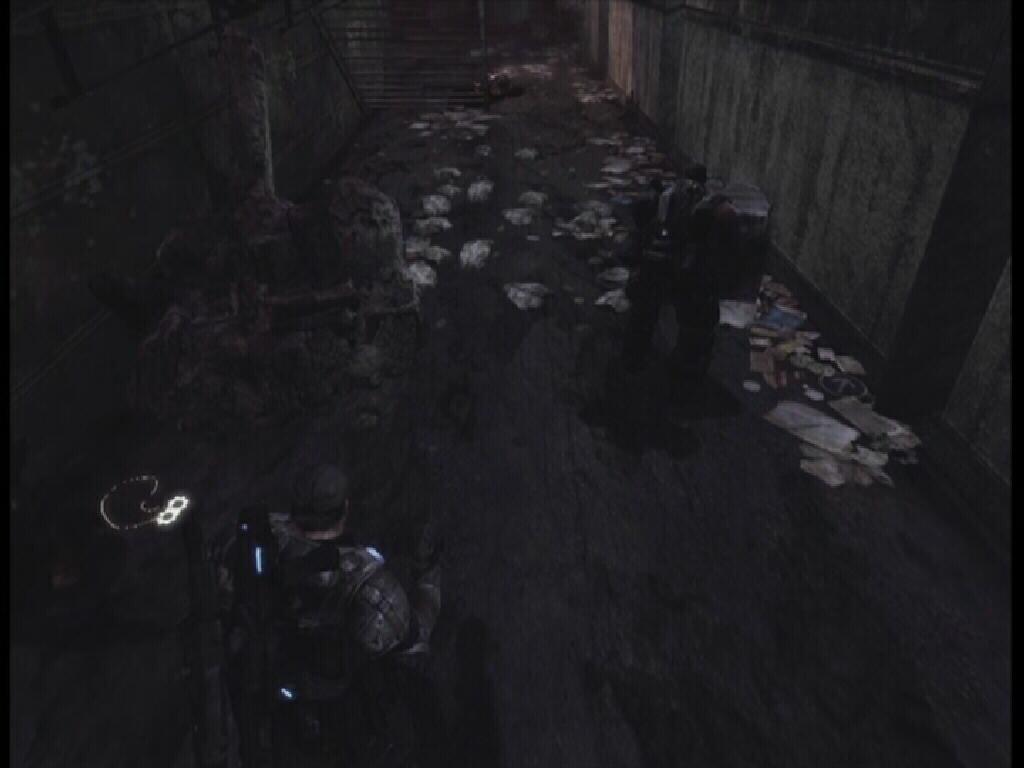
COG Tag 15: Before proceeding, from the top of the stairs, move straight ahead and look behind the newspaper stands along the sidewalk for the tag.
 Crimson Omen |
 Cog Tag 15 |
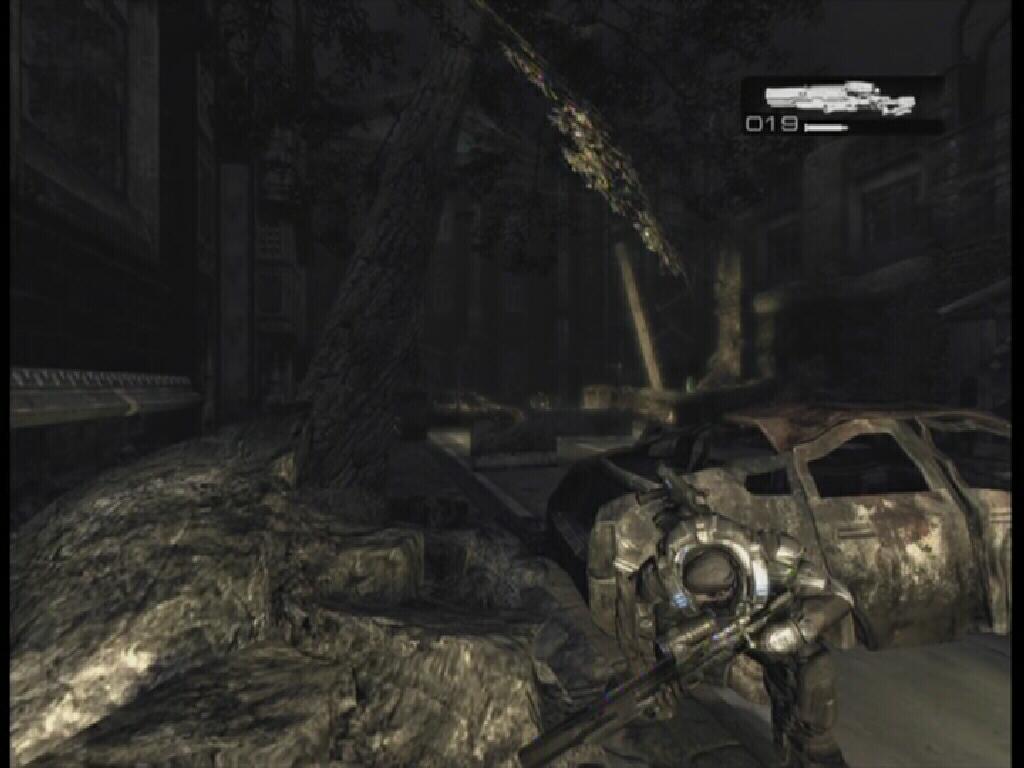
Inside the settlement, you are forced to a slow walk. Walk the road and listen to the various insults thrown in your direction. After a short cutscene, you will find yourself standing outside of the settlement. At the end of the road, kick in the door near the flaming oil drum. Move through the house until you are outside.
Lethal Dusk
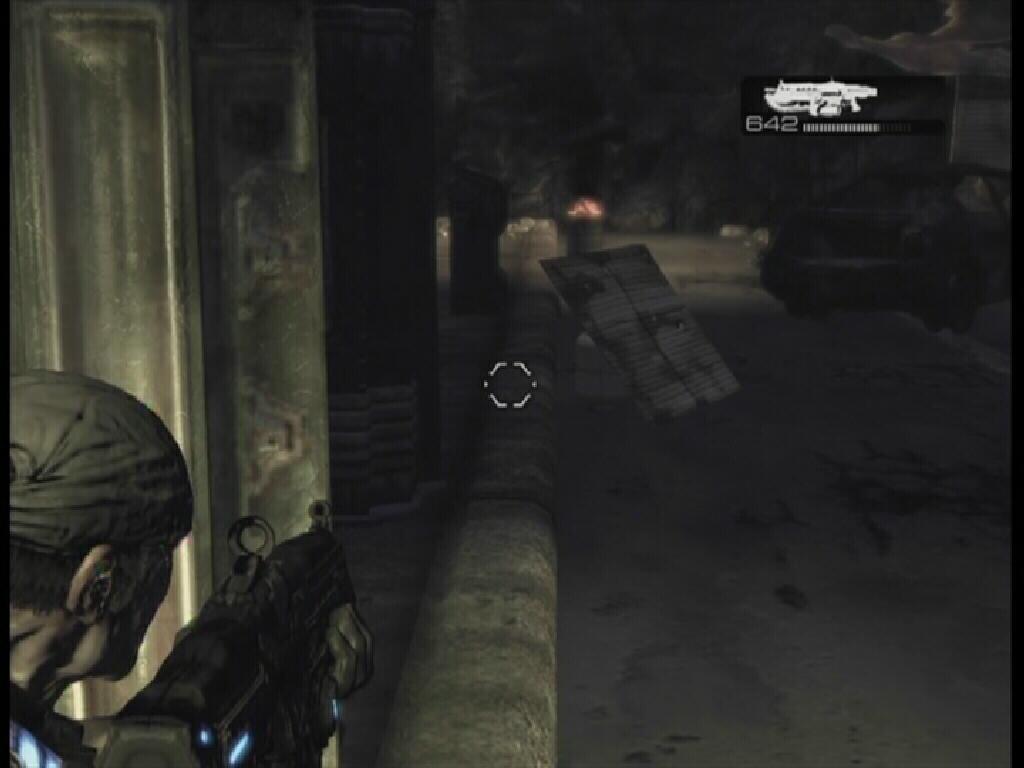
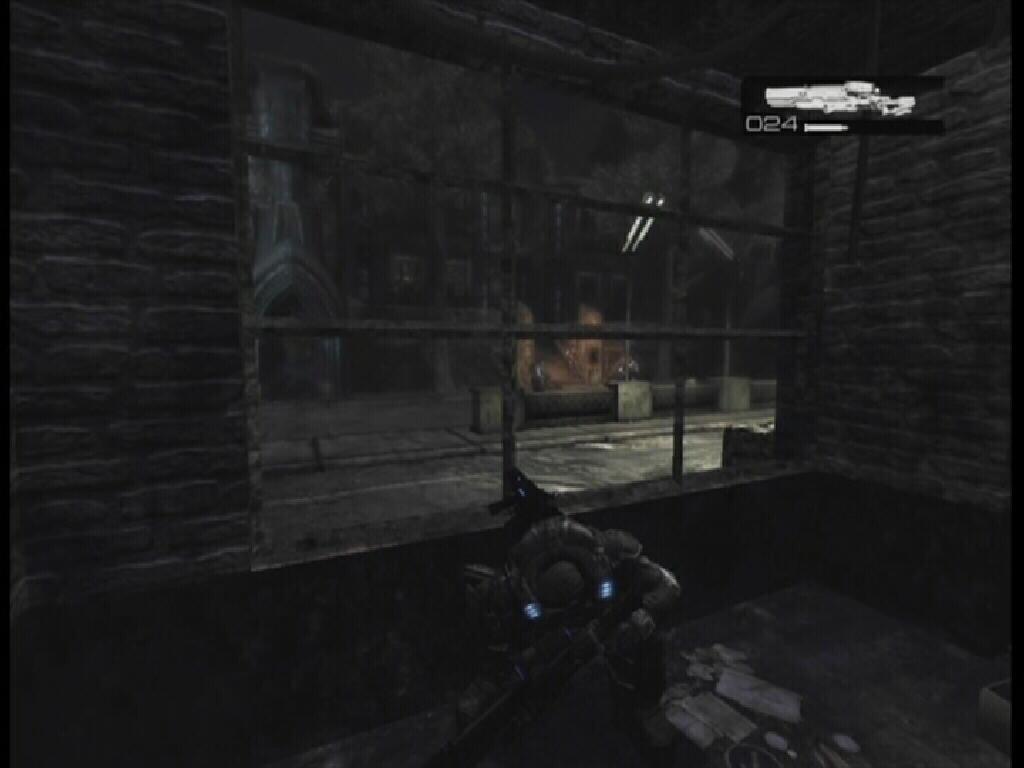
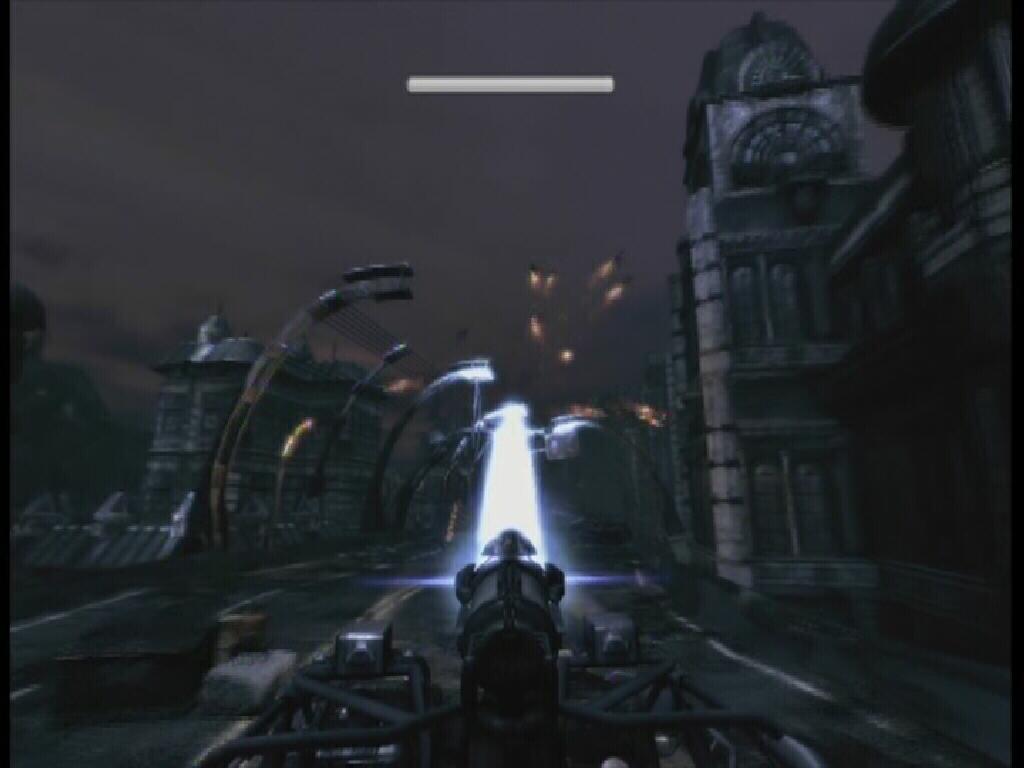
Kick in the door and head outside. Take cover because there are Drones across the street. There are some frags in the area to the left of the stove if you need them. There�s a sniper in the house across the street, so try to aim a frag through the door or window to take him out. There are grenadiers about, too. They use Gnashers and occasionally throw Frag Grenades. When the area is clear, shoot the propane tank across the street next to the sniper house. Head inside and retrieve the Longshot. The Longshot is a very valuable weapon at this point, just be sure to keep the Lancer as well.
 Longshot |
 Tram |
 Kryll |
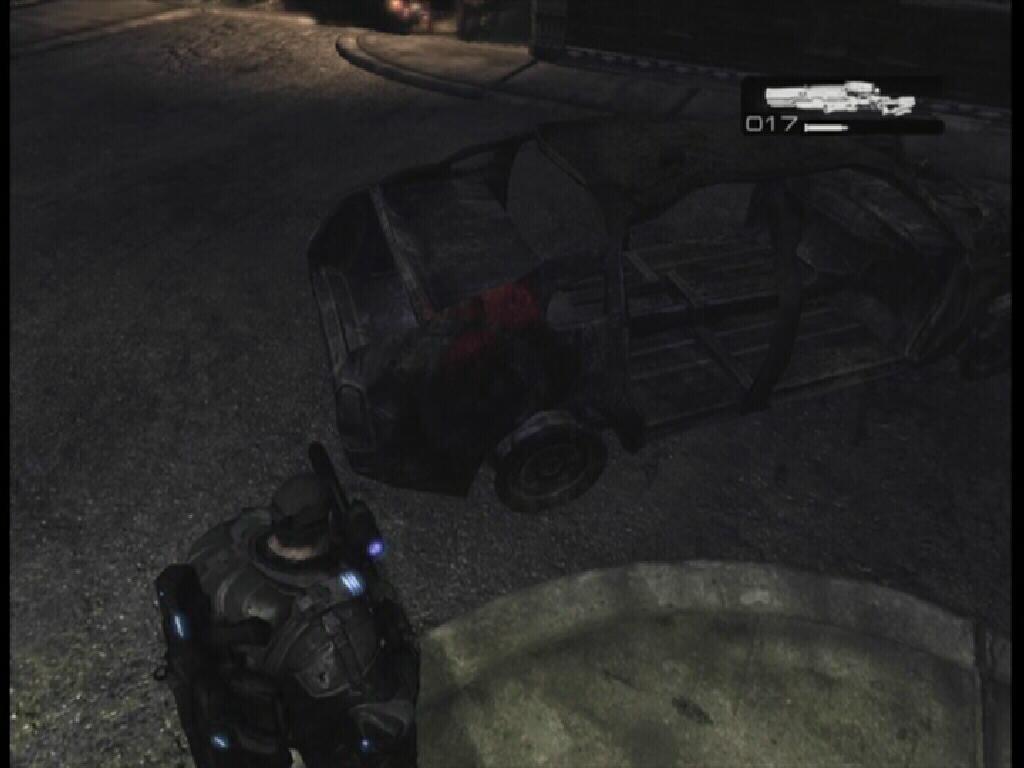
Move through the house and you will find yourself back outside. An Emergence Hole promptly opens up down the street. Remember not to step into the darkness unless you want to be eaten alive. Now is a nice time to try out that Longshot. Take cover behind the car that is outside of the building you were just in. Headshots are instant kills on Drones, so always go for the head. Wait until they pop out from under cover to shoot at you. Now, aren't headshots satisfying? Once those Drones are dead, shoot at the propane tank to the right of the car. Move over to the next car and shoot the propane tank behind the sheet of metal.
 Cover |
 Propane Tank |
 Crimson Omen |
 Cog Tag 16 |
 Troika Gunner |
 Wretch |
 Cover |
 Emergence Hole |
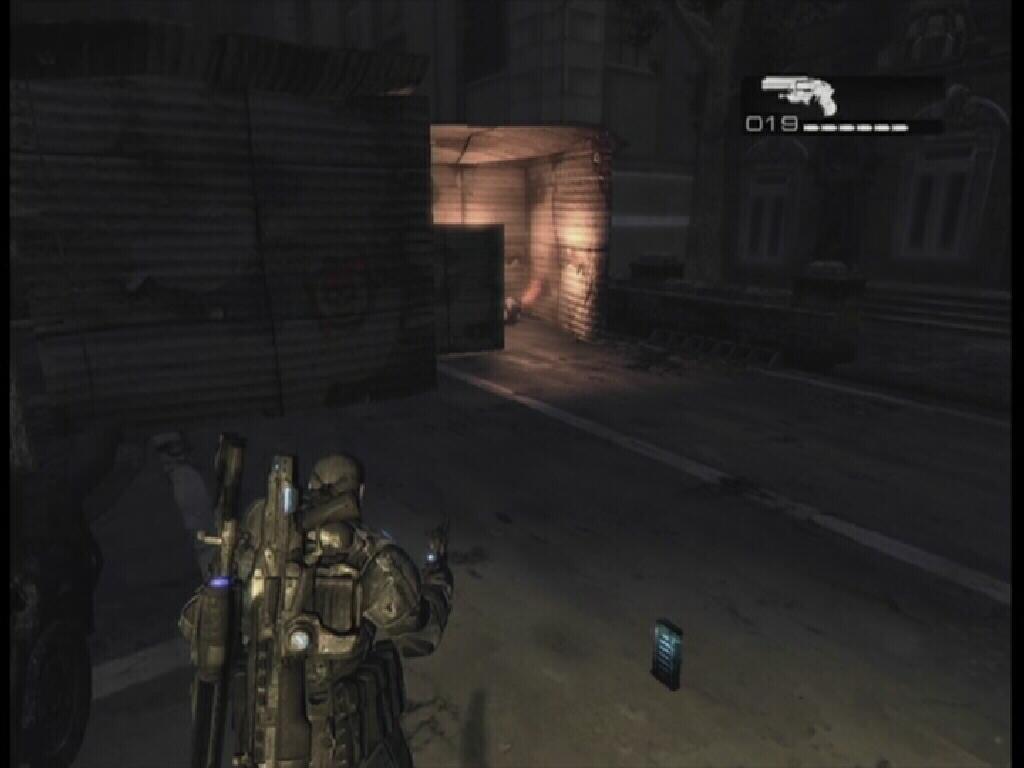
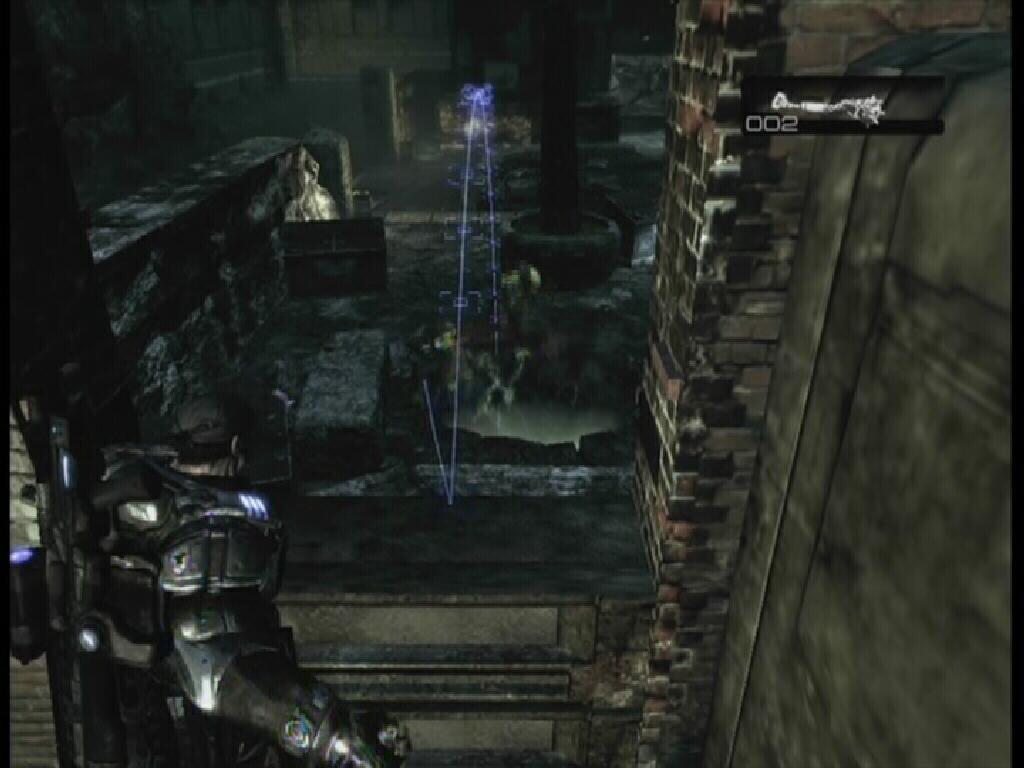
When you reach the end of the line with the car, switch from the car to the stone cover to the right of it. You're going to want to blind throw this frag, too. Hopefully you still have some frags with you. Again, it may take a few tries to get the grenade to land near the gunner, but you just recently hit a checkpoint. It's just trial and error until you get it. If it lands too far, tilt the screen a bit lower, too close, a bit higher, etc. Just be careful when you pop out of cover because there�s a Drone on the upper level in a broken window to the right.
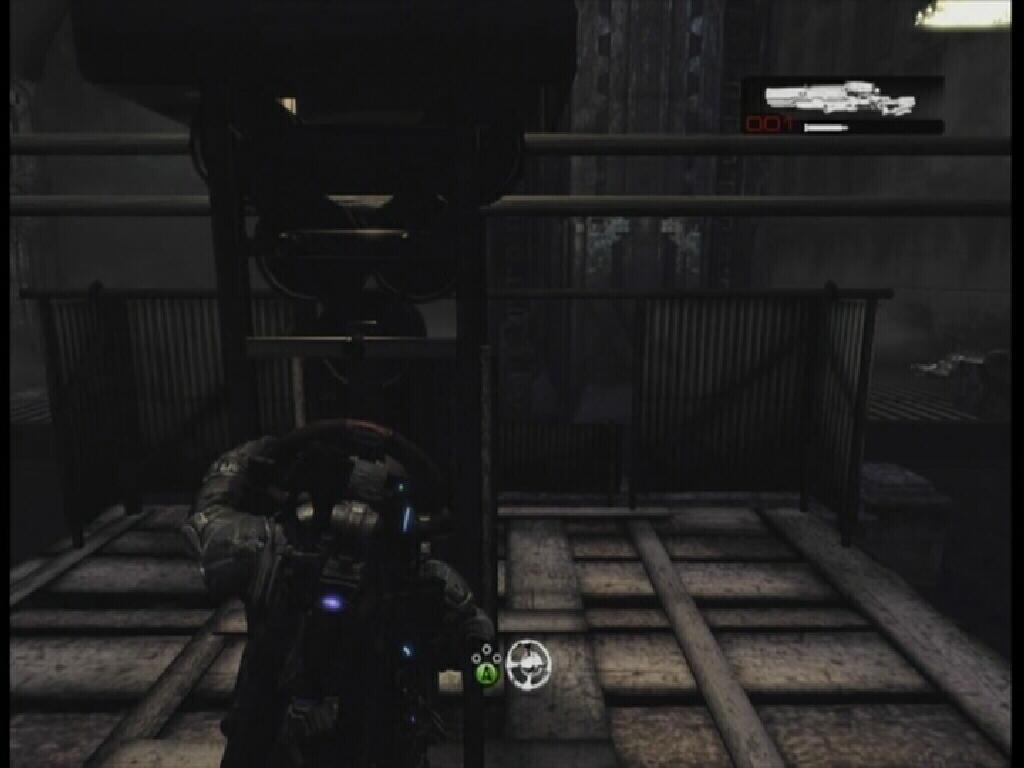
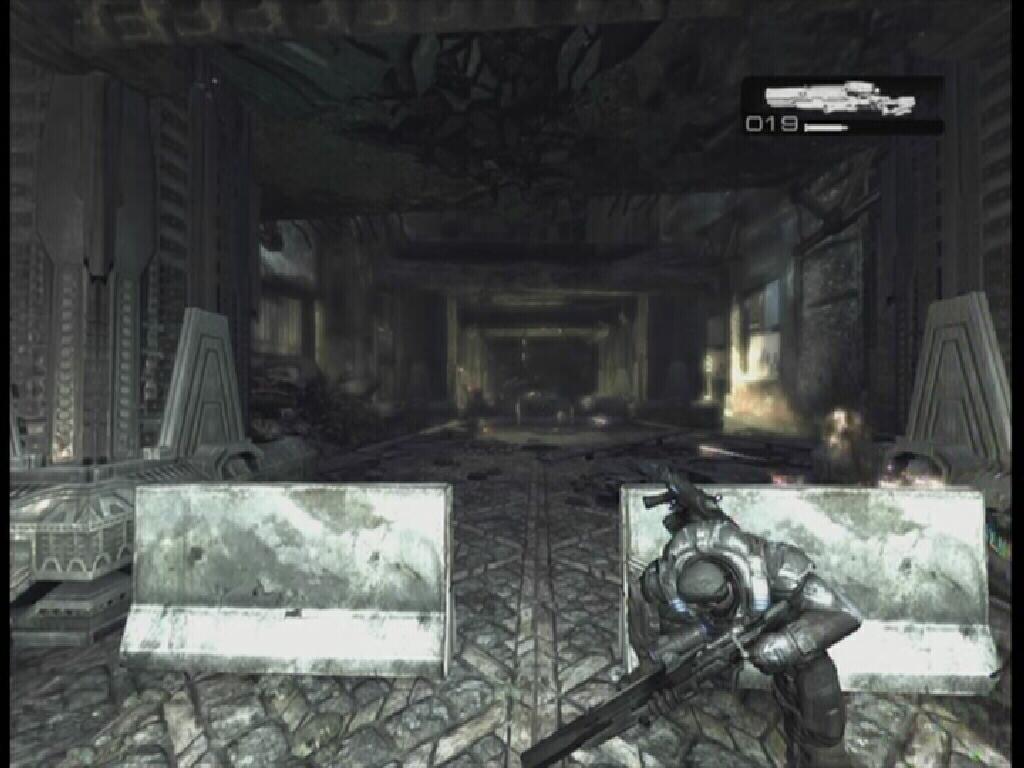
You can get some more ammo in the room where the Troika is. Follow the length of the hallway for more ammo and some Frag Grenades. You're going to have to make a run for it through the alleyway to the right. Roadie Run and roll through it until you are in another building. Kick in the door and head outside to face some more Drones. An Emergence Hole will open up on the other side of the park to your left, so if you can manage to get there before it opens up, quickly throw a grenade down to seal it. If you know exactly where it is going to open, make a run for it. Remember, you just hit a checkpoint, so why not make things easier for yourself?
 Drone |
On the other side, in front of the scrap car to the right there is a propane tank. Shoot it and move down the street until you reach the cement block. To the left of this block, there is another propane tank in front of the rubble. You will have to use the spotlight on the building to the right to guide Dom to a light switch so you can travel this street. Head inside the building and make your way to the top level where the spotlight is. Grab the ammo box while you're at it. All you have to do is keep the spotlight on Dom while he makes his way to the switch.
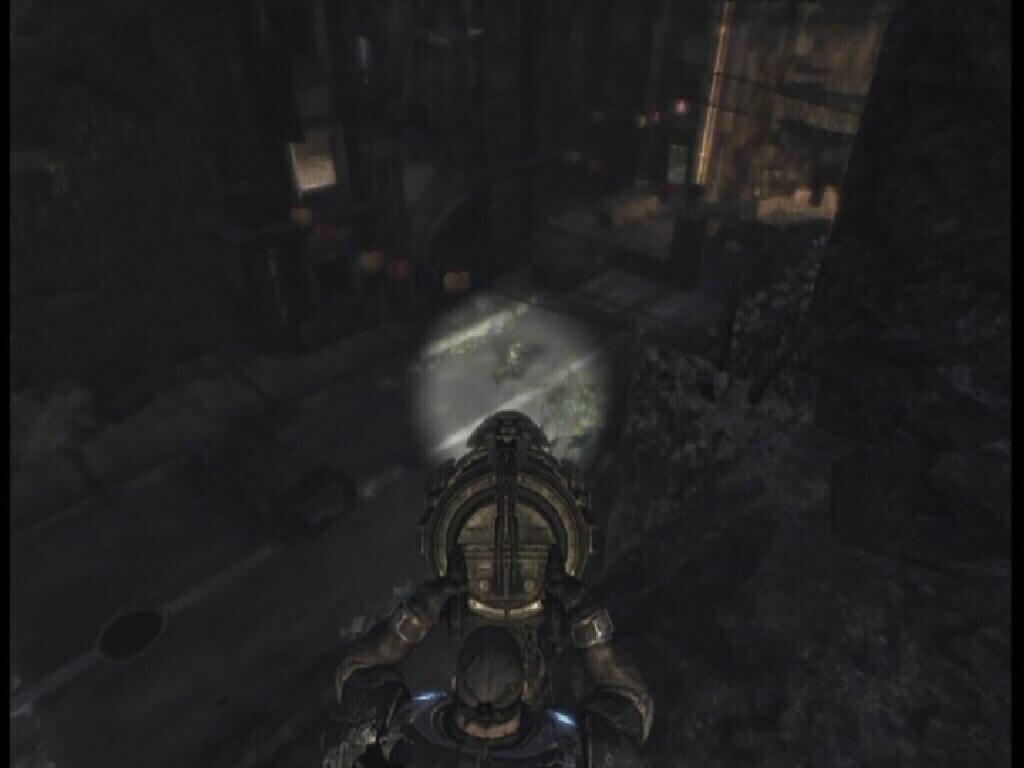 Spotlight |
 Lights |
 Crimson Omen |
 Cog Tag 17 |
 Tank |
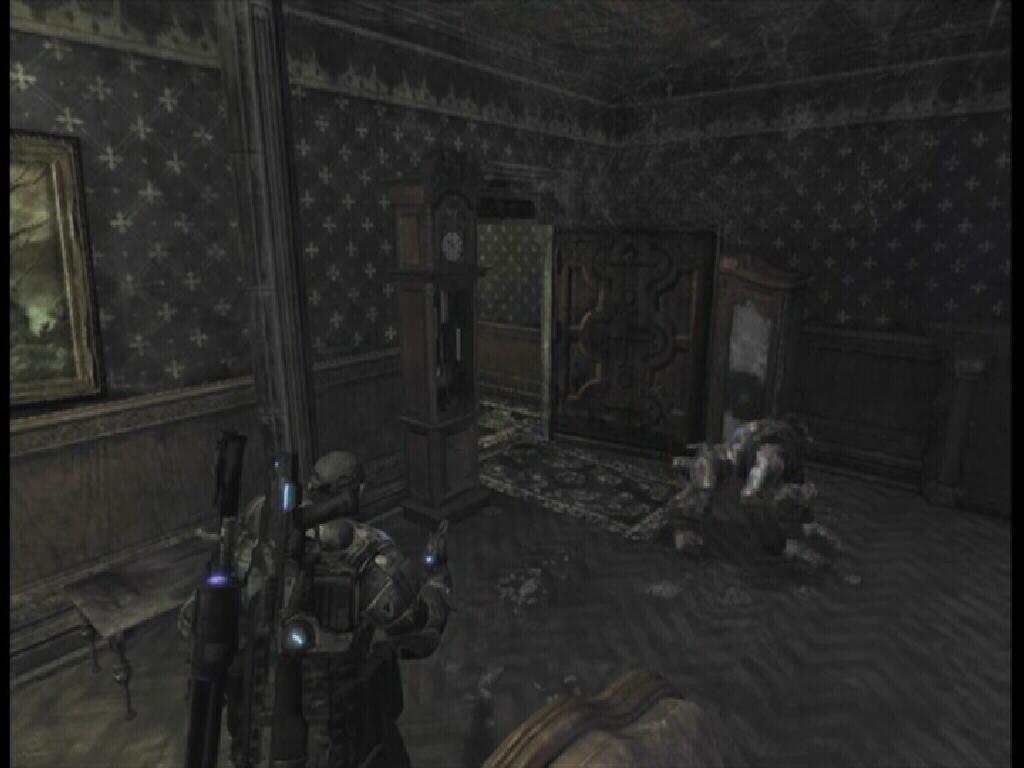
After a short cutscene, you will find yourself in an interior area. This place is crawling with Wretches, so ready your beat-down weapon. Only move through the lighted rooms.
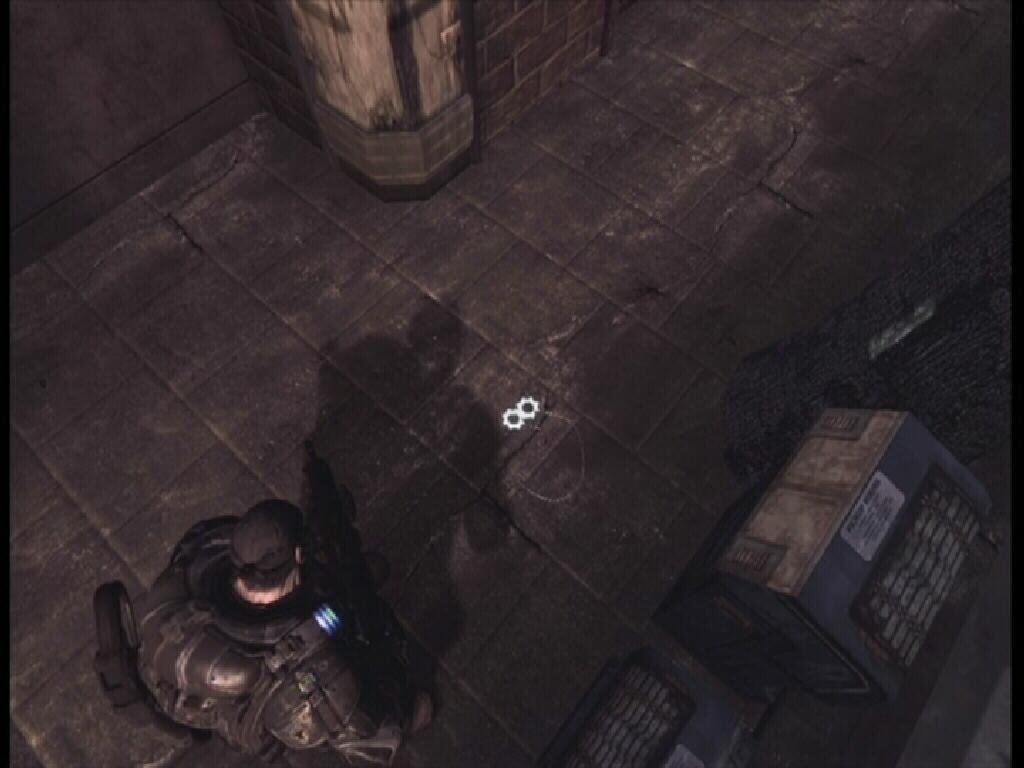
COG TAG 18: Once you are back outside, turn right and look down to find the COG Tag.
 Crimson Omen |
 Cog Tag 18 |
Powder Keg
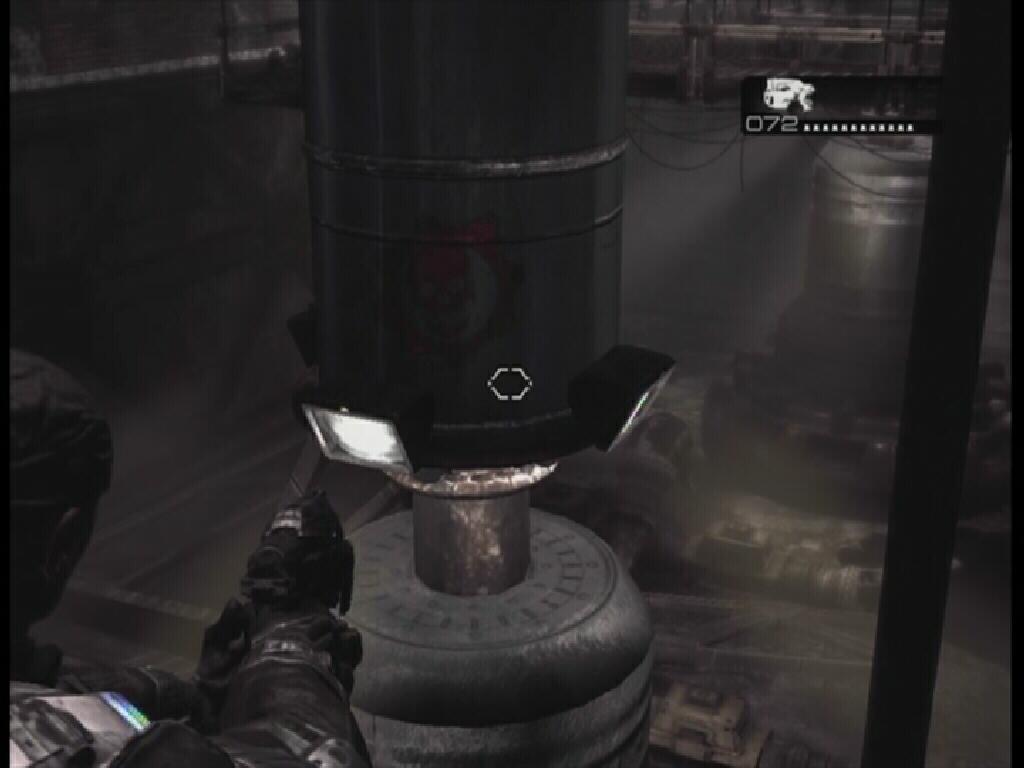
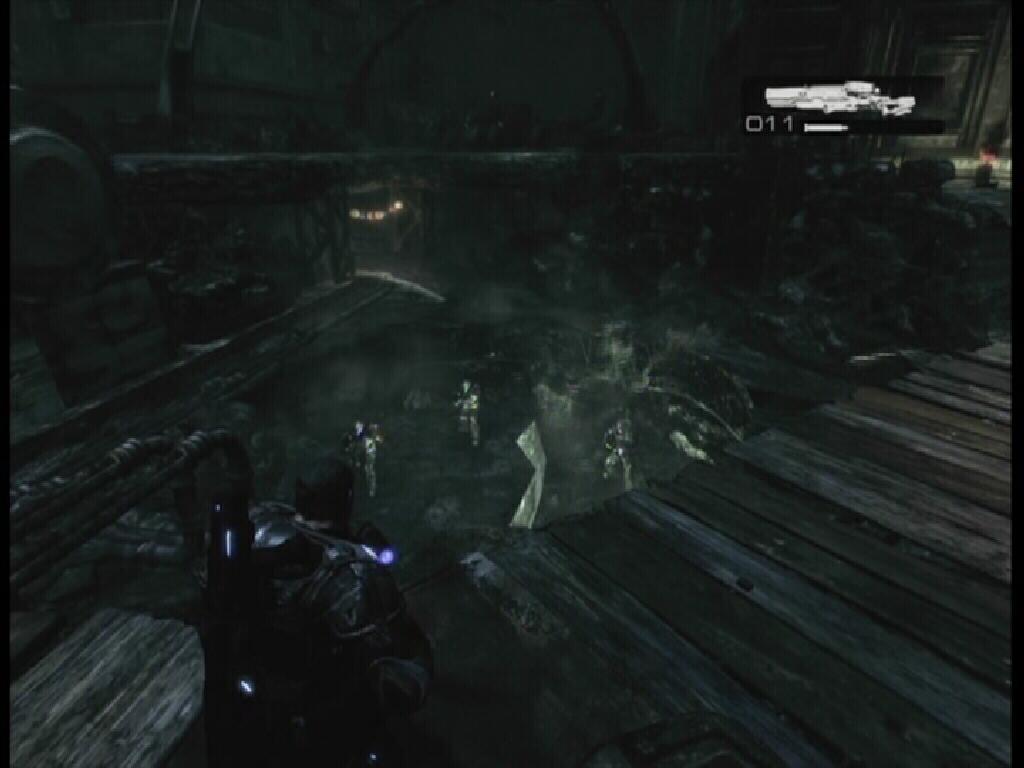
You are now at Chap's Gas Station. There is some Longshot ammo and Frag Grenades inside the gas station, so stock up. To fuel the junker, exit the gas station and use the fuel pump to your right. Press the X button to take hold of the handle, then simply tap the A button to pump the fuel. Of course, your getaway isn't going to be that simple. You're going to have to face an onslaught of Locust before you can escape this area. Get back inside the gas station and start by destroying all of the windows, then head into the back room and once you activate the checkpoint the Drones will approach.
 Fuel Pump |
 Drones |
You can take the Boomer out with the Longshot, just make sure to go for headshots. It will take quite a few headshots to bring the Boomer down, however. If you're up to the challenge, before the Boomer gets too close to the station, you can stick a Frag Grenade on him for a quick kill. That, or as he approaches, throw a frag at his feet. To stick a grenade on him, run up to him with a frag in hand and press the B button when you are close enough. Once it is attached, get the hell out of there! Another wave of Drones will follow the Boomer so get back into the gas station and finish killing.
 Headshot |
As the old man explains, you can only use the engine or the UV light, they cannot both be in use at the same time. Due to this, you will have to use the X button to switch between the driver's seat and the UV light when the Kryll manifest. The old man will tell you when Kryll are approaching, so just switch to the UV light when he tells you. The path to the exit is very straight forward, so you will not get lost, you just have to follow it, stopping only to kill the Kryll along the way.
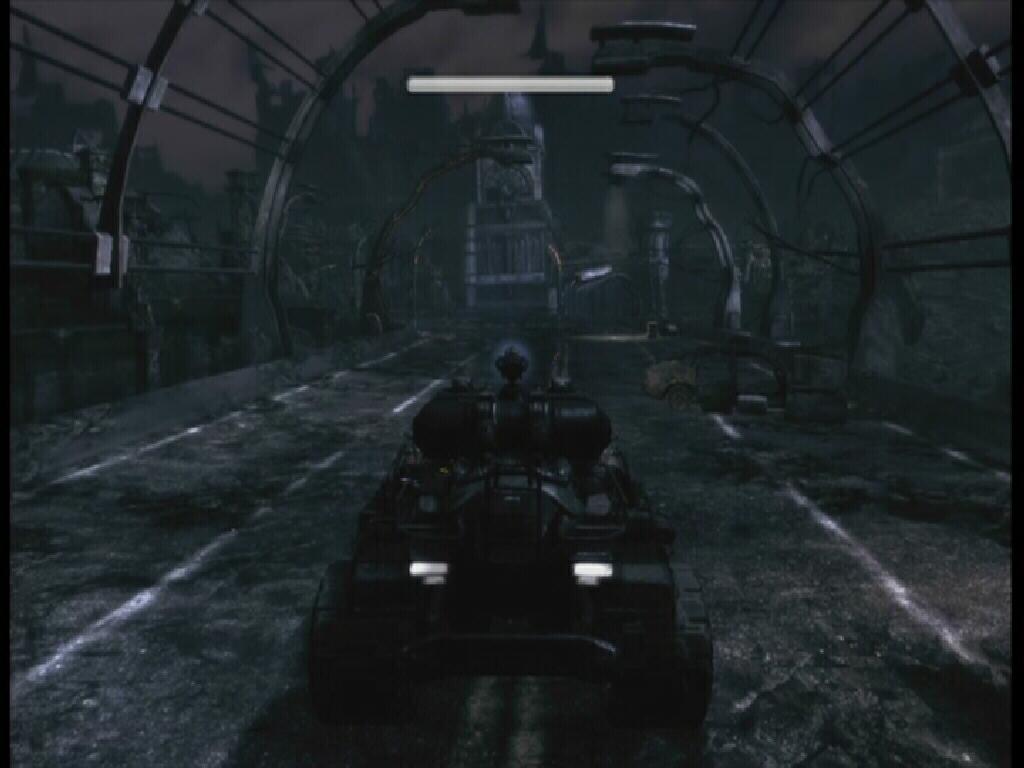 Junker |
 UV Light |
Just before the wooden bridge, turn left and duck into the building that you see here. There is an ammo box inside, and you can use the windows as cover while using your Longshot, and you can easily throw grenades into the Emergence Hole that opens up. When the hole opens, aim your grenade into the hole and throw it in to seal it. Kill the remaining Drones and another Emergence Hole will open up in the distance. Use a frag to close this one as well. This time though, you will have to choose a different spot to throw the frag from, somewhere along the wooden platform. Once those Drones are dead, another Emergence Hole will open up to the left of the Troika. There are some frags and Longshot ammo at the end of the wooden walkway, if needed.
 Vantage Point |
 Boomer Emergence Hole |
Tanks |
© Web Media Network Limited, 1999 - 2026. This site is not affiliated in any way with Microsoft, Sony, Sega, Nintendo or any video game publishers.
Privacy Policy | Terms of Service.
Super Cheats is an unofficial resource with submissions provided by members of the public. These are not usually tested by us (because there are so many), so please use them at your own risk.