- Games
- Guides
- Complete Guide to Monopoly GO!Blue Prince Walktrough and GuidesRise of Kingdoms Tips and GuideInfinite Craft Recipe Guide
- Robux GuideWuthering Waves walkthrough and guideRoblox Arsenal GuidesPalworld Walkthough Guide
- The Walking Dead: Survivors Beginners ..Ravenlock WalkthroughWarzone 2 GuidesHogwarts Legacy Walkthrough and Guide
- Latest
- More
- General ForumsChat and have fun Video Game ForumsFind friend, get help Achievements & Trophies'chieve lists and hints to help
- Pokémon HubFind it all PokédexAll the stats ModsMods and and-ons
- Action Replay CodesAR Codes and cheats GameShark CodesGS Codes and cheats CodeBreaker CodesCB Codes and cheats
Submit Your Stuff· Send in your cheats, hints and codes
· Need help? Ask a question here Help a gamer Can you provide the answers for fellow gamers questions- Forums
- Pokemon
Log into your account here:
Not registered? Sign Up for free
Registration allows you to keep track of all your content and comments, save bookmarks, and post in all our forums.
-
PlayStation 5
PlayStation 4
PlayStation 3
PlayStation 2
PlayStation
PS Vita
PSP
-
Xbox Series X
Xbox One
Xbox 360
Xbox
-
Switch
Wii
Wii U
3 DS
Nintendo DS
Nintendo 64
Gameboy Adv.
Gameboy
GameCube
SNES
NES
-
Roblox
iPhone
Android
PC
FaceBook
Mac
Dreamcast
Arcade
- General Forums
- Video Game Forums
- Teams Forums
- Pokémon Hub
- Pokédex
- Technical FAQ's
- Achievements & Trophies
- Hall of Fame
- Enter a game name to find below:
-
- Or click here to search for specific content.
- All Our Full Guides More Game Walkthroughs Cheats, Hints and Codes Questions and Answers Recent Guide Updates
- Complete Guide to Monopoly GO!Blue Prince Walktrough and GuidesRise of Kingdoms Tips and GuideInfinite Craft Recipe Guide
- Robux GuideWuthering Waves walkthrough and guideRoblox Arsenal GuidesPalworld Walkthough Guide
- The Walking Dead: Survivors Beginners ..Ravenlock WalkthroughWarzone 2 GuidesHogwarts Legacy Walkthrough and Guide
The Basics Controls Active Reload Weapons Enemies
Campaign Walkthrough Act 1: Ashes Act 2: Nightfall Act 3: Belly of the Beast Act 4: The Long Road Home Act 5: Desperation
COG Tag Locations Achievements
Gears of Wars - Act 1: Ashes
Skip to Sections...
14 Years After E-Day
Trial By Fire Fish In a Barrel
Fork in the Road
Knock Knock
Hammer
Wrath
China Shop
14 Years after E-Day
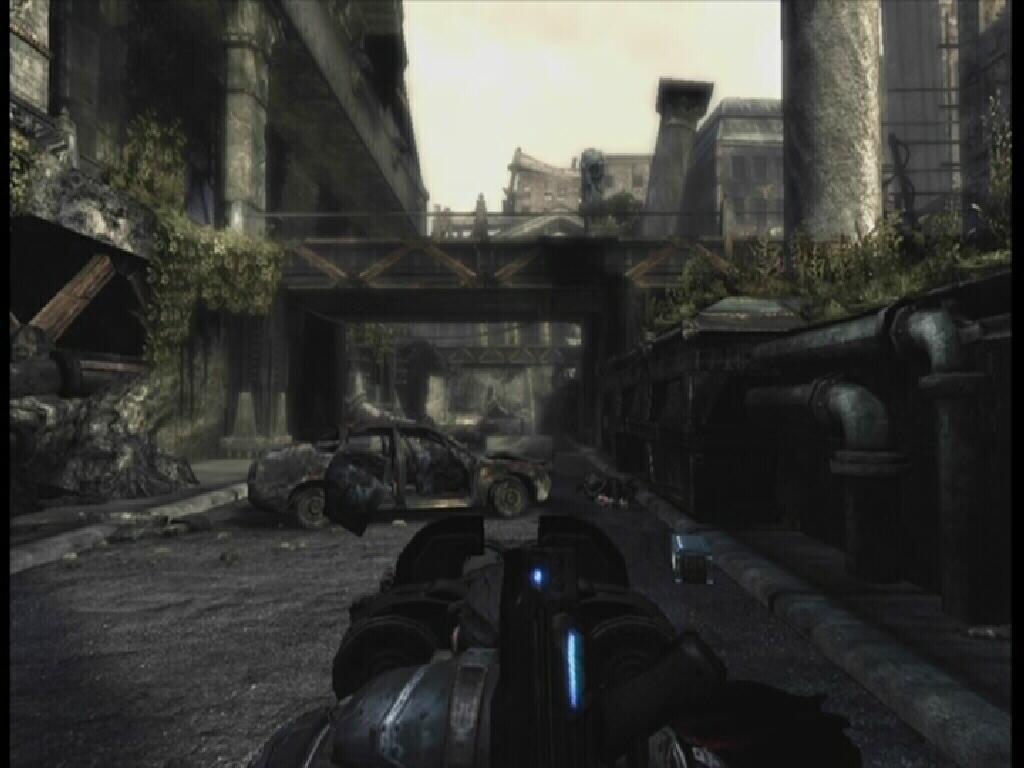
You are Marcus Fenix, stuck in a cold cell when your pal Dominic Santiago shows up to bust you out. Times have changed, this is war. You are first given armor and a weapon, then immediately thrust into the dark, gritty, war-torn world of Sera. Follow Dominic out of the cell and you are then presented with two options: Going left will take you into the eye of the storm, while heading right will take you through some training. For the purpose of this guide, choose to go right for training, since if you are reading and following this walkthrough you are undoubtedly new to the game.
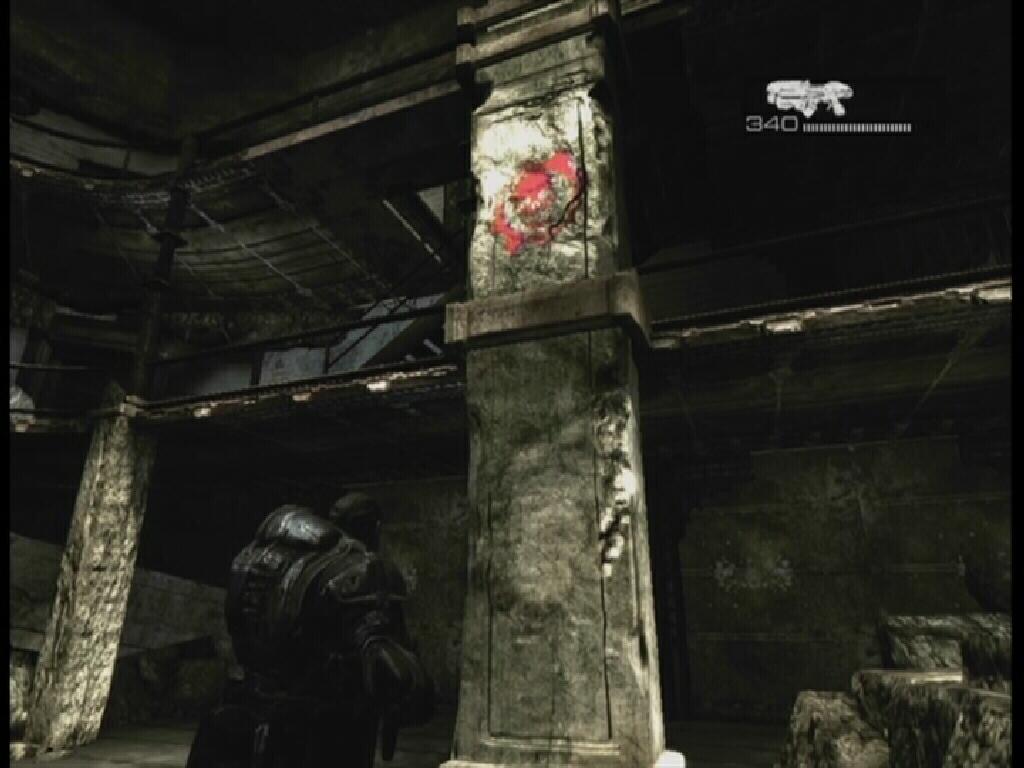
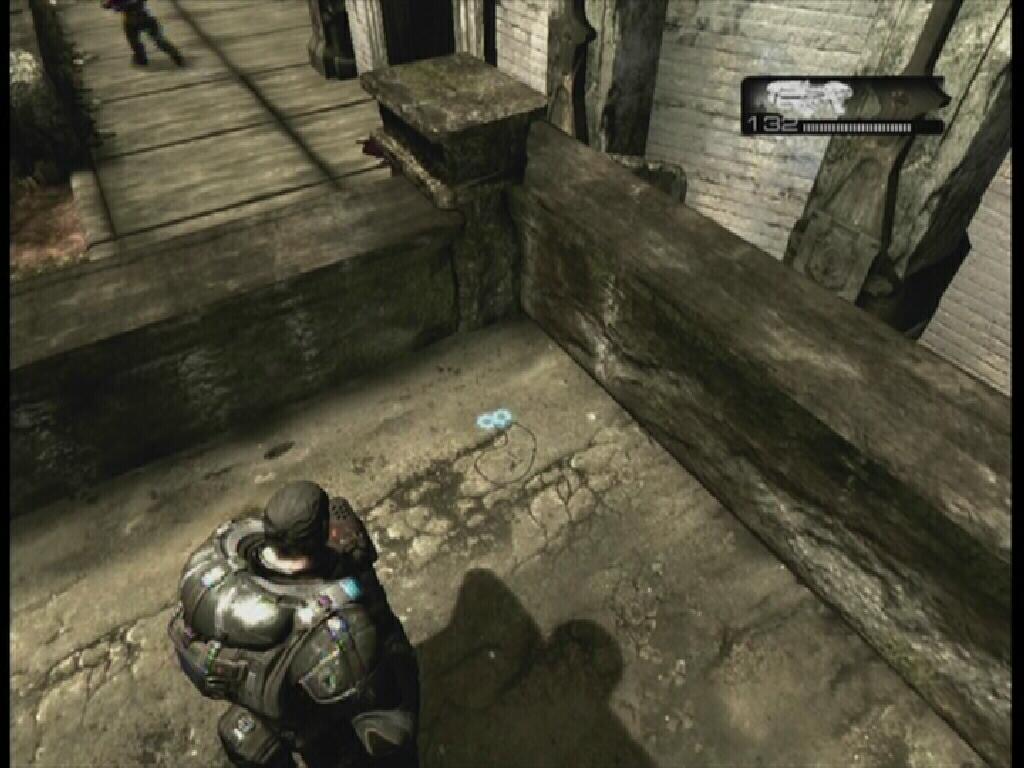
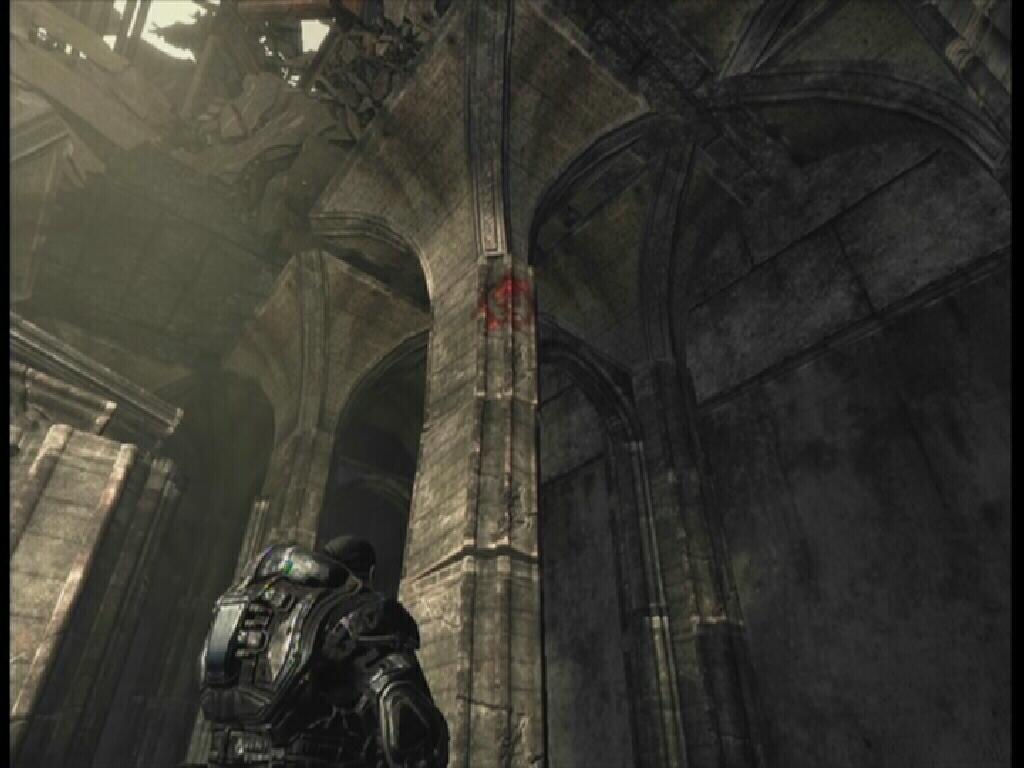
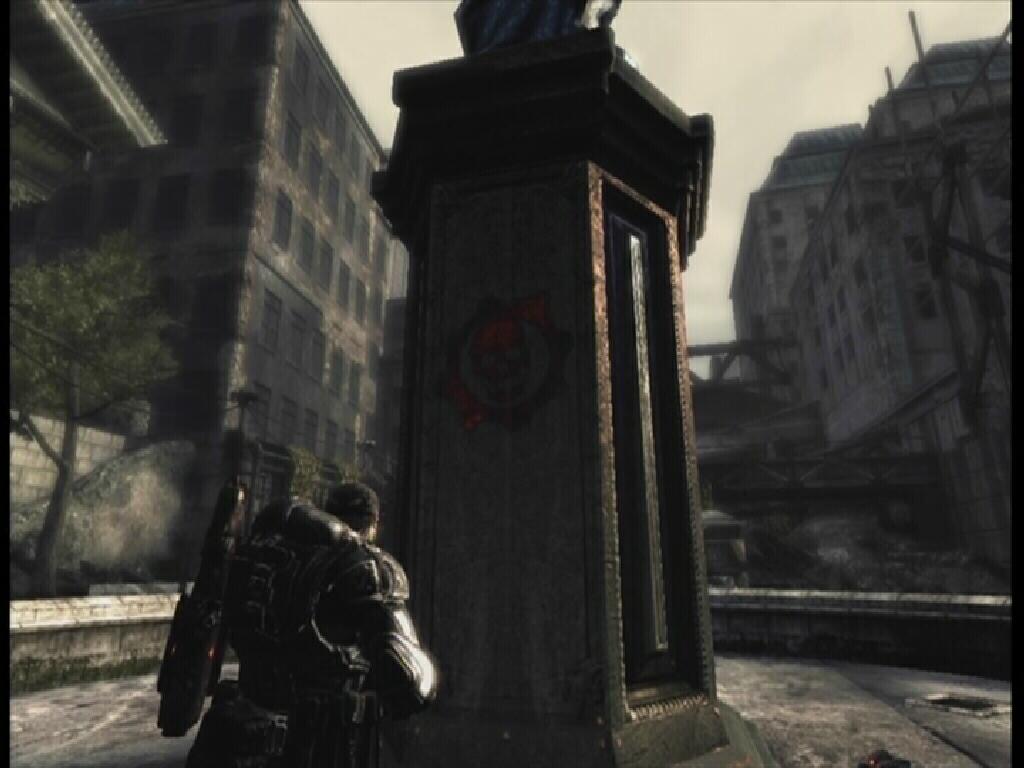
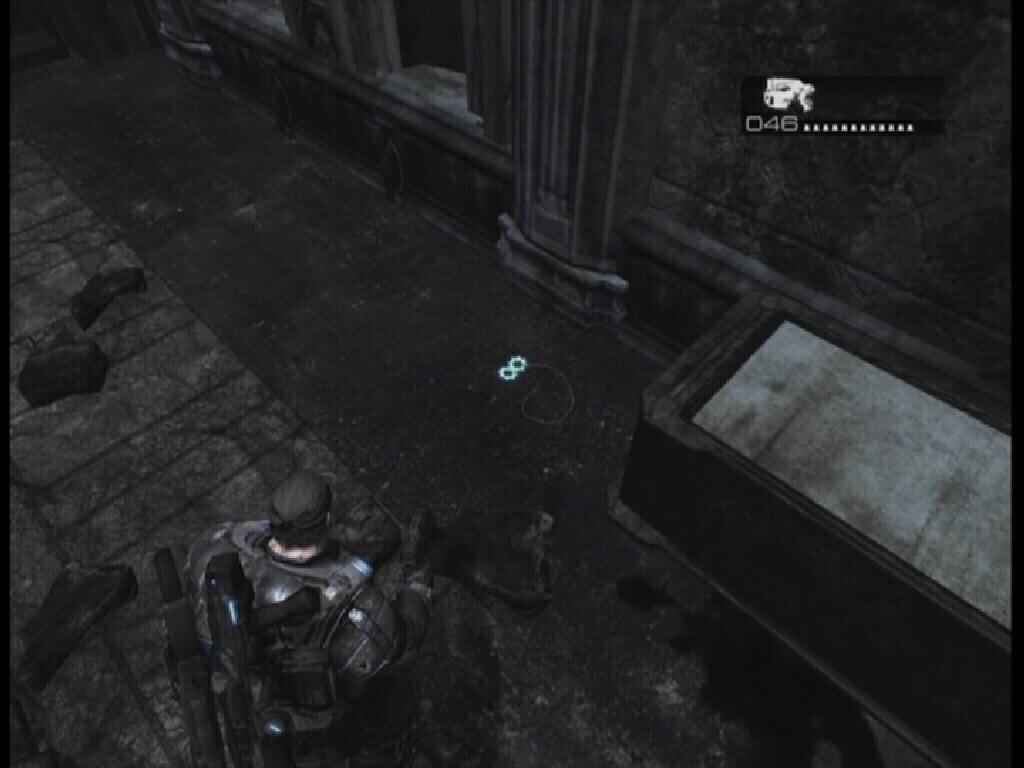
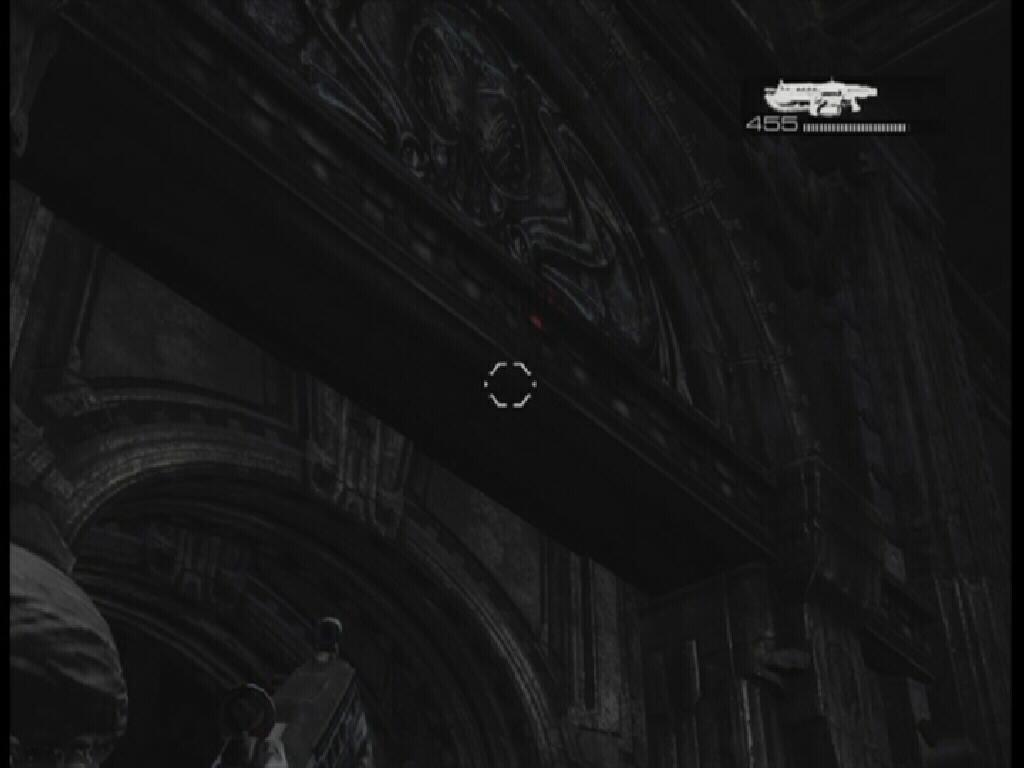
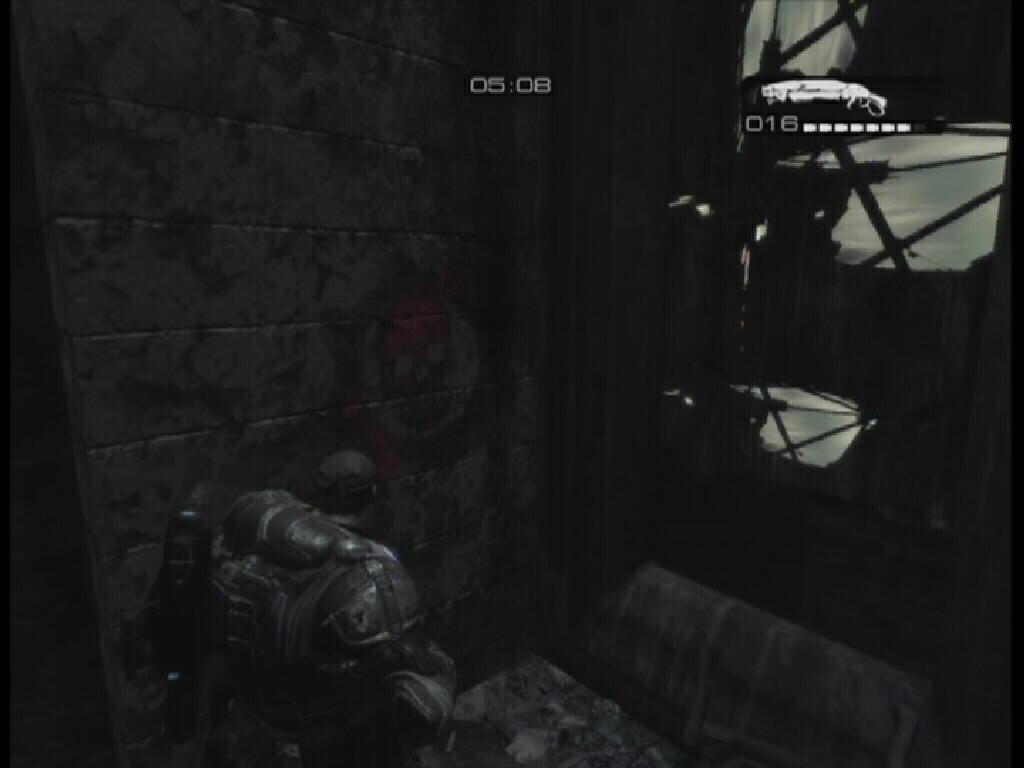
Notice the Gears of War symbol (Crimson Omen) on the sheet of metal straight ahead. When you see the Crimson Omen, it signifies that there is a COG Tag nearby. COG Tags are required to unlock the following achievements: Time to Remember (Recover one-third of the COG Tags), Honor-Bound (Recover two-thirds of the COG Tags) and For the Fallen (recover all thirty of the COG Tags). If you are not interested in the COG Tag achievements, you can simply ignore all mention of the COG Tags within this walkthrough, though if you are planning on following this walkthrough, you may as well retrieve the COG Tags anyway.
COG Tag 01: Right below the Crimson Omen, on the sheet of metal straight ahead from the entrance of this area.
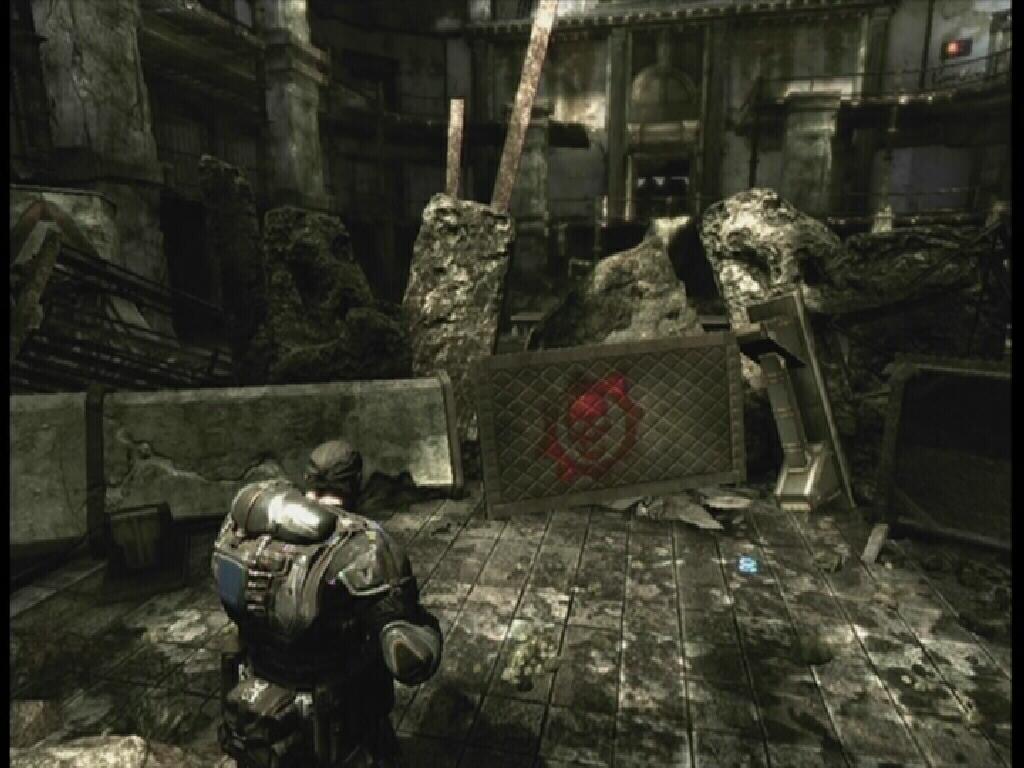 Crimson Omen |
 Cog Tag 01 |
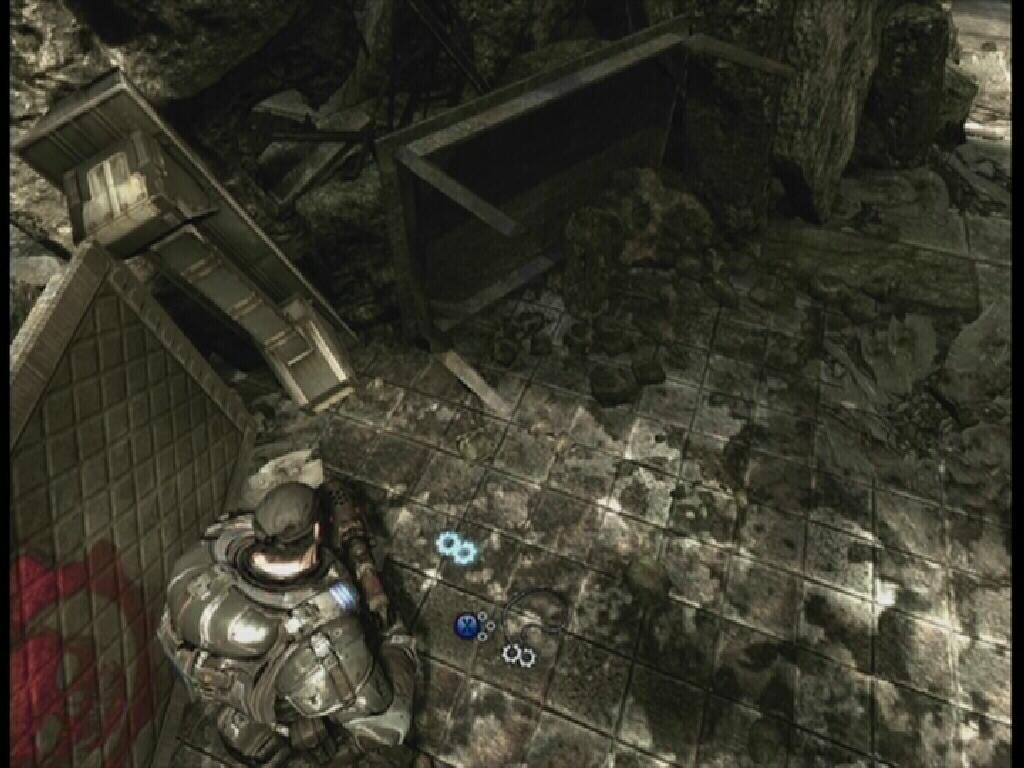
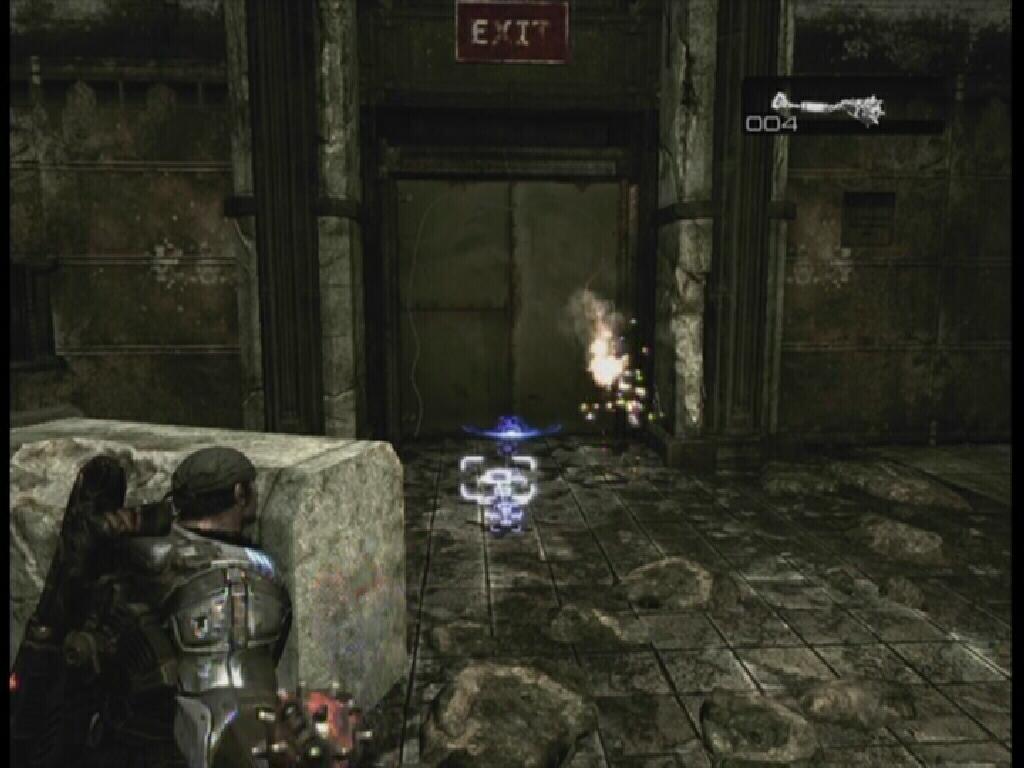
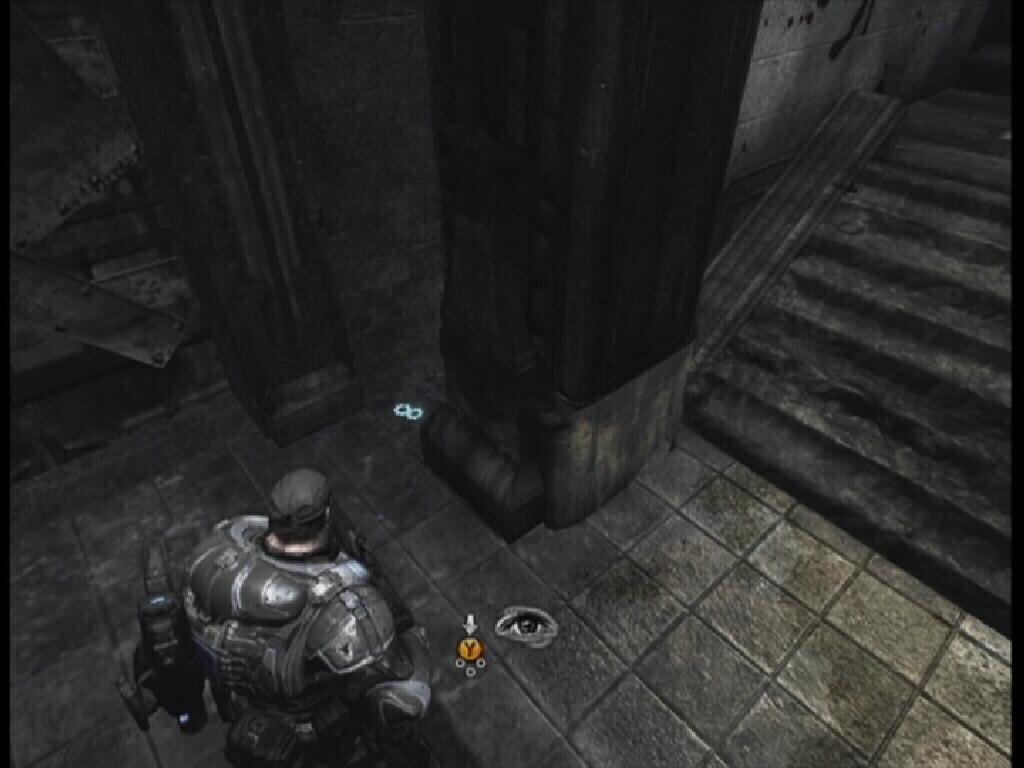
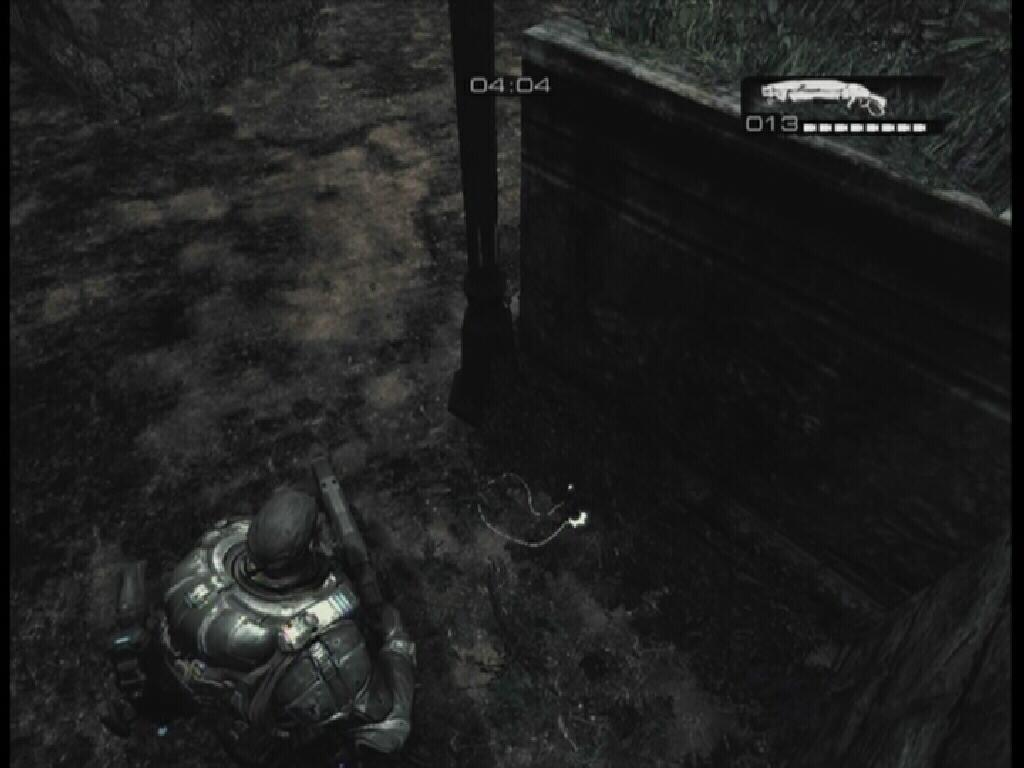
Destroy the circuit breaker by holding LT to aim and then press and hold RT to fire your weapon. Once it is destroyed, the door will open and you can proceed through it. Stand in front of the door and press the X button to kick it aside. In this area, you will be able to learn the ins and outs of the cover system. Essentially, the A button is used for most cover maneuvers. Read and execute the maneuvers displayed in the help boxes that appear at the top of the screen. Practice rolling and taking cover until you have the hang of it.
 Circuit Breaker |
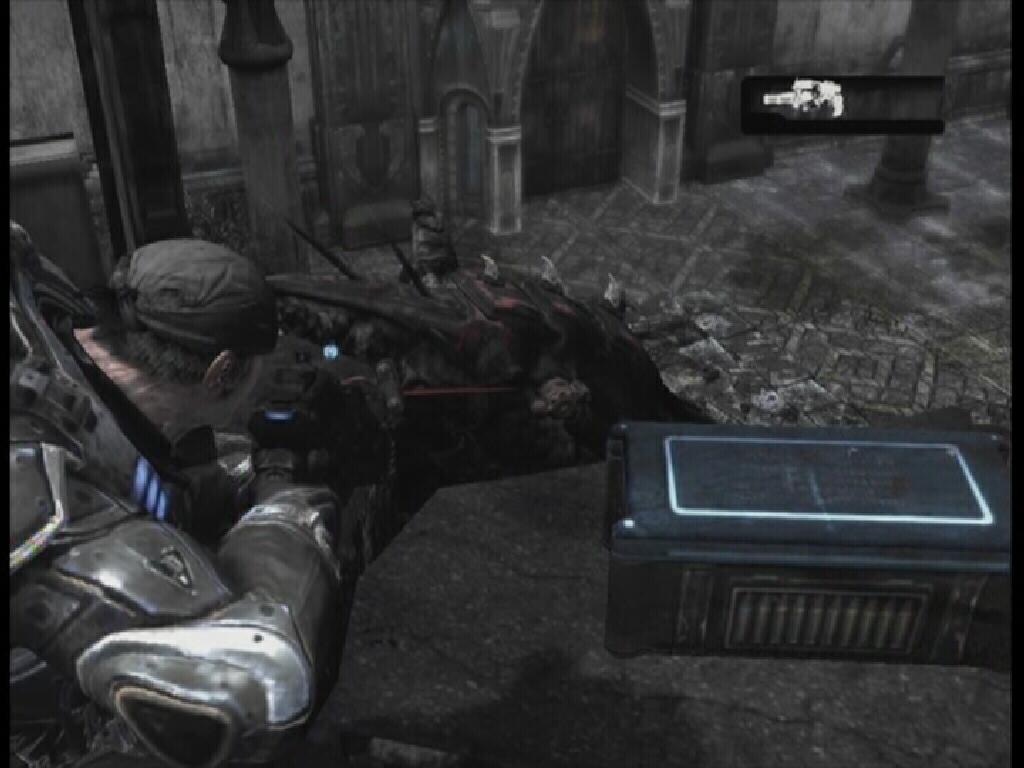
Once a Locust has left cover, aim and shoot, notice that when you are shot, the Crimson Omen is visible in the middle of the screen. This is your damage gauge and when the Crimson Omen is completely full, you are dead. If you are up from cover and shooting, and if the Omen is getting too full because you are being shot, release the left trigger and return to cover. Over time, the omen will fade, indicating that you have returned to full health. With the enemy dead, leave cover and approach the green button to the left. There is an ammo box to the right. Press the button and then Roadie Run across the bridge and into the next area.
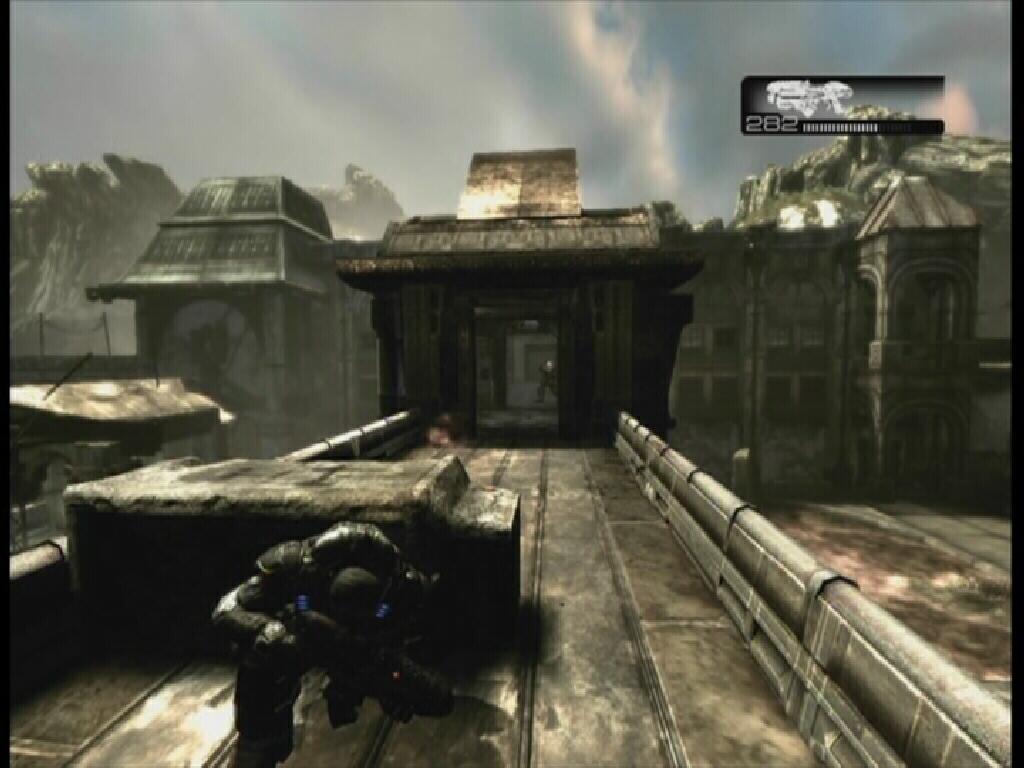 Cover |
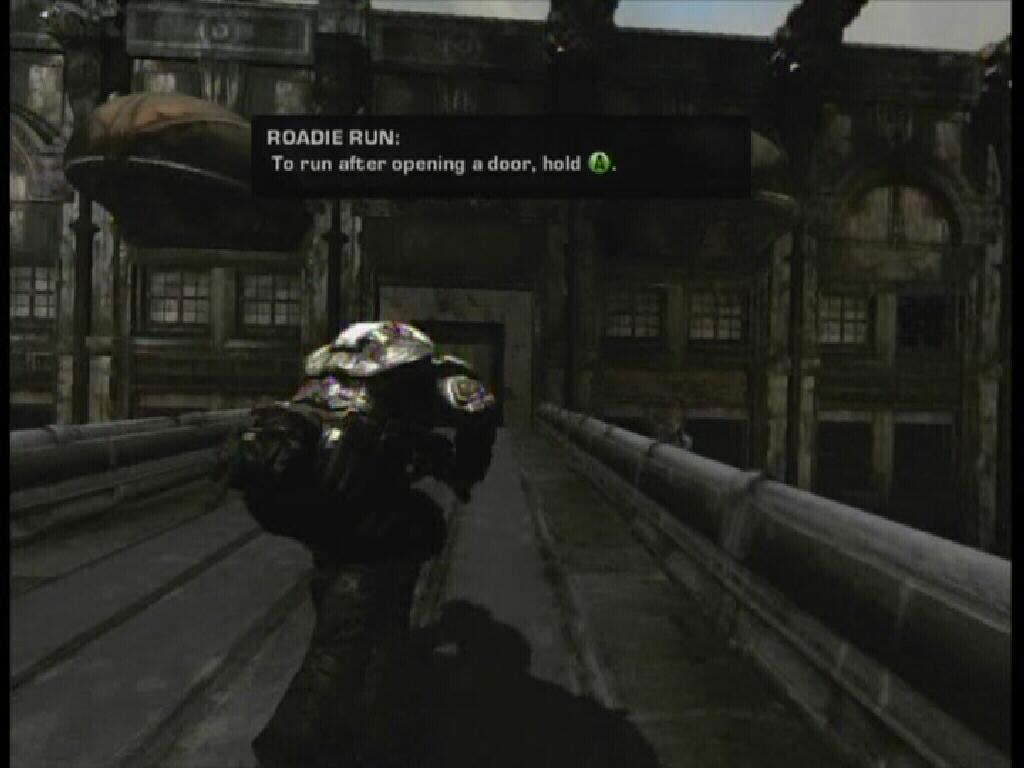 Roadie Run |
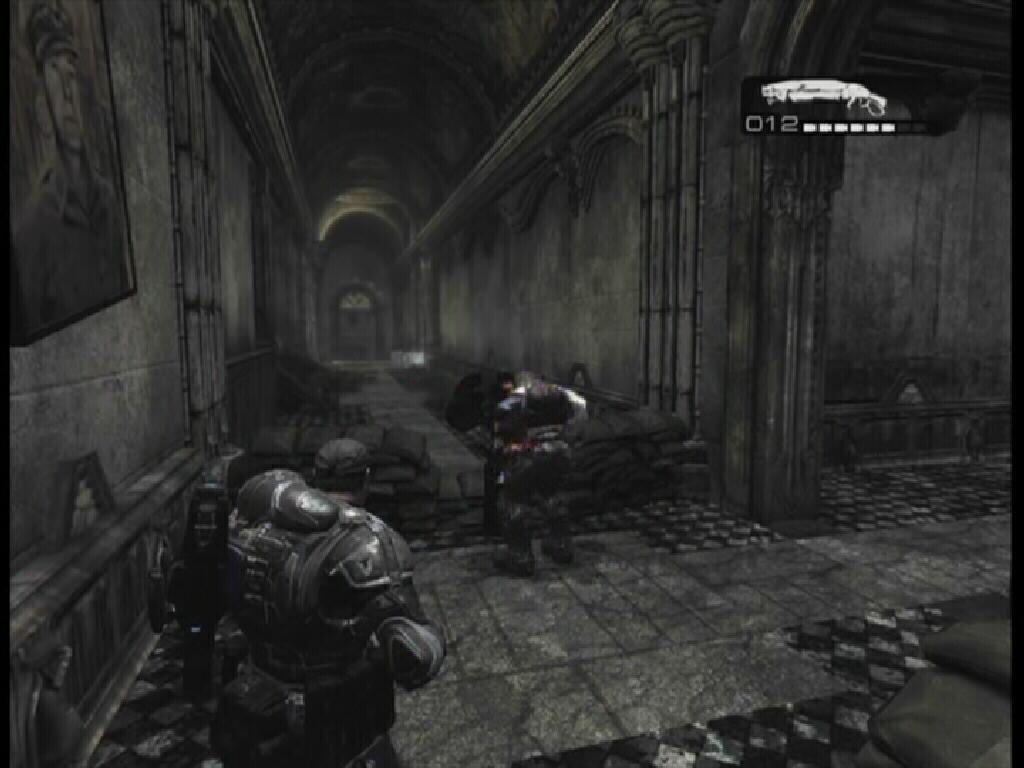
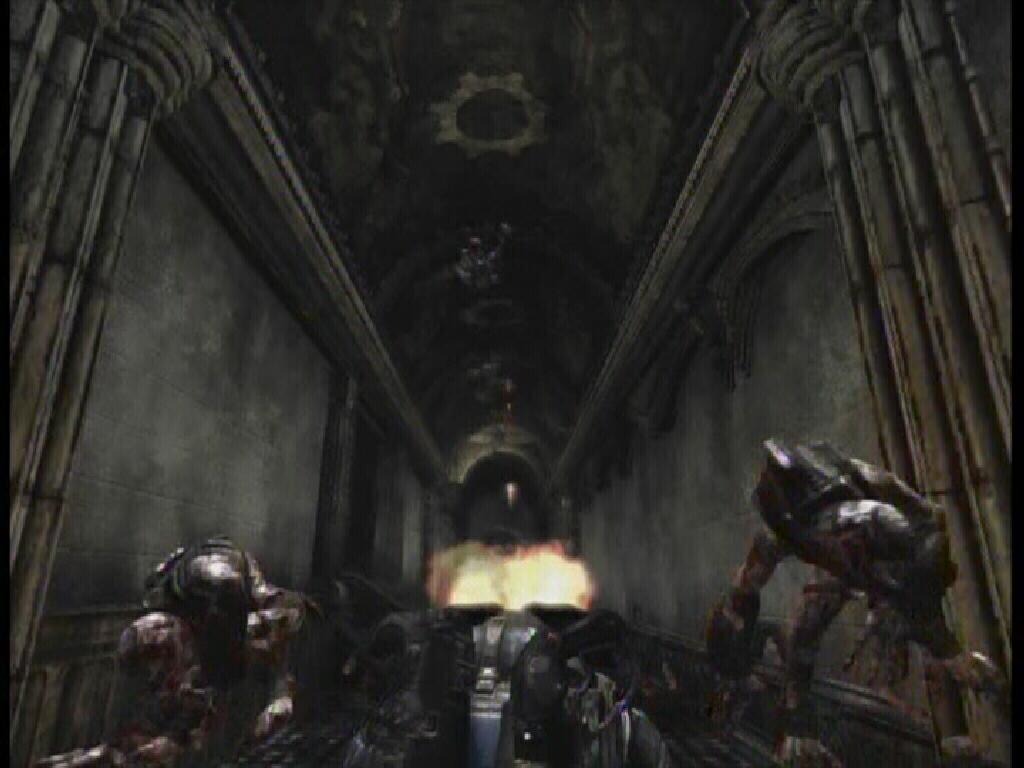
As you approach the door at the end of this area, some Locust will begin to cut their way through. It won't be long before they break through, so get behind some cover and ready a Frag Grenade. Hold the Left Trigger to swing the Frag Grenade, using the visible arc to line up the grenade near the doorway, then as soon as they break through, pull the Right Trigger to release the grenade. You should be able to take out all of the enemies that come through if well-timed. Use your gun to finish off any Locust that survived the blast.
 Frag Grenade |
 Locust |
 Crimsen Omen |
 Cog Tag 02 |
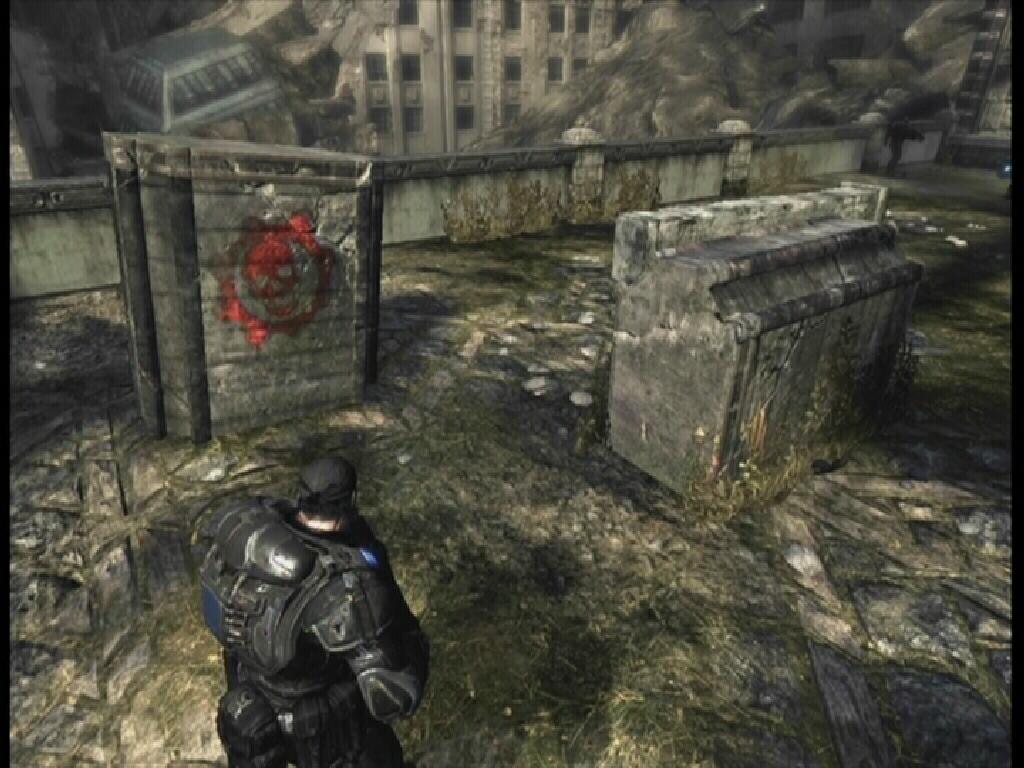
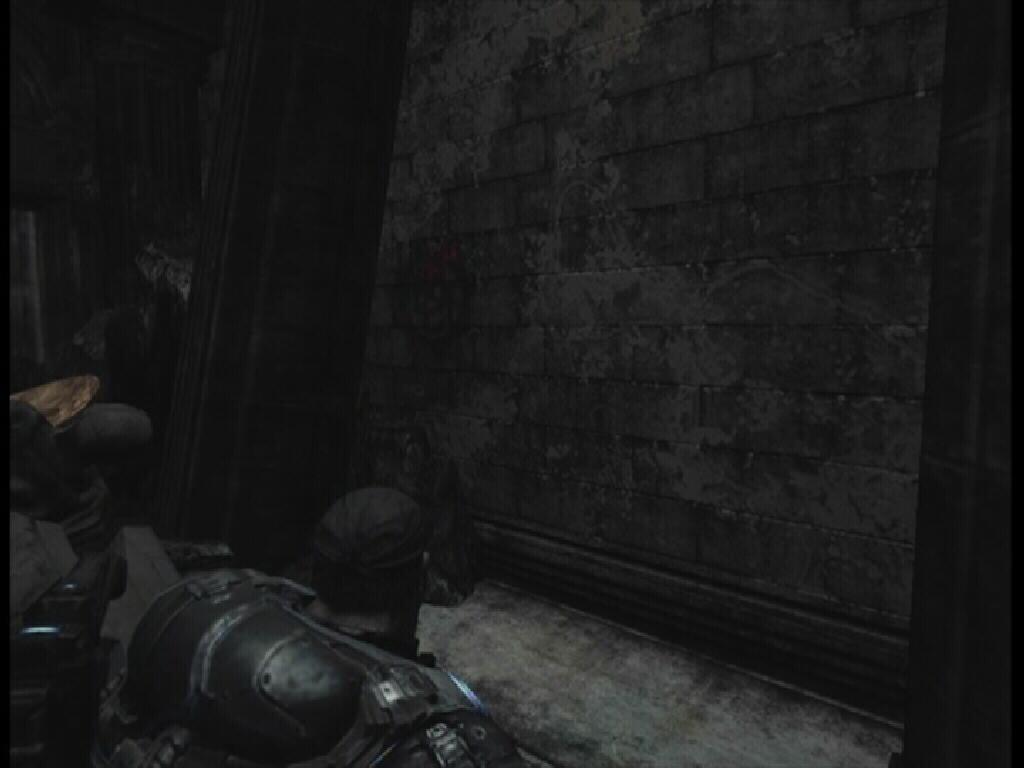
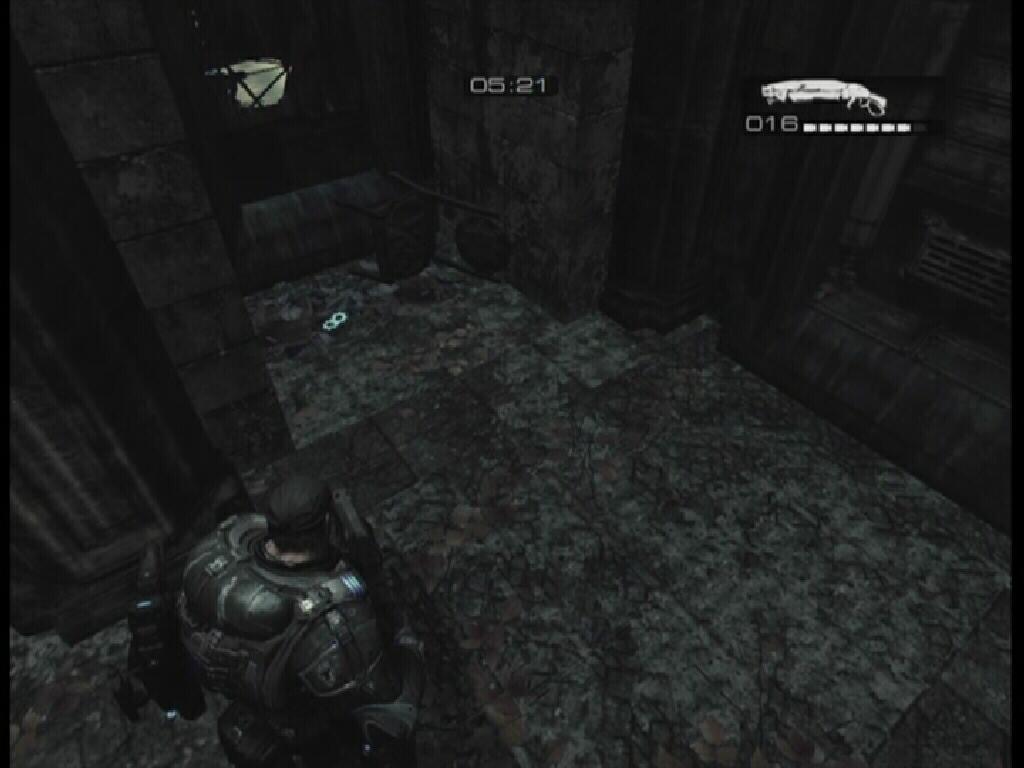
COG Tag 03: While behind the blocks, turn left. Notice the Crimson Omen.
 Crimsen Omen |
 Cog Tag 03 |
Trial By Fire
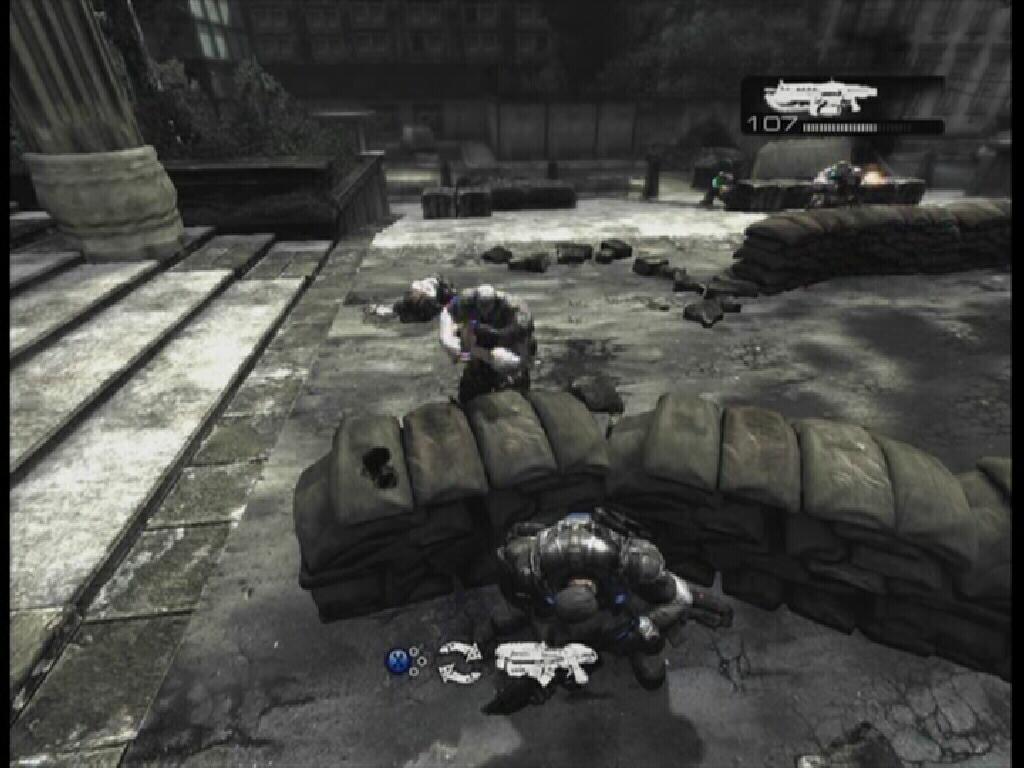
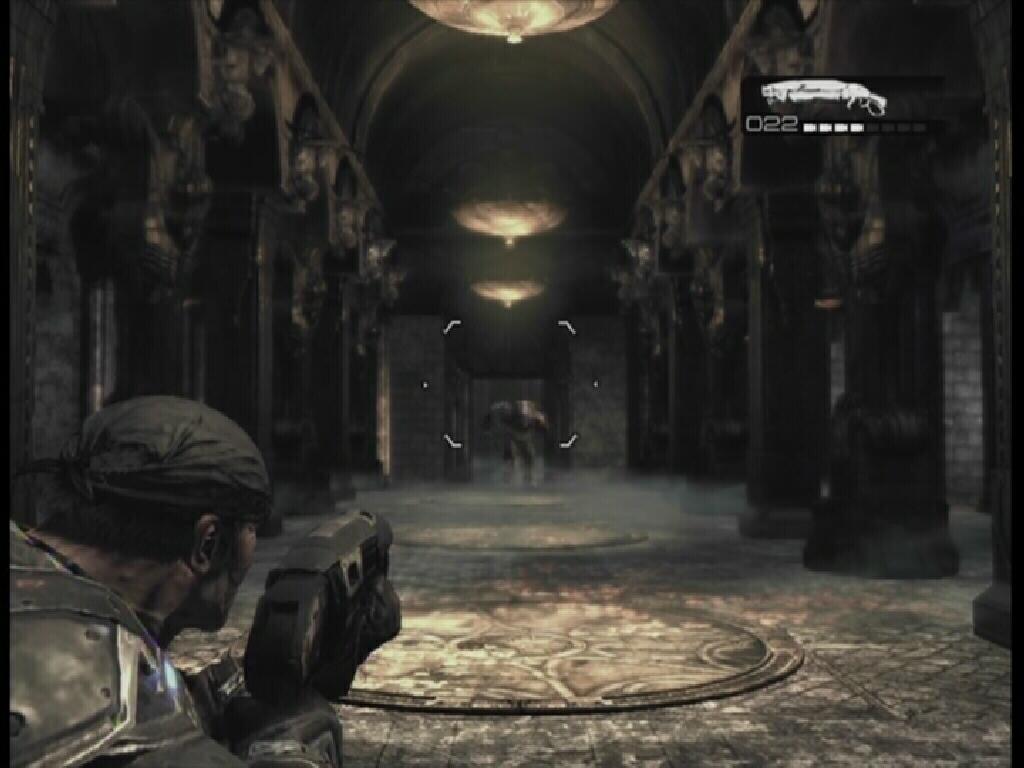
As soon as the cutscene has ended, you will find yourself in the middle of another firefight. This is war, what did you expect? The two Locust should be killed off by your allies fairly quickly. You now have a Lancer in your arsenal. The Lancer has a faster rate of fire than the Hammerburst that you initially had, and of course it has the esteemed chainsaw bayonet. To use the chainsaw, with the Lancer out, press and hold down on the B button to start the chainsaw, then connect with an enemy to cut them in half. In the beginning, chain-sawing your enemies in half may seem to be consistently awesome, however, you will likely quickly grow tired of the chainsaw animation and move on to an alternate means of removing your enemies.
 Chainsaw |
 Crimson Omen |
 Cog Tag 04 |
 Cover |
 Emergence Hole |
 Crimson Omen |
 Cog Tag 05 |
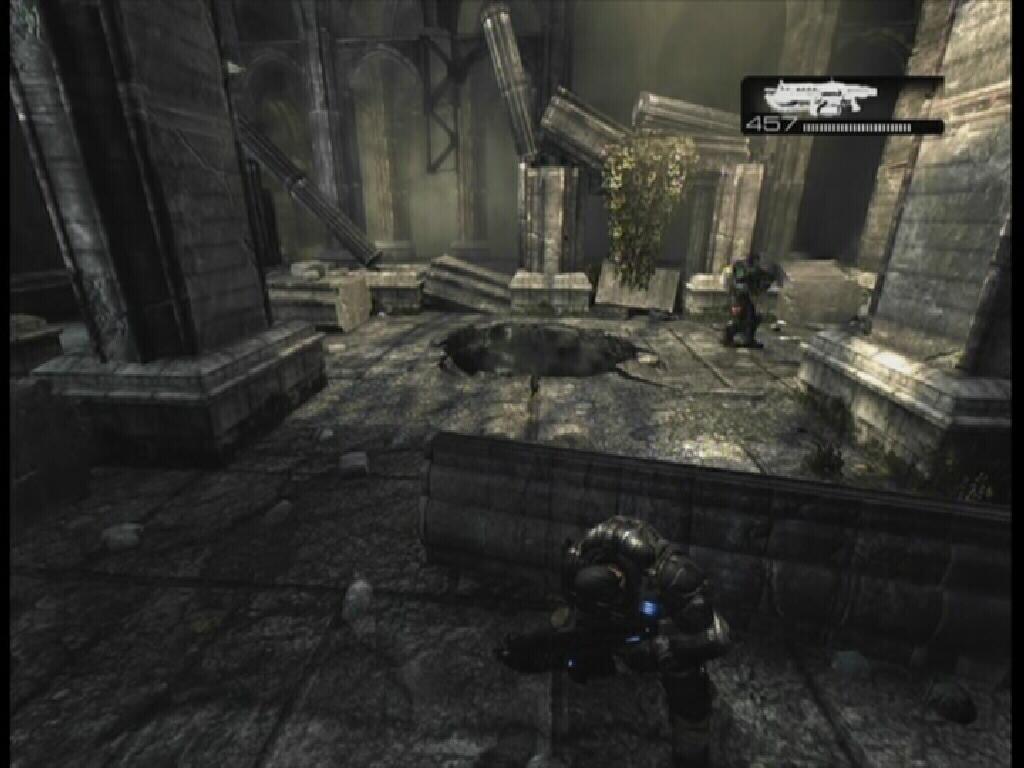
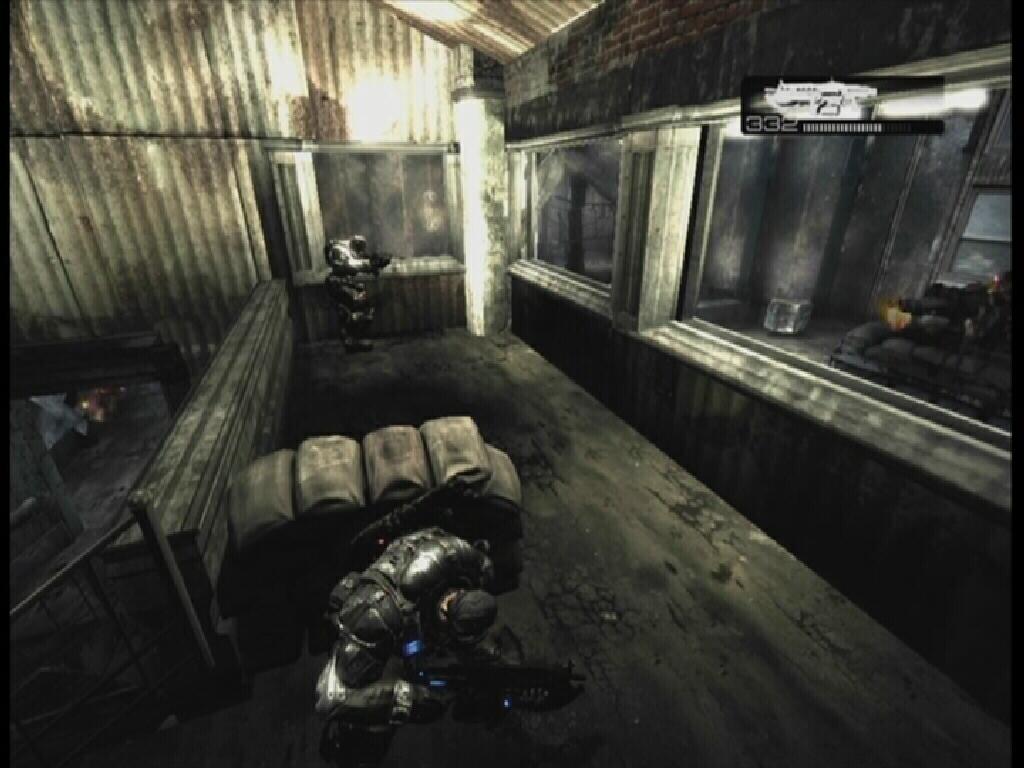
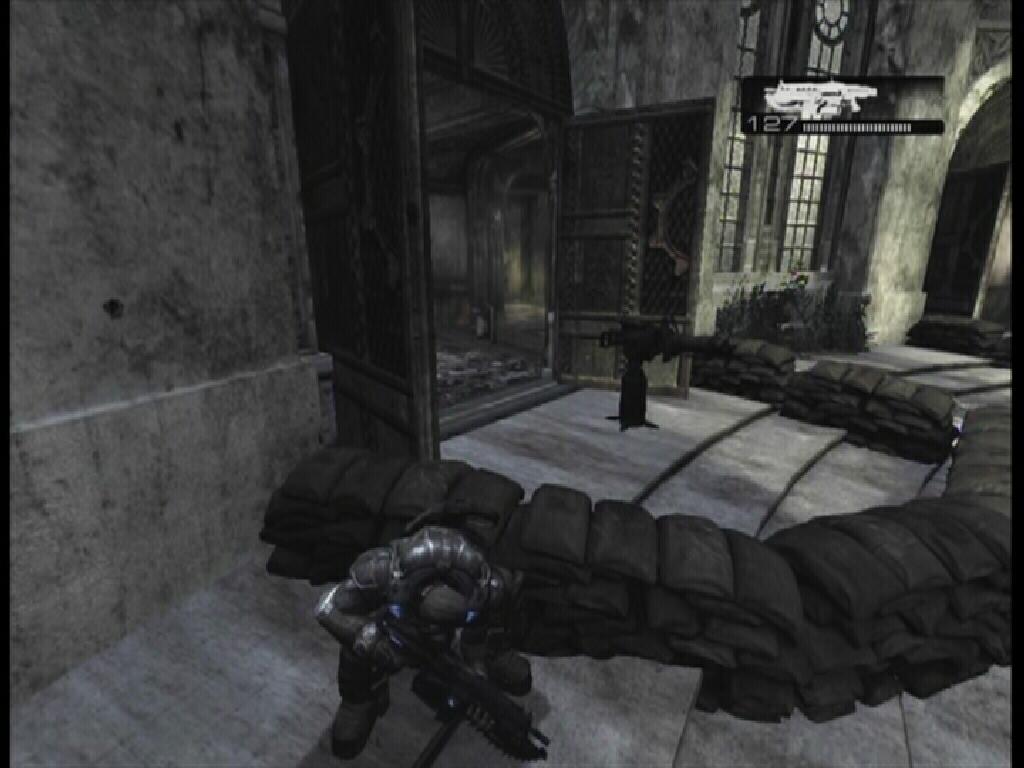
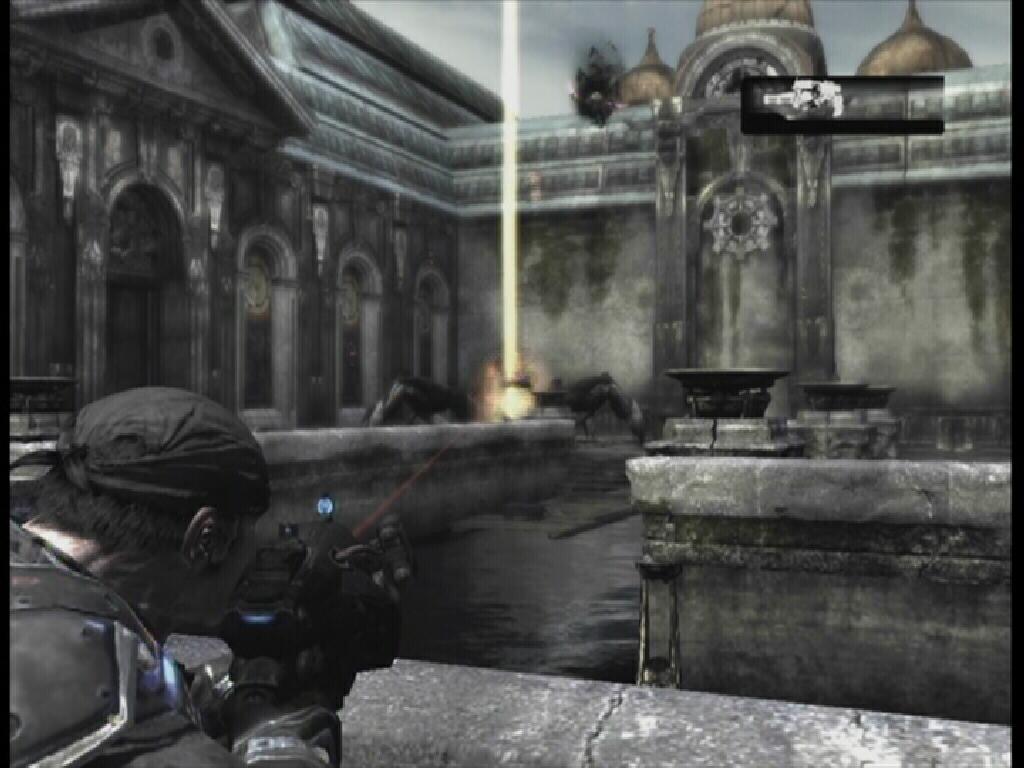
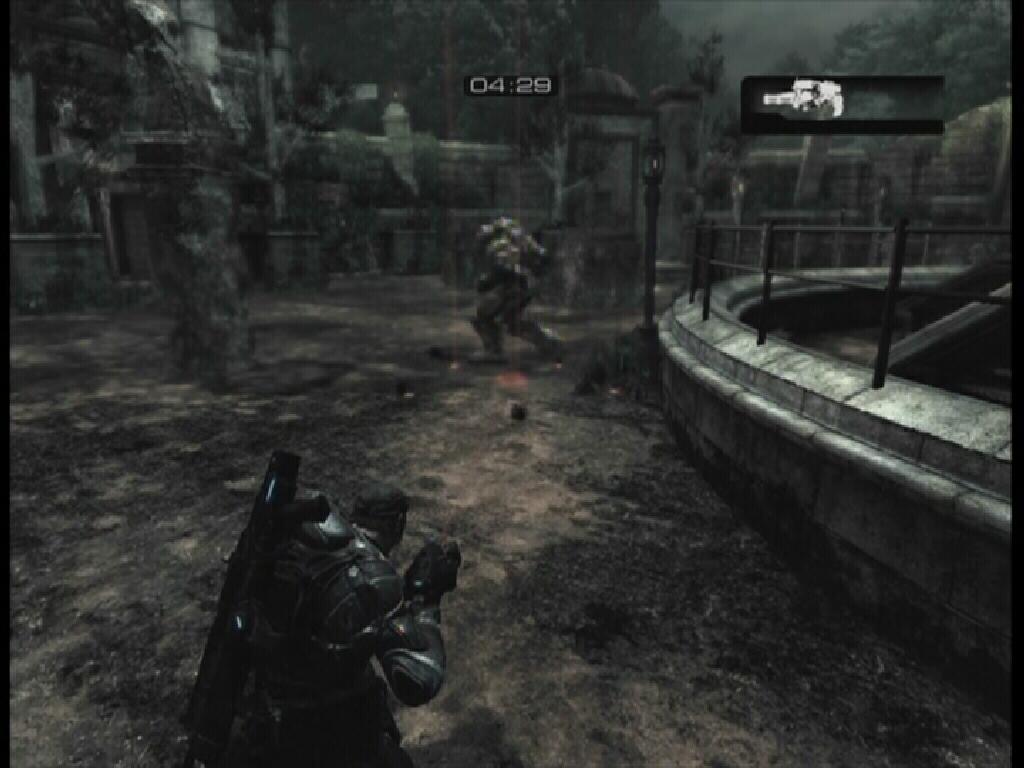
There is a Troika gun emplacement in this area, so as soon as you gain control of Marcus, immediately get yourself behind some cover. From your initial position, you will have to make your way to the right side. Roadie Run and then roll to avoid the enemy fire. Once you are at the end, move along the wall and there is a doorway that will lead you right next to the Troika Gunner. If you approach him, the gunner will more than likely leave the emplacement and take some cover further away. There is also a foot soldier near the Troika, so be wary of that. When the two Locust are dead, approach the Troika and hold the X button to man it. You will encounter some charging Locust running towards your post, but with the Troika you can effortlessly cut through them and its ammo is unlimited, so just hold down the right trigger and direct your fire towards them.
 Troika Gunner |
 Troika |
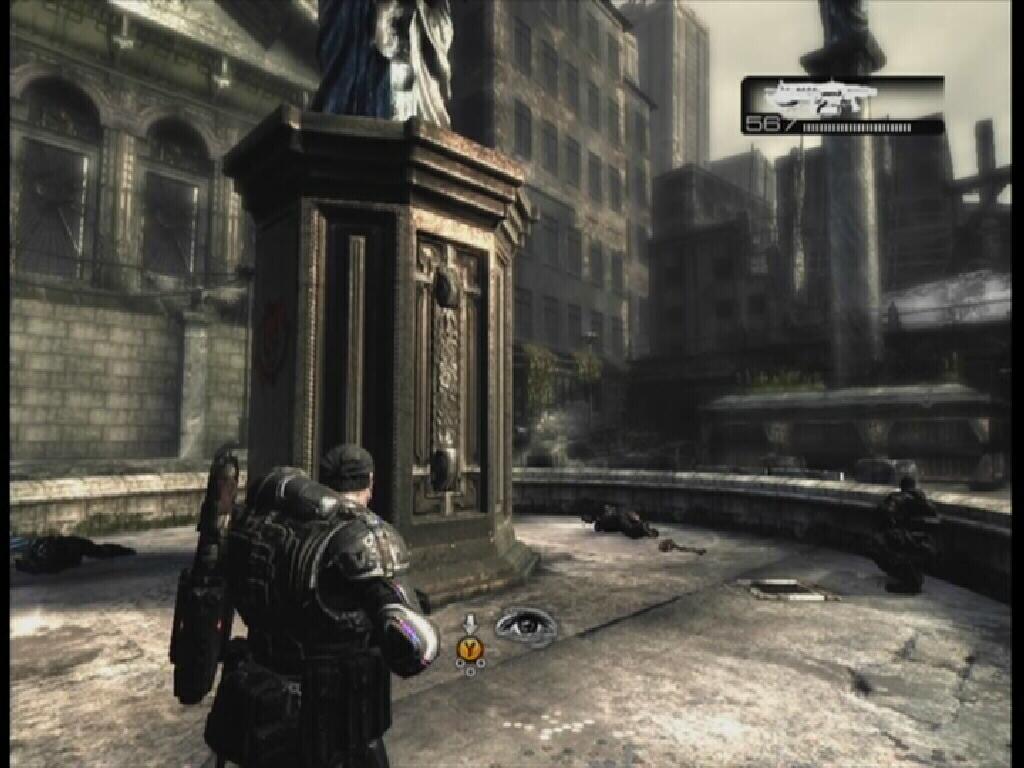 Fountain |
 Crimson Omen |
 Cog Tag 06 |
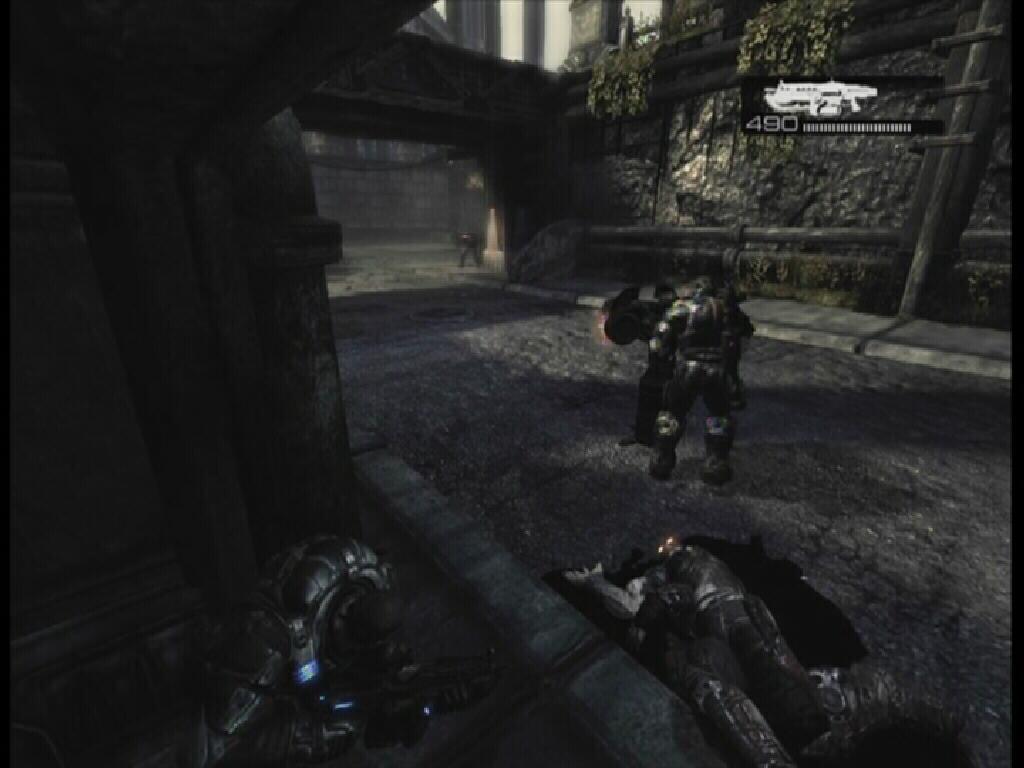
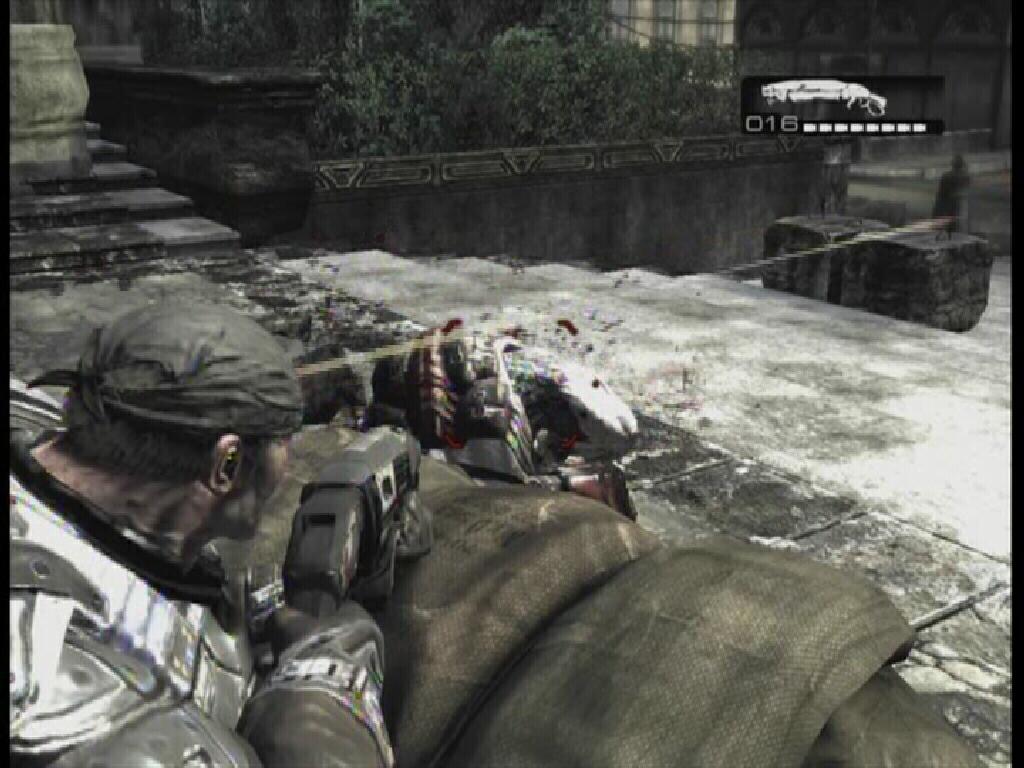
If you choose Left: Move up towards the doorway, there are Locust up above. Just take cover and they should come charging down at you. Kill them and then move up into the next area. You can kill the Troika Gunner who is in the hall outside of this room by shooting him through the hole in the wall at the end of this room. Go through the door once you are finished. If you choose Right: Move up and go through either doorway. There is another Troika run emplacement at the end of the hall in the next area, so take cover behind the wall. Step away from the wall, roll into the area behind it and break the wooden cross blocking the hole in the wall. Help Kim and Dom kill off the Locust in the room. If the Troika Gunner spotted you, he may leave the post and go confront you. If not, Kim and Dom should kill him for you. He tends not to stay on that Troika either way. Some more Locust will appear behind you. Kill them and then open the door at the end of the hall. Whichever path you choose, once you go through the door you will meet up with your buddies in the next room. There is a Troika gun emplacement in this area. While facing towards it, go through the doorway to the right. Grab the ammo in here and then continue going right and back out into the open. Roll and take cover behind the large steel drum. Roadie Run and roll to the door up ahead to the right of the steel drum, and kick it in. Go up the stairs and kill the spotter located up here. From the window, shoot down at the Troika Gunner and the Locust surrounding him. The gunner might leave his post to take cover, so you may have to head back down the stairs to take him out if your allies don't.
 Spotter |
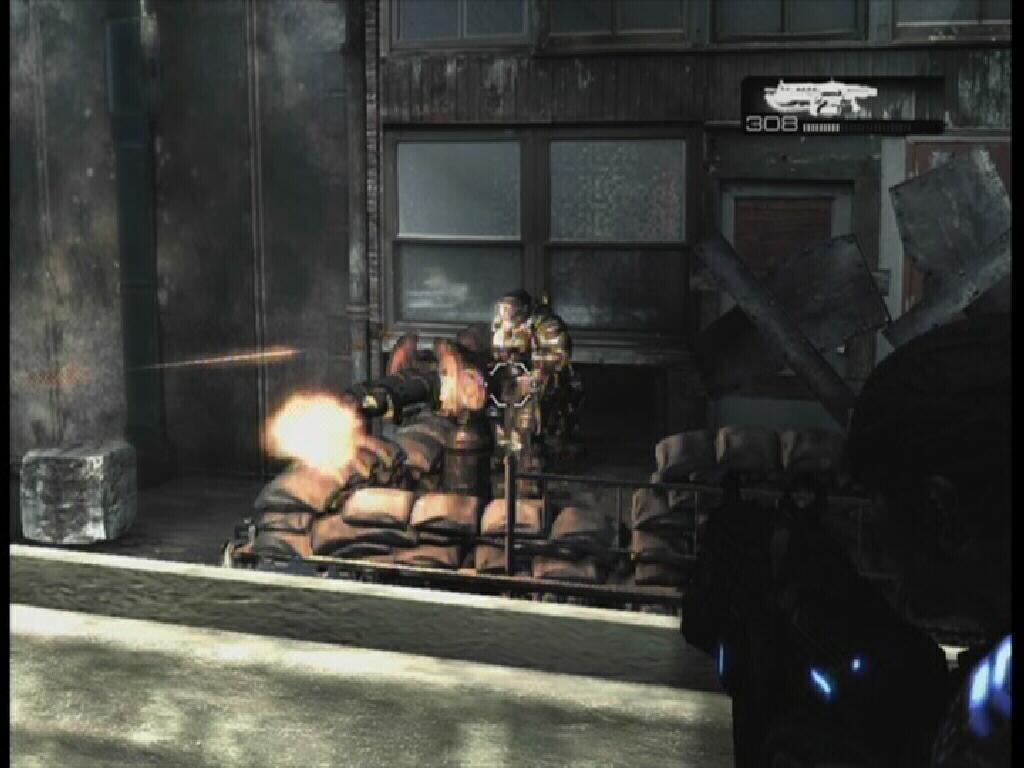 Gunner |
 Troika Gun Emplacement |
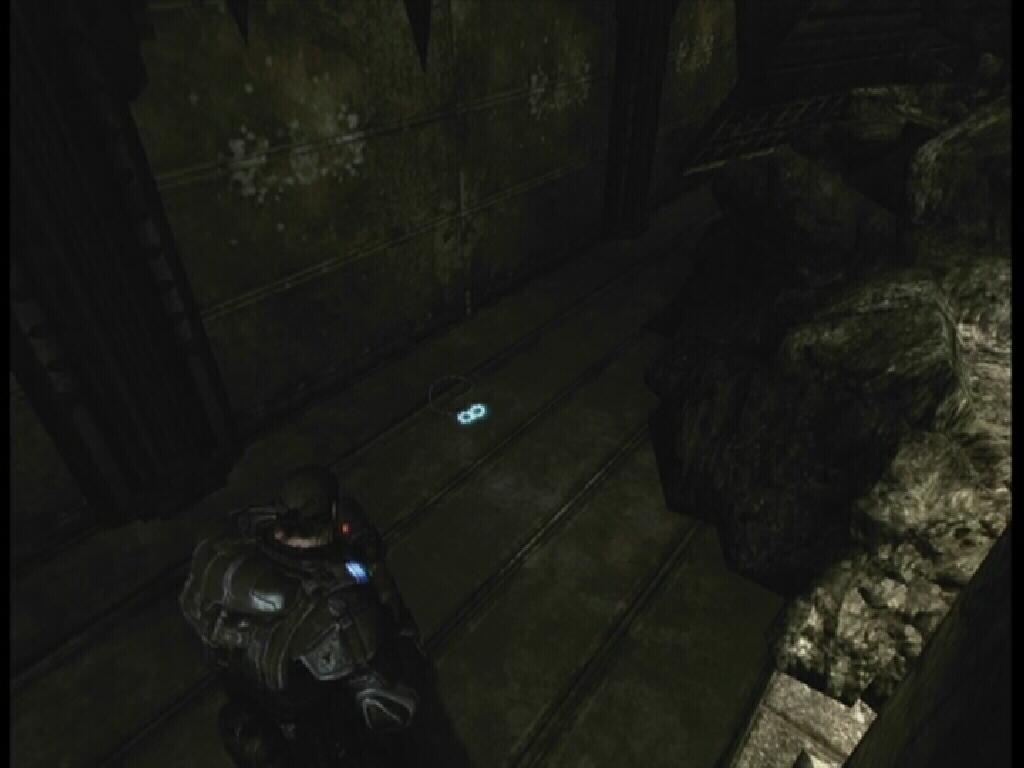
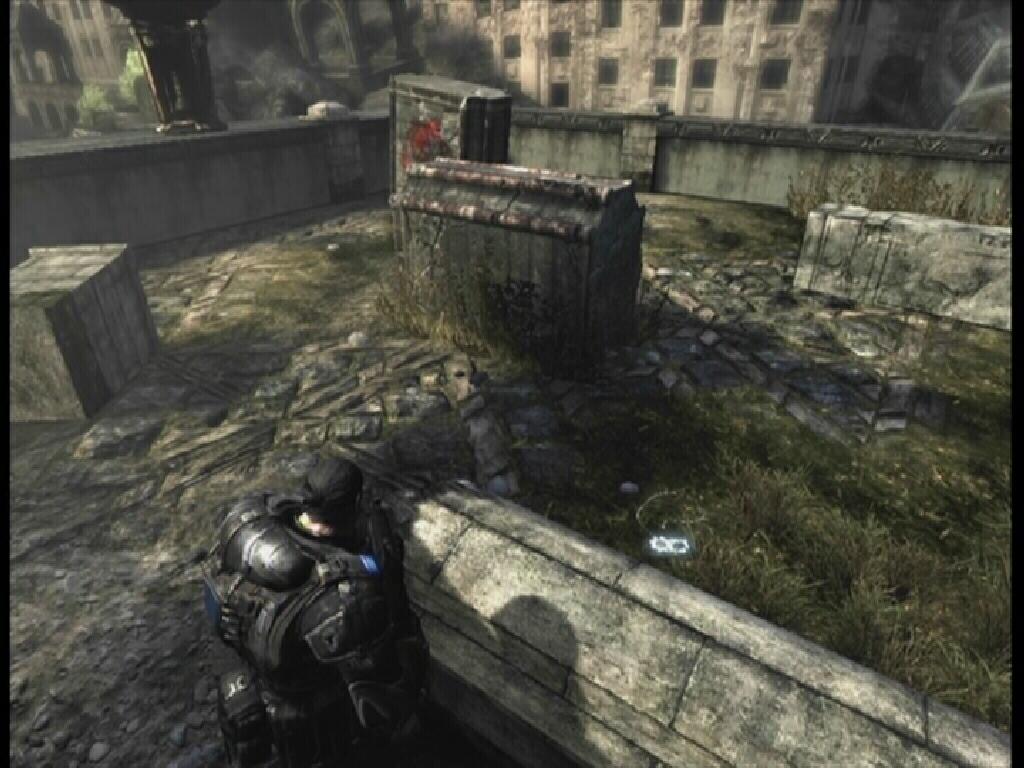
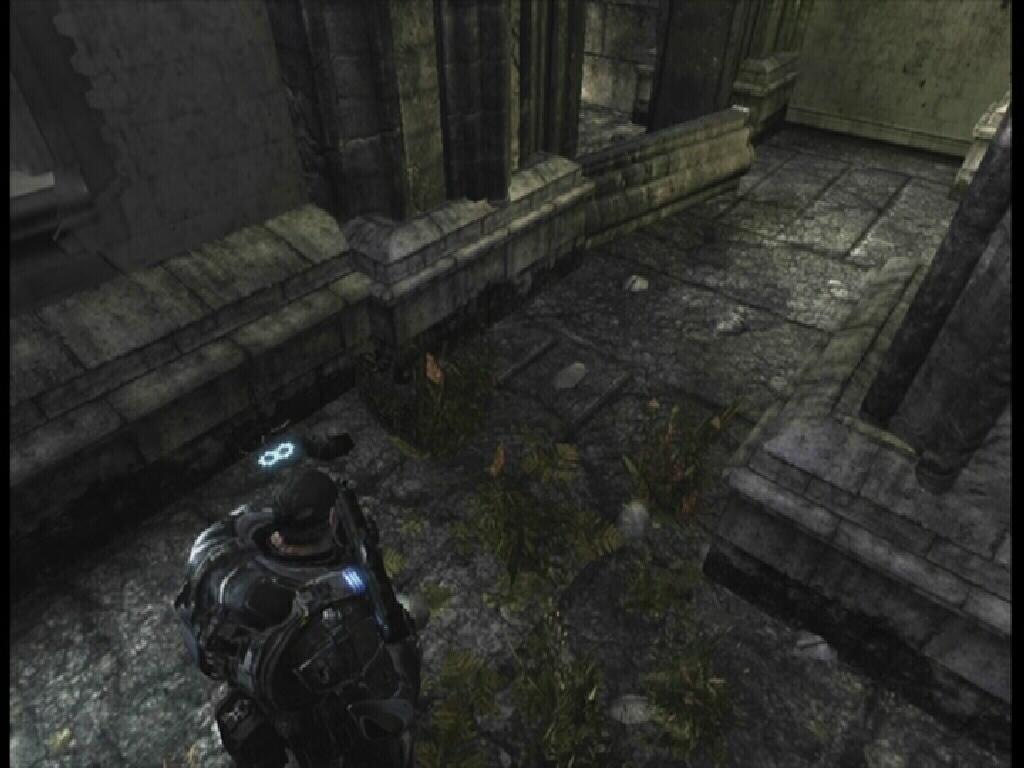
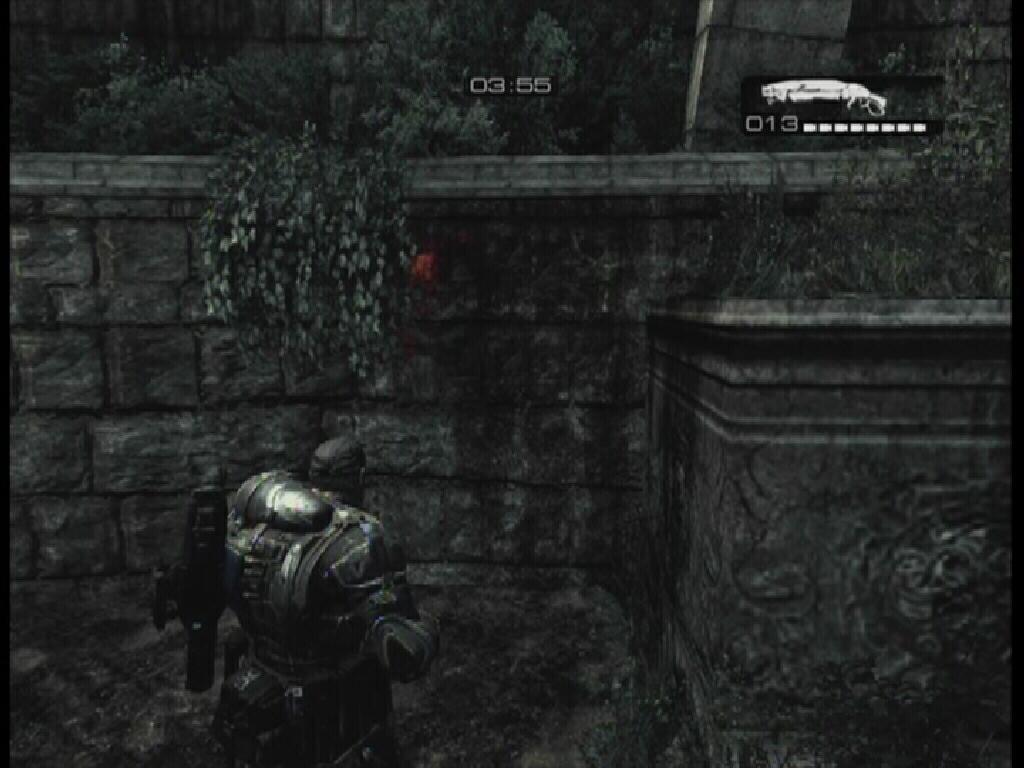
Follow the hall and kick in the door at the end. You will find yourself back outside. A COG Tag is near. COG Tag 07: Facing towards the steps, turn left and stand along the edge of the giant gap in the street. Climb up the stairs here, the tag is along the stone fence.
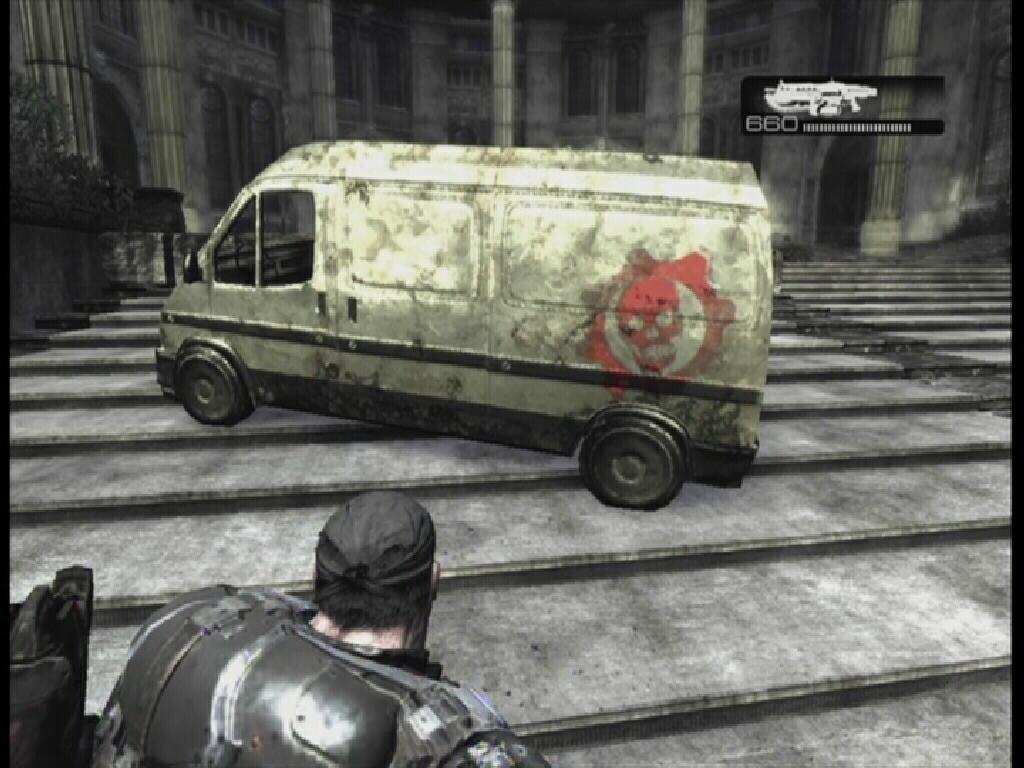 Crimson Omen |
 Cog Tag 07 |
 Pillar |
 Cover |
 Grenadier |
 Gnasher |
|
Troika |
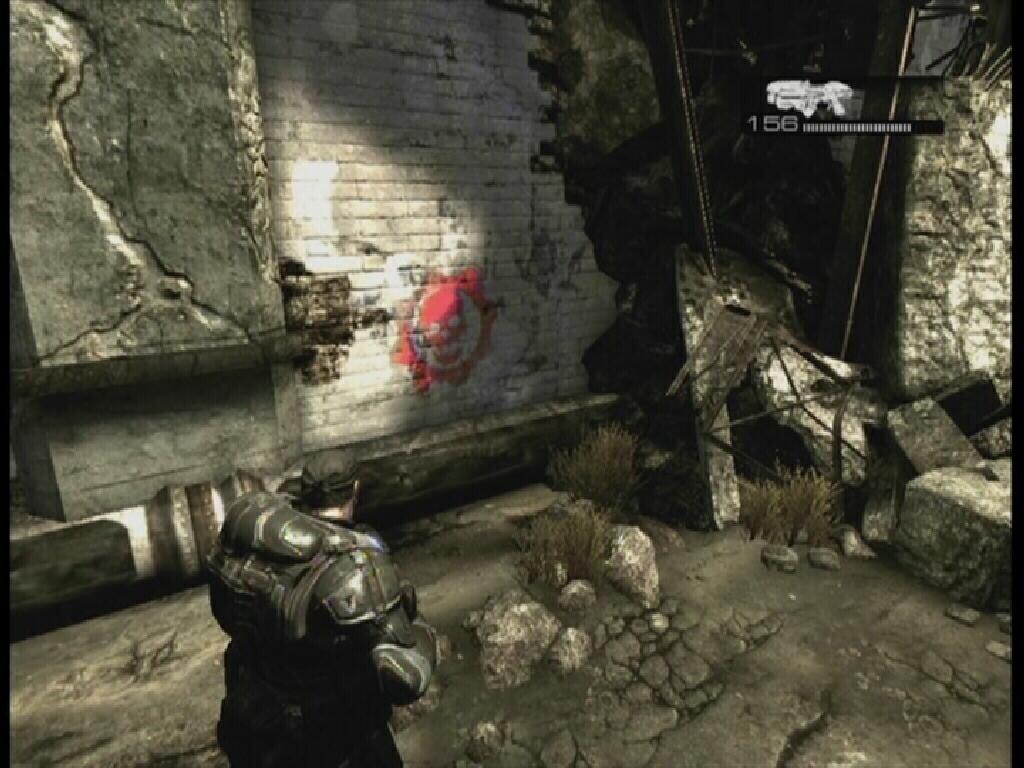
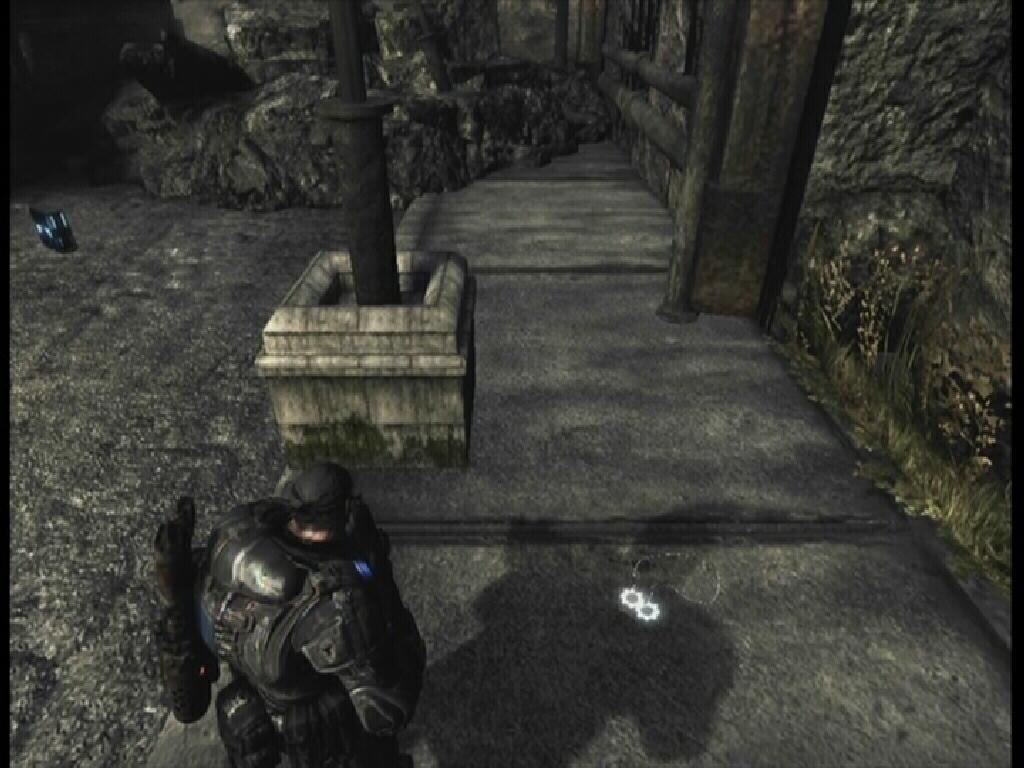
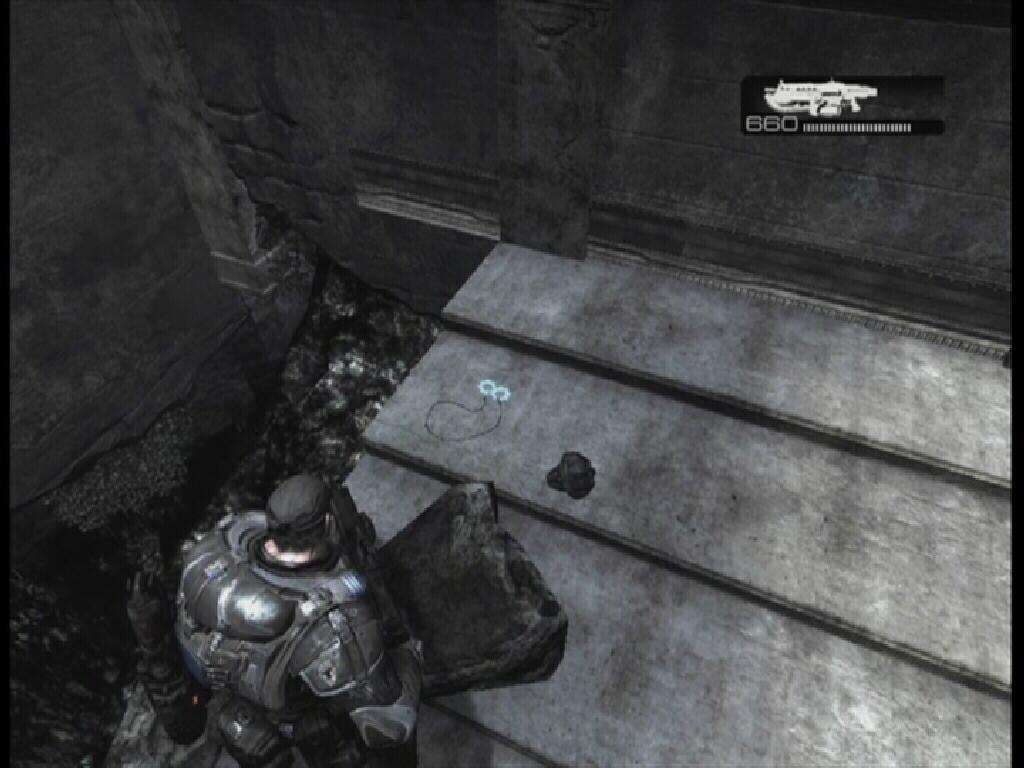
Up the stairs, you will encounter one of the Alpha Squad. Before going through the doorway leading into the next room, and while facing the doorway, turn left, then go straight to the end and pick up the grenades there. Help the Alpha squad member take out the Locusts below. Follow your squad mates down the stairs and into the area below. Once all of the Locust in the area have been disposed of, you will gain another squad member, Cole. When you gain control over Marcus, pick up the ammo box and grenades. Follow your squad up the set of stairs to the left. Wait for Kim to open the door. COG Tag 08: As soon as you step through the doorway, turn left and move to the end of the hall. The tag is next to the cement block on the right.
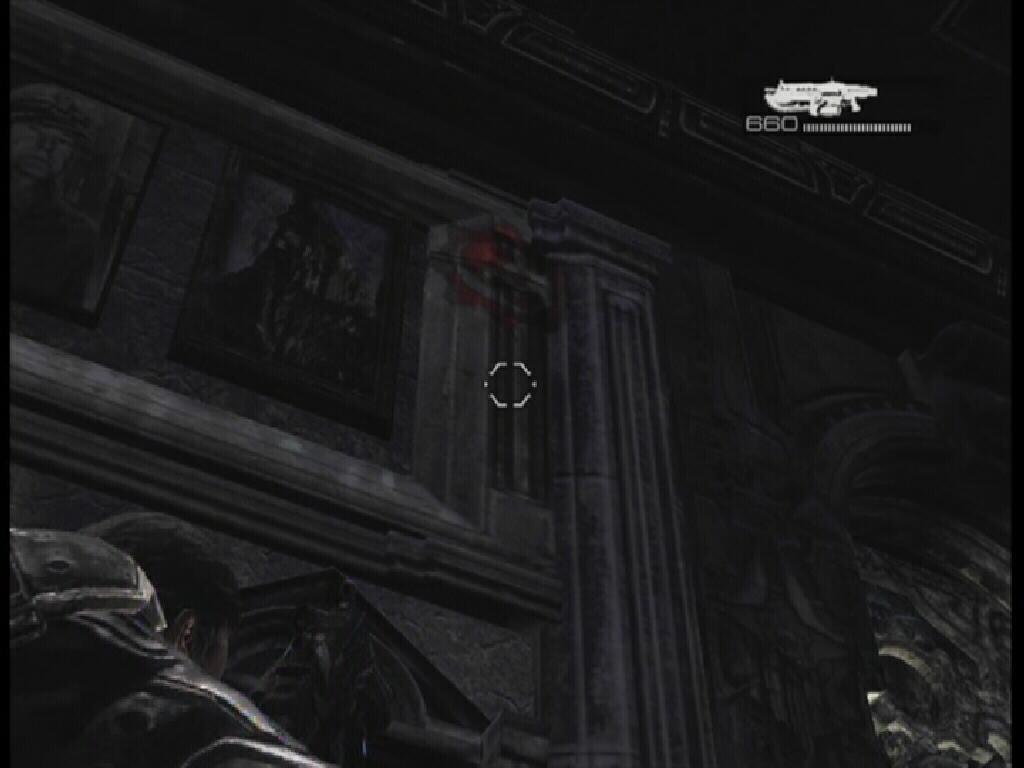 Crimson Omen |
 Cog Tag 08 |
 Wretch |
 Hammer of Dawn |
 Seeder |
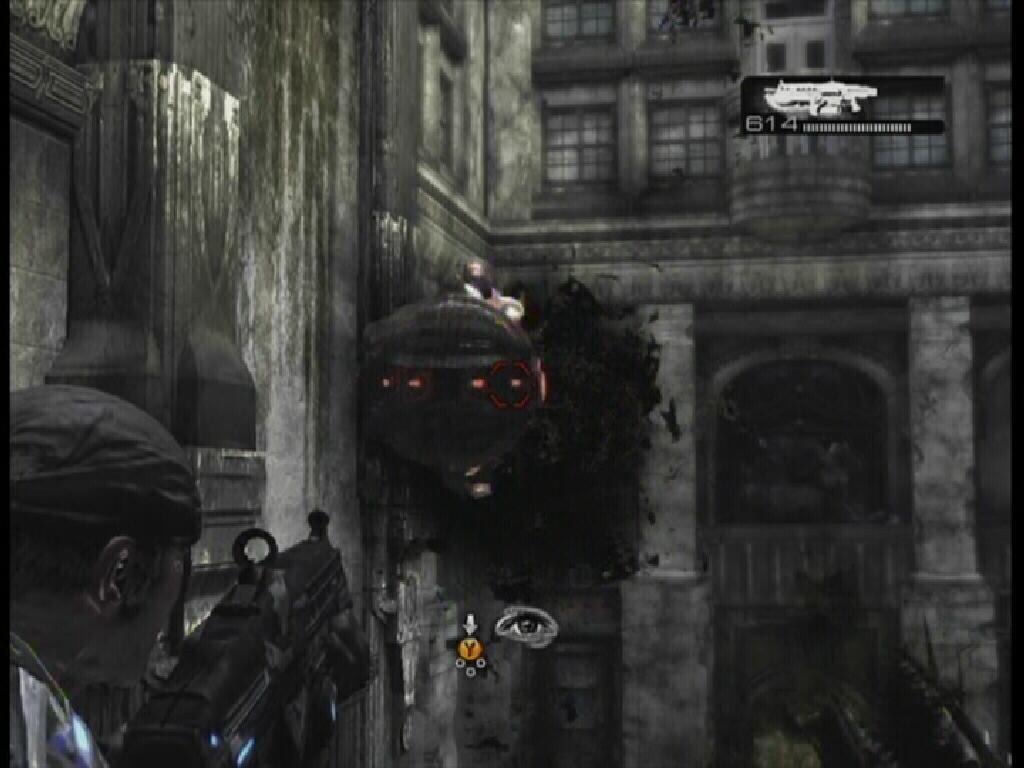 Nemacyst |
 Crimson Omen |
 Cog Tag 09 |
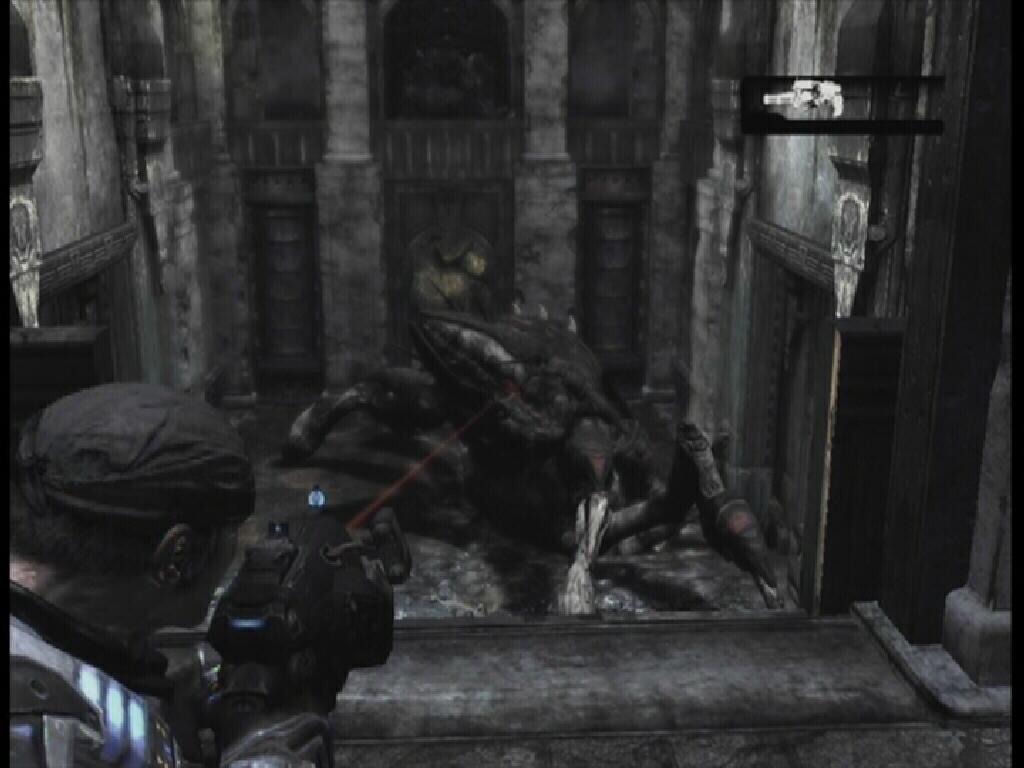
Take cover behind the pillar in the middle of the room. Avoid the chairs and sofas as they are destructible cover. There is another Seeder here to be dealt with. Use the Hammer of Dawn in the same fashion as before to kill it. Two blasts will do the trick. You can switch out the Hammer of Dawn for a Hammerburst if you would like, as you won't be needing the Hammer for now. After the radio transmission, some Locust will begin breaking through the door. Take cover behind the side of the pillar opposite of this door. There is a Gnasher user among them, so if you want a Gnasher, kill him and take it. Take cover behind one of the desks in the next area and kill the two enemies. Down the next hall, take cover behind a cement block. There are Drones up ahead. Watch out for the shotgunner who will more than likely charge at you and jump your cover.
 Final Seeder |
 Behind Gunner |
 Wretches |
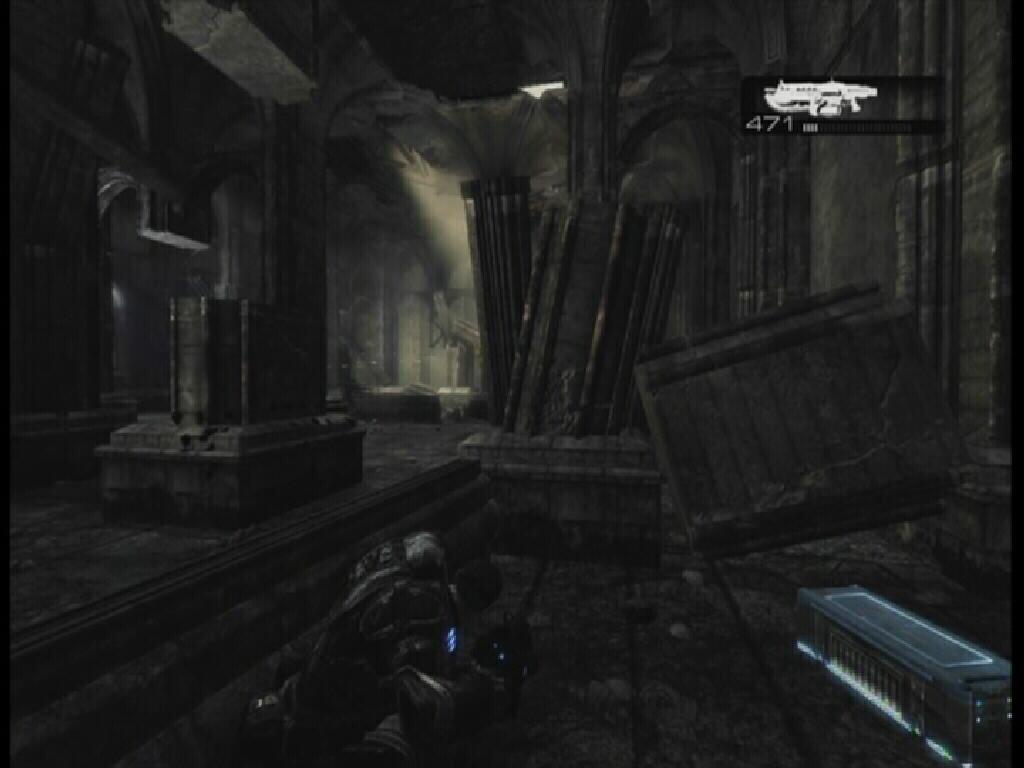
After the cutscene, switch your second weapon for the Hammer of Dawn that is on the ground. COG Tag 10: Move past the burning table that is along the wall and turn right. Look down on the right side of this hall next to the fire for the tag.
 Crimson Omen |
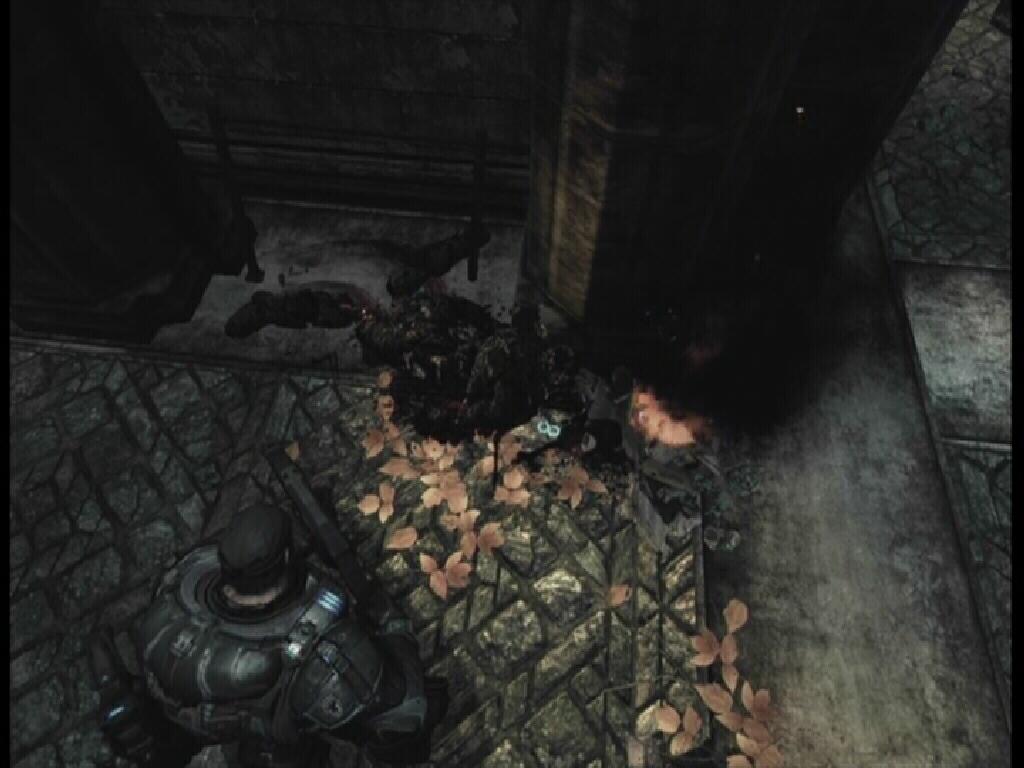 Cog Tag 10 |
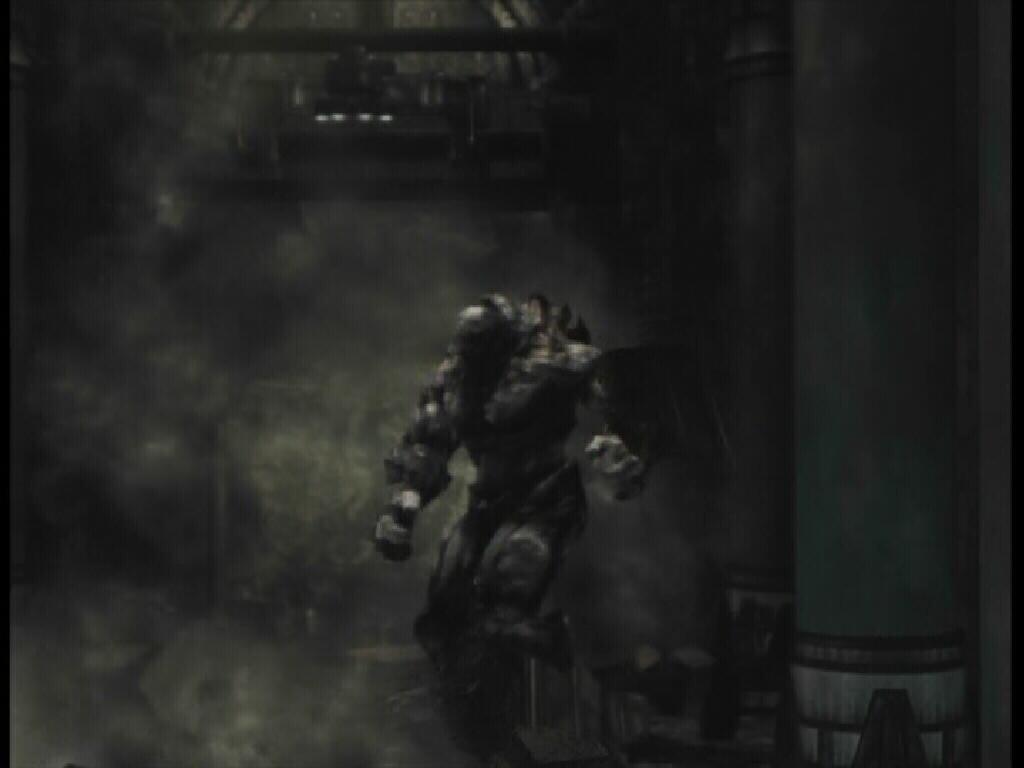 Berserker |
 Smashable Door |
 Crimson Omen |
 Cog Tag 11 |
 Crimson Omen |
 Cog Tag 12 |
 Hammer |
© Web Media Network Limited, 1999 - 2026. This site is not affiliated in any way with Microsoft, Sony, Sega, Nintendo or any video game publishers.
Privacy Policy | Terms of Service.
Super Cheats is an unofficial resource with submissions provided by members of the public. These are not usually tested by us (because there are so many), so please use them at your own risk.