The Basics
Soul Calibur IV Walkthrough and Guide
Soul Calibur IV Guide - The Basics

The basis of each character's move list is comprised of the following: Horizontal Attack (A), Vertical Attack (B), Kick (K), and Guard (G). When discussing moves, button inputs are referred to by the letter that corresponds to the action. For the Xbox 360 default control scheme; the X button is A, the Y button is B, the B button is K, and the A button is G. For the PlayStation 3 default control scheme; the Square button is A, the Triangle button is B, the Circle button is K, and the X button is G. Keep in mind that these actions can be assigned to different buttons by modifying the default control scheme, or by selecting an alternate one. So:
A = Horizontal Attack (X360 = X, PS3 = Square)
B = Vertical Attack (X360 = Y, PS3 = Triangle)
K = Kick (X360 = B, PS3 = Circle)
G = Guard (X360 = A, PS3 = X)
This setup can be a bit confusing at first, but it will become second-nature as you become more experienced. It essentially ensures that any Soulcalibur player—despite having only one version of the game or a modified control scheme—can discuss moves with any other player.
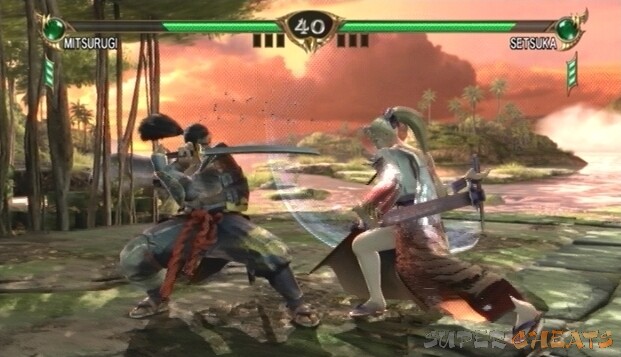
Being a 3D fighter, characters are able to move in eight different directions. Holding the control stick or D-pad in one direction will cause the character being controlled to run in that direction. This is known as 8-Way Run. If you take a look at a move list, you'll notice that directional arrows accompany the button inputs. When one or more attack buttons are pressed in conjunction with one or more directions, the character will act differently. It's important to remember that all move listings apply to a character that is facing to the right. This means that, if your character is on the right side of the screen, you must then input the directions opposite as you would if the character were on the left side of the screen (as they appear on the in-game move lists and in this guide).
 |
Understanding Directional Notation
It's worth mentioning that Soulcalibur players have their own way of discussing directional movement. If you ever browse a Soulcalibur forum or visit a fan site, you'll likely notice other players expressing directional inputs as numbers. These numbers refer to the possible directions that a character can move in. For example, you may see 4B to refer to an attack in which the player must press back on the d-pad and tap the vertical attack button. Take a look at the number pad on the right end of your keyboard. Each of the numbers—one through nine—is used to denote one of the possible eight directions that a character can move in. Compare the numpad on your keyboard to the D-pad on your controller: 1 is Back Down, 2 is Down, 3 is Forward Down, and so on. The number 5 indicates no directional input—the character's neutral stance—also referred to as N. So:
789
4N6
123
7 = Back Up
8 = Up
9 = Forward Up
4 = Back
5 = Neutral
6 = Forward
1 = Down Back
2 = Down
3 = Forward Down
The above convention is mostly used between players. This guide also uses numbers when discussing moves, so make sure you're familiar with this method. Directional commands are sometimes signified by letters (ex., db = down back). Again, note that all directional input is from the character's point of view. So, if your character is on the right side of the screen, facing the opponent on the left side of the screen, 4 (Back) would then be 6 (Forward) if you were to move towards the opponent.
_ = Or (ex., 2_8).
N = Neutral. (No directional input.)
aB = Slide input (second input must be entered very quickly).
Hold = Keep button pressed down; usually denoted with square brackets, but “hold” in this guide.
 |
This guide uses a basic form of the above convention. There is further notation that isn't used here, but would be beneficial to familiarize yourself with if you plan to actively discuss the game within in Soulcalibur community.
Guarding
Another important aspect is hit levels. Each move has a height and a range, and whether or not the move hits is dependent on the opponent's position and whether he or she is blocking low or high. A character whom is guarding while standing can block high, mid, s-mid, and s-low attacks, but low attacks can still make it through. To guard against low attacks, then, the character must crouch and guard. While guarding low, however, the character is then vulnerable to mid attacks. Unblockable moves (moves with the “U” property) can break through a character's guard and generally deal a large amount of damage.
 |
Guarding characters may also be thrown (A G, B G) if they fail to Grapple Break. A Grapple Break can be performed by pressing either A (to break an A G throw) or B (to break a B G throw) when the other character makes the grab. The standard A G and B G throws have high hit levels, but some characters have throws designed to target crouching opponents.
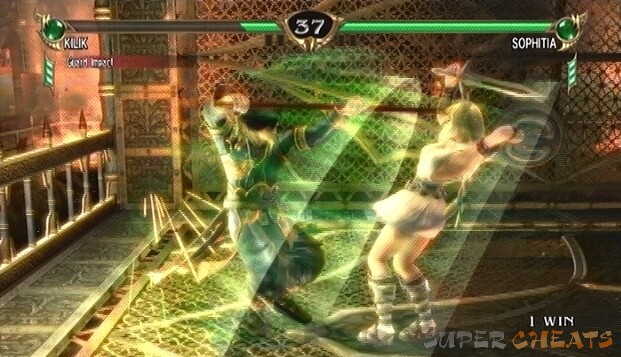
Guard Impacts
Another important part of a good defense is Guard Impacts and Just Impacts. To attempt a repel, press 6G or 3G just before an opponent's attack hits. To attempt a parry, press 4G or 1G just before an opponent's attack hits. If done successfully, the opponent's attack will be deflected, leaving them momentarily vulnerable. As with guarding, you must choose to parry or repel high or low depending on the opponent's attacks. Furthermore, a character stunned by a repel cannot attack, but they can perform a Reverse Impact back.
 |
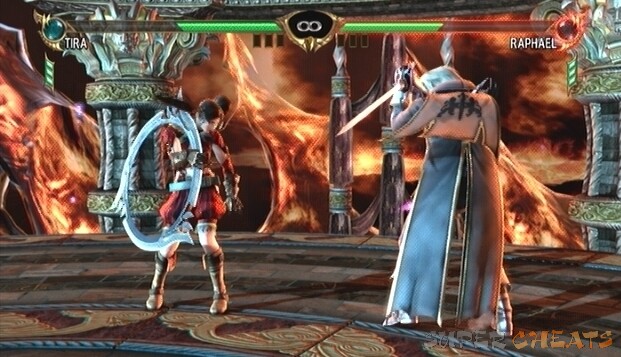
If an impact occurs at the last possible moment, this is called a Just Impact. A Just Impact is evident by the red flash effect that accompanies it as opposed to the green flash that accompanies a normal repel, or the blue flash that accompanies a parry. Following a Just Impact, all attacks are given Counter Hit properties, which means that the attack will deal more damage and may stun or knockback an opponent. Just Impacts will stun an opponent for a longer period of time, and cannot be reverse impacted. They do require precise timing, however.
Stances
A character's positioning—referred to as “stance”—also determines the moves available to him or her. All characters have the standard standing, crouching, and back turned stances, but others have their own, unique stances that change the moves available to them. Since this is merely a discussion on the basics, let's keep it simple and stick to the universal stances. Holding 2 and tapping G will cause your character to crouch; each character has certain moves available to him or her while in this position. Furthermore, blocking while crouched is the only way to guard against low attacks. Most characters are especially vulnerable while their back is turned; attacks from an enemy and even certain moves can put a character in this position, so be careful.
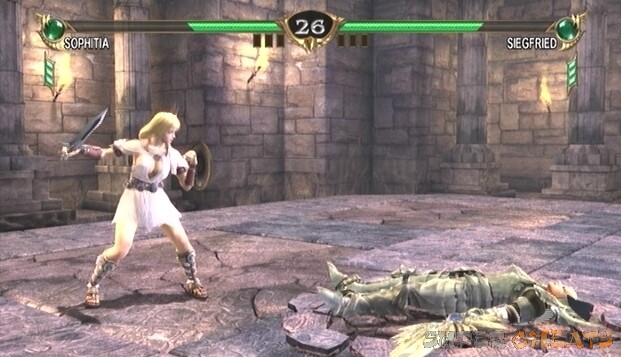
The worst position for any fighter to be in is lying on the ground. While on the ground, the fighter is at the mercy of their opponent. Pressing the Guard button just as the character hits the ground causes him or her to perform an Ukemi, thereby greatly minimizing their downtime. Performing an Ukemi is not a downed player's only option, however; one may roll around their opponent with 8-Way Run. After dodging an attack, the player then may be able to emerge behind their opponent to get the upper hand. A player's mode of rising from the downed position is referred to as their “wakeup game,” while the opposing character's attempt to keep their enemy floored is called an “anti-wakeup game.”
 |
The Soul Gauge
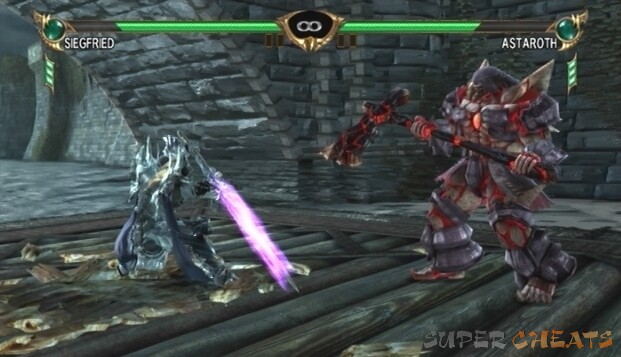
Next to each players' health bar is the Soul Gauge. At the start of a match, both players' Soul Gauge is green. As the battle wears on, depending on each player's actions, the globe will be in a different state. Attacking frequently and hitting a guarding opponent increases the Soul Gauge and will gradually shift the globe's color to blue. A blue Soul Gauge indicates that the player is in good form, having been sufficiently mixing offensive play with defensive play (or no defensive play at all!).
A player who holds down the guard button for extended periods of time without attacking will see their Soul Gauge decrease and shift to red. If their blocking continues, that player's health bar will soon start flashing red. If they continue to block even after this point, they leave themselves open to a Soul Crush, and then subsequently a Critical Finish if their opponent so chooses. As you can tell, this feature was implemented to punish those who play too defensively (referred to as “turtling”).
 |
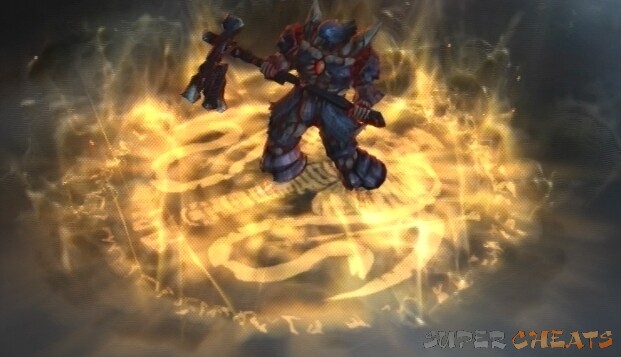
Along with the Soul Gauge, another new feature introduced in this iteration of Soulcalibur is the Critical Finish. To put it briefly, a Critical Finish is a move that allows one to put an end to their opponent regardless of remaining health. Getting an opponent to a state in which they are susceptible to such an abrupt end is not exactly easy or commonplace, however. To execute a Critical Finish, first your opponent's Soul Gauge and health bar must be flashing red, at which point subsequent blocks put them at risk of a Soul Crush.
Hit a guarding opponent whose Soul Gauge is in the red until a Soul Crush occurs; their guard will be broken and you'll see them reel back (you can also look for the Soul Crush battle message below your health bar). Right after the Soul Crush, press all of the face buttons (A B K G) simultaneously (the button combination can be set to one of the shoulder buttons for ease of use, and is initially on the default control scheme (LB on X360, L1 on PS3)) to trigger the finisher. After a short video sequence, the initiator will win the round.
Be especially careful when going for a Critical Finish though, because if you hit the opponent after the Soul Crush you'll miss your chance. Even if the finisher is not performed, the player still gains an advantage because a Soul Crush stuns the target, leaving them completely vulnerable to a further attack. After a Soul Crush, the player's Soul Gauge returns to its neutral state (green).
 |
Armor
Below each player's Soul Gauge is an armor indicator. Characters begin each battle equipped with a high, mid, and low armor piece. These sections of armor can be broken off after repeated attacks to that area (ex., the player is hit by a barrage of mid attacks and their mid armor piece is destroyed) or after a Soul Crush. Once a piece of equipment is broken, repeated attacks to that area will deal more damage.
Xbox 360 | PlayStation 3
please tell me how to use special moves although it is shown in practise but i cant understand somebody tell me tricks of special moves
I realize that it may be harder for you, but the problem is that people in your situation are a vast minority. And while these things do make things more difficult for you, they do make things easier for most of the community in general. Chances are, if you see something that looks overly complicated, it has good reason behind it.
The reason it is like that is for universal use. For example, XBox doesn't have Triangle, and the button in it's place is the Y Button. In-game, this is simplified for the player by assigning buttons as A, B, G and K. But you can assign them to other buttons if you wish, depending on fighting style or, sometimes, if the player is used to another fighting game and re-assigning buttons would make playing the game easier on them.
As for the numbers, those are probably implemented for universal use among websites, as some may not have the ability to display arrows, or may use fonts that are incompatible. It also makes it easy in forums to discuss moves as it is usually either difficult or impossible to insert arrows, depending on the website. An easy way to remember is to look at your num-pad on your keyboard and visualize moving the joystick toward the indicated numbers, from 5.
Why on earth would you complicate things by using anything other than the controls when explaining moves? If you have to press triangle, or square, for example, then say triangle or square.
People like me, who suffered head injuries in an accident, have a real hard time remembering new things, so anything other than stating the exact key is going to be difficult for me to remember, I can't even remember what button relates to K or B etc anymore, no matter how many times i'm told, so 1, 2, 3 etc is even worse!
dose any one now how to block the red fire attacks on soal calibur 5 for ps3
how to take off the clothes
THANK YOU. FINALLY !!!!!!!!!!!
What do smaller letters mean liek a smaller B (its still caps though) before a regular size B
WR = While Rising
What does WR mean? It's for one of Tira's moves.
It's 2012 so I'm a little late but I think you have to by that last character
it means you have to wait a sec before you input the next keys in line
What's (~) mean when doing a move?