11 :: The Ninth Circle
Devil May Cry 4 Walkthrough and Guide
Devil May Cry 4 - Mission 11: The Ninth Circle
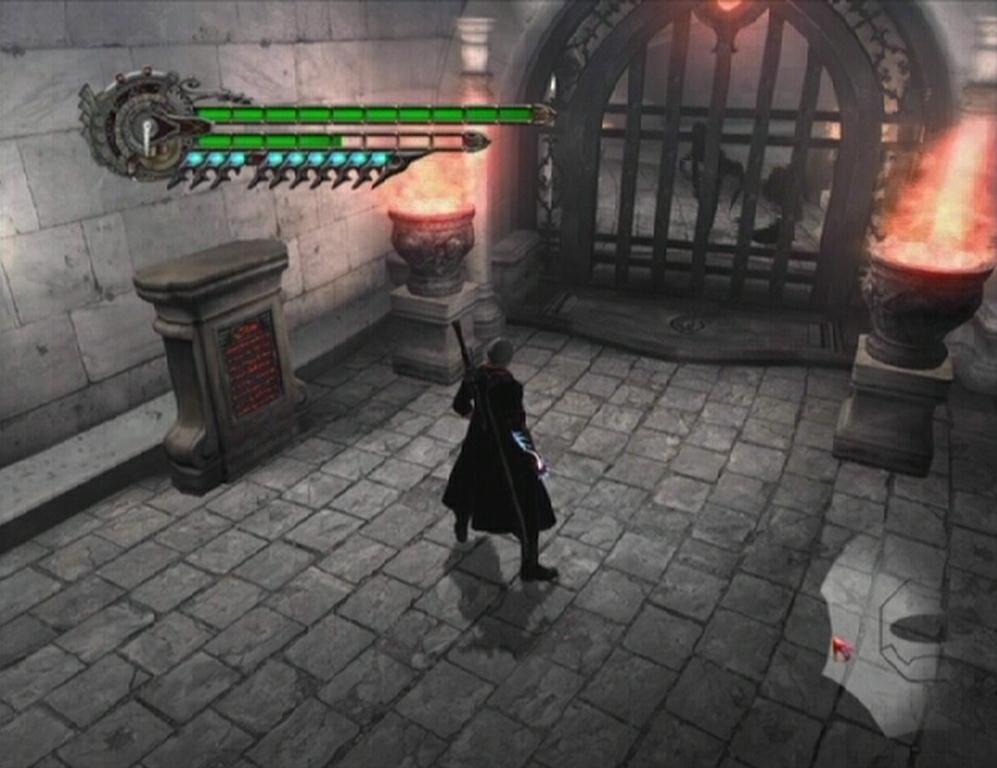
Blue Orb Fragment -- There's a Combat Adjudicator at the south end of the Advent Chamber. Attack the Combat Adjudicator and attain a combo grade of SSS to receive a bunch of Red Orbs and a Blue Orb Fragment. You'll have to use a large variety of moves to earn the grade.
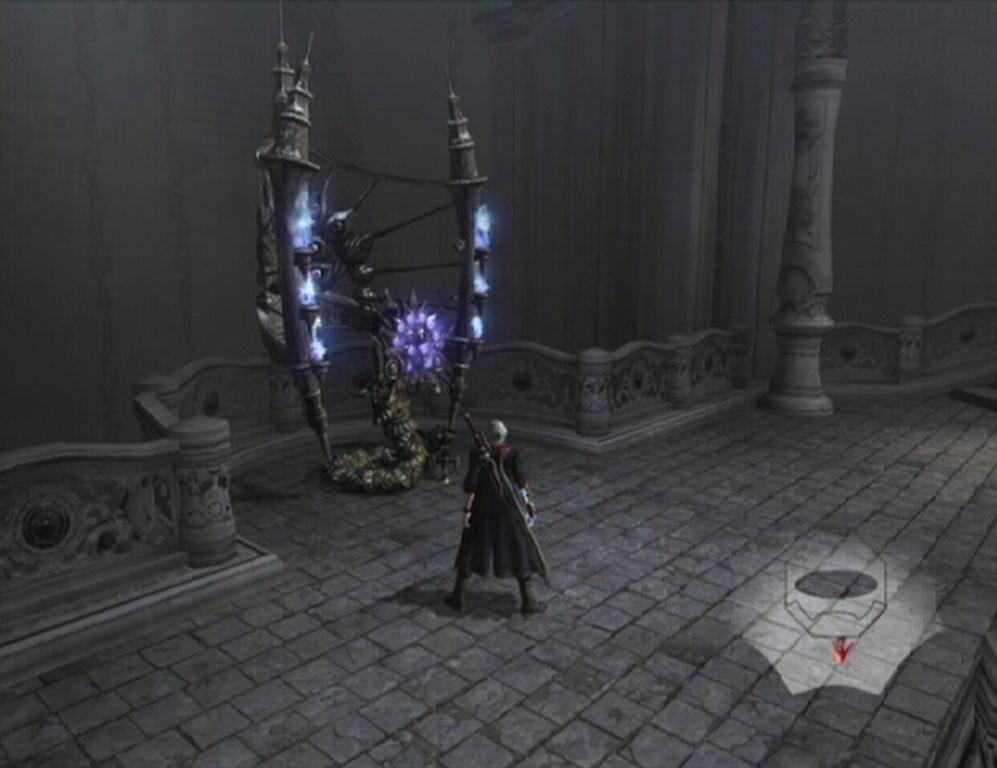 Combat Adjudicator |
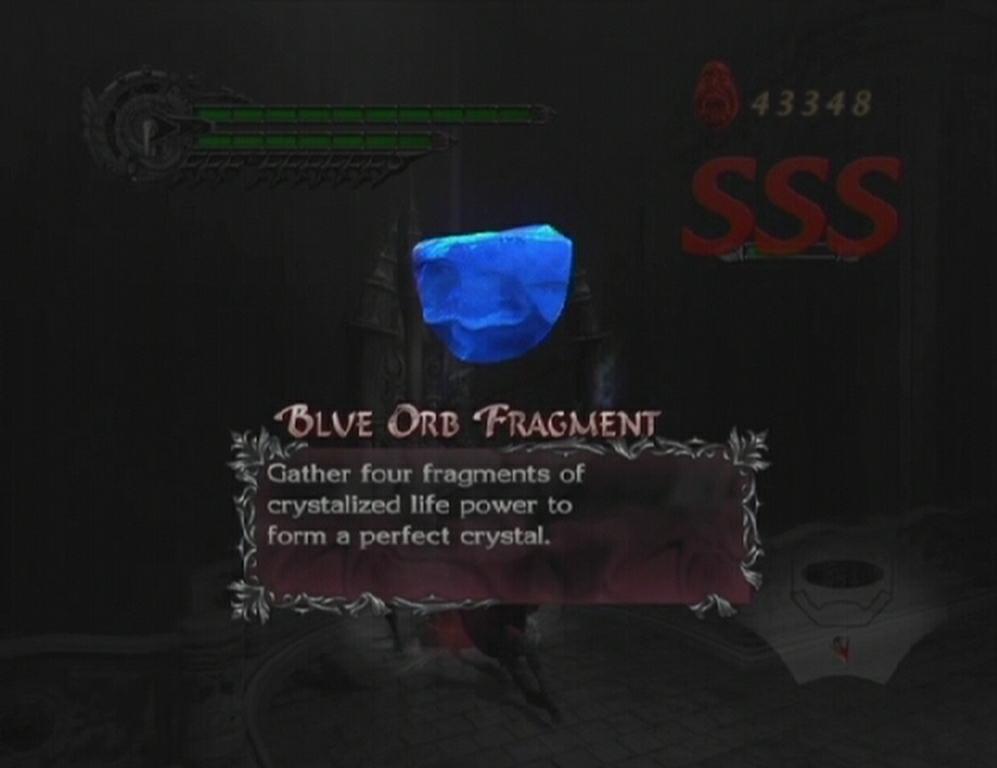 Blue Orb Fragment |
Slash the wheel on the eastern side of the chamber to trigger a set of Grim Grips. Use Hell Bound on the grips to scale up to the walkway above. Move forward to trigger a Mephisto and Faust spawn. Defeat the specters, hit the switch at the far end of the walkway and use the lift that appears to reach the second floor.
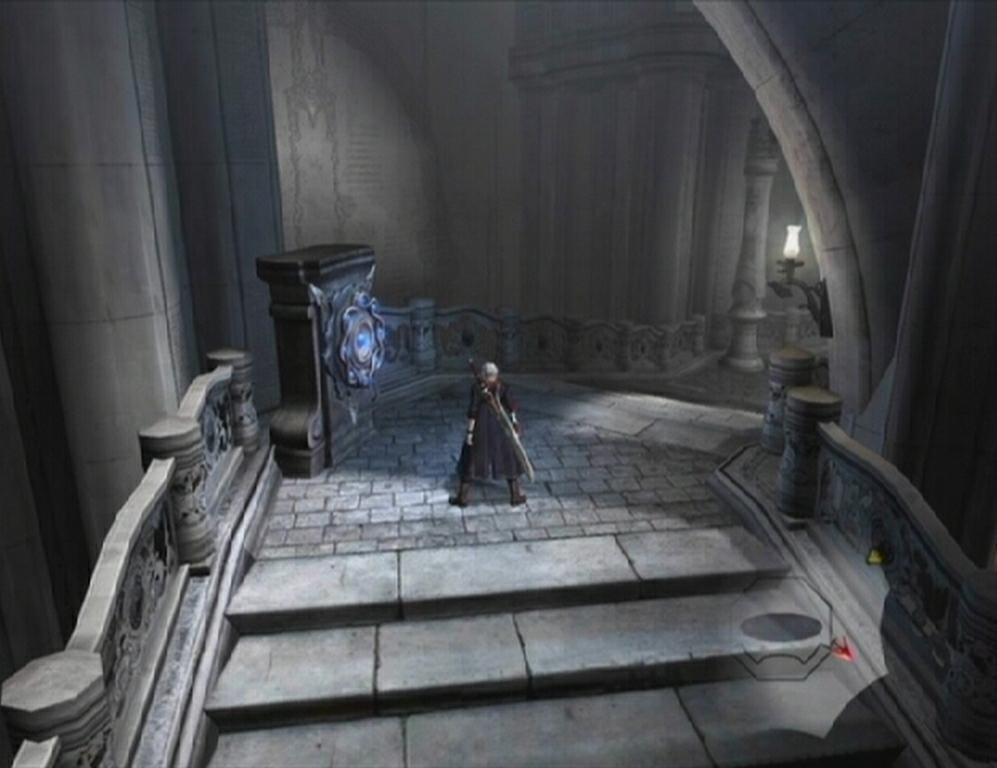 Wheel |
 Lift |
Advent Chamber -- 2F
Approach the gate at the end of the walkway and read the inscription on the tablet to the left. The inscription reads 'Proceeding alone is strictly prohibited.' To open the gate, stand on the pressure pad, then target one of the Scarecrows on the other side and use Snatch to pull it onto the second pressure pad. When the gate is open, kill the two Scarecrows and continue down the walkway.
 Gate |
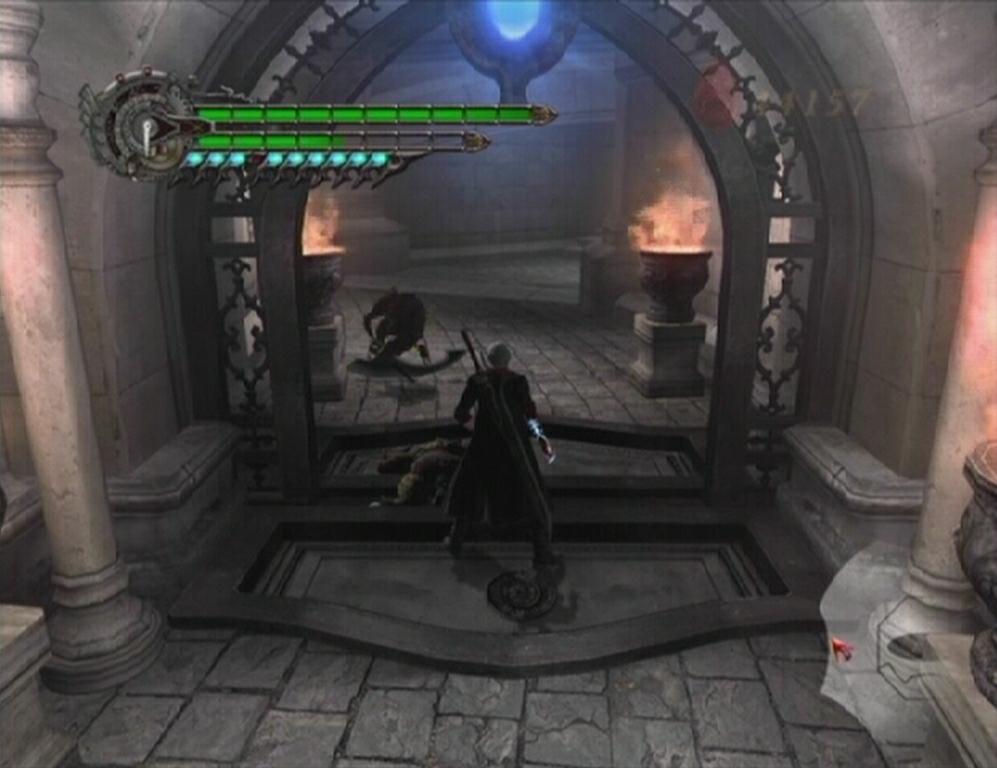 Scarecrows |
You have to hit the two Grim Grips here a certain way to scale the wall at the other end of the pit. Snatch 3 may or may not be required, but use the Divinity Statue to purchase the skill if you lack it to ensure success. Jump towards the first Grim Grip and use Hell Bound to propel yourself towards the second. Latch onto the second grip as soon as you are able to; you won't reach the wall if you wait too long. If you hit the second grip correctly, Kick Jump up the wall to scale the rest of it.
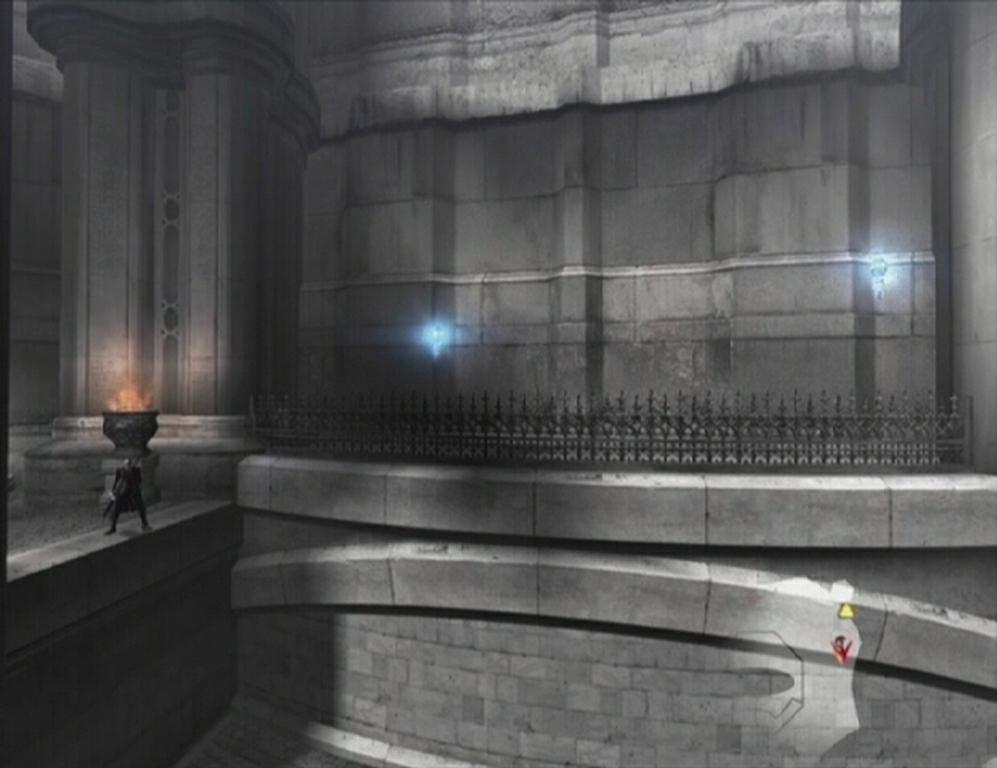 Grim Grips |
The second set of Grim Grips is easier to cross, but you will have to defeat a group of Bianco Angelos if you miss one and fall to the area below.
Tip -- A Devil Star S can be found in the pit, just below the high wall. You'll have to defeat the knights that spawn there if you wish to retrieve it, though.
Once you've made it over the wall, kill the Alto Angelo there and then slash the wheel until a third set of Grim Grips appears. Use the grips to reach the third floor, then hit the switch and kill the group of knights that spawns. Drop down from the left end of the platform and make your way back to the Divinity Statue on the second floor. Ignore the enemies here and step onto the lift.
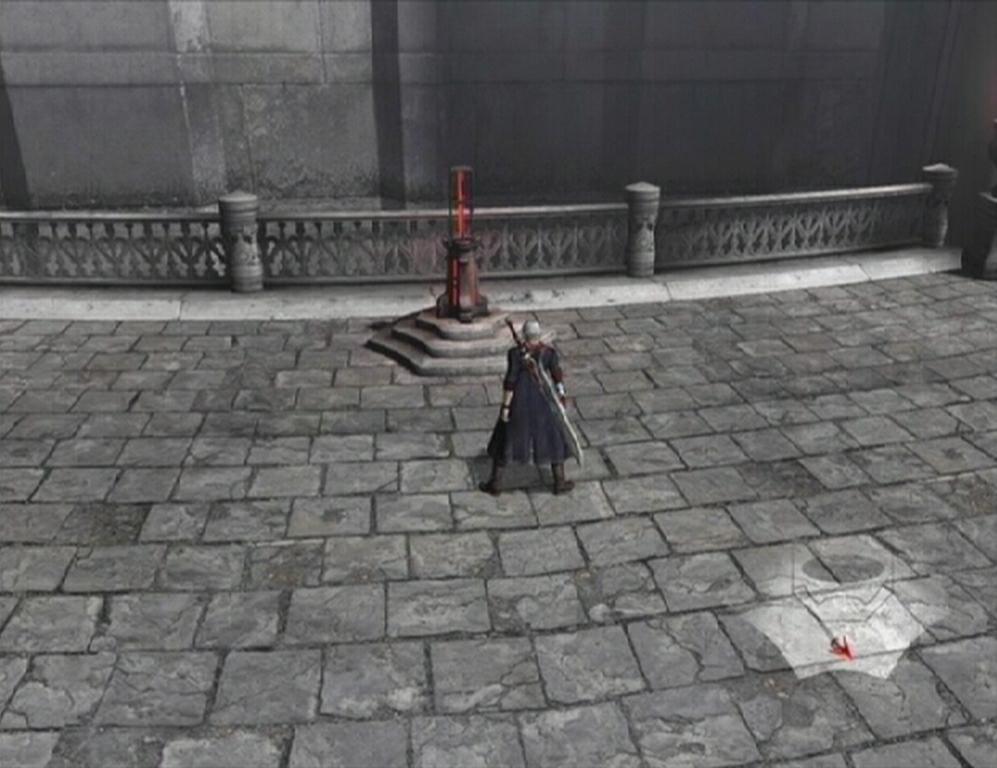 Switch |
Lift |
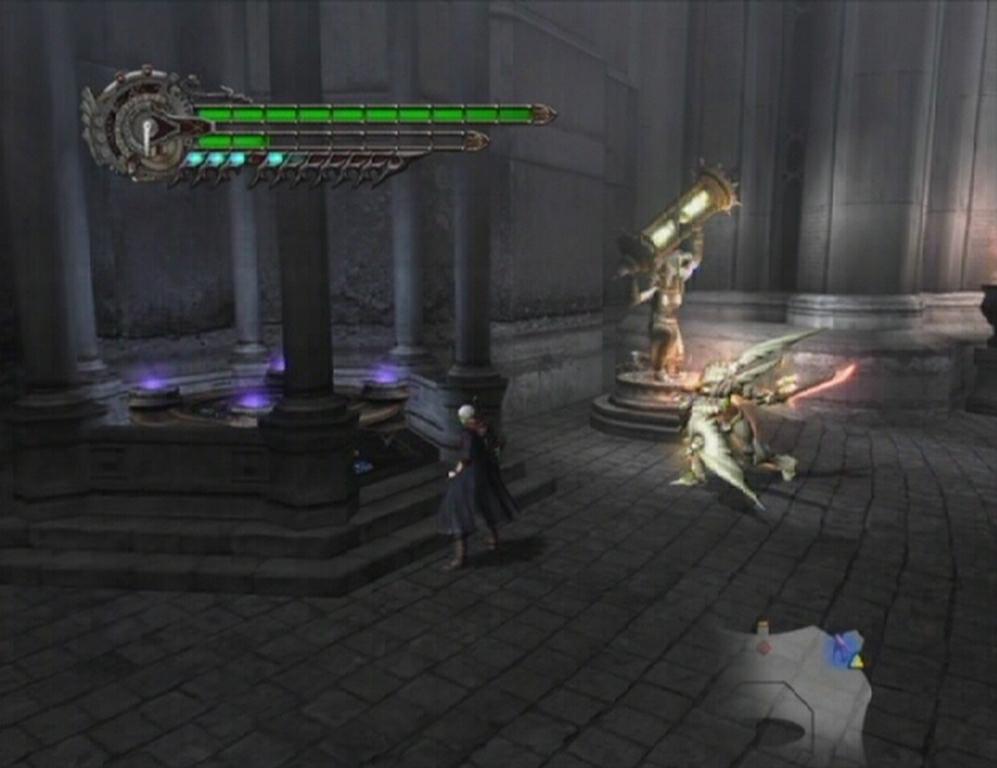
Advent Chamber 3F -- Boss Battle: Sanctus
While at first glance Sanctus appears to be nothing more than a frail old man, he is, in fact, no pushover. What he lacks in physical strength he more than makes up for with his demonic powers. The battle begins with Sanctus hovering in the air, enclosed in a protective sphere. The shield must first be shattered before you can inflict any damage. Sanctus can glide around the arena fairly quickly, so breaking the sphere is easier said than done.
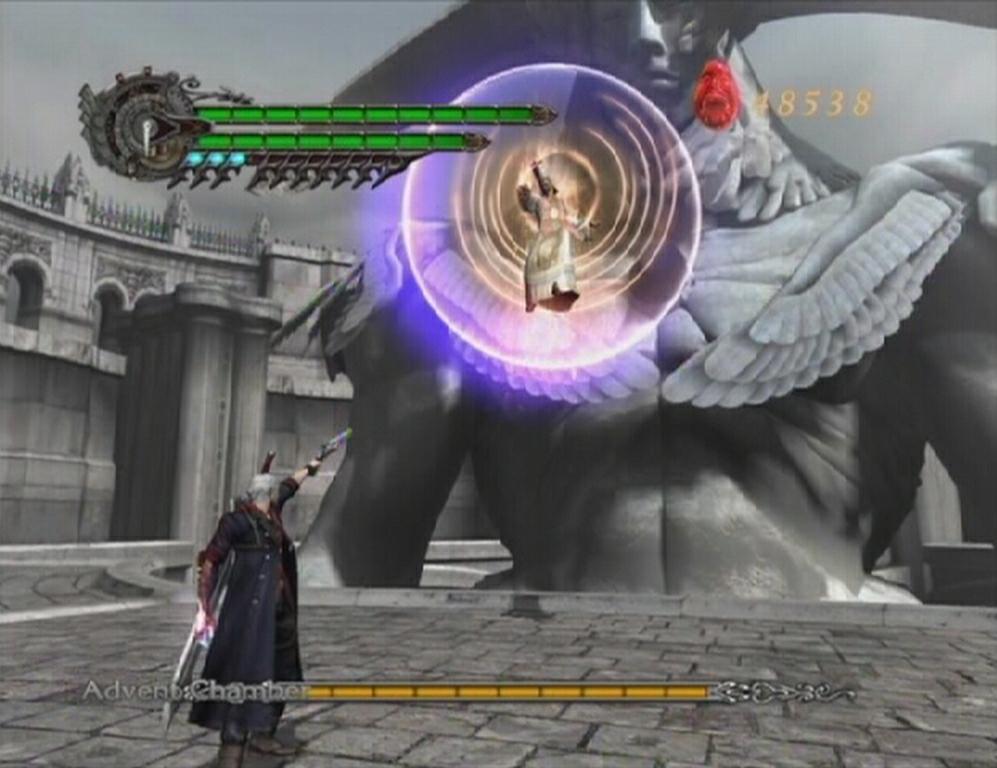 Sanctus |
Hell Bound can be used on the two orbs that hover near Sanctus to pull yourself towards him, putting you in prime position to get a few slashes in on the sphere. The sphere will shatter when it sustains a certain amount of damage. Once it's down, do not let up, as Sanctus will eventually restore it, forcing you to bring it down all over again. Hit him a few more times while the sphere is down and he'll fall to the ground, stunned. Slash away while he's vulnerable and then use Buster to perform a special combo that will deal a significant blow to his health.
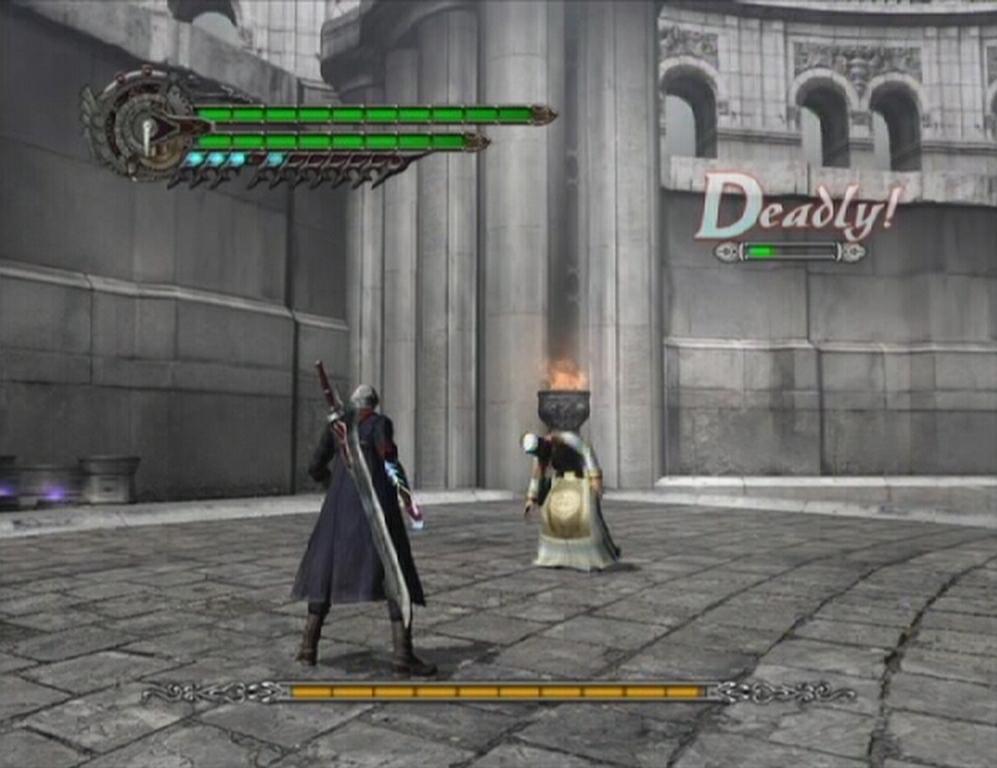 Vulnerable |
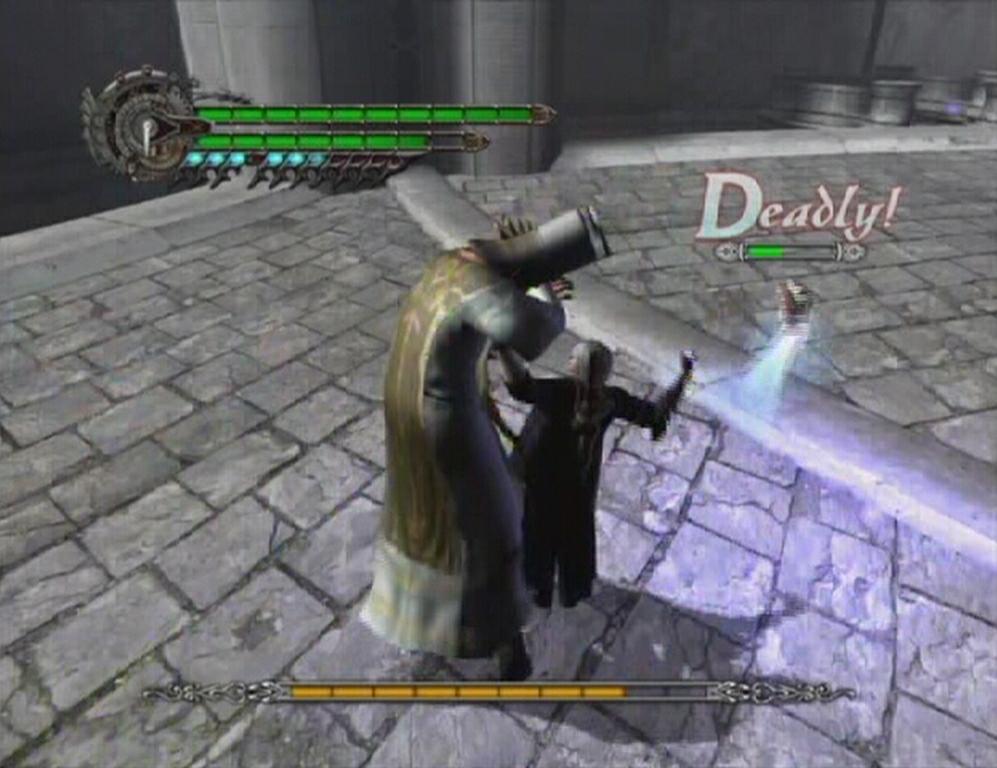 Buster |
Sanctus is completely helpless while on the ground, but while floating in the air he uses a few different attacks, but the majority of those are easy enough to avoid. One attack you will want to watch out for, though, is when Sanctus launches a bevy of fireballs towards you. If you're on the ground and a fair distance from him, simply Side Roll to one side to dodge them all or slash them as they come at you. The fireballs can be tough to dodge while in the process of attacking him, so if you see this attack coming, cease the assault and try your best to avoid getting hit. Sanctus will also summon pillars of energy around him which is almost impossible to avoid when you're near him.
If you fail to quickly drop Sanctus to the ground after shattering the sphere, he'll summon a new one, a process which will inflict damage if you're nearby when it happens. When Sanctus covers the ground below him with an energy beam, jump up into the air and execute a slash combo to remain there until the attack ceases. Since this attack is easy to dodge, it's actually a good time to gets some hits in. If you see a good opportunity to damage his shield, activate Devil Trigger to up the damage you'll deal.
Continue breaking Sanctus' protective sphere, dropping him to the ground and then using Buster until he is left with about a quarter of his health bar. At this point, a short cutscene is triggered in which Sanctus seeks refuge within the towering Savior. Prepare yourself, as the Savior will then attempt to crush Nero with its fist; Side Roll out of the way just before impact to avoid taking damage. When Sanctus returns to the field, he does so with a couple of new moves in his arsenal. The hovering orbs that surround him can now hurt you; they'll occasionally shoot towards you and inflict damage if they hit. Use Blue Rose to shoot the flaming orbs out of the air and return them to their default nature.
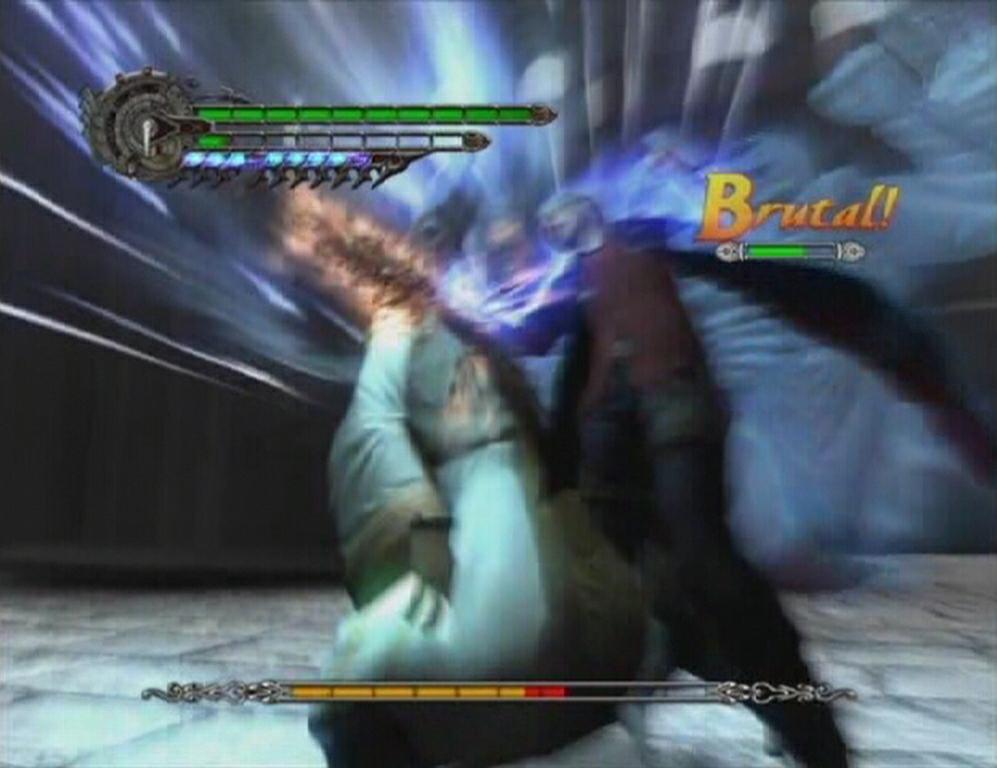 Buster |
 Savior |
Sanctus is especially deadly at this point, because the fireballs he launches, when coupled with the flaming orbs can be difficult to dodge. While Sanctus acts much the same way he did during the first part of the fight, his use of the Savior can make getting the last few hits in difficult because he'll come back out with a fully recharged shield. Whatever you do, don't let up! Get Sanctus out of his shield and attack him while he's vulnerable until his health bar is spent to clear the mission.
Devil May Cry 4 - Xbox 360 | Devil May Cry 4 - PS3
Yup this site is really good
I rele think this site is well set up and has good tips to get thru difficult levels.
i cant get over the wall. . .difficult
[video][/video] 11/the ninth circle how to get over the wall[video][/video]
how to get over the wall