Secret Mission 11
Devil May Cry 4 Walkthrough and Guide
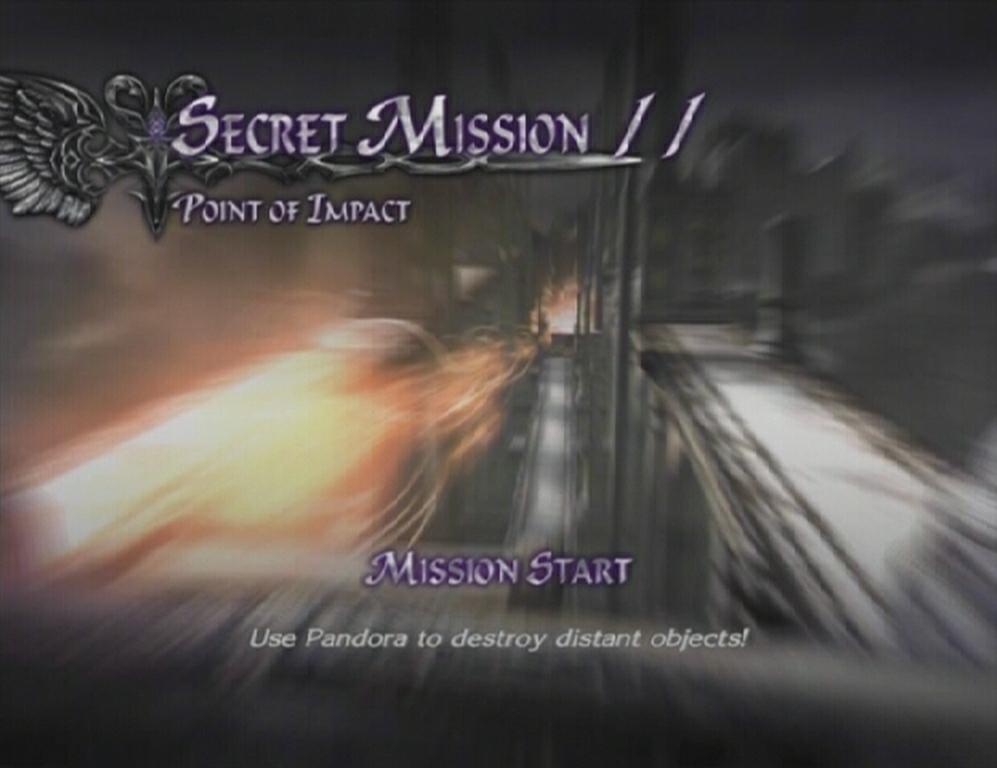
Devil May Cry 4 - Secret Mission 11 -- Point of Impact
When: Mission 16: Inferno
Where: Fortuna Castle Gate
The Lucifer weapon is needed to reach this one. After killing the first batch of Basilisks, start up the mountain ledges until you reach a set of stairs that lead up into the left corner of the screen. With Trickster toggled and Lucifer equipped, stand about midway up the stairs, jump to the right, use Air Hike, Sky Star, then attack with Lucifer and you should land on the secret ledge.
Objective: Use Pandora to destroy distant objects.
 |
The PF124: Hatred and PF398: Revenge abilities are needed to complete this mission, so purchase those and make sure you know how to use them before attempting this. There are two statues to destroy at opposite ends of the area, and you only have thirty seconds to do so. The laser cannon is quite difficult to aim because, while you can adjust its aim vertically once you set it down, there is no way to adjust the darned thing horizontally. So, essentially, you have to throw it down just right or you won't be able to hit the statue. There are a couple of ways you can go about doing this; both methods require practice and maybe a bit of luck.
1: As soon as the mission begins, move south until you are down set of steps through the first doorway. Set up Hatred at the bottom of the steps, take aim and fire. If you hit the statue, turn around and move north until you are at the bottom of the stairs (spam Stinger to quickly descend). Set up Hatred, take aim and hit the statue to spawn the Blue Orb Fragment. You should have enough time to do this, provided you don't miss a shot.
2: This method requires quite a bit of luck, but given enough time you'll eventually pull it off. As soon as the mission starts, move north until you reach the end of the starting platform. Set up Hatred at the top of the stairs, aim down and release when the sight appears to line up with the statue. If you managed to break the statue and still have about twenty seconds left, turn around and either run (if you have the Speed skill) or spam Stinger to reach the statue at the south end of the map. Hit the final statue with Stinger to spawn the Blue Orb Fragment.
Since you won't encounter any threats during this mission and will be teleported back to its location in Lamina Peak, in the event of failure, you can retry as many times as you wish. Keep trying and you'll clear it eventually.
Devil May Cry 4 - Xbox 360 | Devil May Cry 4 - PS3
if you lucky, use revenge in the top of the circle place and forward shoot it.
Easiest way is to trigger devil trigger and triple jump up there but you will need air hike to get the triple jump, since DT adds an extra jump.
instead of doing it like this a quicker and easier way would be to use gunslinger and pandoras box. When you jump to the right and use air hike, use the gun ship and nicely float fowards. you will land on the ledge quickly and not take as long.(: