13 :: The Devil Returns
Devil May Cry 4 Walkthrough and Guide
Devil May Cry 4 - Mission 13: The Devil Returns
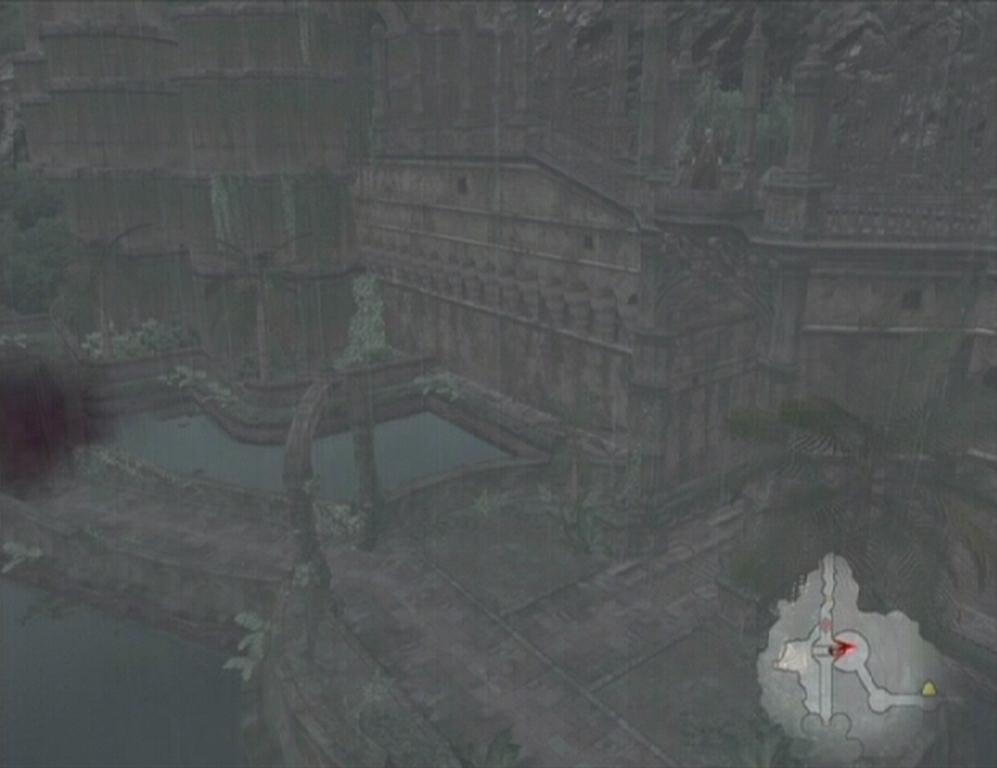
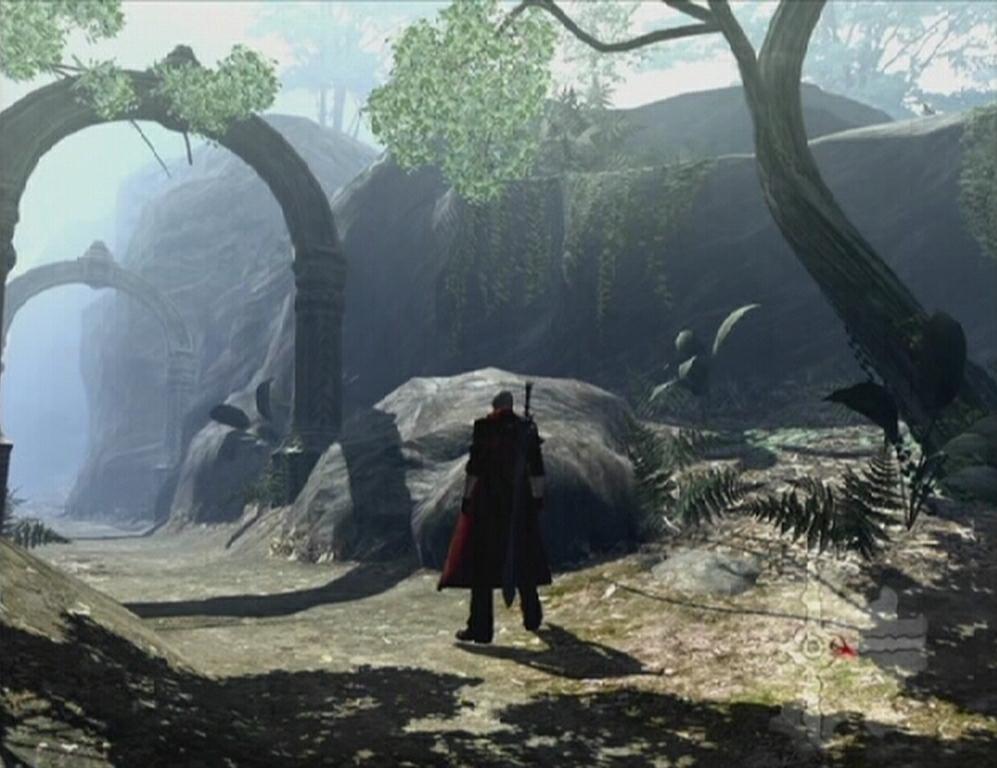
You've been through here before as Nero, but several things differ this time around. For one thing, any path shrouded by black fog will not bring you to the area it should because of Echinda's influence on the forest. To start, move south along the walkway and hop down to the area below. Take the eastern exit, as the other will lead you right back to the Ancient Training Grounds.
Forgotten Ruins/Windswept Valley
Jump down from the balcony in the middle of the walkway and eliminate the Scarecrows and Chimera that spawn below. Afterwards, move through the black fog at the start of the eastern trail to enter the Windswept Valley.
 Balcony |
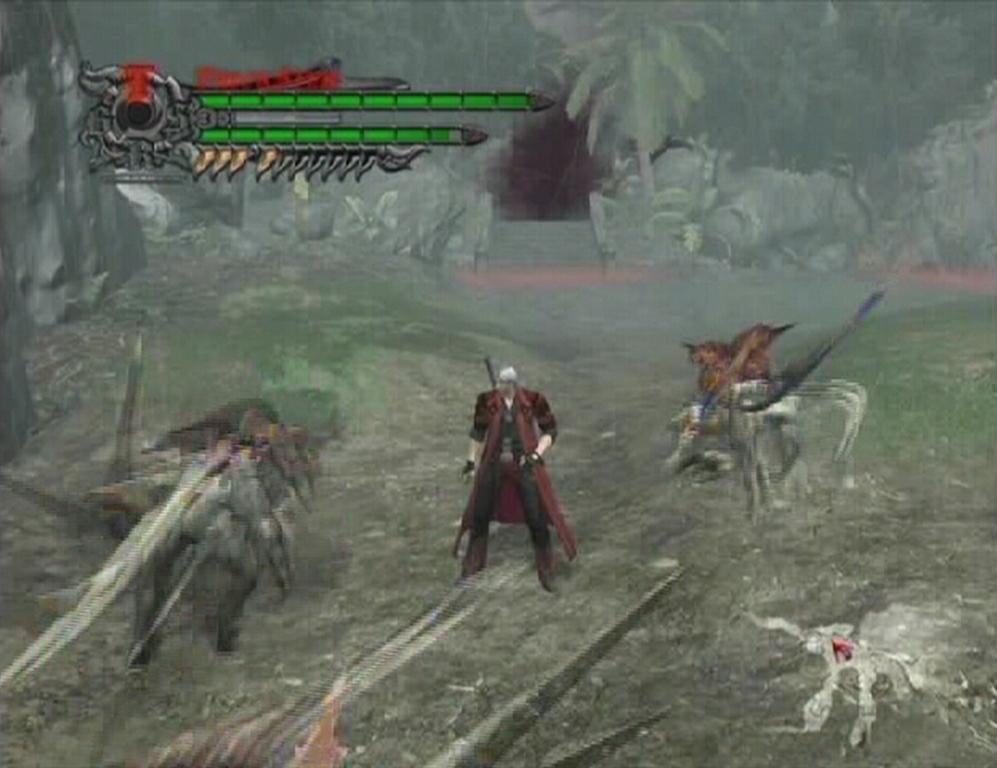 Chimera Assaults |
The area is immediately sealed off and a group of Assaults spawns. The trouble with these guys is that they've been taken over by the Chimera in a fashion similar to the Chimera brand of Scarecrow you previously had to deal with. The Assaults are much faster than the Scarecrows, and that quickness, coupled with the almost unavoidable swipes from the Chimeras make this a decidedly deadly pairing. Activate Devil Trigger to take care of them quickly if you must, otherwise pound a way and try to avoid taking too much damage.
When the way is clear, head up the stairs to the east and through the black fog to reach the next area.
Ancient Plaza/Lapis River
More Assaults to deal with here, but luckily these ones aren't infected by the Chimera. Defeat the enemies, then make your way to the north exit and head through to reach the Lapis River. The exit here is actually underneath the bridge in the middle of the area. Eliminate the two Mephisto first if you wish, otherwise move through the black fog below the bridge to proceed.
 Exit |
Windswept Valley/Ruined Church
Use the door up ahead to enter the Ruined Church.
Blue Orb Fragment -- Attain a style grade of A on the Combat Adjudicator in the church's western room to receive the fragment and a large amount of Red Orbs.
Move underneath the stairs and through the door at the end of the way.
Lost Woods/Forgotten Ruins
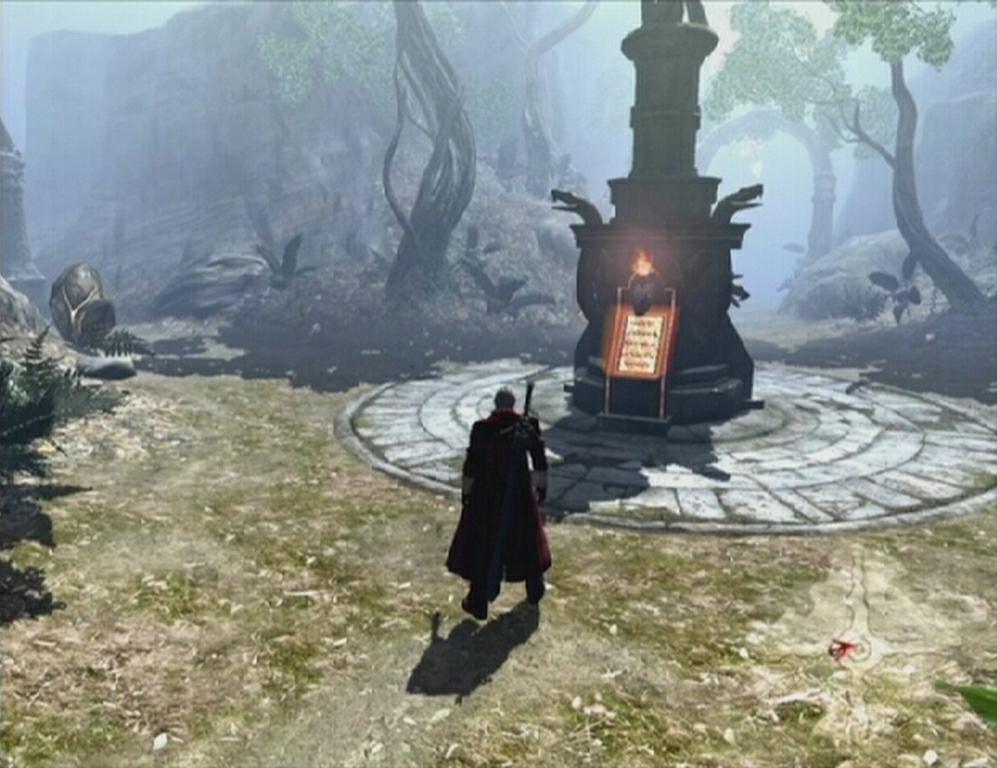
There are a couple more of those annoying Chimera Assaults to deal with here. Take them out (with Devil Trigger active, if you must), or simply avoid them and run to the statue in the center. You've been through the Lost Woods once before, but here's the explanation again, just incase you made it through the first time based on sheer luck.
To get out of the Lost Woods, you must take the path where the archway shadows are pointing towards the statue in the middle of the woods (see image below). Think how the shadow of something would appear in real life if the sun were shining behind it. If you chose the correct path, you'll find yourself in an area identical to the first. In each instance, take the path that the sun is shining on -- even if it appears to be the path you used to enter the area -- and you'll soon make it out of the woods.
 Lost Woods |
 Shadows |
The way out this time around is east, west, south and south again. In the Forgotten Ruins, use the Divinity Statue if you wish, otherwise exit into the next area to trigger a boss battle.
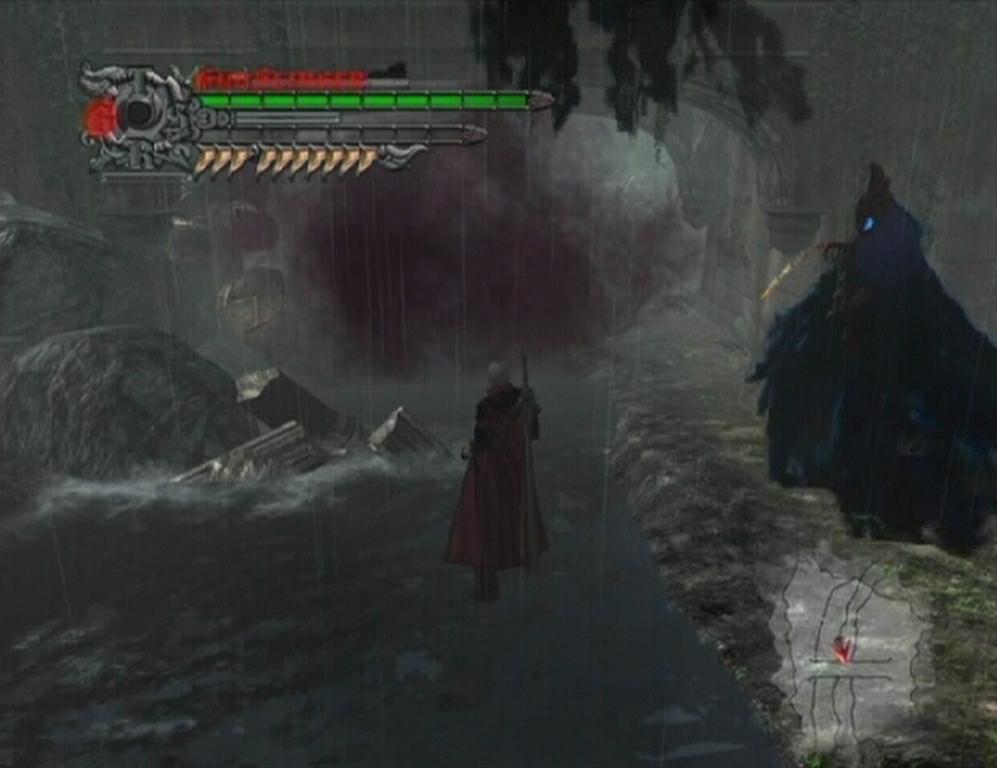
Den of the She-Viper -- Boss Battle: Echidna
Echidna's move pool is identical to your first encounter of her as Nero. Dante's combat styles and differing skills mean a slightly different approach this time around. This strategy focuses on the Trickster and Swordmaster combat styles, so remember which buttons are used to toggle them so you can switch between them on the fly.
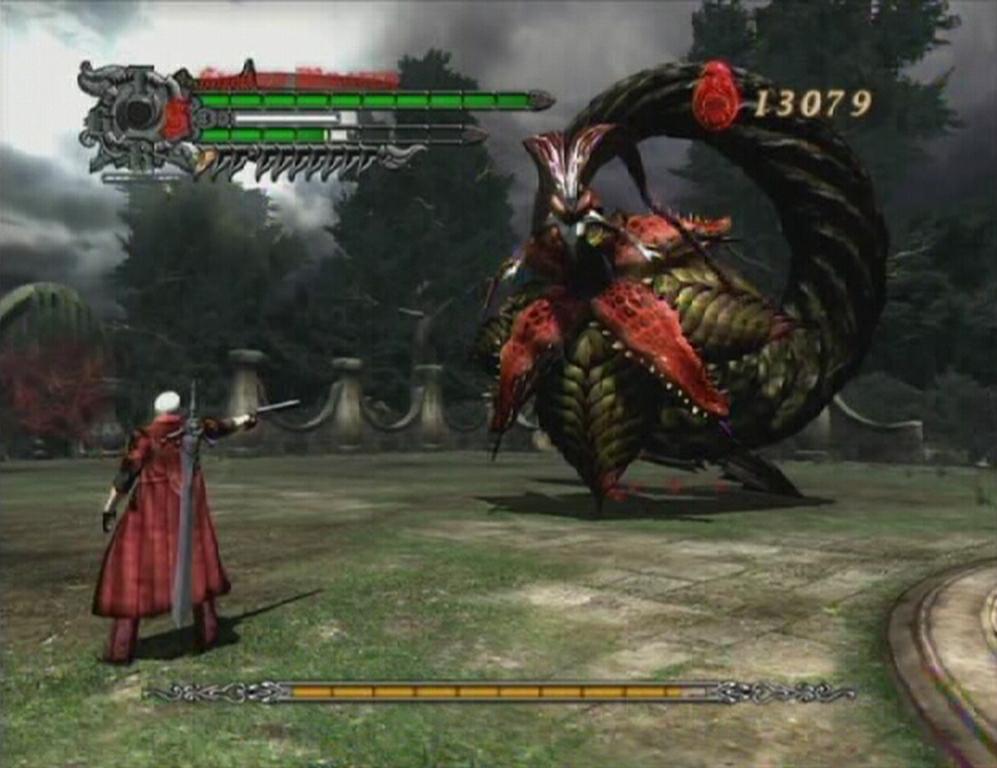 Echidna |
The Trickster style can be used to avoid the majority of Echidna's attacks. Toggle this style while Echidna is flying around the arena. Hold down the Lock-on button to track her movement and use Dash just before impact. While Echidna is floating in the air, if you've upgraded the Trickster style, use Sky Star to propel yourself towards her torso, then switch to the Swordmaster style and use Aerial Rave to deal some damage.
Preserve your D.T. Gauge until Echidna roots herself into the ground to spawn Chimera Seeds. Though you can't Hell Bound your way up to her, wait until the bulb below her spits out a Chimera Seed, then Air Hike up onto her mid-section, toggle the Swordmaster style, activate Devil Trigger and use Shredder repeatedly. With a lengthy D.T. Gauge, you can chip away a large portion of Echidna's health here. Throw in a Rebellion Combo B and maybe a Stinger (careful not to fall!) and you can knock her health down quite a bit. Though you can't perform a super Buster as Nero could, you are at least be able to stay in place when Echidna becomes stunned and continue the assault.
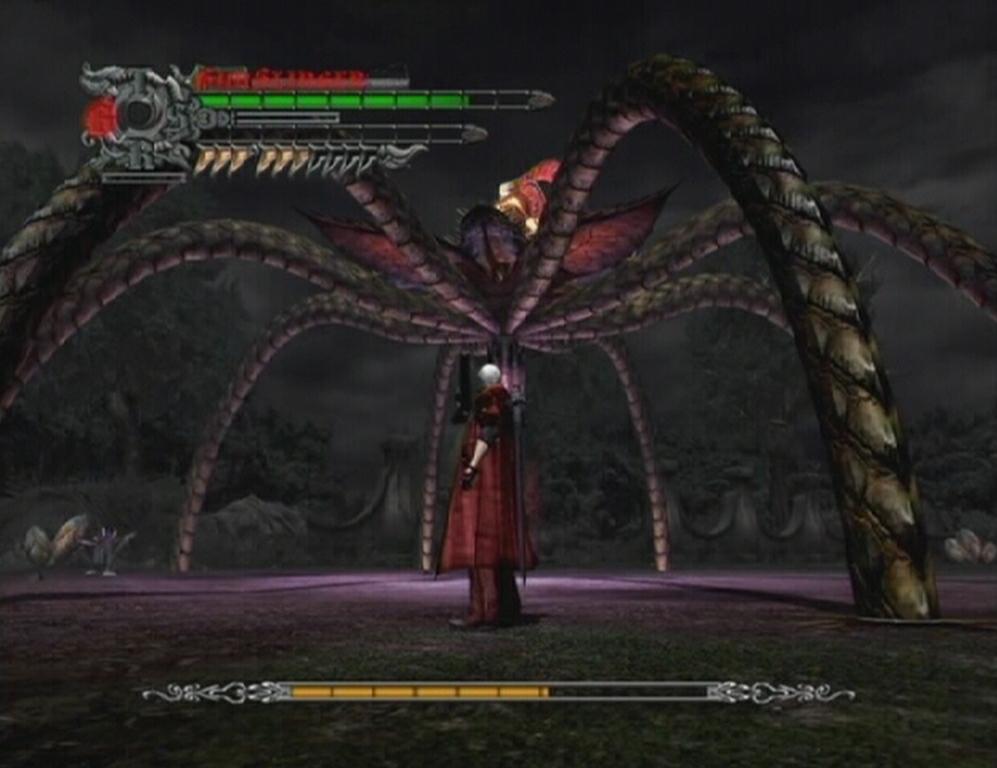 Rooted |
 Devil Trigger |
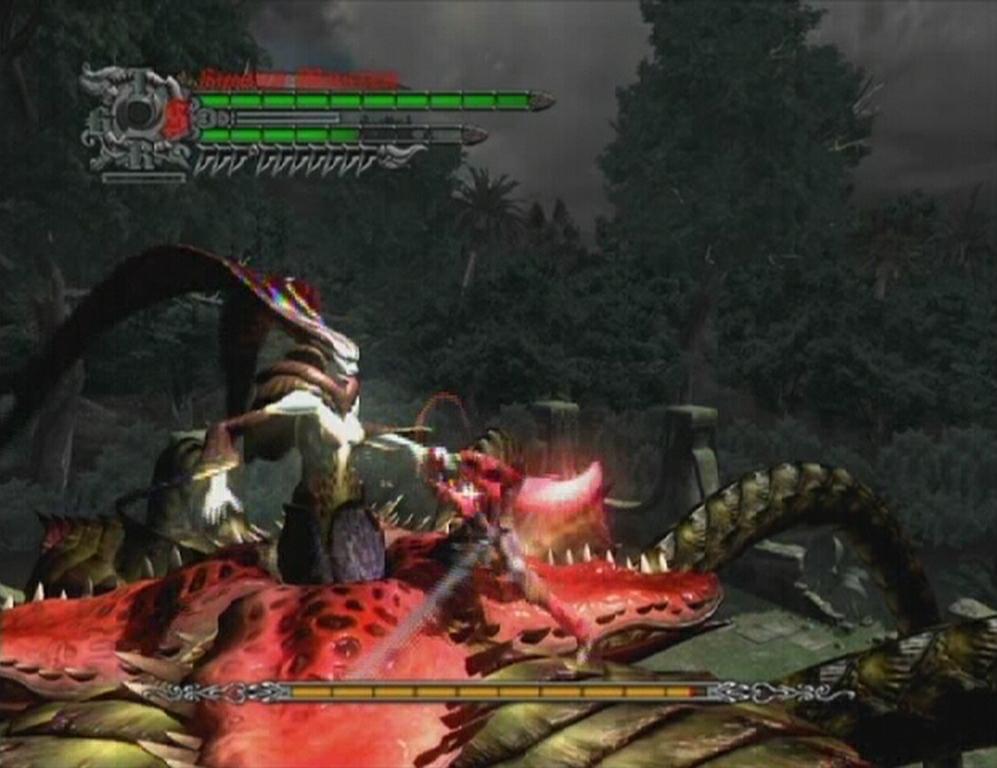
When her health bar has been halved, Echidna powers herself up. She now moves faster and will inflict more damage with each hit. Instead of rooting herself into the ground to spawn Chimera Seeds, she will instead plunge herself into the ground and raise roots around her and attempt to smack you around with them. Avoid the roots and get up to her torso; toggle Devil Trigger if it's available, and hit her with Shredder, Rebellion Combo B and other quick attacks.
Avoid her other attacks with Dash and wait until she embeds herself into the ground again before moving in to deal damage. There's also a projectile attack that you'll want to watch out for; keep your distance from her when she is not in the ground and use Dash to avoid taking damage.
Once Echidna has fallen, you'll receive the Gilgamesh weapon. Feel free to try it out whenever. Head through the exit in the southwest corner of the den to clear the mission.
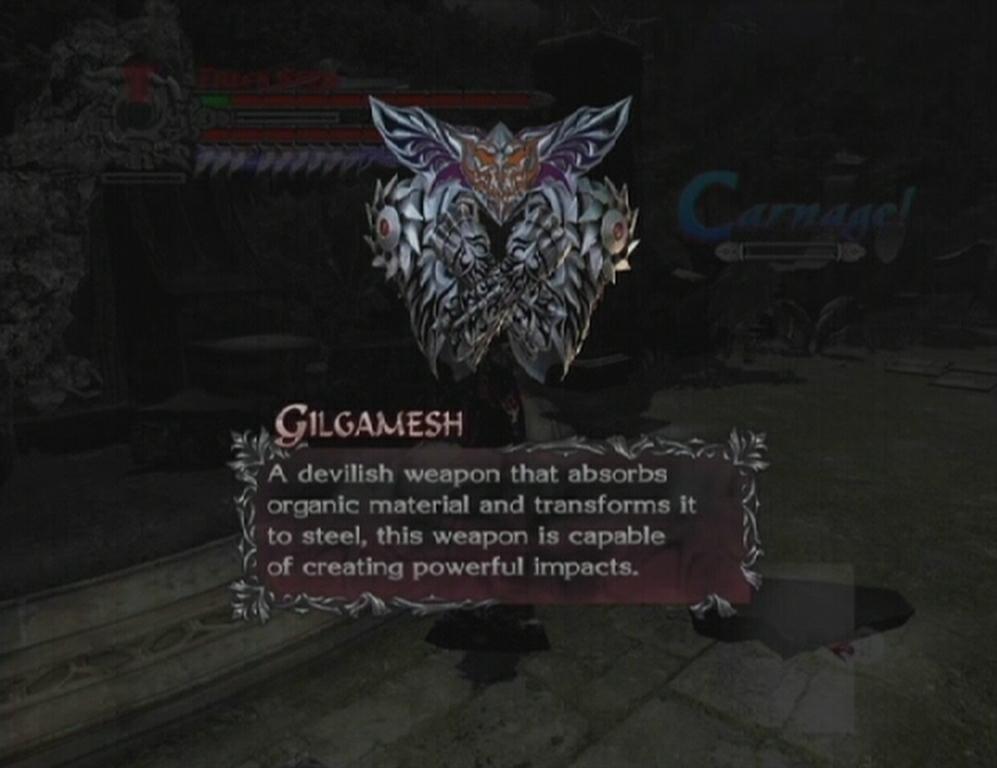 Gilgamesh |
Devil May Cry 4 - Xbox 360 | Devil May Cry 4 - PS3
I have not understood
Please give me a save file after completing this mission.
please give me the save game of mission 13 in dmc 4
Devil may cry 4 is by far the hardest of them all
The Lost woods were a pain in my butt
Nero was better than dante
what is the best way to get there to the demon im at the foggy thingy its a pain in the butt to me it's harder than i thought any ideas to help me
please and thank you
dharak
nice