18 :: The Destroyer
Devil May Cry 4 Walkthrough and Guide
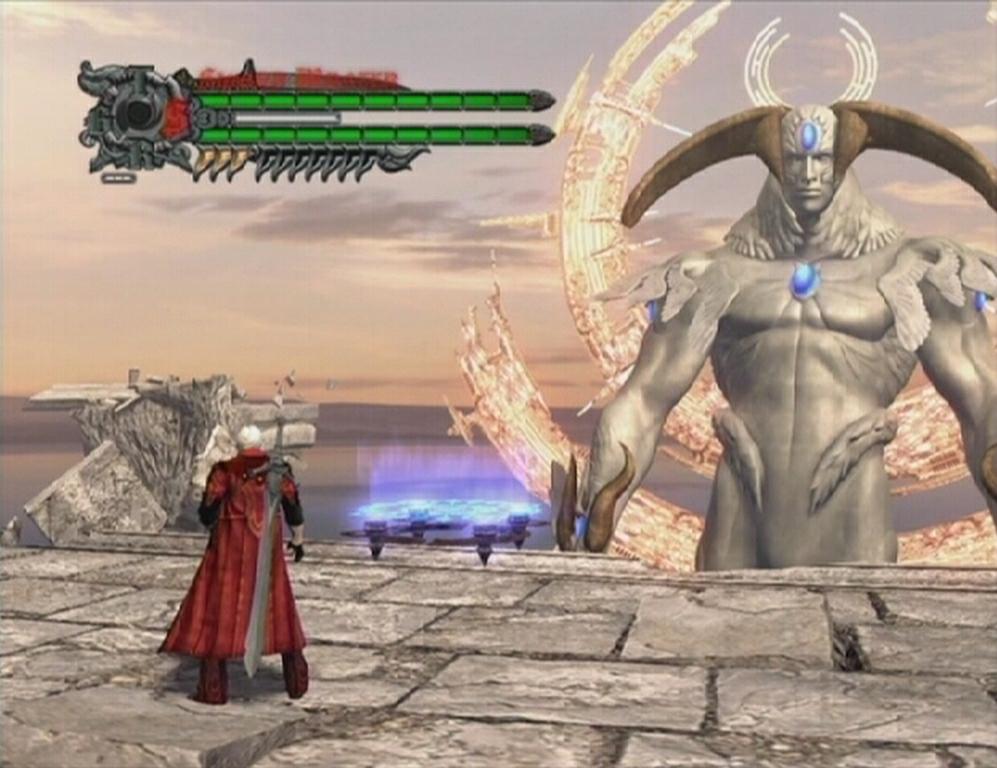
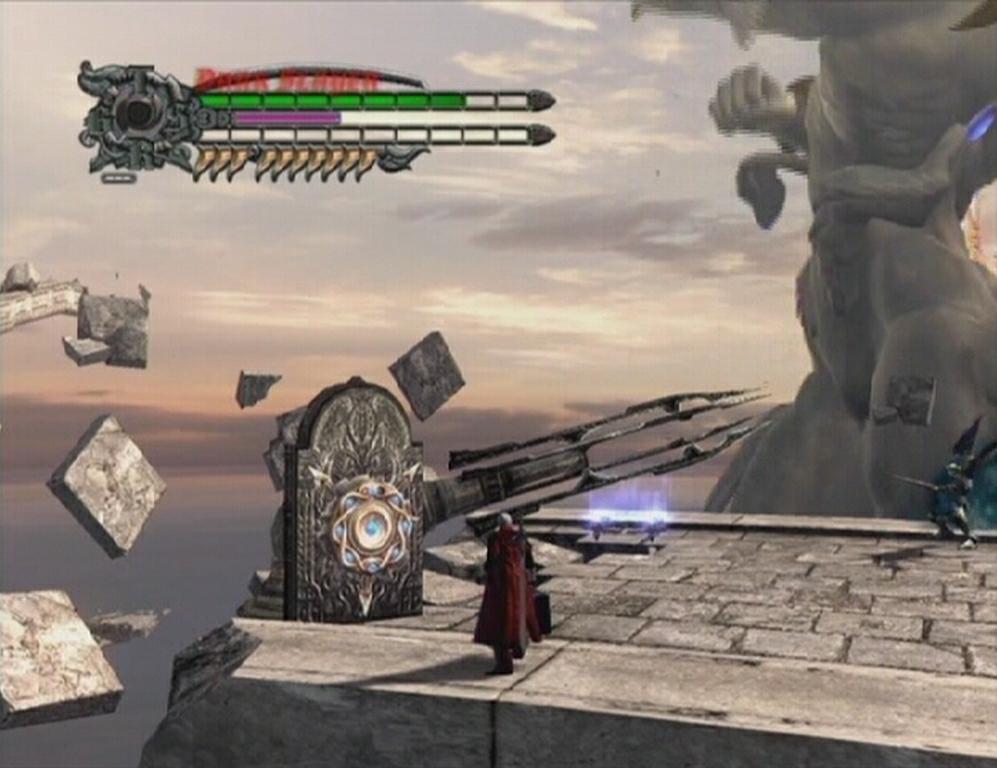
Devil May Cry 4 - Mission 18: The Destroyer
This mission is just one big boss fight. Your objective; take down the colossal Savior! Now, this is no simple task, even for one as well-versed in combat as Dante. You obtain the Yamato at the start of this mission. With this artifact in your possession, the Dark Slayer combat style can be toggled by attempting to switch to the talent you currently have selected. This weapon won't be of much use during this battle, but it may come in handy during subsequent playthroughs.
 Savior | 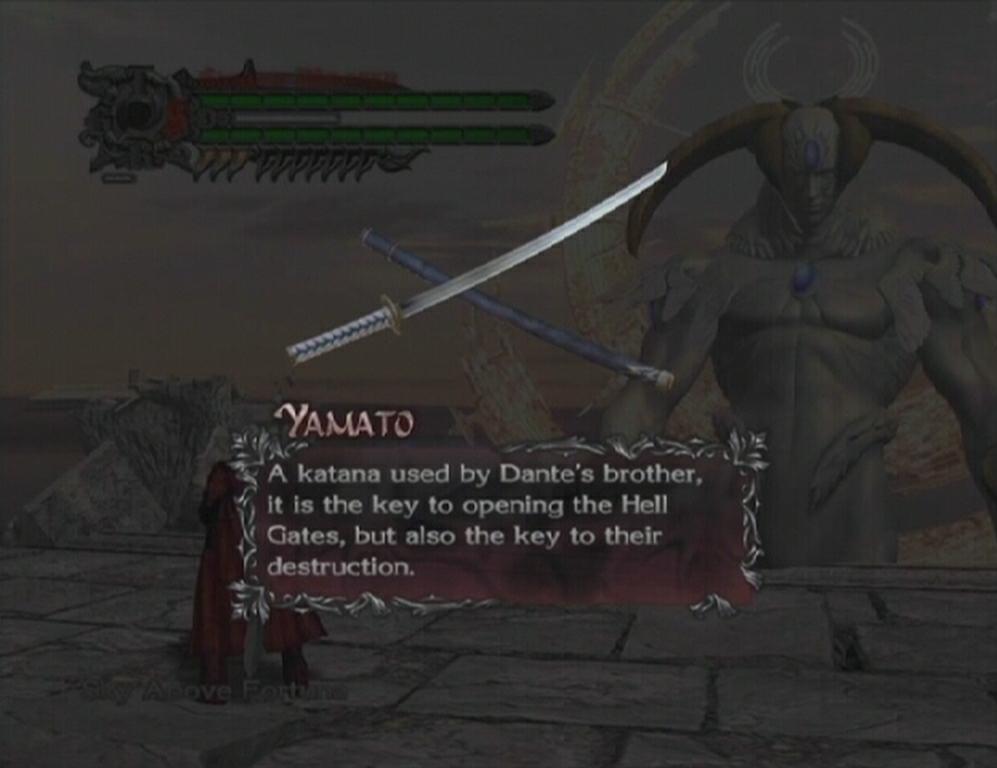 Yamato |
Sky Above Fortuna -- Boss Battle: Savior
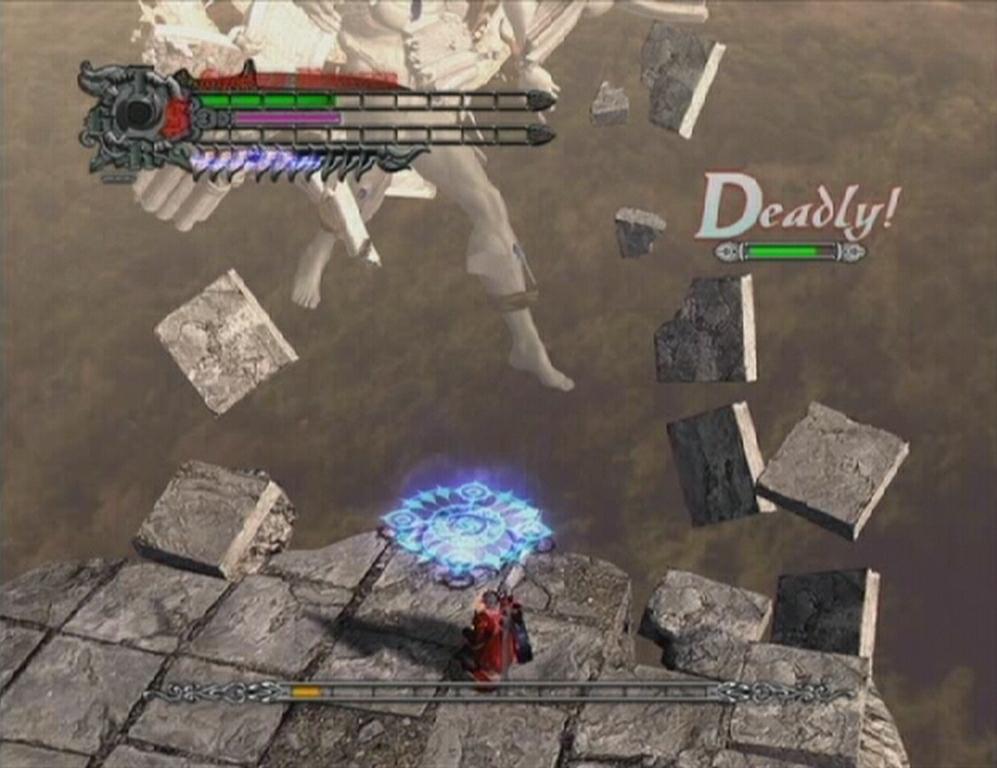
The key to bringing this guy down lies in destroying the crystals on its forehead, wrists, shoulders, shins and back. This battle can be somewhat confusing, as you'll have to use the blue seals to reach the different platforms around the Savior, so it's easy to lose your place. Of course, the Savior won't just stand idly by while you work to destroy the weak points; it'll throw plenty of attacks your way, most of which are quite damaging.
The Savior will likely send three dark orbs your way at the start of the battle. Destroying one of these orbs yields White Orbs that, when collected, will restore some of your D.T. Gauge, so blast just one of them with the shotgun, then Side Roll, jump, or Dash out of the way to avoid taking damage.
Left Wrist/Left Shoulder
First things first, getting off of the starting platform. Hop onto the blue seal to reach a lower platform. Two knights spawn down here; you don't want to waste too much time with these guys, so flip on Devil Trigger and take them out with a few quick Stingers, or sit back and hope the Savior kills them for you. Putting yourself on the lower platform poses significant danger, though, as the Savior can now reach you with its fists.
You're in prime position to take out two of the Savior's weak spots, though. Wait until it's about to hit you with its left hand (dodge fist slams from its right hand) and avoid the slap, then jump onto the back of its hand. Don't jump at all once you're on its hand and it should pull you inwards. Be careful while you're on its hand, though, as the Savior will occasionally conjure dark orbs and launch them towards you once in awhile. Jump just before an orb is about to hit, or use Jealousy Pandora to stop it. You'll have jump to avoid the swipes from its right hand, too; get ready to jump when you see it raising its right arm.
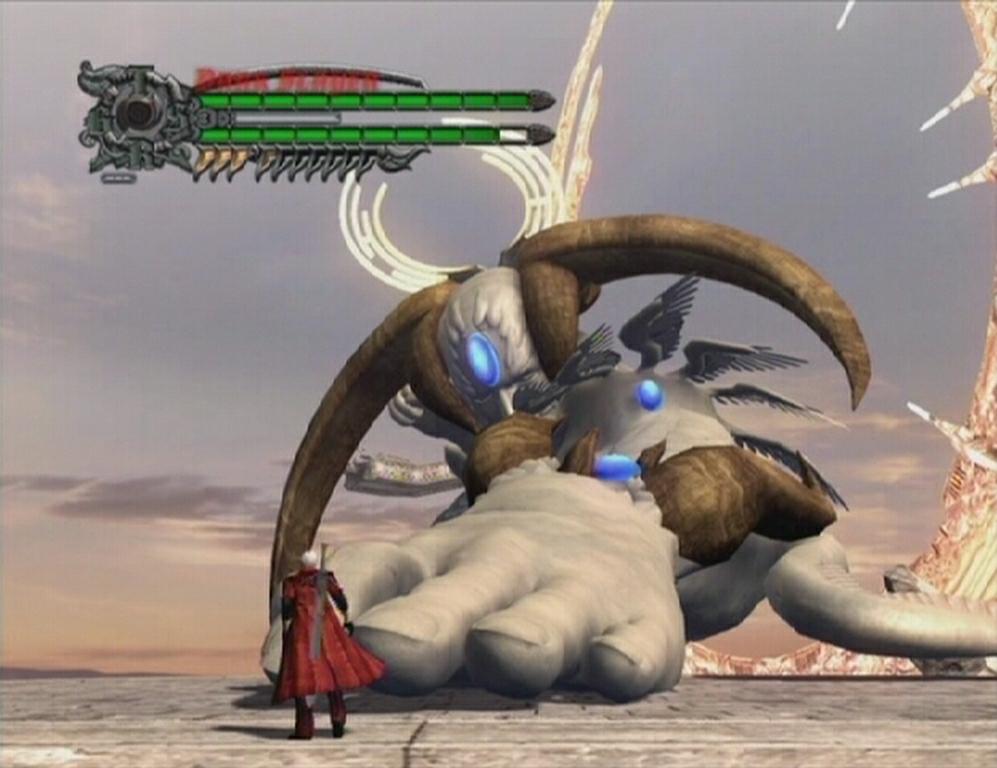 Left Hand | 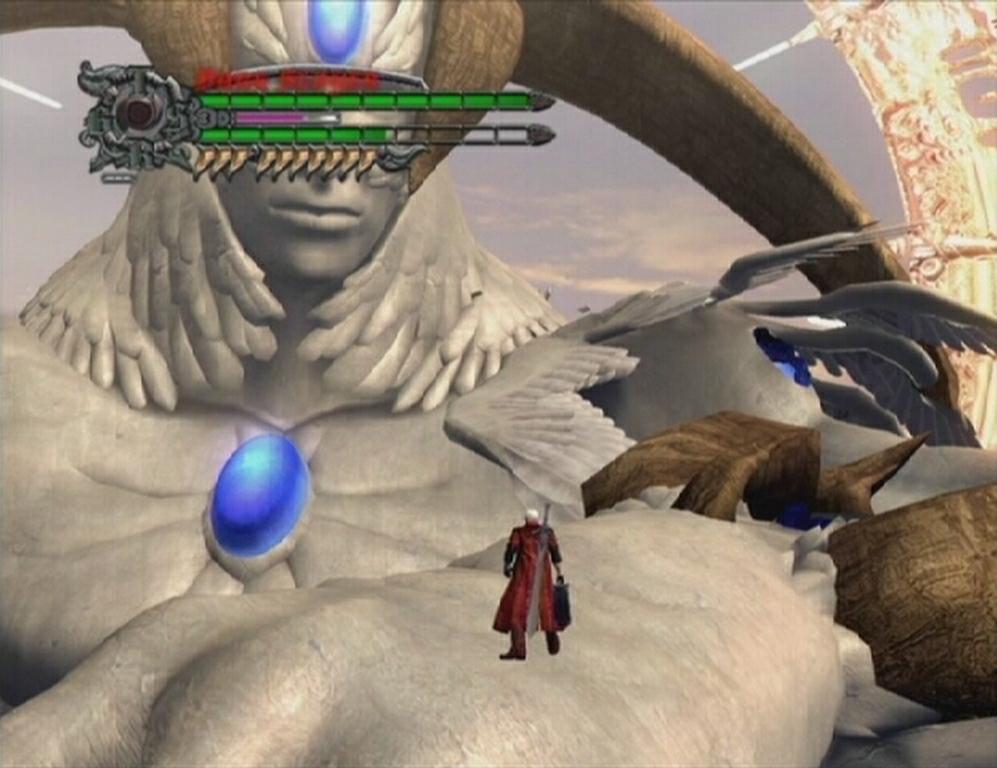 Left Wrist and Shoulder |
Lock-on to the Savior's weak spot, whip out Pandora and use its PF262: Jealousy ability until the crystal breaks completely (you'll see a little shockwave). You can reach the crystal on its shoulder from here, too; move on to that one after shattering the crystal on its wrist. Dante will be thrown down to another platform once both the wrist and shoulder crystals have been destroyed.
Forehead
From here on out, it's impossible to know exactly where the blue seals are going to take you. Basically what you want to do here is get yourself onto a platform that is close enough to the Savior's weak spot or onto a platform where it can perform certain attacks. To take out the forehead crystal, you'll need to get onto its left hand again. Once on a platform where the Savior fist slams and slaps its left hand down, jump onto its hand, wait to be pulled closer, then lock-on and use Jealousy Pandora to shatter the crystal.
Right Shoulder/Right Wrist/Back
In order to destroy the crystals on its back, right shoulder and right wrist, you must land on a platform with a stun gun on it. When you land on one of these, immediately start pummeling the wheel with attacks and activate it before the Savior can knock you down from the platform. The gun shoots out a couple of orbs that will temporarily incapacitate the colossus.
 Stun Gun | 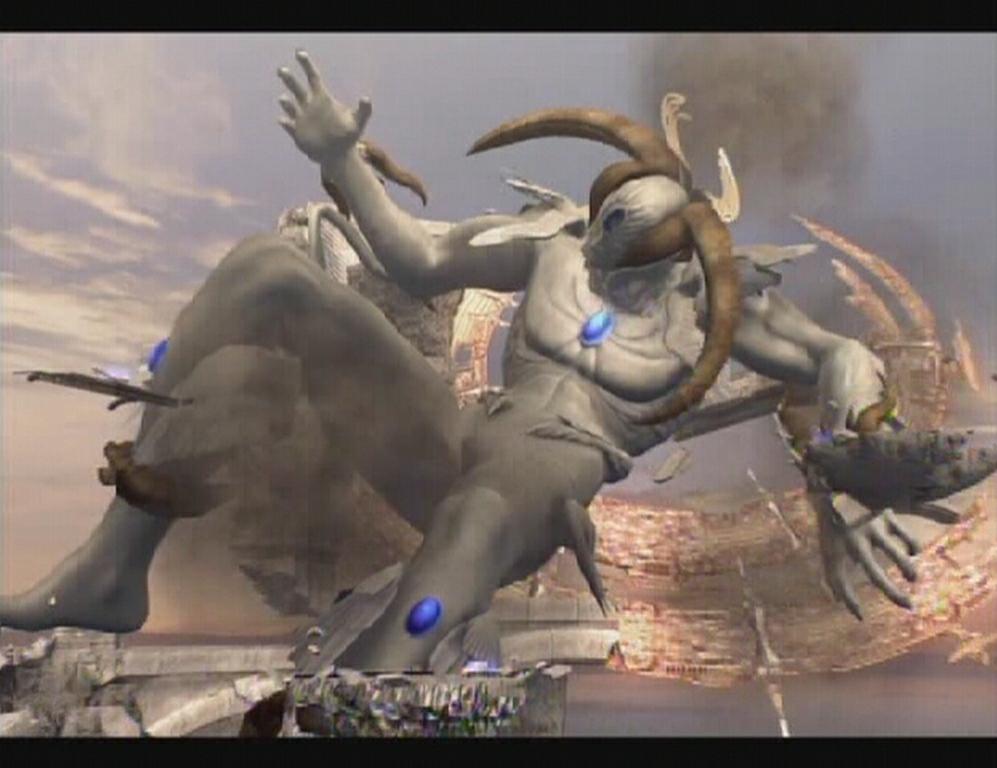 Stunned |
While the Savior is stunned, you can shatter the crystals on its right arm while it rests it on one of the double level platforms. The blue seal from that platform will put you on the path to another that runs alongside the statues back. Since it's so close, you can hit its back crystal with melee attacks.
Shins
It can be hard to know if you're on a platform that is suitable for hitting the shin crystals. Likely the Savior will do nothing but launch dark orbs and occasionally round-up, gather energy and throw a single giant orb towards you. Try to lock-on with Pandora and use Jealousy; if the style meter indicates that you're dealing damage, it's a good platform. So all you really need to do then, is jump up and Air Hike into the air and hit the shin crystals with Jealousy Pandora until they're both shattered.
 Shin Crystals |
Since there are no Green Orbs in the field, you'll have to make due with whatever you might have stored away in your inventory if your health is low. However if you purchased enough Purple Orbs to acquire a lengthy D.T. Gauge, you can flip on Devil Trigger to gain small amounts of health while it's active. Additionally, you can obtain White Orbs to restore the gauge by shooting down the four dark orbs that the Savior throws at you. You can pretty much avoid death if you can keep Devil Trigger active indefinitely while targeting the Savior's shin crystals. Dodge the single orbs, though, those just hurt.
Final Strike
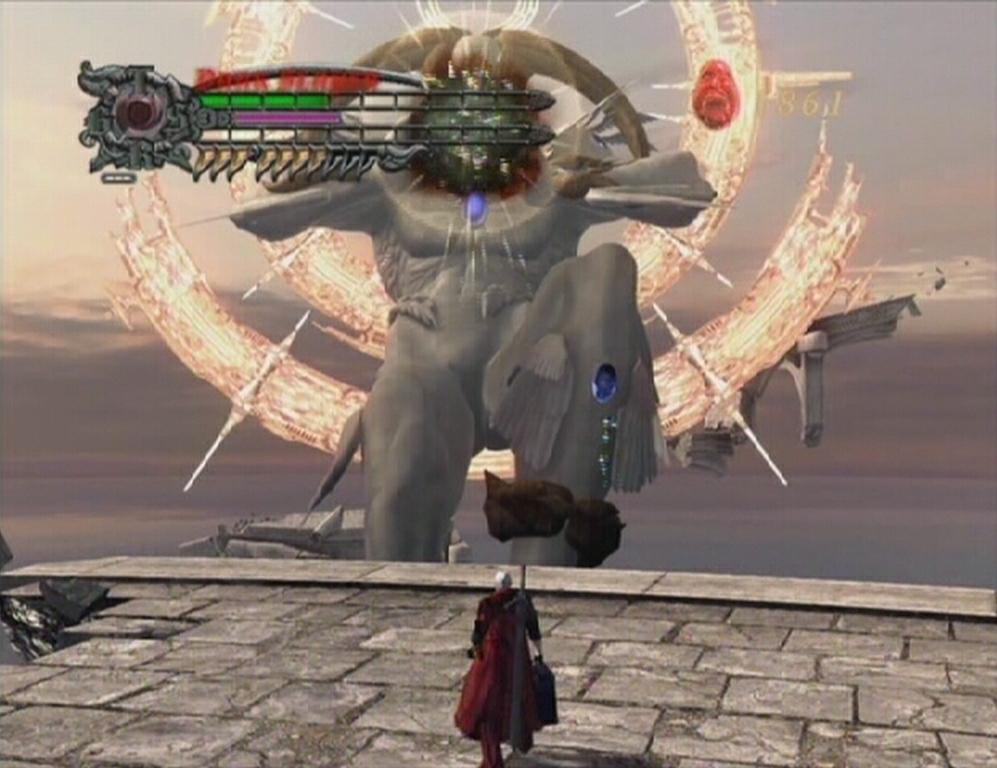
Once all but the Savior's chest crystal remains, it will begin to charge and eventually fire a gigantic laser beam at your platform. To avoid taking a large amount of damage, simply use the blue seals to leap from platform to platform. You're toast if you get caught in the beam, so keep an eye out for the Savior's charging phase (it's hard to miss). Use the blue seals to leap to other platforms until the Savior's health bar appears at the bottom of the screen.
 Charging |
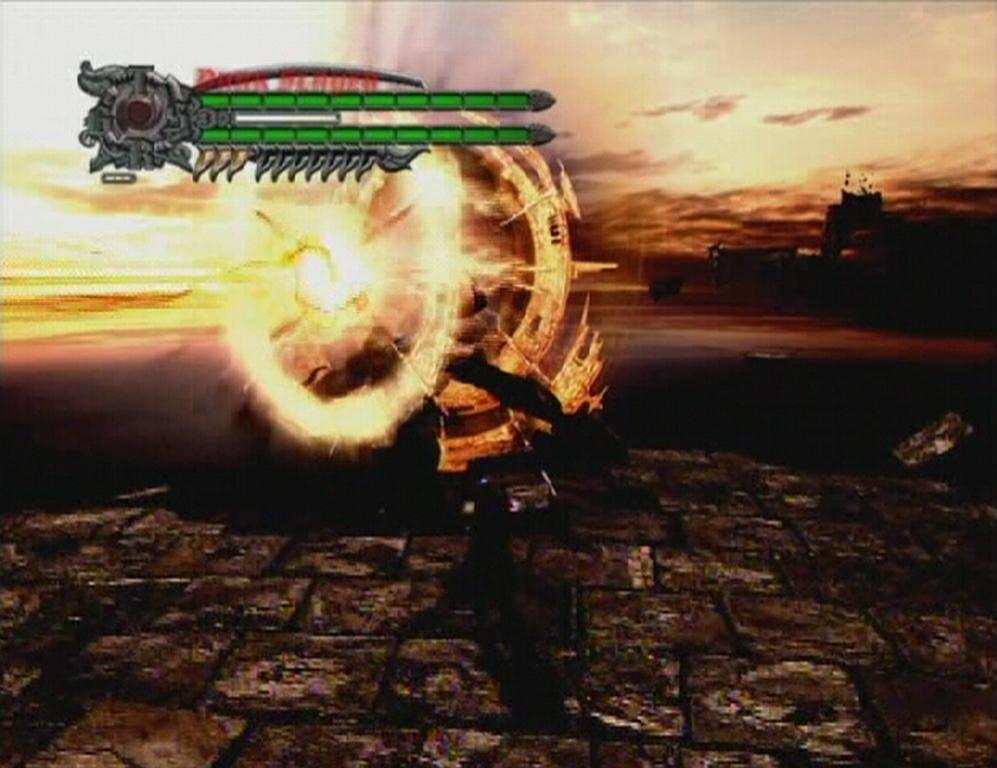
The chest crystal is your target now. Basically you need to jump from platform to platform and use Jealousy Pandora to whittle down the Savior's health bar. At first it seems that bringing this guy down will take a very, very long time, however the Savior will become stunned once you've dealt enough damage, and you can then use a blue seal to reach the center platform right next to its chest crystal. With a full Devil Trigger its health can be knocked down a great deal. Spam Stinger like there's no tomorrow, and throw in a Shredder or two for good measure. If you're on one of the upper platforms, the Savior may hug up very close to it and slowly begin to rise; get ready to toggle Devil Trigger when this happens, and bust out the best combo you can within the brief timeframe that the chest crystal is exposed.
 Stunned | 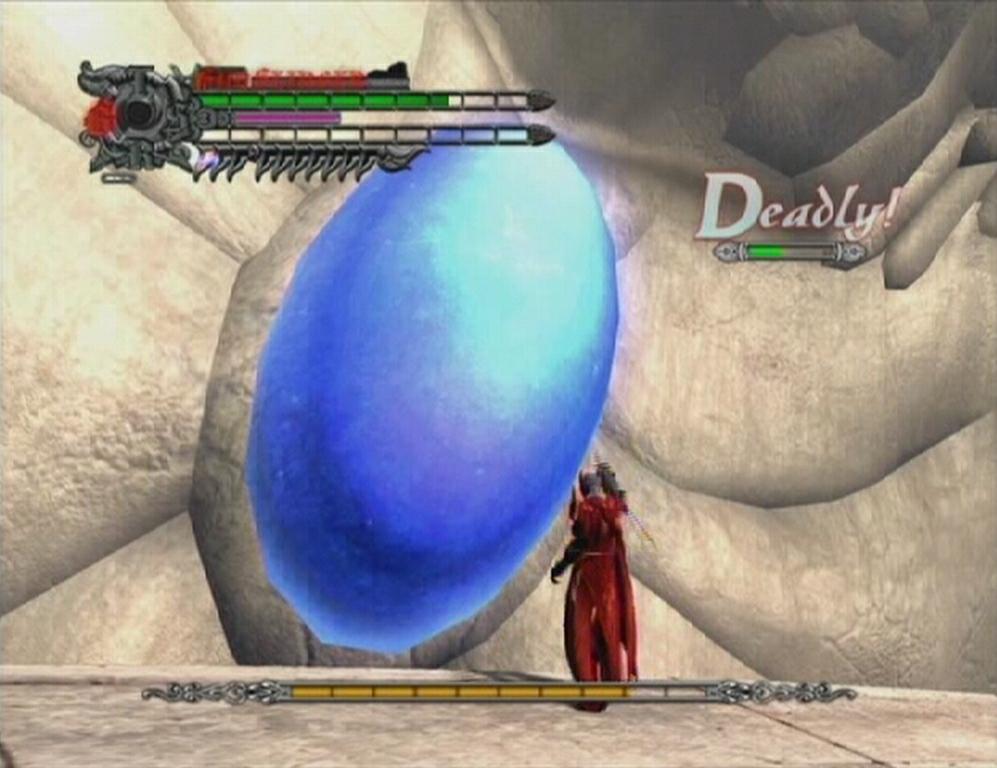 Chest Crystal |
Continue hitting the Savior's chest crystal with gunfire, get to the central platform when it's stunned again and deal as much damage as possible. Remember, you can restore some of your health while Devil Trigger is active, so toggle it if you're close to death and lack healing items.
Devil May Cry 4 - Xbox 360 | Devil May Cry 4 - PS3
There is an octopus like creature in one of the platforms which will give you green orbs .
this game is awesome
You can use Ebony & Ivory to shoot down the four orbs that the Savior launches. That way it will be easier to shoot down all four orbs