15 :: Fortuna Castle
Devil May Cry 4 Walkthrough and Guide
Devil May Cry 4 - Mission 15: Fortuna Castle
Blue Orb Fragment -- Head up the stairs on the right to find a Combat Adjudicator. Attain a style grade of SS to receive the fragment and some Red Orbs.
 Combat Adjudicator |
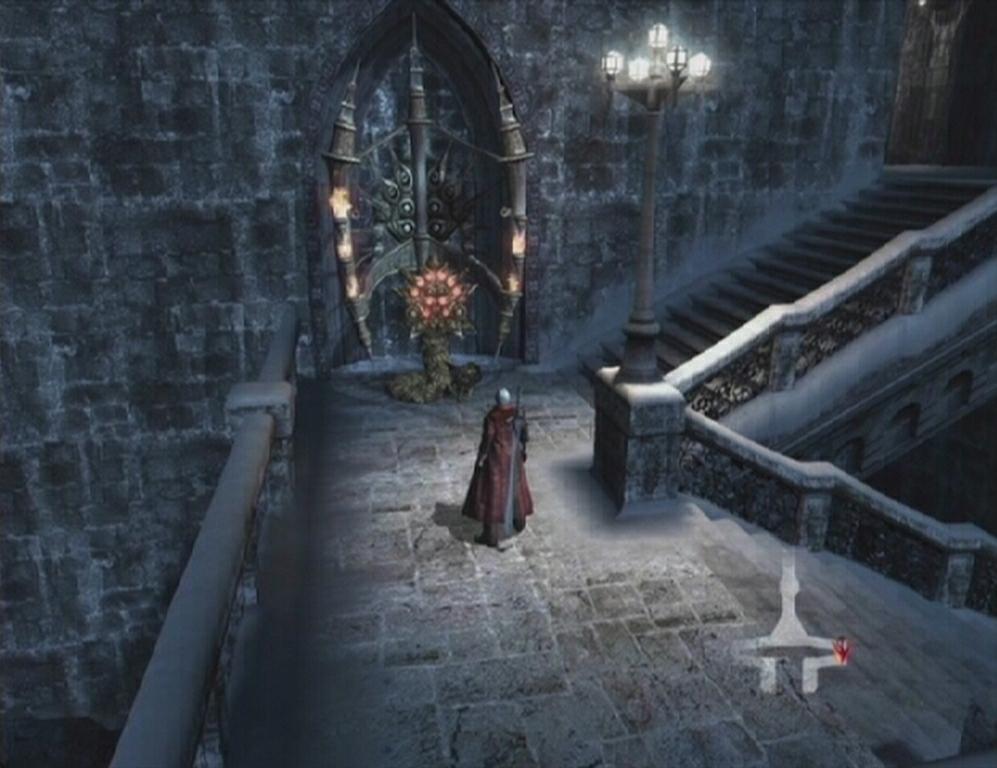
Go through the door in the southeast corner of Foris Falls to reach the Central Courtyard.
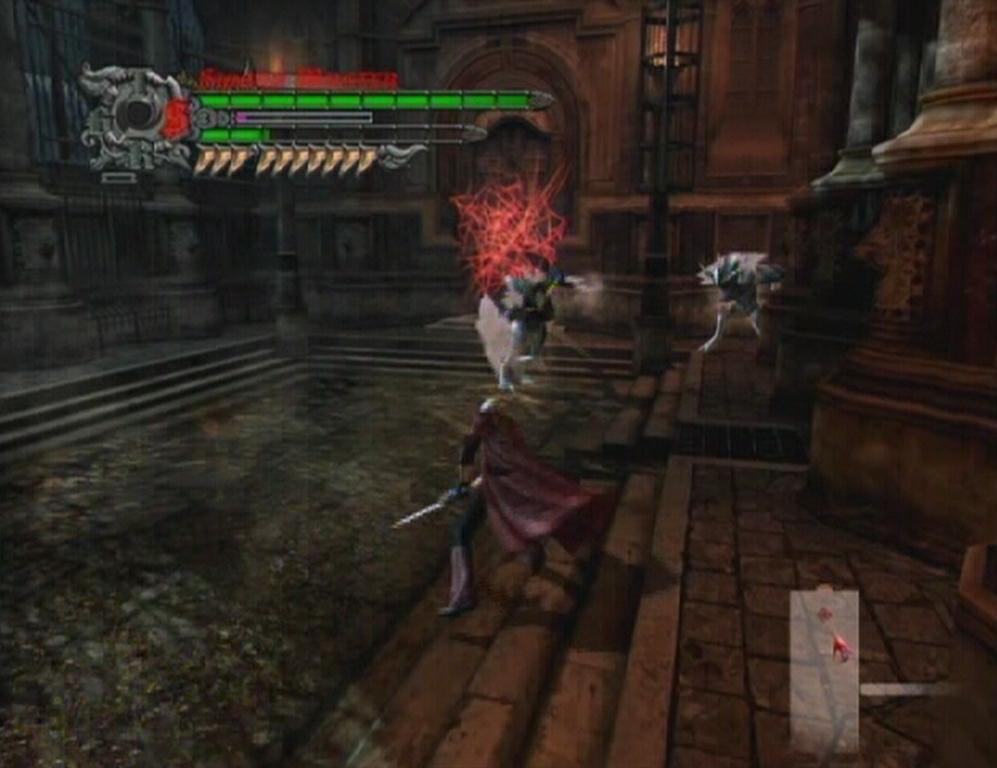
Central Courtyard -- Blitz
About midway down the walkway, a cutscene introduces a brand new type of enemy called Blitz. Blitz are without a doubt the toughest of the ‘lesser' demons that you will encounter in Devil May Cry 4. They are agile and pack quite a punch. Not only that, but they're protected by an electric shield, so any attempt to melee one results in a sharp jolt. The Blitz's electric shield can be removed, however; it's best done using the shotgun with Charged Shot (without locking-on), as well as the Round Trip Rebellion ability.
 Blitz | 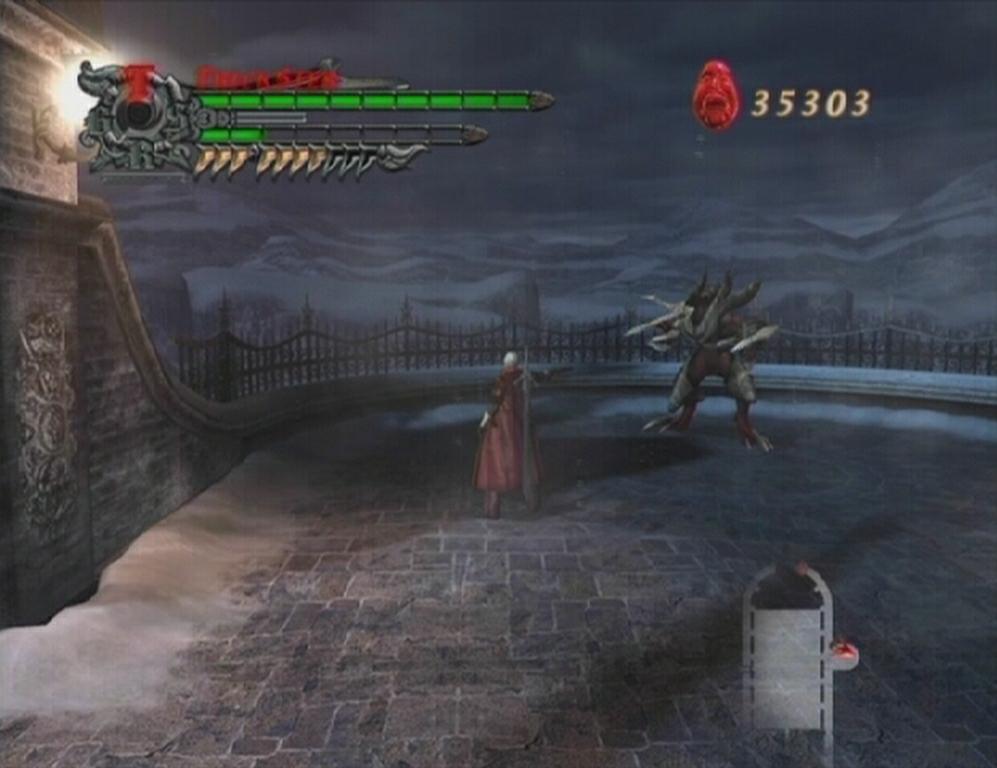 Shield Down |
Of course, the Blitz won't stand idly by while you bring down its shield. All of its attacks are quick and effective, so have the Trickster style toggled and Dash to avoid taking damage. You'll have to jump and Air Hike to avoid its electric beams sweeps, though. Once its shield is down, switch to Swordmaster, flip on Devil Trigger and go to town. Most of its melee attacks here can be interrupted by your own attacks, so don't let up until you see sign Blitz's shield returning.
When you've dealt enough damage, the energy surrounding the Blitz will turn red. It's close to death at this point, but also a lot quicker and even more deadly. Keep your distance when it reaches this stage, as it will attempt to grab hold of you, deal a ton of damage, and then self-destruct. Hit the Blitz with a few more Charged Shots and then stand back as it explodes.
Following that endeavor, continue down the walkway and proceed through the door at its end.
Grand Hall
The first floor of the castle is completely covered in ice, so you'll have to find some way to remove it before you can leave. Start along the eastern walkway and use the only accessible door there to enter the Gallery.
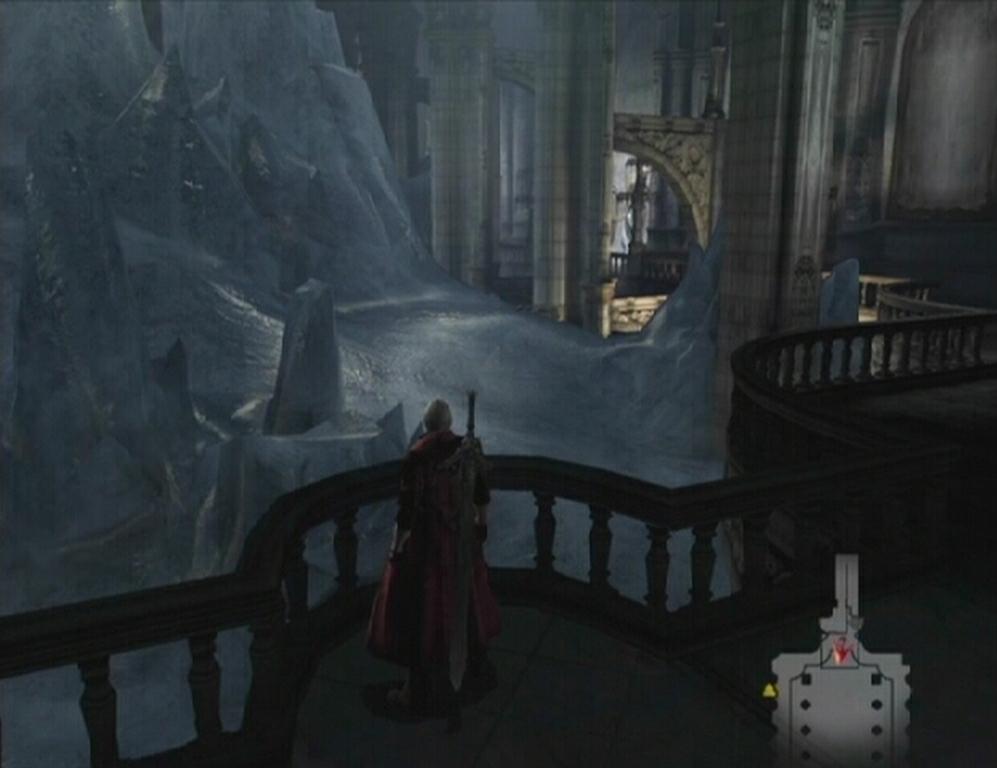 Ice |
Gallery/Library
Make your way to the opposite end of the Gallery and go through the door there. Enter the Library at the south end of this area and kill off the Angelos within. Proceed through the passage at the south end of the Library. Hit the Red Orb cluster here with quick attacks until it shatters to gain a large amount of Red Orbs.
Afterwards, drop down to the bottom of the stairwell. The parchment for Secret Mission 09 can be found down here; it's attached to the stairs, just left of the door. Attempt it if you wish, otherwise head through the door down here.
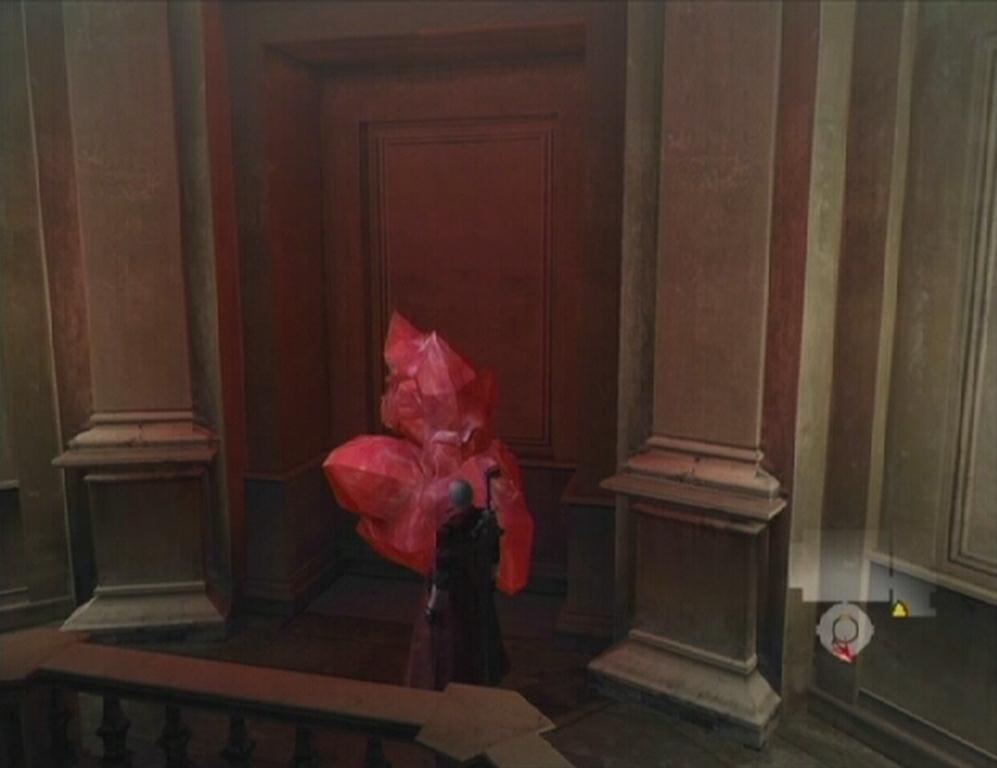 Red Orb Cluster |  Secret Mission 09 |
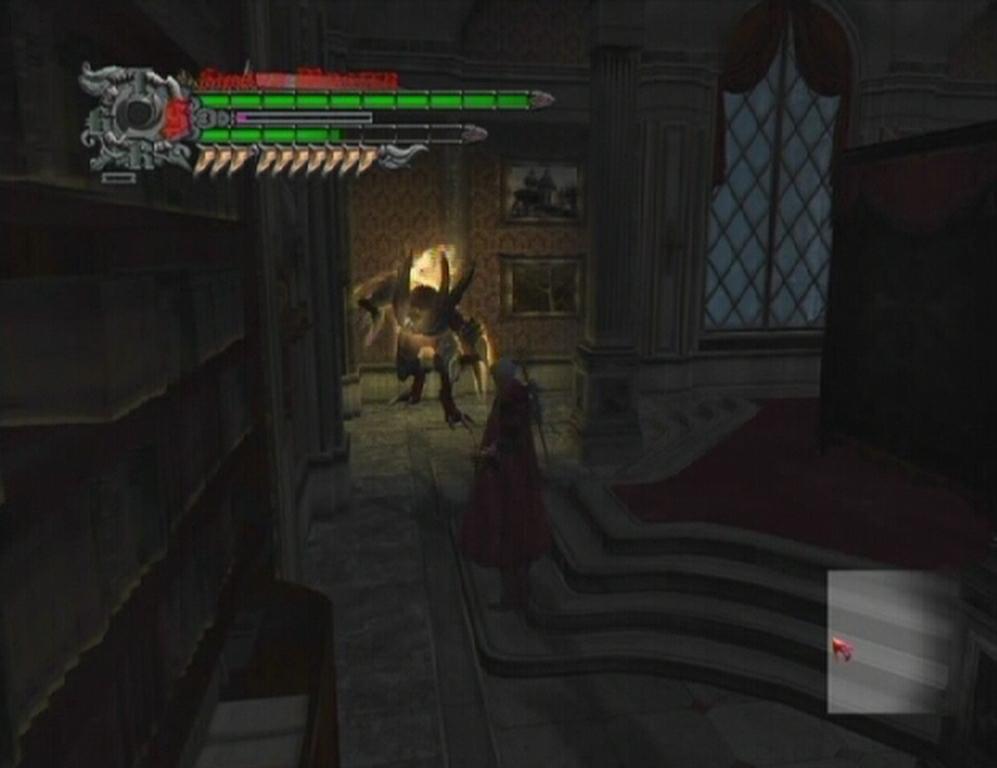
Large Hall/Dining Room
Start down the hall and enter the Dining Room using the door in the eastern area. Make your way to the room at the end of the corridor to face some Scarecrows, including a couple of the Mega variety. Once the Scarecrows have been dealt with, use the door to return to the Large Hall. Move to the west end of the hall and use the only accessible door there to enter the Torture Chamber.
Torture Chamber
A large number of Frosts spawn in the chamber; you've dealt with these guys plenty of times before, so taking them out shouldn't be a problem. Kill the Frosts, then head through the doorway at the south end of the chamber and drop down to the pit below. Slash away at the wheel to activate a special blue seal. Hop onto the blue seal to ascend to the second floor.
 Frosts |  Wheel |
Head through the door at the other end of the walkway.
Master's Chamber
You'll face another one of those Blitz creatures in the Master's Chamber, which is just wonderful. Take care of the Scarecrows in the room first, as you won't want them in your way while you're trying to handle the Blitz. Blast away the Blitz's shield with the shotgun, then flip on Devil Trigger and slash away. Repeat this process as many times as necessary. Remember to keep your distance when the energy surrounding it turns red.
 Blitz | 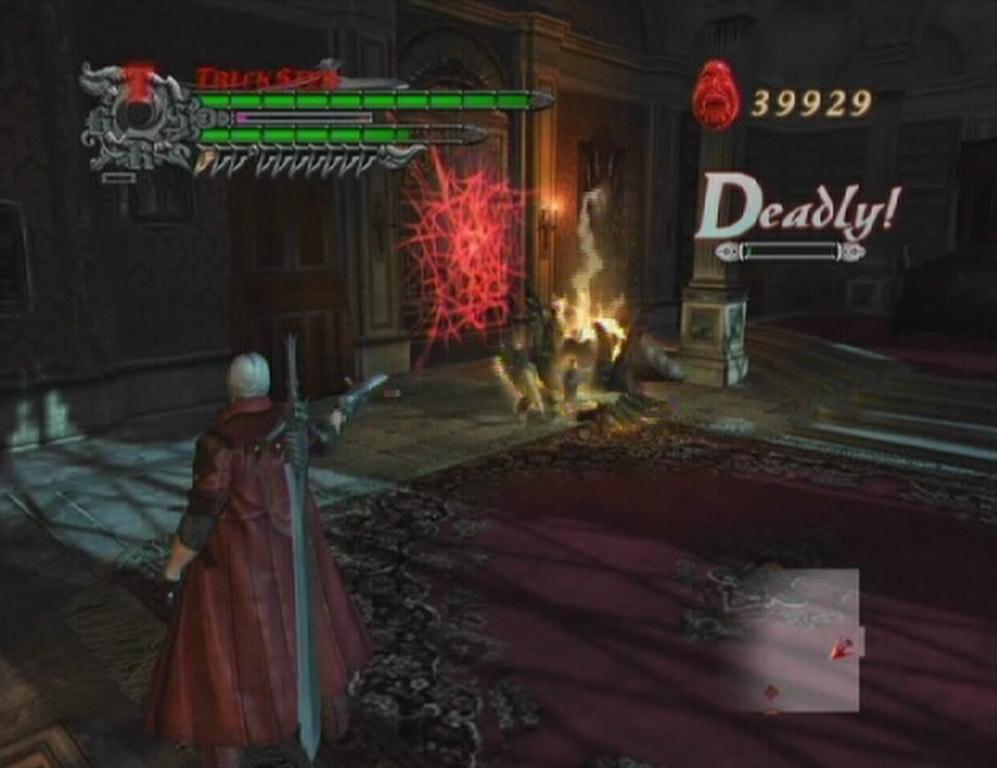 Blitz |
Once that's over and done with, exit through the door to the next area.
Soldier's Graveyard
Tip -- A Gold Orb sits on one of the stone ledges along the eastern side of the graveyard. To get to this orb, first smash the statue in the middle of the area, hop onto the pedestal, and east. Toggle the Trickster style, jump towards the ledge, use Air Hike and then Sky Star to land on the middle ledge. From here you can use Sky Star and then Air Hike to grab the Gold Orb to the left and the large Red Orb to the right.
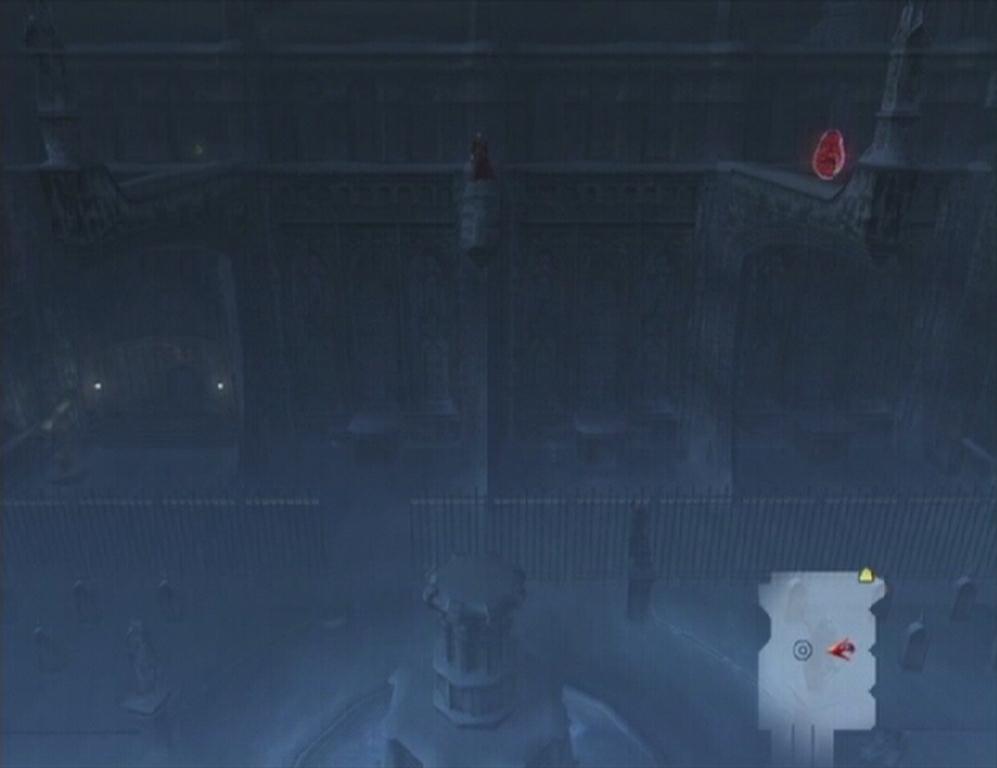 Orbs |
Smash the graves and statues here to gain some Red Orbs before heading through the door in the northeastern corner of the area.
Central Courtyard -- Boss Battle: Dagon
Don't be fooled by the new name and color change; in terms of abilities and attack pattern, Dagon is Bael through and through. There really isn't much that can be said here because you've already faced and beaten this guy once before. This fight is made even easier with Dante's weapons and abilities at your disposal.
 Dagon | 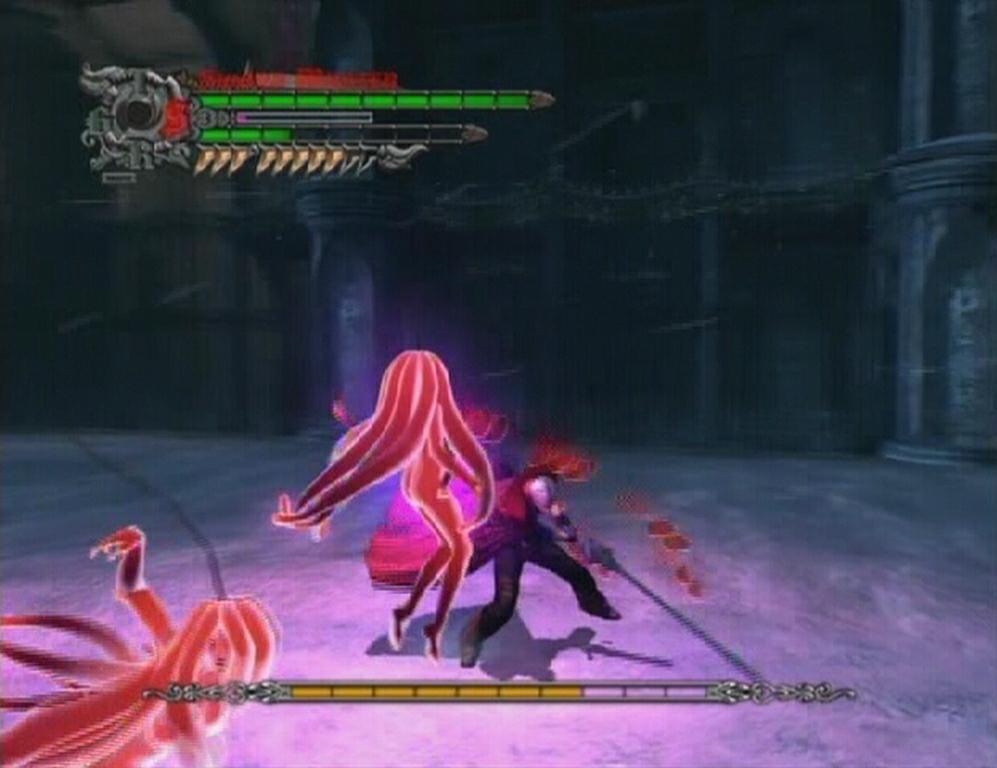 Rusalkas |
Jump, Side Roll, or Dash to avoid Dagon's attacks. When he disappears and leaves you to face the Rusalkas, slash away at them with your sword to bring him back. If Dagon catches you in his mouth, toggle Devil Trigger and he'll spit you right out. While Dante lacks Buster, a Devil Trigger Shredder will absolutely wreck this guy. Stay away from his mouth, attack from the side and you'll bring him down in no time. You receive the devastatingly powerful Pandora gun after defeating him.
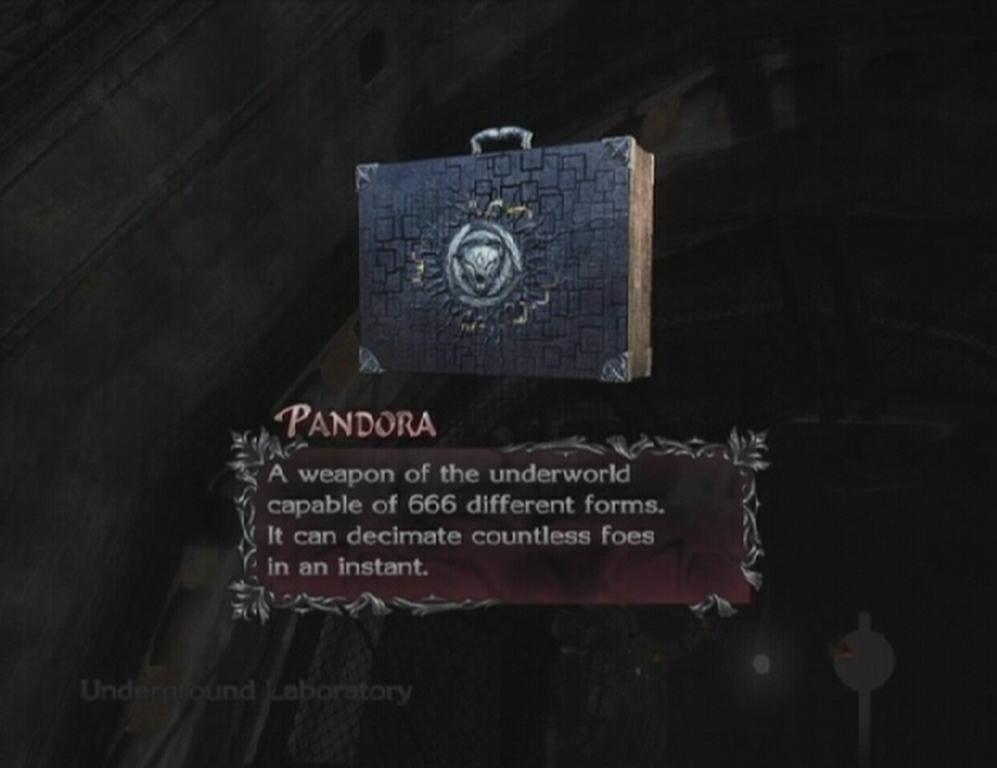 Pandora |
Devil May Cry 4 - Xbox 360 | Devil May Cry 4 - PS3
I was Right, after the Boss Battle, just drop down and mission is cleared. I love this Game!
Was a little confused after the Boss Battle, It dropped me into a tunnel. I'm going for it anyway...................