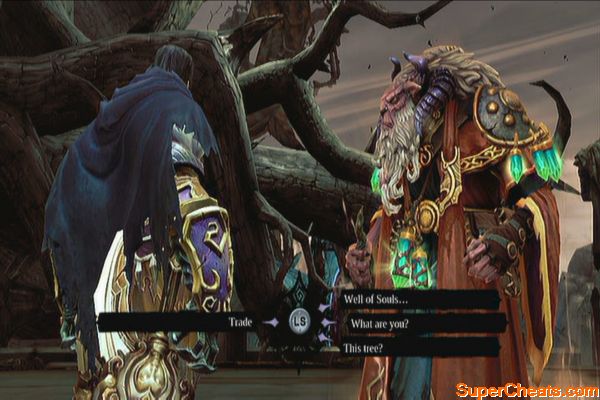
The Lord of Bones (The Kingdom of the Dead)
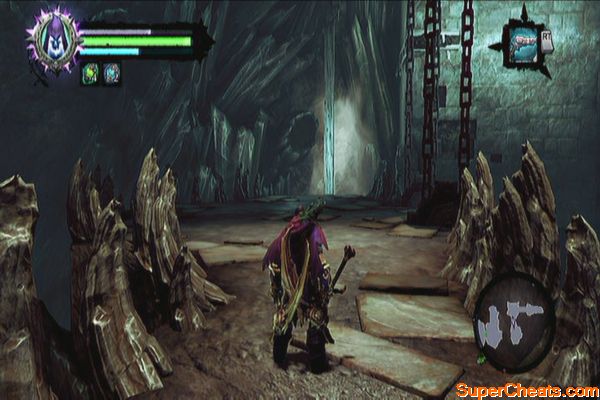
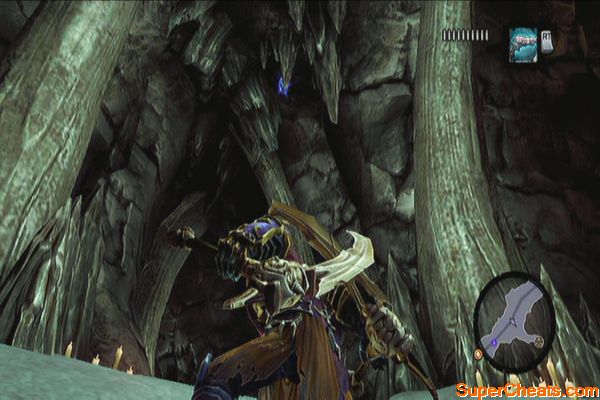
Talk to Ostegoth and ask him all the questions to learn more about your current predicament. You can also check his wares and he will give you a new sidequest. (Lost Relics) Head south and summon Despair once you're able. Continue riding south to the Craglands until you reach Leviathan's Gorge. Head to the east first to find an Etu-Goth relic (1) at the end.
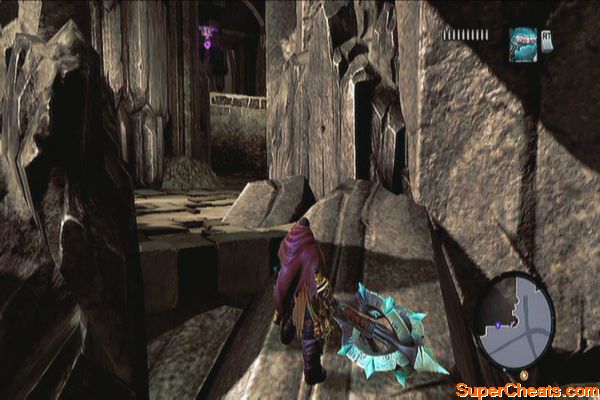
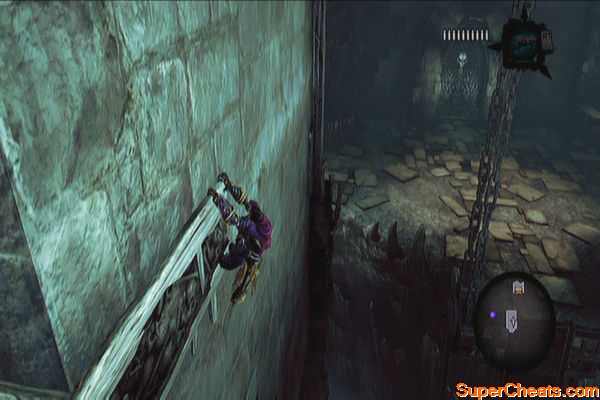
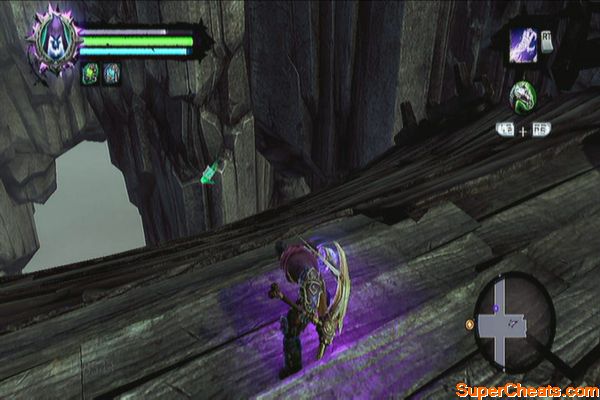
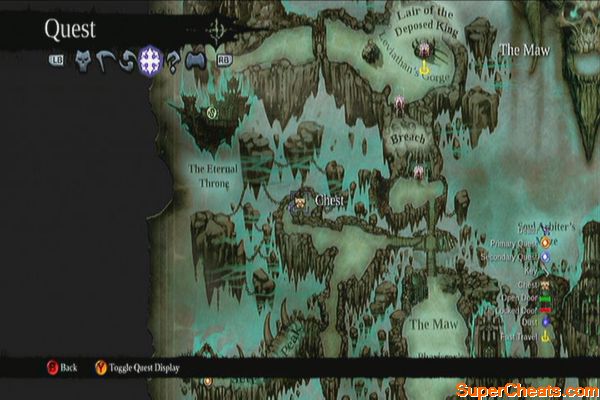
Cross the bridge and ride to the southeast to register the Lair of the Deposed King dungeon in your map. Turn to the west next so we can loot a treasure chest before moving. You should find a hand-hold on the wall. Cling on it and scale the wall down. Once you've reached the bottom, go up the ramp to find some deathgrip hoops under the bridge.
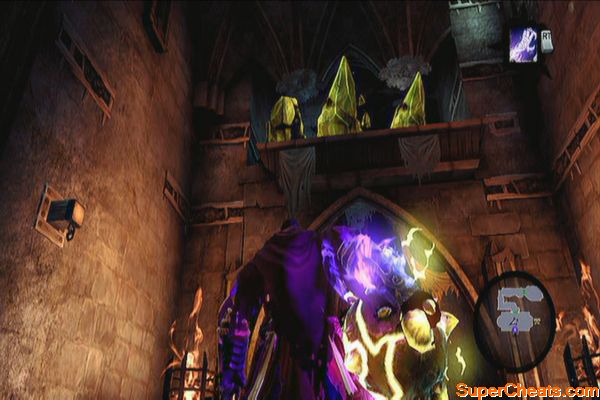
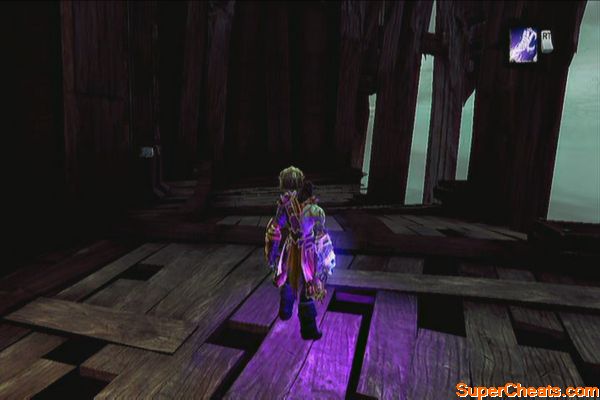
Keep swinging until you reach a post. Don't jump ahead yet; instead, jump to the crystal formation beside you. There's a shadowbomb behind it that you can pull using deathgrip and destroy the crystals. Return to the post and climb up, and use deathgrip to swing to more hoops until you reach the ledge with a treasure chest and pressure plates. You can't do anything with the pressure plates for now so just loot the chest, and fast-travel to the Lair so you don't have to backtrack.
|
|
You can explore the Lair of the Deposed King though defeating it's boss, Argul won't be possible at your current level. You can loot the dungeon up to the boss, then just come back later to challenge him again once you're a lot stronger. Refer to the side quests section for the complete walkthrough in exploring the Lair.
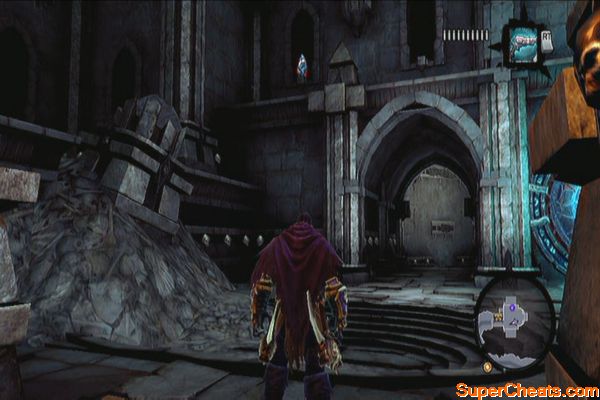
The Breach
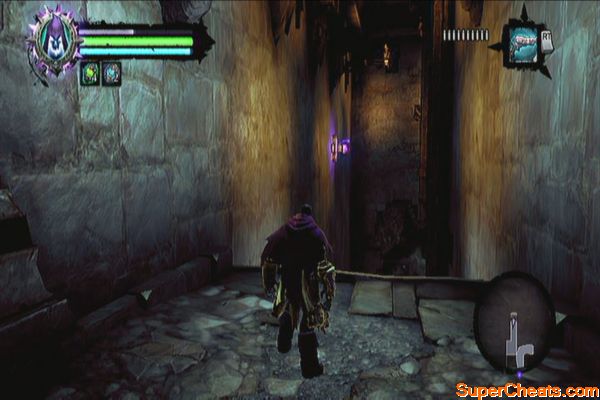
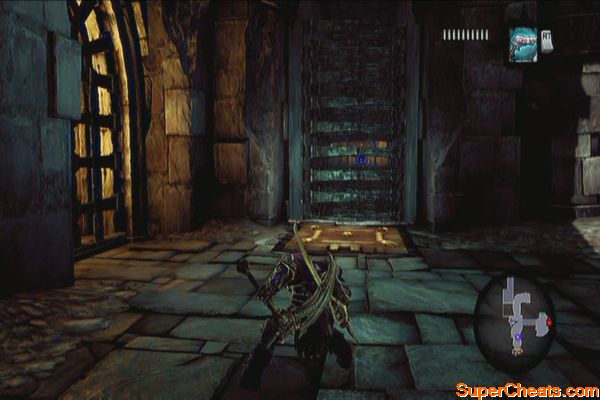
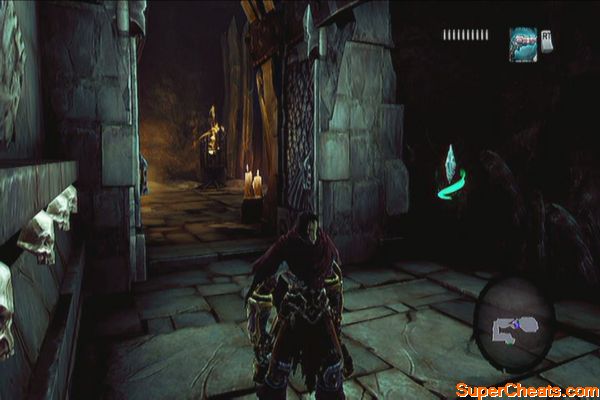
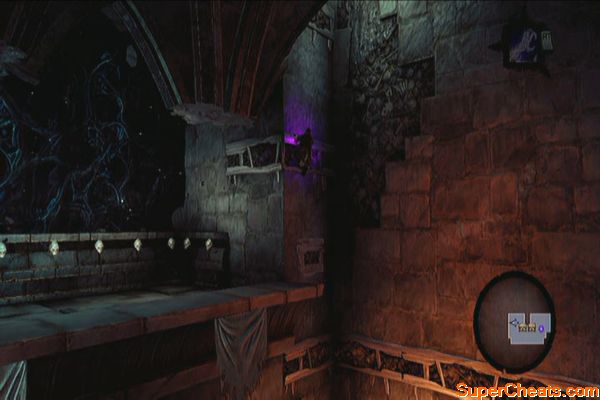
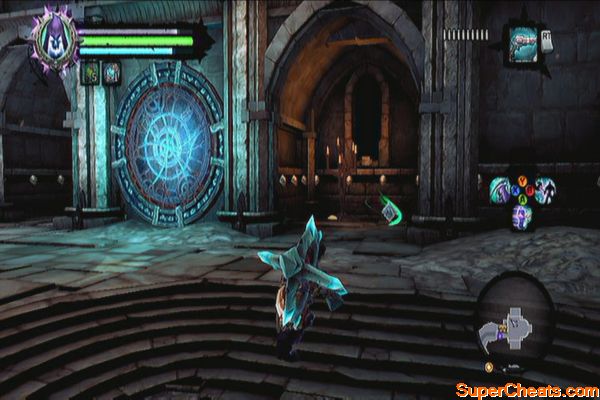
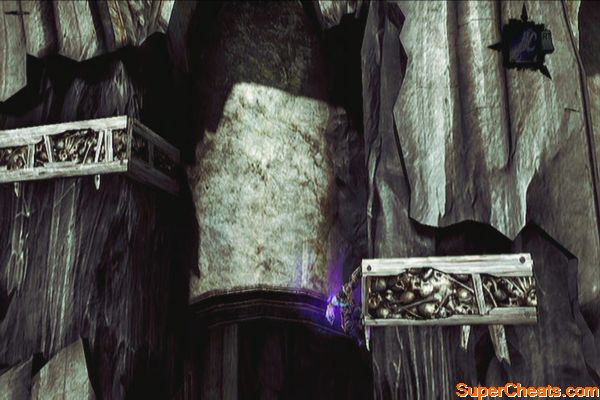
Head south to reach the Breach. After entering, wall-run until you grab hold of a growth. Instead of moving to the right, press focus then look behind to find a deathgrip hoop. Jump and use deathgrip on it then once again up then press jump to jump backwards and grab hold of the ledge.
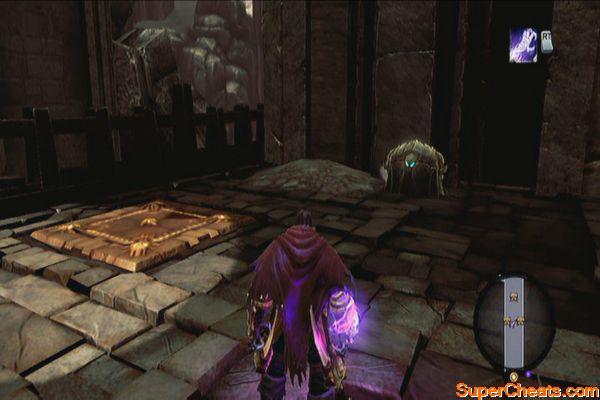
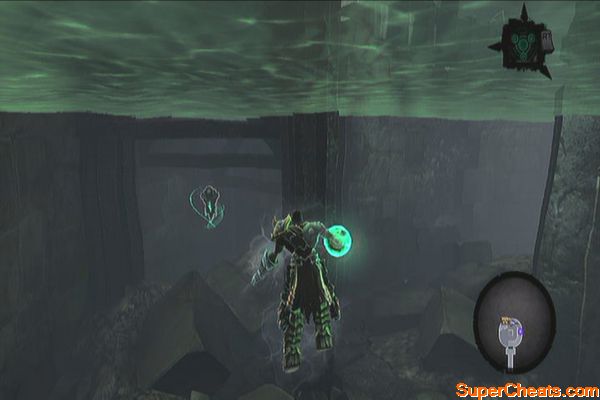
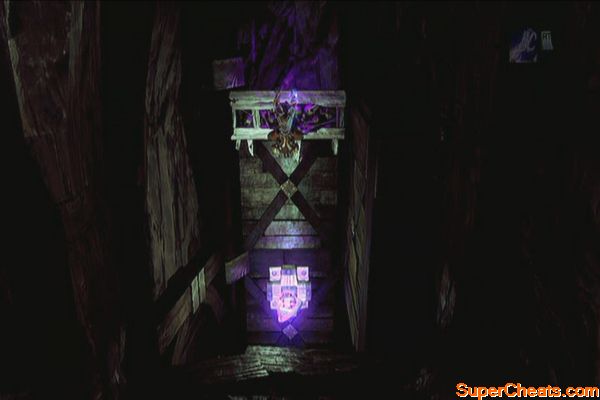
Loot the chest and step on the pressure plate. Immediately get past the gate and loot the second chest around the corner. You can't get the chest with the double gates for now so leave it for the meantime. Drop down the shaft until you reach outside. Jump down below to find more pressure plates.
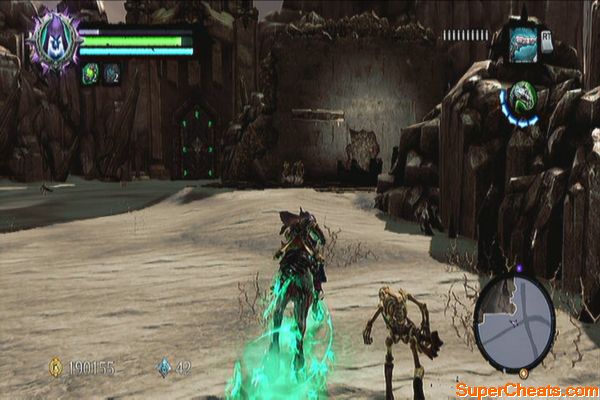
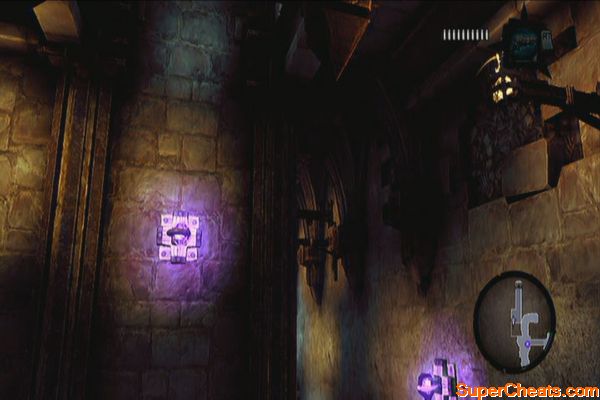
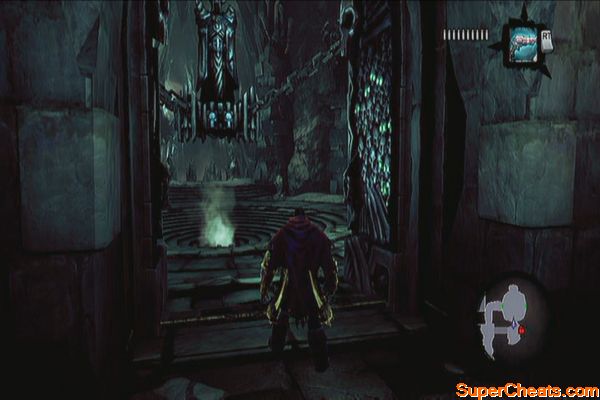
You can't anything for now so step on the pressure plate facing the locked door and allow the gates to retract. Now immediately perform a wall-run, bouncing off the walls until you reach the next ledge. Head to the door north, next. In the next room, defeat the skeletons that will ambush you. Exit to the door to the east afterward.
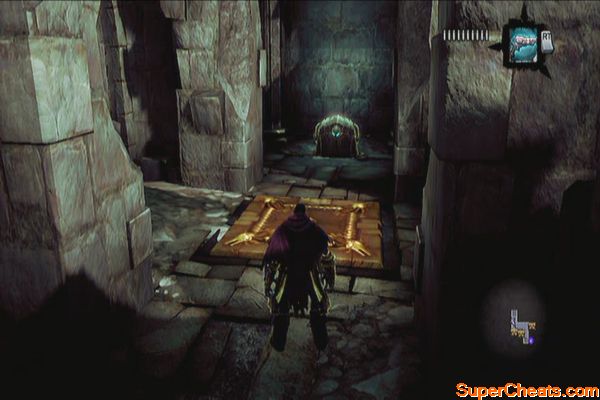
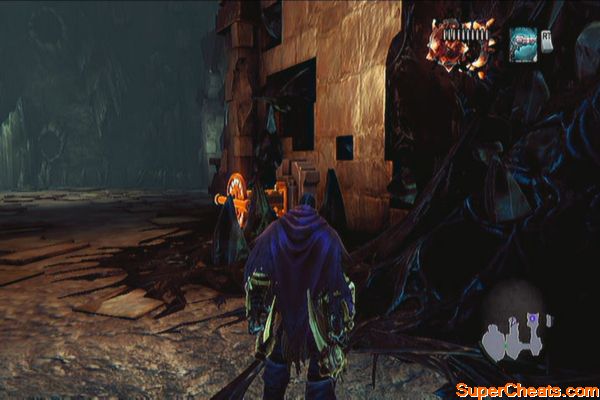
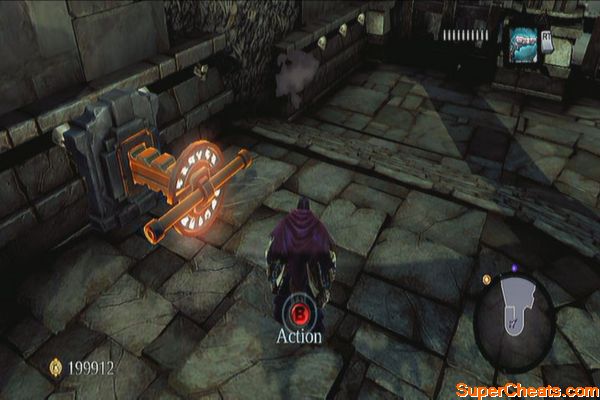
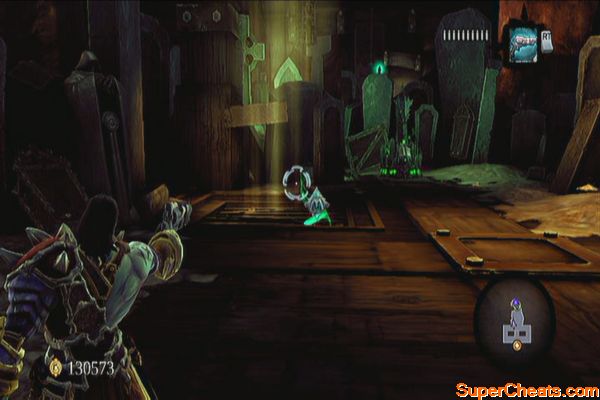
The Skeleton Key is just past the lowered bridge and you need to find a way to raise it. You'll find a switch and a non-volatile shadowbomb pod. Grab shadowbombs and place one near the switch and line up the others so it can form a chain explosion. This should raise the second bridge and lower the first one. Loot the Skeleton Key from the chest.
A swarm of scarabs will attack you after getting the key. Defeat them all then backtrack to the first bridge. Jump on the post and climb up. Scale the nearby wall to reach the upper ledge and two chests. Loot the chests then drop off to the lower hand-hold and move around the corner. Wall-run to the next post and back-leap to solid ground. Backtrack to the locked door.
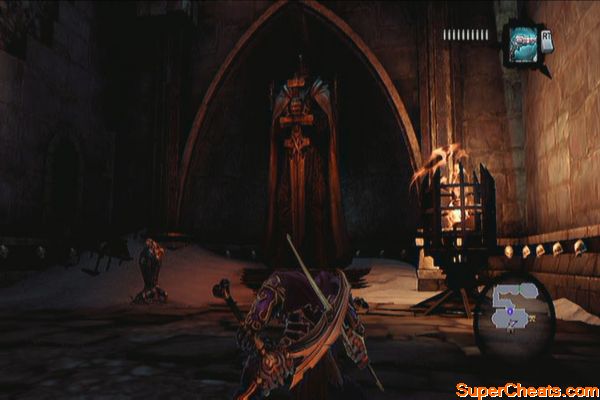
Open the door and follow the path until you reach a cliff. Jump down and take out the skeletons then exit the door. Look immediately behind you to find a boatman coin (45). Continue to the next room and destroy all skeletons. Search the statue to the east to find yet another Boatman Coin (46).
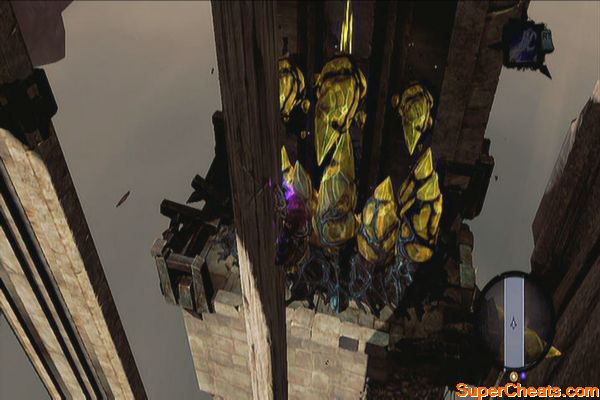
Next, grab a shadowbomb behind the statue to the west and throw it to the crystals in the upper ledge. Climb the wall and make your way to the cleared ledge. Go to the hand-hold then shimmy around the corner. Reach for the hand-hold overhead to reach the roof. Loot the chest there then drop down. Continue to the right then perform a wall-run, jump and deathgrip to reach the last chest. Exit the Breach afterward.
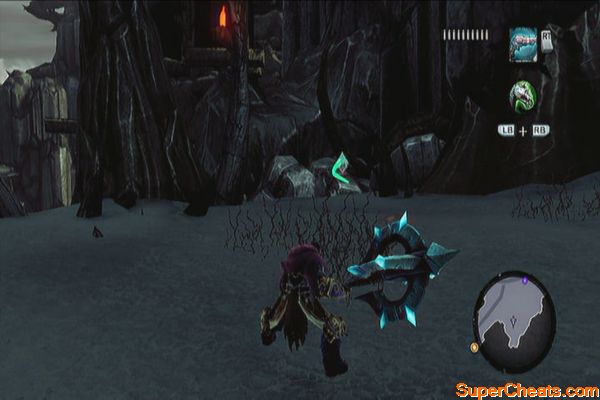
The Maw
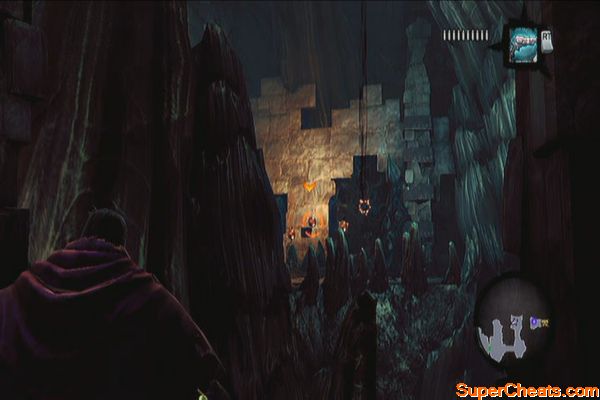
Cross the bridge and turn to the east to find a Boatman Coin (47). Ride to the west bridge and head to the northwest to find a small ruin which contains a couple of collectables.
Once inside the ruins, destroy the skeletal enemies inside then destroy the boxes to the northwest corner to find another Boatman Coin (48). Now look overhead to the southwest corner to find a Stone of Power (6). You can't do much since you don't have the necessary abilities yet so leave this ruin and ride towards Serpent's Peak.
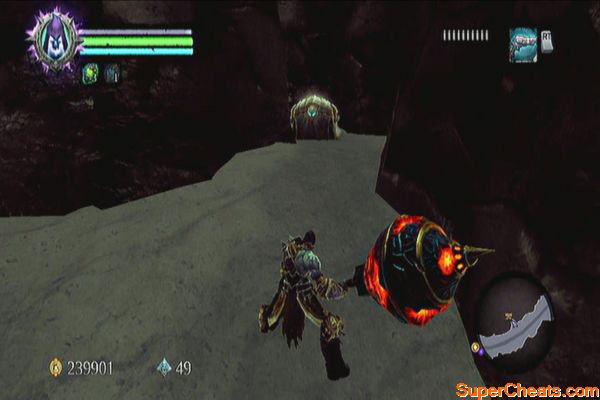
Before passing by the arc, get the Boatman Coin (49) by the southern edge. Follow the trail to the southwest then continue further to the south to find another minor ruin.
Loot the chest there and push the switch. Immediately scale the wall to reach a Relic of Khagoth (1)
Return to the main path leading to Serpent's Peak and you'll eventually find an off-trail leading to Vulgrim. There's a Stone of Mystics (16) latched in one of the stones overhead. Trade with Vulgrim if you want, then continue along the path. Don't forget to loot the chest along the way as well.
Continue to the peak and approach the bell to a scene.
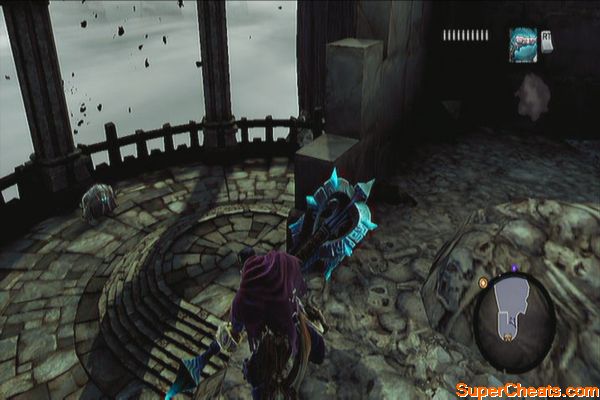
Eternal Throne
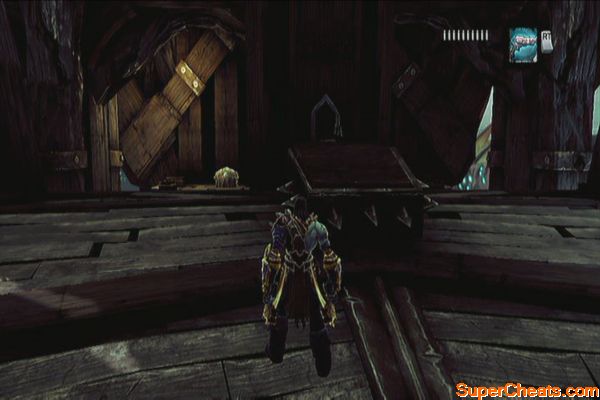
Once you're on board the Eternal Throne, find a hand-hold and climb using it. Upon reaching the upper ledge, walk a bit then turn to the right to find a chest at the end.
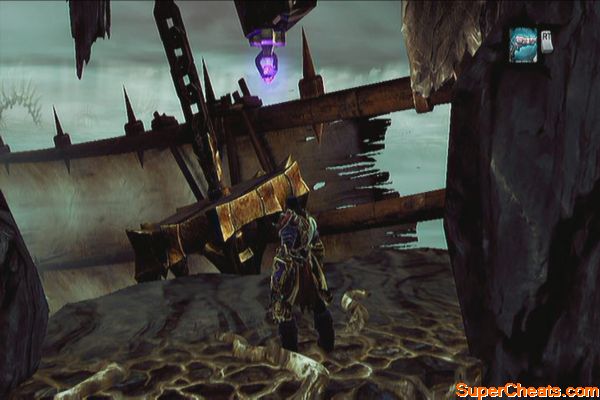
Continue along the path and climb the wall. Use the vines to reach the next ledge. Wait for the anchor to swing to the right then use the deathgrip to swing on it. Upon landing the anchor, wait for it to swing to the left, allowing it to get close then jump to the next platform.
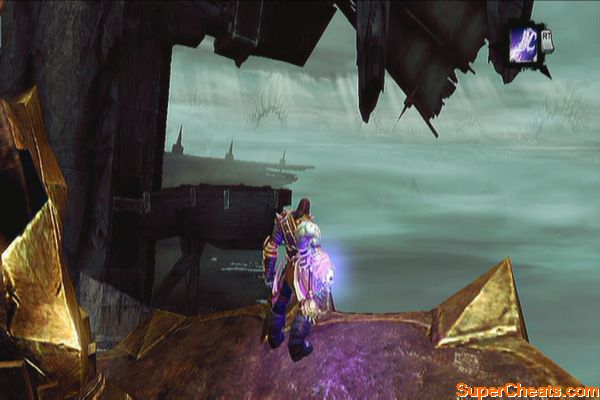
Wait for the next anchor to get close, jump on it then jump on the third one next. Wait for the third anchor to get close to the deathgrip hoop, then use it to swing to the ledge. Turn to the right to find a chest. Loot it then continue to the left this time. Swing to the growth on the hanging pillar then continue heading up, then jump to the next hand-hold.
Turn around and backleap to the post where the lamp is hanging. Jump to the next hand-holds and jump again to the right so you can drop down the wooden beam below.
Swing to the next beam using the deathgrip, then jump from hand-hold to hand-hold to the left. Once you see a wooden beam below, drop down on it then swing via deathgrip until you reach the final wooden beam. Grab onto the hand-hold then shimmy around the corner to reach the interior.
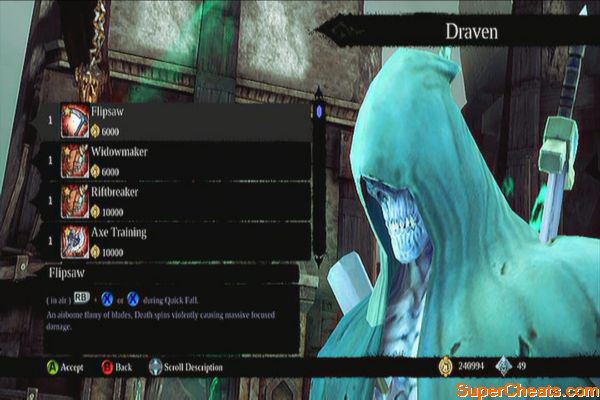
Follow the path then scale the vertical shaft afterward. Jump down the hole then enter the door south to reach the airship's main deck. Talk to Draven afterward. You may wish to purchase new skills from him as well.
Once done, head downstairs to the cargo hold. Destroy the boxes to earn loot. There's one Boatman Coin (50) there as well. There's also a Stone of Resistance on the wooden post to the right, behind the red curtain.
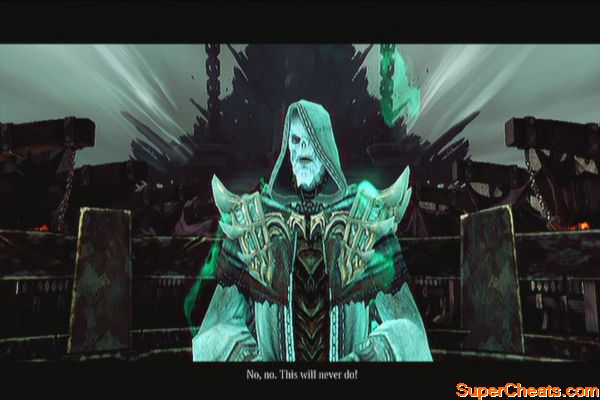
Go upstairs and talk to the guards to make the Chancellor appear. Ask him about more topics if you want and the quest will be complete.


No comments yet. Tell us what you think to be the first.