SideQuest - Boneriven
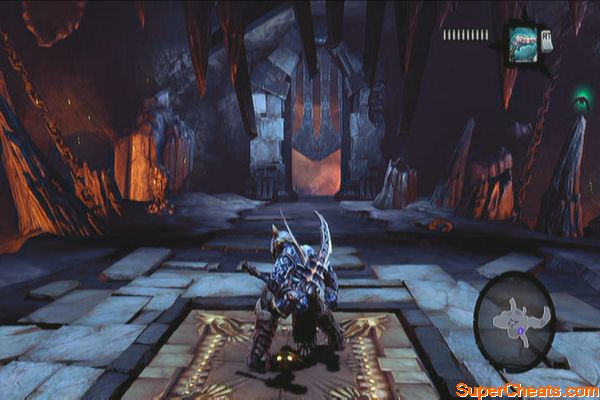
After landing, defeat the undead stalker and prowlers waiting inside then step on the central pressure plate. You have to run across and get past the gate before it falls down. After passing the gate, continue forth until you reach a hallway.
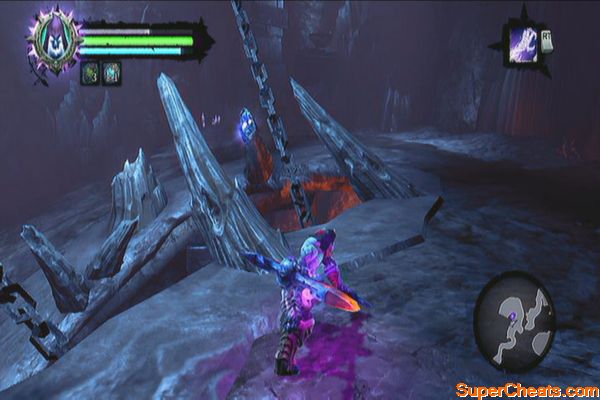
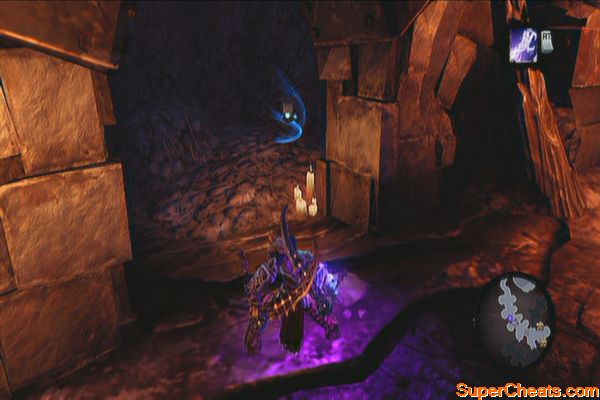
Defeat the skeleton enemies then use the shadowbombs to destroy the crystals in the area. You should find a chest and a pressure plate after removing the crystals. Position your physical body beside the gate then soul split. Have the two souls stand on the plates then cancel soul split and roll past the gate.
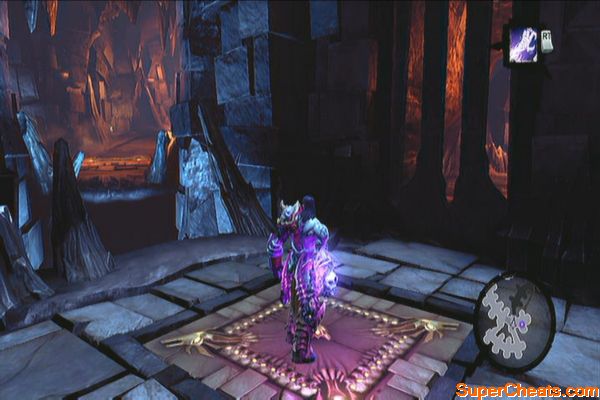
Continue forth until you reach a fork in the road. Take the lower trail first then loot the chest to the east. Take the left trail and continue past the cavern and to the next trail. Fight more enemies and you should find a Stone of Mystics in one of the pillars.
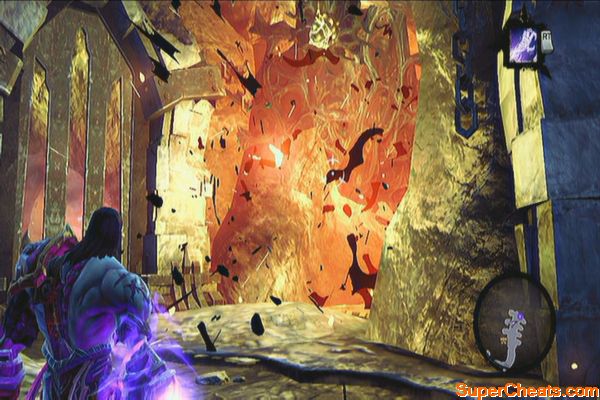
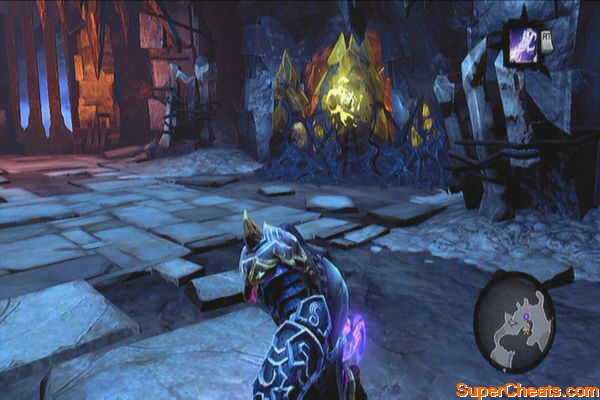
Grab a shadowbomb and throw it at the crystal formation below. Like before, position your physical body beside the gate then soul split. Have one soul stand on one pressure plate, have the other loot the Dungeon Map from the chest beside the second pressure plate. Deactivate the soul split once the gate is raised then quickly get past the gate.
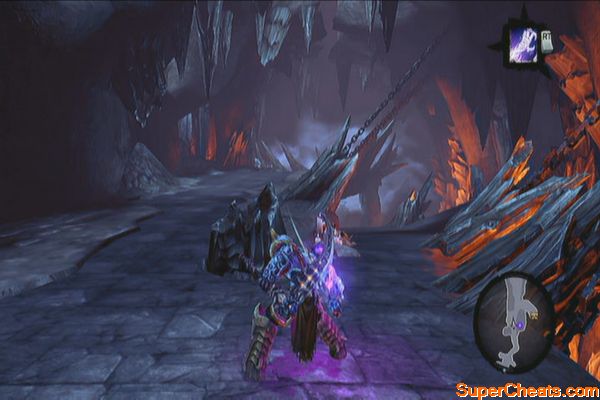
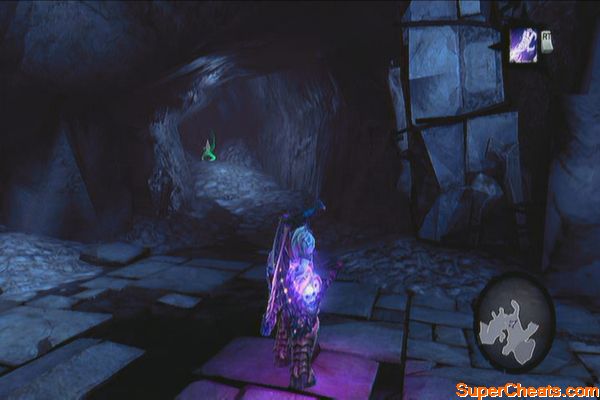
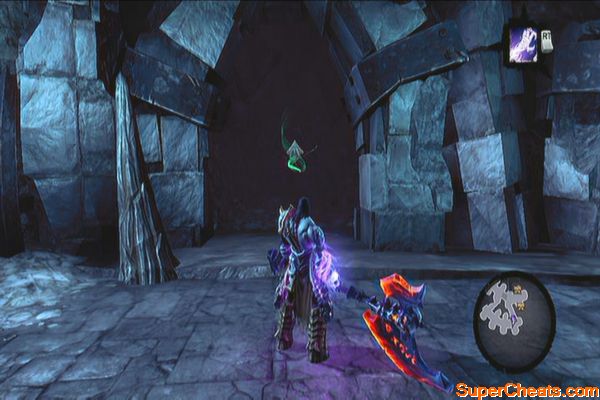
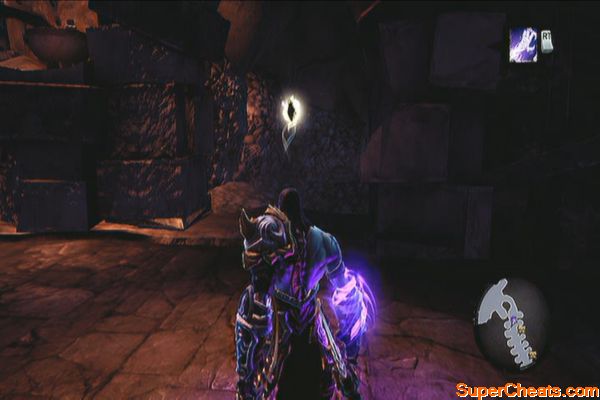
Defeat the stalker then loot the Boatman Coin in the nook to the north. Follow the path to the north and loot the chest along the way. Continue to the upper floor and cross the gap using deathgrip then continue along the next corridor, filled with nooks. There's a Soul Arbiter's Sacred Scroll in the third nook you'll come across.
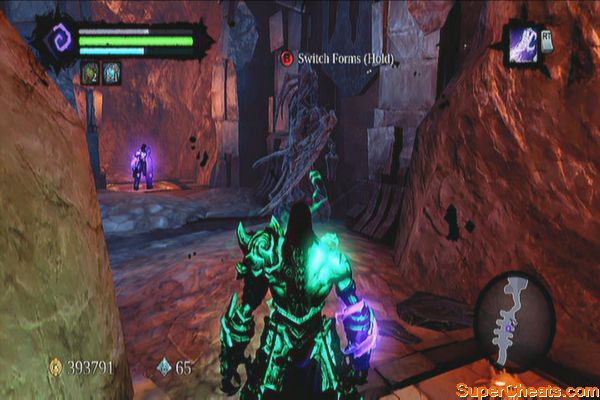
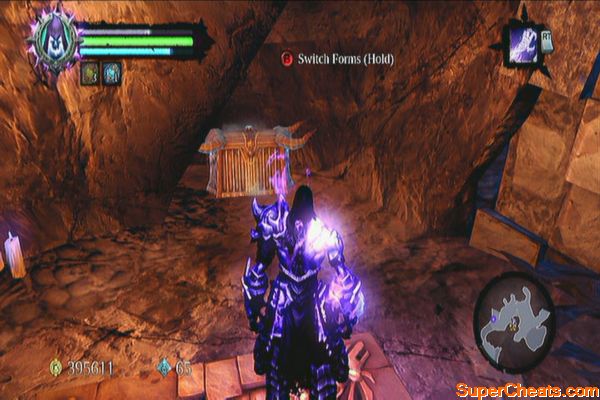
Ignore the pressure plate and continue along the corridor. Take out more scarabs and before turning left to the next hallway, look in the last nook to find a Boatman Coin. Continue to the next corridor where the second pressure plate is then loot the two chests to the east of it. Step on the pressure plate and soul split. Send one soul to the other plate and wait for the gate to fully raise. Cancel the soul split and go past the gate.
Continue to the third floor as you slaughter scarabs along the way until you reach a large chamber. Head inside and you'll have to face an army of scarabs and scarab hulks. Prioritize taking out the nests; otherwise, the reinforcements will just keep pouring in. Use your crowd-control skills such as Harvest or a well-placed Teleport Slash until all of them are defeated.
Bug terminator
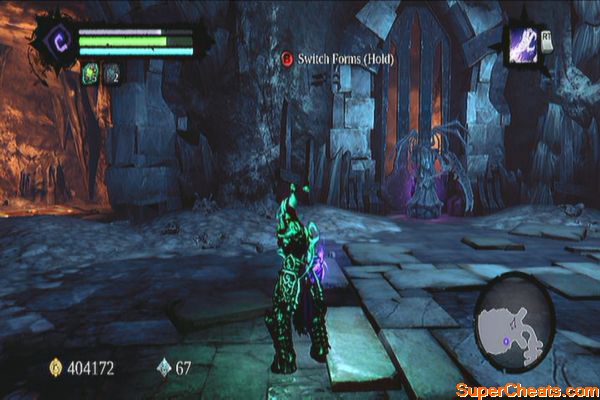
Pick up any loot scattered on the ground, then loot the chest in the southeast corner of the room. Now stand beside the eastern gate and soul split. Use the two souls to trigger the pressure plates then quickly move forth.
The next hallway is clear of enemies so you just have to pick up the treasures. In the first nook to the right lies a Keen Talisman. Loot the chests along the way and in the fourth nook you'll find a Soul Arbiter's Sacred Scroll. Loot the last two chests and continue to the next chamber. The last chest will appear containing more valuable loot. You can now leave this place.

No comments yet. Tell us what you think to be the first.