The Toll of Kings
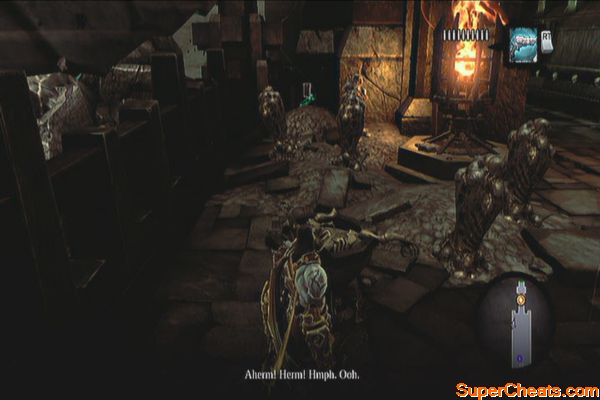
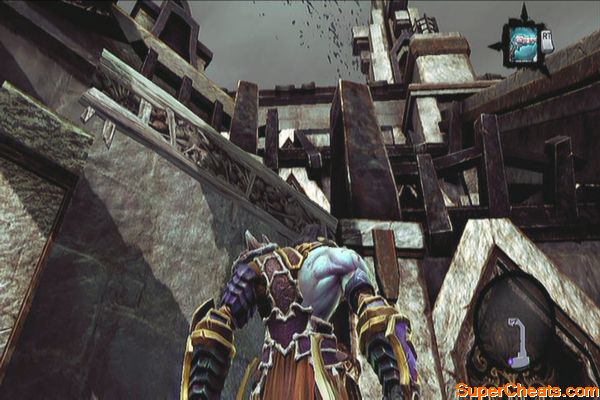
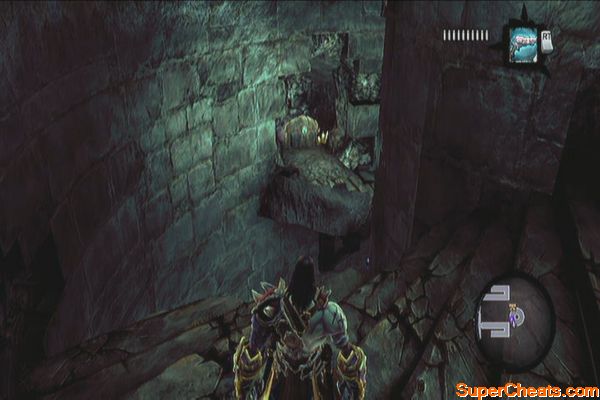
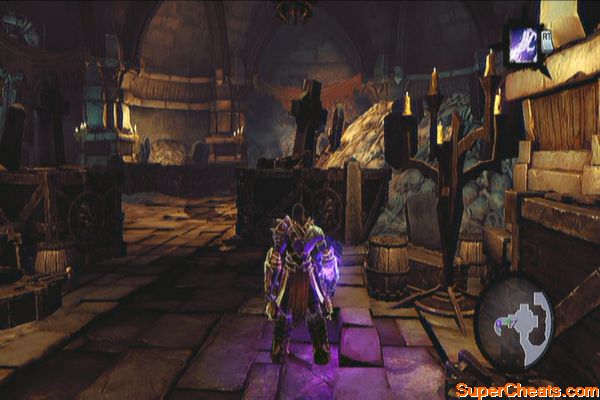
Exit the deck and make your way to the north, past the gap in the hallway. Continue north to find Ostegoth. Trade with him and collect the Book of the Dead page in the corner past the bone formations. Enter and continue to the next door. You should find another Stone of Mystics here.
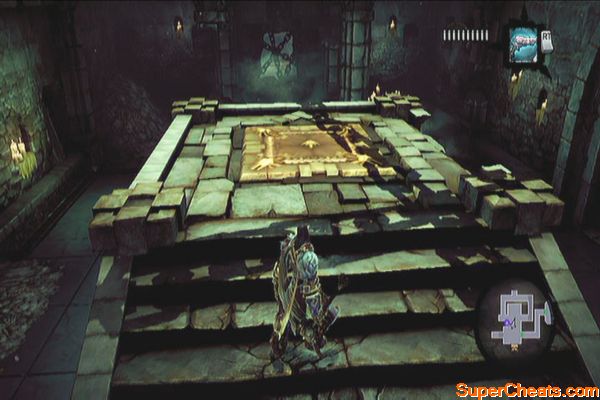
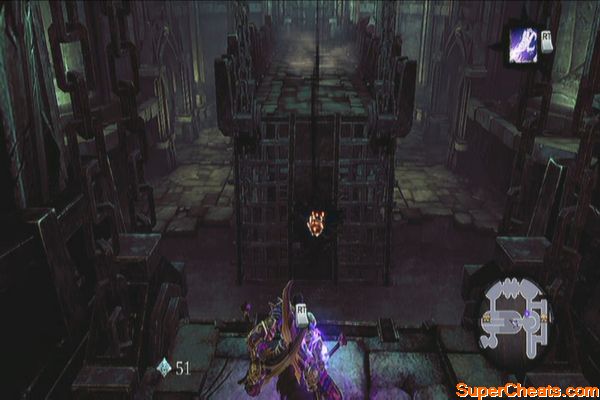
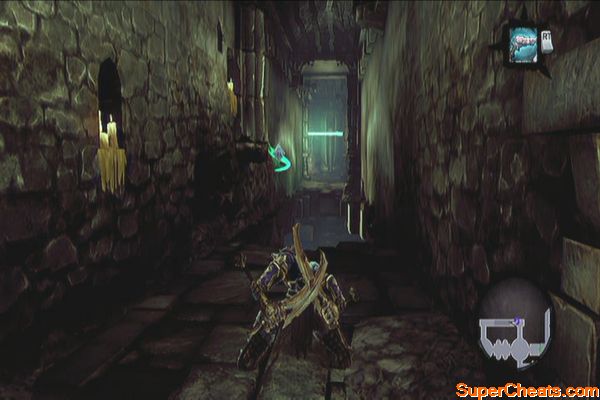
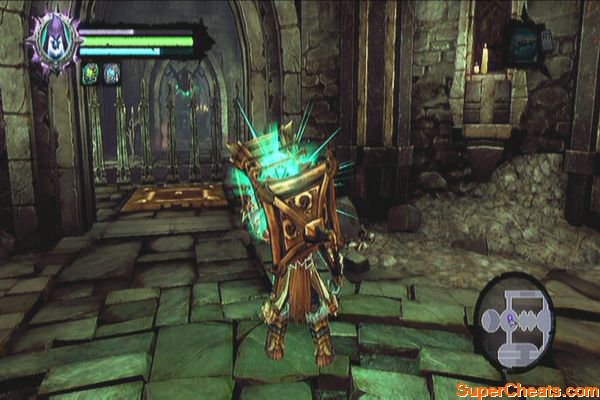
Continue downstairs and enter the first door you encounter. The door at the bottom of the stairwell leads to Leviathan's Gorge so you can just ignore it for now. Interact with the lantern in the middle and rotate it towards the door to the north to unlock it. Before traversing the pit, jump down to find two chests. Climb back up and wall-run to the other ledge. Exit the door that leads to the arena.
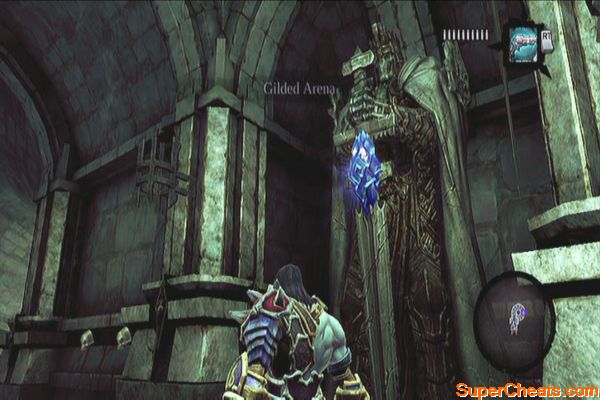
The Gilded Arena
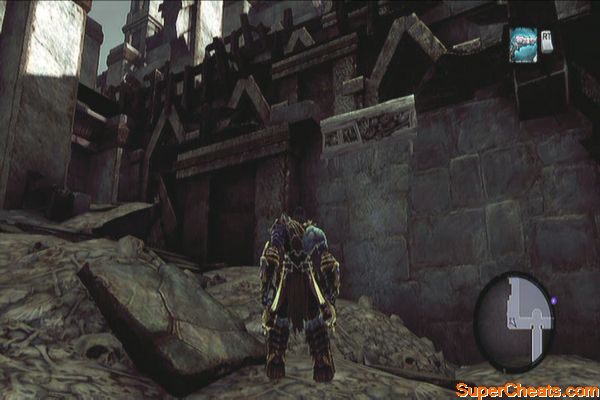
Upon reaching the arena, you'll learn that you need to collect three Animus stones to summon the champion. Next, head to the southeast corner to find a hand-hold. After reaching the second floor, turn to the right to the south to find another hand-hold. Climb on it then run to the north to climb another ledge. Use deathgrip to cross the gap, then wall-run to reach a Relic of Renagoth.
Next, drop down two levels then head north to find another hand-hold. Climb up to loot a chest. Go back down to the lowest balcony then head southwest to find a ramp and a hand-hold. Use either of them to get to the upper balcony then climb the nearby hand-hold to find a chest to the east. Go down and follow the path to reach a chest in the northwest. Now go around to the southeast, climb the wall there and enter the door in the middle to proceed.
The First Animus Stone
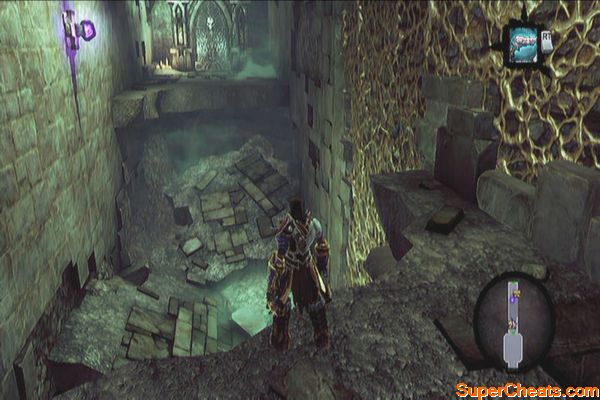
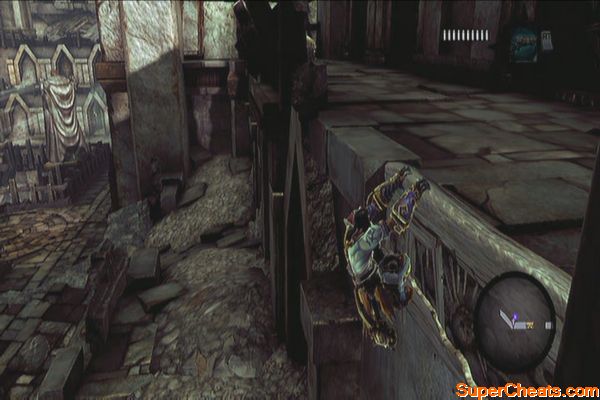
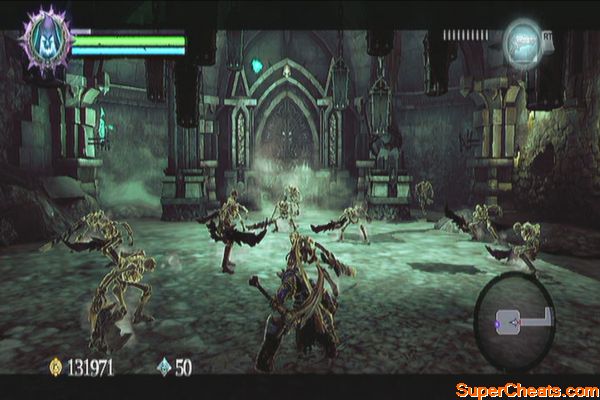
Continue along the stairwell but be careful since there will be a sudden drop along the way. Wall-run to loot the chest then continue to the bottom floor. Follow the path and destroy the objects along the way for some random loot. Continue until you reach a chamber with the walking undead.
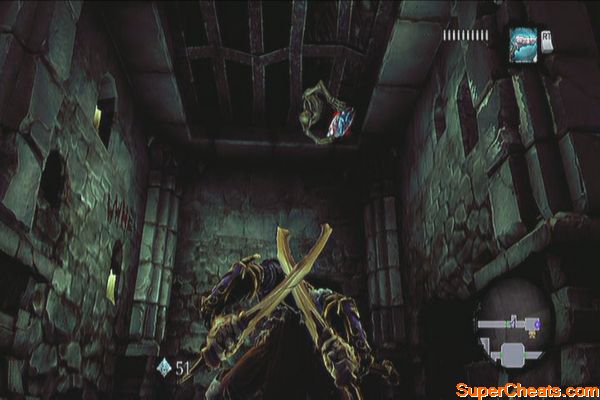
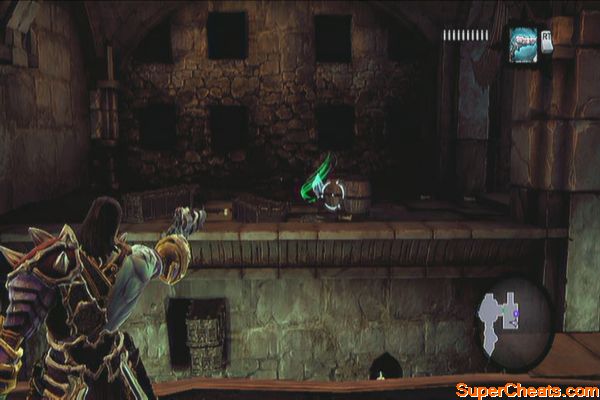
Defeat all enemies there then collect the Stone of Mystics overhead. Exit then continue to the next room to find a Boatman Coin (51) in the corner.
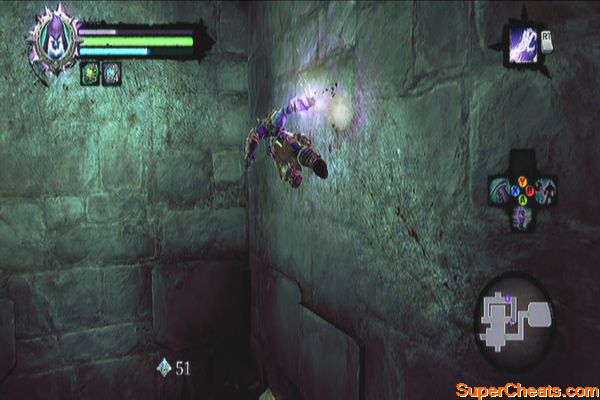
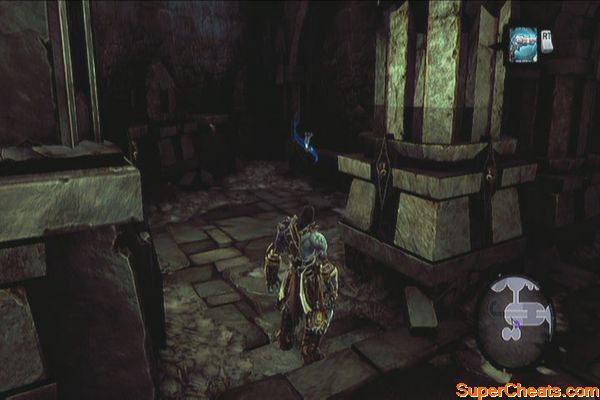
Head north a bit then stand of the pressure plate. Look to the east to find a shadowbomb pod there. Use the deathgrip to grab the shadowbomb then throw it to the south to reveal a chest.
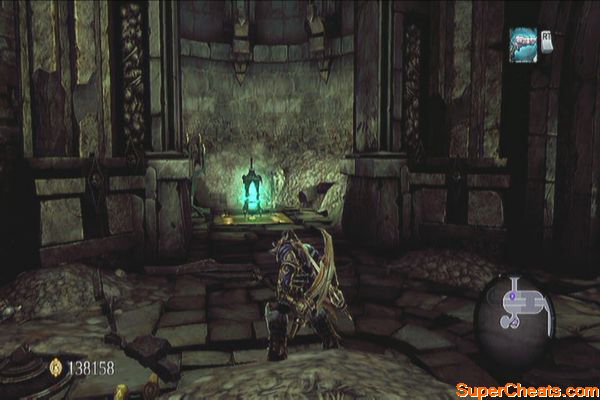
Pick another shadowbomb and throw it to the statue to destroy it and dislodge the lantern. Pull the lantern towards you using deathgrip and place it on top of the pressure plate to keep it depressed.
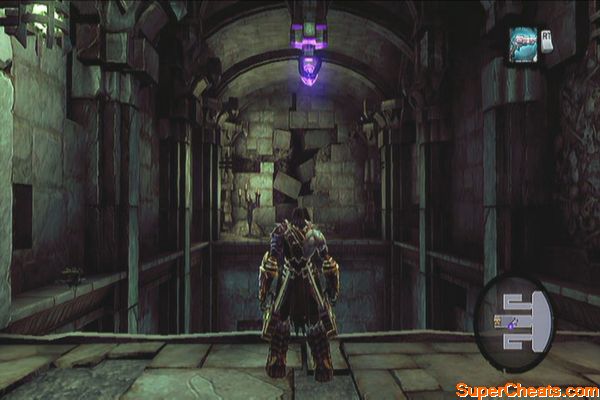
Go to the east and wall-run to go around the passage. Instead of heading up north, continue to the southwest and push the switch there to remove the gates. Use deathgrip to pull the lantern this time. Bring it to the room to the north and place the lantern on the statue. Rotate it to open the gate north.
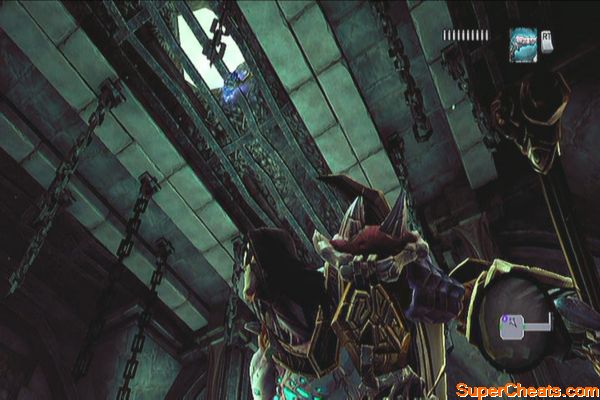
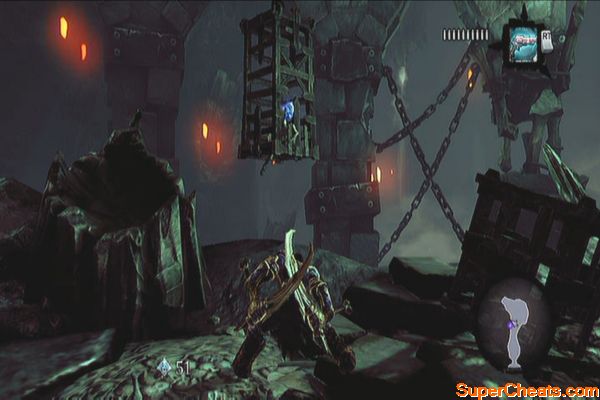
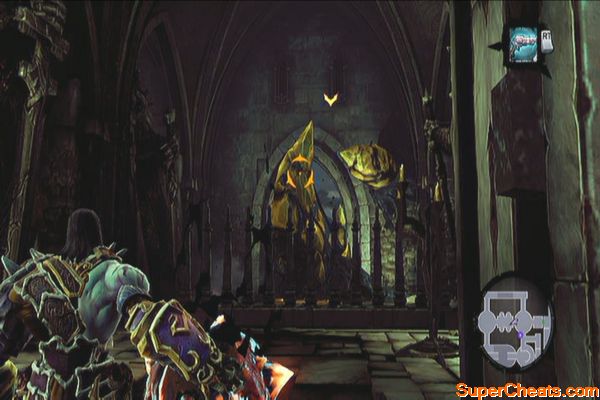
Continue forth until you reach a large cavern. You should find another Stone of Mystics on one of the hanging cages. Go to the stone skull and get the animus stone.
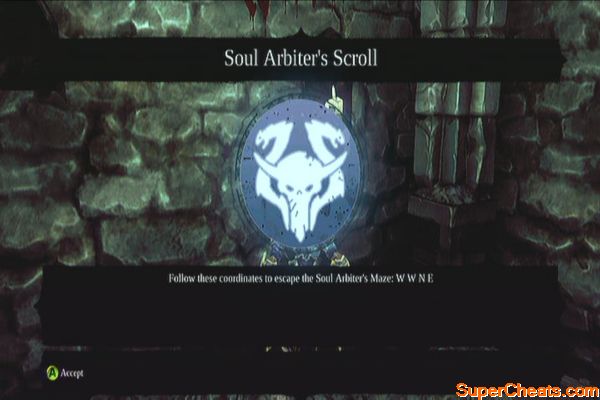
Head out of the cavern and defeat the scarabs that will ambush you. Head back to the statue where you placed the lantern earlier then take the east hallway. Exit through the door and walk a bit to find a nook. Shoot the Stone of Power held by a skeleton on the ceiling. Next, examine the blood writing on the wall in the same nook to get Soul Arbiter's Scroll.
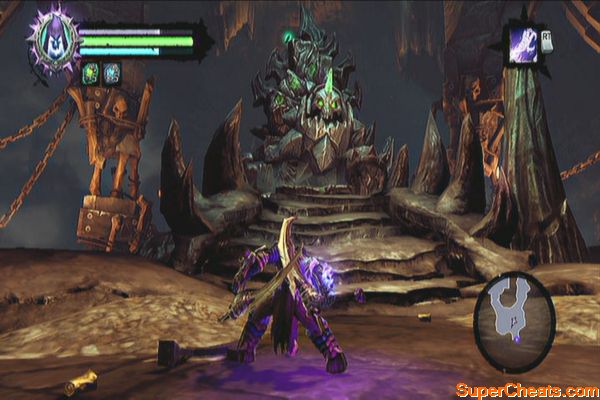
Continue forth and get the Dungeon Map from the nearby chest. Scale the wall then jump to the hanging post to reach the other ledge. Pull the lever to open the door. Head to the giant skull stone and reach it using the deathgrip to place the first stone.
This will open the door ahead. Defeat the enemies and continue along the corridor to reach the next door to the upper balcony west in search of the second Animus Stone. Go up the ramp to the southwest then enter the door to the west to proceed.
The Second Animus Stone
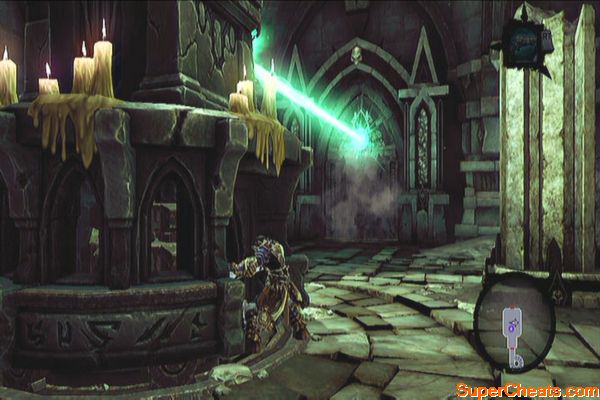
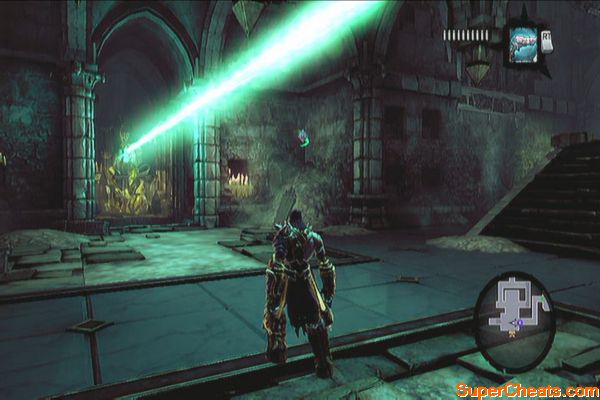
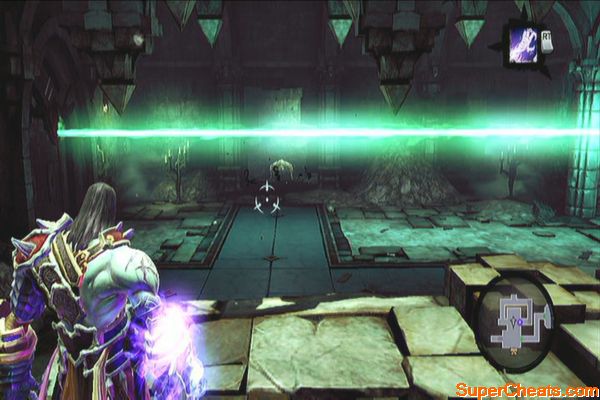
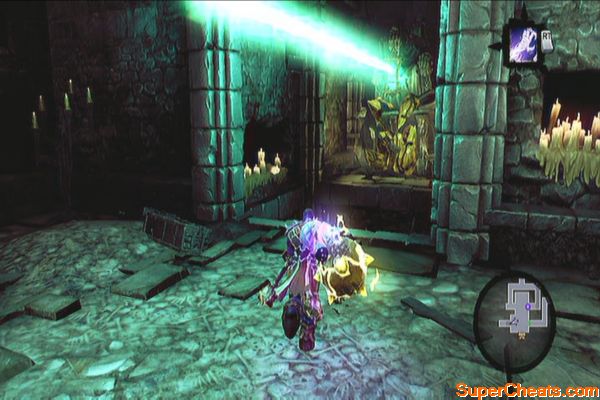
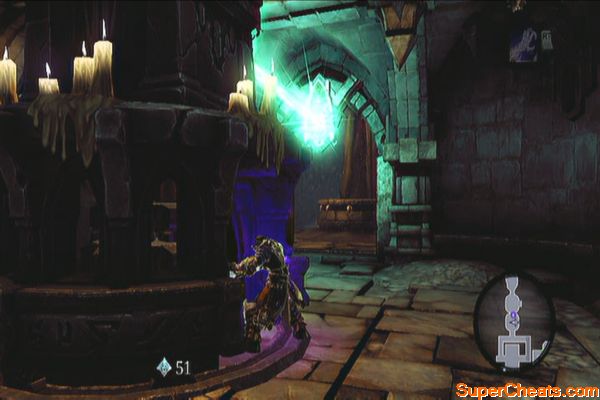
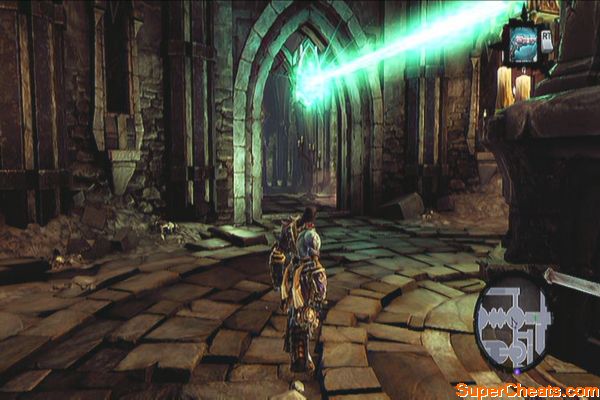
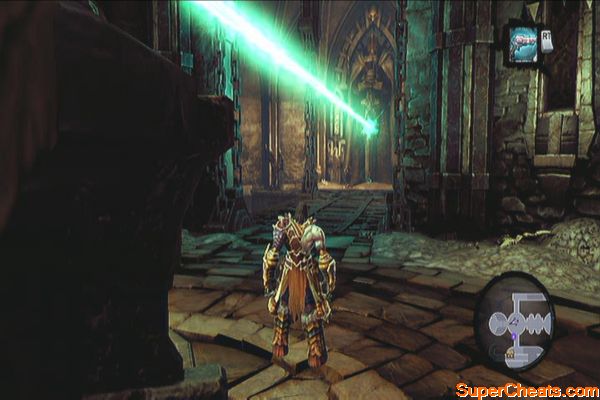
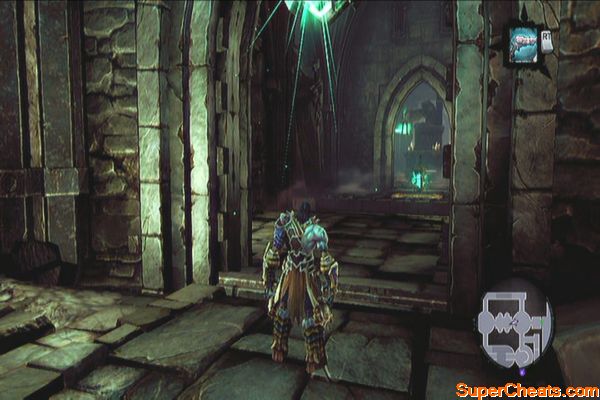
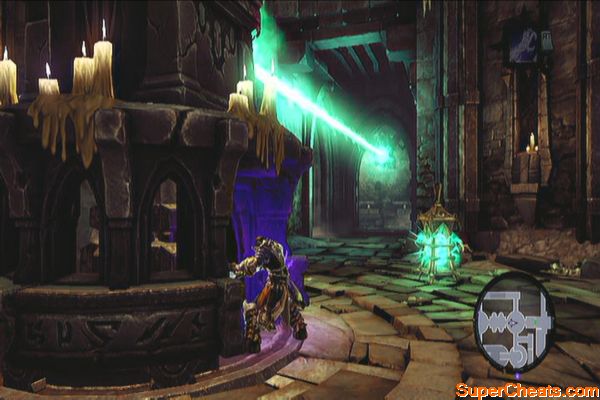
Once there, follow the green light then go upstairs the stairwell. You'll find a statue with no lantern there so ignore it for now. Head to the west to find a shadowbomb pod in the lowered bridge. Pull it then use it to destroy the crystals to the south.
Clearing the southern path will allow you to loot the lone chest at the end. Backtrack and get another shadowbomb and go back to the lower floor. Plant the bomb on the crystals and detonate them to clear the way.
Turn the statue to the west to open the gate. Now pick up another shadowbomb from the northern passage you just cleared and use it to clear the crystals past the western gate. After destroying the crystals, head north and do a wall-run to the west to grab the Boatman Coin along the way.
You'll find another lantern statue in the next corner. Turn it to the west to raise the drawbridge and for you to access a Book of the Dead. Turn the statue south to continue.
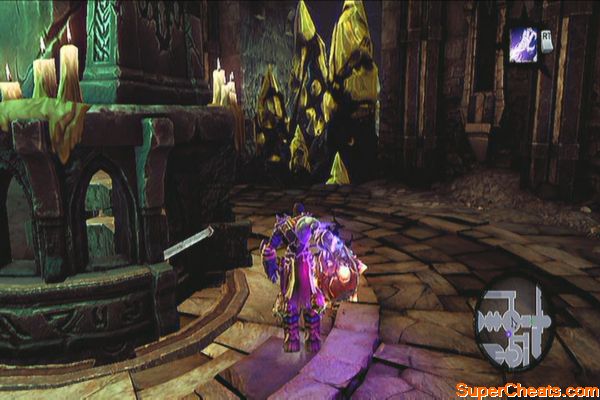
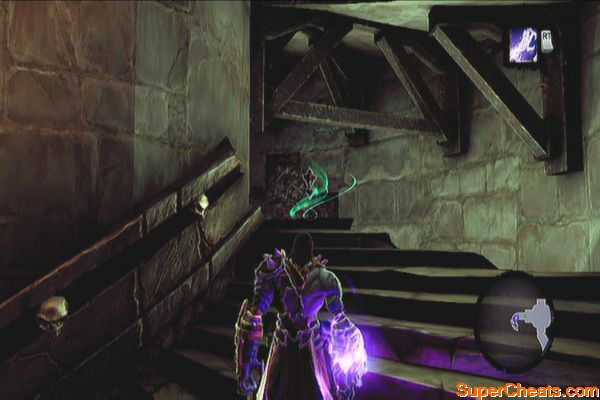
Loot the chest to your immediate right then continue south. Check the southwest alcove to find another Soul Arbiter's Scroll. Head to the small round rooms to the south and pick up the lantern. Be careful since skeletons will ambush you as you leave. Place the lantern down and defeat them.
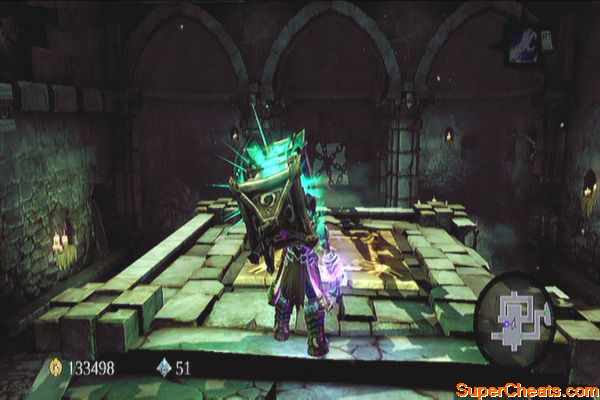
Backtrack to the active lantern statue to the north, then place the lantern you're carrying on the pressure plate to the east. Head north then wall-run again across the gap. Go to the west of the statue and deathgrip the lantern you placed earlier. Place it down first then rotate the nearby statue so the locked door is opened. Carry the lantern again and place it on the inactive statue to raise the drawbridge.
Continue heading west and then exit the door. Continue downstairs until you reach the bottom door. Before going in, go back upstairs and cross the gap to find a Relic of Etu-Goth. Continue to the next room with several destructible objects. Destroy them all and defeat the skeletons that will appear. Once all of the spawning skeletons are defeated (and after destroying the large tombstones), a chest will appear.
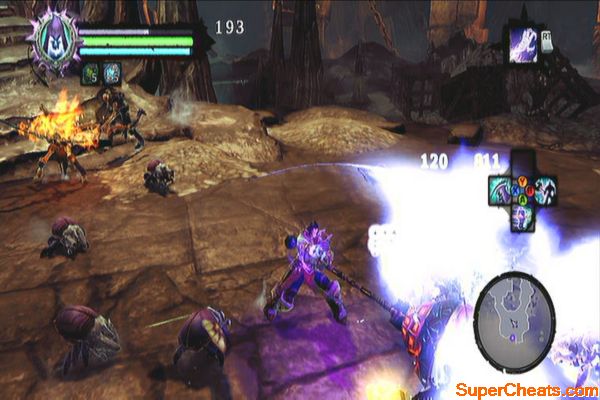
Continue clear the room then head to the animus stone cavern. A group of scarabs and skeleton archers will ambush you. Use Harvest to damage several enemies at once and evade to avoid the fire arrows of the archers. You can also use Deathgrip to pull them and interrupt their attacks. Defeat the two waves of enemies then grab the Animus Stone from the stone skull.
Head to the next room and destroy the weapon racks to gather random weapons. Exit through the door and loot the chest in the small room there. Before climbing the wall in the middle, climb the ledge to the east and destroy the clutter to find a Boatman Coin on the other ledge. Reach it by wall-running on the eastern wall.
Climb the topmost ledge in the middle. Before leaving, turn around and swing using the deathgrip to reach a chest. Jump back to the other side, pull the lever and return the stone to the large skull statue.
The Third Animus Stone
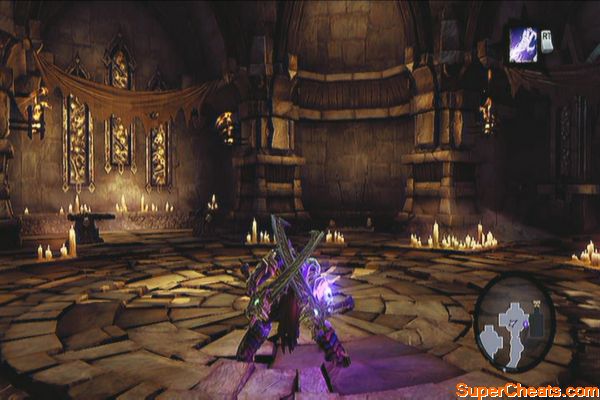
Go upstairs and head to the northernmost door. Defeat the skeletal champion and its minions then proceed to the next area. Turn to the east this time and explore the roundabout passage. Make your way to the upper chamber, where more skeletal warriors await.
Next, stand on the pressure plate and grab a shadowbomb. Go near the throne and throw the bomb to the switch. Doing this will take your to the cavern behind the throne.
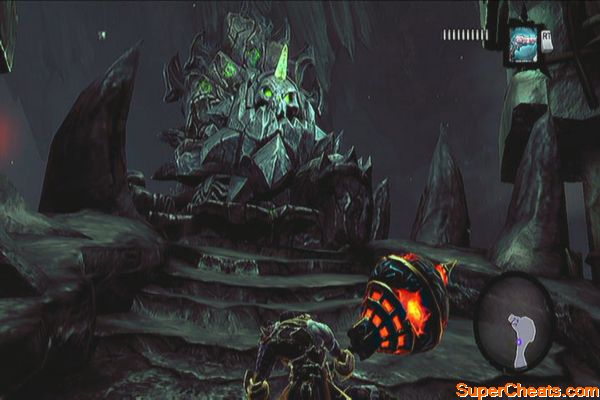
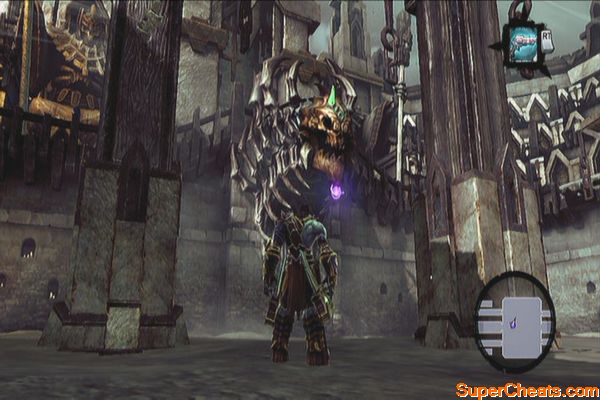
Continue ahead for a mini-boss battle against a Scarab Hulk.
You never seen them grow this big
This enemy has the capability to block your attacks, sending you back for a moment. It's main attacks include generic slashes and assaults. Be careful of its jump attacks; you may need to evade twice to fully avoid getting damaged by the impact.
Grab the last animus stone and make your way back to the arena. Place it on the skull altar to summon the champion.
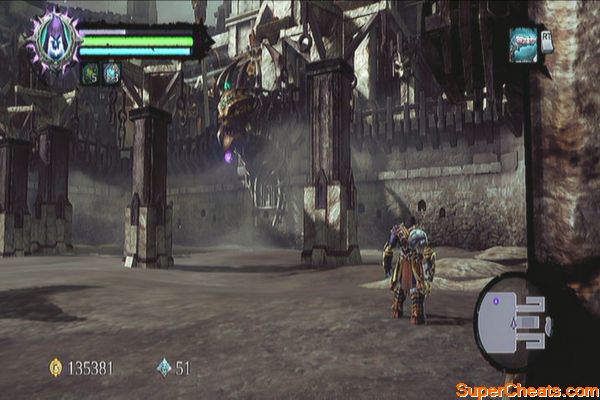
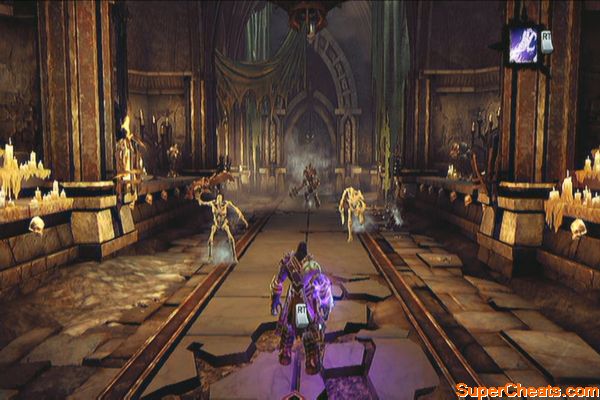
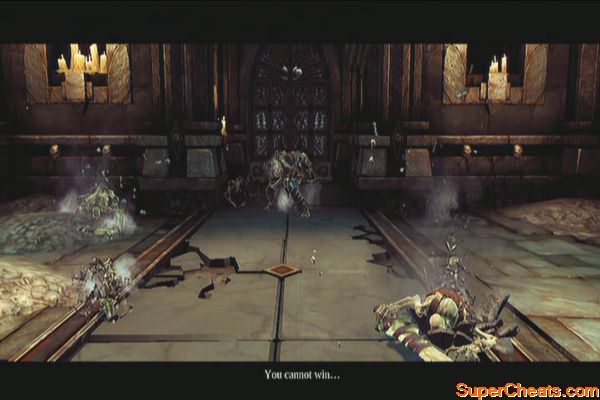
Boss: Gnashor
For the first phase, concentrate on evading the boss and wait for it to briefly show its head above ground. Once it does, grab it using your deathgrip then attack it. Continue doing this until this pesky spinal skull rejoins with its body.
When fighting its main body, use quick attacks as you evade the boss' slow but damaging attacks. When you dealt heavy damage to it, it will howl. Use this chance to pull the skull out of its body and render it vulnerable to further attacks. The skull may burrow again and attack you from underground. During this phase, concentrate on evading as you don't have any way of attacking it for the meantime. Wait for it to rejoin its main body and repeat the process again until it goes down.
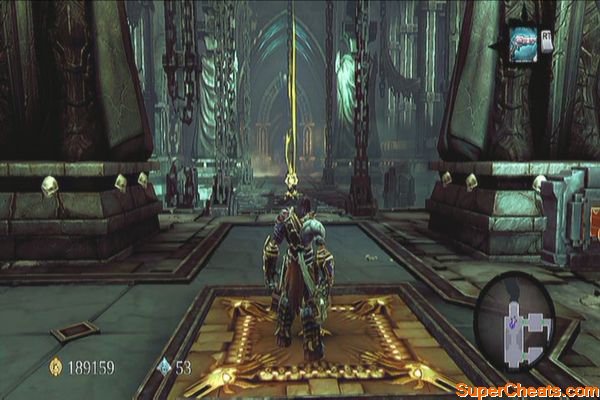
Felling the Gilded Arena's Champion
After the battle, get your prizes and loot the chest then fast-travel back to the Eternal Throne and talk to the Chancellor. The quest will be completed afterward.


super best