To Move A Mountain
After getting the Maker's Key, the side quest “Silent Stone” will be updated. Talk to Alya as well to start another side quest, “The Hammer's Forge”. To make the most of your adventure, I suggest doing Silent Stone first since it can completed immediately, and will open up a new, easy sidequest that can be completed as well. Refer to the side quests section of this guide to know how to complete these quests.
Take note that you can't complete The Hammer's Forge without a specific special item so don't waste your time doing this for now.
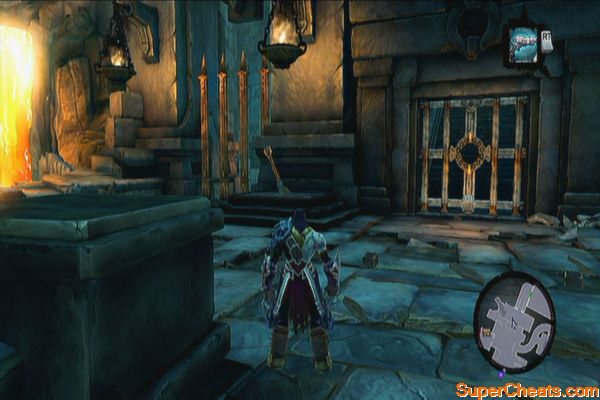
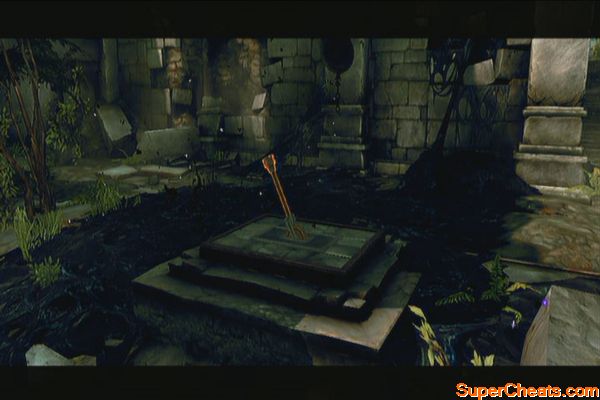
Before leaving, get the Stone of Mystics (4) on top of the furnace's south side. Fast Travel to the Nook to start the main quest.
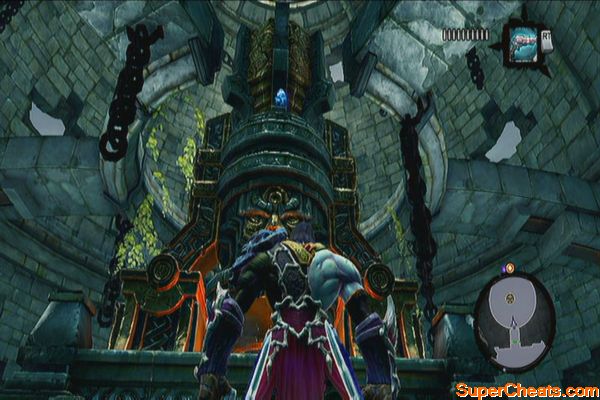
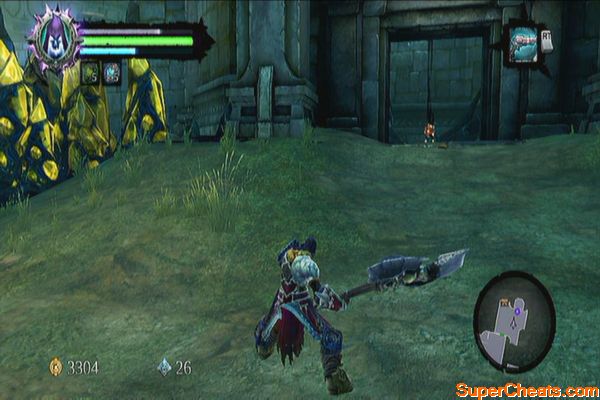
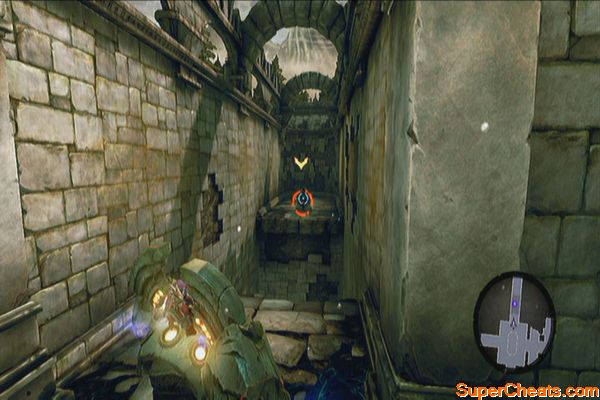
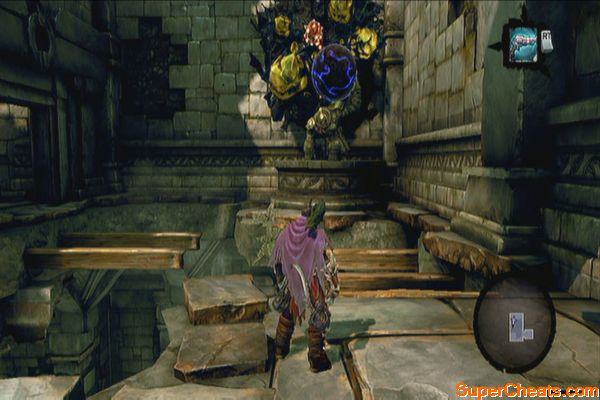
The Nook
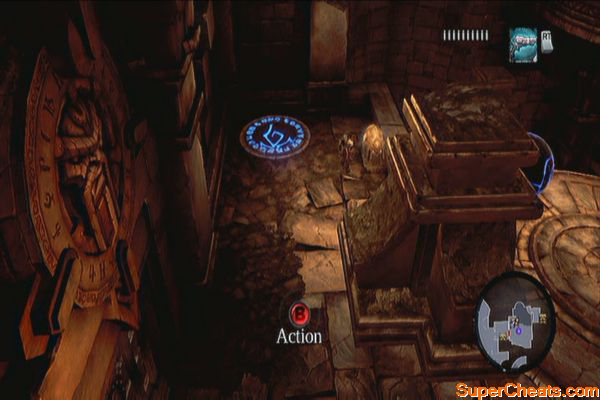
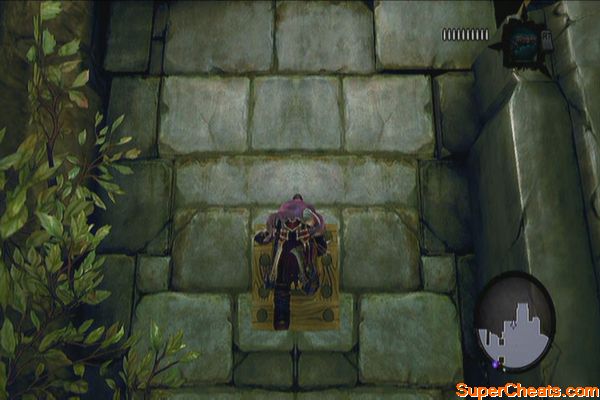
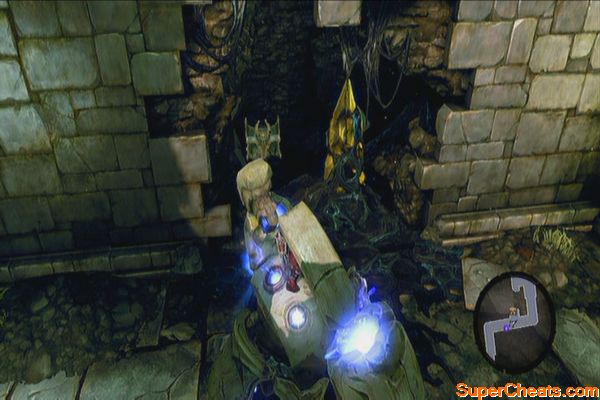
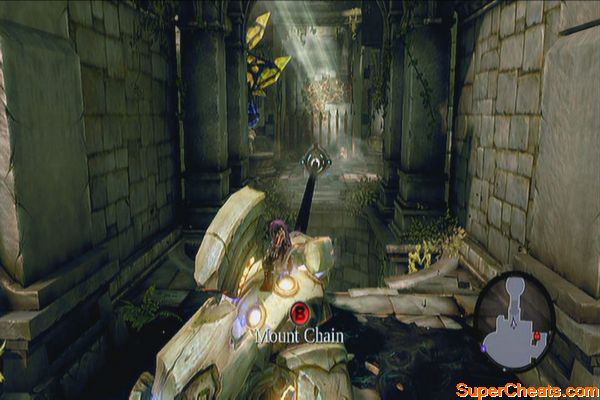
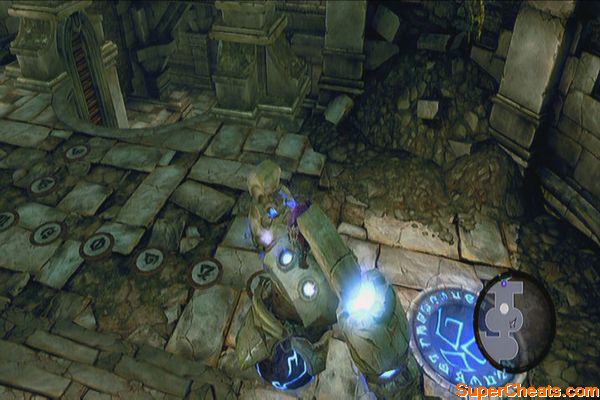
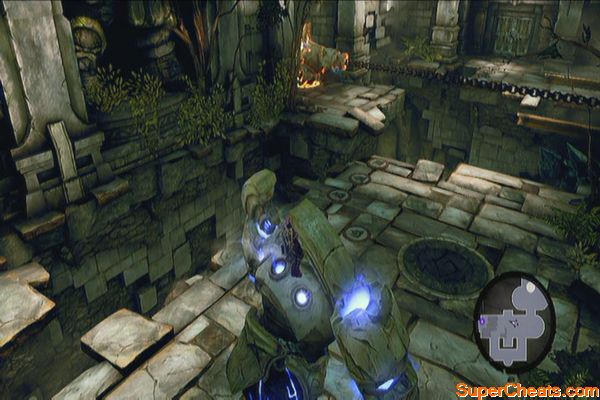
Head inside and activate the construct. Roll it to the nearby hole and enter aim mode. Aim for the glowing circle on the wall and press RT to activate it.
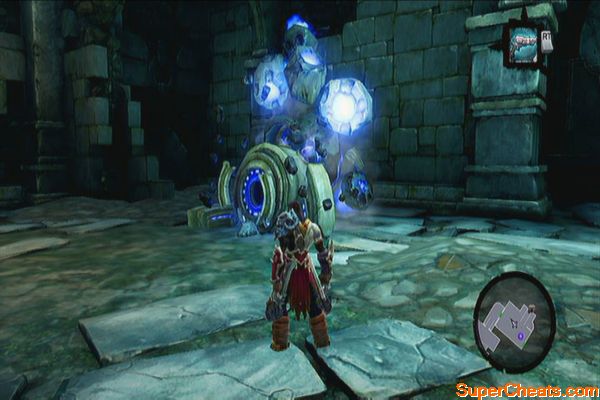
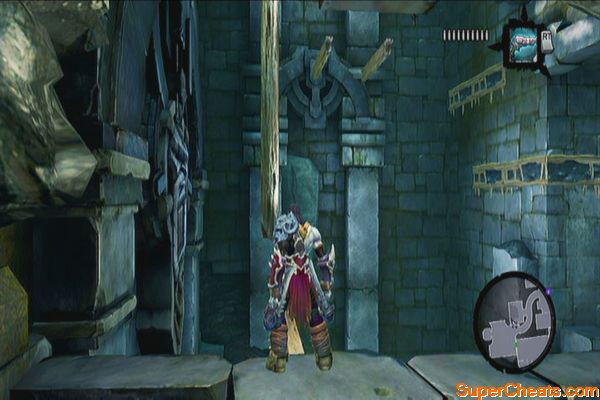
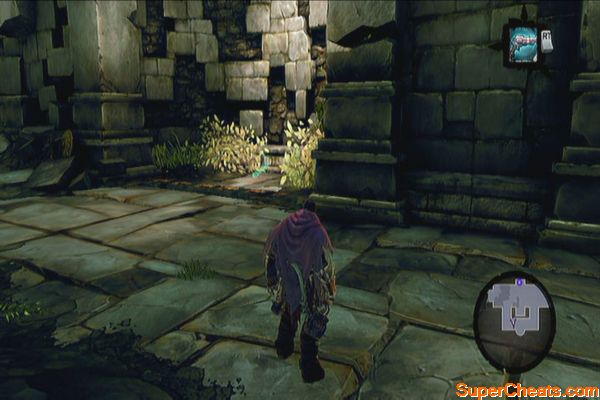
Mount the chain and enter the next door. You'll be ambushed by Tainted Construct Warriors so you have no choice but to defeat them. Once clear, grab the shadowbomb and use it to destroy the crystals in the area, revealing a chest and clearing the handhold as well.
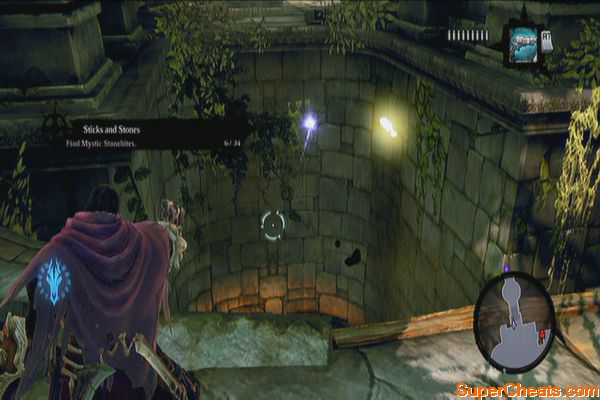
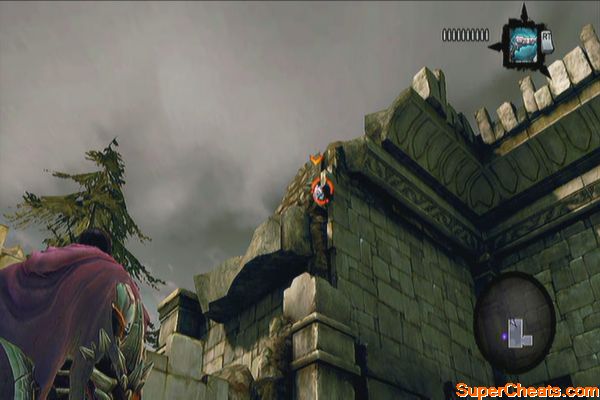
Climb the hand-hold and traverse the posts and pegs to reach the next ledge. Follow the next staircase until you reach a large open area. Destroy the hive and the stingers. Destroy the objects near the well to the northeast for a Boatman Coin (27)
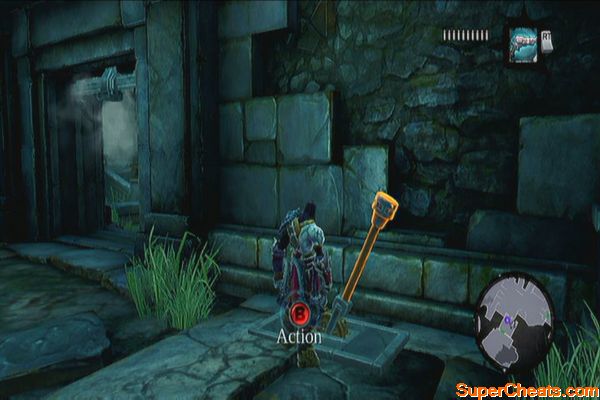
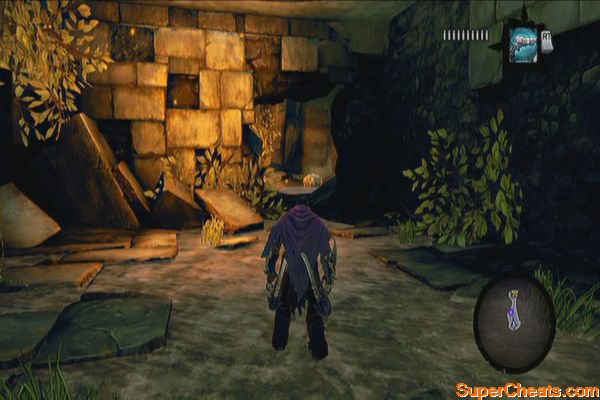
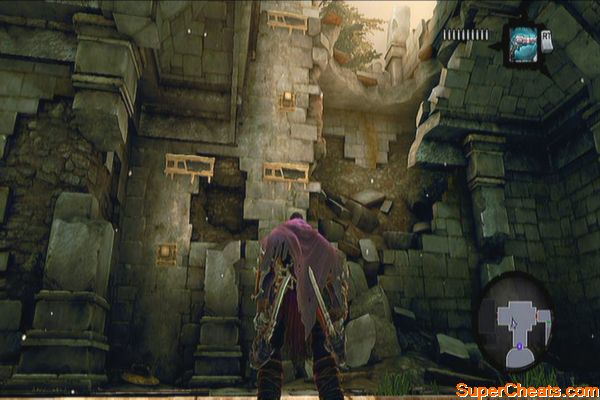
Climb the western wall to find two chests. You can only get one at this point since the other requires a special item. Jump back down and head south. Pull the lever there. The door to the right leads back to the entrance so take the staircase to the left this time.
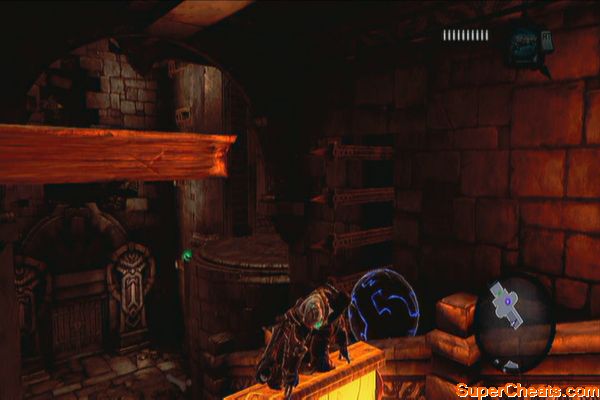
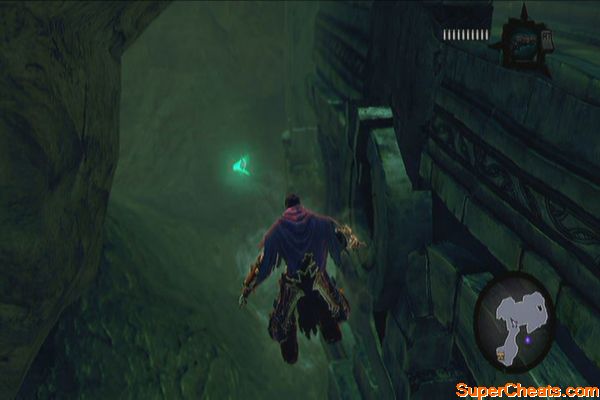
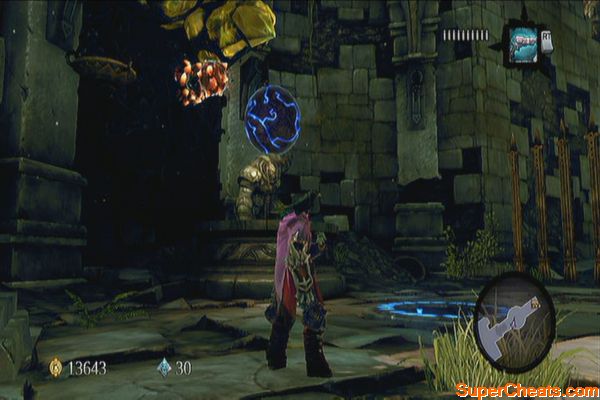
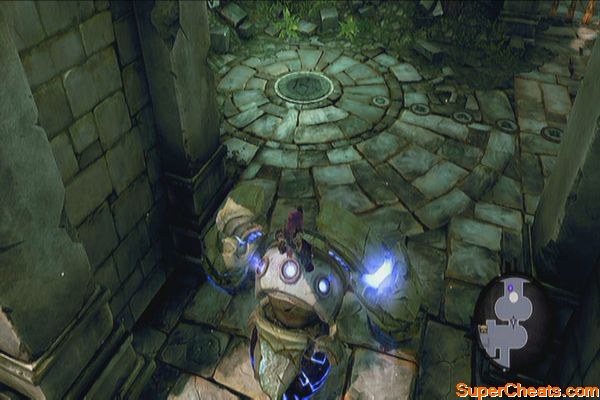
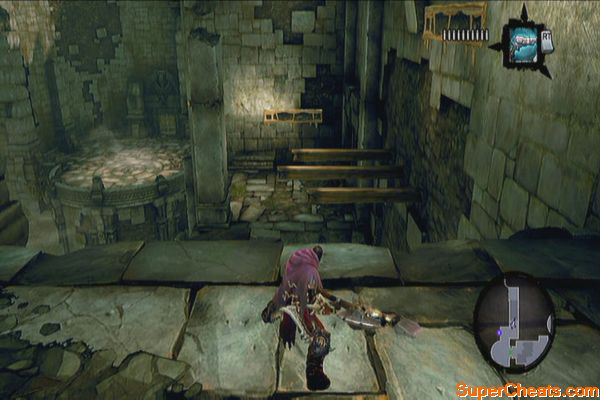
You can't fully explore the area yet so enter the only door to the west. Jump to the middle wooden beam and reach the upper beams. Step on the pressure bar to release the iron poles and allow the ball to roll down. Drop to the second pressure bar below to free the ball. Pull the lever near the door to call the elevator.
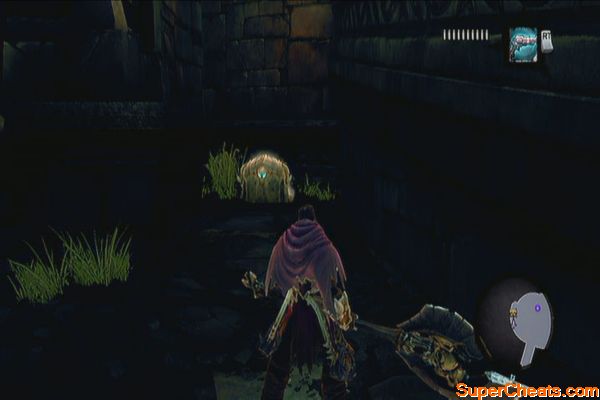
Push the ball to the elevator and pull the lever. Quickly jump unto the elevator as it rises. Now aim for the adjacent elevator and push the ball there using RT. Turn to the right to find a Stone of Mystics (5) in the corner.
Jump down and climb the wall. Pull the lever there to lift the elevator the ball is currently in. Push the ball to the hole and loot the nearby chest as well.
Enter the next chamber and loot the chest. Pull the lever to open the gate and go through the northern door this time.
Dive in the water and follow the stairs underwater until you reach a submerged chamber. There's a Boatman Coin there. (28)
Backtrack to the stairs and follow it up until you find a couple of hand-holds. Grab them and continue forth to exit this dungeon.
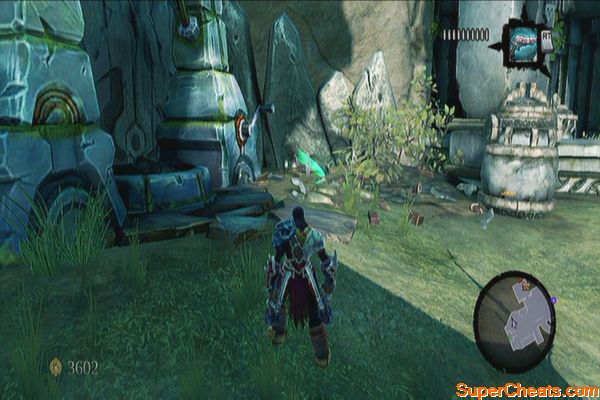
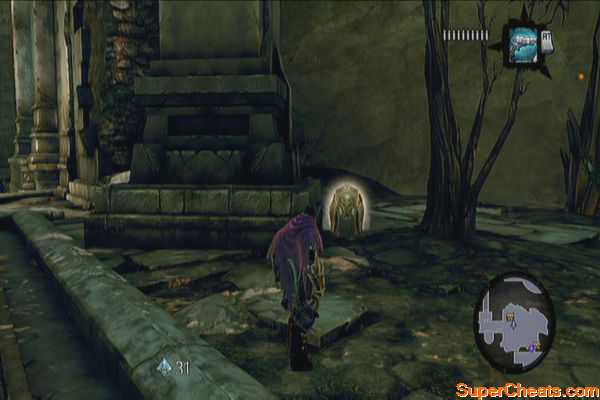
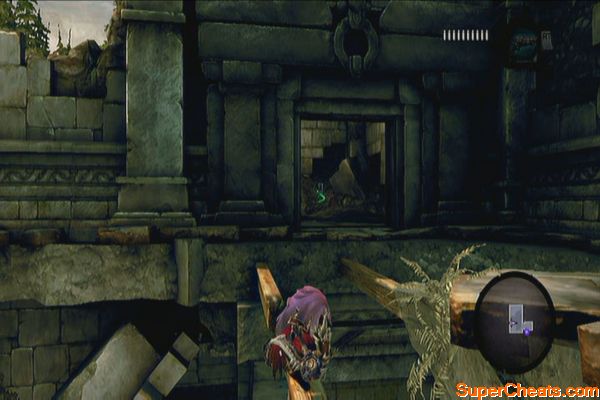
The Lost Temple
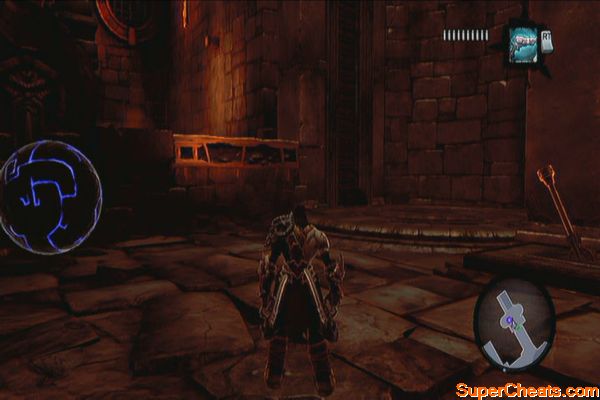
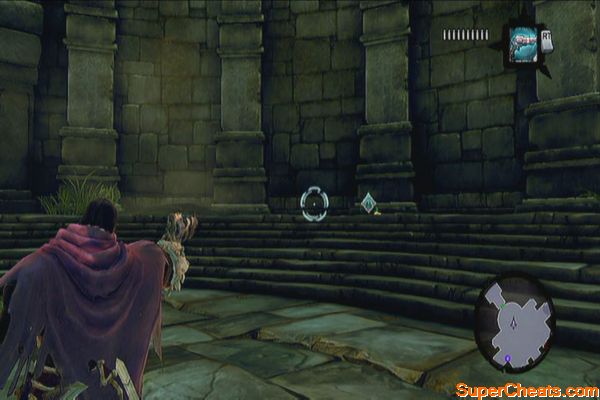
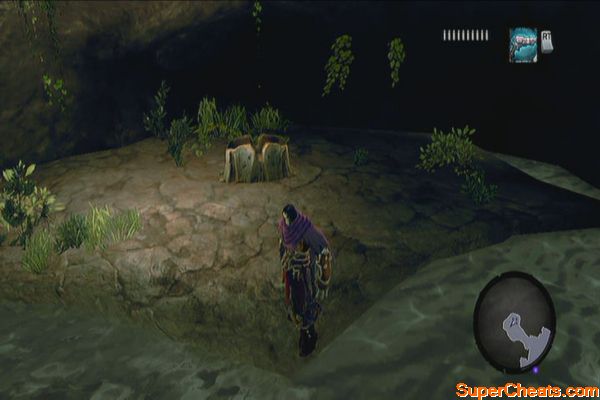
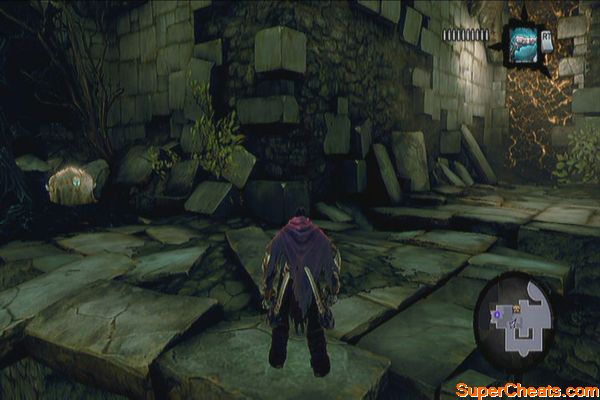
Follow the path until you find Karm. You can talk to him if you want but first loot the chest to the northwest before entering. Once inside, a pack of prowlers will attack you. Dispatch them and loot the chest to the left side of the stairwell. Continue upstairs to the next room.
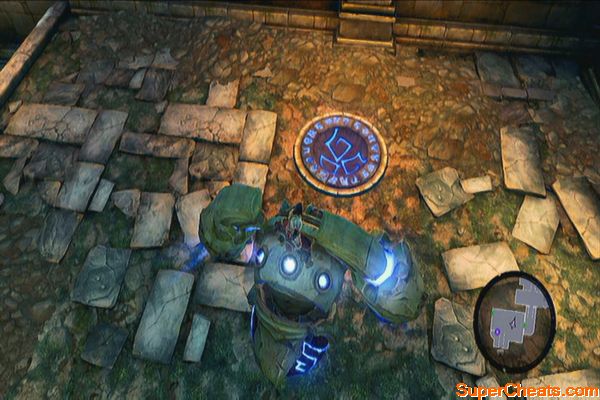
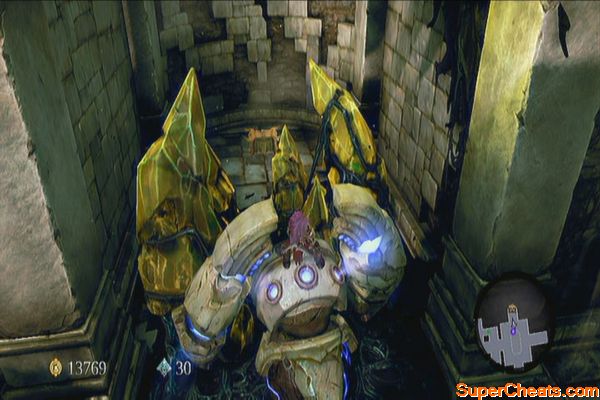
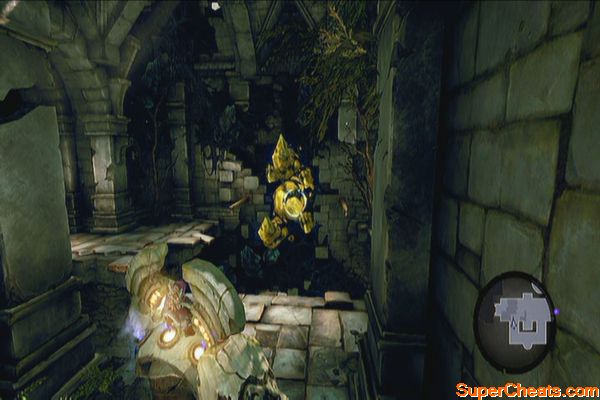
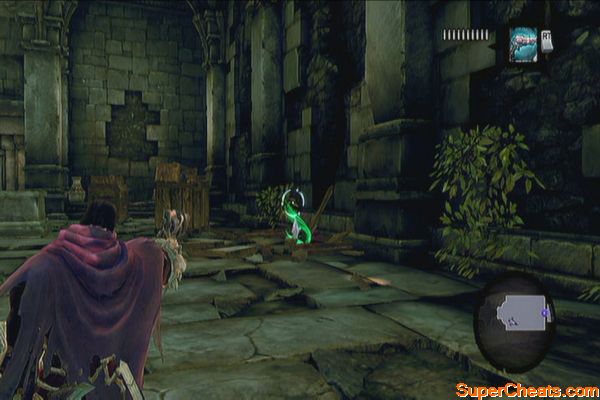
Once there, activate the construct and use it to destroy the crystals ahead. Move the construct on the hole ahead to remove the bar on the door then dismount and exit.
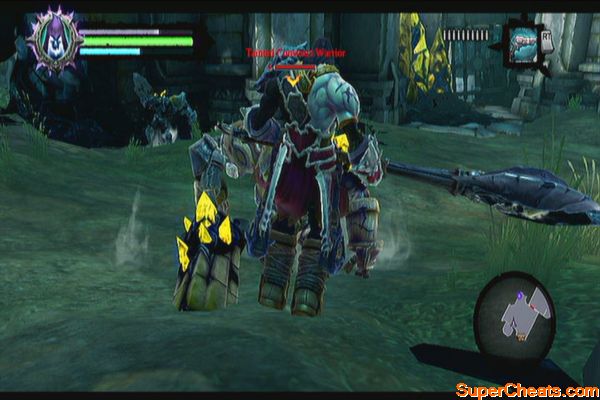
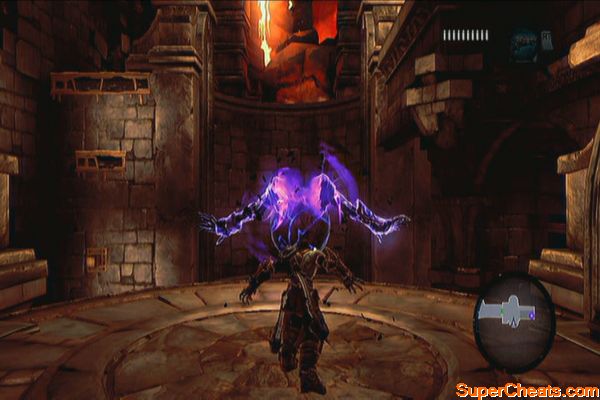
In this area, you'll fight a new enemy called the Construct Sentinel. This enemy has a shield and will always come along with lesser constructs. Defeat the lesser constructs and the Sentinel will attempt to revive them. This will remove its shield, making it vulnerable to attacks.
After defeating it, you'll obtain the Carven Stone, the last material needed for Muria's Shaman's Craft side quest. You can fast-travel and deliver the material to her to complete the side quest if you want.
Construct Sentinel
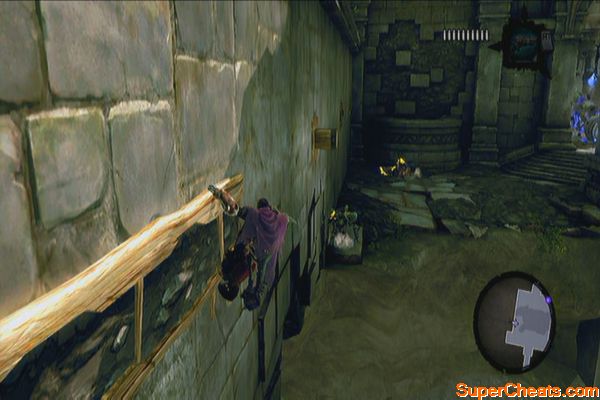
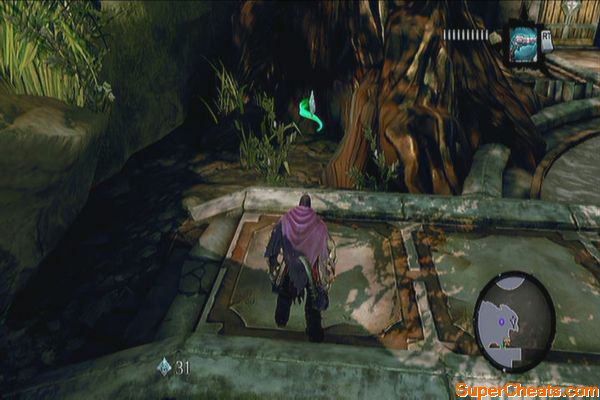
Destroy all the objects around first to find a boatman coin (29). Wall-run on the peg and shimmy to the other side. Jump off the next passageway.
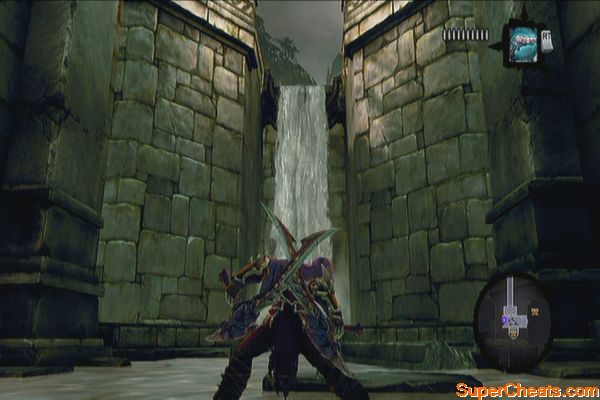
Follow the path until you reach the next area. Jump off the water and dive to find a boatman coin beside the sunken bridge. (30) Before leaving the water, swim to the southwest through the tunnel and you'll find a chest at the end. Loot it then return to high ground.
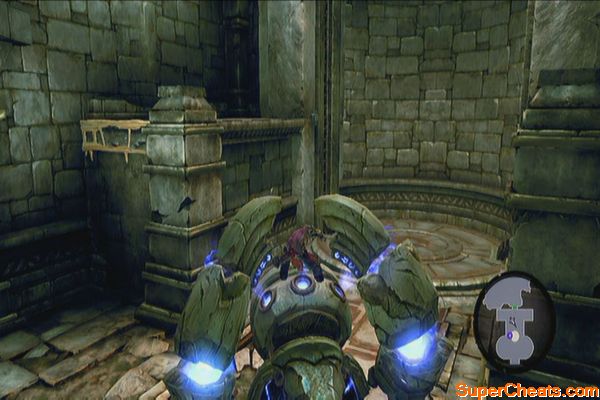
Scale the wall to the left to reach the other side and take out the Tainted Adjuncts. Activate the worker construct. While mounting it, aim for the group of crystals to the left of the bridge and extend its arm to destroy them and reveal a lever.
Wall-run using the other wall and pull the lever to raise the bridge. A group of lesser constructs will appera and ambush you. You can fight them on foot or while mounting the worker construct. Ride it back to the passage way and clear the path for you. Don't forget to loot the chest along the way as well.
Continue rolling to the main hall where you defeated the construct sentinel and destroy the group of crystals to the south. Approach the hole where the construct must stand on but dismount first and collect the Stone of Mystics (6) below. Jump down to find another chest below.
Climb back up and mount the construct again. Position it on the hole and aim for the switch on the other end. Extend its arm and cross the chain to reach the other side.
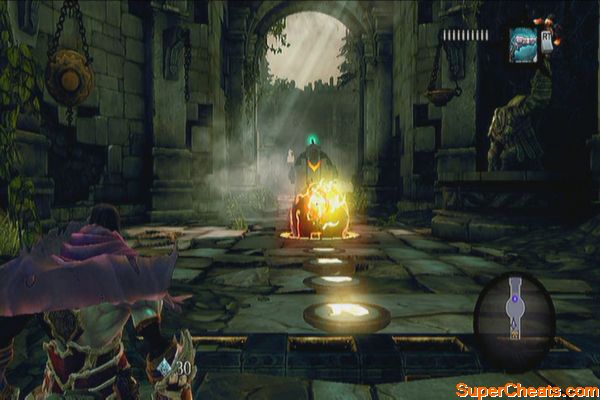
Once there, aim for the shadowbomb above the statue to dislodge the ball. Enemies will appear so take them out and proceed to where the shadowbomb pod is. Grab one and stick it to the ball. Shoot the bomb to dislodge the ball and lower the gate behind you. Collect the skeleton key from the chest.
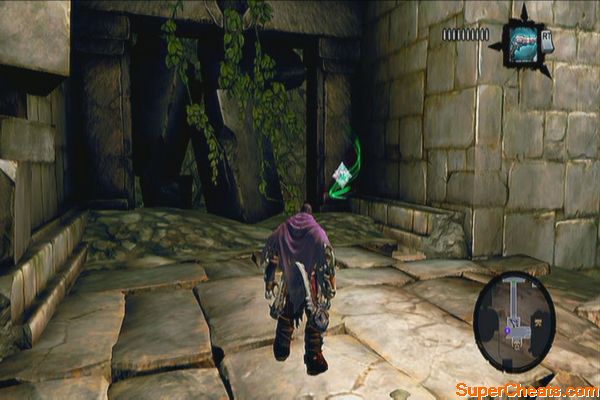
Climb the vines on the wall and wall-run past the gate. Backtrack to the previous area and use the Skeleton Key on the locked door. Use the vine-covered walls and ceilings to reach the lever on the other side. After reaching the lever, a couple of constructs will ambush you; take them out and pull the lever.
Ride the worker construct again and clear the newly-opened path. Don't forget to clear and loot the chest containing the Dungeon Map as well. Now turn around and head north to find a slot. Park the worker construct there and extend its arm across the gap. Cross the chain to reach the other side and find a chest there. Ride the construct once more and park it in the slot to the west to lower the gate. Dismount and proceed on foot.
Once you're in the arena, you'll have to fight different waves of enemies – each with a Construct Sentinel. Like before, you can kill the lesser constructs and wait for the sentinel to attempt reviving its allies. The sentinel has surprisingly low HP so a few Redemption shots should be enough to destroy it. Later on you'll have to fight construct champions. Use of powerful attacks such as upgraded Teleport Slash or Harvest should help in keeping you alive throughout the battle.
...anything else?
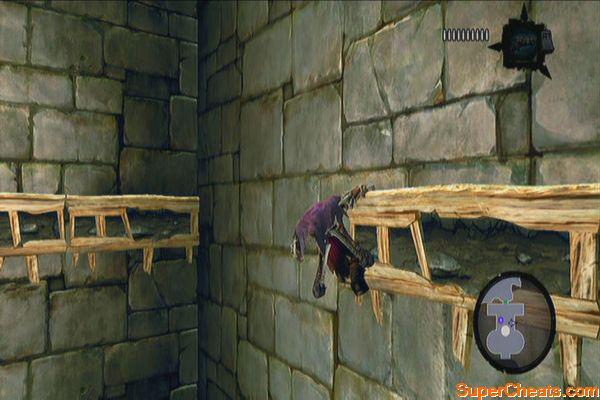
After the ordeal, the gate will lower and a chest will appear. Loot it and exit through the door. You'll encounter a locked door to the west so go through the southern door this time. In this hallway, you have to perform wall bounce until you reach the next hallway. Look around after landing as there's a Boatman Coin (31) there.
Go down then right and perform a vertical wall-bounce to reach the upper ledge. Don't forget to loot the chest in the southeast ledge. There's another chest to the northwest of the hand-holds.
Head east to find another Boatman Coin (32) near by the tree trunk. Loot the chest near the door then exit south next.
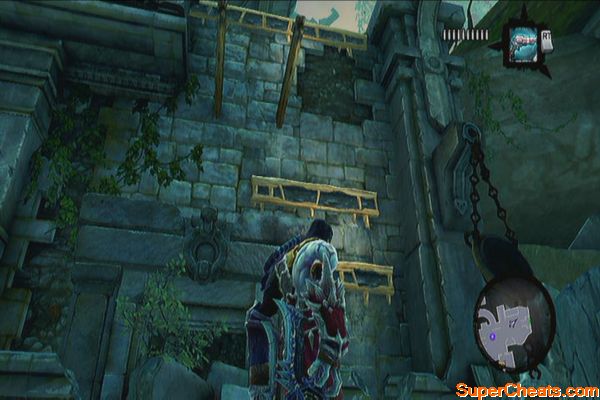
Activate the worker construct next and drive it to the elevator. Dismount and climb the hand-holds to the left. Continue up and use the hand-holds to move left and around the walls, until you reach the next floor.
Go upstairs and activate another worker construct. Ride it to the slot near the elevator to lift the other construct up. Dismount and ride the other one to the next hole. Dismount that one and mount the other construct that you used to power up the elevator.
Ride it to the left passage. Before going there however, you can jump down the lower ledge and follow it to find a chest. Now mount the worker construct again and roll around the corridor. Ignore the Book of the Dead page for now but continue to find a hole. Park the construct there are shoot crystals ahead to reveal a grappling plate for the construct.
Extend the worker construct's arm and mount the chain. Make your way to the other worker construct and roll it to the hole near the edge of the ledge to unbar the door ahead. Before going straight to the door, mount the chains of the other construct again and return to get the Book of the Dead page (7). Backtrack and exit through the door this time.
Make your way to the door north, as shown in the cutscene. Upon reaching the large area, a pack of prowlers will ambush you. After dispatching a few of them, a pair of Savage Stalkers will appear. Be careful not to get surrounded as the Savage Stalkers' combos are both damaging and almost unstoppable. Use group skills like Harvest or heavy weapon swings to damage multiple enemies at once. Don't hesitate to use health or wrath potions as necessary.
Formidable beasts
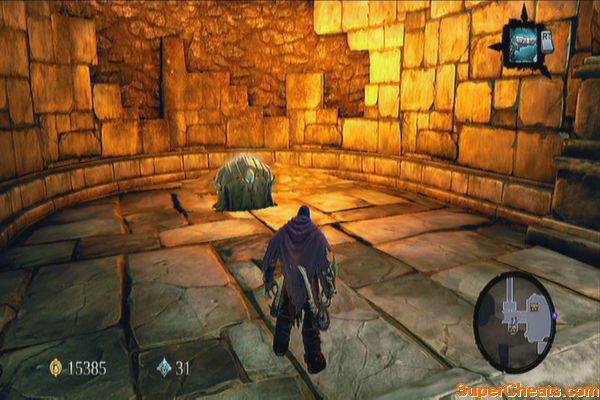
Enter the next chamber and defeat the enemies awaiting inside. Both doors are barred at the moment so climb the wall to find a ball there. Shoot the shadowbomb over the statue to dislodge the ball.
After dislodging the ball, look to the left for a Stone of Power (2). Cross the wooden beams to find a Book of the Dead page (8) to the left. Now jump down and push the ball in the slot to unbar the door to the west.
Once you enter the large hall, two Tainted Construct Champions will appear. Evade often and deliver use skills and potions as necessary. After taking out one champion, lesser tainted constructs will join the fray. Avoid getting surrounded and use your skills often until they're all dispatched.
Tainted Constructs
Destroy the clutter in the area as well to find a Boatman Coin (33). Exit and prepare for a boss fight. Continue to the arena to fight the next boss.
Boss: Construct Hulk
Wait for the boss to smash and the shockwave will release some volatile shadowbombs. Quickly grab one, focus then throw it to the Hulk. The explosion will temporarily dislodge its core, making it vulnerable to attacks. While its core is exposed, lesser constructs will spawn as well. Try to deliver solid skill strikes on the core to avoid getting interrupted by the lesser constructs. Repeat the process until the boss is defeated.
Construct Hulk
Climb the stairs and loot the four chests on both sides. Next, activate the Warden to clear the dungeon. Return to Tri-Stone.
Tri-Stone
Talk to Eideard to complete the quest.


I defeated construct hulk and activated warden and returned to tristone, but I can't completely talk with eideard, when I go to him he just talks "restoring the hope leaves sorrow" thats it. after talking to him my primary quest in map doesn't changed it still pointing eideard....
HELP ME