The City of the Dead
Breach
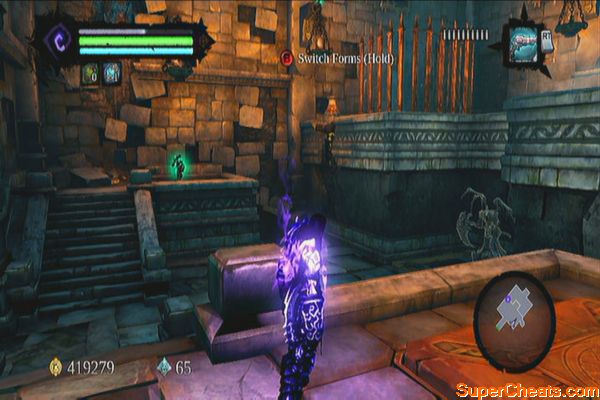
Head to the upper floor where there are two pressure plates. Stand on one of the plates, activate soul splitter then step on the other one. Switch to the other soul and loot the chest.
Underbridge Chests
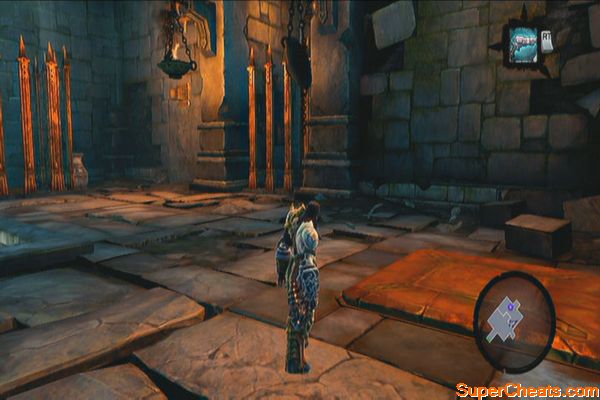
Return to the underside of the bridge to and swing to the last ledge. Stand in one plate then soul split. Stand on the other one, cross the beam to reach the other side and use the shadowbomb pod there to destroy the crystals and enable you to loot the chests.
Challenging the Deposed King – It is already possible for you to fight and defeat the Deposed King though it will still be tough and you'll probably burn your stock of health and wrath potions.
Defeating the Deposed King
Deliver Forge Land quests and extras
You can feed the stonebites you have collected so far to Blackroot and also report to Thane to clear the quests for killing Achidna and the Deposed King.
Fjord Eastern Keep chest and Book of the Dead
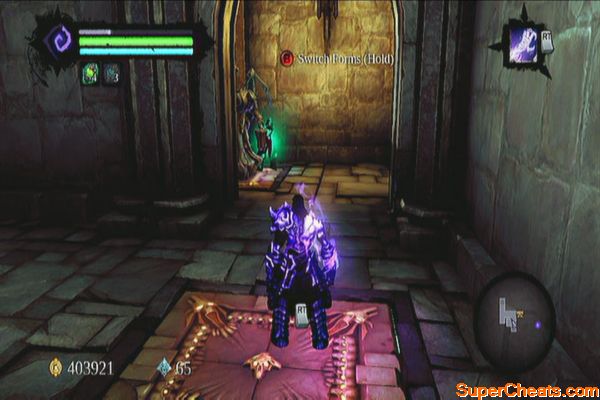
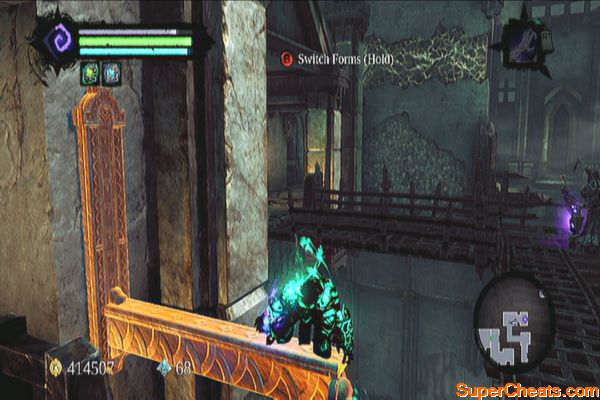
Move your physical body in the central platform, soul split then move the two souls on the pressure plates to raise the platform. Quickly deactivate soul split to return to your physical form then quickly jump off the platform to reach the upper ledge.
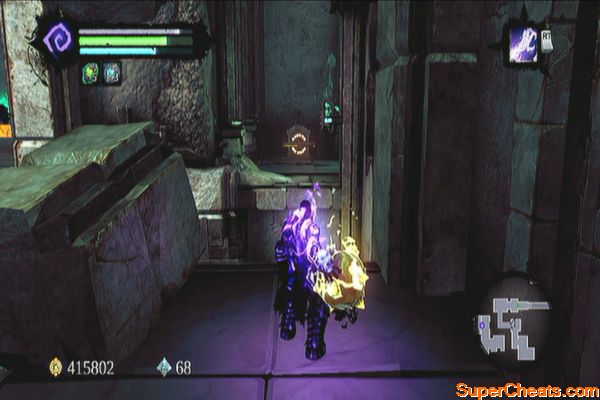
Step on the pressure plate to the right, then soul split. Have one soul climb the hand-holds to the northwest corner and step on the other pressure plate. Switch to the other soul to collect the Book of the Dead. Destroy the two vases near the caged pressure plate for a secret chest to appear.
|
|

|

|
Fully explore the Sentinel's Gaze and the optional dungeon, Boneriven
For the full walkthrough for these dungeons, refer to this guide's Sidequests guide.
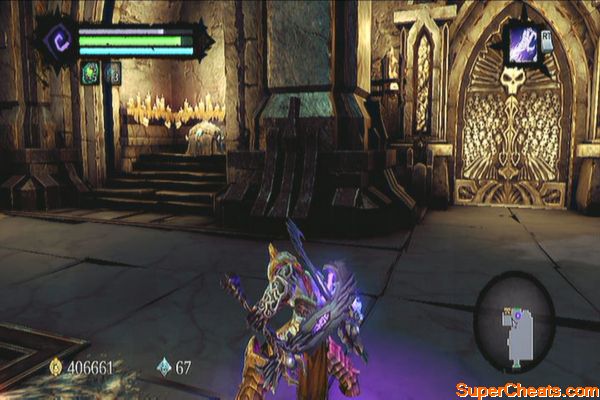
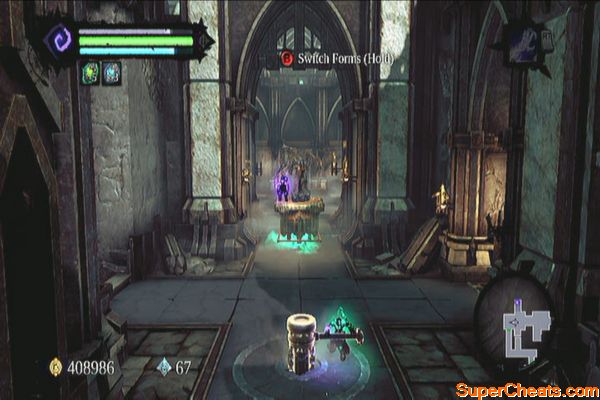
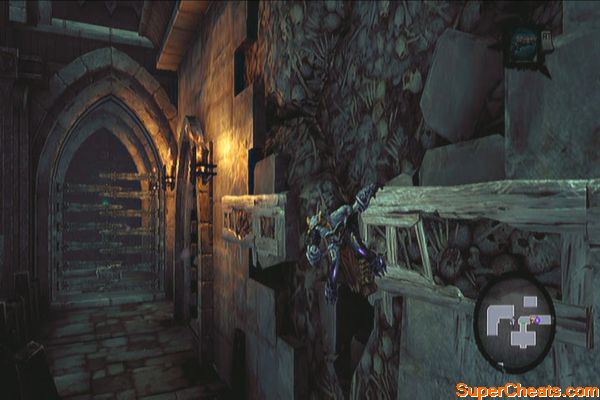
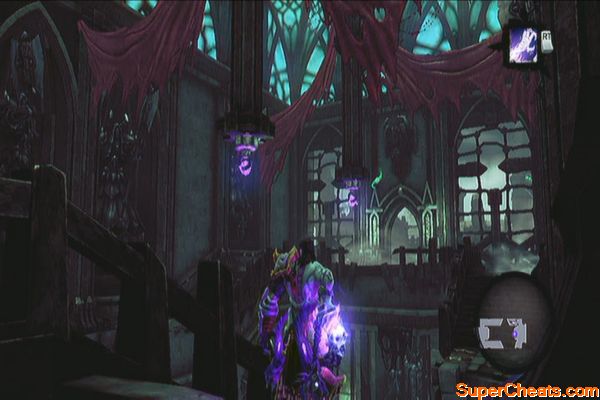
City of the Dead
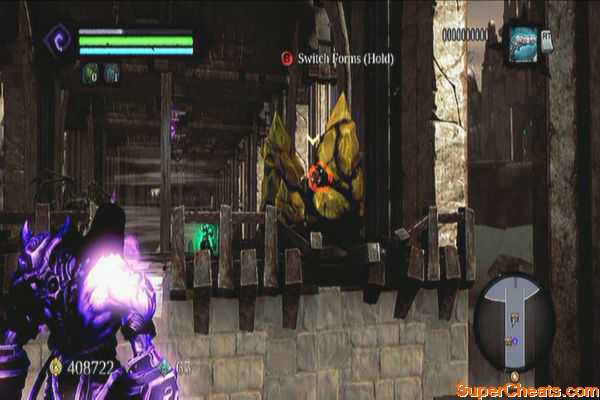
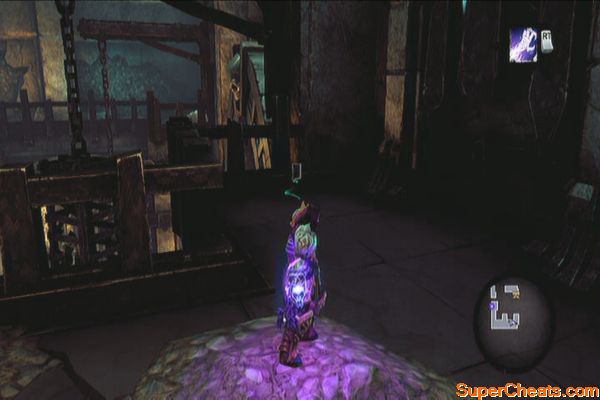
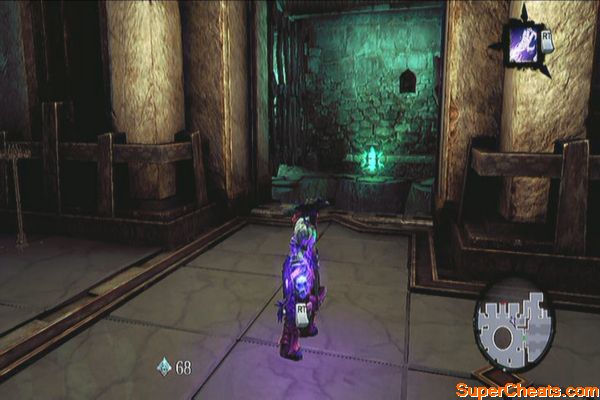
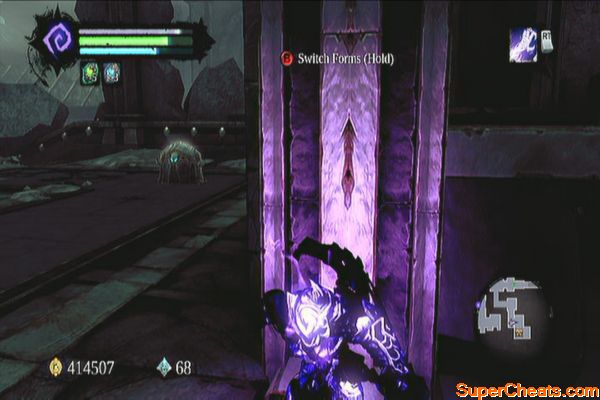
To open the main door, you have to pull the two statues to the side. Soul-split and use your two souls to pull them. Head inside then loot the chest to the northwest. Proceed to the next door.
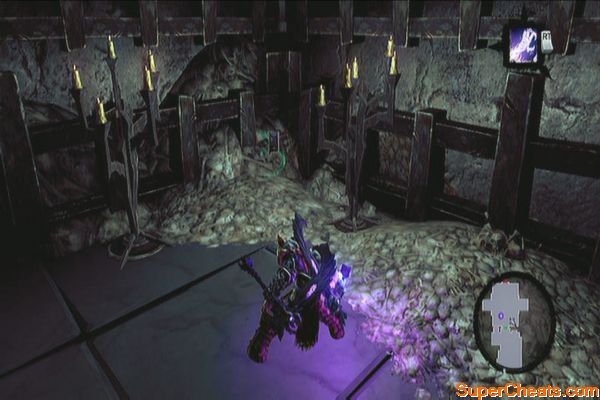
Head to the next room and take out the two skeletal champions and an undead general that will appear afterward. After defeating them, grab the Book of the Dead page to the southeast.
City of the Dead's welcoming party
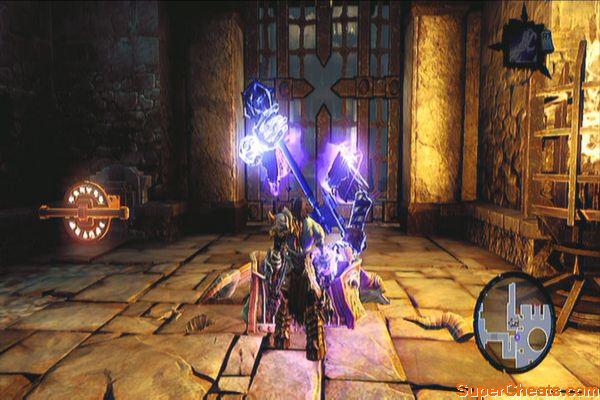
Step on the pressure plate on the northeast then soul-split. Send one soul to the other pressure plate then send the other one to the switch in the upper ledge. Proceed to the next room.
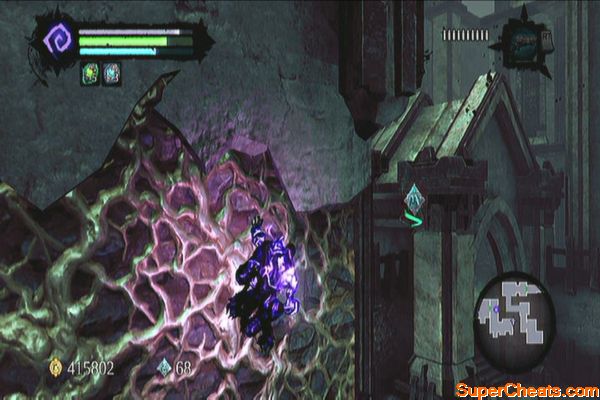
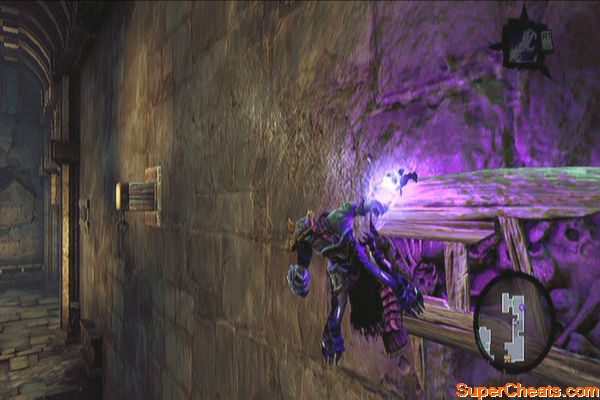
In this area, head north to the locked door. There should be a Relic of Renagoth on the eastern vent. Proceed to the western passage and wall-run across the gap to reach the other side.
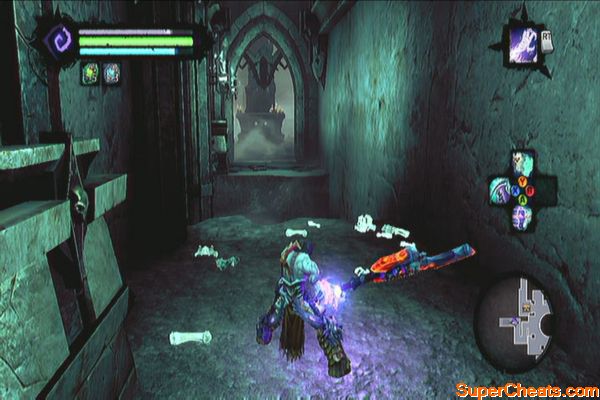
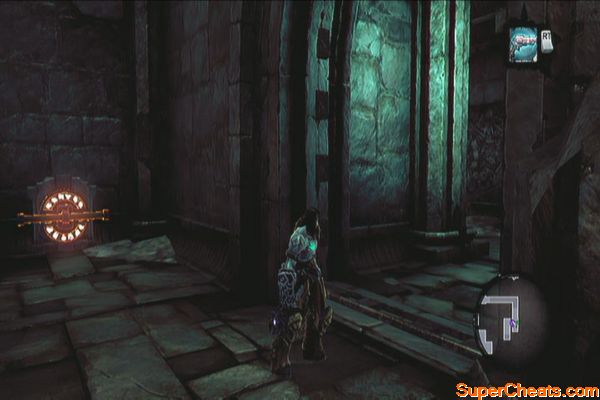
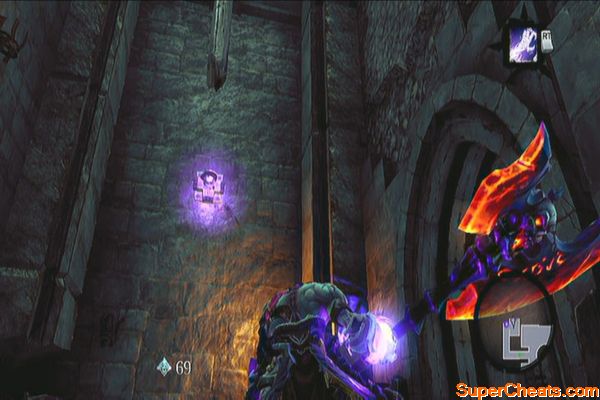
Upon reaching the next area, you'll find one of those rotatable lantern statues. Ignore it for now then proceed to the north. In this passage, look for the hand-holds to the left and scale them. Wall-run to the next post then back-leap to the next post to the right. Wall-run to the broken stairway to reach a unique weapon called Lich Spines.
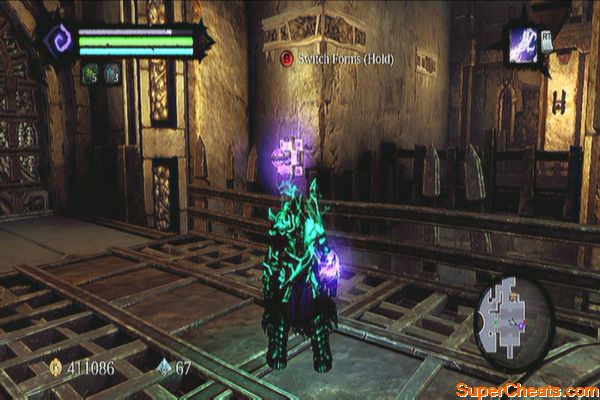
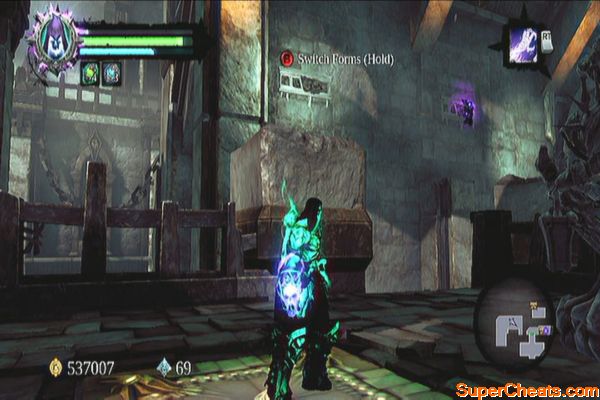
Return to the main path and follow the corridor north. In this area, soul-split and have one soul spin the lever. Hold it and switch to the other soul. Go past the gate and grab a shadowbomb from the pod on the wall. Backtrack and throw that bomb to the switch across the locked floating platform, lowering the gates and allowing you access to it.
Cancel soul-split and stand on the platform then soul-split again. Have one turn the lever again and the other push the platform past the gate. Cancel soul-split again and you'll be in the next area.
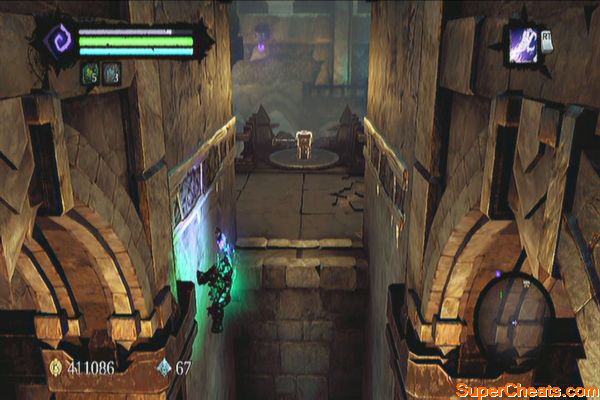
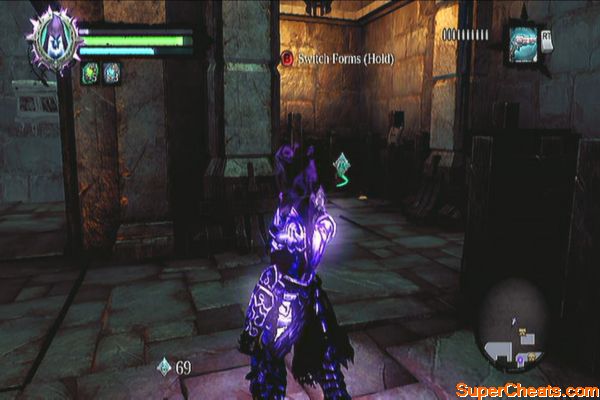
Stand on the pressure plate next and soul-split again. Step on the other plate and loot the chest. Return to your original form and continue upstairs so you can loot the chest on the balcony. Backtrack and check the hole in the nook to the east. Drop down and loot the chest behind, and the Skeleton Key from the other chest. Push the switch to get out of the room.
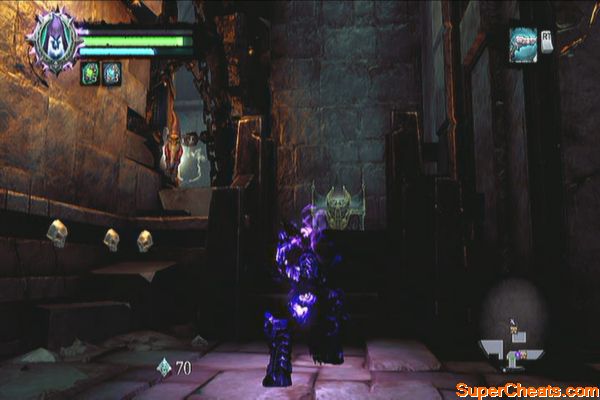
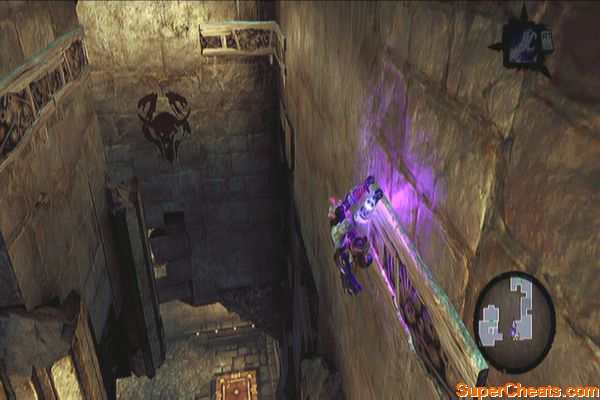
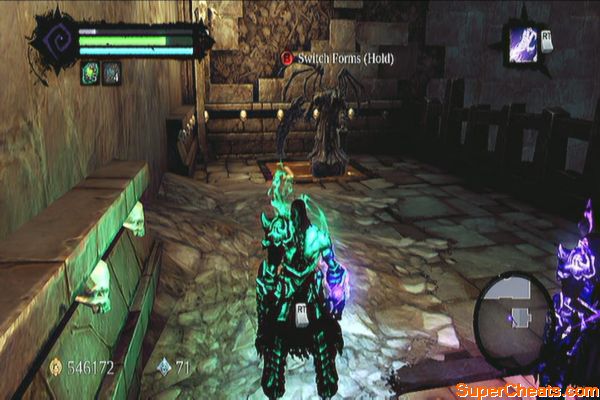
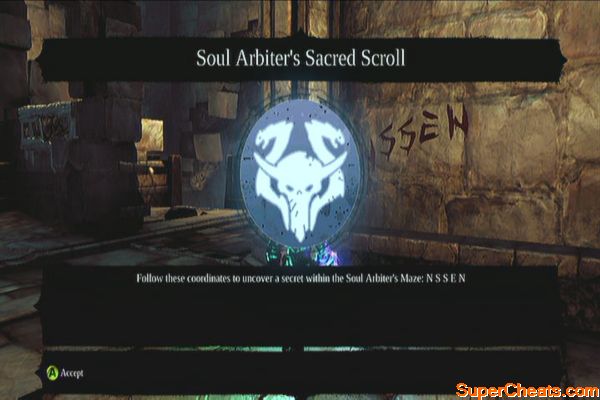
Unlock the door to the east and proceed to the bridge. Soul-split here and deathgrip on the nearby hoop to reach the hand-hold. Continue to the other balcony and check the corner with a writing on it to get a Soul Arbiter's Scroll.
Grab on the hand-hold to the south and do a vertical wall-run, bouncing from wall to wall until you reach the top. Get the Book of the Dead page in the southeast corner then spin the lever in the middle and hold it.
Switch to the other soul and cross the bridge north. Get the boatman coin to the northeast, then climb the growth to the west. Swing across the gap using the deathgrip and loot the chest in the other end. Jump down to ground level and continue north. Loot the chest along the way and go around the corner to find a switch and the lantern. Push the switch then return to your main body.
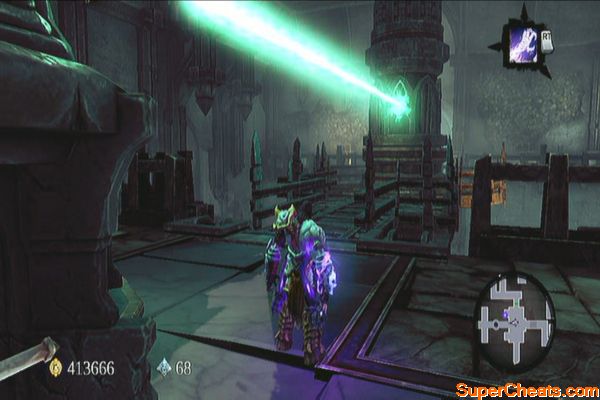
Return to the main hall and check the northeastern alcove to find the lantern. Pull it towards you then make your way back to the lantern statue to the west. When you reach the pit, put the lantern down, wall-run then grab it again using your deathgrip. Place the lantern to statue and rotate it south to open it. Get the Book of the Dead page inside.
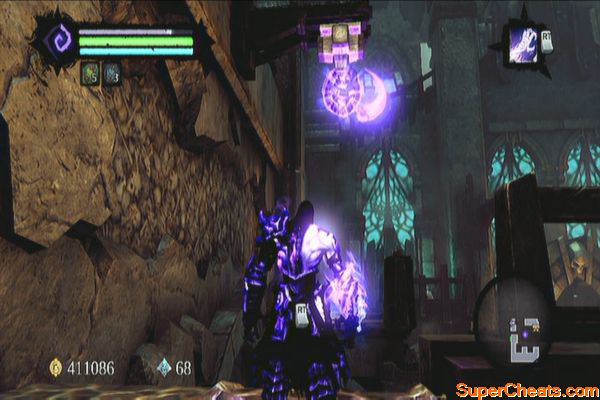
Rotate the statue so it hits the crystal in the central pillar to the left. Cross the platform that will rise and head through the door. Climb the growth and make your way to the upper floor.
Loot the chest there and proceed through the door. Kill the wraiths then stand by the corner of the walkway. Have one soul step go to the lever on the other side. Before pulling the lever, grab the Relic of Etu-Goth in the corner.
Cancel the soul-split then activate it again. This time, have one soul step on the pressure bar to the northwest then switch to your other soul. Head to the northwest to find a shadowbomb pod there. Grab one bomb and carry it past the gate you lowered.
Look to the north and throw the bomb on the switch there to open your next path. Before heading back, follow the path and before climbing the growth, check the area to the left to find two wraiths and a chest.
Kill them and loot the chest. Don't forget to shoot the Stone of Power on the wall to the right. Backtrack and climb the nearby growth and follow it to find a Boatman Coin around the corner. Aim for it and leap to collect
it. Return to your original body afterward. Continue to the northeast passage.
Wall-bounce until you reach the next switch. Two gates will be opened but ignore the one to the southwest since it just leads you to a drop returning to the main hall. Go through the door next.
Continue to the next door and destroy the objects along the way. Push the next switch to unblock the path on the rotating bridge. Jump down and continue to the large hallway. You'll have to defeat three wraiths, an undead general and finally three Tormentors to clear this area.
Keep moving and use items as necessary. Just avoid getting cornered as it will be hard for you to recover in case you get hit. Use the battleground's large space to your advantage and to plan your attacks.
The City Arena
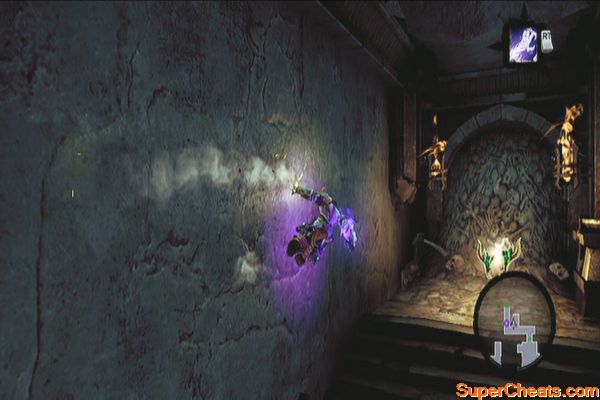
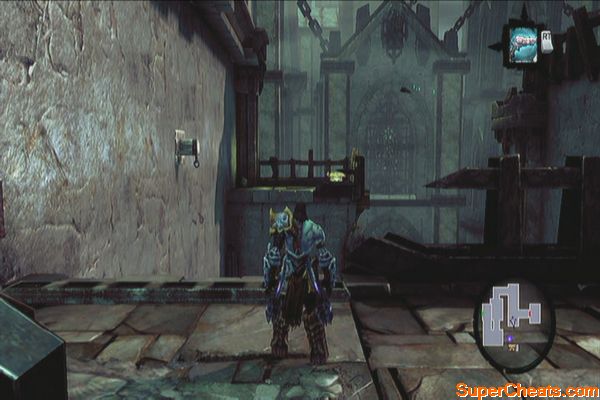
Pick up all the loot you have scattered and continue east. Loot the chests then leave the area. In the next area, you have to scale the wall and reach the ledge above before the ascending platform of spikes and rubble reach and kill you. After reaching the safety of the next ledge, pull the lever to open the door and exit.
Time is of the essence
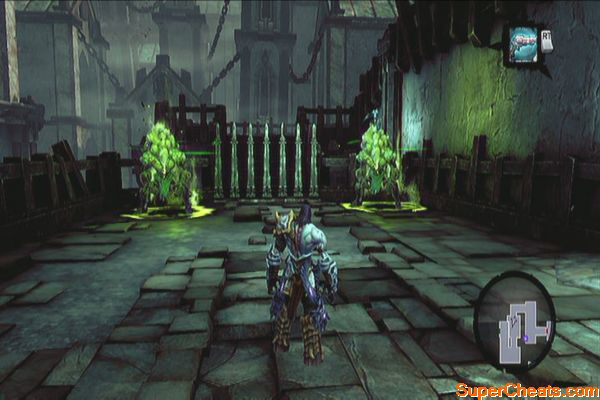
After exiting an Undead Stalker and a couple of undead prowlers will ambush you. Defeat them and before leaving, shoot the Stone of Resistance on the tower to the north. Next wall-run to the south to find the Dungeon Map.
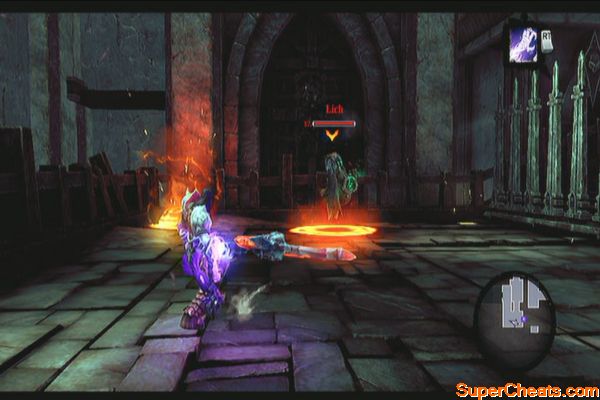
Wall-run baack to the previous ledge and continue forth. You'll be ambushed this time by two new enemies called Abominations. Defeat them quickly as just by staying near them will cause gradual damage already. Continue forth and you'll find yourself ambushed again, this time by three Liches. Defeat them all then continue to the next area.
Jump down below and kill the scarabs to loot the chest. Climb back up, wall-run on the wall to the right then use the wooden posts to reach the other side. Exit to the next hall.
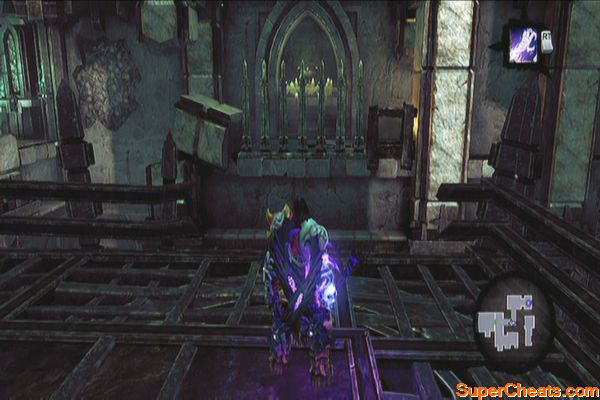
After the scene, continue to the west wall since you can't do anything here at the moment. Continue until you reach the a small room. Deathgrip on the southern wall to boost your wall climb then jump to reach one of the hanging posts. Make your way to the left. In the next balcony, soul split away from the pressure plate and have one soul step on the pressure plate to reveal some hand-holds and hoop. Scale the wall to reach the switch. Push it to unbar the other door.
Now climb back to the post then wall-run to the left once. Stay there and switch to your other soul. Step off the pressure plate for that hand-hold to flip. Switch again to your other soul to get inside the secret chamber. Once inside, destroy the crates to the northwest to find a Boatman Coin. Destroy the other crates and weapon racks as well.
Continue downstairs to find a chest and a floating Gnome. Getting this will start a side quest called “GnoMad's Gnomes”. Loot the chest afterward. Return to your physical body and head to the unbarred door. Soul-split and have one soul step on the previous pressure plate again. Switch to the other soul and loot the chest. Return to your physical body again and exit the door.
Push the switch in the next room then use the deathgrip to reach the central platform. Grab the hand-hold on the giant lantern then rotate it to the west. Reach that ledge using the deathgrip.
Enter the next hall where you'll have to defeat scarabs and scarab hulks. Defeat all of them to remove the gate blocking the shadowbomb pod. Grab one and destroy the large crystal formation in this room. Climb the wall until you reach the upper balcony.
Lack of respite
TIP: I have encountered a weird glitch or clipping where I can't climb up the ledge. If ever this happens to you, simply fast-travel out of the dungeon and back again.
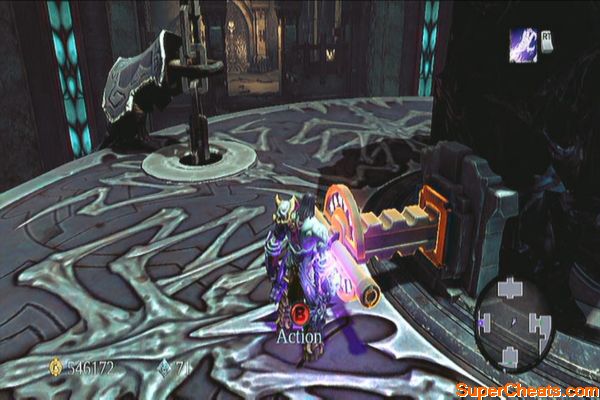
Loot the chest here to get the Skeleton Key. (Be careful of the passing wyrm as it can damage you). Now swing using the deathgrip hoops to reach the chest on the eastern side. Now swing all the way back to get a floating Boatman Coin. In case you didn't catch it, just aim and pull it using your deathgrip.
Exit the hall and jump down to the lower level. Head east then use the wooden pegs to climb up the wall and reach the locked door. Enter the door then immediately destroy the crates there to get a Book of the Dead page.
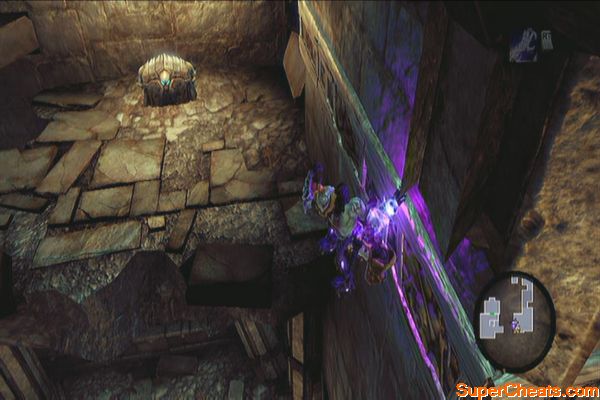
Climb the wall to the right then wall-run to the next ledge. Climb the wall again to the north, then wall-run. After the first corner, wall-run again then jump to reach the next corner. Before heading to the right, wall-run to the left instead and follow the hand-hold to find a chest.
Backtrack and keep heading right to reach the lower balcony below. Step on a pressure plate then do a soul-split. Have one soul step on the other plate then switch to the other and climb up. Head to the floating platform and before touching it, turn around and approach the writing on the wall to get a Soul Arbiter's Sacred Scroll.
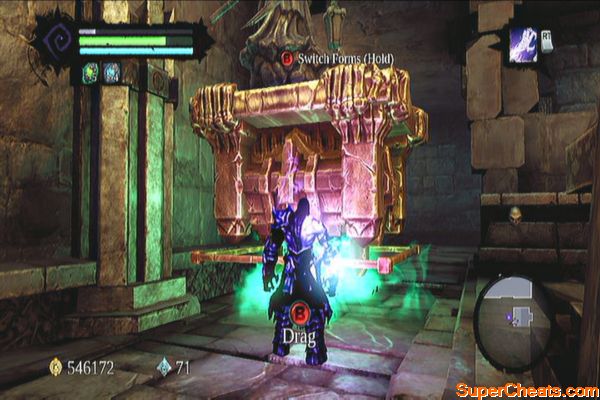
Pull the platform out to the east, return to your original body and climb up the platform. Soul-split again then send one soul to step on the pressure plate to the left. Switch to the other soul and push the platform inside. Switch to the other soul again and have him step on the pressure plate to the right this time. Switch again to the soul pushing the platform and push to the pressure plate in the corner. You can now revert to your original form and exit through the door.
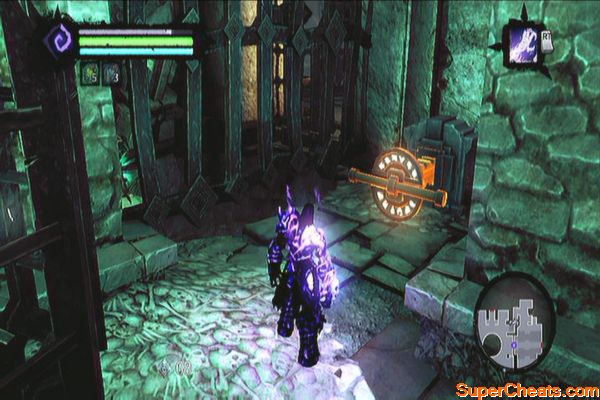
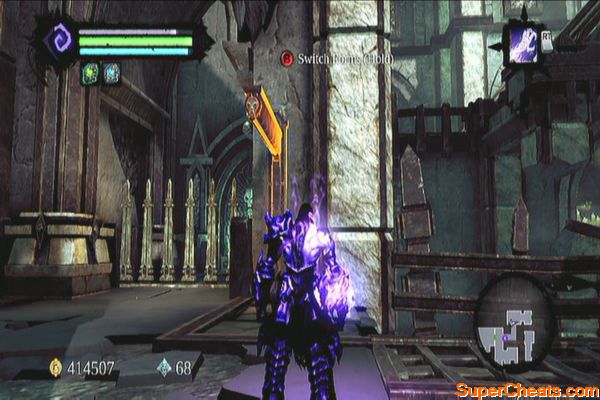
Push the switch to lower the gate, then grab a shadowbomb. You can then throw that bomb to the crystal on the central lantern's push-switch to clear it. Once done, swing back to the central platform. Pushing the button will take you to the boss so take this time to go back to the Eternal Throne to upgrade your equipment, free your inventory and stock up potions.
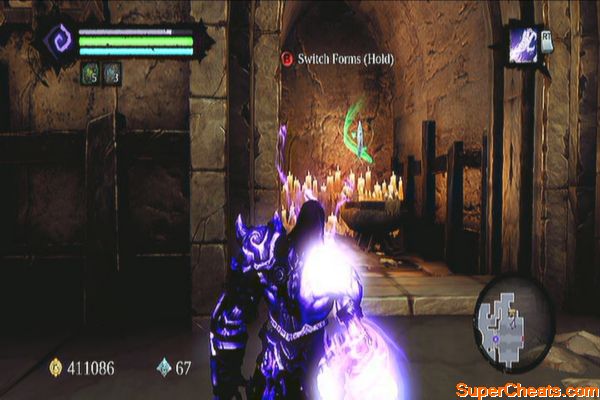
Push the switch down and rotate it so the light hits the northern door. This should unbar it; exit through the door and destroy all the objects inside. Continue to the circular room where the boss is waiting.
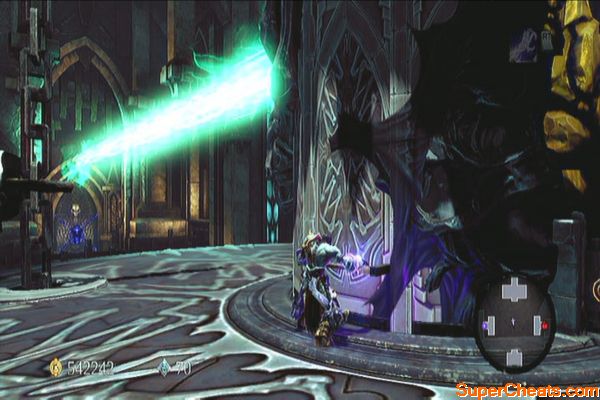
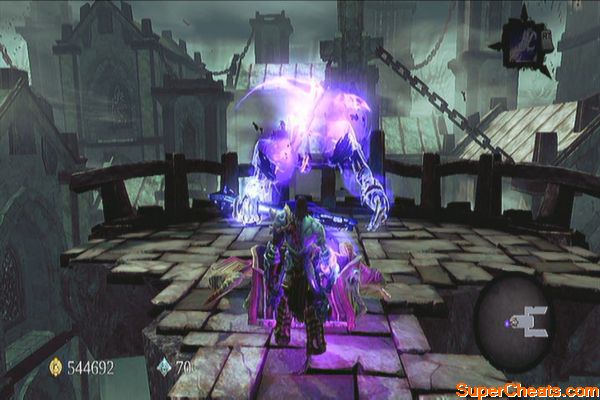
Boss: The Wailing Host
Watch the video below to learn more how to fight this boss.
The Wailing Host
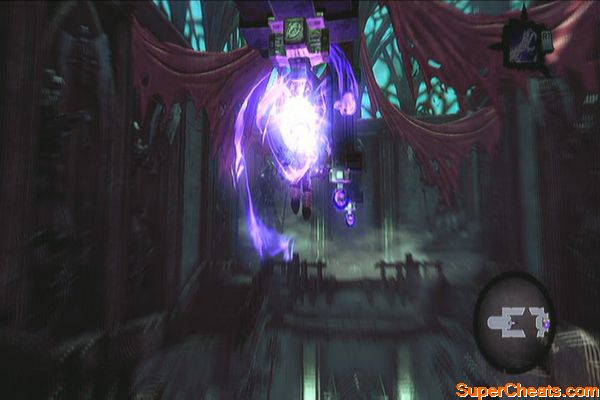
After defeating the host, head to the next door and continue until you meet the Soul. After the conversation, you can ask further questions. The quest will be complete afterward. You can now head back to the Tree of Death. Once there, talk to the Crowfather once more then use the portal to Lostlight.


Once the Wailing Hosts head drops to the ground , where do I hit him ? on the head , tentacles , wrist bands ? as soon as he rises his life bar goes back up again .