The Tears of the Mountain
Tri-Stone
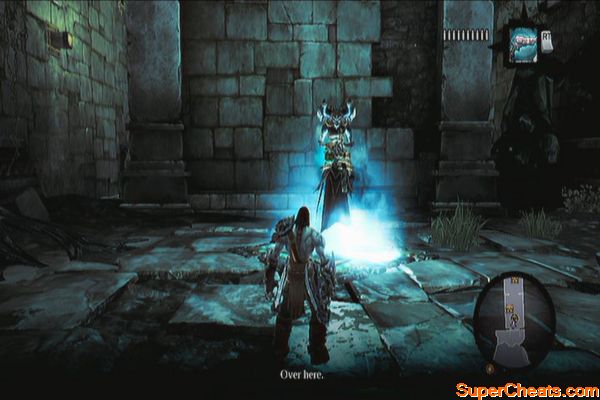
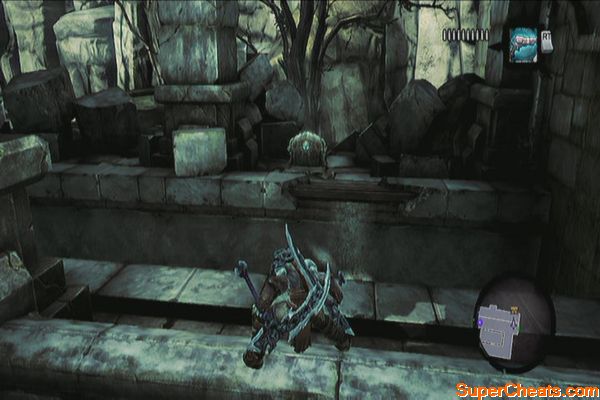
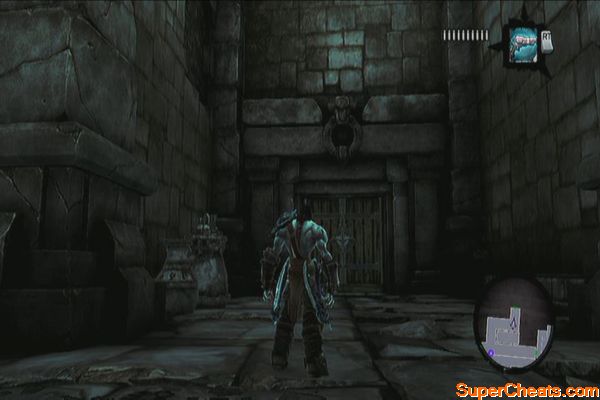
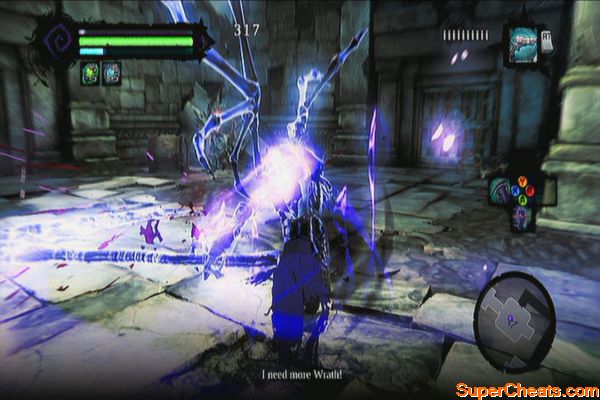
At this point, it is safe to challenge Thane. The trick is to evade often as his attacks are pretty slow. You should be able to withstands 3-4 hits from his attacks so just anticipate his moves and you should do well. Don't hesitate to use a health potion if necessary.
Defeating Thane
After defeating Thane, you'll get experience and unlock Death's Reaper form. This will also open three new side quests, each task is to defeat four new bosses: Bheithir, Gorewood, Achidna and Argul. You can ask Thane about your targets.
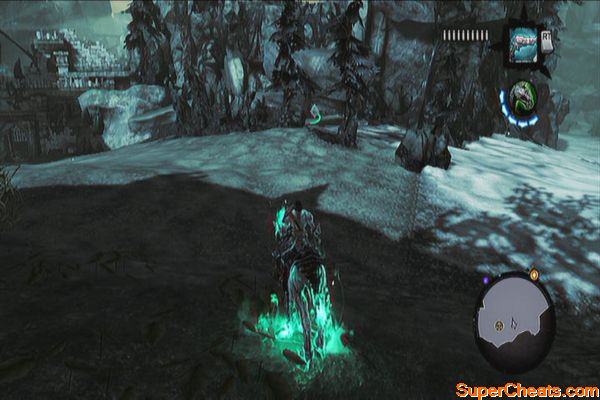
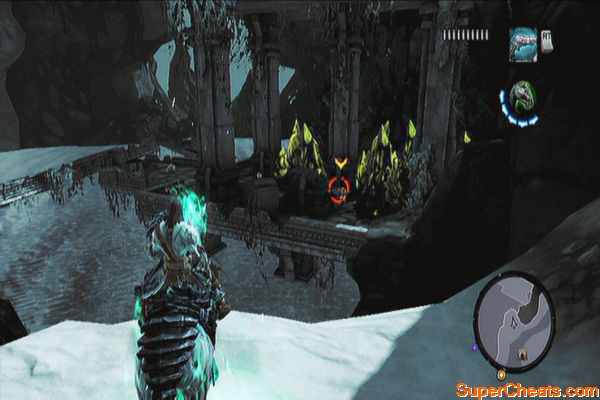
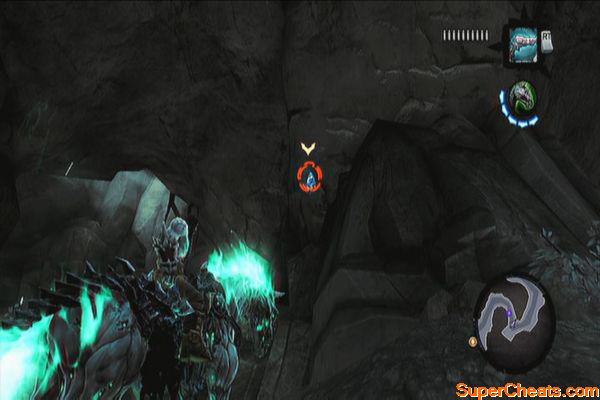
Once ready, travel to the Stonefather's Vale then ride west to find Karm. Talk to him to update the quest. Enter aim mode then shoot the shadowbombs by the game to clear the path.
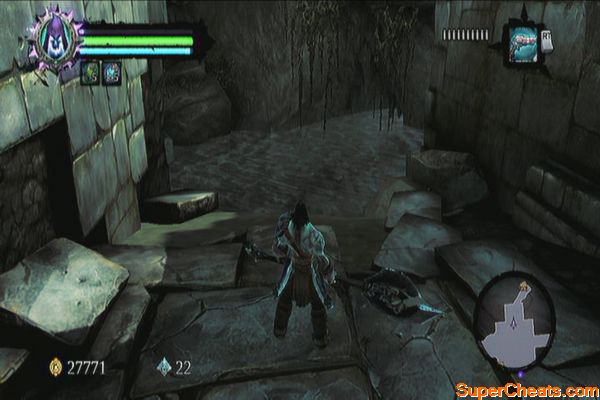
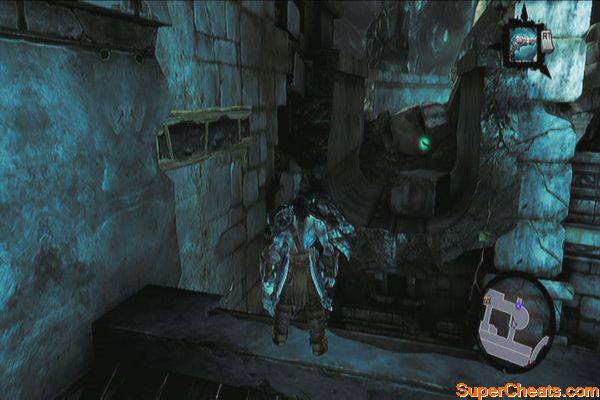
Shadow Gorge
Head west and you'll eventually find some prowlers and bee-like enemies called Stingers. Killing your first stinger will update the Shaman's Craft sidequest. Kill all the enemies and destroy the nest afterward. You may want to return to Karm and talk to him to further advance the Shaman's Craft side quest.
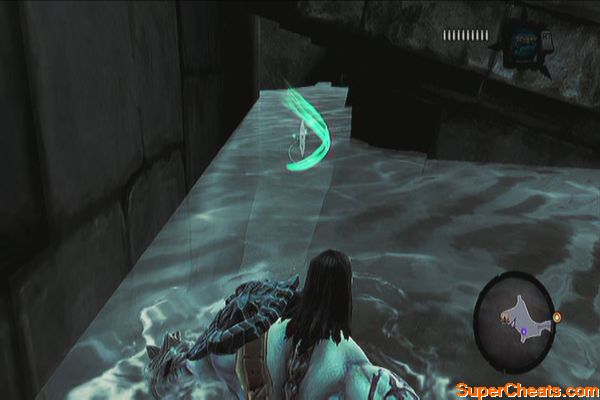
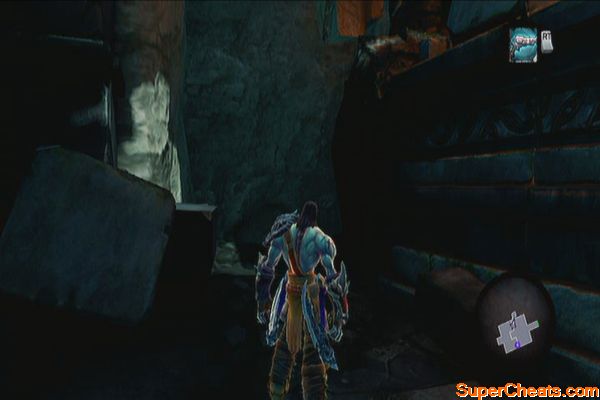
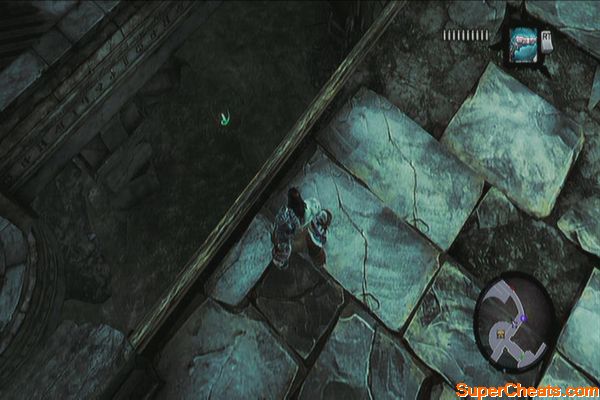
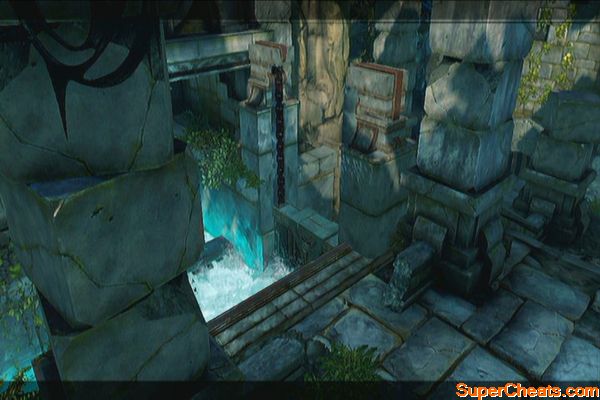
Return to the Shadow Gorge and before checking the gate to the west, you can check out the small ruins north. Once there, jump to the water and look behind the fallen bridge to find a Boatman Token (14). You can explore this optional dungeon, called the Shattered Forge if you want. However, I suggest coming back later. Make sure that this dungeon is registered in your map at least so you can easily fast-travel to it later.
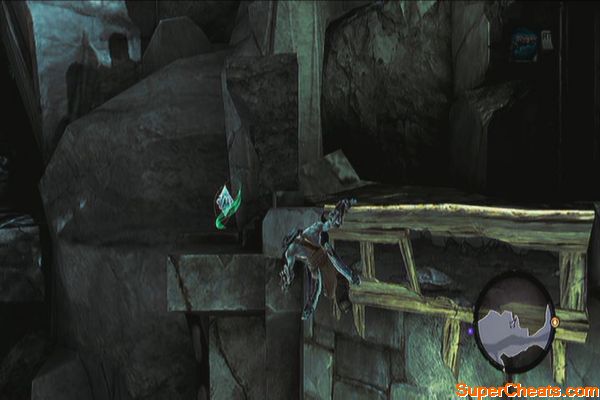
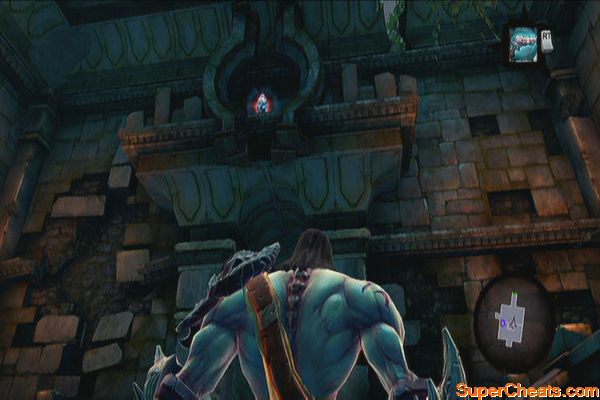
Head to the west gate and detonate the shadowbomb to the left so you can scale the wall. You'll also find a Boatman Coin (15) near the ledge.
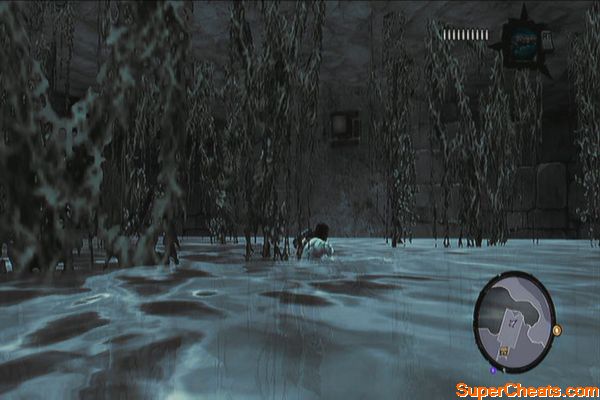
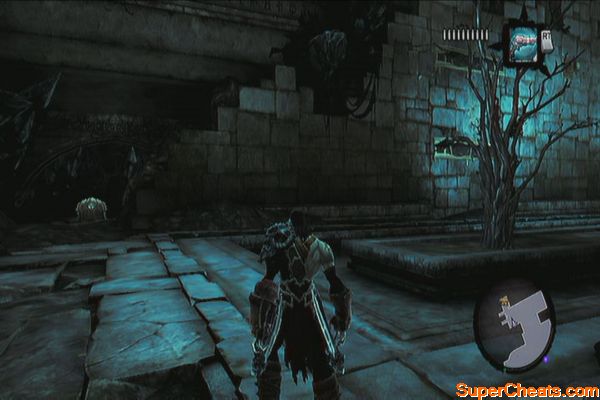
Enter the tower and you'll be locked inside for a bit. Stingers and prowlers will start pouring in so stay put and kill them all. Avoid falling in the chasm in the middle as well.
Tower Ambush
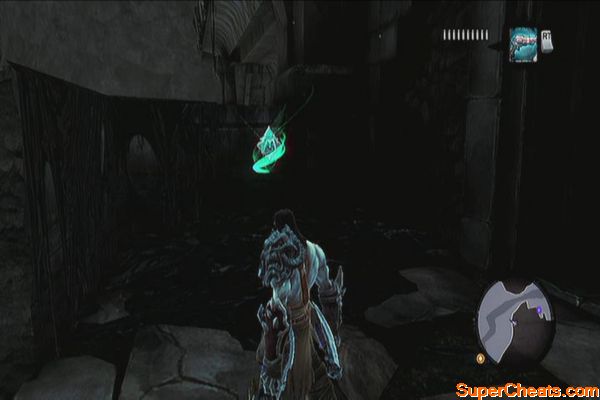
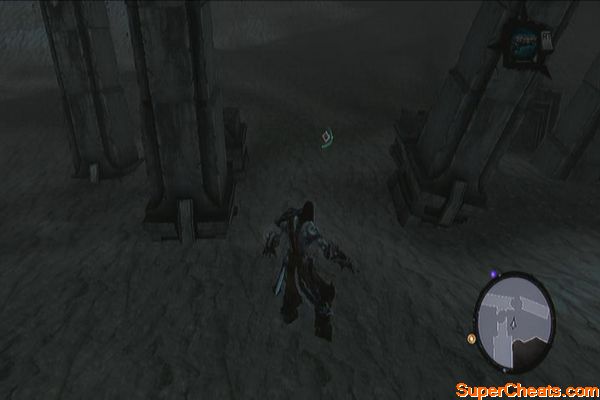
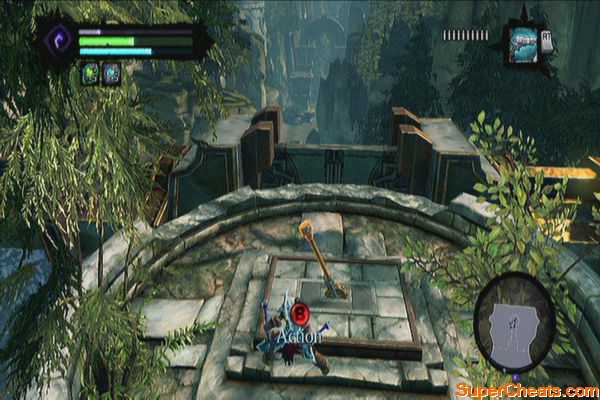
Once cleared, exit to the other doorway and immediately look to the right. You'll find yet another Boatman Coin (16). Drop down then pull the lever to the left to lift the gate.
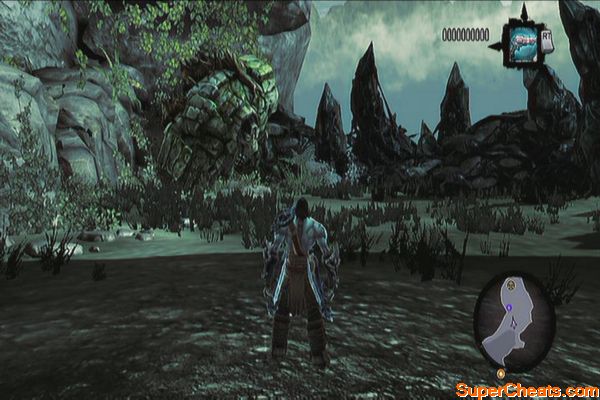
The Fjord
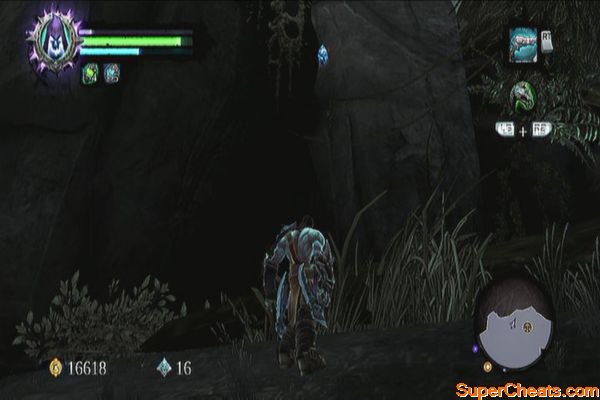
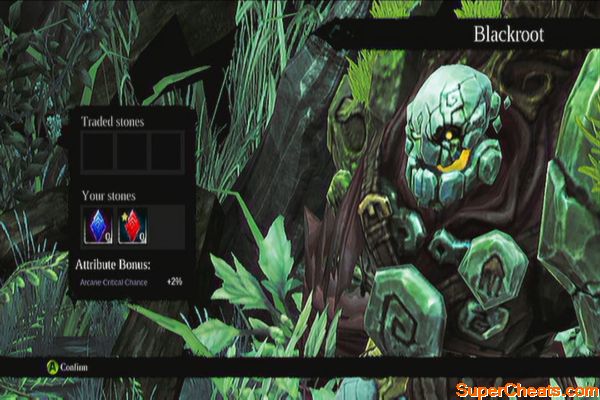
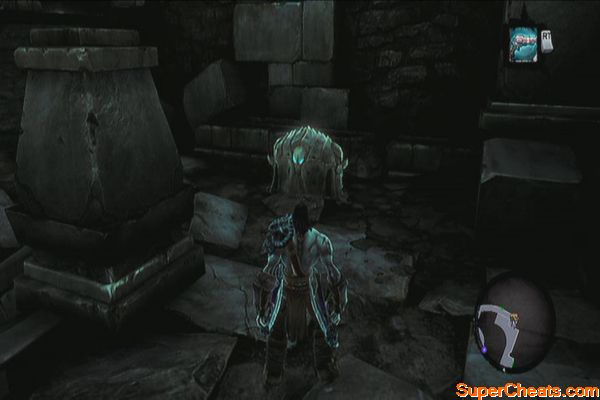
Look for the trader icon to the west and head there to find Blackroot. He'll give you the Lure Stone which allows Redemption to gather the stonebites. The first Mystic Stone is located to the left, just above you.
Look around and you should find a Boatman Coin (17) nearby. You need to use Despair's charge then jump to reach it. Now ride east until you unlock the Fjord's waypoint on the map then go south a bit. Go uphill to the right so you can see the pier with some crystals and shadowbombs. Detonate them to clear the path.
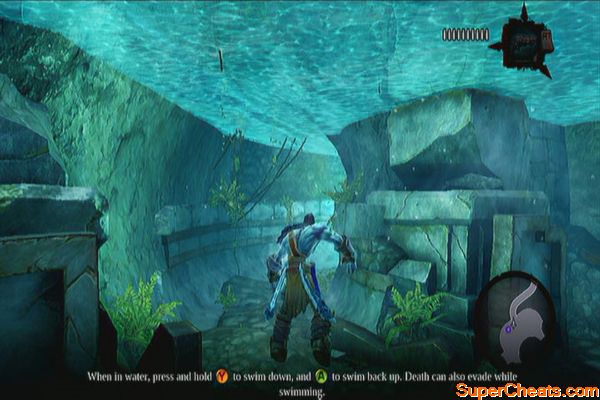
Now jump in the water and swim under the pier to find a scalable wall to the far right. Defeat the prowlers then open the chest for some loot. Now jump to the water and dive down. You should see another Boatman Coin (18) nearby.
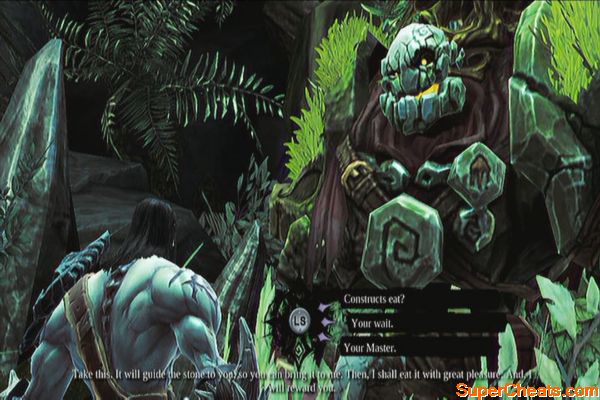
Swim to the southwest to find dry land. Now talk to the sleeping giant to activate a side quest (Silent Stone). You don't have to worry about it for now so swim again and this time, swim to the southeast to find Vulgrim. There are two chests behind and above Vulgrim but you can only reach one at the moment. Make your way to the upper floor to loot the chest there.
Return to the main land and ignore the two chests in the nearby pier since you don't have the way to reach them yet. Instead, continue east but take the uphill path to the northeast. You should find a door at the end. Enter it to loot the two chests inside. There's also another Boatman Coin (19) hiding at the back of the narrow path to the right.
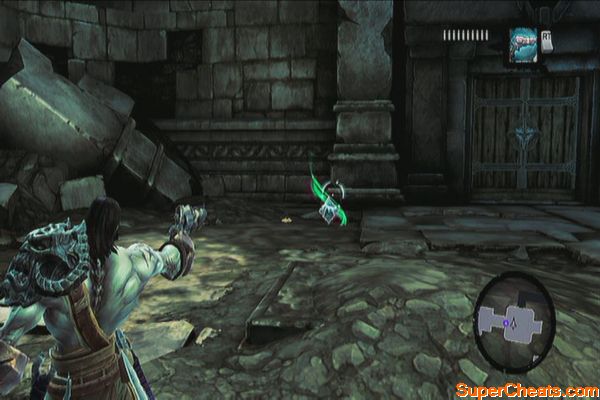
Now turn around and look above the entrance. You should see a Stone of Power (1) above. Shoot it to add it to your collection. Exit the keep then ride southeast. After climbing the uphill path, turn left where the black trees are and peek over the cliff to find a floating Boatman Coin (20). Aim for it and jump to reach it.
Now follow the trail southeast and look for a Stone of Mystics (2) above along the way. Note that entering this trail or simply fast-traveling using the Fjord's waypoint will reload the enemies, including the Stalkers in the Fjord. You can use this to farm items, gold and experience. Since you have three stones, you can also deliver them back to Blackroot to trade them as well. Once ready, follow the trail until you reach the Drenchfort.
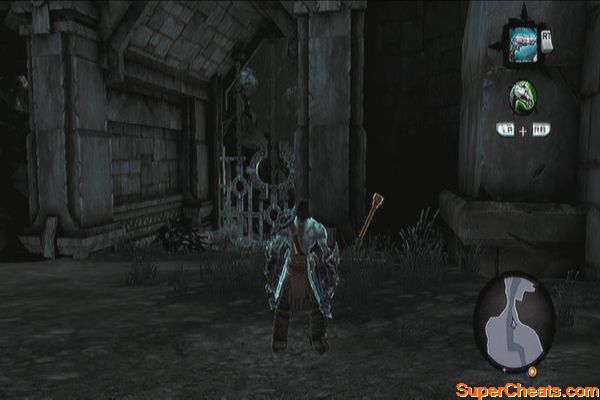
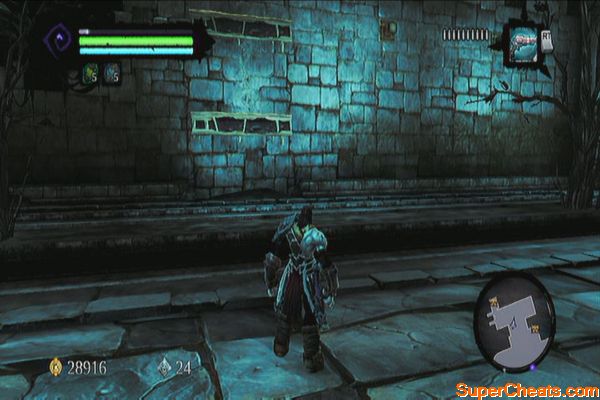
The Drenchfort
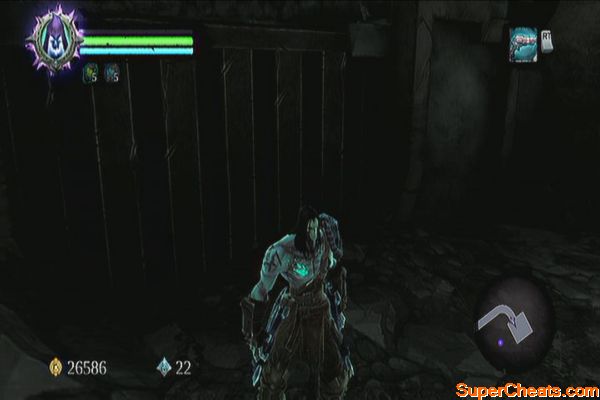
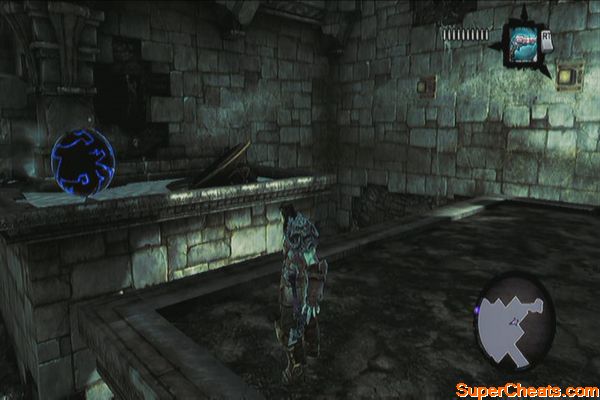
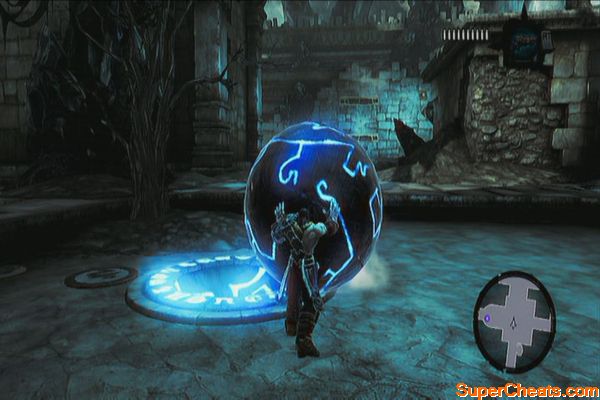
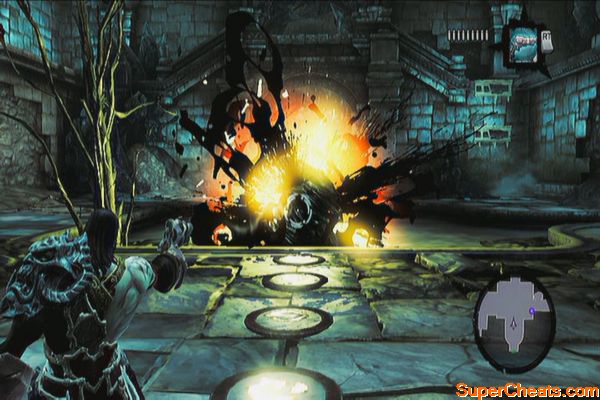
Follow the passage until you reach the door guarded by two prowlers. Kill them then climb the wall to the right. Pick up a non-volatile shadowbomb and throw it at the ball across. Shoot it afterward so it falls to the ground. Push it to the hole then enter the door.
Note: Open your map frequently if you're getting confused about the directions mentioned in this guide.
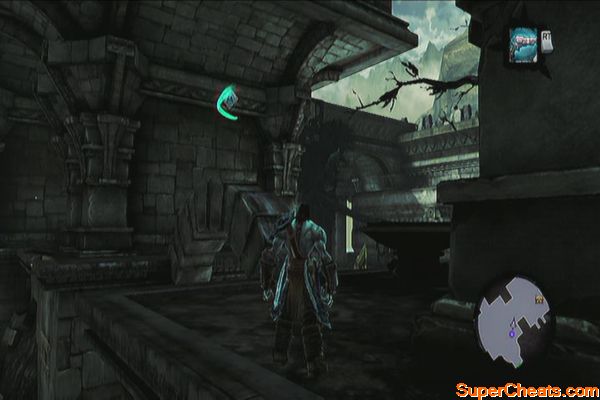
Head to the right and look down to find a Boatman Coin. Before getting it, you may want to drop down to the hand-hold then shimmy to the right to reach a chest. Once there, you can also face south to find a Stone of Mystics (3) hanging above a doorway.
You can now head west and reach the Boatman Coin (21). Now jump to the bottom (B1) and find a tunnel, leading to an open area. You should get another boatman coin after reaching it at the end. (22)
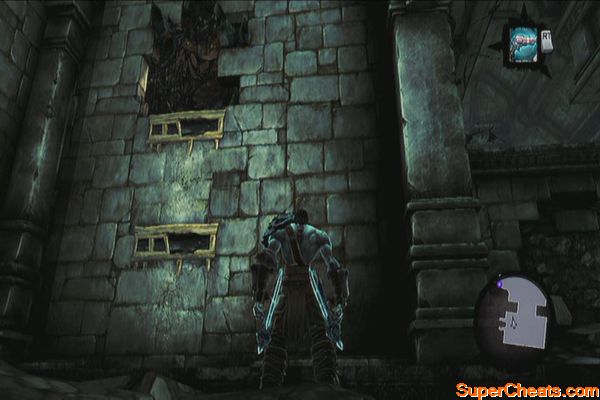
Backtrack to the main area then find the climbable wall and pegs to the east. Reach the upper level, head south a bit then climb the two pegs and make your way further east to reach the chest.
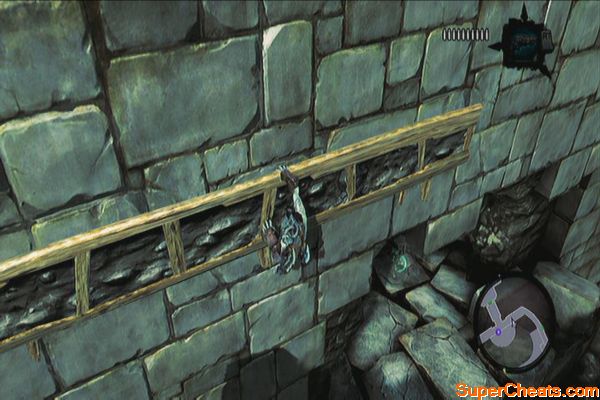
Now backtrack again from the starting point and hang again on the hand-hold to the west. This time, you have to wall-run and move to the far east. You should find a Book of the Dead (5) page there. Once done, make your way to the eastern door.
Once there, loot the chest in the middle, then loot the chest to the northeast corner. Don't enter the door to the east; just proceed to the southern door instead.
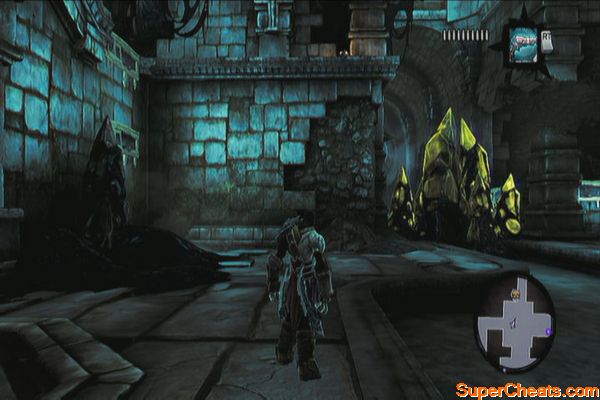
Once inside, clear out the stingers and prowlers that will ambush you. A new enemy called the Earth Crag will appear. You only have to be aware of its charging and jump attacks; other than that, you shouldn't have any problems defeating it. Loot the chest afterward.
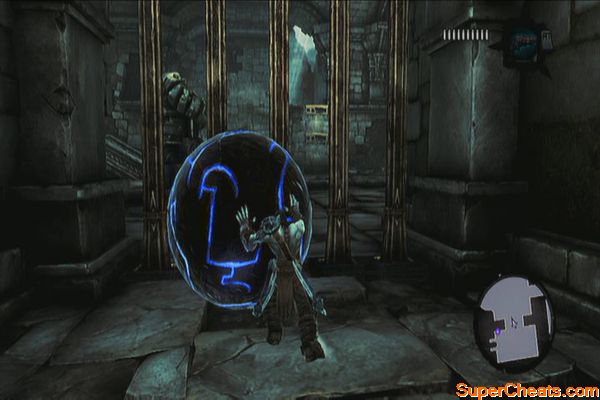
Go back to the previous area and take the eastern door this time. Follow the passage to reach another large area. Your objective here is to get the two blue balls on their respective holes to power up the gates. Start off by going right (south) and dive underwater to loot a chest at the end.
Climb out of the water. Once you reached the ledge, perform wall-runs to reach the blue ball. Place it in the hole then climb the stairs east. Make your way to the northeast corner and loot the chest there to get the dungeon map.
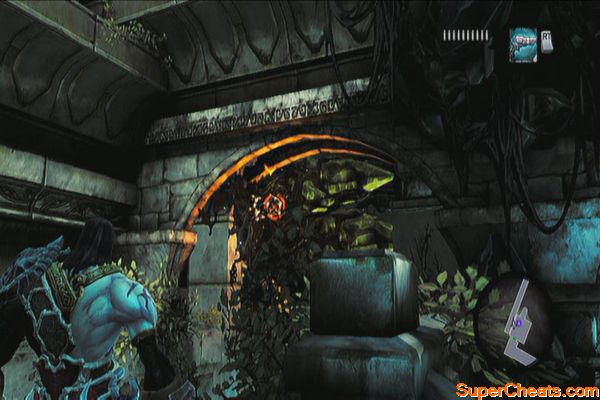
Now follow the corner and get a Boatman Coin. (23) Drop down to the enclosed area behind the raised gate and loot the chest, as indicated in your map. Next, climb the hand-holds on the eastern wall to find a non-volatile shadowbomb. Place it on the crystals and blow it up.
Now, you have to get the ball out while stepping on the pressure plate in the middle since the plate controls the gate. First, place the blue ball as near as the gate as possible. Now retrieve another shadowbomb and place it on the ball. Step on the pressure plate to lower the gate then shoot the shadowbomb to push it out, past the gate.
Return to the main area and push the ball to the second hole to fully lower the gate on the eastern door. Go through it and destroy the stinger hive along the way. Head to the next door and use the shadowbomb to blow up the crystals covering the lever. Pull the lever to allow the water to flow in. You can swim along the waterflow. Just remember to climb up the wall to loot a chest along the way. Make your way back to the main basin.
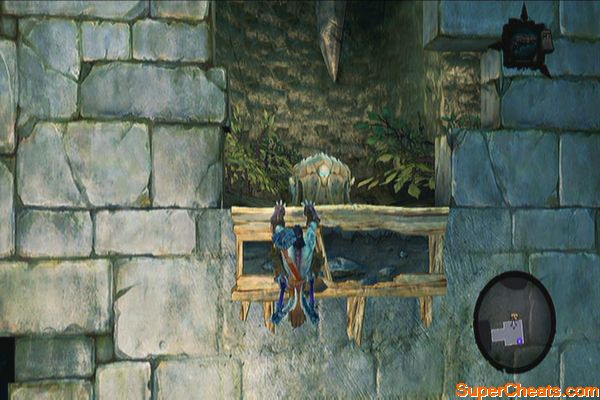
Dive down to the basin and swim along the southern tunnel. If you haven't acquired the Boatman Coin at the end, you should be able to grab it now. Swim up and use the hand-holds and pegs to reach the topmost hand-hold. Wall-run to the left to find a chest to loot.
Backtrack or continue to the right this time and use the vine-wall to reach the upper ledge. Continue to the next room. Kill all enemies here then destroy the objects inside to get another Boatman Coin (24).
Go through the door and continue north past the aqueducts. Use the hand-holds to the left to reach the northermost portion where a Book of the Dead page is hiding.
Drop down and clear the prowlers guarding the chest ahead to get the Skeleton Key from it. Now backtrack where the locked door was and enter. Follow the path until it leads you to a large area where you have yet another puzzle to solve.
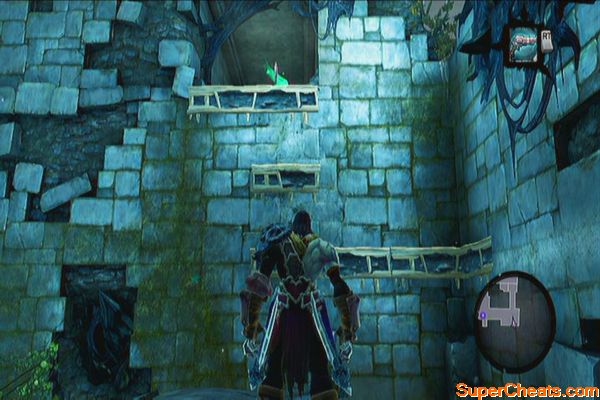
Getting the ball out is easy so leave it be for now. Instead, go north first then check the northwest corner to find a chest behind a broken wall. Next, climb up the nearby hand-holds and perform extended wall-runs to reach the upper ledge. You'll find a chest at the end.
Return to where the crystal is and climb the nearby hand-holds to find a shadowbomb pod. Pick one up and place it on the crystal before blowing it up. Loot the chest nearby then push the ball. It will be a challenge pushing it up so you have to press RT to give it some momentum. Place the ball on the hole to continue.
Return to the shadowbomb pod, grab one and place one again on the ball. Stand on the platform that lowered earlier then detonate the shadow bomb to dislodge the ball. The platform should raise up again, giving you access to the next door.
Follow the path and destroy the hive along the way. You'll finally reach the area where there's a lever to open the water flow. Before pulling the lever, detonate the shadowbomb attached on the crystals above the watergate to the left. Activate the lever next.
Ride the current until you reach another blocked watergate. Swim to where you got the Skeleton Key earlier and climb the walls. There's another Boatman Coin (25) floating here as well. Continue until you reach the next lever. Pull it to open the watergate and unbar the next door.
Exit through the door and enter the last area of this dungeon. Once you've reached the boss chamber, grab the ball and press RT to slam it to the curious mound ahead.
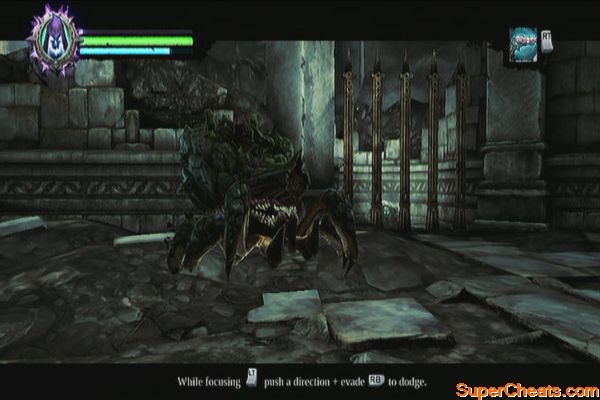
Boss: Karkinos
Reward: Masher of Karkinos
This battle is all about aim and timing. Conventional attacks won't work against this enemy however, the pattern is simple. You just need to wait for it to charge and hit the wall. This will cause it to be dizzy for a few seconds and will cause an egg to drop.
Grab the egg and press RT to slam it to the boss. If you miss however, the egg will instantly hatch. If the egg connects, it will make the boss vulnerable so use your best attacks to deal as much damage as possible. Later in the battle, it will start burrowing and sending homing projectiles. Just evade these and repeat the same pattern until it is defeated.
Bug Soccer
After defeating the boss, make sure to pick up all the loot then pull the lever outside to complete the dungeon. Travel back to Tri-Stone and head to the Maker's Forge to finally complete this mission and start a new one.


No comments yet. Tell us what you think to be the first.