The Heart of the Mountain
The Foundry
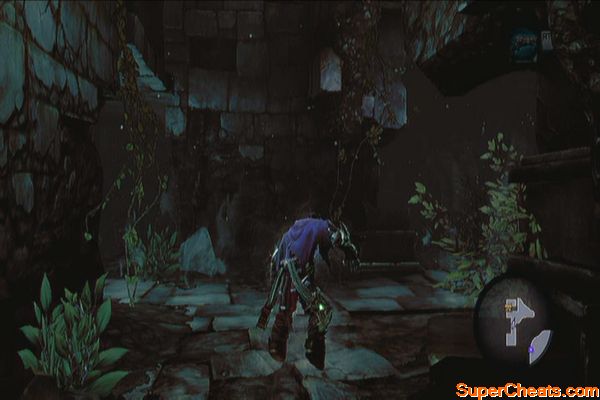
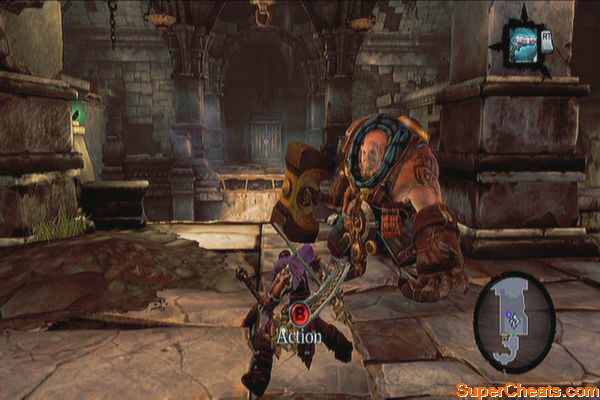
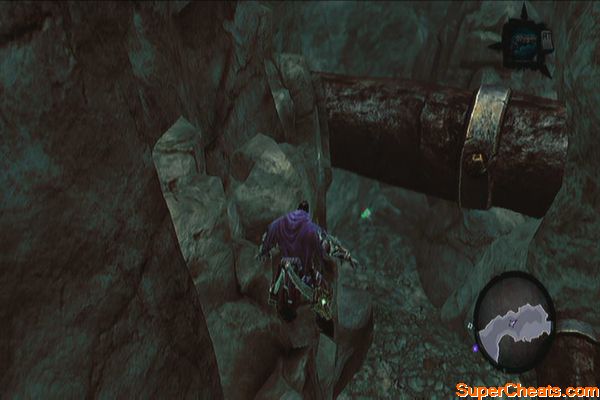
Head south of the Forge to find the Warden outside. Talk to him to create a bridge for you to cross. Karm will accompany you in this dungeon and will help you explore as well as fight enemies.
Before entering the Foundry's entrance, head to the left to find a chest behind the statue. Next, head to the other side to find a Boatman Coin (34) behind the statue. Enter the Foundry when ready.
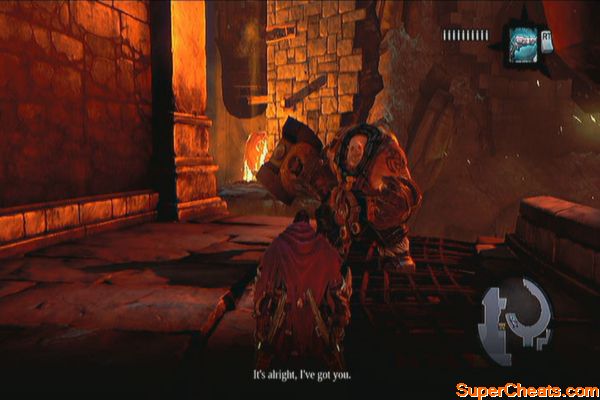
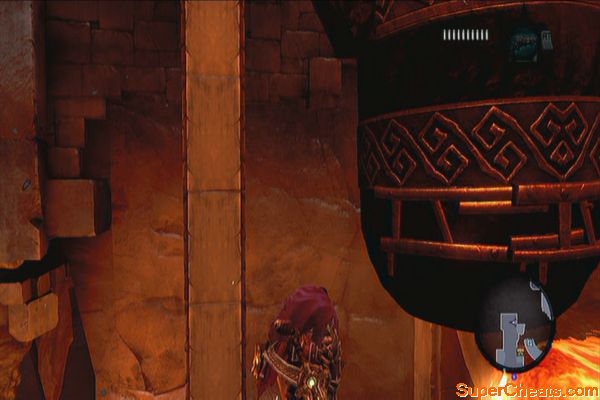
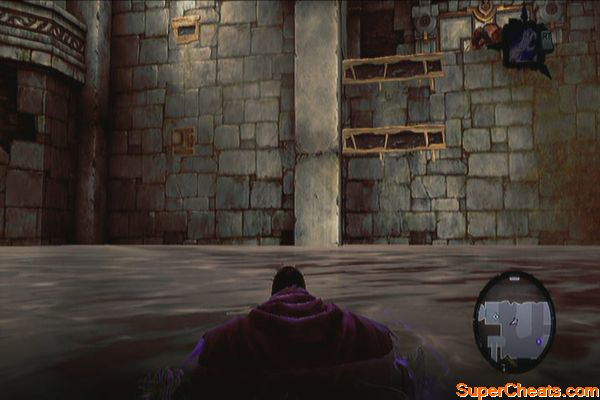
As soon as you enter, stand still first and look at the passing cauldrons. Wait until a stonebite appears in one of the cauldrons and shoot it to collect the Stone of Resistance (1). In case you missed it, you can just wait until the cauldrons recycle and pass by again. Jump to the shallow waters to the east to loot a chest.
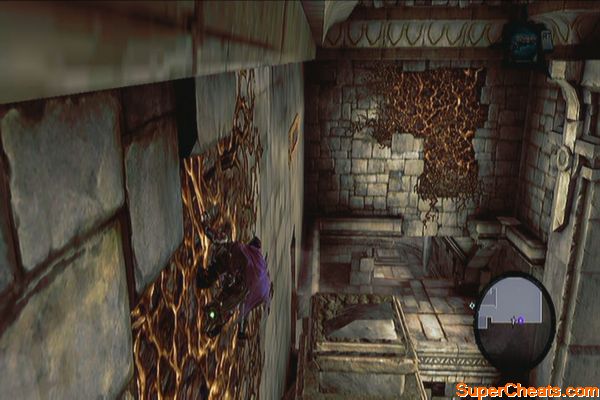
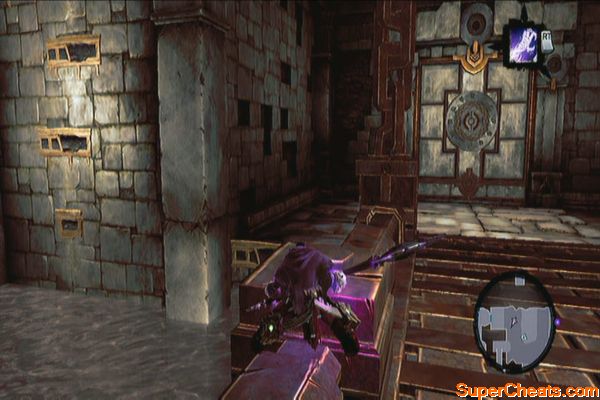
Walk around the circular passage, past the narrow corridor and to the dead-end. Here Karm will offer to toss you over to the other side. Do so in order to proceed. Next, wall-climb via the peg nearby then go around the corner using the hand-hold. Drop down to the wooden beam below and wait for a cauldron to pass. Jump to grab hold of it then face the left side. Wait until you pass the stone pillar then jump to land safely on the ledge. Loot the chest afterward.
Wall-run to the other side and destroy all constructs. Pull the lever to unbar the door then continue forth. In the next room, find the iron pressure lever and step on it to open the massive metal gate. Wait for Karm to enter and position under the other metal door and jump off the lever. Enter through the door Karm is holding up.
Take the northeast passage and destroy tainted constructs along the way. Continue following the path until you reach a large lift in the middle. Proceed to the room to the east and have Karm heave you over there. Before jumping down, loot the chest near the eastern wall. Jump down the pool in the middle next. Next, swim to the north to find a Boatman Coin (35). Exit the water by swimming up to the northeast.
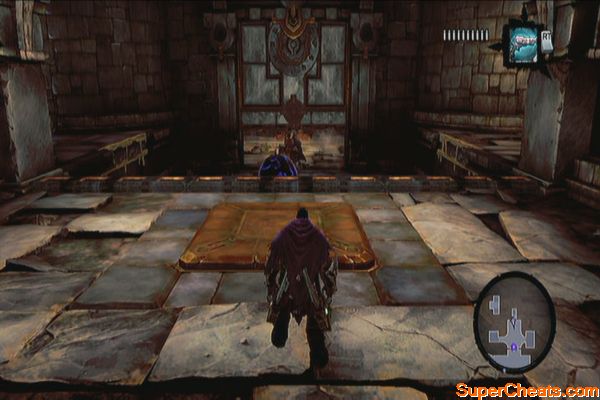
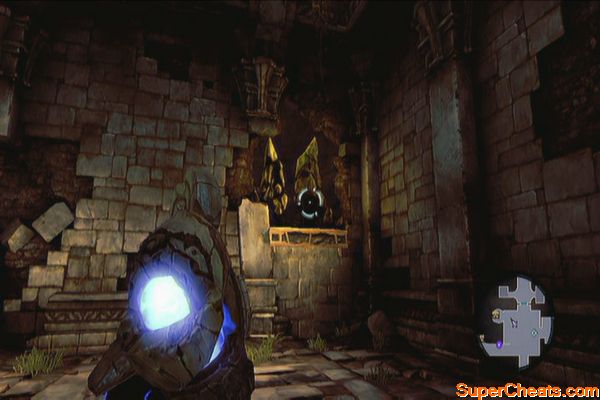
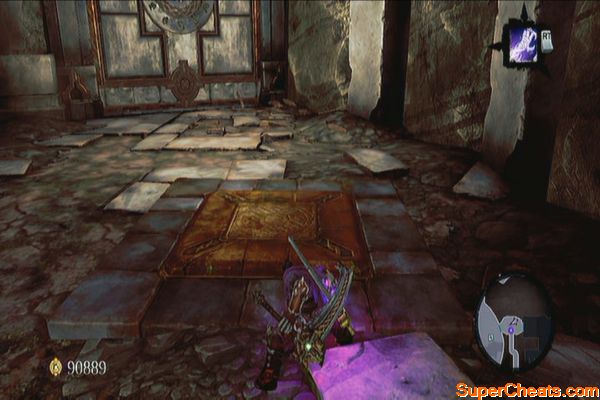
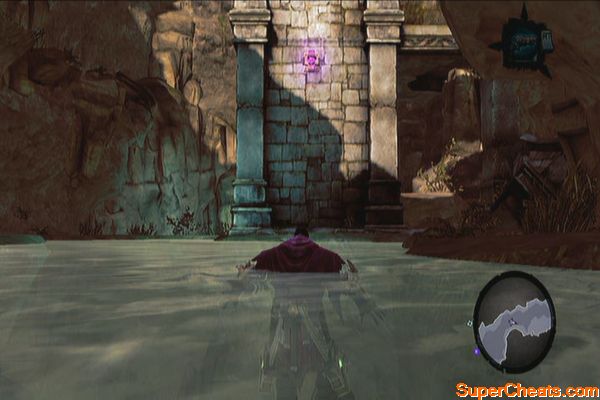
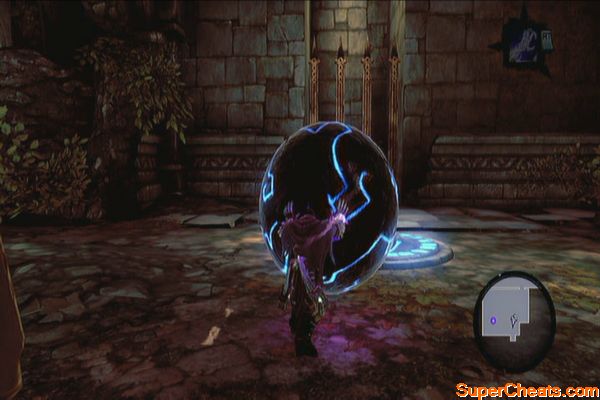
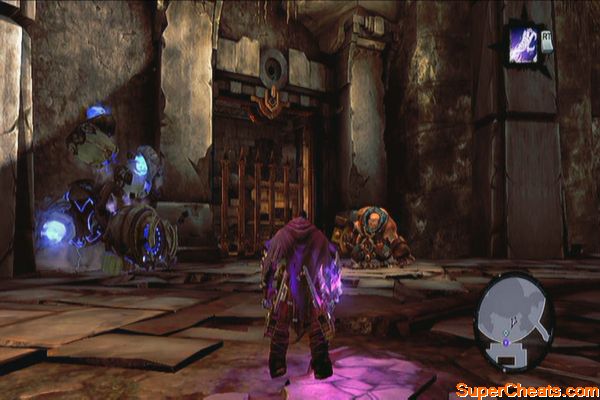
You'll be in a room with a blue ball. Ignore it for now and continue to the other side. Swim again and follow the path until you find two underwater paths; take the northwest path to reach chest. Backtrack and take the other path to exit out of the water back to the room with a pressure plate. Step on it so Karm can hold the door for you, then push the ball out.
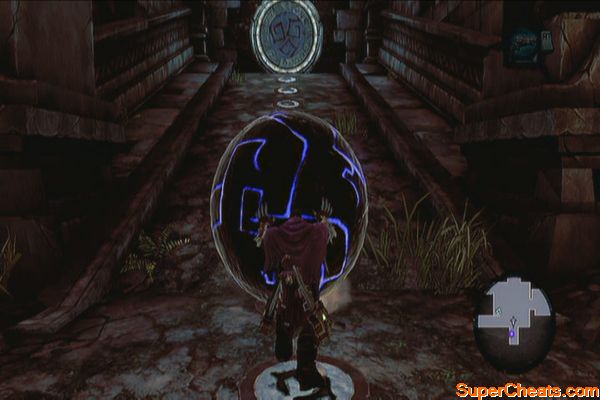
Roll the ball towards the circle on the wall. You need to push the ball towards it and allow it to run over as many glyphs along the way. If done correctly, the circle will glow red-orange and the lift will rise. Otherwise, it will just glow blue for a few moments and will power off completely. When this happens, step back and bit and push it using RT as far as you can.
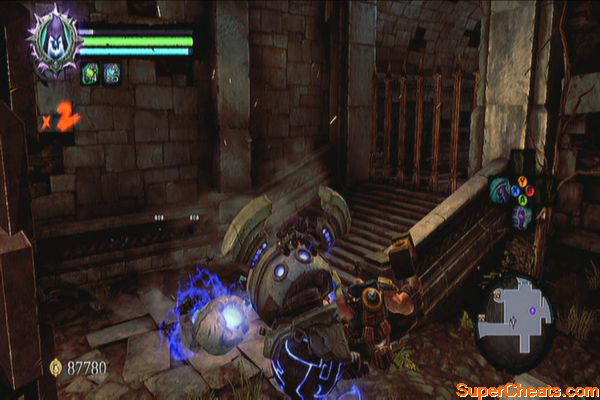
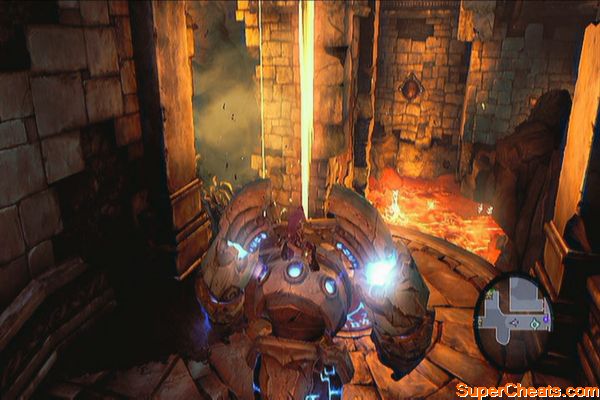
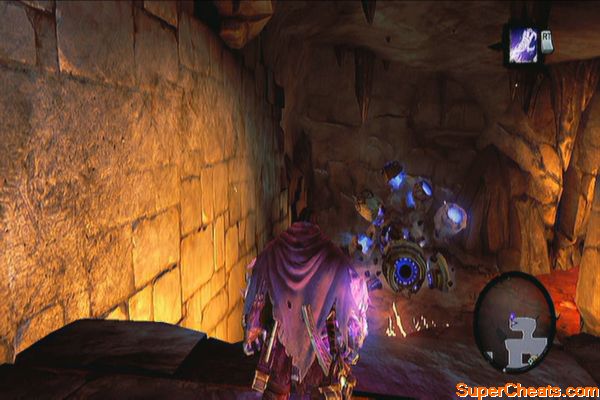
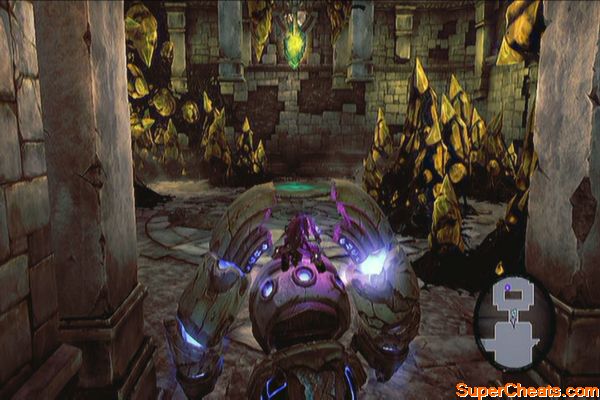
Power up the worker construct and more enemies will appear. Use the powerful attacks of the construct to dispatch all the enemies quickly. Once cleared, aim for the crystals on the northwest ledge so you can reach the chest inside.
Roll the construct along the crystal-filled cavern and exit to the northwest. Continue heading west so you can park the construct in the hole on the floor. Aim for the plate across and extend its arm so you can mount the chain. Follow the chain until you can jump off the vine-covered wall to the left. (Ignore the chest in the other side for now) Climb up and jump across the hanging posts to reach the next ledge.
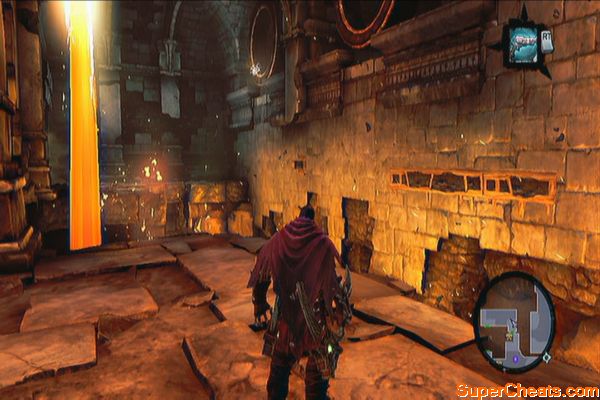
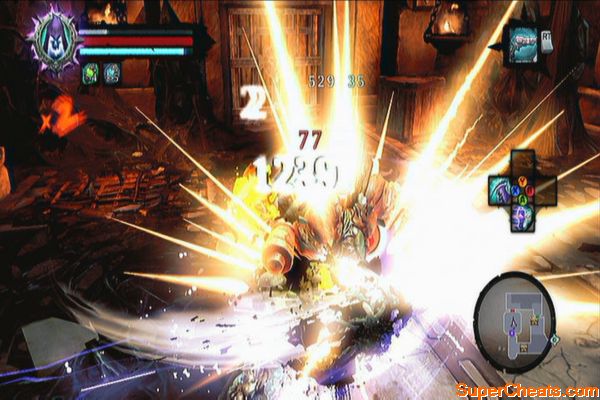
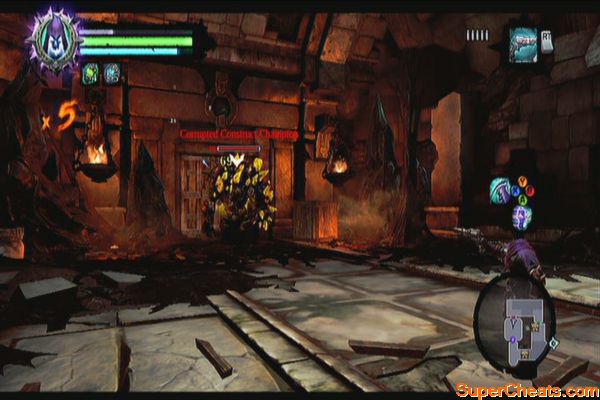
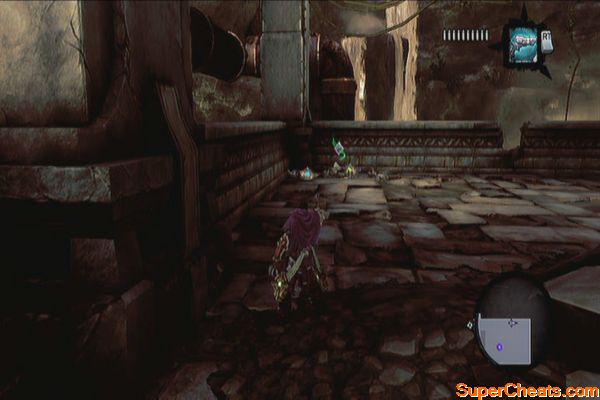
In the next room, wall-run to the corner and stop by the hand-hold. Wait for the lava flow to stop before running across. Enter the next room and prepare to repel the enemy ambush. After dispatching the lesser constructs, you have to defeat a Tainted Construct Champion next.
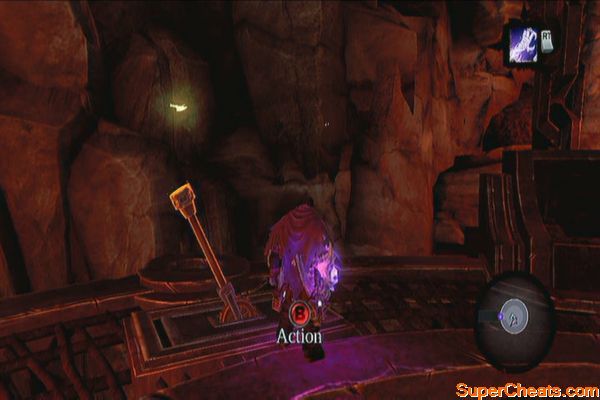
Exit and grab the skeleton key at the end of the path. Jump down the chain and make your way back to the locked door in the previous chamber, leaving the worker construct in its last position. Continue up the staircase until you reach another room. Approach the edge and allow Karm to toss you to the other side.
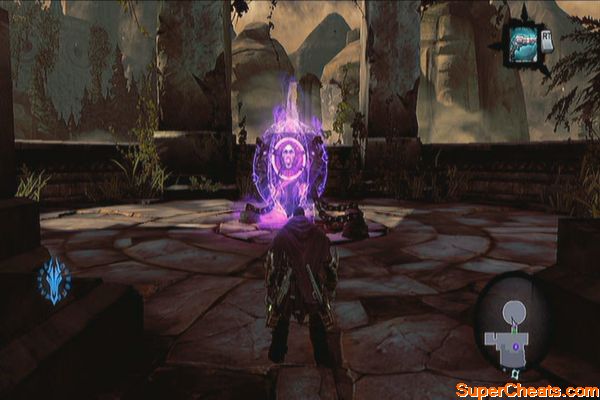
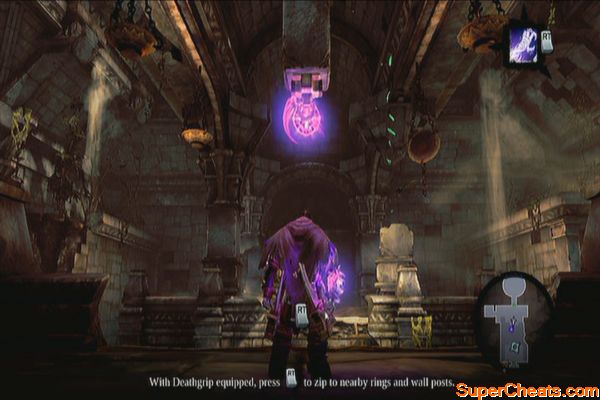
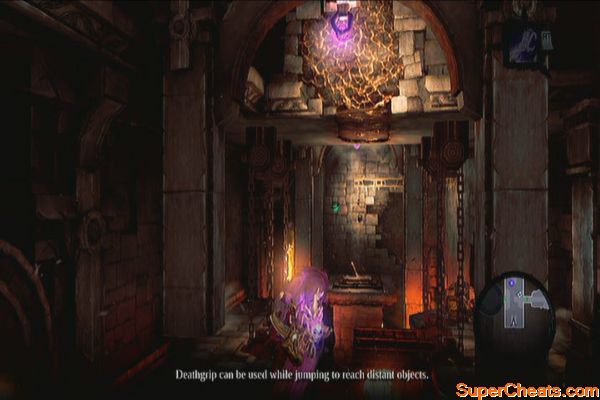
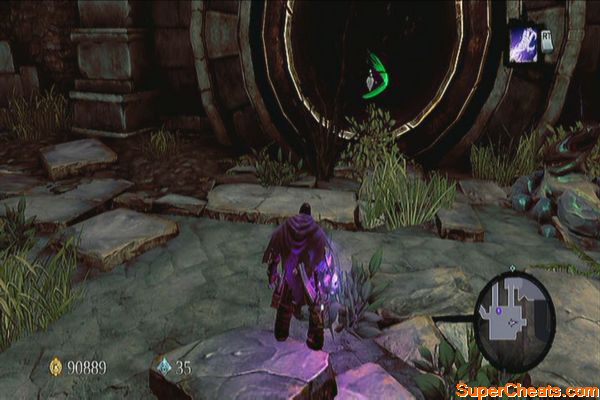
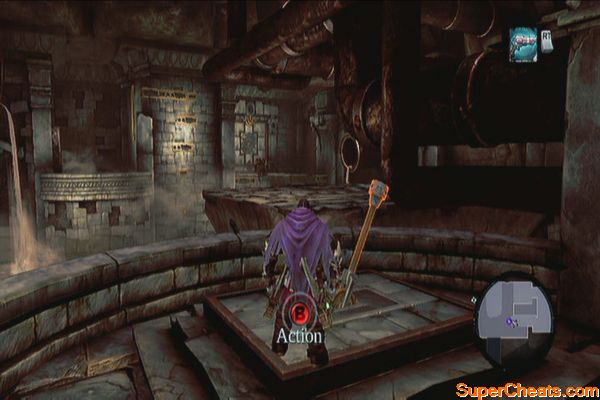
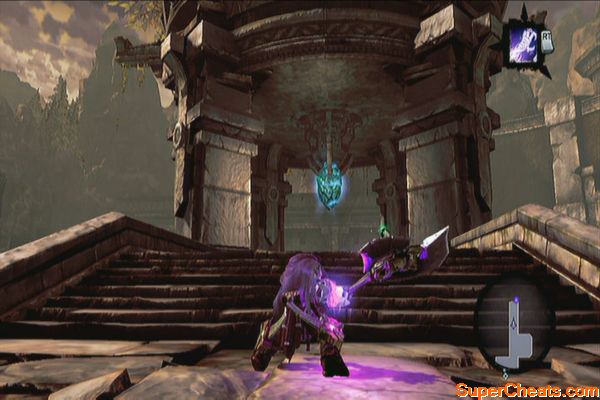
Defeat the two constructs that will attack you then loot the chest to the lower northeast corner for a Dungeon Map. Enter the door and attack the object in the middle to acquire the Deathgrip ability. This skill is similar to a grappling hook; if there are any rings where you can use the Deathgrip, they'll glow purple so you'll know.
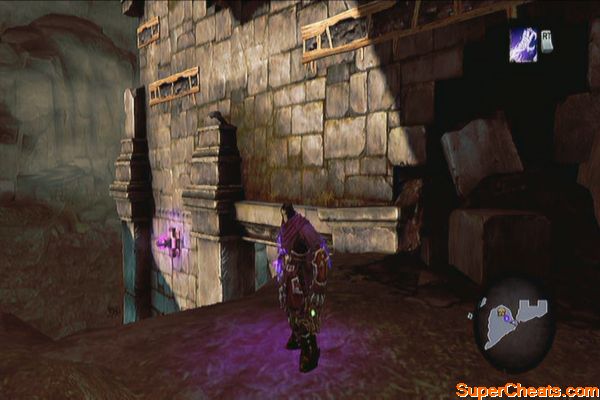
Before leaving the area, peek over the edge to find a purple ring in the lower area, with a hand-hold above it. If you're in Karm's side, you can jump and keep using Deathgrip while falling until it connects. Otherwise, you just have to drop off from the ledge and do the same thing until your Deathgrip connects. Follow the path and destroy the two enemies, then use the deathgrip to scale the wall. You should find another Book of the Dead page (9) here.
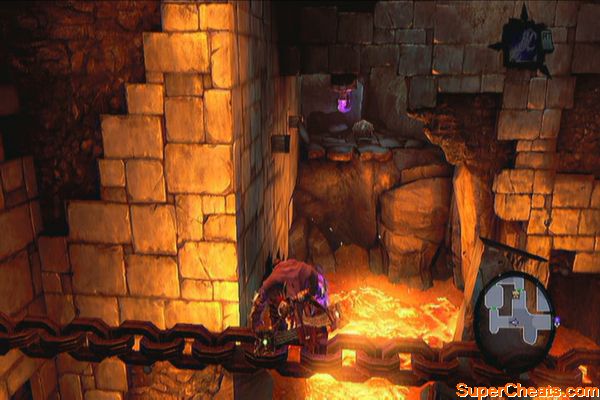
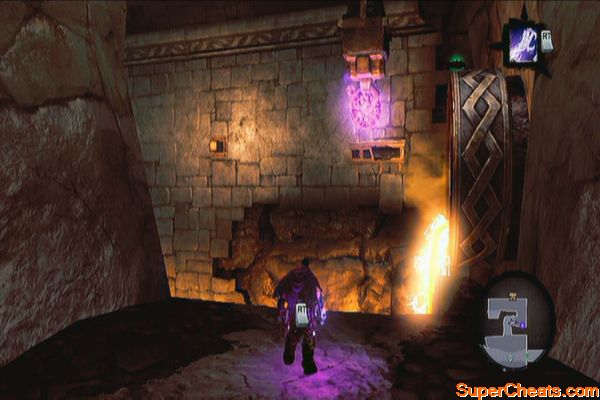
Regroup with Karm and return to the stairwell. Before going downstairs, pull a shadowbomb across the gap to destroy the crystals and for you to loot the chest.
Now you have the Deathgrip, you can now fully explore the area and collect all heartstones. Return to the worker construct and mount its chain again. Turn to the right to find a ring which will glow purple if you have the Deathgrip active. Use it to loot the chest across.
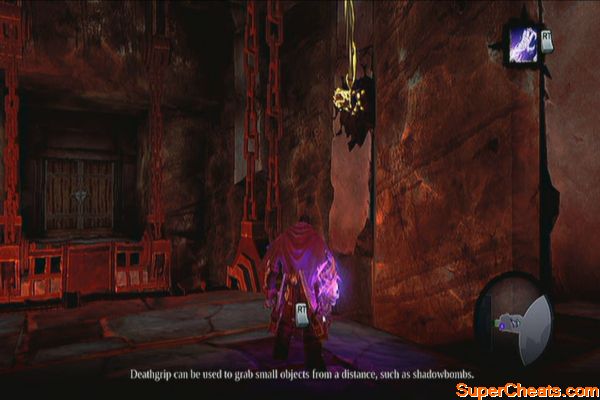
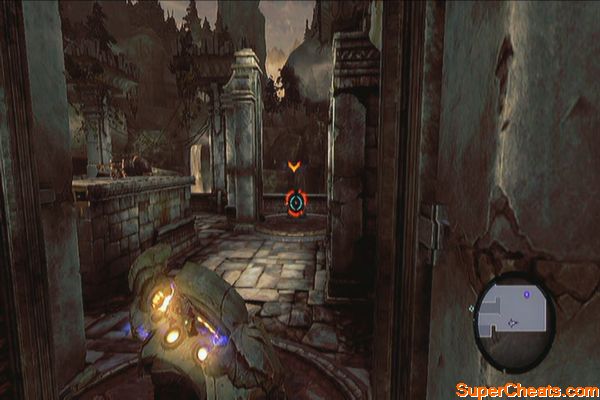
Wall-run and jump to return to the chain then leave the construct behind. Head to where the Guardian is and go to the west. Destroy all enemies then grab a shadowbomb from the wall and throw it to the switch to proceeed.
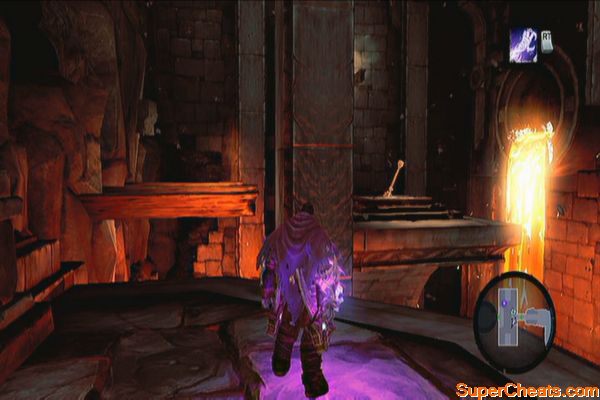
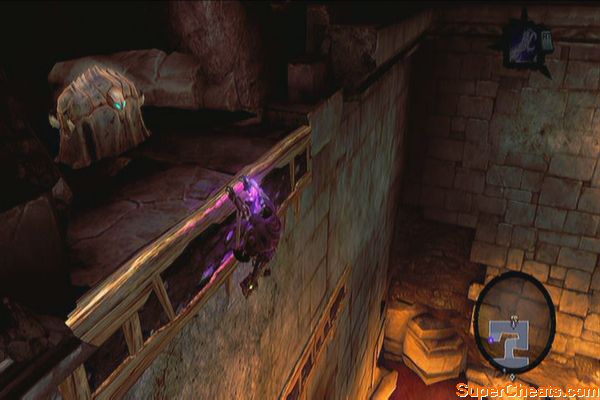
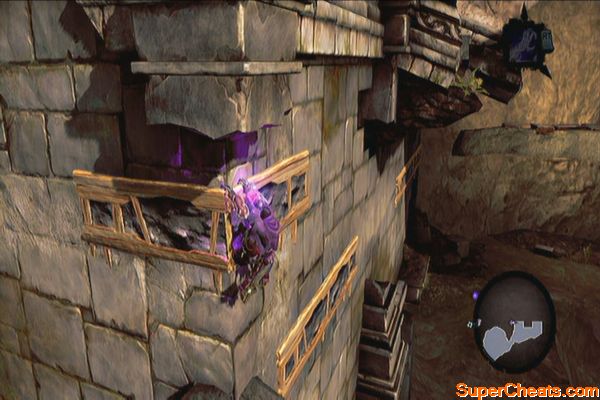
In the next room, turn left and cross the wooden beams to reach a lever. Pull it to raise one half of the drawbridge. Turn around and wall-climb on the wall to hop on a wooden beam. Walk to the tip of it, jump and use the deathgrip to grab on the ring on the ceiling so you'll grab on the vines.
Move at the end of the growth and drop. Immediately press RT to use the deathgrip and reach the second lever. Pull it to complete the drawbridge. Wall-climb on the wall then use the hand-holds to the right to reach the main path. Head to the next room and pull the lever to activate the lift. Exit through the next hallway.
Allow Karm to toss you to the other ledge. Cross the beams and wall run to reach a pressure plate. Before stepping on it, turn around and use the deathgrip on the hook. This will lead you to a hidden chest in a nook. Step on it to lower the gate then press RT again to use the Deathgrip on Karm. He will toss you again to the other side.
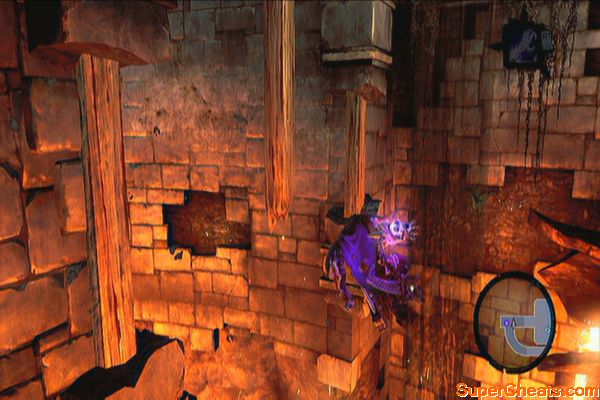
Scale the walls again to the left then jump as soon as you corner. Once your run has been stopped by a hand-hold, climb up another hand-hold to find a chest.
After looting the chest, wall-run again until you grab a post. Back-leap to the nearby posts and drop off to the next ledge. Wall-run again towards an unactivated worker construct then wake it up. Ride the construct across the lava then grab the chest along the way.
Head southwest to destroy the crystals then continue to the corner until you find a hole where it can park. Aim for the plate and extend its arm so Death can mount the chain. Follow the chain up and use the handholds to reach the upper level. Destroy the clutter if you want then use the Deathgrip on the heartstone.
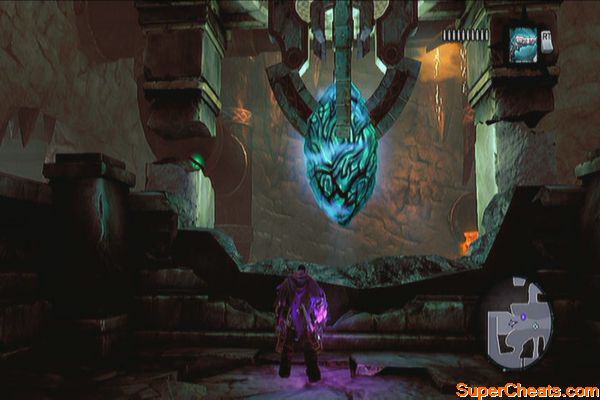
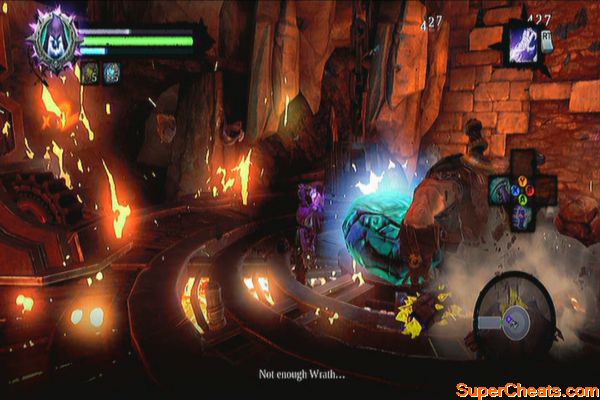
Now return to the lift and pull the lever again. During the ascent, enemy constructs will attack you. Stay close to Karm and he'll use the massive heartstone to create heavy, area-of-effect attacks that can easily crush the opposition. Keep doing this until the lift ride is over. Return to the Guardian and Karm will automatically put the stone back.
A new path will become available for you. Use the deathgrip on it to reach the other side. Enter the dry tunnel afterward. Follow the tunnel and ignore the Boatman Coin across the gap for the meantime. Follow the next pipe to reach a room with a pressure plate. Step on it and wait until Karm positions himself under the door. Step off the pressure plate and go through the door while Karm is holding it open.
In the large room with water, ignore Karm's offer to toss you for now; jump to the water and swim south a bit. Turn around and you should find a peg on the wall. Wall-run on it and follow the hand-hold around the corner then wall-run to a post and drop to the ledge. Follow the tunnel and you should be back in the same room where the out-of-reach Boatman Coin (36) is. Grab it, return to the previous room and have Karm toss you across.
Use deathgrip to get across to the next ledge and follow the path to the wide, open area with a worker construct. Before activating it, check the northeast corner of the room and destroy the objects there to find another Boatman Coin. (37) Activate the construct and park it in the nearby hole. Fire a chain towards the plate across then jump off and turn the nearby lever to raise the construct.
Now release the lever and quickly wall-run on the wall to the left, with the hand-holds. The raised platforms will slowly descend so make your way up then mount the chain. Run to the right then jump to reach the higher hand-hold. Climb the vine, then wall-run to the other side and corner down to the right to reach another vine-covered wall. Drop down and you should be able to access the lever ahead. Pull the lever and it should raise three bridges.
Backtrack and mount the consruct. Detach the chain and ride to the next room. Head south and have it destroy the crystals along the way. Continue clearing the path until you reach the next area where the second heartstone is located. More enemies will attack so take care of them easily with the help of the construct or give them an old-fashioned beating with your own hands.
Dismount the construct and ignore the lever for the meantime. Dive to the water past the lever to get a Boatman Coin (38) near the opening of the tunnel.
Next, swim to the northeast until you find some vines on the wall. Climb it up then use the hand-holds to go to the right until you can't go any further. Wall-climb then use the deathgrip to reach the higher vines. Continue up to reach the next area.
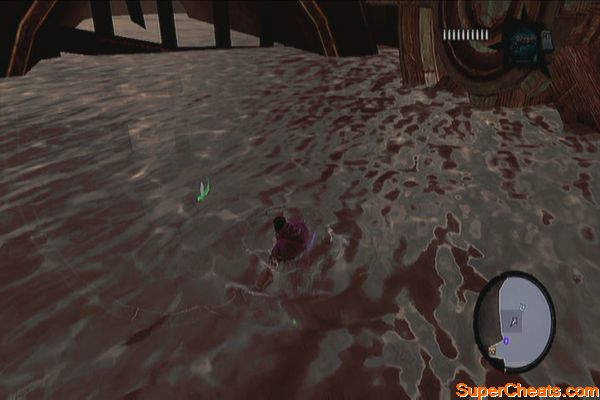
Before jumping off the water, run to the north and follow the trail to the left to find a chest. Now peek over the edge of the cliff and you should immediately see an underwater Boatman Coin (39). Dive down and collect it.
Swim up find a wall with a deathgrip hoop. Jump and scale the wall up until you reach a hand-hold. Now wall-run to the right and back-leap to reach another cliff.
Climb the next platform and defeat the prowlers. Destroy all the objects in this floor to reveal another chest as well. Backtrack to the hand-holds then head to the left this time and go around the corner. Wall-run to the next hand-hold and use the deathgrip to reach the other ledge.
Activate the lever there to release a torrent of water that will run the machines in the previous area. Your task in this area is done so jump in the water and swim back to the west. Use the deathgrip to get out of the water and regroup with Karm.
Head to where the cauldons are moving and you should find a group of crystals above a ledge. One of the passing cauldrons should have a shadowbomb latched underneath it. Wait for it, grab it using the deathgrip and throw it at the crystals. Karm will toss you over then open the chest for a skeleton key.
Next, backtrack to the worker construct and mount it. Then, park it in the crusher, then activate the lever to crush it. This will allow you to retrieve the ball that used to move it. Use the skeleton key to open the gate to the south and bring the ball there.
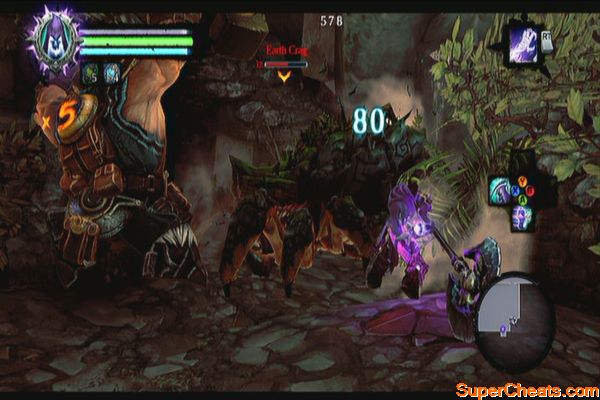
Defeat the Earth Crag that will appear and place the ball in the hall to open the gates. Make sure to destroy the objects in the area as well to retrieve random loot.
Perform a vertical wall-bounce to reach the top then shimmy around the corner. Drop off then follow the path. Destroy the objects along the way if you want then proceed to the heartstone. Use deathgrip to mount the stone and dislodge it. Karm will pick it up and make your way back to the guardian.
Along the way, you'll encounter Nightmare Prowlers. Take them out until you're back in the large room with interconnected bridges. The large metal door will block your progress so you have to jump to the water and use the hand-holds to the left. Drop off to the other ledge and follow the tunnel. Cross the now flooded canal and enter the next tunnel to reach the pressure plate that will open the large metal door. Let Karm pass then backtrack to the guardian area using the tunnels you first used to get here.
Now head south and allow Karm to toss you over the gate. Find the lever inside and pull it to lower the gate. Head outside next and activate the worker construct. Ride it and clear the path until you reach the third heartstone. Park it in the hole to open the gate in the upper ledge. Wall-run to reach the upper ledge.
Use the deathgrip to swing to one of the hanging posts. Look to the left then jump to the other post there. Next, jump to the one in the middle, then jump again to reach the other one by the wall. Next, wall-run then use the deathgrip to extend your wall-run. After reaching the ledge, continue forth and the heartstone should be within range. Deathgrip on it and to start the next battle.
Boss: Corrupted Custodian
This boss's attacks are slow but dreadfully powerful. Evade when you can, then use the deathgrip to pull yourself towards it to quickly close the gap and perform a counterattack. Be careful of its spinning attack as it deals continuous damage when you're caught in the midst of it.
Corrupted Custodian
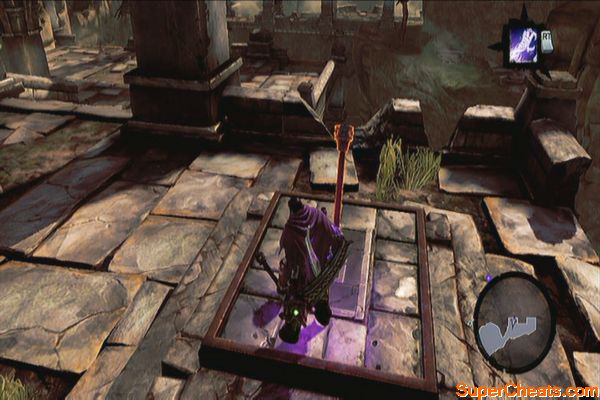
Head back to the guardian and go in front of it to place the third heartstone. Watch the next scenes. After your quest gets updated, head to the north and use the narrow passageway that exits out to the large circular room where the massive hammer is. Exit the dungeon and make your way to Tri-Stone then to the Stonefather's Vale.
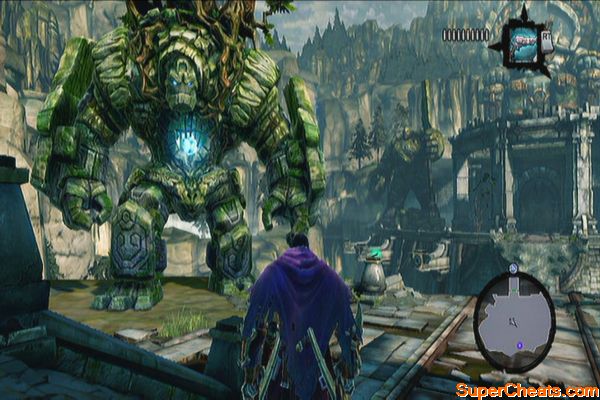
Boss: The Guardian
For the first part of the battle, you'll be riding Despair. Run around and wait for the guardian to smash its hammer down. Before it hits you, charge away to avoid getting damaged. Use this chance to manually aim with Redemption and shoot at the shadowbombs stuck on the Guardian's arm. The explosion will temporarily weaken the guardian and bring one of its heartstones within reach. Switch to Deathgrip and grab the heartstone to pull yourself towards it; attack it like crazy afterward.
Against the towering stone
Once that arm is severed, the Guardian will now shoot a large, homing spike ball. Shoot it with Redemption until its energy bar is down. Once it stops and floats in the air, quickly run towards the Guardian and lure the ball towards the Guardian's legs to weaken him. Look for the reachable heartstone then pull yourself towards it using deathgrip. Repeat the process until the Guardian is weakened. Watch the following scenes, and the mission will be completed after this battle.
Taking down the mountain


Jump for your second stone. Don't forget to climb back up the highest wall and dive from all three outlooks to get the Triple Lindy trophy!