The Lord of the Black Stone
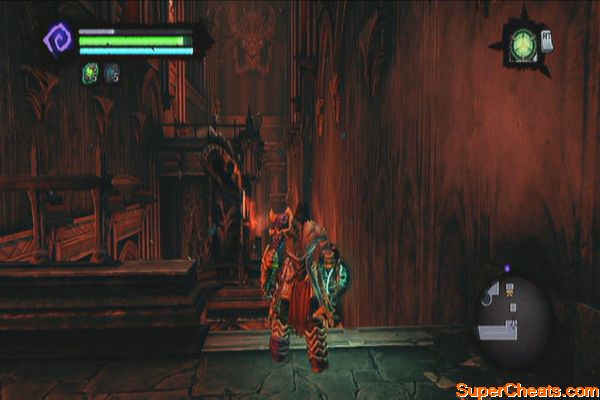
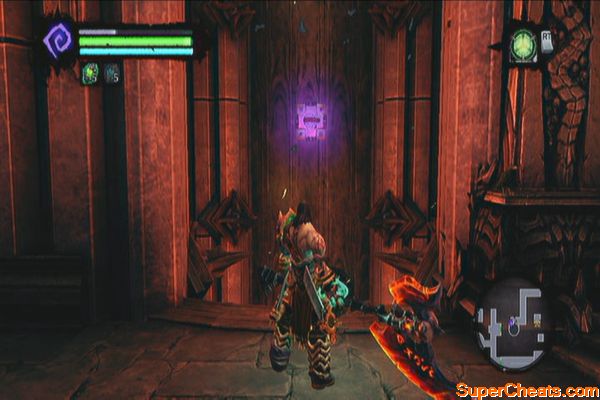
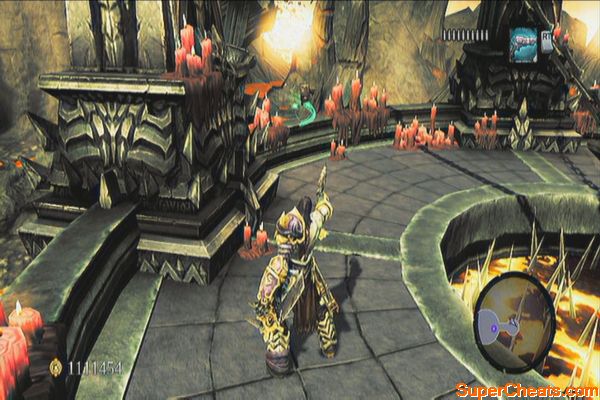
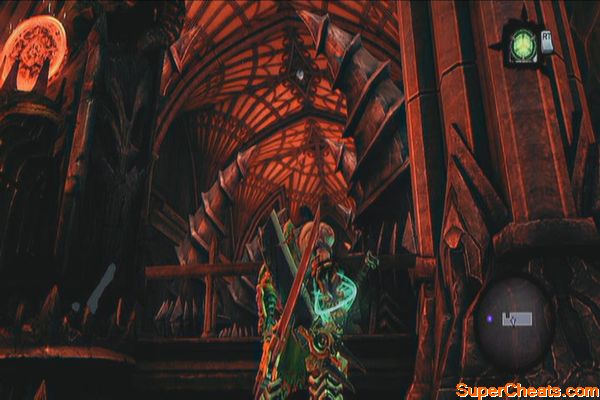
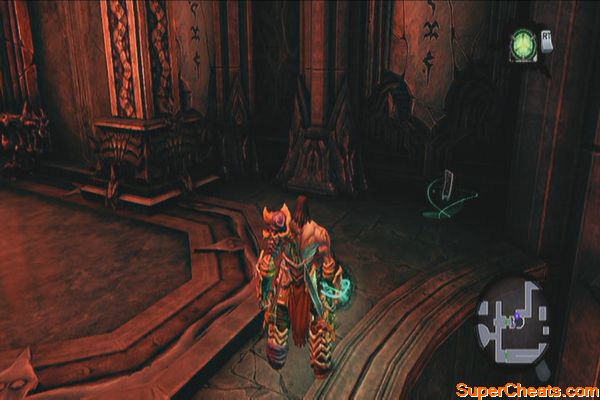
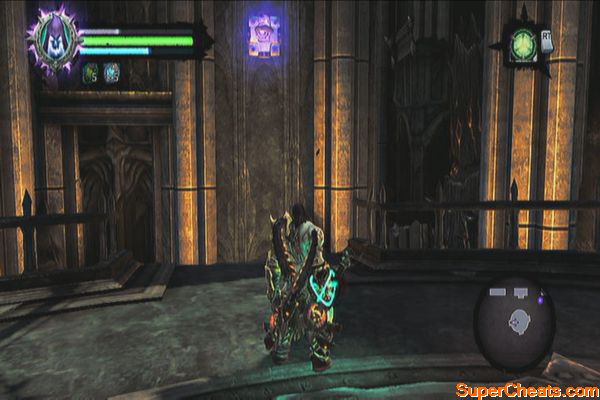
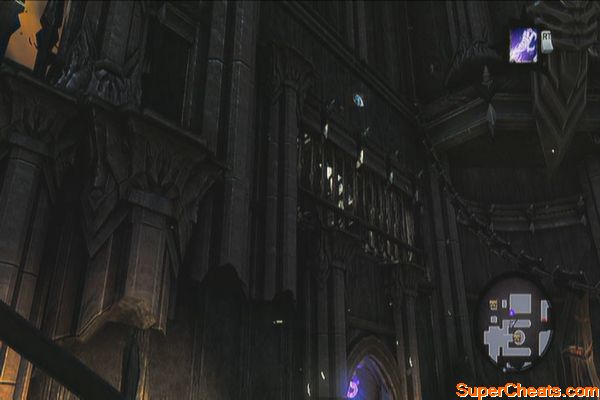
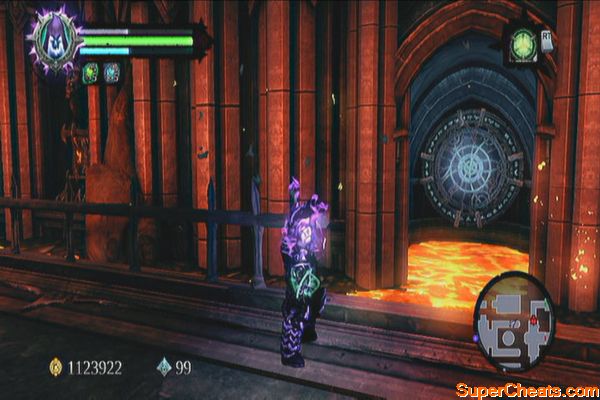
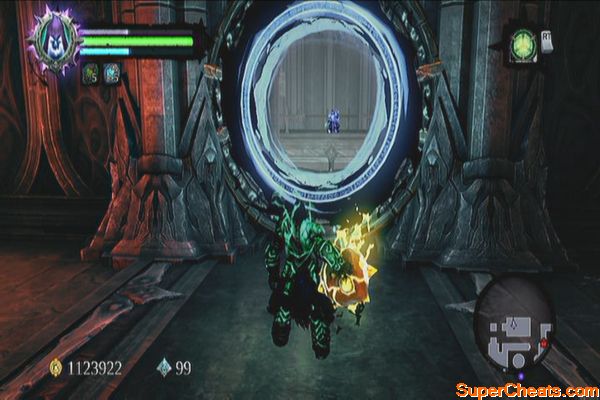
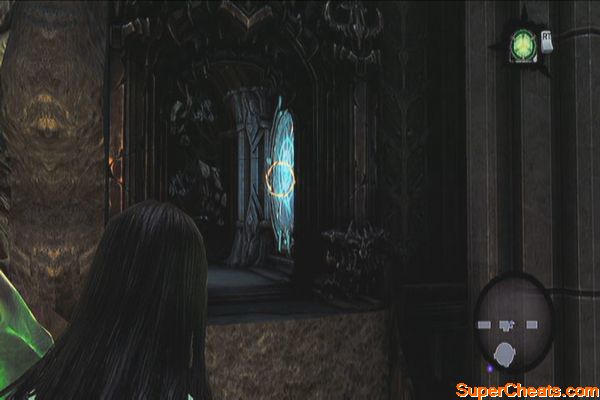
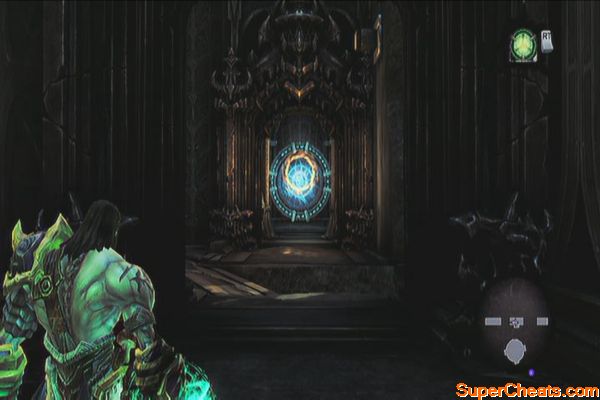
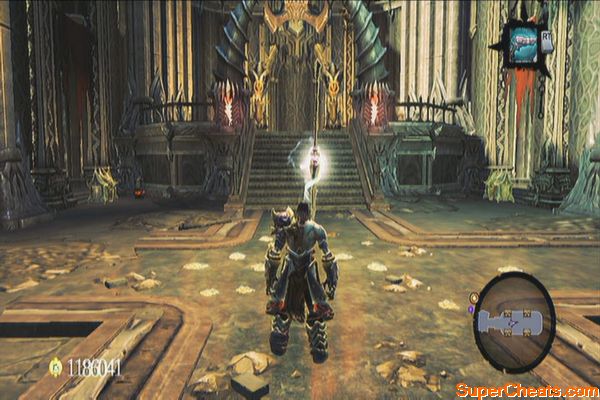
This quest starts immediately after receiving the Phasewalker. Go upstairs to the east to find a Book of the Dead page. Return to the first floor and go through the northern door. Turn to the left to find a time portal. Use the phasewalker there to travel through time.
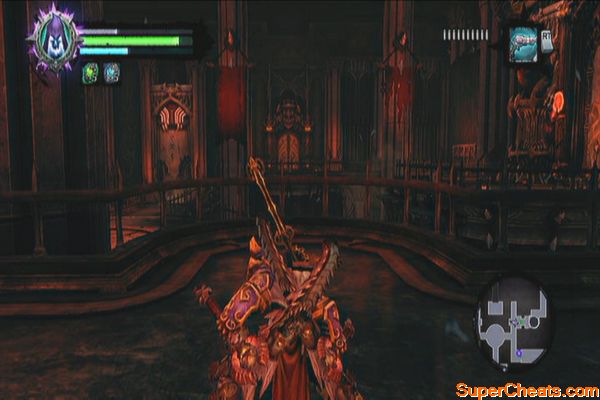
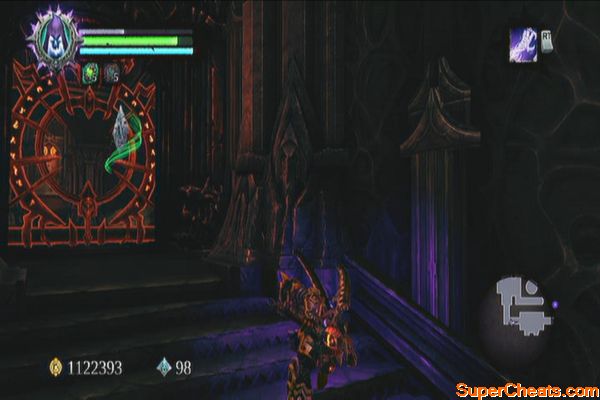
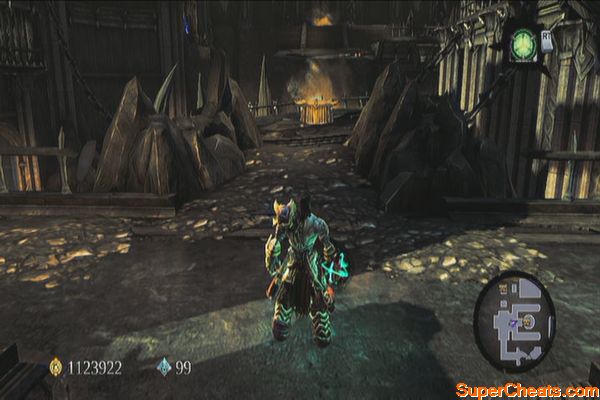
(Past) Check the pillar to the right to find a Boatman Coin. Head to the central platform to fight this timeline's enemies.
Legion Champions
Legion champions wield maces that can be used as whips as well. They have a variety of heavy, wide-ranged attacks so keep on your toes and avoid getting sandwiched in the middle. Head to the southeast door after the battle.
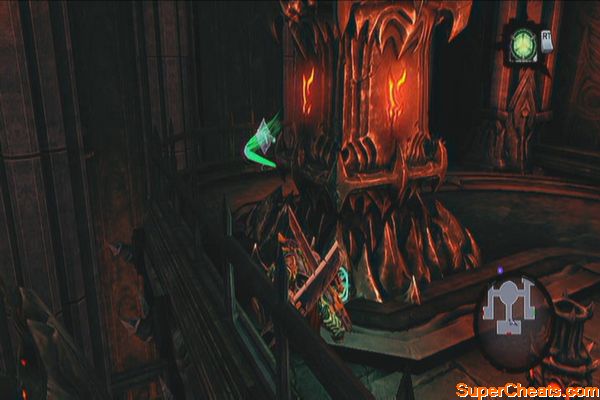
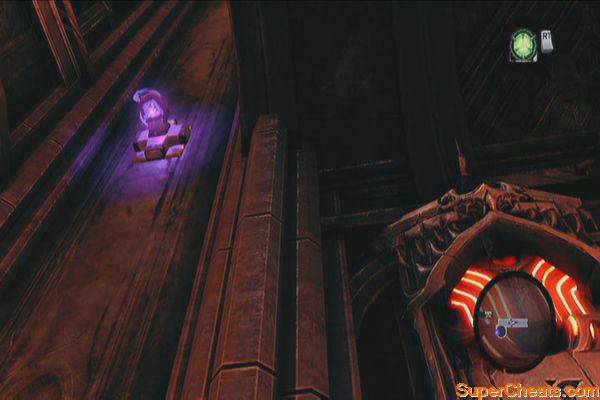
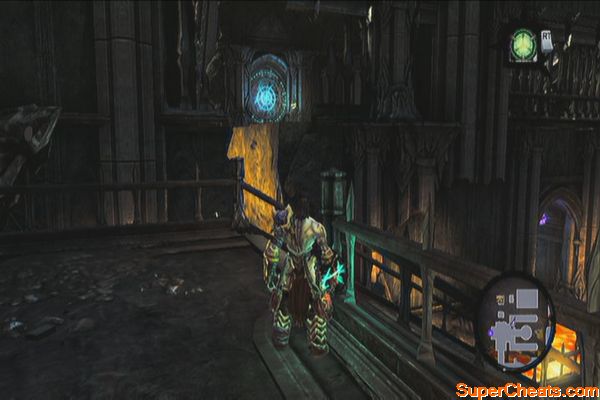
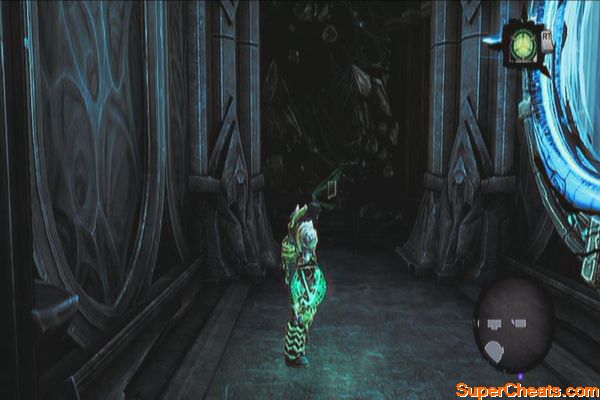
In the next hallway, loot the chest to the left, then continue downstairs. Wall-run to the first platform and then wall-run again and bounce on the walls until you reach the hand-hold at the end. Climb up and ignore the chest in the middle for now. Continue along the corridor and defeat two enemies inside. Walk until you find a pit with a deathgrip hoop. Use it to reach a hand-hold above. However, don't climb up yet but drop down instead.
|
|
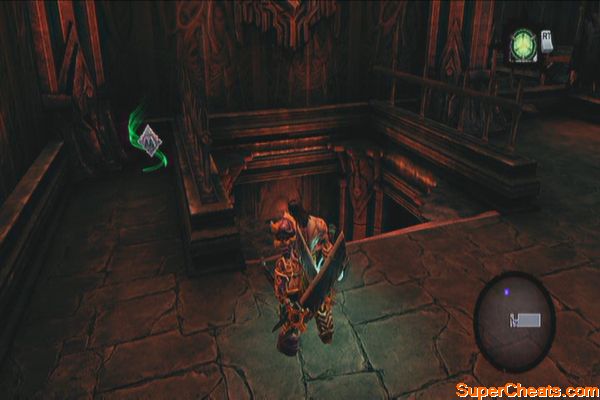
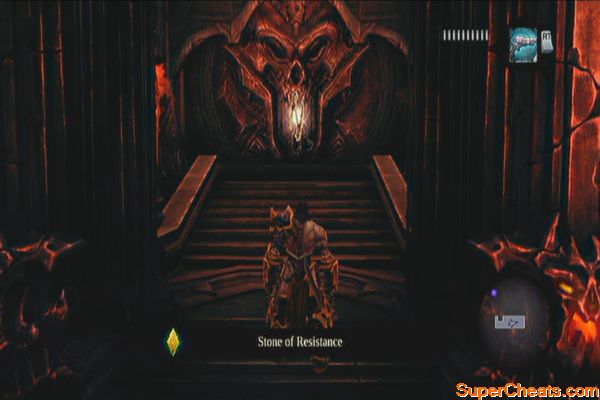
You'll grab a hidden hand-hold below. Shimmy to the right and enter the corridor. When you see the deathgrip hoop at the end, don't use it; instead look up to your right to find another hidden deathgrip hoop. Use it and perform a vertical wall-climb to reach a secret chamber containing a Boatman Coin, a Stone of Resistance on the ceiling to the south and a unique weapon called Demonflame Renders.
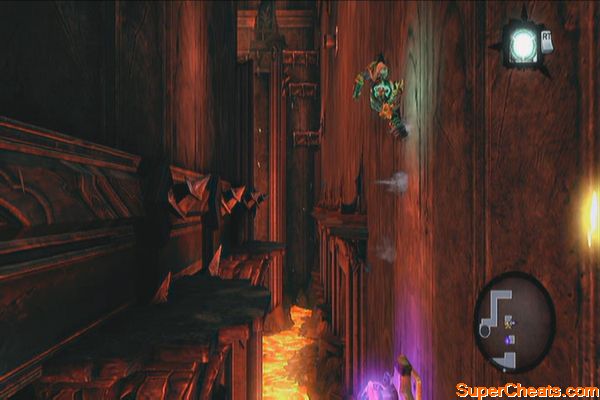
Drop back down and use the deathgrip hoop at the end then perform a wall-climb, bouncing from wall to wall until you reach the upper ledge to reach the chest you saw earlier. Loot the Dungeon Map from it. Wall run using the left wall and follow the same corridor again. Use the deathgrip hoop again at the end and climb up.
After reaching the upper ledge, you'll find a Book of the Dead page to the right. Go through the door and activate the lever. Defeat the legion champion that will appear.
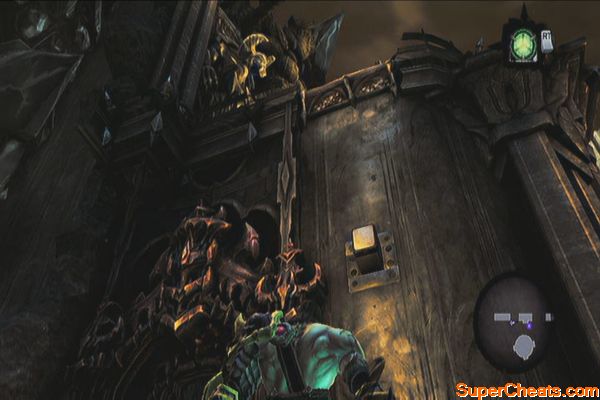
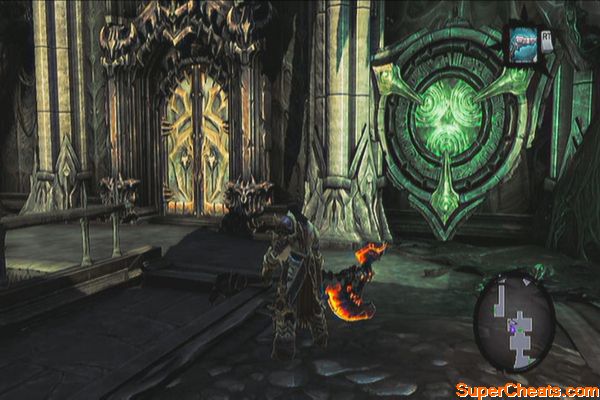
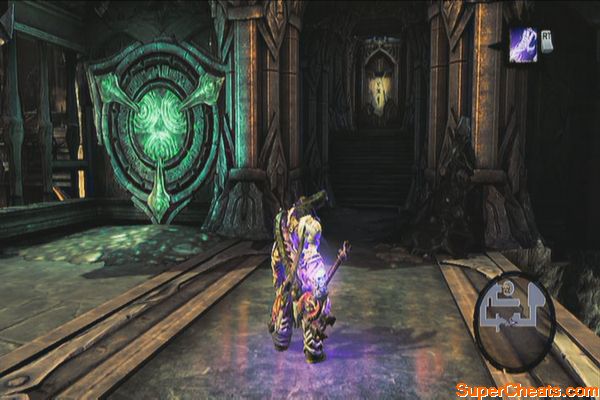
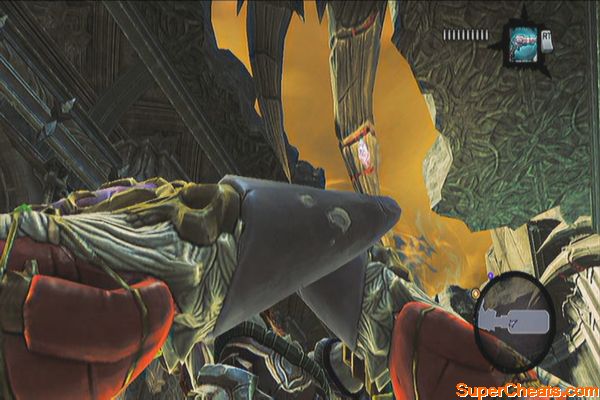
After that, look to the northwest and shoot the Stone of power at the belly of the six-handed statue. Drop down to the lower ledge to the right to find a chest. Loot it then climb back up, then activate the nearby time portal.
(Present)
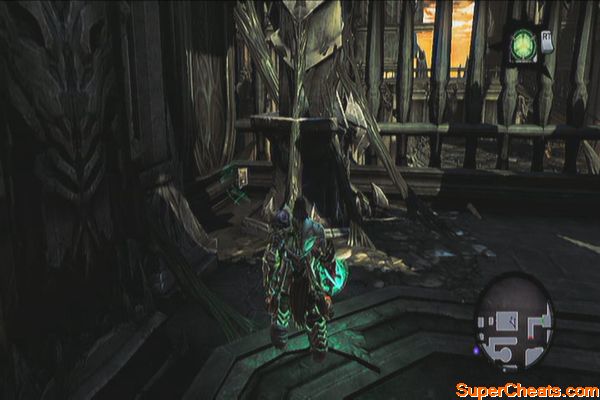
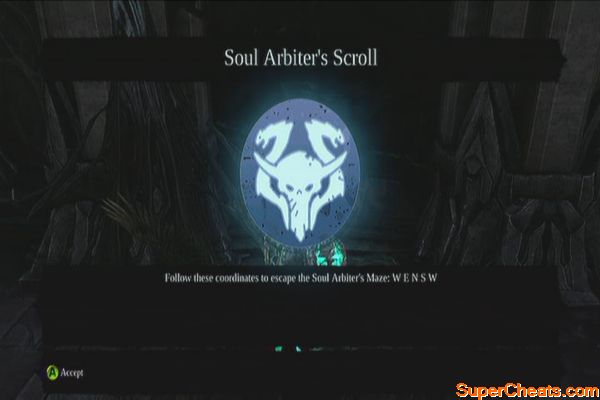
Turn to the right to find a Soul Arbiter's Scroll. Loot the chest on the other end then jump off the balcony and head to the collapsed central platform. Climb the wall to the west using the deathgrip then enter the door to the south.
Continue following the corridor to the southwest to reach a damaged bridge. Don't cross it but rather turn around and activate the time portal instead. Go back to the past next.
(Past)
Destroy all the objects here to reveal a hidden chest. Loot the other chest then travel back to the present.
(Present)
Cross the bridge and continue downstairs. Check the platform to the southeast to find a Boatman Coin at the end. Check the northeast platform this time to find a Stone of Power above the wall to the north. Now backtrack a bit then return back in time using the time portal to the west.
(Past)
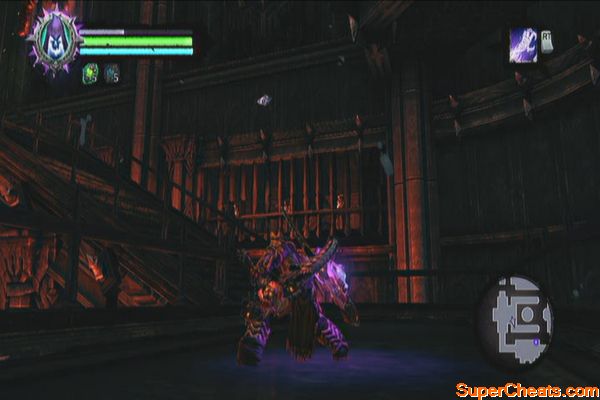
Once there, you'll have to face a new kind of enemies called Maelstroms. They're this realm's version of Liches so use the same strategy against them.
Maelstrom
Once defeated, follow the stairs south to reach a Boatman Coin. Backtrack then take the south platform to find a Stone of Power lodged on the southern wall.
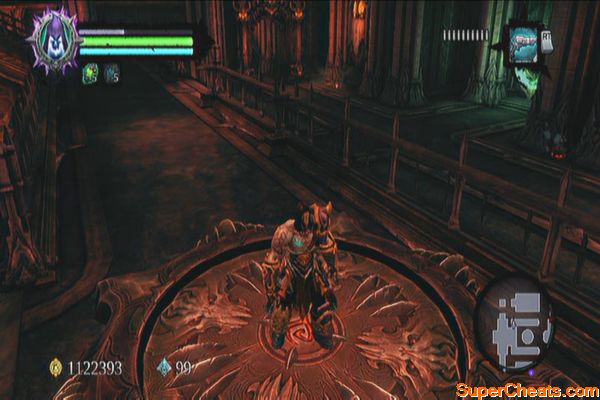
Now head to the north and step on the pressure plate in the corner. Soul-split there and go through the opened gate to the northwest. Wall-run on two platforms until you reach a room with more enemies. Defeat them all then check the southeast corner to find a Relic of Etu-goth. Open the nearby warp portal as well.
Switch souls then head east of the pressure plate. Stand by the broken railing then open the portal up north. Switch back again to the other soul. Pick up a shadow bomb from the nearby pod and destroy the small crystals surrounding it (this will allow you to access a collectable in the present). Grab one again then throw it through the portal so the other soul catches it.
Tip: If you're having difficulties making your other soul catch the bomb, lower your aim or adjust your distance.
Switch to the other soul and go around so you have a clear view of the crystals on the platform. Throw the bomb at it to destroy it. Return to the present to loot the Skeleton Key from the platform.
(Present)
Next, head north and open the portals in the upper room and in the lower alcove. Swing over to the opened portal using the deathgrip hoop then loot the chest to the west. Search the southwest corner again to find a Book of the Dead page. Examine the faint letters on the floor to find a Soul Arbiter's Scroll. After getting your loot and collectables, backtrack to the southern time portal and return to the past.
(Past)
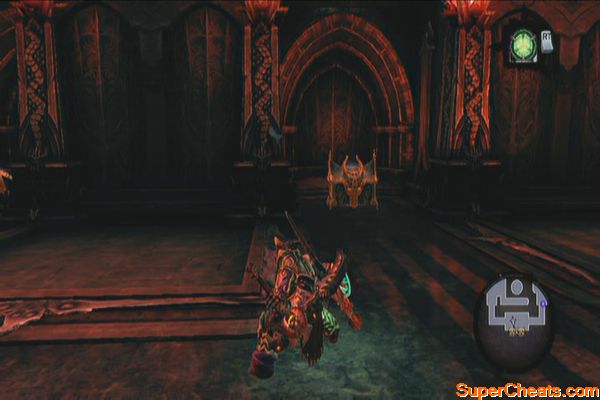
Make your way to the locked door and defeat the demon ambush. Take them all out then open the locked door. Follow the hallway to reach the main hall. Pull the lever there and head north. Jump down to the lower ledge, defeat the Legion Soldier there then loot the chest. Use the nearby time portal to return to the present.
(Present)
Head to the east and carefully stand in the corner until you see the portal to the right. It's near the edge so carefully move while in aim-mode until you get a clear shot at the portal. Head to the west and activate the portal and enter it. This should be enough to let you reach a Book of the Dead page. (If you've been exploring optional dungeons and locations, this should be your last)
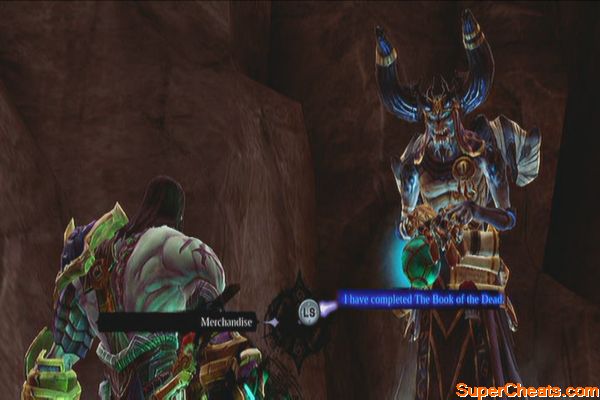
Tip: If you collected all book of the dead pages at this point, this should make up the Fourth and final chapter. Sell this to Vulgrim to get the last key and complete the quest. The last Death Tomb is in Shadow's Edge as well and you should have come across it after arriving.
(Optional, with complete Book of the Dead chapters) Fast-travel travel to any location where Vulgrim is located and sell the last chapter to get the key. This should also complete his side quest. Now return to Shadow's Edge and open the last Death Tomb there. You'll find a Relic of Khagoth inside as well and the unique weapon, Spear of Storms. Get the Stone of Power on the ceiling as well. Finally, destroy all objects inside to reveal a secret chest that contains the Abyssal Plate.
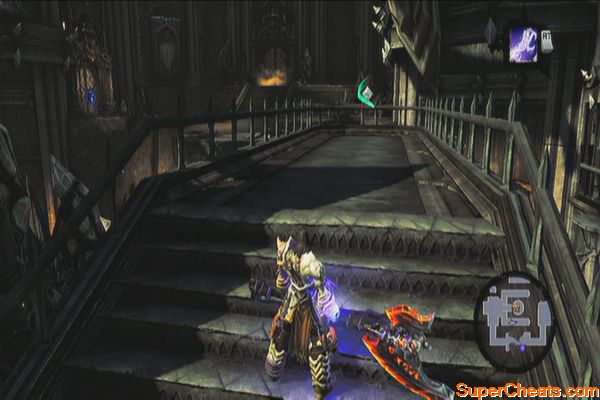
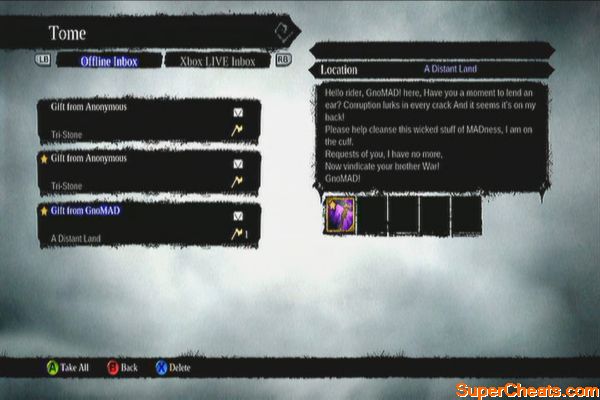
Head west then climb the northern wall. Climb the ledge and enter the western door. Here, you'll find the last Gnome. To get your reward, fast-travel to the nearest Tome and claim your reward to complete the quest.
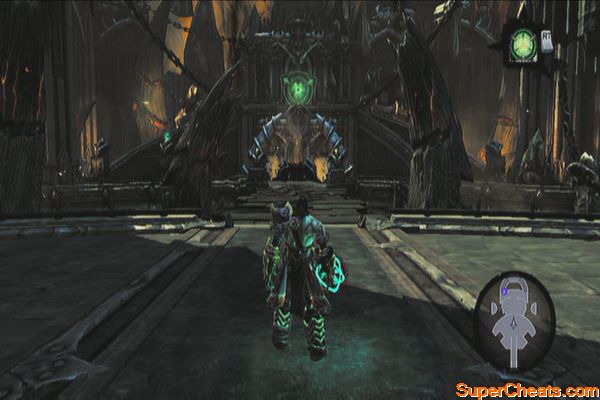
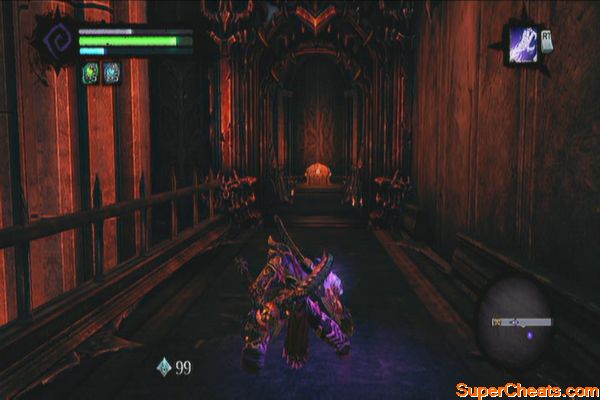
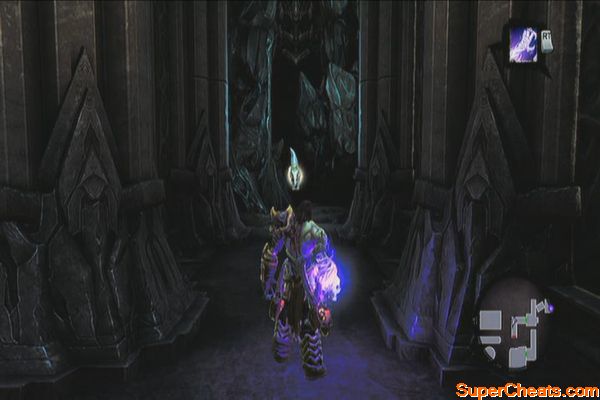
Should you opt to do this later, make your way scale the wooden pegs to the northwest to reach the central platform to the north. Prepare yourself then enter Samael's chamber. Return to the past by activating and entering the time portal to the north.
|
|
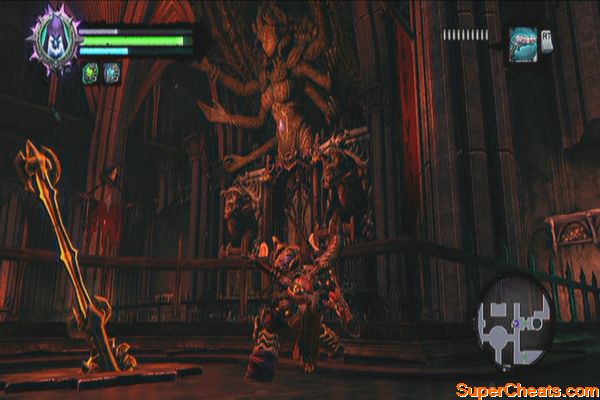
Boss: Samael
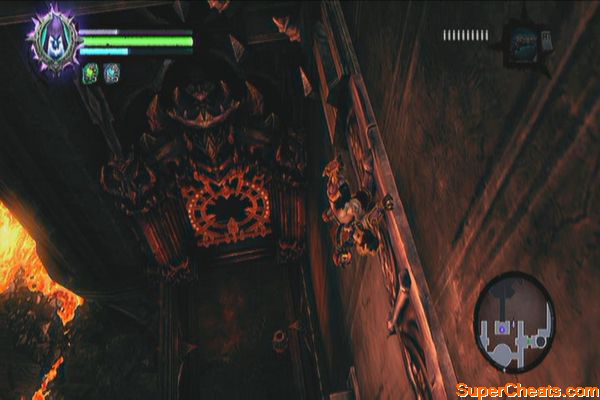
For the first phase of the battle, you just have to fight him normally and evading often. His attacks are solid and powerful so do your best preserving your health until later in the battle. After dealing significant damage, Samael retreats to his throne and lobs fireballs at you. Evade these and anticipate his stomp attack shortly. After retreating the third time to his throne, Samael will create a bridge for you to cross. Approach him and attack him to start the second phase of the battle.
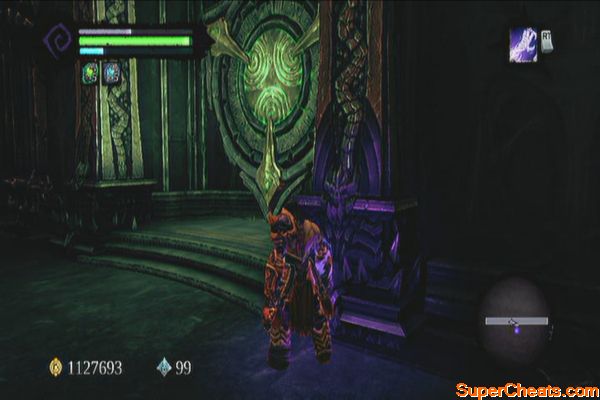
During this phase, Samael's attack pattern will be different. Keep dealing damage to Samael and when he retreats to his throne, he will instead cause delayed explosions on the floor, dealing heavy and continuous fire damage to the Rider. Evade these then attack once you have the chance. Use your potions as necessary until he's defeated.
Samael
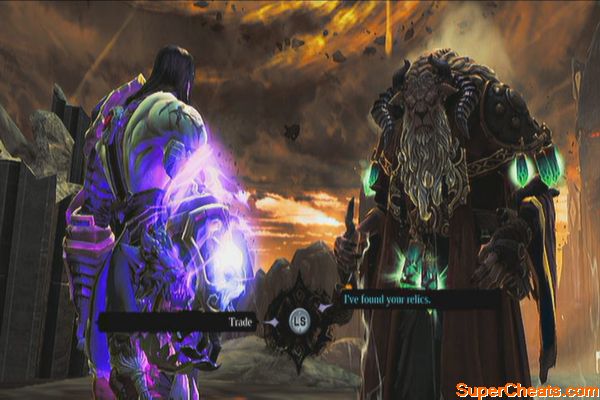
After defeating Samael, wait for a chest to appear and loot it. Return to the Crowfather to complete the quest. You can also talk to Ostegoth along the way and complete his quest, provided that you found all the relics at this point.


Thanks for all the help with finding the collectibles. Helped me out a great deal, but I encountered a glitch which forces me to play through the entire game again. I found everything, but not the last relic of Eti-goth.
I positioned myself not good enough wen I splitted my soul.When I jumped towards the last relic, i was placed back in my physic form. When returning to the place again, the relic was gone but it's not listed as a found relic. Feel so stupid, but also a it betrayed by the game now. I'm not going through the entire game again just for that relic.
how to come out after defeting samael the lord of the black stone
there is no bridge to cross
and chest does not appear at a wait of 1 hour.
please reply...