Phariseer
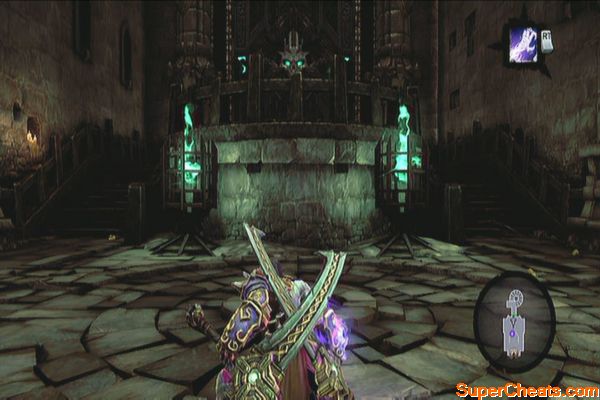
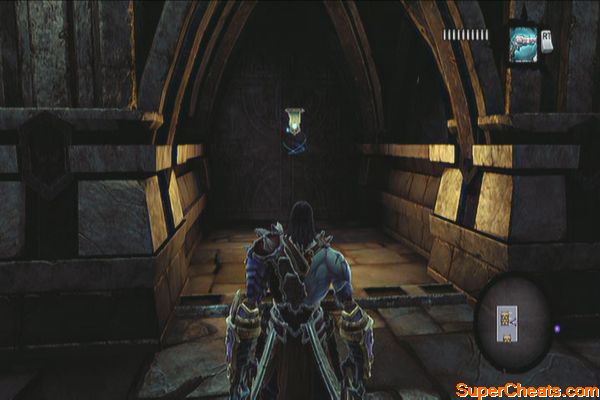
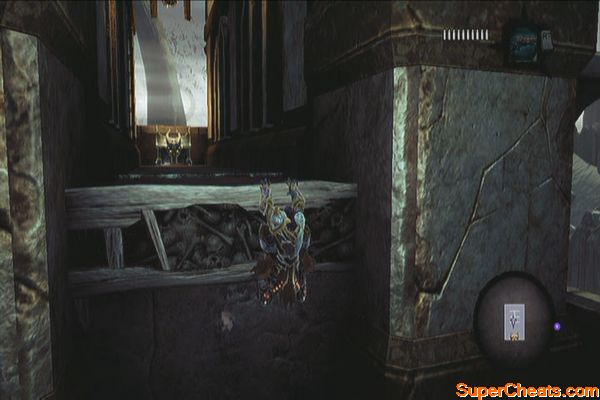
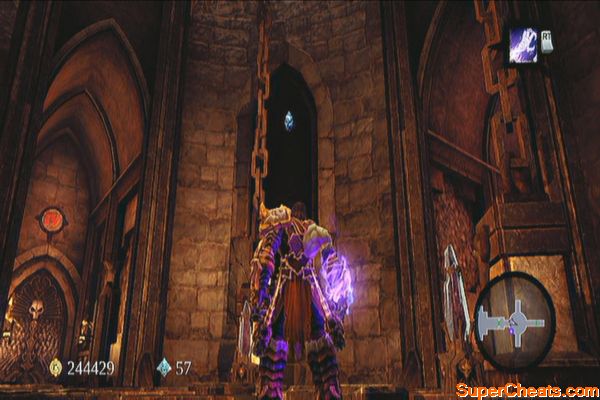
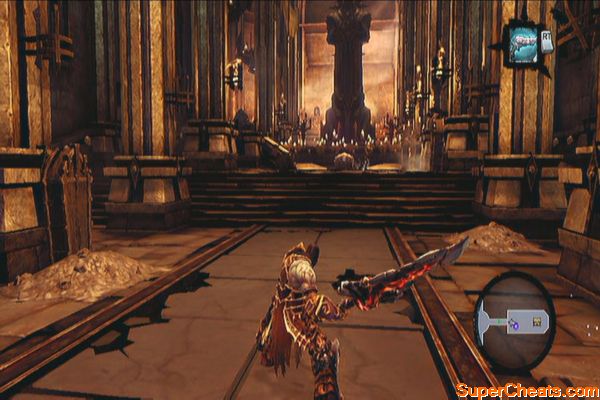
After the scene, you'll receive a new ability called Interdiction. After that, get the Relic of Etu-Goth behind the king's throne.
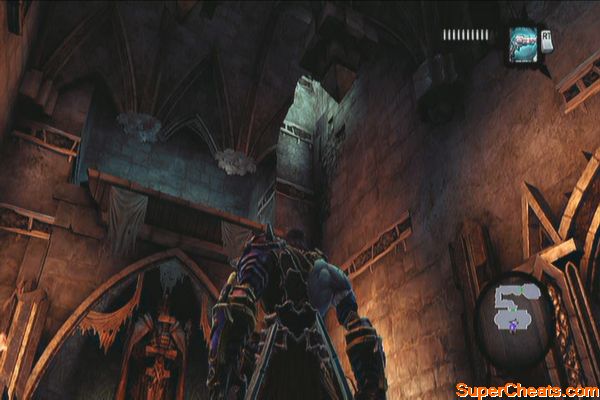
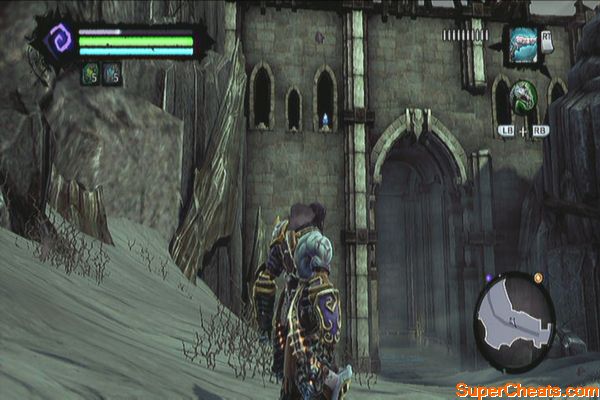
Exit the throne and make your way back to the stairwell. Once you've reached the stairwell, don't enter the first door anymore but continue to the bottom. Go upstairs and pull the lever to open the massive door.
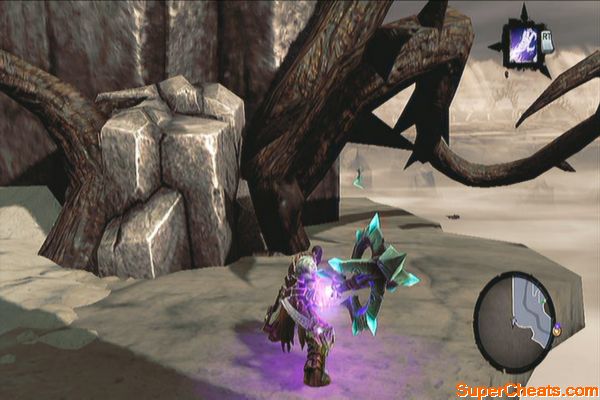
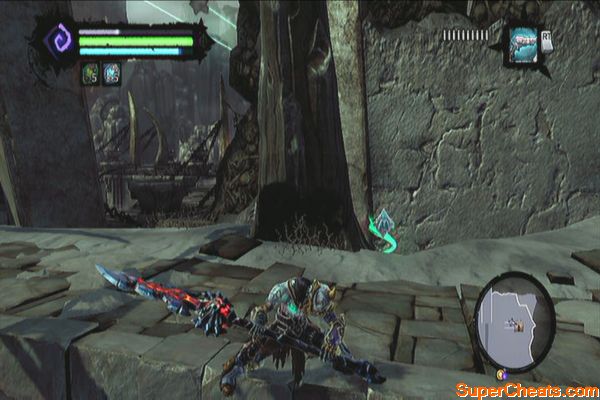
Once outside, ride using Despair and check the edge of the large thorn right after the ruins to find a Relic of Renagoth. This is the only item of interest in this area so just open your map and fast travel to the Breach's southern exit. (The Maw)
The Maw
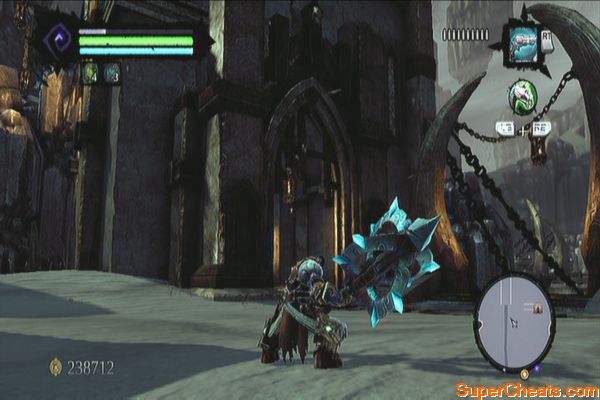
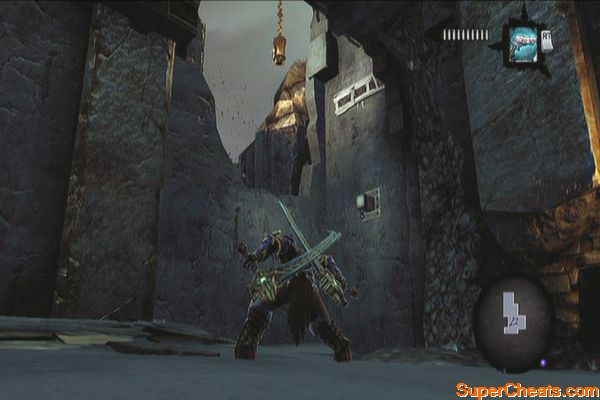
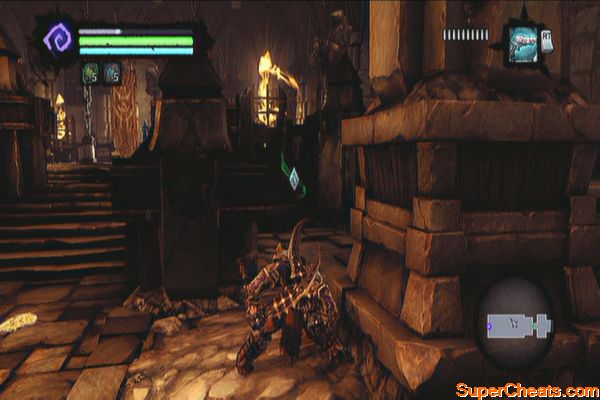
Cross the bridge to the south to reach The Maw. Right after crossing the bridge, you'll find two ruins; The Sentinel's Gaze to the east and an unnamed tower to the west. Enter that tower. Turn to the right and go downstairs north then turn to the right again to find a Boatman Coin.
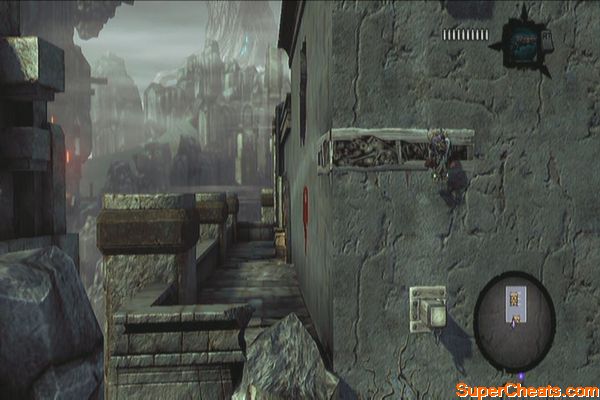
Backtrack a bit then climb the wall to the west. Follow the growth as it goes to the other wall then wall-run using a peg further to reach the balcony. There are two chests here but currently unreachable at this point. Walk around until you find the Soul Arbiter's Sacred Scroll.
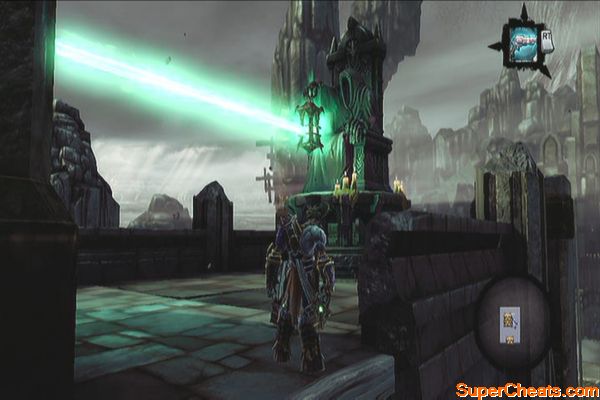
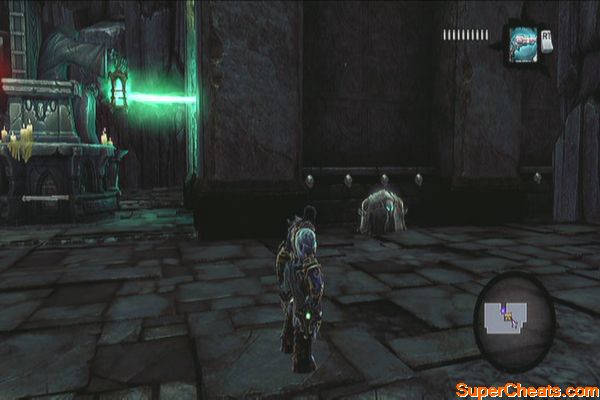
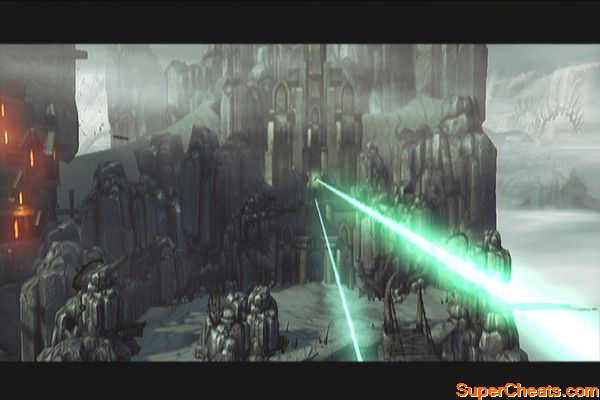
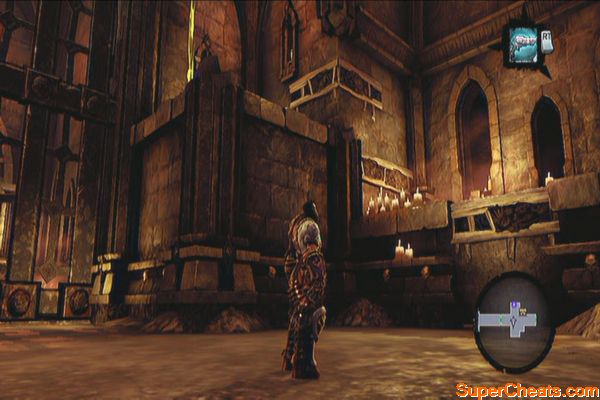
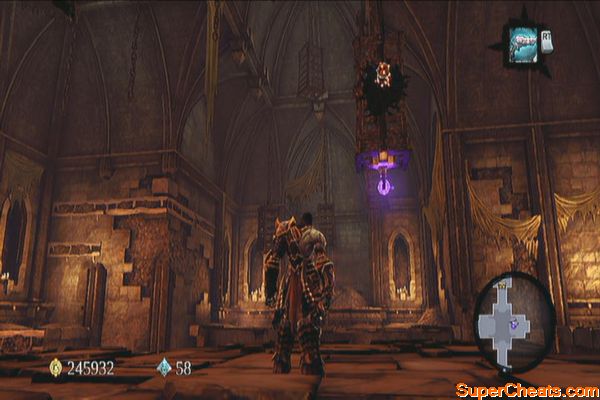
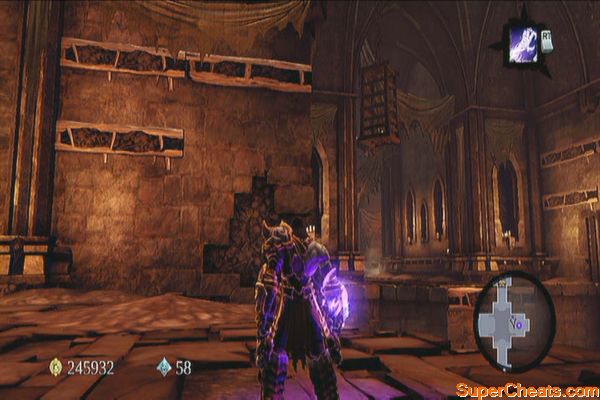
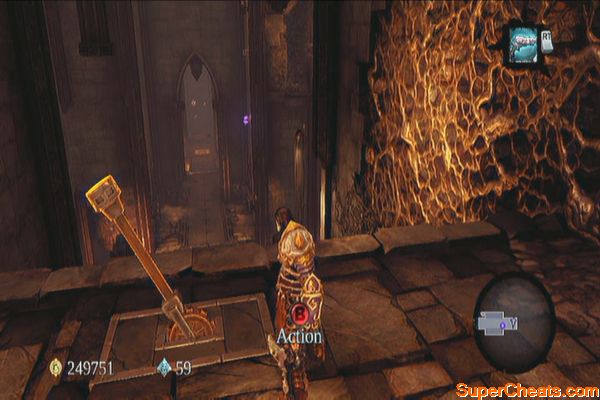
Climb up the tower to find a lantern statue. Rotate it towards the Breach stronghold and the gate there will lower down. Fast-travel to The Maw waypoint in your map. (it will take you to the southern exit of the Breach) Once there, enter the Breach again and make your way to the rooftop climbing the wall to your left and using the hand-holds leading to the upper shaft.
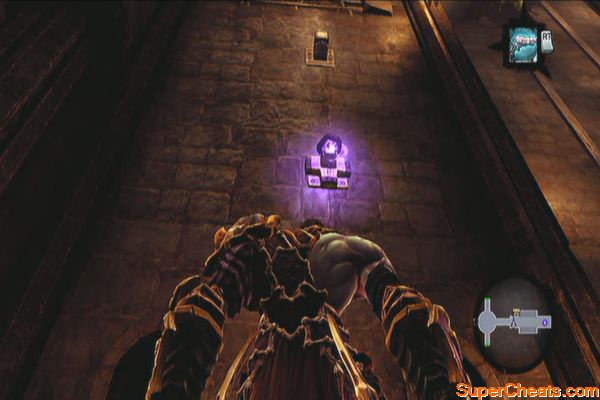
Once you've reached the roof, you can now get past the previously locked portion of the roof and loot the chest there. Now, grab on the lantern statue and rotate it so it beams to the ruins you checked earlier. Before leaving, don't forget to shoot the Stone of Resistance lodged on the rock beside the chest.
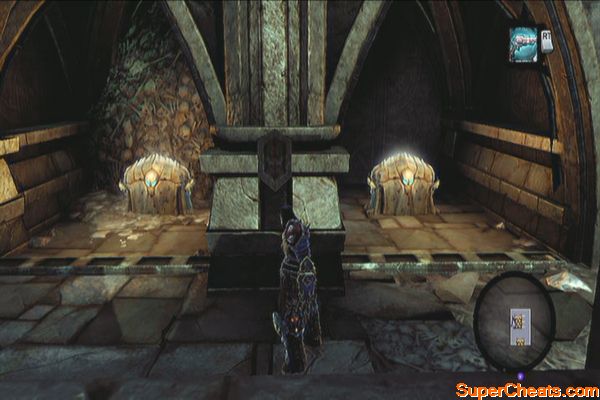
Return to the ruins across the bridge and return to the rooftop. Loot the two chests, then go around the balcony and push the switch. Climb up the ledge and loot the chest in the topmost ledge. Once done, go back to ground level and go ahead and check out Sentinel's Gaze.
Sentinel's Gaze
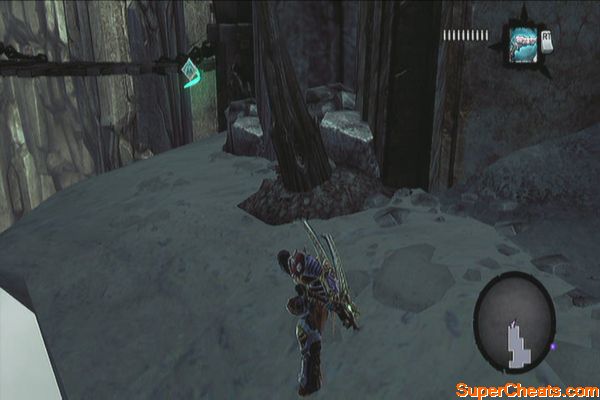
Before entering the dungeon, head to the left and find a Boatman Coin near the wall, behind a thorn. Enter the ruins afterward.
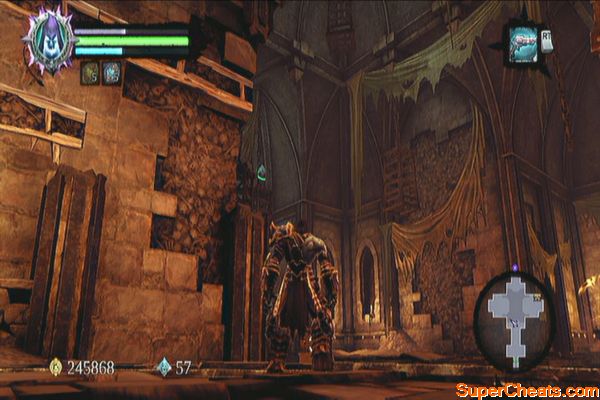
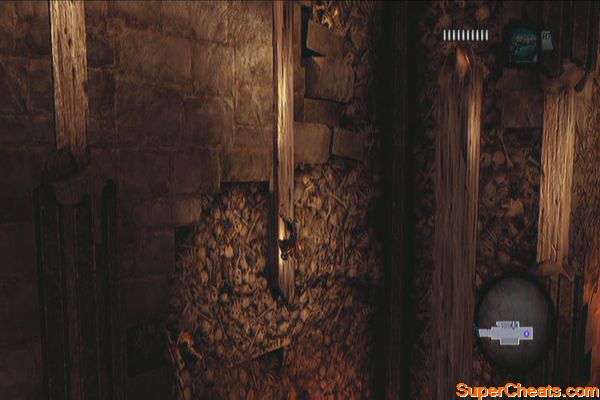
Head downstairs the stairwell and wall-run to reach a post once you see it. Climb down until you see a chest. Loot it then climb up the post and wall-run to the next set of stairs until you reach the door. Continue forth and destroy all enemies. Get the Boatman Coin in the northeast corner.
Climb the northwest ledges and check the torch near the edge to find a Relic of Etu-Goth. Grab a shadowbomb from the top then destroy the crystals below. Loot the chest and destroy the weapon racks to get some random weapons. You can check the second floor in the main building but you won't be able to fully explore it just yet. We're done for now so just fast-travel to the exit.
Before entering the Phariseer's Tomb to the east, continue down south to reach the gate. You can't go through yet but you can collect the Stone of Mystic there. Enter the tomb when ready.
Phariseer's Tomb
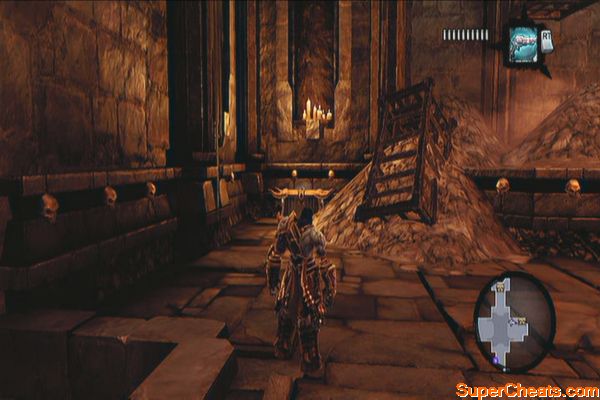
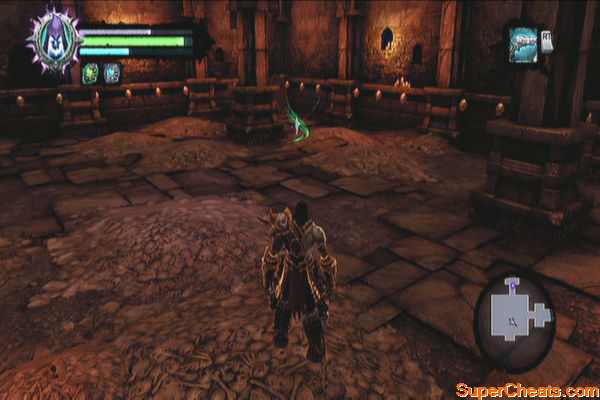
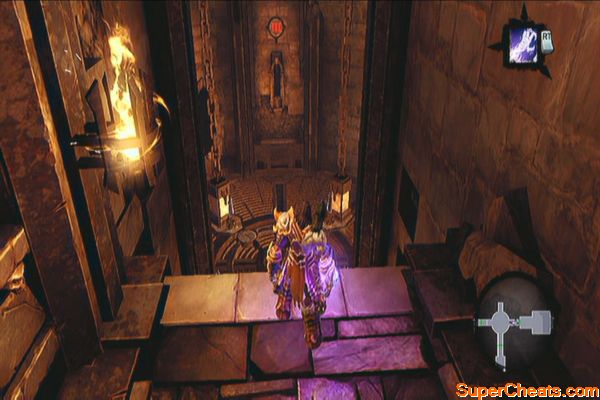
Head for the lift and strike the crystal to activate it. Upon reaching the bottom floor, go downstairs and look to the left to find a Boatman Coin.
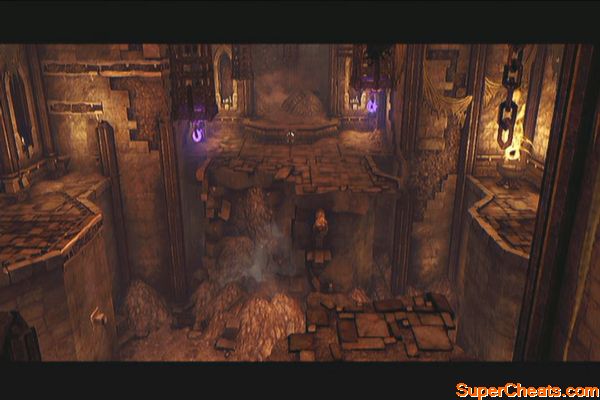
Continue forth until you reach a blocked chamber with a pressure plate. Start off by climbing the ledges to the right and grab a shadowbomb from the pod. Use it to blast away the crystals in the other ledges, revealing a chest, a stone pillar and another shadowbomb pod on the wall. Loot the chest first then use the shadowgrip to pull the pillar towards you.
Now place the pillar as near the gate as possible, then step on the pressure plate. Grab the shadowbomb nearby and lob it to the pillar. The explosion should push the pillar to the edge and stop the gate from falling after getting off the pressure plate.
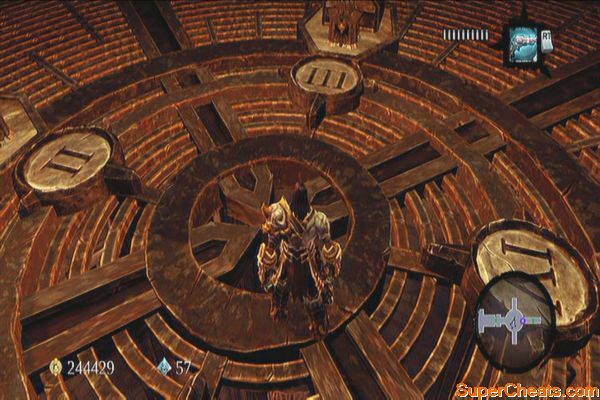
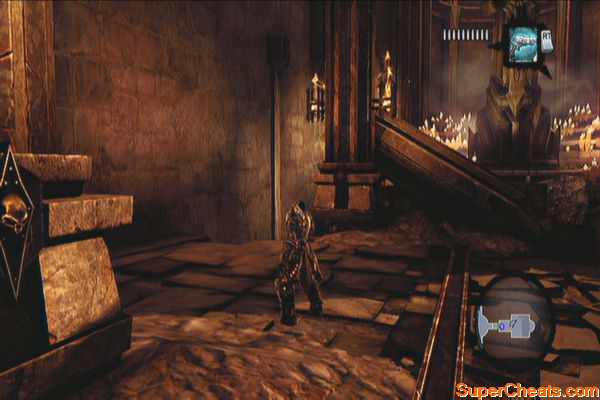
Continue ahead and to the lift and look up to the southeast to find a Stone of Mystic on the wall. Take a look at the numbered plates on the lift; this serves as the controls to the floor you want to go to. Now if you look around, you should see a red number above the doorway and heads of the statues. These indicate the current floor you're in. Just ignore the lift for now and continue to the east.
Kill all enemies inside this room and loot the chest. Check behind the statue in the far eastern side to find a Book of the Dead. Return to the lift this time.
Strike the “II” crystal and the phariseer will sabotage the lift. You'll find yourself in the lowest floor. Head to the east first then climb up the wall to get a Book of the Dead page.
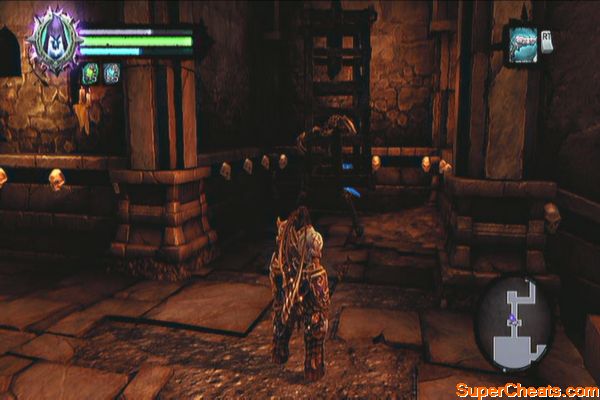
Backtrack and exit to the northern door. Ignore the deathgrip hoop there but instead, go to the left and use the hand-holds to reach the Boatman Coin. Now push the switch where you land and quickly cross the ledge to the east by swinging using the deathgrip hoop.
This retracts after a few seconds so make sure to do this as soon as you pushed the switch. Grab the Dungeon Map from the chest in the corner
Look up then grab a non-volatile shadowbomb from the hanging cage and throw it to the switch. Next, climb the ledges to the south then shimmy around the corner so you can drop off to the room's starting point. Now switch to Redemption, aim for the bomb you attached to the switch and blow it up. As the hanging cages drop and raise, use your deathgrip and time your swings before their distances get too far. If timed correctly, you should be able to reach the ledge that leads to the chest to the north containing the Skeleton Key.
After getting the key, drop down the pit and kill the mummies. Climb up the wall to the south and you'll be ambushed by wraiths. Deal with this enemies by grabbing them with deathgrip when they're moving away or preparing to attack. Evade often as well since their attacks are damaging as well.
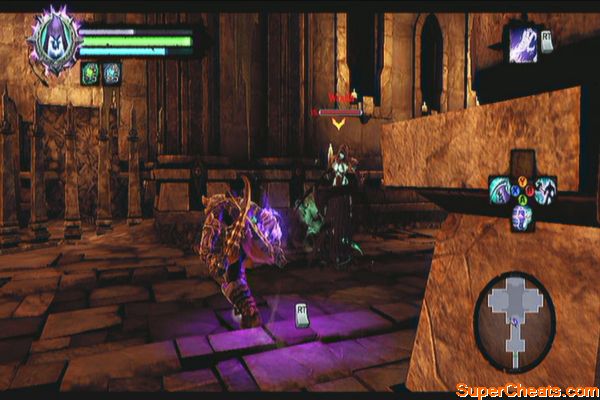
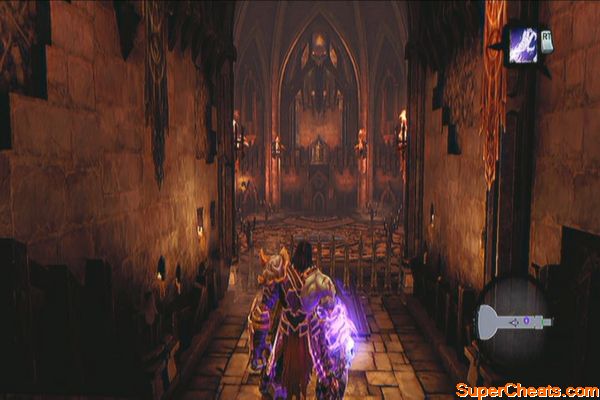
Backtrack to the elevator and attack the “III” crystal then use the skeleton key there. Follow the path and continue to the large hall to the west. Prepare for battle against wraiths and a brute known as the Undead General.
Wraiths and a General
Deal with the wraiths first while keeping an eye to your health. The pillars in the area may work against you as you can't evade that well compared to open spaces. Once the wraiths are taken care of, the undead general will appear.
Don't attack this guy head on as he can protect himself using his shield. Wait for him to attack then launch your counterattack. Again be careful not to get stuck with the pillars and keep the distance from him as soon as he starts his attacks.
Before leaving the area, destroy the crates in the northwest corner to find a Relic of Etu-goth. Now head to the southeast corner to find a Boatman Coin.
Head north and check the first nook to the west to find another Soul Arbiter's Sacred Scroll. Continue until you reach the elevator shaft.
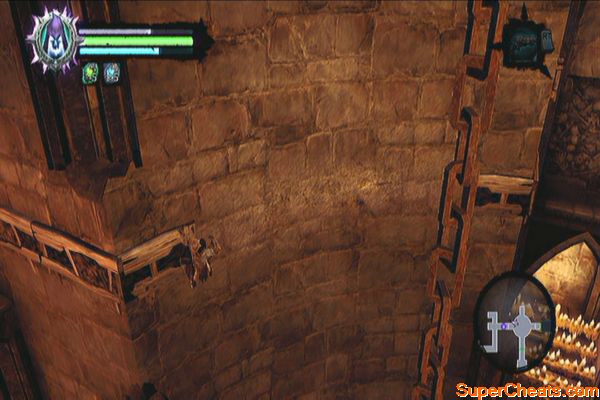
Don't drop down; instead climb the wall to the left, shimmy around the corner and wall-run to the right. Leap to the next hand-hold. Work your way to the right until you land on the next ledge leading to a room.
In this room, collect the Stone of Power by shooting it on the head of the statue. Next, shoot the shadowbomb nearby and to destroy the crystals on the wall. Wall-run to the post, climb down and wall-run again to another post to reach the chest on the small ledge.
After looting the chest, grab the hand-hold then wall-run again to the next post. Wall-run again to the next post and climb down a bit. Leap back to the nearby post then do it again to reach the next one to the right. Continue to reach some growth and climb up to reach a ledge with a lever. Pull it to raise a bridge.
Kill the mummies below then pull the stone pillar off the ledge. Push it to the central lift's pressure plate. Now backtrack where the pillar is originally placed then use the wall-posts again to make your way back to the upper floor. Now drop down to the elevator. Now hit “II” to reach the last unexplored floor in the dungeon and to reach the boss.
Continue downstairs and step on the pressure plate to enter the combat area.
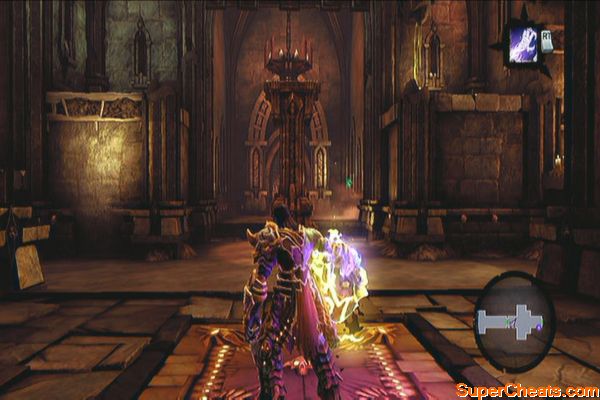
Boss: Phariseer
There is really no particular patterns in the Phariseer's attacks. Just evade when he starts his combos, then unleash your own combos once you get an opening. Once dealt with enough damage, he will summon a large group of skeleton warriors. Use your skills to give you enough breathing space and if you're using a heavy weapon, use its wide arc of attack to keep your enemies at bay.
And first dead lord yields.
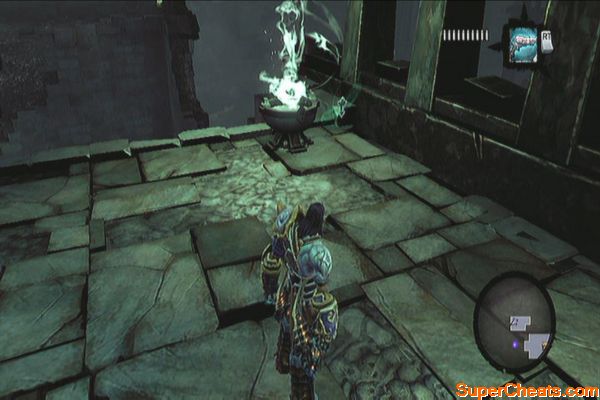
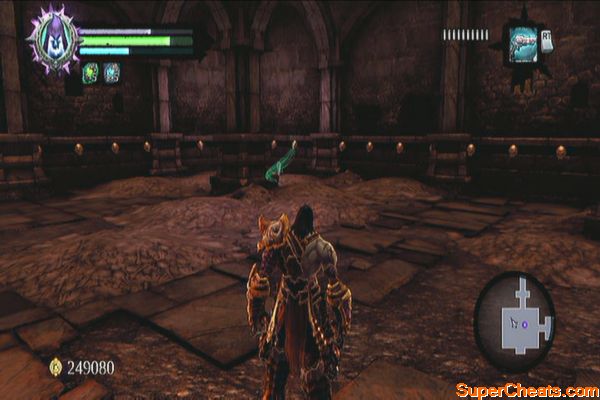
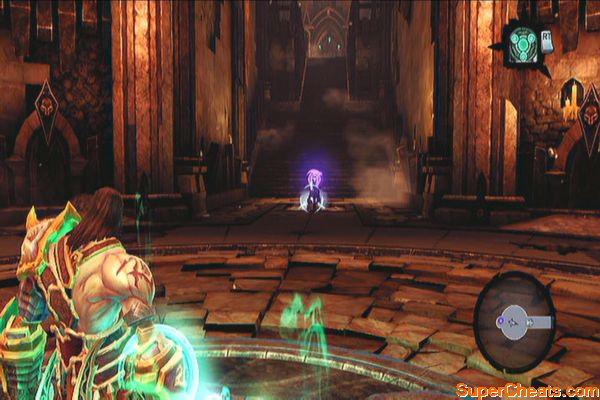
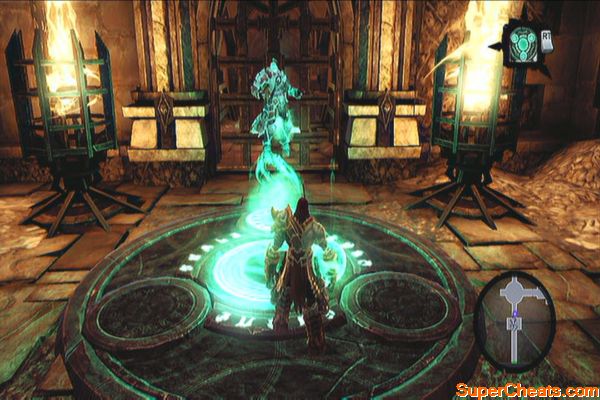
You'll know be able to use Interdiction. While on this quest to get the other dead lords, you can summon one to fight on your side or act as weights in pressure plates. Step on the summoning circle and summon the dead lord. Aim for the pressure plate and order him to step on it so you can pass.
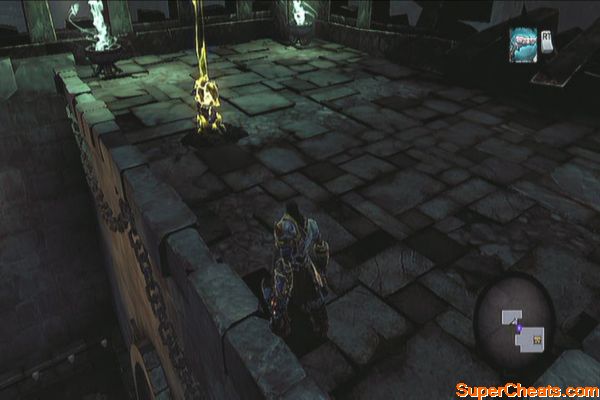
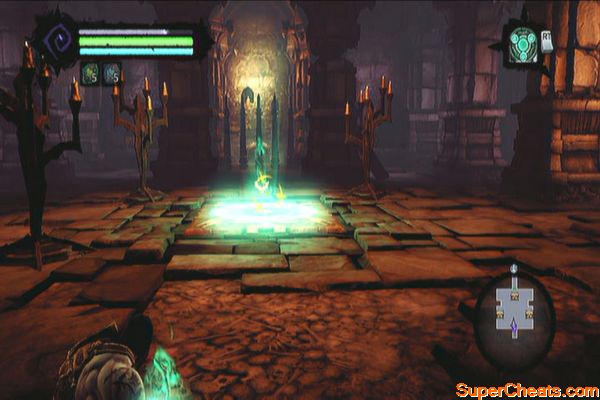
Exit to the elevator shaft then drop down to the first floor. Head to the south to find another summoning circle. Summon the Phariseer then order him to step on the pressure plate ahead. Continue forth to reach the next room and kill the mummies inside. Destroy all weapon racks to gather various weapons then get a shadowbomb to the left and destroy the crystals up north.
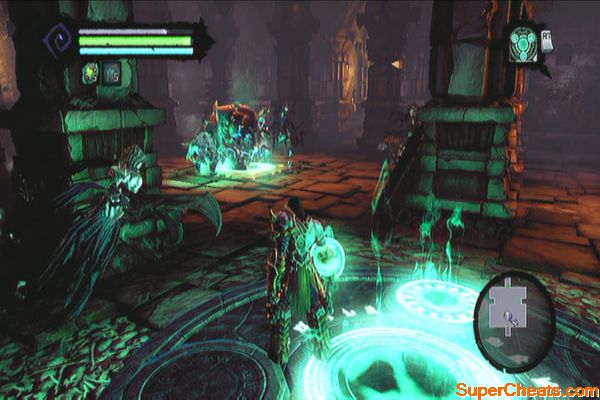
Drop down and summon the Phariseer again. Order him to stand on the pressure plate and start looting the chest. During this time, two undead generals, several wraiths and mummies will appear. The dead lord will prove its worth as it is invulnerable and enemies turn their attention to him even while immobile. Burn some potions if you need; just keep mobile and avoid getting close with your ally to prevent getting enemy aggro.
Before leaving, check the dark corner in the northeast to get a Soul Arbiter's Sacred Scroll. After that, your job here is done. You can now head to the next dead lord's location.


how do you fast travel?