Hollow Bastion
Kingdom Hearts Walkthrough and Guide
by SPV999
Kingdom Hearts Guide
Hollow Bastion
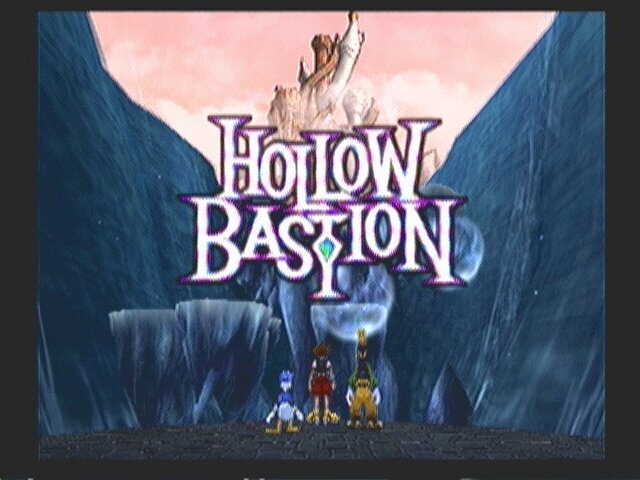 Hollow Bastion |
Theme Music: Hollow Bastion
Battle Music: Scherzo Di Notte (Joke of Night)
Hollow Bastion is the last world currently, linked to from Neverland.
Good level: 37
Recommended level: 42
Over-leveled: 50
*Note*
These levels only hold true if you completed the Interlude and got the massive amount of Power Ups and Defense Ups, making you way stronger then you should be at the above levels. Otherwise, add 5 or 6 to them.
Hollow Bastion is another world created just for Kingdom Hearts. It's name means “Empty Fortress”, which is pretty fitting.
Trust and Betrayal
New Enemies: Defender, Darkball, Wizard, Wyvern
Sub-Boss: Rikku
Boss: Rikku
Items: Blizzaga Ring, Megalixir x3, Mythril x3, Firaga Ring,
Hi-potion x2, Elixir, Mega-Potion x2, AP Up, Orichalcum x4,
Mega-Ether, Cottage x3, Thundaga Ring, Defense Up,
all the strangely named books
Save Points: 4 (3-A, 1-B)
Trinity Marks:
- Blue #16, 17
- Red #6
- Green #9
Dalmatians: 91-93, 94-96, 97-99
Ansem's Reports: #5
--== Traverse Town: First District ==--
We start in First District. You might have done this in the Interlude, but in case you forgot, talk to Cid and have him install the new Navi-G piece you got from Neverland.
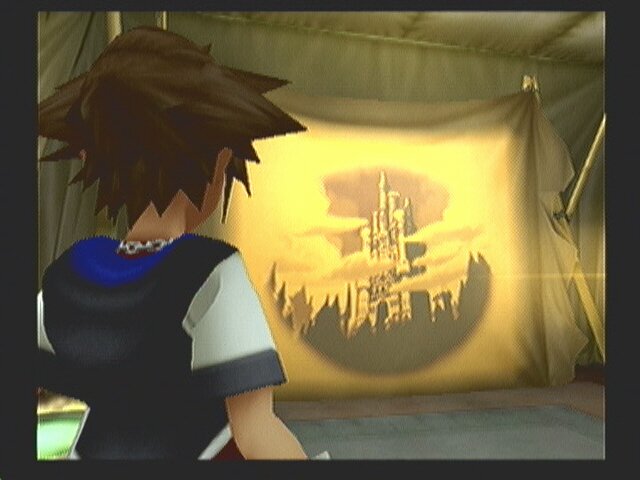
 Flashback |
During this time, Sora has a flashback, not of his past, but of Kairis. Why? Well we'll find out, about two hours from now. Once Cid comes back, finish up any business you have here (like Synthesis) and head out.
Warp to Neverland and fly through the new route.
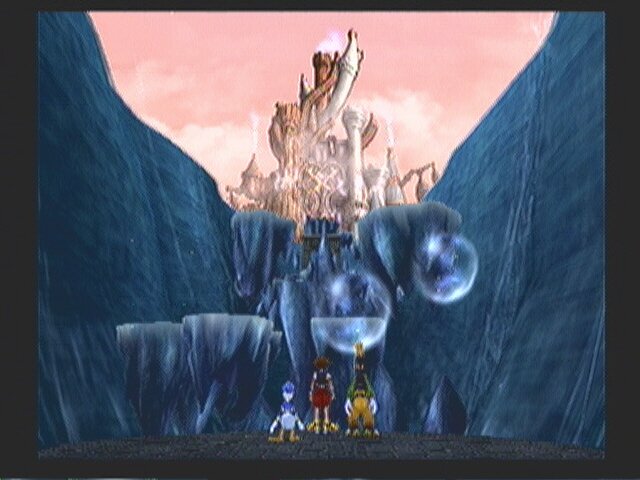
--== Hollow Bastion: Raising Falls ==--
Sora says he recognizes the castle, which should look familiar, even to you:
 |
 |
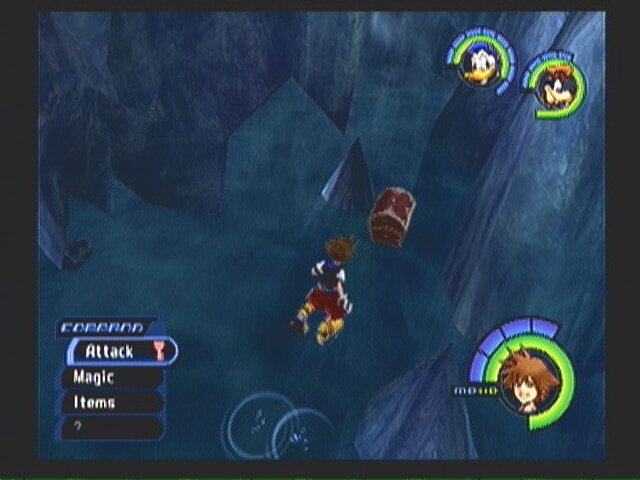
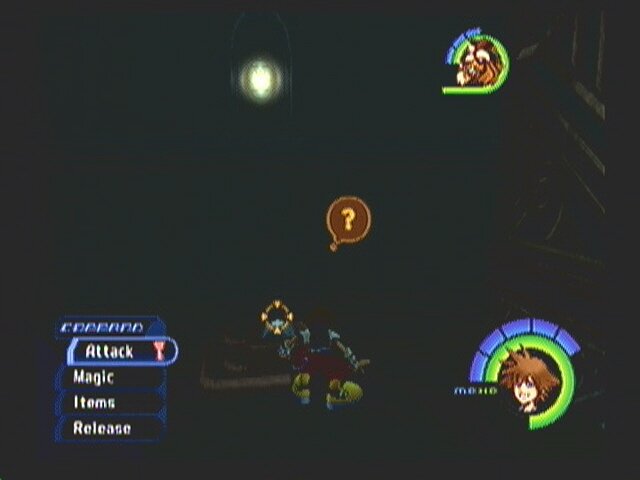
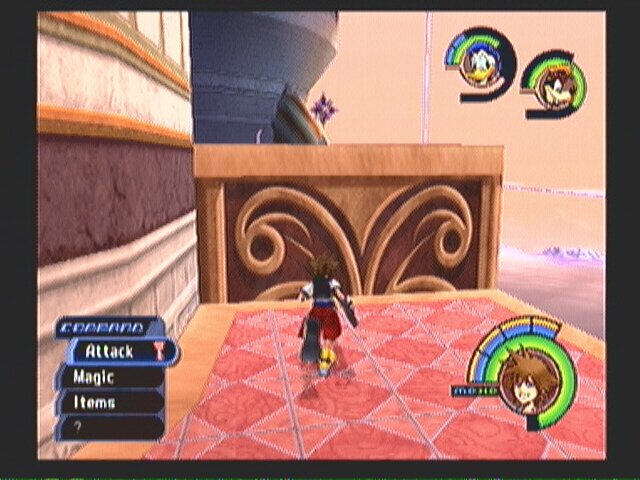
With that out of the way, you can save your game here and start jumping up platforms. Once you reach the moving platform, jump off it to the next large spiky platform.
 Bubble |
- Look around the edges for a bubble. Jump in to be taken underwater, where you find a chest. Open it for Dispel-G.
 Dalmatians 91, 92, 93 |
- Once you surface, look around right near you for another chest with Dalmatians 91-93.
You'll have to go all the way back to start and jump up the platforms again. Jump onto the small platform after the spiky platform to start a cutscene.
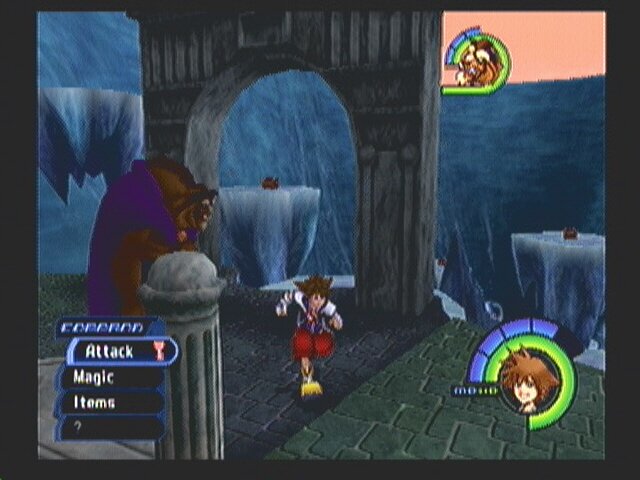
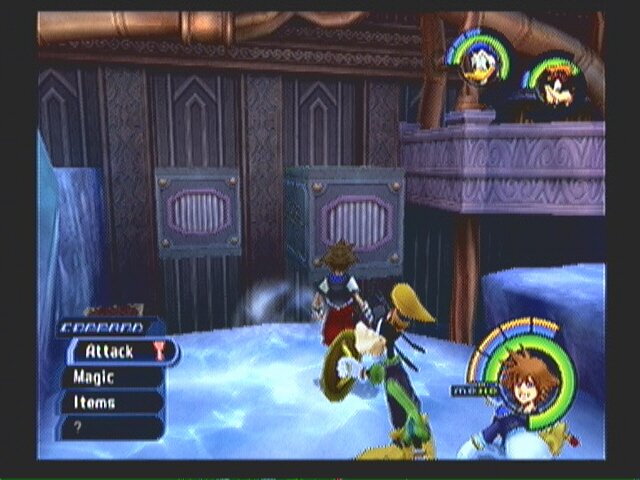
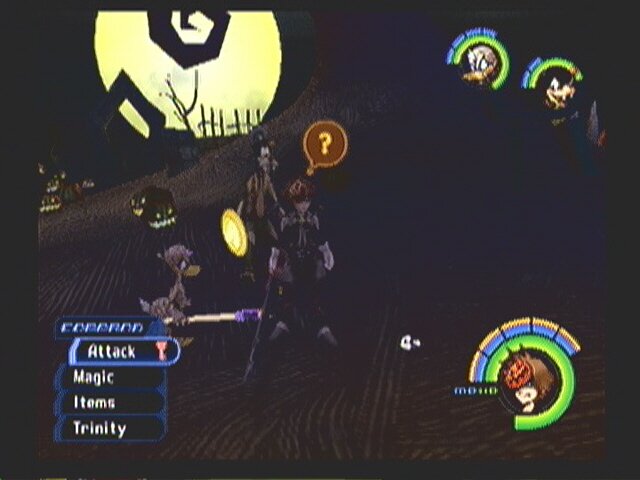
Sora looses his Keyblade and his friends to Rikku, but gains Beast as a partner. Beast is the best partner you've had so far, he can rip most enemies to shreds with just a couple attacks, which is good as you don't have any attack power anymore with the lose of the Keyblade.
 Chest |
- On the main platform you're on now, turn around and look for four chests on high platforms back behind you. Jump and glide to each of them to claim a Megalixir, Blizzaga Ring, and Dispel-G, in that order.
 |
- One more time, climb up to where you met Beast. Look for the moving platform and jump up to the highest platform. Run to the castle to get put on a lift that takes you to the Castle Gates.
--== Hollow Bastion: Castle Gates ==--
The main gate into the castle is sealed. Hang a right and go through the bar gates. Examine the lit star to start a platform moving that we'll use later. Examine the unlit star to be taken down to the Base Level.
--== Hollow Bastion: Base Level ==--
There is more stuff to do here then we're going to for now. We'll come back later when you have your powers back. For now, jump into the lower bubble, the one next to the castle wall.
--== Hollow Bastion: Waterway ==--
There is a save point next to a chest (Firaga Ring). Look for a gate beside the save point that you can use the Call command on. Beast will break down the wall. Hop in the bubble on the other side.
In this new area, use Call again on the wall to the left. Don't go through the hole just yet. First we have to unlock a series of gates.
 Switch 1 |
 Switch 2 |
 Switch 3 |
 Switch 4 |
- There are four switches in this area. You have to trigger them in the right order to continue. Hit the switch right around the corner from the broken wall first (Switch 1). That opens passage to the next switch mounted on the grate (Switch 2). It seals Switch 1 and opens Switch 3 over to the right in the alcove. Trip Switch 3 to open Switch 4 on the other side of Switch 2. Trigger Switch 4 to open the gate that leads to the Switch 5 up on the wall. You'll ride the platform to the top. At the top, walk down the hall and flip the last switch to open the gates.
And you're done. Go back down and, forgetting about Switch 5, flip all the switches in the opposite order (starting with 4). Back near the broken wall, we're still not going in yet. Ride the bubble back to the save point. Save, and ride the next bubble back out.
--== Hollow Bastion: Base Level ==--
Back here, head left and, after Beast takes out the Darkballs, examine the lit star to go back up.
--== Hollow Bastion: Castle Gates ==--
Run through the bar gates and hang a right, headed to the main gates of the castle.
--== Hollow Bastion: Entrance Hall ==--
As soon as you enter, a cutscene starts where Beast gets trapped, you get your friends back, and the Keyblade. Sucks to be Rikku right now.
 --== Sub-Boss: Rikku ==-- |
Strategy:
Here we go. Rikku is surprisingly easy during this fight. His main and pretty much only attack consist of rushing you and slashing several times. Counter by jamming down the X button. It's really that simple.
--====--
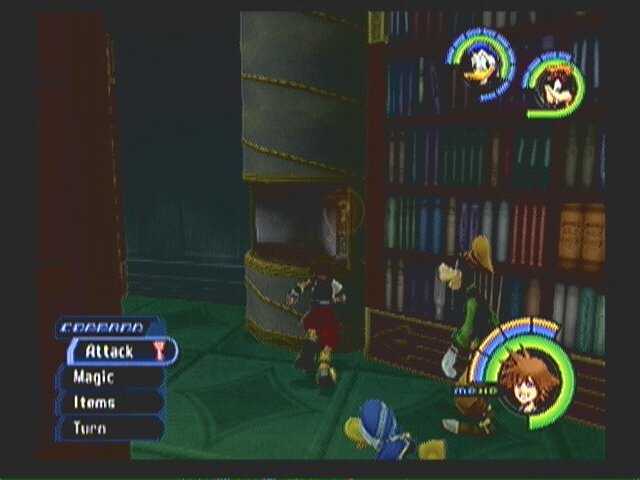
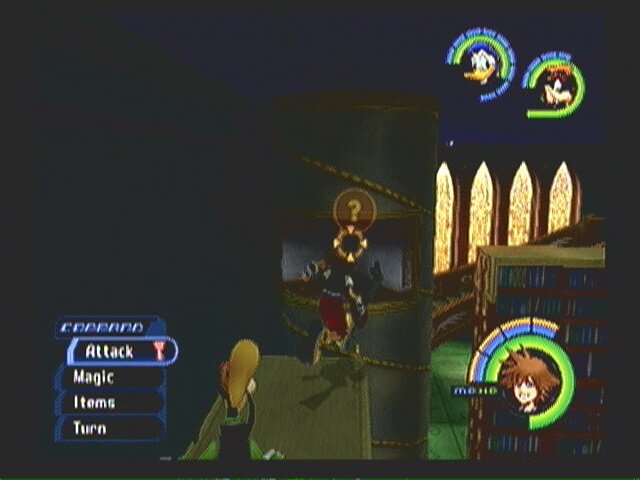
With that over, you get the White Trinity ability. MAKE SURE YOUR PARTY DOES NOT HAVE BEAST IN IT! Climb the stairs and take a left. Enter the doorway into the Library.
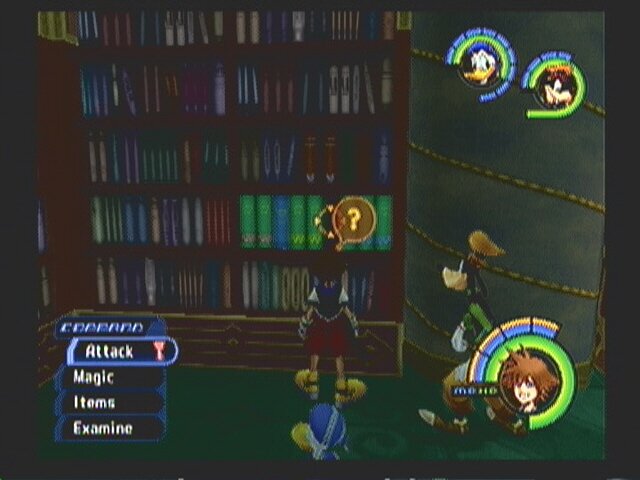
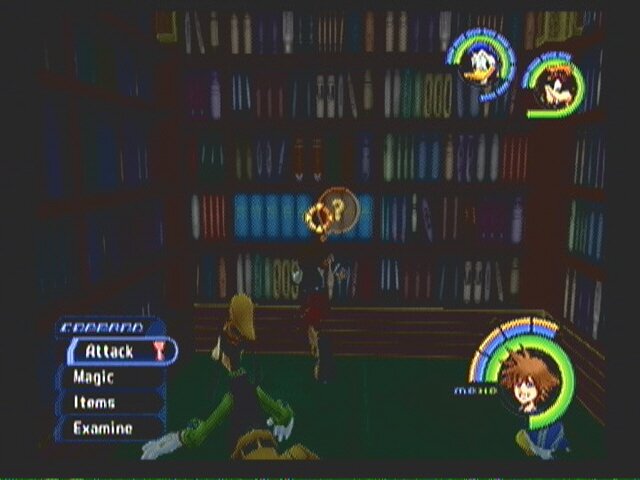
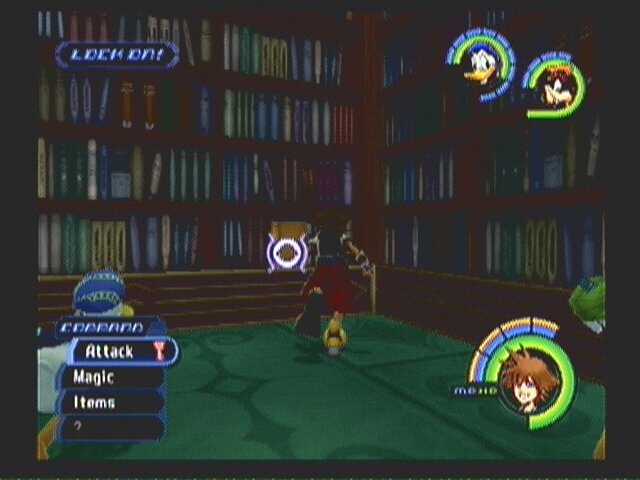
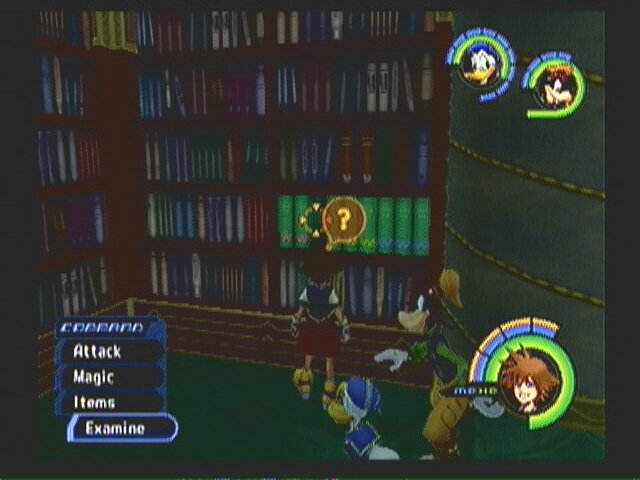
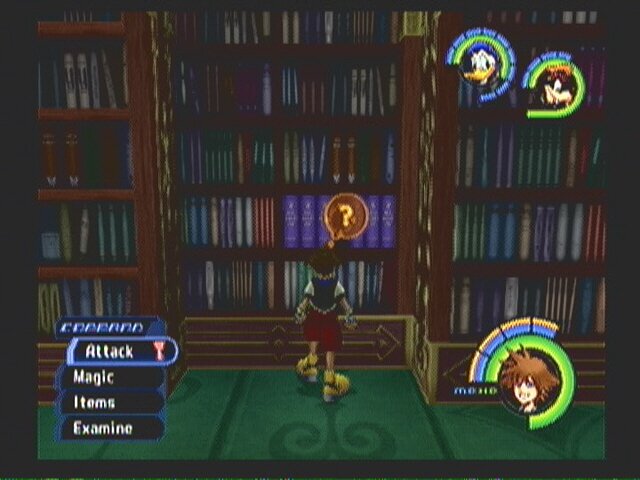
--== Hollow Bastion: Library ==--
Look familiar? It should. This is where Kairi was talking to the old lady.
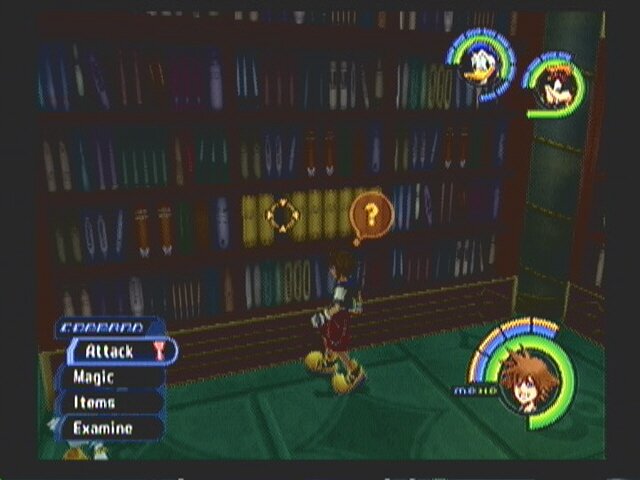
Anyway, this is a giant moving bookshelf puzzle. The trick is to find the missing books and place them in the proper shelf to make it move. There are also turntables in the pillars around here. Turn them, and press X whenever you see the chest to make is stop on the chest.
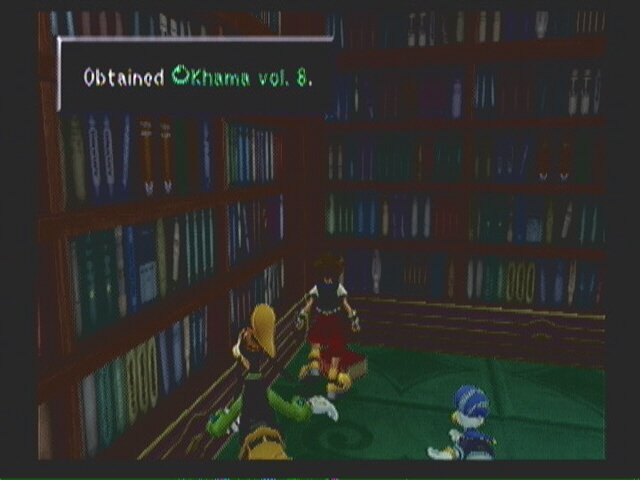 Round the corner and grab Khama vol. 8 (red) |
 Place Khama in the shelf ahead |
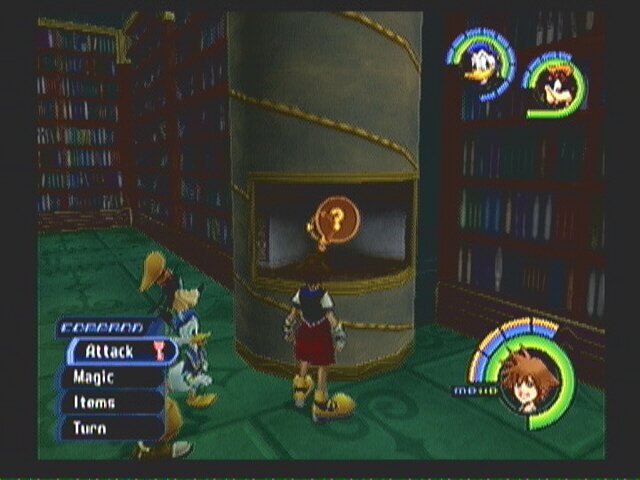 Use the turntable to get an Elixir |
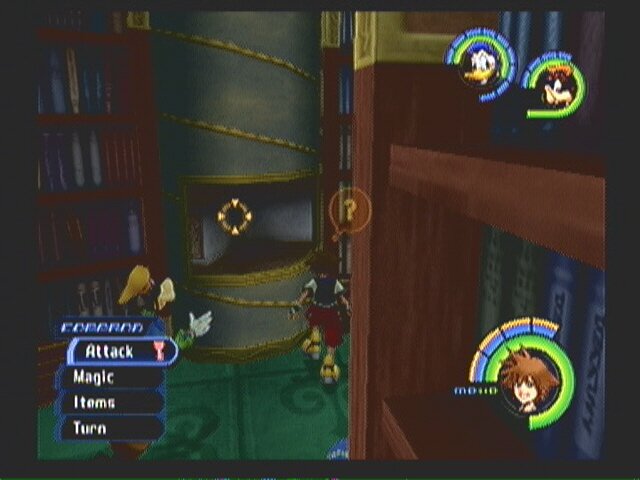 Go upstairs and use the next turntable (Mthril) |
 Use Green Trinity #9 to claim Azal vol. 3 (yellow) |
 Theon vol. 6 is on the table behind you |
 Use the turntable for a Mega-Potion |
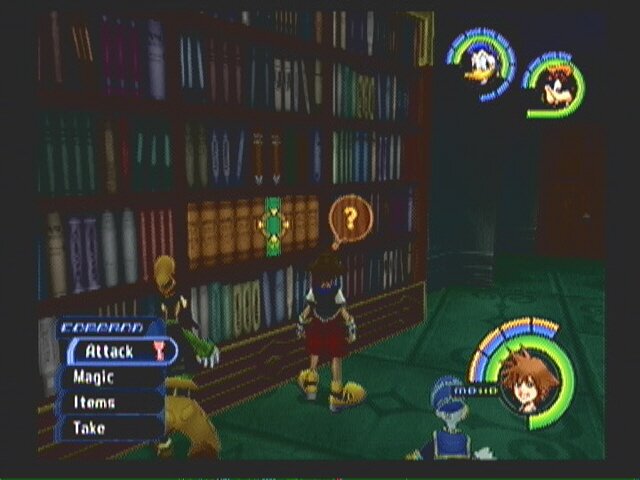 Remove Mava vol. 6 (green) from the shelf |
 Place Theon Vol. 6 on the shelf and press the switch it reveals to open the door. |
 Jump on the bookshelves to reach a chest (Dispel-G) |
 Use the turntable by the chest (AP Up) |
 Drop down and place Azal vol. 3 on the shelf by the door |
 Place Mava vol. 6 on the shelf around the corner, and retrieve Salegg vol. 6 (blue) |
 Place Salegg vol. 6 on the shelf behind you |
 Run around to the other side of the Azal shelf you moved and pick up Nahara vol. 5 (brown) |
 Go back upstairs and place Nahara vol. 5 on the shelf, and grab Mava vol. 3 from the shelf behind it |
 Drop down and place Mava vol. 3 on the shelf. In the cove behind it, pick up Hafet vol. 4 (purple) |
 Back up at the top, place Hafet vol. 4 in the shelf to open a secret passage |
Phew. That was a pain. Enter the secret passage into the Lift Shop.
--== Hollow Bastion: Lift Shop ==--
On the left is a chest floating in the air. Use Gravity on it to bring it down and claim a Tornado-G. Examine the lit star to be taken up and out.
You end up back in the Lift Shop, however, just the highest level of it. Remember that route you took outside, and that weird switch rail you passed. Use gravity on the chest and claim the Ultima-G. Examine the star and head back into the Library.
--== Hollow Bastion: Library ==--
Take a left and exit through the upper door.
--== Hollow Bastion: Entrance Hall ==--
You should be on the second level of the hall. Your goal here is to collect four emblem pieces. To do this:
 Red Trinity #6 |
- Use the Red Trinity on the inner rim to push the statue over the edge (green bottom piece).
- Light all the candles around the outer wall (blue top piece).
- Find the statue that tells you to move it and push it aside (red side piece, in a chest).
- Find the statue that tells you to demonstrate your power. Break the vases on either side of him (red side piece)
Before jumping down and claiming your pieces, find a stone on the inner rim that is engraved with lightning. Cast Thunder on it to make the platforms move and give easy access to the upper level.
 Chest |
- On the bottom level, go into the main doorway at the top of the stairs. Before examining the door, look on the wall on the right side for a small thing you can grab onto. Pull yourself up to the top, then jump across the gap and open the chest for a Power Up. Now examine the door four times to place all your pieces in and open the door.
--== Hollow Bastion: Lift Shop ==--
A cutscene where Rikku turns evil-er. Examine the lit star right in front of you to be taken downward. Enter the doorway on the new platform.
--== Hollow Bastion: Waterway ==--
There are two round platforms here. Take the one on the right that leads back to the Lift Shop.
At the Lift Shop, examine the star to get MP balls and Mythril. Jump back on the platform to go back down.
Ride the other platform this time to be taken to the Dungeon.
--== Hollow Bastion: Dungeon ==--
 Blue Trinity #16 |
This is the room you opened with Beast earlier. Open the two chests for two Float-G. Use the Blue Trinity for a Mega-Ether, Mega-Potion, and Cottage. Exit out the hole into the Waterway.
--== Hollow Bastion: Waterway ==--
Take the bubble on the right, back to the save point.
Save here, and change your party to include Beast. Take the next bubble to the outside.
--== Hollow Bastion: Base Level ==--
Jump into the higher bubble this time. It takes you to the other side of the ice wall. Use the block to jump to the next platform with a chest (Mythril) and use that to get on top of the ice wall.
 Chest and Switch |
- Examine the ice switch to extend a platform. Open the chest for a Tornado-G. Look back toward where the lift is to spot another chest on a platform (Tornado-G). Jump back down to the new side of the ice wall (the one without the bubbles)
Use the block again to get up to the next platform ahead. Use that platform to reach the other cliff wall. Examine the ice switch on it to extend the other platform. Use the two platforms to reach the balcony and enter the doorway.
--== Hollow Bastion: Waterway ==--
Use the Call command to break the wall and claim a Esuna-G. Exit all the way back out and to the save point in Waterway.
Change out your party to no longer include Beast. Go back into the Dungeon and jump on the platform to raise back up into the upper Waterway.
Here again, go back into the Lift Shop (not via the platform)
--== Hollow Bastion: Lift Shop ==--
Examine the star to be taken up a level. Walk right and examine the yellow lit star to change the path of the lift. Examine the blue star once again.
You're higher up in the Lift Shop, where the Library lead to only on the opposite side. Use Gravity on the floating chest and open it for Orichalcum. Examine the star and head back down.
This time, enter the passage that leads to the outside (not the Entrance Hall).
--== Hollow Bastion: Castle Gates ==--
Climb the stairs and examine the yellow lit star after CAREFULLY taking out the Wyverns. Use magic and the triangle button to keep from falling.
 Dalmatians 94, 95, 96 |
- The star starts a platform moving. Jump and glide to the platform in the distance with a chest over it. Use Gravity to bring it down and open it to release Dalmatians 94-96.
 Chest |
- On that platform, wait for the new moving platform to get near. Jump on it and let it take you to the other moving platform. From the second platform, jump off to the chest closest to castle to get a Holy-G. Jump from here and glide over to the chest over the pit (Orichalcum). Wait for the platform to come back and ride it back to the platform before the Dalmatian chest.
 Star |
- This time, examine the blue lit star to have a lift take you up.
--== Hollow Bastion: Great Crest ==--
Up the stairs, examine the star to call the largest of the lift platforms. It takes you to the other side, very, very slowly. About halfway through, the platform stops and you are ambushed by some Wizards. After dealing with them (don't worry, you cant fall off), examine the star in the center to start the platform again.
 Blue Trinity #17 |
- On the other side, use the Blue Trinity. That was the last regular Trinity! Your check list should be totally marked except for the White Trinity. Open the chest for a Dispel G. go down the stairs and through the door.
--== Hollow Bastion: Lift Shop ==--
Examine the blue lit star to be taken up. Exit out the doorway.
--== Hollow Bastion: Great Crest ==--
You're on the upper level, above where the Blue Trinity was. Look for a chest by the door with Orichalcum in it. Examine the unlit star to be taken up.
--== Hollow Bastion: High Tower ==--
Fight off all the heartless. Use Gravity on the floating chest by the doorway (Thundaga Ring) and look for a lit star. Don't examine it, it will block your path later. Enter the doorway.
--== Hollow Bastion: Lift Shop ==--
Fight your way around the bend to the next doorway.
--== Hollow Bastion: High Tower ==--
 Dalmatians 97, 98, 99 |
- Use Gravity on the floating chest for the final set of Dalmatians. There is still one more chest (61-63), but you cant get them till later.
Examine the lit star to lower one of the walls on the Crest. Jump up on it and across the crest to the star on the other side. Examine the star to raise the same section.
 Switch Rail |
- Jump back up on it and follow the platform around. Open the chest for a Megalixir. Examine the star at the end to change the path of the lift we used from the Library. We'll get to it later.
 Hidden Platform |
- Get back on top of the raise section of the crest. Fall off and try to get to the platform under it. Enter the doorway to get a Float-G. Exit back out. Take a flying leap off the side.
--== Hollow Bastion: Great Crest ==--
You should land somewhere in this area. Work your way back to on top of the crest (you'll have to use the second star to lower the one side).
--== Hollow Bastion: High Tower ==--
 Here |
Back on top, keep around the corner and enter the doorway.
--== Hollow Bastion: Lift Shop ==--
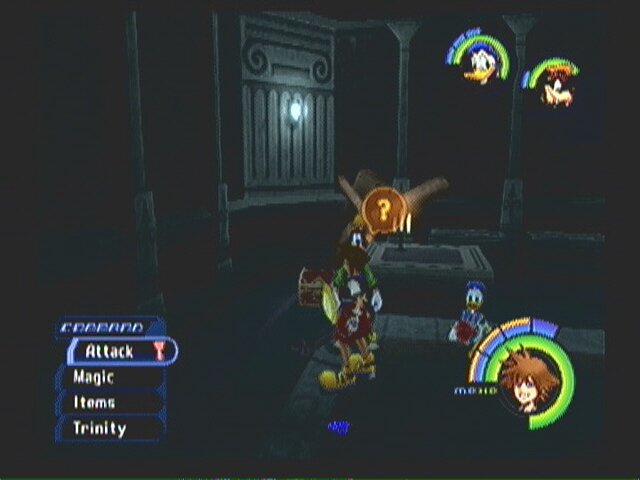
Fight your way to the end of the hall. DON'T ENTER YET! Heal your party and be ready for the first stage of a boss fight. It's not hard, but you still need to be ready.
--== Hollow Bastion: Chapel ==--
--== Boss: Maleficent ==--
 Stage 1: Maleficent |
Strategy:
There isn't much to do here. When she floats up on the platform, target the platform and beat on it to bring it crashing down. On the ground, hop up and beat on her. She can summon Defenders and shoot various large magic balls at you, but they're nothing to worry about.
Between the two stages, you get a chance to save and heal, a chance I suggest you take. Enter the portal after her.
 Stage 2: Dragon Maleficent |
Strategy:
Her only weak point is her head, which is also the most dangerous part. Don't step in the green fire, or get breathed on, as it is painful. She can also use a sort of homing fire magic, where around the field little fire balls appear and hone in one by one. These can be deflected or easily dodged. Her only other attacks consists of stomping the ground and swinging her tail, both of which can be dodged by jumping. This fight is harder then I make it out to be, especially if you are under leveled. There just isn't much to it, but her attacks are all real threats.
 End |
--====--
After the fights, you get Ansem's Report 5, Donald learns Cheer, and you get Fireglow, the Mushu summon.
Back in the Chapel, save and enter the new doorway.
--== Hollow Bastion: Lift Shop ==--
Run through here, and be carful no to fall off.
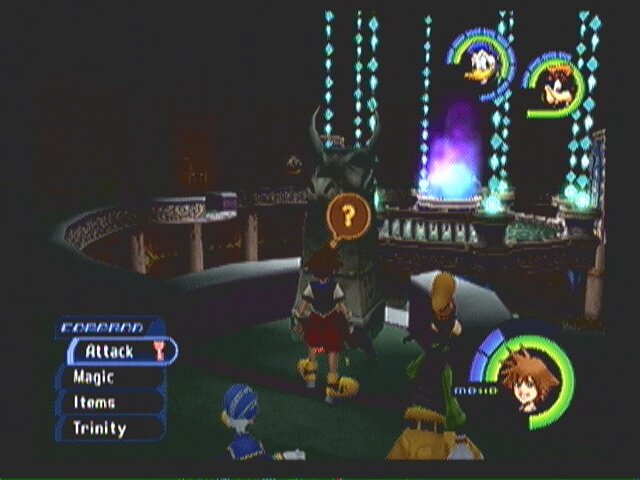
--== Hollow Bastion: Grand Hall ==--
Not far in, a cutscene starts with you and Rikku. It's revealed that Kairi had her heart hidden within Soras', which is why Sora had flashbacks and memories of Kairis'.
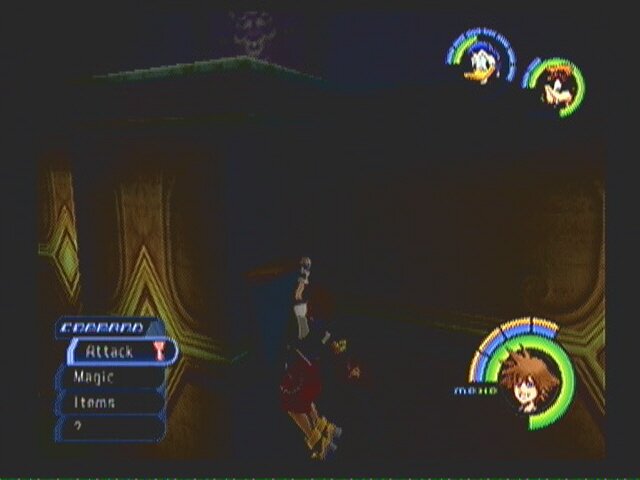
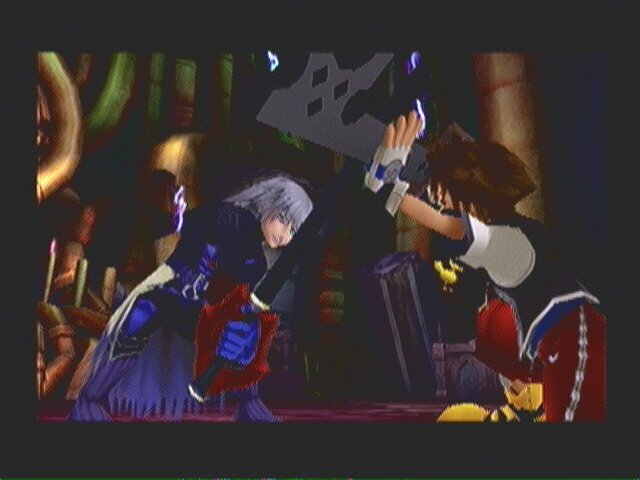 --== Real Boss: Rikku ==-- |
Strategy:
Most of this fight is very reminiscent of previous encounters with Rikku, only more powerful. The only trick is to stay on him. Once you get him to his green health bar, the real new fight starts. He'll start using dark based attacks, including one where he hurls the Keyblade at you (easily deflected), one that resembles Sonic Blade that uses the Corridors of Darkness (just keep dodge rolling), and a final one where he pounds the ground a huge geysers of darkness spring up across the field (not sure you can dodge it). Still though, the basic strategy doesn't change, keep on him the whole time. If you do, he usually doesn't get a chance to use his more powerful attacks.
 End |
--====--
Once he finally goes down, you get the Ragnarok ability. A cutscene ensues, where Sora uses the dark Keyblade to release his heart and save Kairi. In the process, he gets turned into a Heartless himself. Rikku fights off Ansem and buys everyone time to escape.
You are now a Shadow. You cannot do anything but jump. You must navigate your way back to Entrance Hall. To do so, go back outside the castle and keep falling and falling until you reach the Base Level. Walk over and touch the lit star to be taken up, and enter the Entrance Hall from there.
Another cutscene, where Kairi saves Sora, and Sora returns the favor again. You get taken back to Traverse Town where you tell Leon what happened. Everyone comments on the fact that all the Heatless across the worlds have become harder, and this is indeed true as Defenders and Darkballs are now commonplace.
Respite in White
Enemies: All
Items: Trinity Items
Trinity:
- White #1-9
Keychain: Oathkeeper, Lady Luck
--== Traverse Town ==--
Back in Third District, go the Merlins house first and talk to the Fairy Godmother to turn the Fireglow into your last Summon and obtain Lord Fortune for Donald.
Head to First and talk to Cid. He'll tell you about another Navi-G he hid in the Secret Waterway. Go there next and talk to Kairi.
 White Trinity #1 |
- Use the White Trinity next. Walk up to the mural to be given the new Navi-G. Kairi will then give you Oathkeeper Keychain. Take the Navi-G back to Cid and have him install it.
With that done, you can head into the Synthesis shop and see if you can make anything new, or just head off-world.
There is a new wormhole that leads straight to Hollow Bastion. But we wont be taking it yet. First we need to get all the White Trinity. This is also a good time to start gathering Synthesis materials (see Item Synthesis section).
Lets head out!
--== Wonderland ==--
 White Trinity #2 |
- Go into Lotus Forest and enter the hole in the big tree. Bizarre Room, jump into the fireplace. Bizarre Room again, examine the painting on the floor. You can also use Thunder on the flower chain.
--== Deep Jungle ==--
 White Trinity #3 |
- It's where the Keyhole was. Remember? In that cave near where you fought Clayton. You have to climb all the way to the top again in the Waterfall. Have fun with that.
--== Olympus Coliseum ==--
 White Trinity #4 |
- Finally, an easy one. It's right in front of the gate.
--== Agrabah ==--
 White Trinity #5 |
- Land at the Dark Chamber and make your way to Entrance. It's right near the entrance door.
--== Monstro ==--
 White Trinity #6 |
- Constantly warp to Monstro to make him appear. Once eaten, make your way to Chamber 6 via Chamber 1 -> Chamber 3. It should be right in front of you.
--== Atlantica ==--
 White Trinity #7 |
- The only Trinity in all of Atlantica. Land at Triton's Throne and enter the Palace. It's in the center of the path.
--== Halloween Town ==--
 White Trinity #8 |
- Make your way to Moonlight Hill. It's right next to the hill.
--== Neverland ==--
 White Trinity #9 |
- Land in the Cabin. Float up to the Captains Cabin and exit out to the Deck. The Trinity is up at the top of ship, near the rear end.
--== Traverse Town ==--
That wraps up all the Trinities for now. There is only one left, and it's at Hollow Bastion. Make piece with everything you have left to do, and head back to Hollow Bastion via the new route beside Traverse Town.
Last One Out, Lock the Door
Enemies: Defender, Wizard, Wyvern, Darkball
Boss: Behemoth
Trinity:
- White #10
Dalmatians: 61-63
Ansem's Reports: 2, 4, 6, 10
Keychain: Oblivion, Divine Rose
--== Hollow Bastion: Raising Falls ==--
 Bubble |
- Climb back up and look for a bubble beside the spiky platform (higher then the one earlier) this will take you below the water where you can find a Defense Up.
 White Trinity #10 |
- Climb all the way back up one more time, and use the White Trinity where you met Beast. The final Trinity in the game! Keep going up to Castle Gates, into the Entrance Hall, and into the Library.
--== Hollow Bastion: Library ==--
Head upstairs. Beast re-unites with Belle. Speak to Belle again to get the Divine Rose Keychain. Enter the secret passage into the Lift Shop.
Ride the lift all the way up, this time to a new section, thanks to us switching the rails earlier. Use Gravity on the chest and open for a Thundaga-G. Ride the lift back down.
Nothing of any importance happens until you reach the Chapel. Do you remember how to get there?
Entrance Hall -> Lift Shop -> Castle Gates -> Great Crest -> Lift Shop -> Great Crest -> High Tower -> Lift Shop -> High Tower -> Lift Shop -> Chapel.
--== Hollow Bastion: Chapel ==--
Save your game. Enter the Grand Hall beside
PS2 Index
What works with malefiecent is just hide by the door and repeatedly hit her with fira
There is so many places to go, and I just get so confused. So if you can next time be a little more detailed? I really like the game. But I`ve never actually played it to the end, but I`ve wached the end. And can someone just tell me, Why`d they have to make Kingdom Hearts so sad!!!??? No, really. When I wached the end of it, I cryed for the rest of the day! And the next! I am crying literally right no!:(!!! Oh, by the way, I know that there`s another Kingdom Hearts game before Kingdom Hearts2 and I really want to play Kingdom Hearts2! So bad! It`s called Chain Of Memories, right? Anyway, I need to know that it`s real and if I should play it before Kingdom Hearts2. I need to know this because I normally just do stuff in order and... well... it`s just a hard decision for someone who does stuff in order!! Please help me make a decision that way I can get on with my life! Please anyone!
There is a Chain of Memories and it really connects a huge story gap between one and two.
Yes... play in order of release... references dropped in other games will make more sence if you play them all in order
Most people are reading the guide as they go. Better to omit the cutscene descriptions. Id rather watch them and be surprised than have it be described beforehand. Good guide and much appreciated
Thanks for the positive feedback!
Where do I find oblivion
someone told me there is a secret key in hallow bastion but i cant find any mention of it suposed to be a legendary key or something
this really helped thnx man
What does the 5th switch do in the water way, and how the hell do you get to the switches after beating the game?
its spelled "Riku". "Rikku" is the theif from FFX
No, she's a thief. If you are going to correct spelling, make sure the rest is right
Actually the slide in Deep Jungle that made Sora feel nostalgic is actually reference to Birth by Sleep, Enchanted Dominion to be specific. Because of Ventus' heart resting within Sora.
I went to the chapel again and came out but the Great Hall is not open to me....its still force fielded. Where and when do you free up the path to the final battle?
Everyone Use Aero or higher. It does damage just standing next to the enemy.
Okay i went toalice in wonderland gottye chest for puppies 58-60 and i didnt get the puppies
I can't figure out the part where you're supposed to examine the star, then move the crest and walls and stuff. I can only move the first one by examining the blue star, but I can't figure out how to move the second one. Am I supposed to glide around over to the second walls side to get to the other star? I'm very confused, and I'm afraid to take the chance of flying over there and just ending up falling, losing everything I've done by getting lost.
"I can't find the new wormhole back to Hollow Bastian. I go to the one on the left and get to Alice in Wonderland and the one to the right takes me to Hercules. I tried the other worm holes and I can't get into them."
Did you try talking to CId?
How to I get to the Grand Hall from the library?