Intermission
Once you gain control over Desmond, speak to Lucy a few times until you receive the 'can't talk, gotta work' response. Afterwards, enter Desmond's room and examine the open closet to find a key card. Sleep in the bed to fast forward to the next morning. After a short chat with Warren, follow him over to the large window behind his desk. While standing behind him, press any button to take his access pen from him. With this, you can access his computer while he is not in the room. Lie down on the animus to get started.
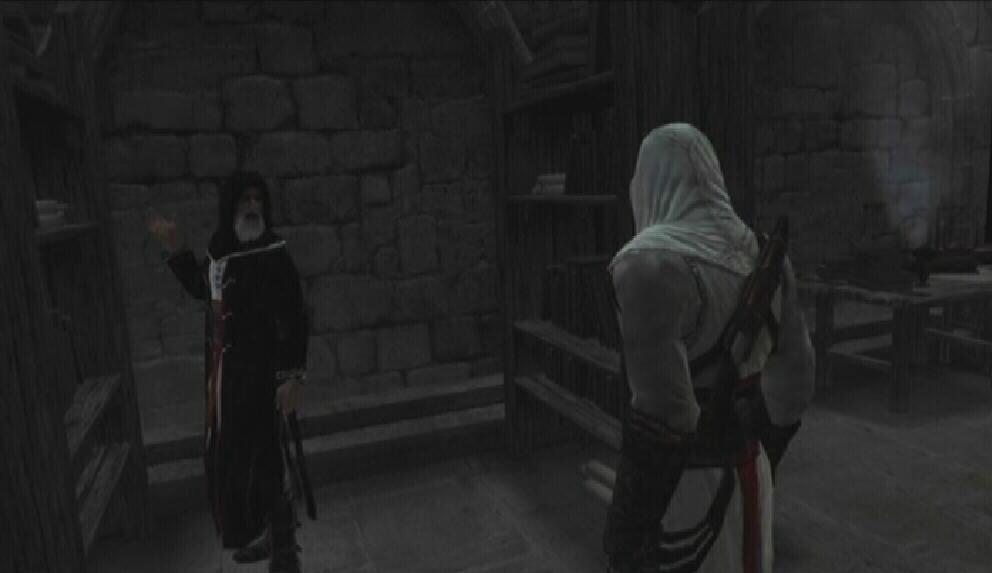
Al Mualim
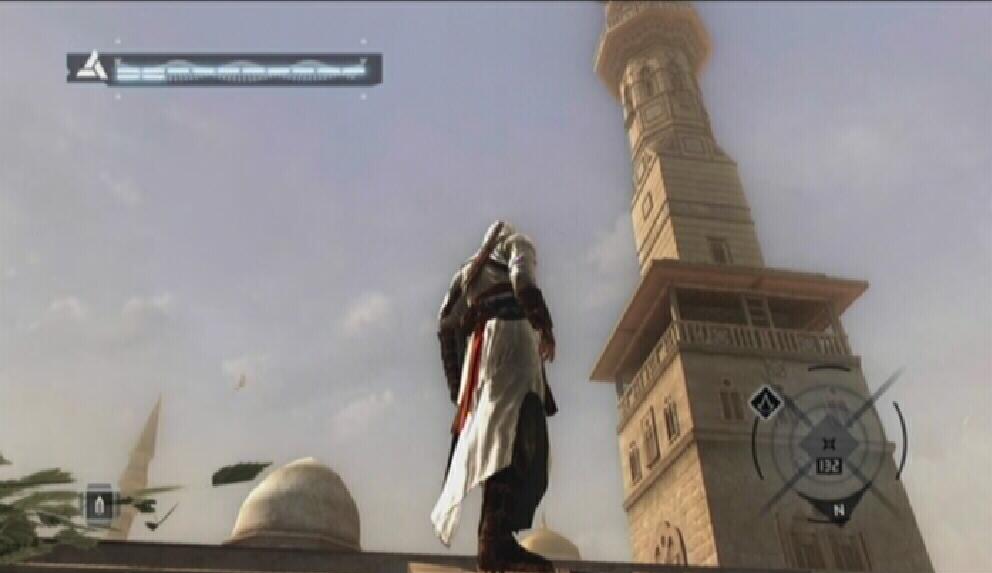
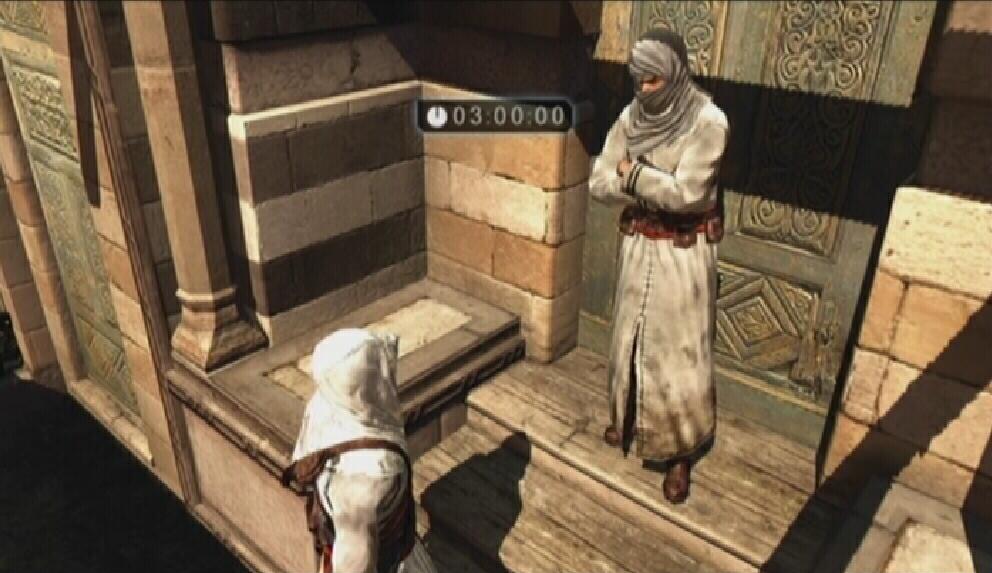
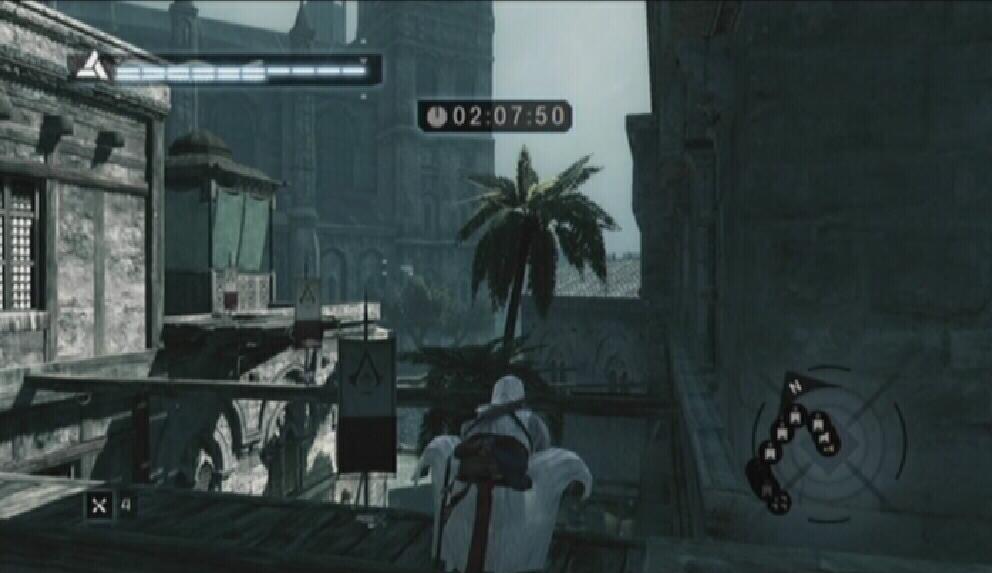
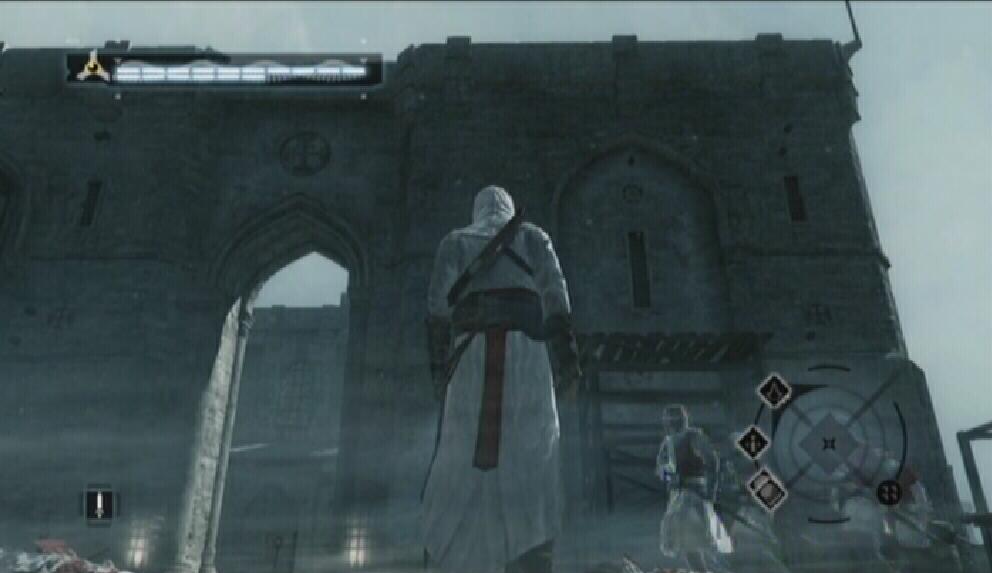
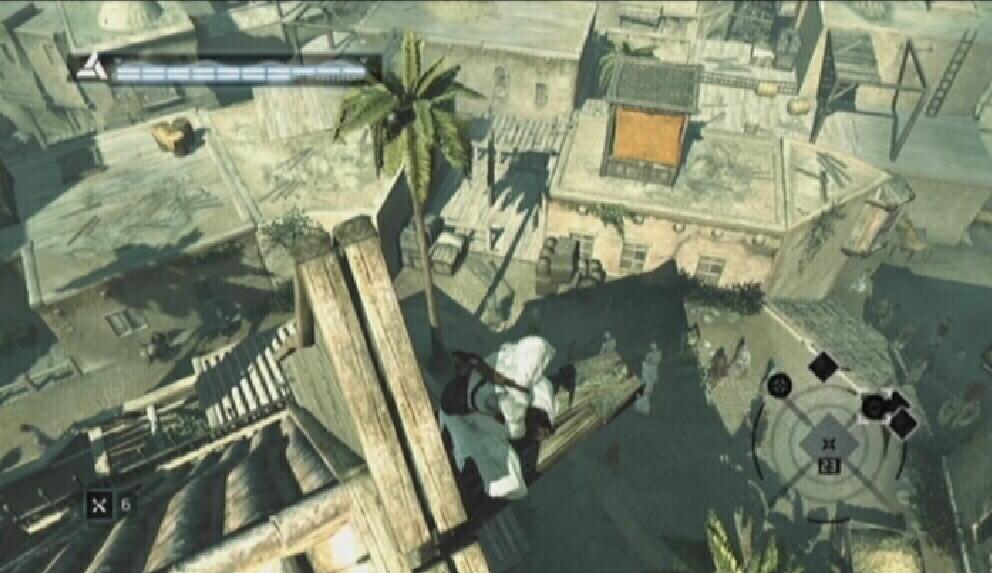
At Rank 4, you gain the Catch Ledge and Grab Break abilities. Grab Break works much the same way as counter, but you are to press the Empty Hand button rather than the Weapon Hand button to counter an enemy's grab. You can practice your new ability with the Masyaf guards outside of the fortress. Catch Ledge is quite useful; it allows you to grab onto ledges while falling. Simply press the Empty Hand button to catch the nearest ledge as you fall.
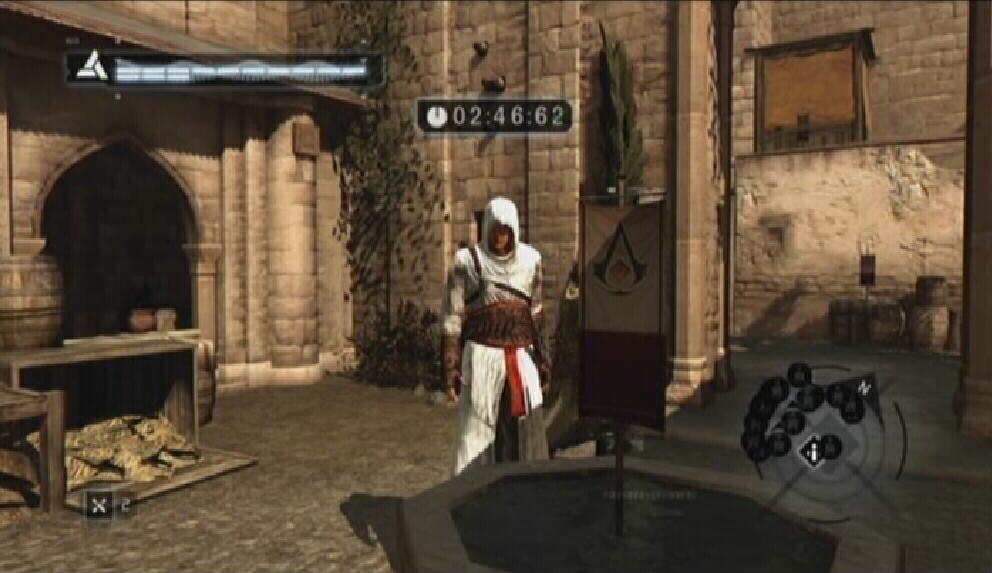
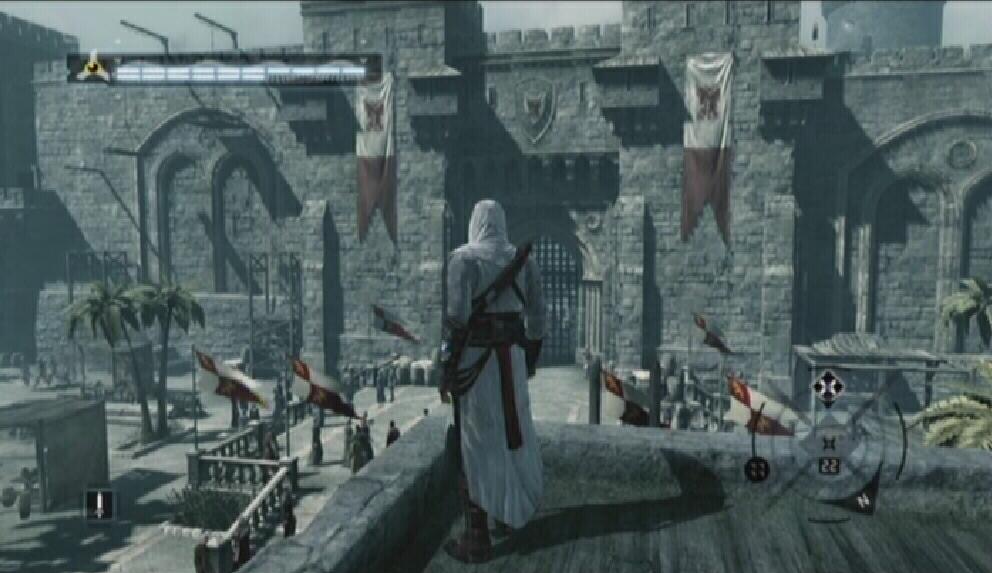
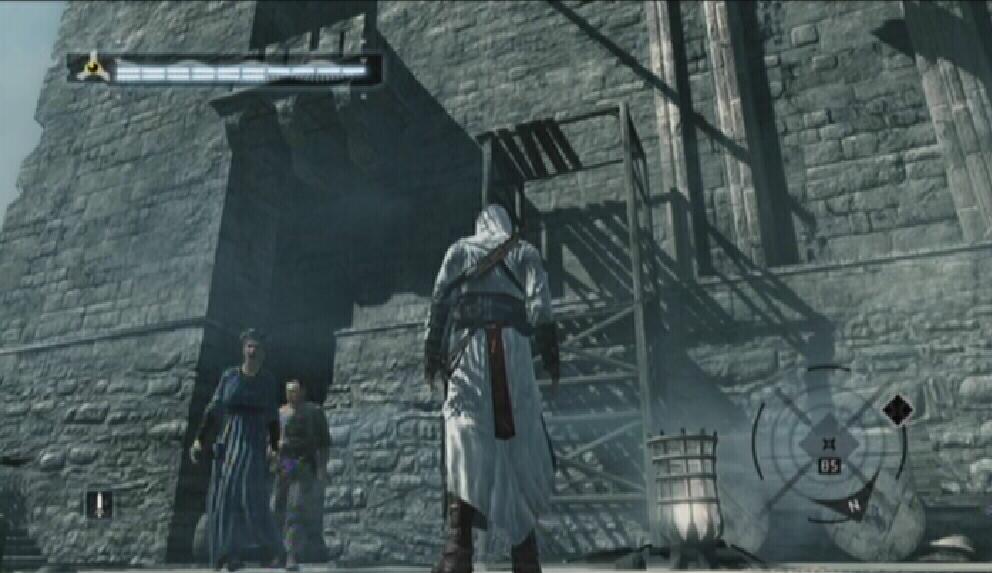
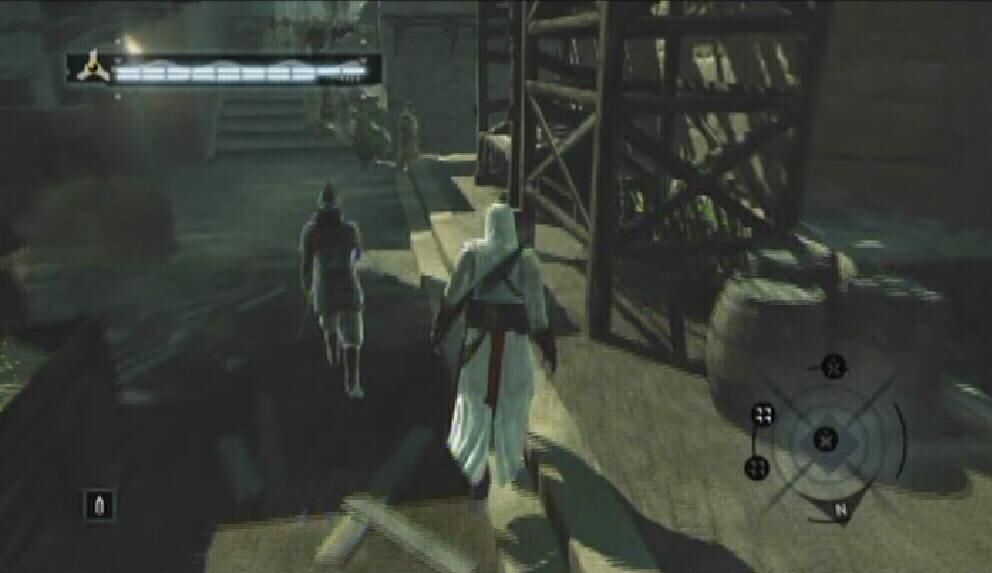
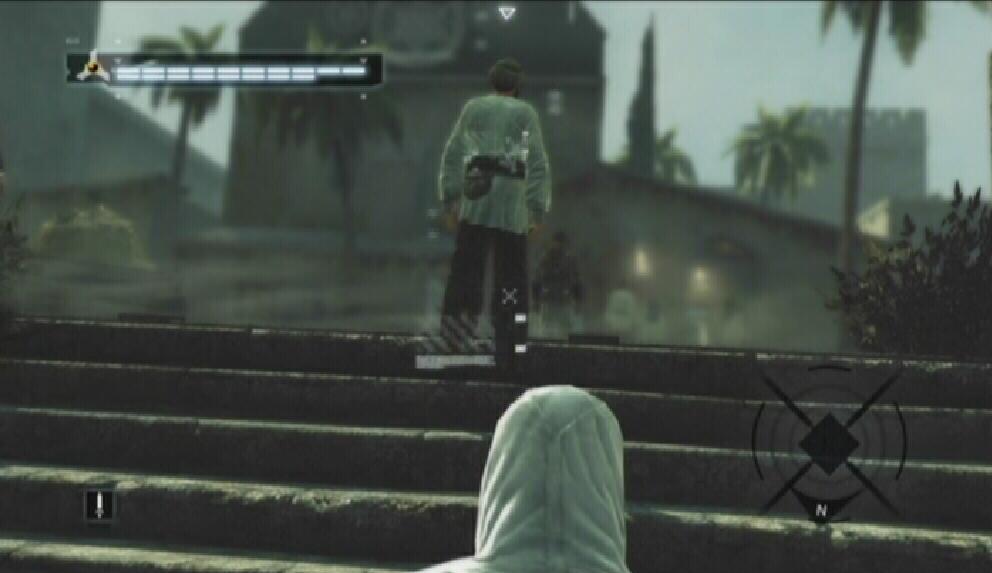
There are three targets to wipe out this time around: Abu'l Nuqoud, a wealthy man in Damascus, William of Montferrat who resides in Acre, and Majd Addin of Jerusalem. Make your way down to the large wooden gate, grab a steed and start down towards the Kingdom.
As you can see, upon leaving Masyaf, an input screen appears. Selecting one of the cities will transport you to that city's exterior. This means you won't have to traverse the Kingdom this time around. If you wish to, however, you can always select Kingdom from the bottom of the list. Damascus, Acre and Jerusalem are all marked by an objective icon. You can tackle these in any order you like, but for the purpose of following this walkthrough, just shoot down the list of cities from top to bottom.
To Damascus
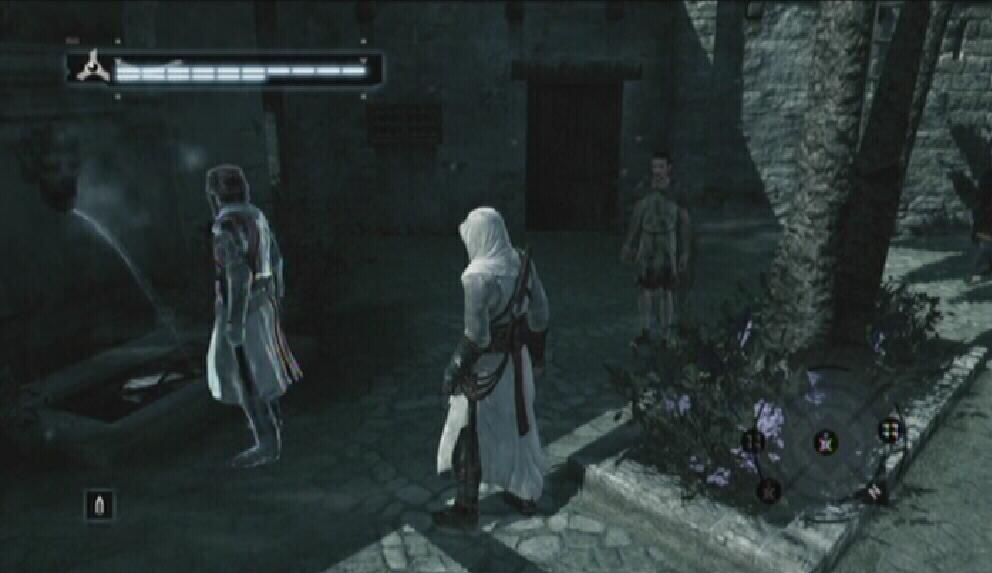
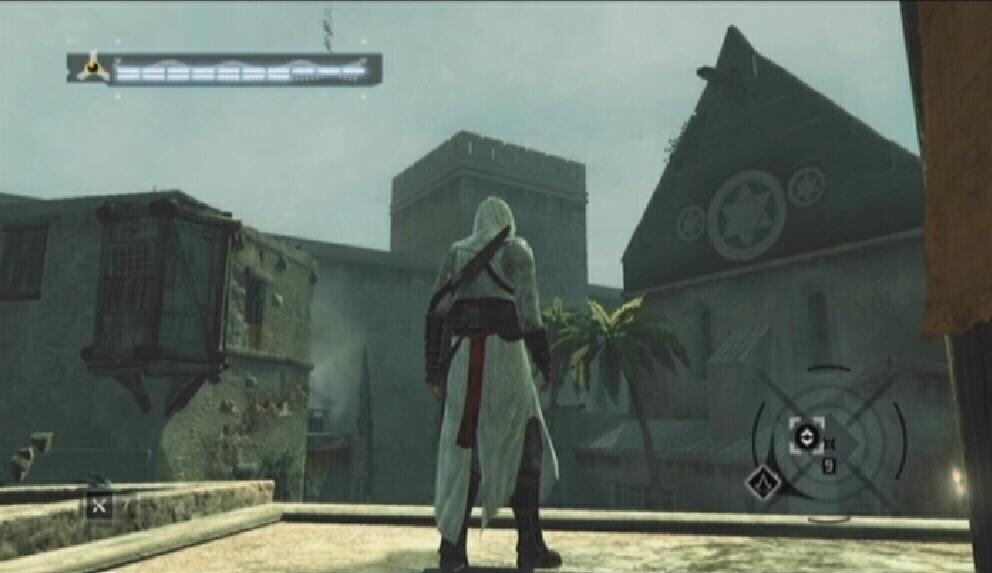
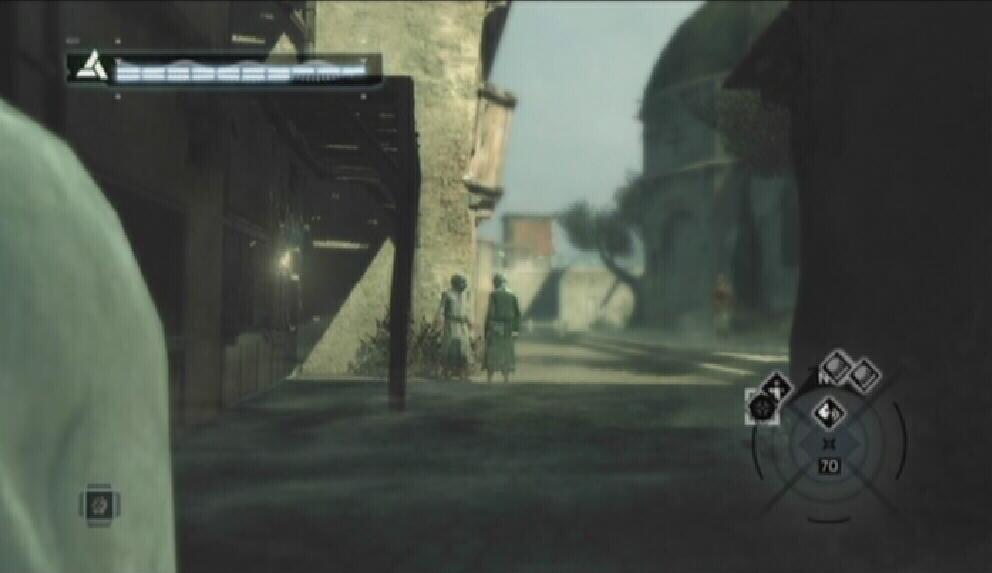
Select Damascus from the list of cities to be taken there. Make your way to the city gate and dismount your horse. Locate the group of Scholars using your GPS and Blend with them to get by the guards and enter the city. The investigations here take place in the Rich District of Damascus. Open up your map and set a marker somewhere in the Rich District so you can easily find your way there.
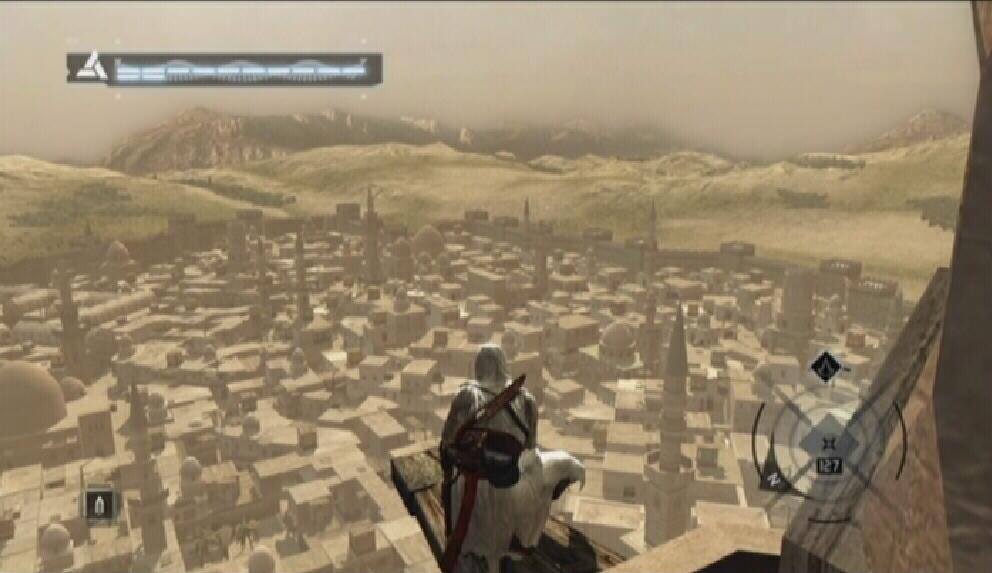
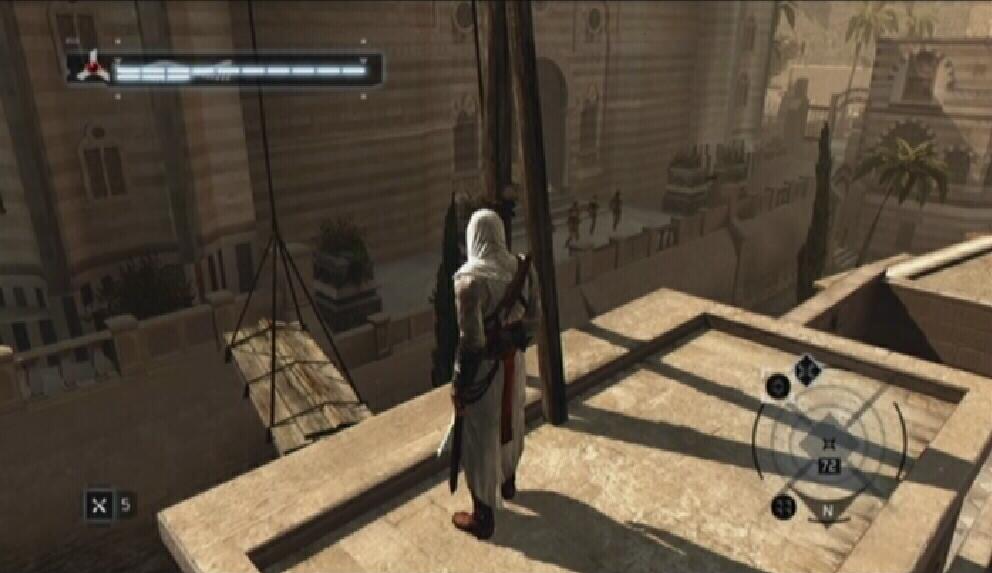
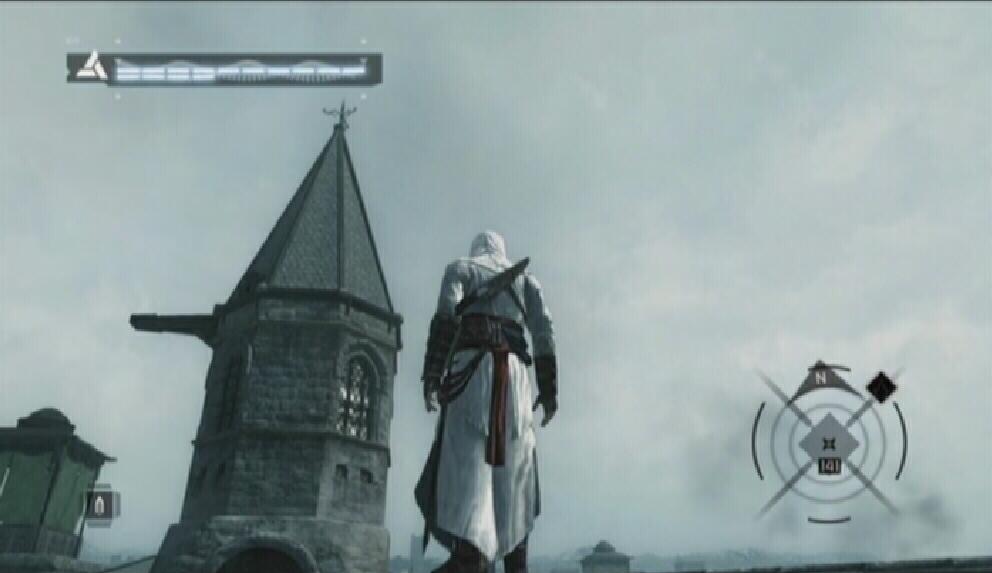
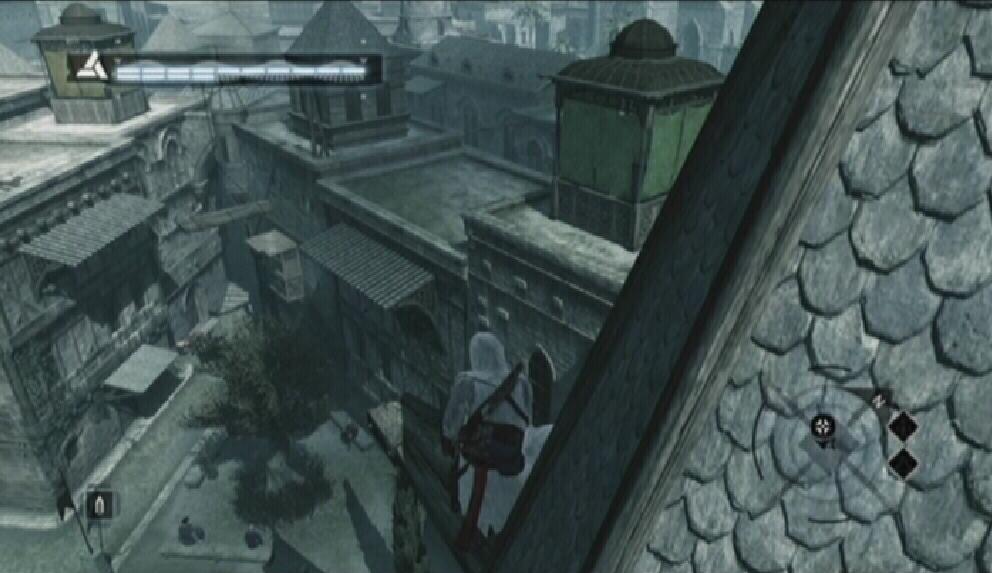
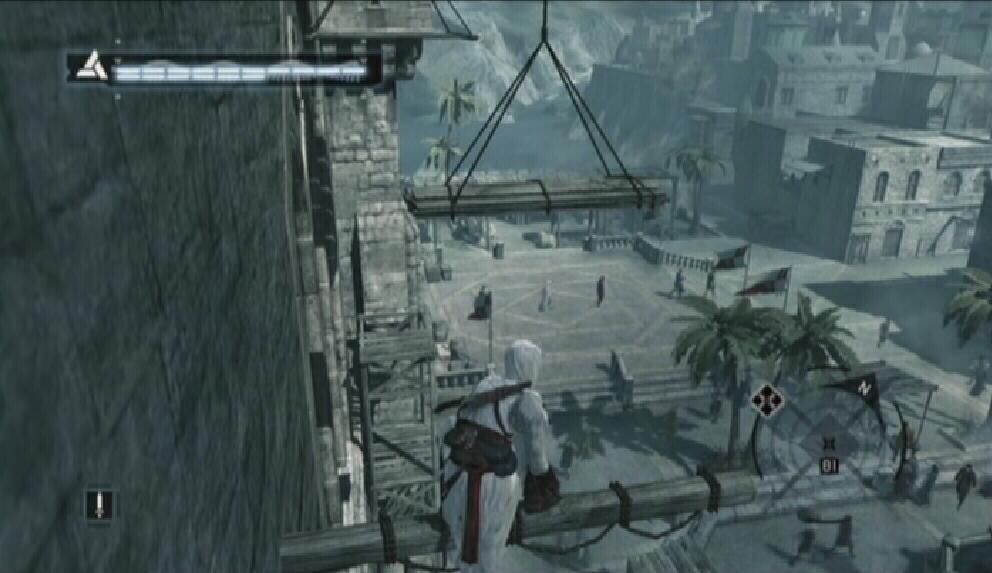
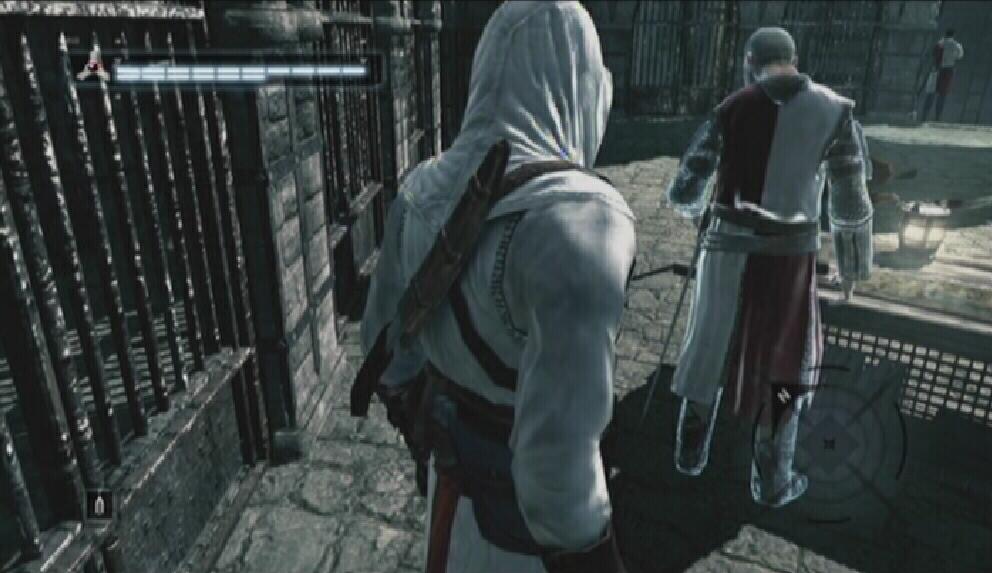
Notice that there aren't any View Points marked on your map this time around. You're going to have to find one yourself to start things off. There is one in the northeastern section of the Rich District. It is right near the line that divides the Rich District from the Poor District. Get up onto the rooftops and scan the area for the high tower. Climb to the top of this tower and use Eagle Vision to scan the area below. Doing so reveals a couple of investigation locations, and it also adds every single View Point in the Rich District to your map. It would be a good idea to scale all ten of the View Points and rescue all ten citizens in the Rich District of Damascus before moving on to the assassination. Doing so, as always, is not necessary, but it would benefit you by adding to the Sync bar. Additionally, completing these tasks goes towards earning certain achievements on the Xbox 360 version.
Tower
View Point
You must complete three of the six investigations in the Rich District in order to unlock the Assassination memory. The guards here are quite tough, so be on your best behavior.
Damascus Investigations
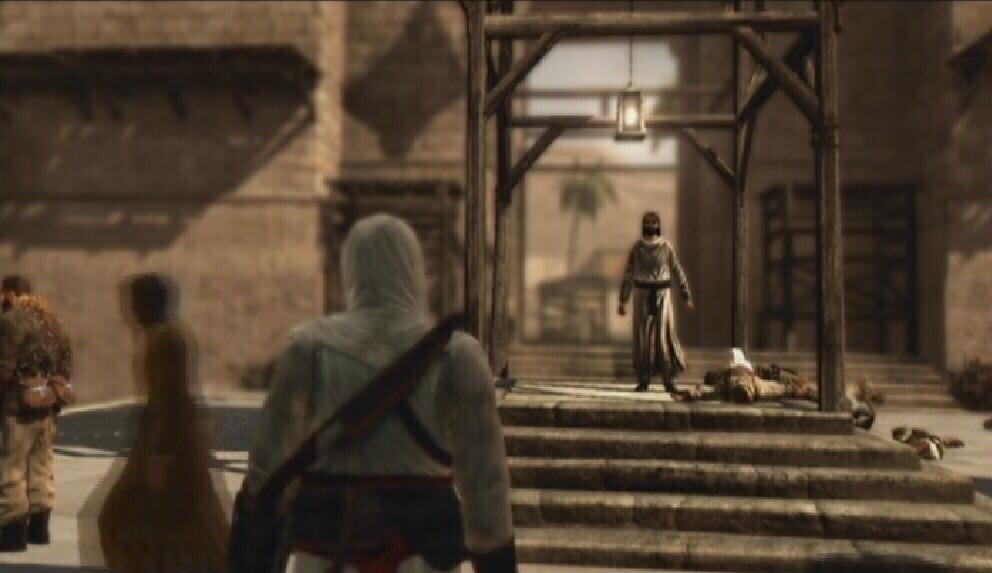
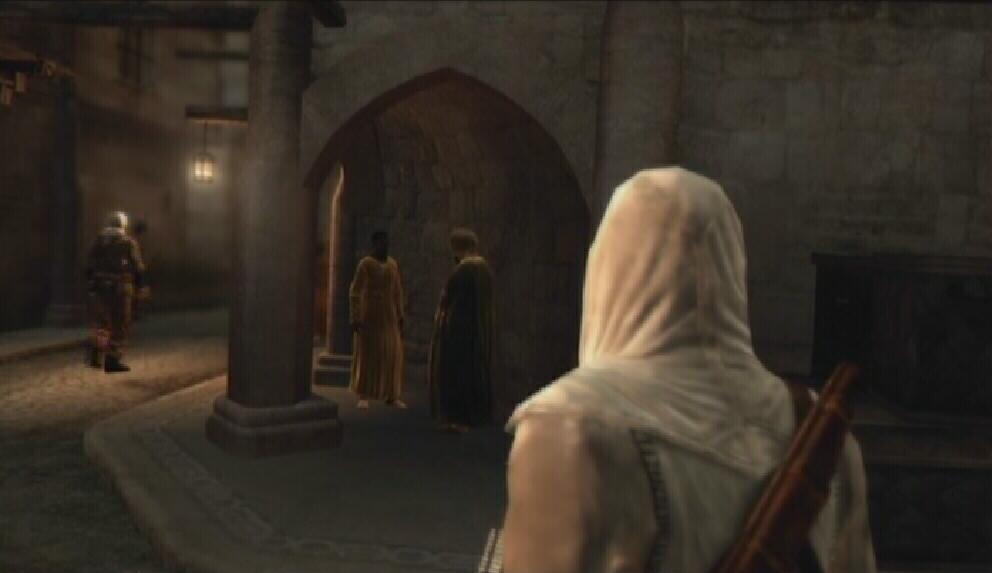
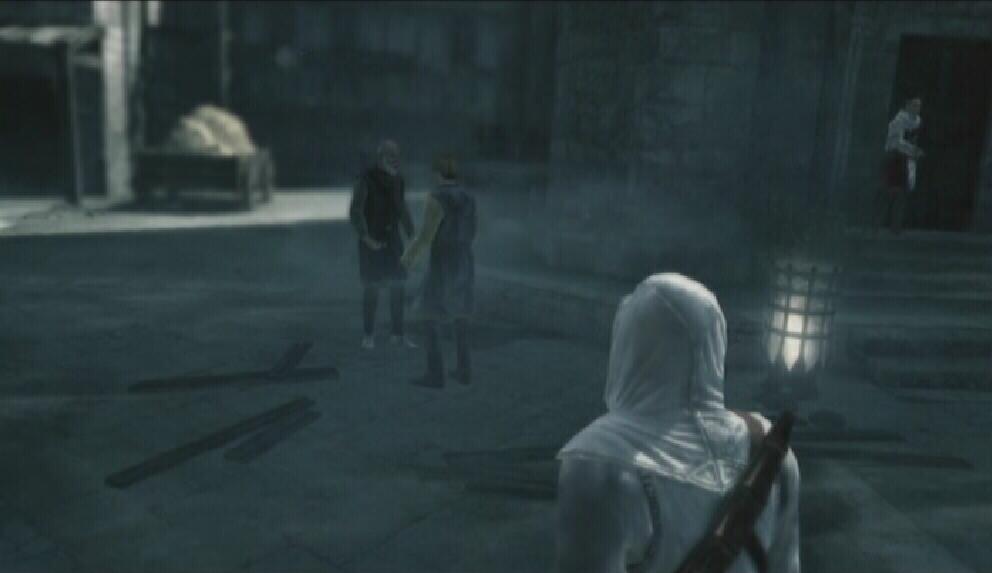
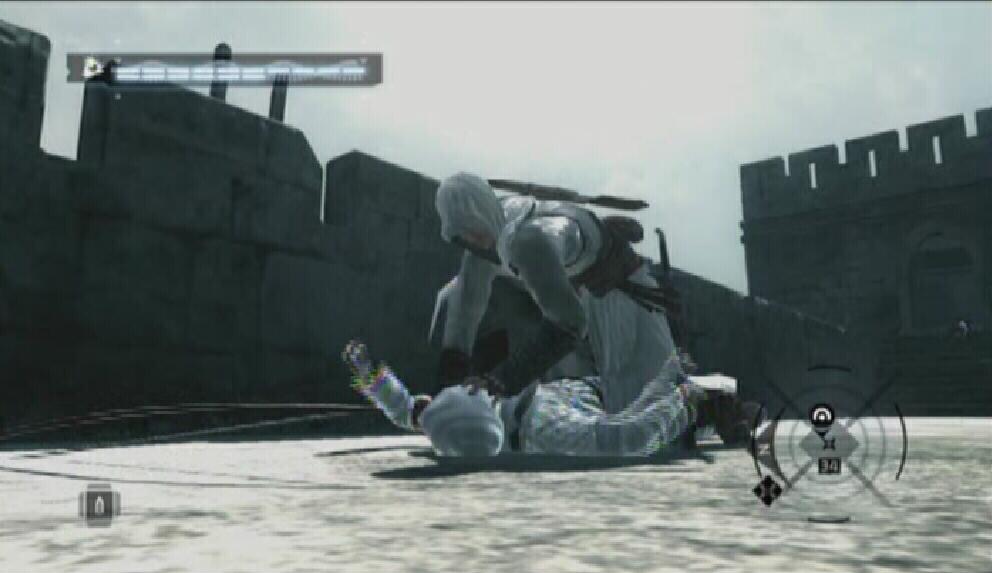
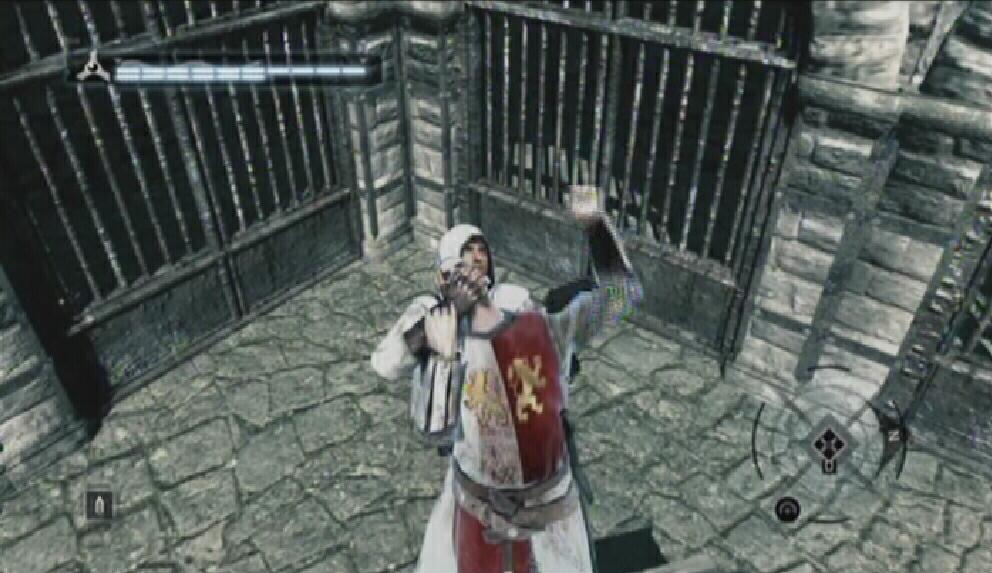
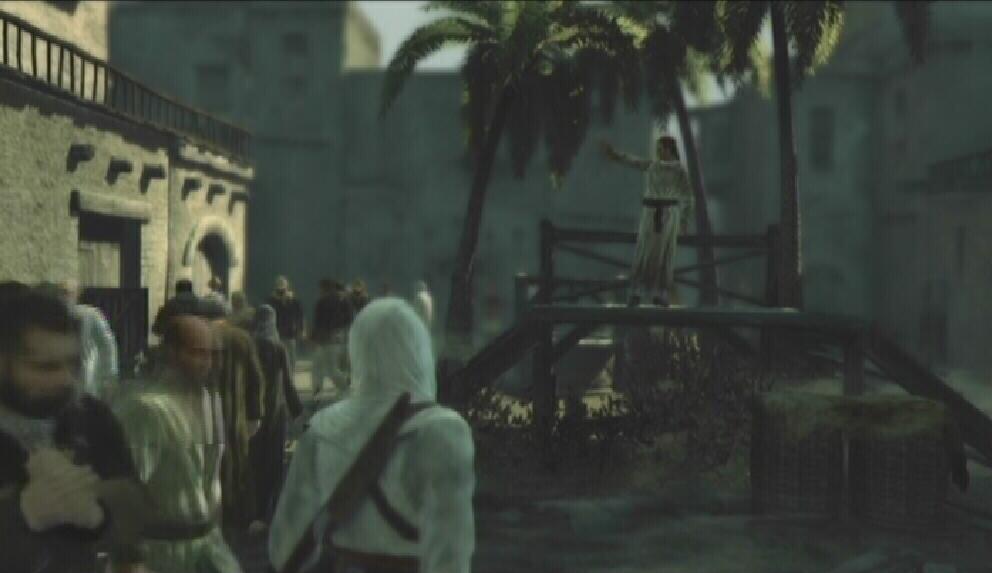
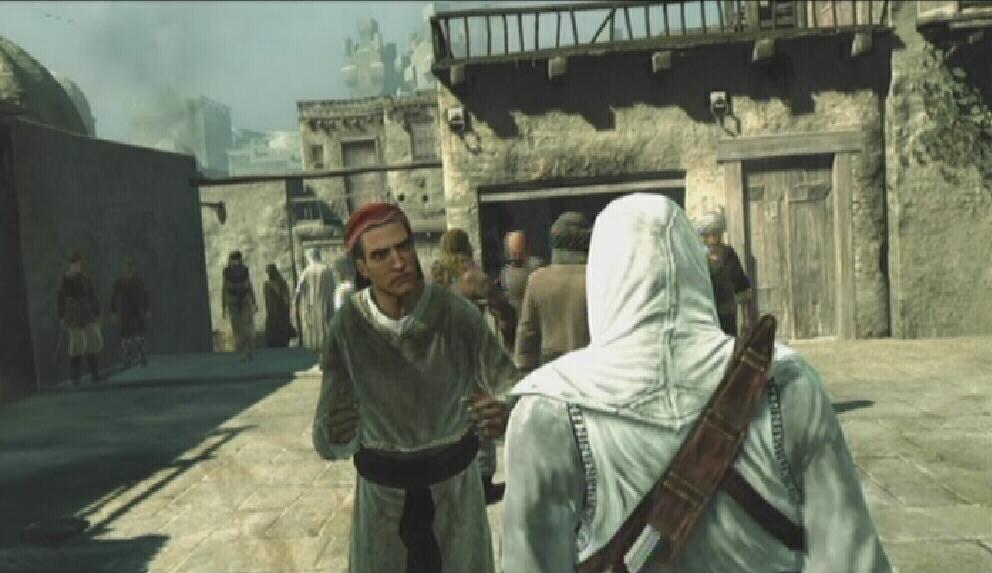
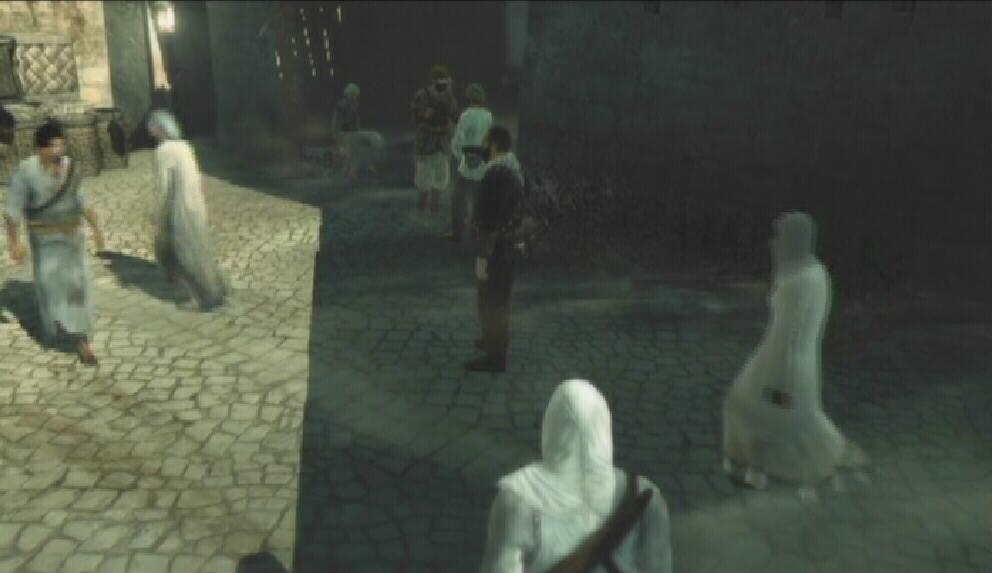
Memory Strand 1 - Interrogation West: Scale the View Point above the 'to Kingdom' icon in the Rich District or the western most View Point to add the location of this investigation to your map. A man stands in the square giving a speech. Lock onto him and wait until his speech is finished before confronting him. Remember, guards will not interfere with a fistfight, but any thugs in the area will. The thugs are the large men wearing leather armor. There are a few thugs around the man you must interrogate. You should be in the clear once you reach the area at the top of the steps. You learn that your target will make an appearance during the feast.
Target
Interrogation
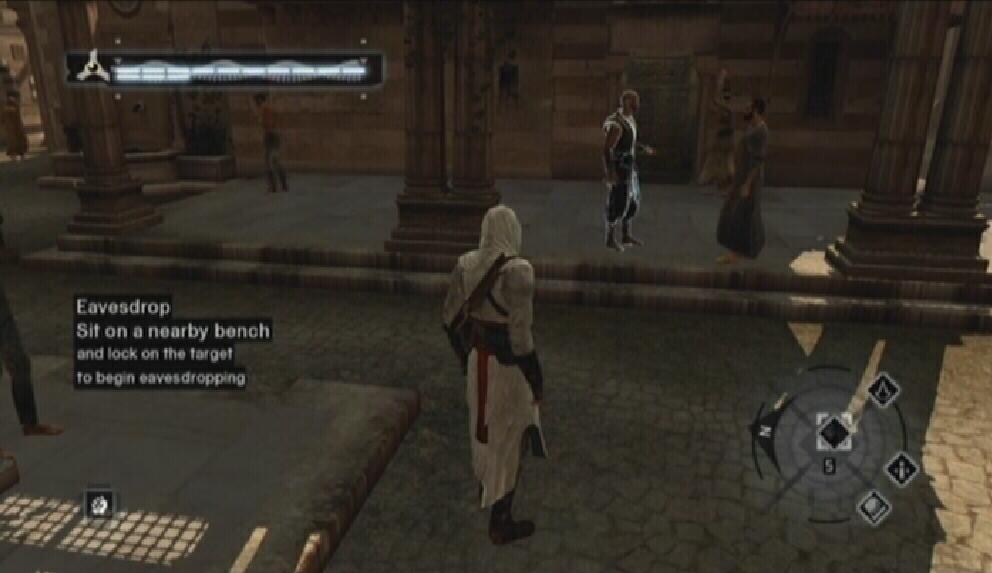
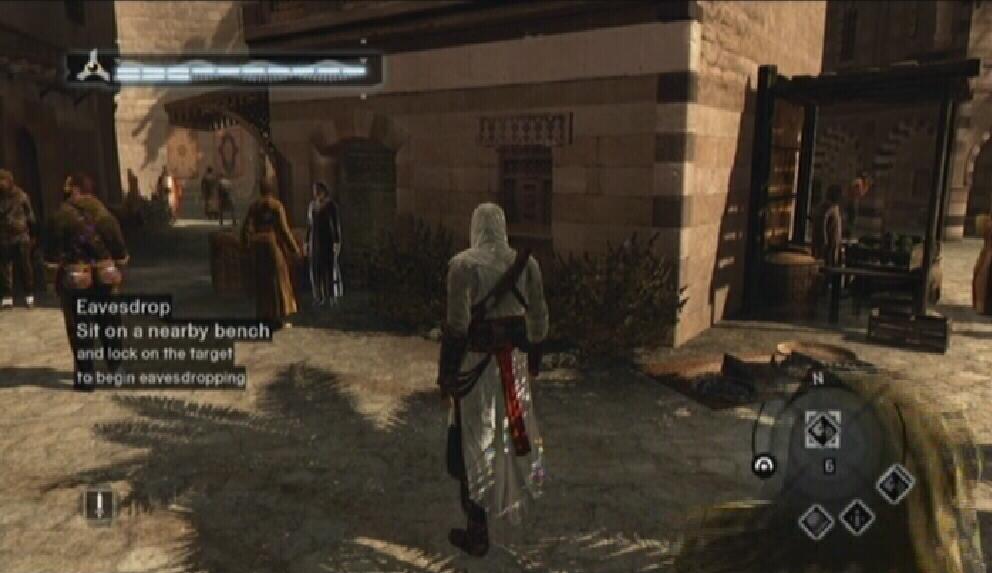
Memory Strand 2 - Eavesdropping North: Climb to the top of the high tower in the northeastern section of the Rich District to pinpoint the location of this one. Search for two men having a conversation underneath an archway. Take a seat on the bench near the fountain in the middle of this area, lock onto one of the men and begin listening to their conversation. By eavesdropping, you learn that your target, Abu'l Noqoud, is having a feast prepared.
Target
Bench
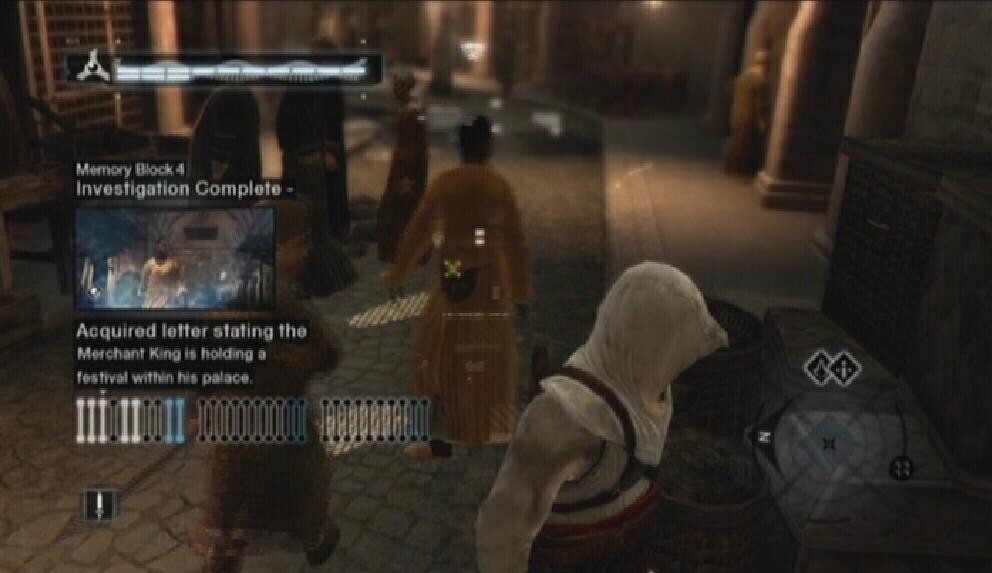
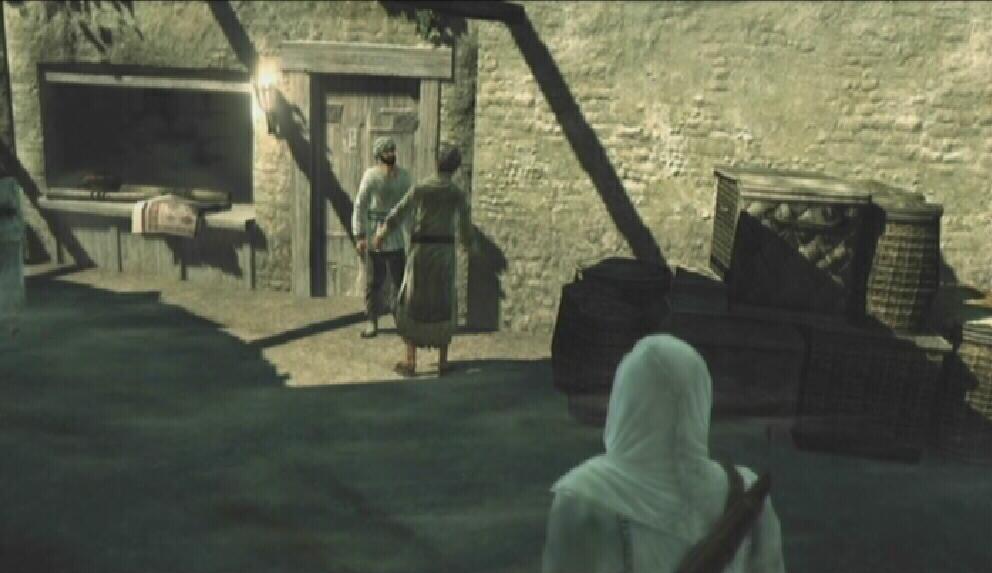
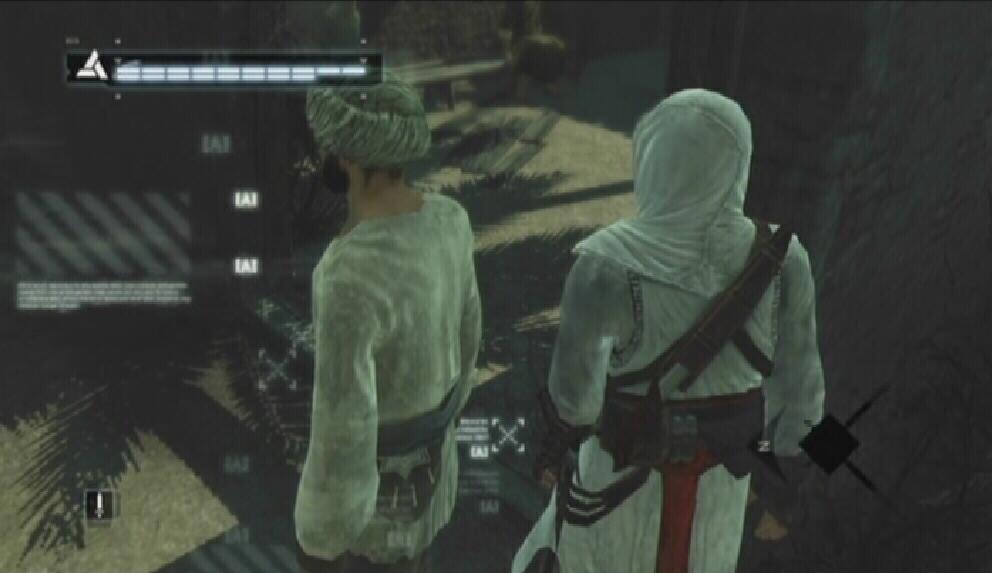
Memory Strand 3 - Pickpocket Southwest: Use the southern most View Point to add the location of this one to your map. Look for a couple of men standing near a small pillar on the side of a building. Stand near the pillar across from their location and lock onto the letter carrier to begin. Blend while the man walks towards you. When he passes you, turn around and take the letter from him. The letter details a festival that is to take place in the Merchant King's palace.
Target
Pickpocket
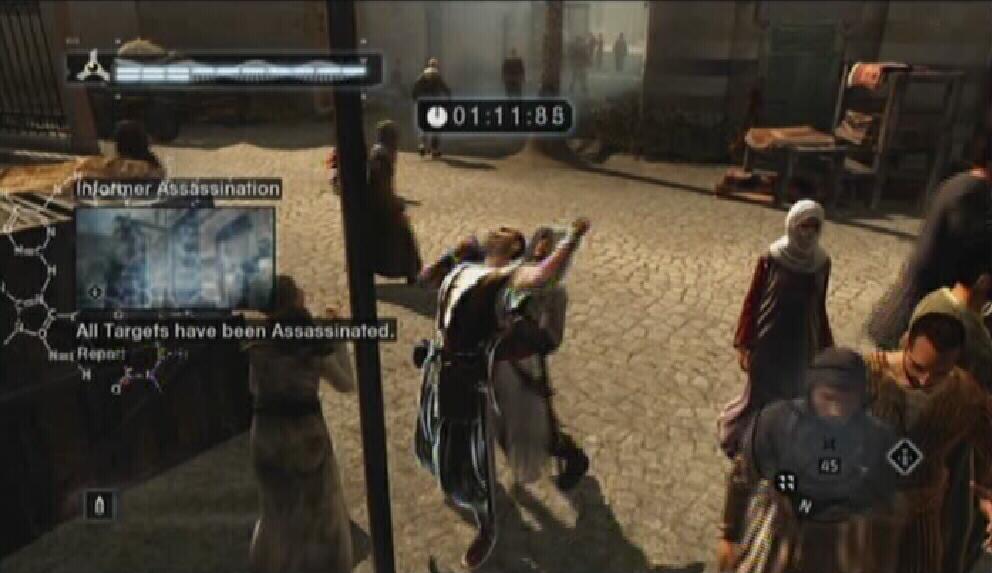
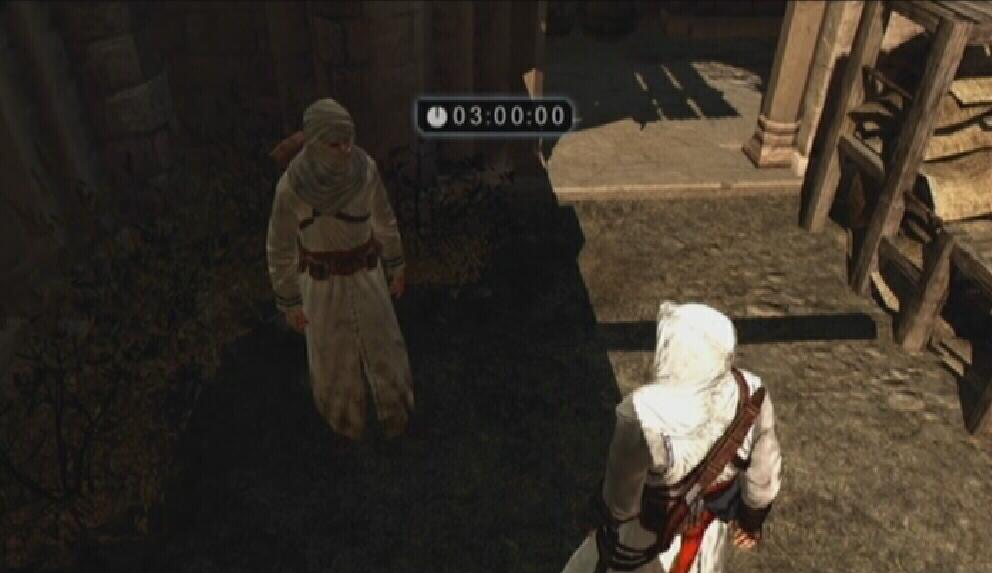
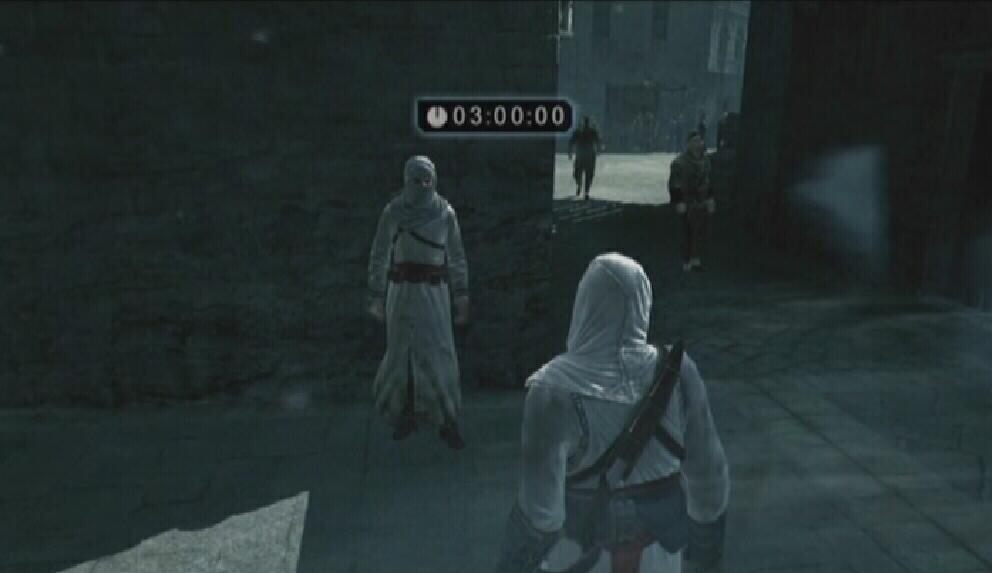
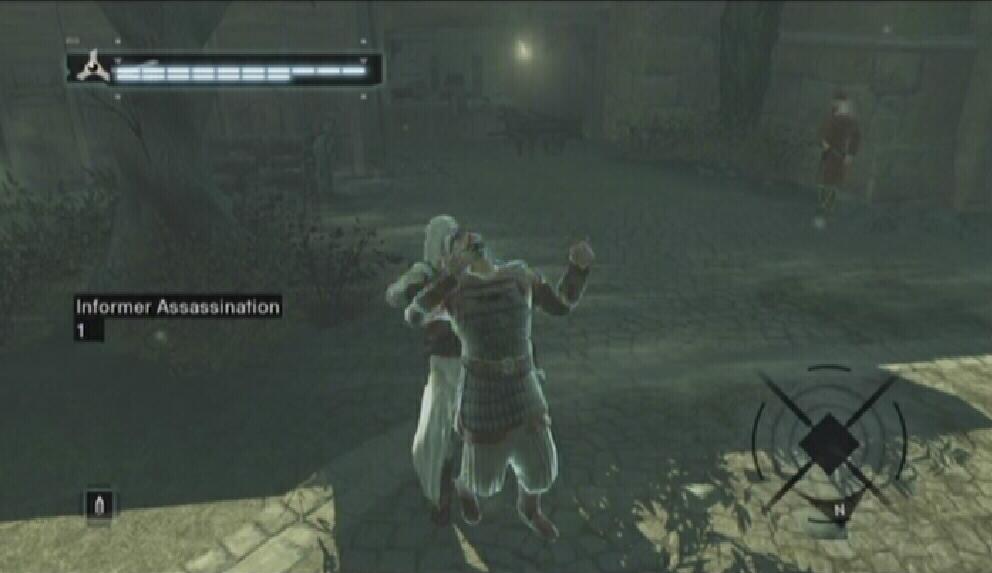
Memory Strand 4 - Informer Southeast: Scale the tower in the farthest eastern corner of the Rich District (meaning, you're pushing up against the Middle District) to add the location of this investigation. The informer is standing in front of a door at the top of some steps. He wants you to assassinate two individuals and return to him without being exposed. You have three minutes to do this. Both men can be found near the informer's location, and both appear on the GPS. Have your Hidden Blade selected while you track down the targets. Get behind the target and use the Hidden Blade while in Low Profile to take him out. With both men eliminated, return to the informer and inform him of your success. As thanks, the informer hands over a map that details the position of the palace guards.
Informer
Target
Memory Strand 5 - Eavesdropping Northeast: Climb to the top of the high tower in the northeastern section of the Rich District to pinpoint the location of this one. Look for a man and woman conversing below a building. Take a seat on the bench south of their location and start listening to their conversation. You learn of a passage leading up to the Merchant King's quarters.
Target
Bench
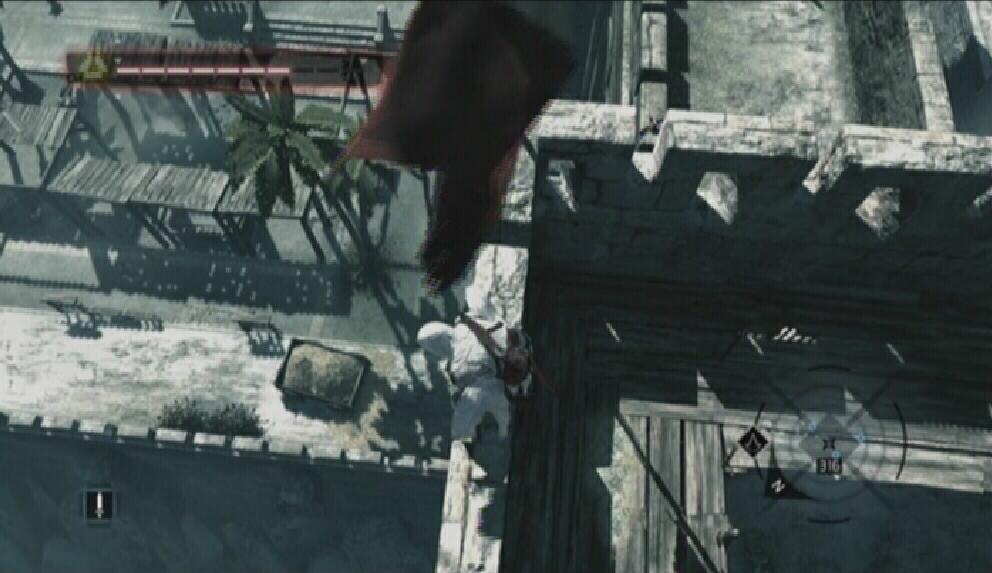
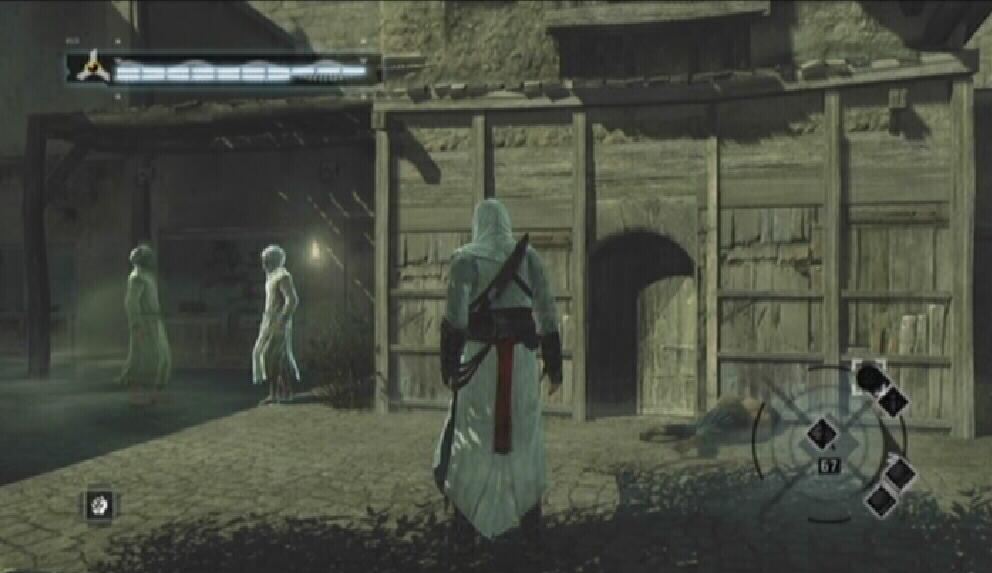
Memory Strand 6 - Informer Northwest: Climb up the northwest View Point to pinpoint the location of this investigation. The informer can be found standing in the shadows in a small, open area. There are twenty Masyaf flags to collect, and you have three minutes to grab them all and return to the informer.
Start with the flag on the well that is smack dab in the middle of the area. Move onto the flag that is atop the wooden boards, then hop onto the rooftop and use your GPS to collect the remaining flags. The individual flag icons tell you whether the flag is above your current position or below, so look for the small arrow either above or below the flag marker. If you fail to collect all of the flags in time and return to the informer, simply lock onto the informer again to retry. Your assassin friend tells you that the fountain in the middle of the Merchant King's palace can be easily climbed.
Informer
Flag
Damascus Assassination
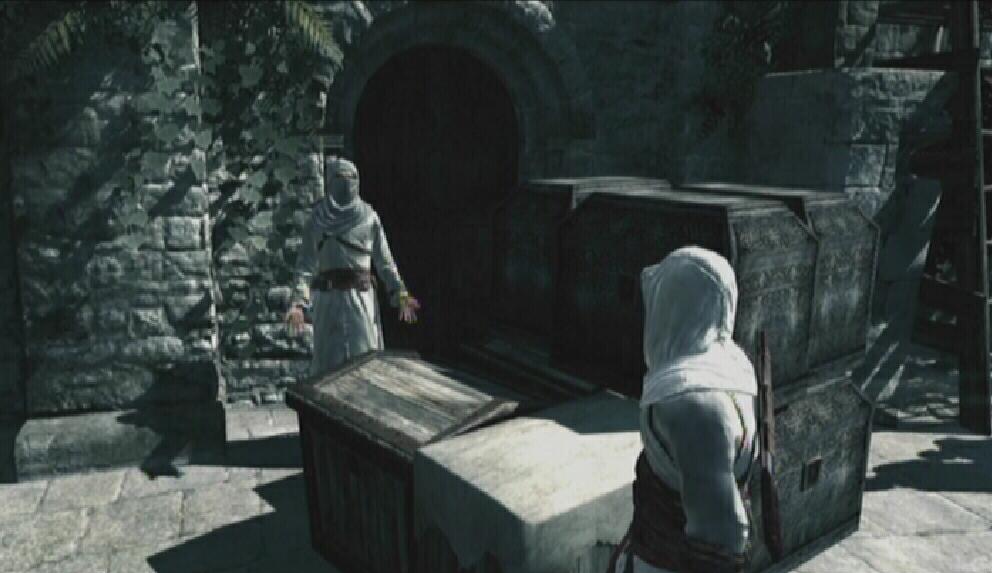
Memory Strand 7 - Knowledge: Once you have completed at least three of the investigations in the Rich District of Damascus, enter the city's Assassins' Bureau and speak to the bureau leader. Afterwards, take the feather that is placed on the counter and leave the Bureau.
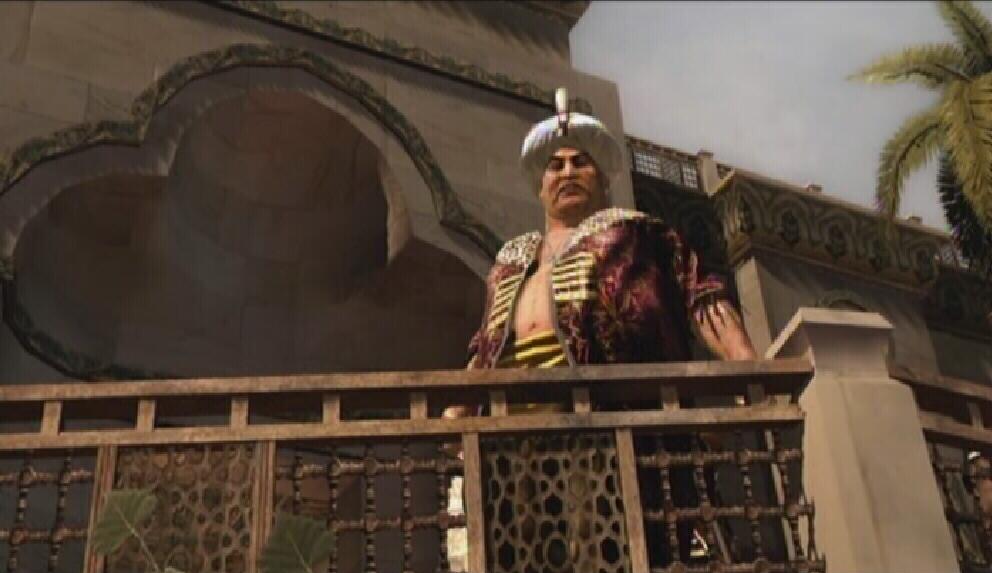
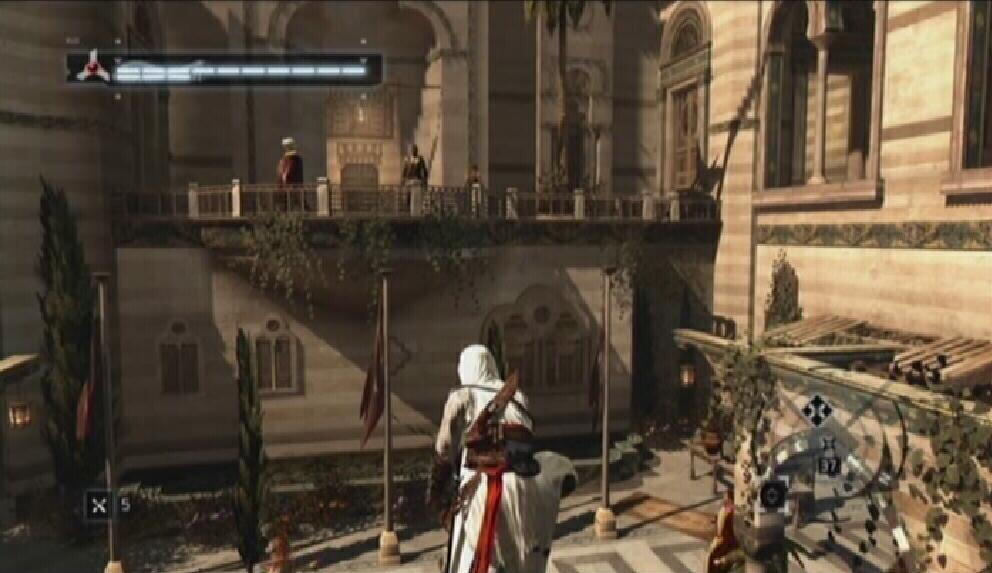
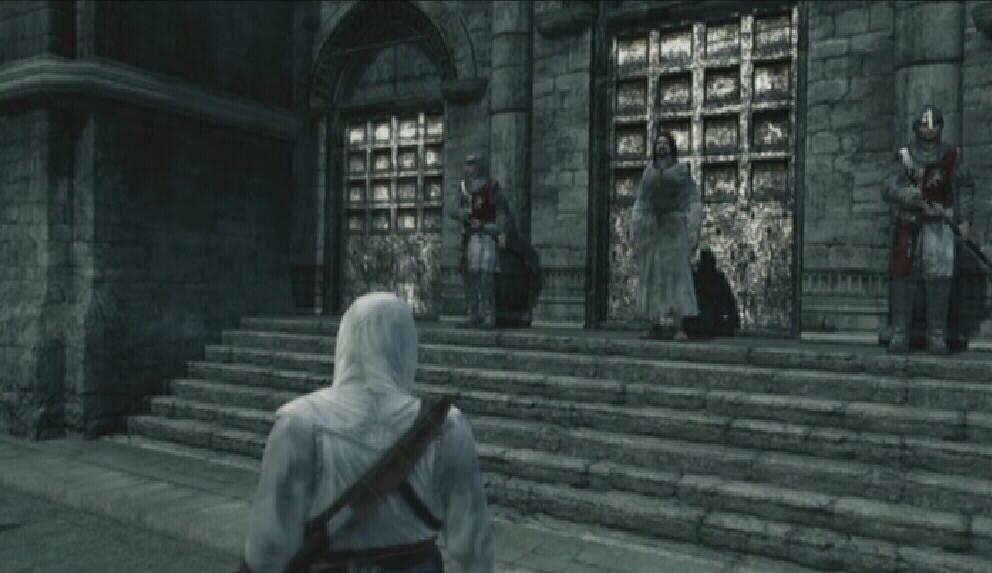
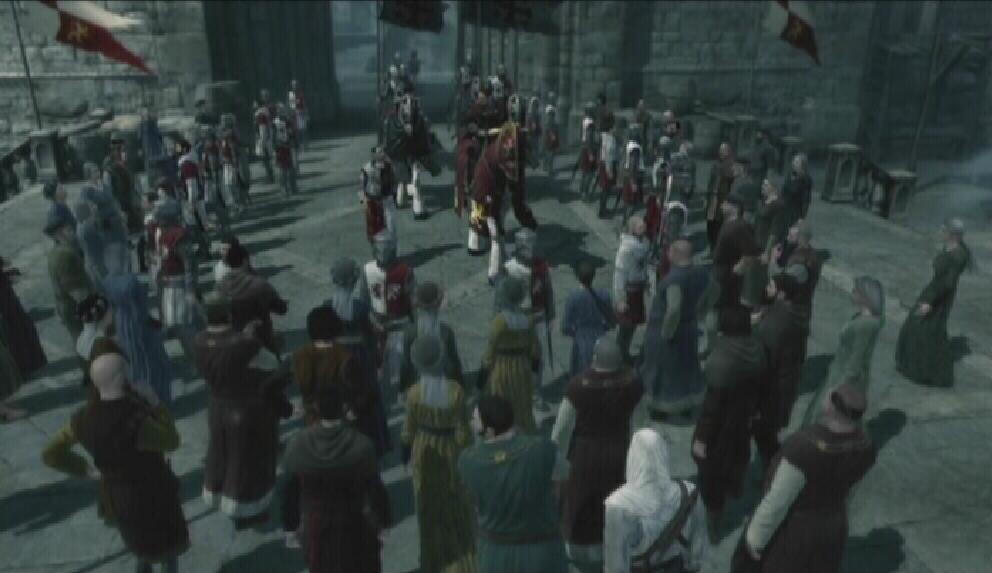
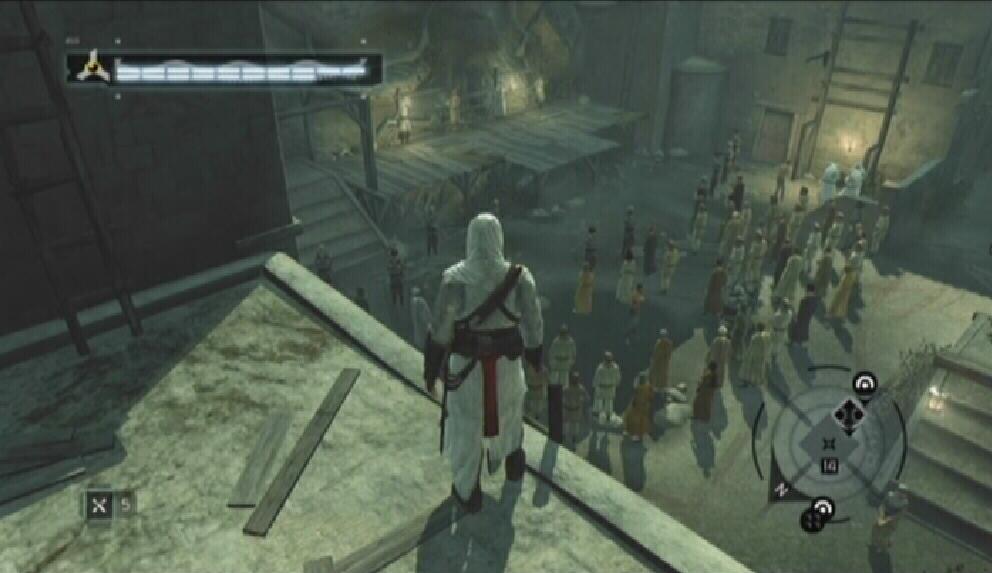
Memory Strand 8 - Assassination: Follow the objective marker on the GPS to reach the Merchant King's palace. All ground entrances are blocked by guards. You can enter the palace by climbing up onto the building on the north side of the palace. Look for the building with the suspended piece of lumber thatched to it. Hop onto the piece of lumber and then leap onto and over the palace gate. There are guards patrolling the palace grounds so Blend as you move towards the palace doors to avoid being Exposed. Move through the half-open doorway and join the crowd. The Merchant King, your target, makes an appearance on the balcony above.
Palace Entrance
Abu'l Nuqoud
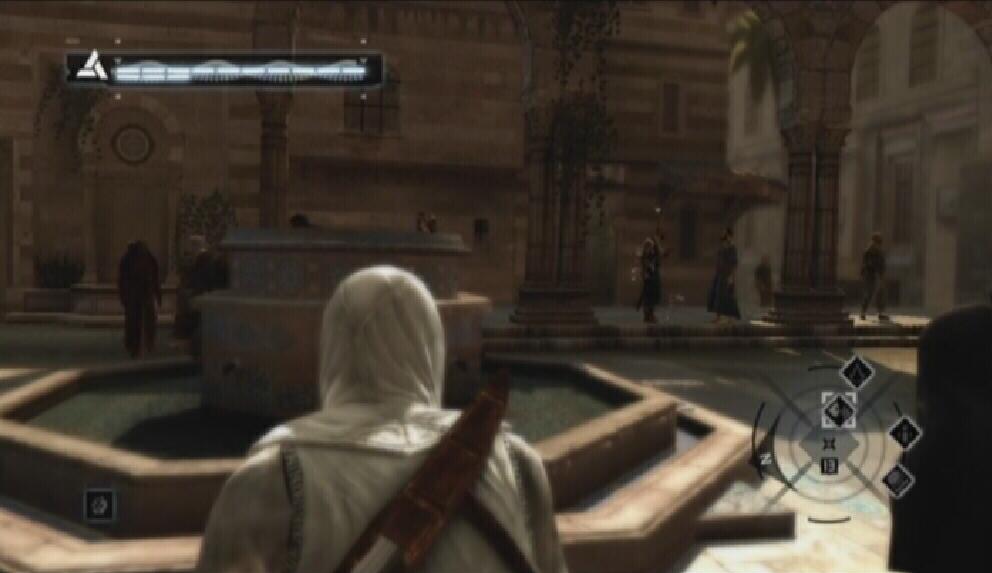
After his speech, amidst all the chaos, move towards the fountain in the middle of the square and jump up onto it. From the fountain, jump over to the top of the series of archways to the left of the fountain. From there, hop onto one of the poles and then jump and grab hold of the balcony where Abu'l stands. Pull yourself up and Free-Run after them. Avoid his guards and follow him into out of the palace and into the streets. With the Hidden Blade selected, tap the Weapon Hand button while running close behind him to take him down. There is probably a way to stealth kill him, but simply chasing after him works just fine.
Fountain
With the city in high alert, there is no point in trying to lose the guards now, as they will quickly turn on you again as you make your way to the Bureau. Free-Run through the streets and try to get onto a rooftop so you can avoid the crowds at ground level. Remember, you can Tackle people out of the way while free-running.
Lose the guards on the rooftops when you are close to the Bureau. As soon as you have broken the line of sight, find a roof garden or haystack and hide there until your status reverts to Anonymous. You can't enter the Assassins' Bureau unless you are Anonymous. Tell the leader of your success once you have reached the Bureau. Afterwards, you have the option of fast forwarding to Al Mualim back in Masyaf. If you have done everything you wish to in Damascus (scaling View Points, rescuing civilians), do so.
Al Mualim Promotion
After a chat with Al Mualim, you are promoted to Rank 5 and gain the Regain Balance and Dodge abilities. Damage dealt with your Long Sword is also increased. To dodge, press the Legs button just as your opponent is about to strike you. It works the same way as the Counter Kill and Grab Break abilities.
Al Mualim
William of Montferrat, your target in Acre, is next up for assassination. Make your way down to the large wooden gate, take one of the horses and gallop to the Kingdom.
To Acre
Select Acre from the list of cities to be taken. Make your way to the city gate and dismount. Locate the group of Scholars using your GPS and Blend with them to get by the guards, and enter the city. The investigations here take place in the Rich District of Acre. Open up your map and set a marker somewhere in the Rich District so you can easily find your way there.
Notice that there aren't any View Points marked on your map this time around. You're going to have to find one yourself to start things off. There is a climbable turret in the northern section of the district, near the line that divides the Rich District from the Poor District. Get up onto the rooftops and look for the turret. Scale the turret and use Eagle Vision while standing on its ledge to scan the area below. Doing so reveals an investigation location and adds every single View Point in the Rich District to your map.
Turret
View Point
There are archers on the Rich District rooftops. If you come across one, Free-Run towards him with the Hidden Blade selected and take him out with a High Profile kill. Try to kill guards this way while their backs are turned. If you are unable to eliminate a guard with your Hidden Blade, use your Long Sword or Throwing Knives to deal with him instead.
It would be a good idea to scale all eleven of the View Points and rescue all nine citizens in the Rich District of Acre before moving on to the assassination. As always, doing so is not necessary, but it would benefit you by adding to the Sync bar. Additionally, completing these optional objectives goes towards earning certain achievements on the Xbox 360 version.
The guards are tough and plentiful here, so mind your manners.
Acre Investigations
Memory Strand 1 - Informer Southwest: Climb the small turret in the southwest area of the district, the View Point nearest to the 'Rich District' label on the map, to reveal the location of this investigation. The informer is standing in the shadows just before an alleyway. Your assassin buddy wants you to collect twenty Masyaf flags and return to him before three minutes have passed. This is a simple task as all of the flags appear on your GPS and the form a circuit that leads you right back to the informer's location. You've been given a generous amount of time to collect the flags, so there's plenty of room for mistakes. Return to the informer once you have all of the flags. Your assassin friend tells you that your target, William, will retreat to his citadel if he has a quarrel with King Richard.
Informer
Flag
Memory Strand 2 - Pickpocket West: Climb up onto the square tower in the west end of the district and use Eagle Vision to pinpoint the location of this one. Look for a guard and civilian standing under a shelter on the side of the street. Stand on the street just before their location. Blend while waiting for the letter carrier to walk past you, then turn around and steal the letter from him. This letter mentions a future assassination target of yours.
Target
Pickpocket
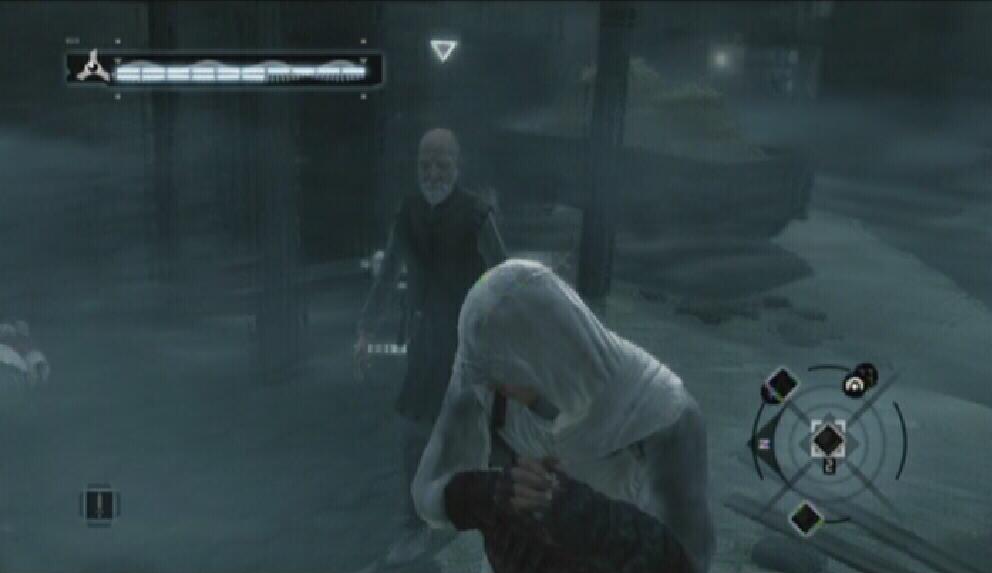
Memory Strand 3 - Interrogation Central: This objective is located below the center (fairly central, at least) View Point. The building itself is rather tough to climb, so if you are not interested in scaling all of the View Points just look for a man standing in front of the building's door. Lock onto the man to begin. Remember, guards will not interfere with a fistfight, but any thugs in the area will. Scan the area for thugs and if you don't see any, start punching the man. He tells you that King Richard will be visiting William today and that Richard's visits always distract William.
Target
Interrogation
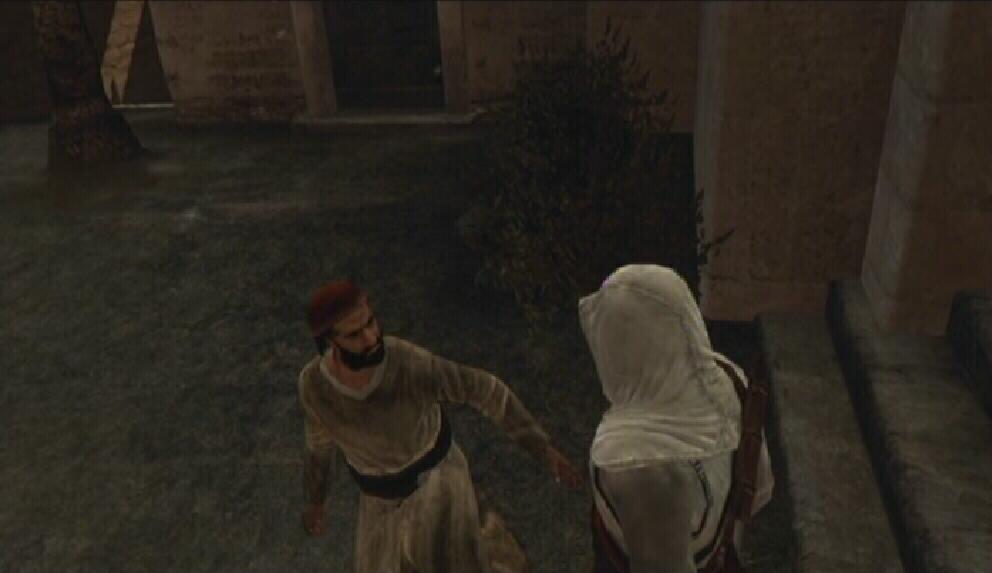
Memory Strand 4 - Informer North: Scale the northern View Point to reveal the location of this investigation. The informer is hiding behind some boxes near a fountain. He needs you to assassinate two targets without being Exposed. There is no time limit on this mission so this will be simple. The two targets appear on your GPS, so use it to locate them. Get behind your target and Low Profile kill him with the Hidden Blade. Be sure that there aren't any guards walking next to the target when you off him. Kill both targets and return to the informer for information. You learn that, if the citadel door closes, you must escape by scaling the fortress walls.
Informer
Target
Memory Strand 5 - Pickpocket Northwest: Climb to the top of the archway bell tower in the northwestern section of the Rich District and use Eagle Vision to add the location of this one to the map. Search for two men standing together under the tall square tower. Stand at the top of the stairs north of their location. Blend while the map carrier moves towards the stairs. When he walks past you, turn around and take a map from him. This map shows the positioning of William's archers within the citadel.
Target
Pickpocket
Memory Strand 6 - Pickpocket East: Scale the bell tower in the northeastern part of the Rich District (the View Point that hugs up against the line that divides the Rich District from the currently inaccessible Middle District) and use Eagle Vision to add the location of this investigation to the map. The two men are in a courtyard with the entrance blocked by guards. Use the scaffolding on either side of the doorway to reach the top of the wall and then drop down into the courtyard below. Two men stand on a walkway behind an arch. Lock onto the map carrier to start. Blend near the fountain in the middle of the courtyard. When the man moves past you, turn around and take the map from him. The map shows the location of a damaged and forgotten tower in the citadel.
Courtyard Entrance
Target
Acre Assassination
Memory Strand 7 - Knowledge: Once you have completed at least three of the investigations in the Rich District of Acre, enter the city's Assassins' Bureau and speak to the bureau leader. Afterwards, take the feather that is placed on the counter and leave the Bureau.
Memory Strand 8 - Assassination: William of Montferrat resides in a fortress located in the southern part of the Rich District. Before heading over there, make sure that you have five Throwing Knives with you, as they'll help you deal with William's archers. If you are fresh out of Throwing Knives, you can pickpocket more from a thug. To do this, first find a thug and lock onto him, then hold the Empty Hand button just as you would during a pickpocket objective and get close enough to him. Careful though, if you are caught by the thug, he'll start attacking you. Once you are prepared, start towards the fortress.
The Fortress
King Richard
When you arrive, approach the large crowd gathered by the fortress' gate. After the short conversation between William and King Richard, move towards the scaffolding at the far left end of the fortress wall. Climb to the top of the scaffolding, then jump over and grab hold of the balcony ledge next to the scaffolding. Climb up onto the balcony and look towards the piece of wood that is extended from the wall. Jump and grab hold of the piece of wood. Climb up on top of the piece of wood and then hop over to the suspended platform. Another jump and you'll find yourself on a small piece of roof. From there, jump up and pull yourself onto the fortress wall.
Scaffolding
Suspended Platform
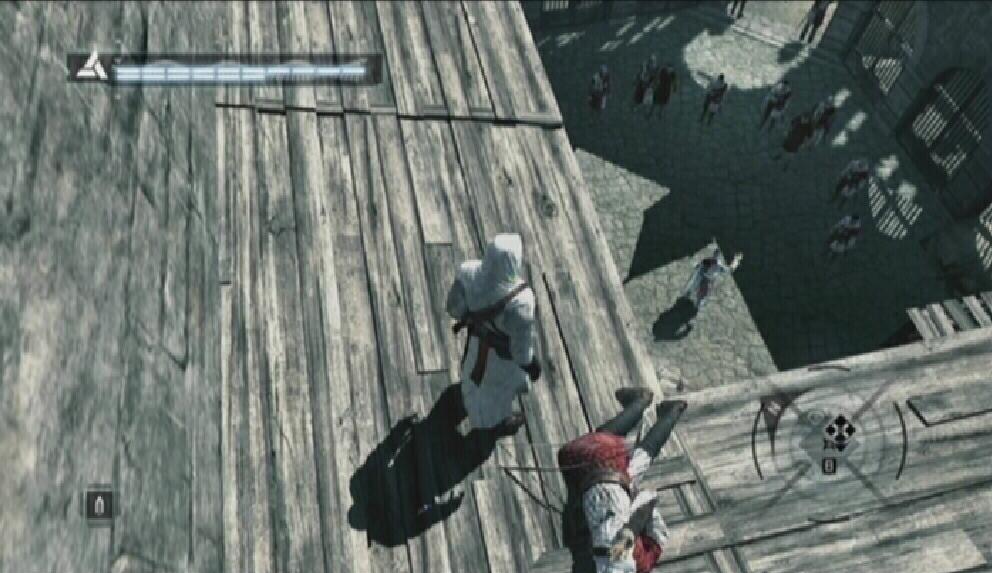
There are two archers up here, but don't use your Throwing Knives just yet. When one of these guards spots you, your status will not immediately change to Exposed, rather it will flash red and beep. Free-Run towards the archer with your Hidden Blade selected and tap the Weapon Hand button when you are close enough to quickly eliminate him. Even if you don't manage to kill the archer before you reach Exposed, a single archer can be eliminated easily.
William of Montferrat
Archer Kill
Move through the square towers that you come to and continue along the fortress walls. You'll reach a square tower with two gated doorways, simply jump up, climb onto the square tower and drop off the other side to reach the wall on its opposite end. When you reach the haystack, crouch down onto the fortress wall and look to the area below. Now is the time to use your Throwing Knives. Afterwards, use the Empty Hand button to lower yourself down onto the piece of roof below the wall. When William is done ridiculing his soldiers, he walks over to a small table below your current position. Be sure that all archers on the surrounding rooftops have been eliminated, as they can see you from afar and might screw things up if left alive.
William
Peer over the ledge by moving up against it. While looking down at William, press the Empty Hand button to lower yourself down. You're must do this quietly, so don't simply drop down from where you are now, as doing so would alert William. While you are falling, use the Grab Ledge ability to grab hold of something partway down the wall, allowing you to quietly lower yourself down to get behind your target. While behind him, equip the Hidden Blade and eliminate him.
Unaware William
Assassination
The gate is quickly closed, so you'll have to get back onto the fortress walls. It's quite difficult to climb a high wall while enemies pelt rocks at you, so Free-Run out of the citadel and turn left. Quickly climb onto the scaffolding up ahead to reach the roof of the building next to it. Climb up the two ladders to reach the fortress wall and start running towards the gated square tower. Climb up onto the roof of the square tower, then drop down onto the wall on its opposite side. Look for a group of pigeons along this fortress wall. Pigeons mark a Leap of Faith spot, so jump down into the haystack below from where the pigeons were gathered.
Leap of Faith
Feel free to stay in the haystack until you reach Anonymous status. However with the city on high alert you won't remain Anonymous for long. Free-Run through the streets towards the Assassins' Bureau. When you are nearing the Bureau, lose the guards. Having Vigilantes on your side will help. Find a roof garden or haystack and hide there until your status reverts to Anonymous. You can't enter the Assassins' Bureau unless you are Anonymous. Tell the leader of your success once you have reached the Bureau. Afterwards, you have the option of fast forwarding to Al Mualim back in Masyaf. If you have done everything you wish to in Damascus (scaling View Points, rescuing civilians), do so.
Al Mualim Another Promotion
After a conversation with Al Mualim, you are promoted to Rank 6. No new abilities this time around, but the amount of Throwing Knives that you can carry at once increases. Next target is Majd Addin who resides in the city of Jerusalem. Make your way down to the large wooden gate, take one of the horses and gallop to the Kingdom.
To Jerusalem
From the list of cities, select 'Jerusalem' to fast forward to the city's exterior. Gallop down the slope towards the city gate and dismount your horse once you reach the guards. Locate the group of Scholars on your map and Blend with them to get by the guards and enter the city. The investigations take place in the Poor District, so open up your map and place a marker somewhere within the Poor District.
Upon entering the Poor District, search for a building that has the Star of David on it in the northeastern part of the district. Start by climbing up the building's southern face and make your way up to the ledge above the Star. Use Eagle Vision to scan the area below. Doing so reveals a couple of investigation locations and will also add every single Poor District View Point to your map. There isn't any hay below the ledge, so a Leap of Faith won't work here.
Building
View Point
There are six View Points to scale and eight citizens to save in this district. Complete any of the optional objectives that you wish to before moving on to the investigations. You must complete three of the six investigations in the Poor District before the Assassination memory is accessible.
As with Acre, the streets of Jerusalem are swamped with guards, and some of them are quite tough, so be on your best behavior.
Jerusalem Investigations
Memory Strand 1 - Interrogation West: Scale the View Point above the 'd' in 'to Kingdom' on the map and use Eagle Vision to add the location of this one to your map. A man stands atop a platform and gives a speech in the middle of the street. Lock onto this man to start. Guards will not interfere with a fistfight, but any thugs in the area will. There are plenty of thugs near the speaker's platform, so after his speech, follow the man somewhere more secluded. Don't attack if there are more than two thugs around. Start punching the man when you reach an area that is relatively free of thugs. He tells you that Majd Adin rules the city of Jerusalem through fear.
Target
Interrogation
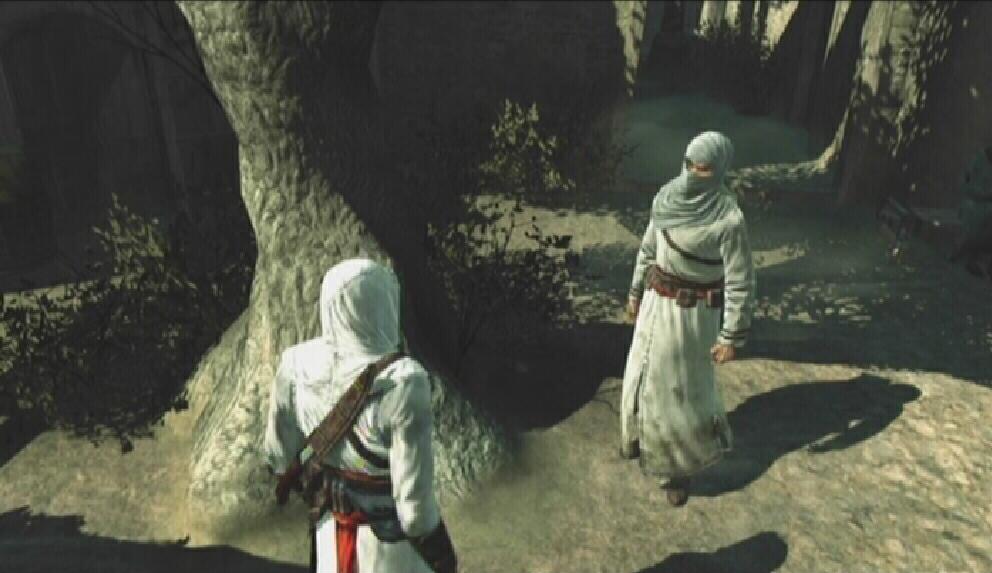
Memory Strand 2 - Informer West: Climb to the top of the circular tower in the western part of the city and use Eagle Vision to add the informer's location to the map. The informer can be found underneath a tree. He wants you to assassinate two targets and then return to him. All of this must be done without alerting the guards, otherwise the investigation will be a failure. There is no time limit to complete this task, so take all of the necessary precautions to ensure that you are not caught by the guards. Follow the target markers on your GPS to locate the two guards that must be assassinated. Use your Hidden Blade to Low Profile kill the targets. With both targets eliminated, return to the informer for the information. He tells you that a few Scholars will try to enter the execution area.
Informer
Target
Memory Strand 3 - Pickpocket Northeast: In the northeastern part of the district, search for a building that has the Star of David on it. Start by climbing the building's southern face and make your way up to the ledge above the Star. Once on the ledge, use Eagle Vision to pinpoint this investigation. Look for two men conversing near some boxes on the side of the street. Stand a short ways north from their position and lock on to begin. Blend while the carrier walks towards you. When he passes you, turn around and pickpocket him to obtain a map. This map shows the positioning of the execution plaza.
Target
Pickpocket
Memory Strand 4 - Pickpocket Northeastern-most: In the northeastern part of the district, search for a building that has the Star of David on it. Start by climbing the building's southern face and make your way up to the ledge above the Star. Once on the ledge, use Eagle Vision to pinpoint this one. Search for two men standing in the shadows by the side of the street. Stand by the set of stairs south of their location and lock on to begin. Blend while the map carrier walks towards the steps. When he passes you, turn around and pickpocket him to receive a map. This map shows the locations of the guards attending the execution.
Target
Pickpocket
Memory Strand 5 - Informer Southeast: Use the southeastern-most View Point to add the location of this one to your map. This informer can be found standing behind a wall next to a bench in the west end of the square. He asks you to eliminate three guards for him without being Exposed. There is no time limit, so it's just a matter of assassinating the targets while avoiding a confrontation with the guards. Two of the targets wander the square and the connecting streets and the other patrols on a nearby rooftop. All of the targets appear on the GPS.
There are plenty of guards in the square to come across the corpse of one of your targets and automatically suspect you as the culprit, so you'll want to follow your target out of the square before eliminating him. If the guards are really suspicious, Blend to avoid setting them off. Kill the target on the roof by climbing up to his station and using the Hidden Blade while his back is turned. Return to the informer when all three targets have been eliminated. He tells you that Majd Addin turns his back to the crowd while he lectures the soon-to-be-executed.
Informer
Target
Memory Strand 6 - Eavesdropping Southeast: Scale the View Point beside 'to Kingdom' on the map to pinpoint this one. Search for two cloaked men standing near a small shelter. Take a seat on the bench south of their location and lock onto one of them. By eavesdropping, you learn that your target, Majd Addin, will be holding a public execution today.
Target
Bench
Jerusalem Assassination
Memory Strand 7 - Knowledge: Once you have completed at least three of the investigations in the Poor District of Jerusalem, enter the city's Assassins' Bureau and speak to the bureau leader. Afterwards, take the feather that is placed on the counter and leave the Bureau.
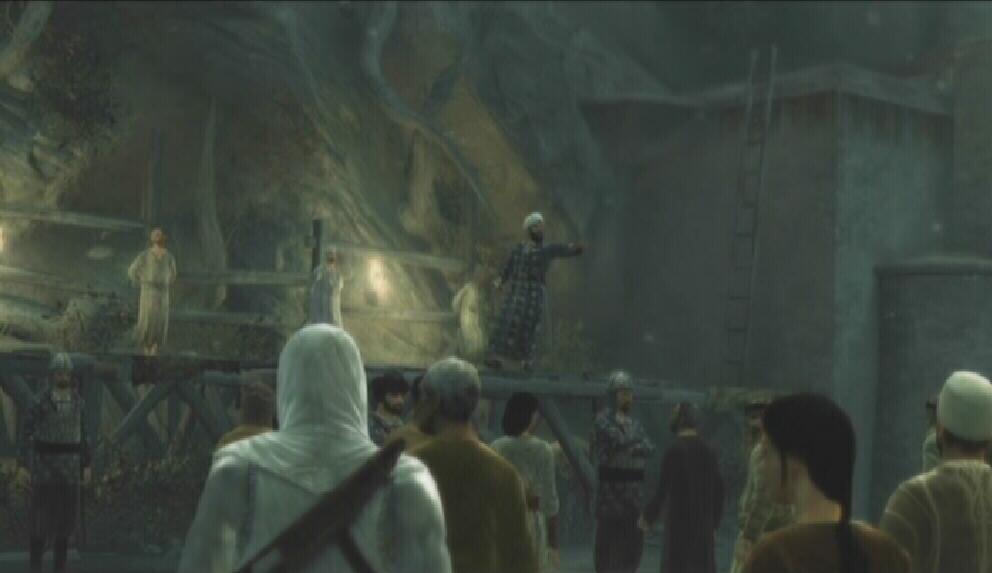
Memory Strand 8 - Assassination: Majd Addin is holding a public execution today at the western edge of Solomon's Temple. The execution plaza is located in the northeast end of the district. Follow the marker on the GPS to reach the execution plaza. Join the crowd once you arrive.
Execution Plaza
Majd Addin
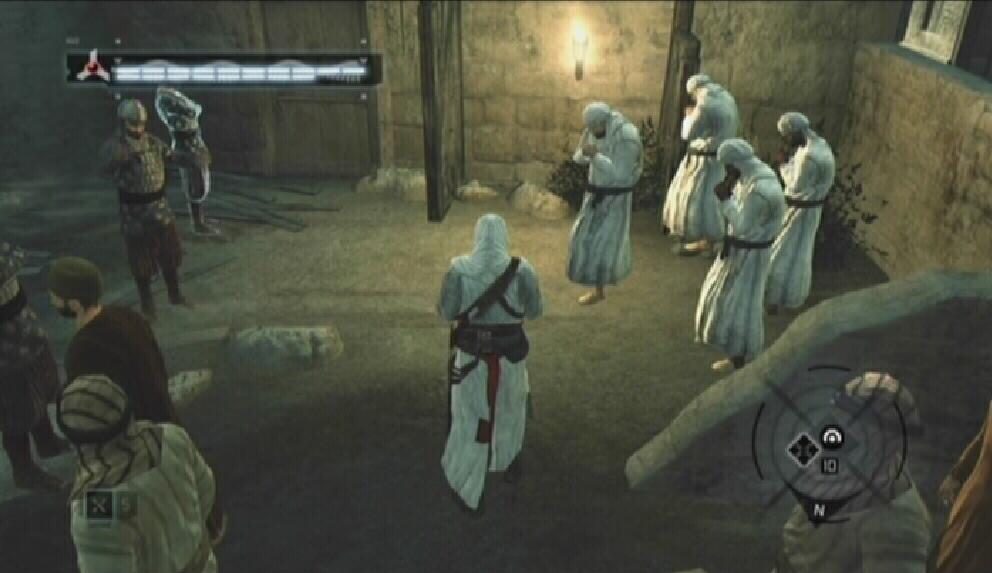
Blend as soon as Majd Addin is finished speaking. The guards are already highly suspicious of you, so blending is the only way to avoid being Exposed. Be very careful not to get too close to any of the skinny, shirtless and hunched over men in the plaza. They strike out when you get close to them. If you are hit, you will be knocked out of Blend which will make the guards aware of your intentions. There are beggars in the crowd as well, just move around them. A group of Scholars stands in the southeastern end of the execution plaza. Make your way over to the group and Blend with them. Blending with the Scholars allows you to pass the guards and get up onto the execution platform.
Scholars
Scholar March
The group halts at the top of the platform steps. The Scholars will eventually march back down to their initial position, so you can't remain here for long. Wait until Majd has moved on to one of the prisoners closer to your location. While he is belittling one of the prisoners, step away from the Scholars and immediately start blending again. Blend towards Majd and use the Hidden Blade to assassinate him.
Assassination
After the cutscene, climb up the ladder at the far end of the platform and start moving across the rooftops towards the Assassin's Bureau. When you are near the Bureau, lose the guards on the rooftop by first breaking the line of sight and then taking cover in a roof garden. You can't enter the Assassins' Bureau unless you are Anonymous. Tell the leader of your success once you have reached the Bureau. That's the end of Block 4.
This guide is copyright 2007 SuperCheats.com, no part of it may be reproduced without permission.