Assassins Creed - Memory Block 6 Walkthrough
Skip to Sections...
Intermission
Al Mualim
To Jerusalem
Jerusalem Investigations
Jerusalem Assassination
To Arsuf
Arsuf Assassination
Intermission
When you gain control over Desmond, speak to Lucy and then follow her over to Vidic's computer. Head to Desmond's room when you receive the 'can't talk, gotta work' response from Lucy. A conversation with Warren ensues the following morning. Afterwards, lie down on the Animus table to begin.
Al Mualim
The master promotes you to Rank 9 after a lengthy conversation. The damage you deal with a Long Sword is increased and you are given extra Throwing Knives. You can now hold fifteen Throwing Knives at once. The final man on the list, Robert de Sable, can be found in the city of Jerusalem. Make your way down to the wooden gate, get on a horse and ride to the Kingdom.
To Jerusalem
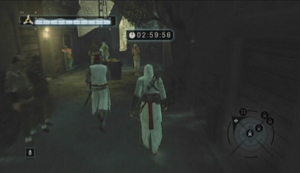
From the list of cities, select 'Jerusalem' to fast forward to the city's exterior. Gallop down the slope towards the city gate and dismount your horse once you reach the guards. Locate the Scholars and Blend with them to get by the guards and enter the city. The investigations take place in the Middle District, so open up your map and place a marker somewhere within the Middle District.
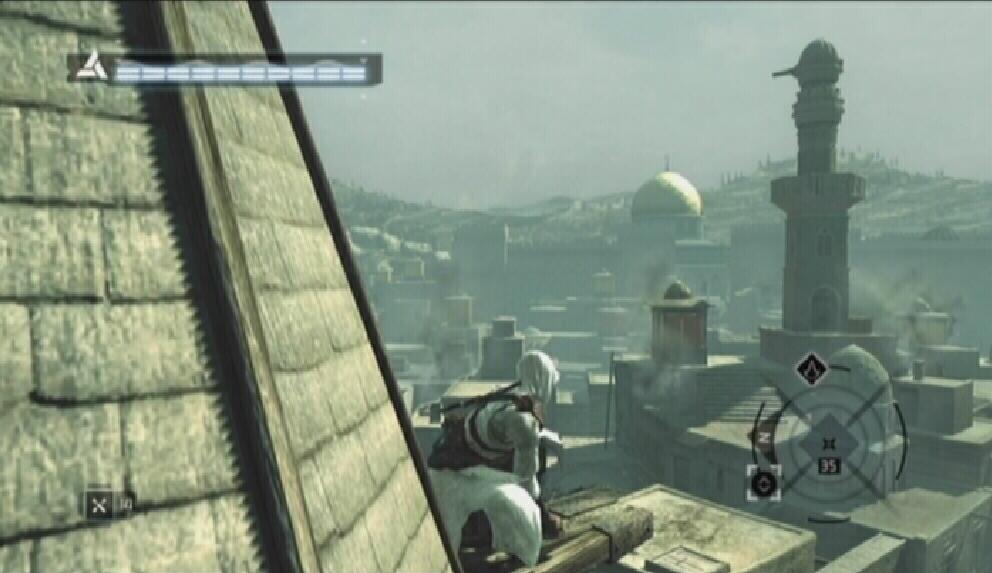
There aren't any View Points marked on your map, so you'll have to find one yourself to kick things off. Head to the northeastern end of the Middle District and get up to the rooftops. Look for a small turret with a ledge extending from it. Climb up the turret and use Eagle Vision on its ledge to scan the area below. Doing so adds each and every View Point in the district to your map.

Turret
|

View Point
|
There are seven View Points to scale and six citizens to rescue in this district. You can take the time to complete all of the optional objectives or you can jump right into the investigations. You must complete three of the six investigations to unlock the Assassination memory.
The streets of Jerusalem are packed with guards this far into the game. Take to the rooftops if you can, and avoid combat unless absolutely necessary (e.g., saving citizens). Battles can turn large-scale quickly.
Jerusalem Investigations
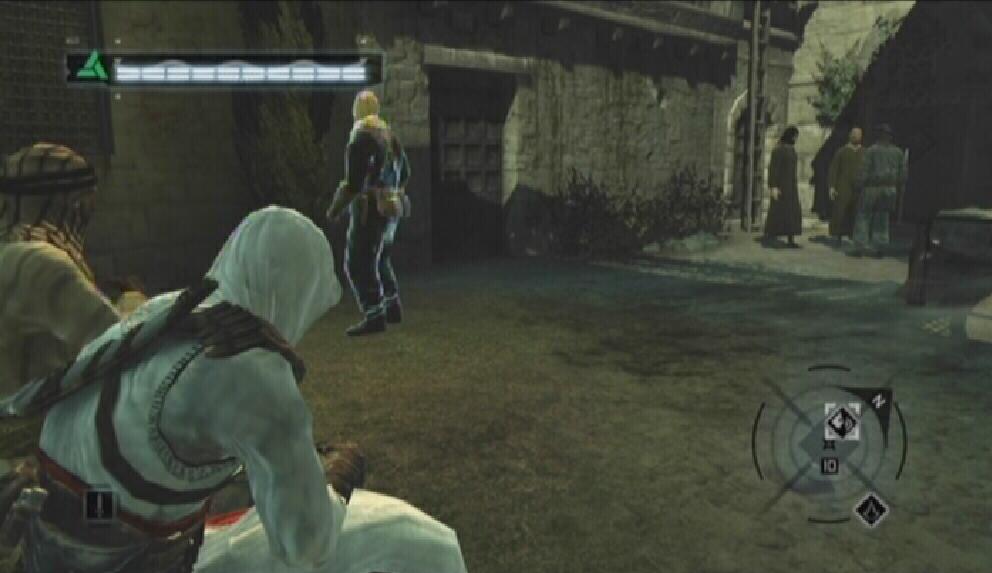
Memory Strand 1 - Eavesdropping Northwest: Get to the top of the square tower in the northwestern section of the district and use Eagle Vision to pinpoint the location of this one. Look for the group of men standing together at the end of an alley. Take a seat on the bench south of their location and lock onto one of them. By eavesdropping, you learn that your target, Robert de Sable, will be attending a funeral.
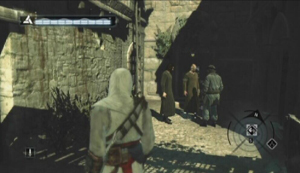
Target
|

Bench
|
Memory Strand 2 - Pickpocket Northeast: Scale the building in the northwestern section of the district and get up onto the ledge extending from the small tower. Use Eagle Vision to add this investigation to your map. Look for a templar and guard standing together near a fountain. Stand behind the fountain and lock onto the map carrier. Wait until he passes by, then turn around and pickpocket to obtain a map. This map shows the positioning of Jerusalem's guards during the funeral.

Target
|

Pickpocket
|
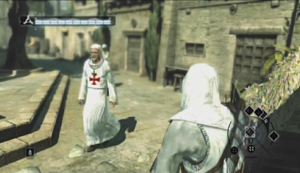
Memory Strand 3 - Interrogation Central: Scale the View Point located east of the words 'to Kingdom' on the map to reveal the location of this one. Your target is standing on a platform below a large building. Lock onto the man to begin. Start following him when he steps down from the platform. Guards will not interfere with a fistfight, but any thugs in the area will. There are some thugs near the speaker's platform, so follow the man somewhere more secluded. You should be clear once you reach the nearby alleyway. Start punching the man when you reach an area that is relatively free of thugs. You won't learn anything useful from this guy, but it will count towards the investigation count.

Target
|

Interrogation
|
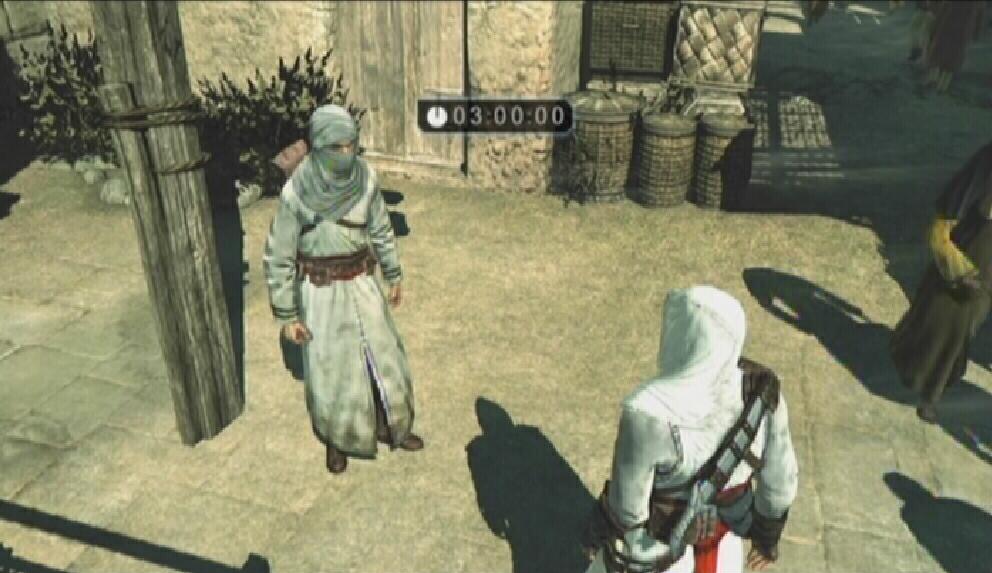
Memory Strand 4 - Informer North: Scale the building in the northwestern section of the district and get up onto the ledge extending from the small tower. Use Eagle Vision to add this investigation to your map. The informer can be found standing beneath a tree. You have five minutes to assassinate five templar, all of whom are relatively close to each other. All of the targets are on ground level.
Do not assassinate one if a guard is walking next to him as you'll likely get caught, thus failing the objective. Sprint away as soon as you have killed one to avoid being Exposed once the target's body hits the ground. Time is of the essence here, so Blend only if the status icon is flashing red and beeping. When you have killed all five templar, return to the informer. He tells you that, since Robert's men are well-prepared, it would not be best to face them all at once.
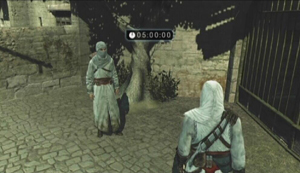
Informer
|
Target
|
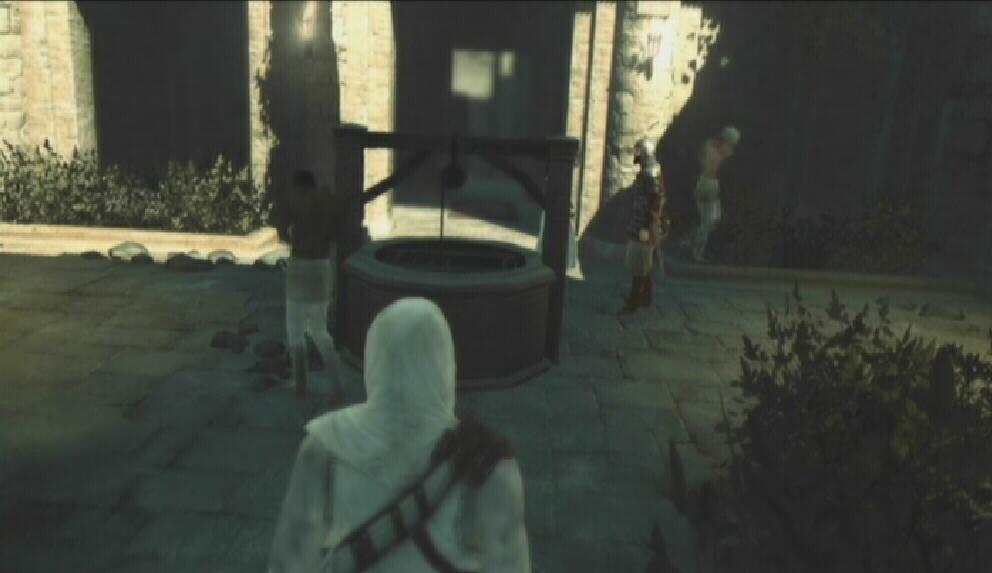
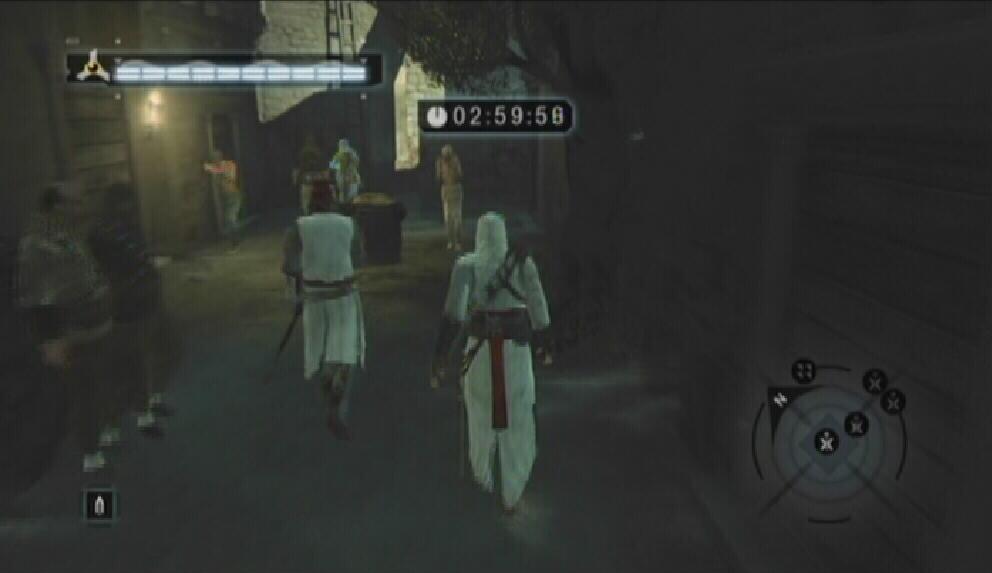
Memory Strand 5 - Informer West: Climb the ruined building in the central area of the district and use Eagle Vision while on the ledge extending from it to add this one to your map. The informer can be found standing beneath a lamppost. He asks you to assassinate two knights for him. You have three minutes to complete the task and return to the informer without being Exposed. One of the knights can be found on the rooftop of the building across from the informer's location. Go after the rooftop knight first; climb up the ladder on the side of the building to reach the rooftop, then get close to him and use the Hidden Blade to assassinate him.
The other knight patrols the streets quite a ways away from the informer's location. Locate him using the GPS and assassinate him. Sprint away as soon as you have killed him to avoid being caught by the guards once his body hits the ground. Return to the informer once both targets have been eliminated. He tells you to Blend with some Scholars during the funeral.

Informer
|
Target
|
Memory Strand 6- Pickpocket East: Use the eastern View Point to reveal the location of this one. Look for the guard and robed man speaking together beneath one of the View Points. Stand by the haystack and wait for the robed man to walk by. Start following him and pickpocket once you are close enough. You obtain a map showing Robert's position during the funeral.

Target
|
Pickpocket
|
Jerusalem Assassination
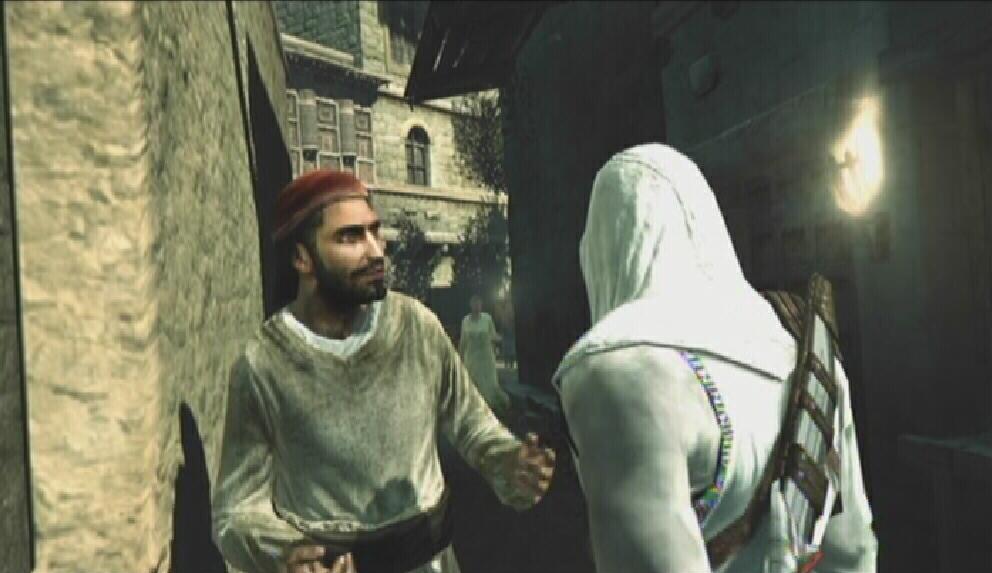
Memory Strand 7 - Knowledge: Once you have completed at least three of the investigations in the Middle District of Jerusalem, enter the city's Assassins' Bureau and speak to the bureau leader. Afterwards, take the feather that is placed on the counter and leave the Bureau.
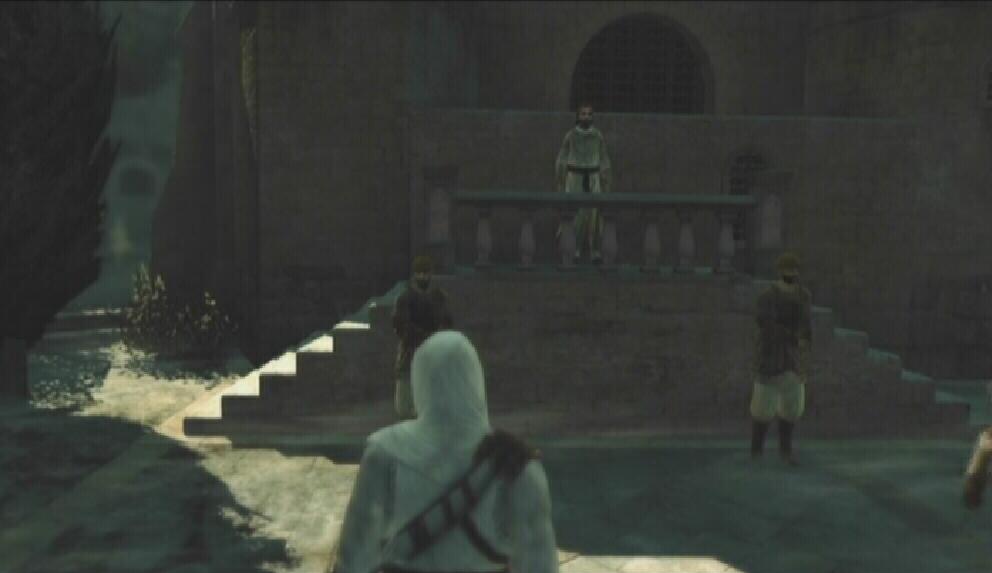
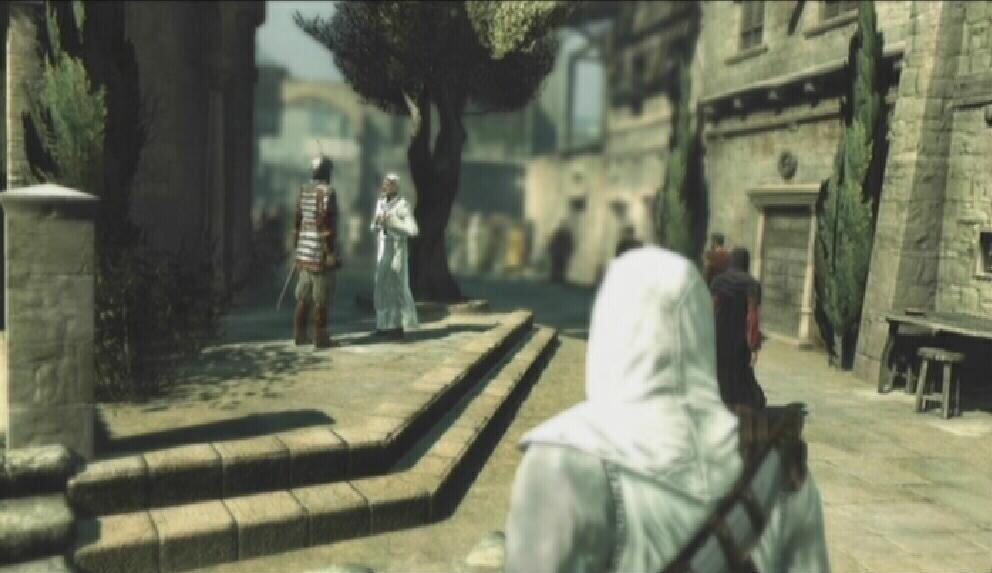
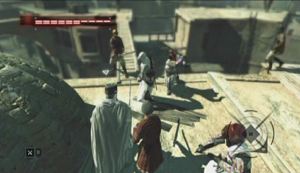
Memory Strand 8 - Assassination: Majd Addin's funeral will take place in a cemetery located in the south end of the Middle District. Your target, Robert de Sable, will be in attendance, making this the perfect time to strike. Be sure to stock up on Throwing Knives if you are low. When you are prepared, follow the marker on the GPS to reach the cemetery. Two guards block the entrance, so climb up onto one of the surrounding buildings and drop down into the area beyond them. Afterwards, join the crowd gathered in the cemetery.
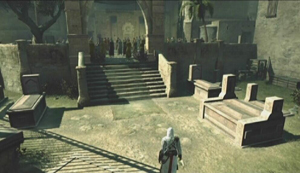
Cemetery
|

Robert de Sable
|
The ceremony takes a turn for the worse as the sheik calls for the seizing of the assassin who murdered Majd Addin, and all eyes immediately turn to you . . . Sorry? Robert de Sable, the guards and the templar quickly close in on you as the crowd funnels out of the cemetery. You likely won't fare well if you try to take them all on at once, so Free-Run out of the cemetery. When you reach the bottom of the stairs, continue running towards the ladder up ahead and use it to climb up to the rooftops. Run along the rooftops to establish some distance between yourself and the angry mob. Equip the Short Blade, turn around and lock onto an approaching enemy. Press the Weapon Hand button to throw a knife at your target, killing them. Kill as many as you can in this fashion until the mob is too close to you.
While on a rooftop you can throw enemies to their deaths. With such a large crowd though, it can be quite difficult to grab one. Run along the rooftops and thin the enemy ranks by throwing knives or knocking them to the ground below. Be wary of the archers on the rooftops, too. Use Throwing Knives to take them out from a distance. Once the number of enemies has dwindled, stand your ground and fight the remainder. You should be well-versed in combat this far into the game. Use every ability available to you, especially Counter kill. Concentrate on removing the other men and save your target for last.
Rooftop Brawl
|
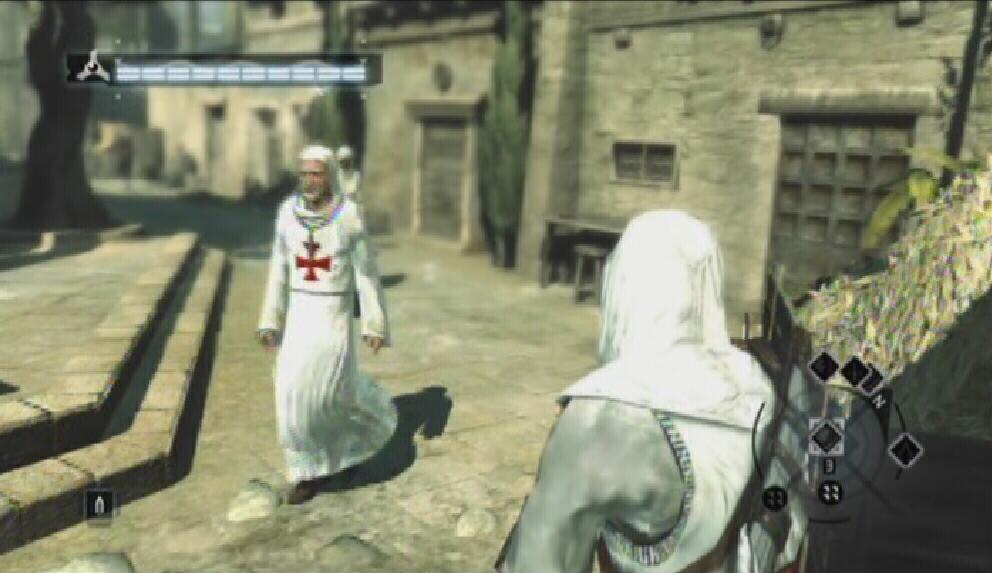
You may have heard Robert's oddly feminine battle cries during the fight. It turns out that your Jerusalem target is not Robert de Sable at all, but a decoy! Make haste to the Bureau!
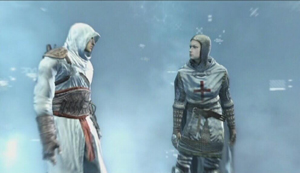
Decoy
|
To Arsuf
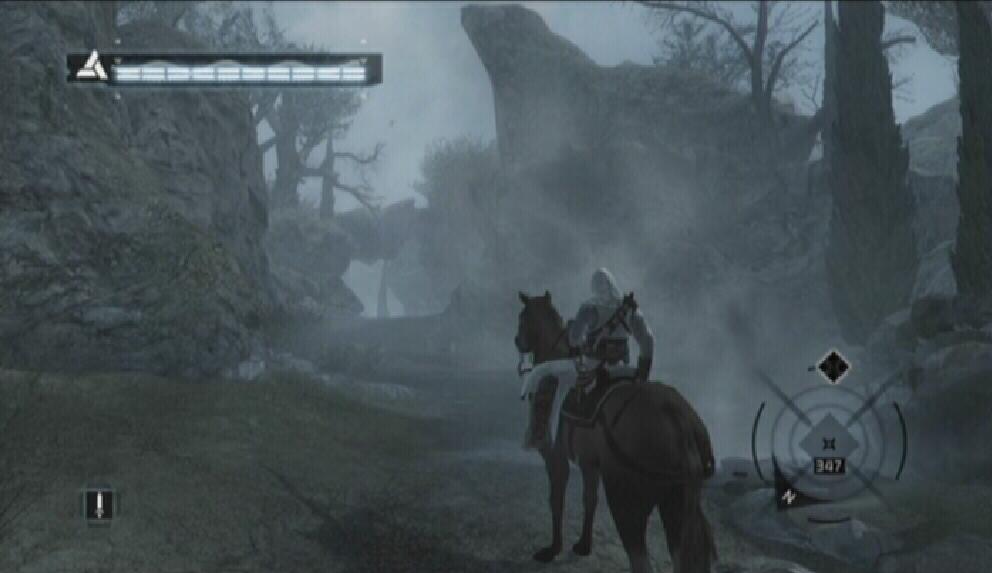
Robert de Sable was never at the funeral, as he is currently in Arsuf. Leave the city of Jerusalem through its main entrance. To get past the guards, climb up onto the scaffold next to the archway and swing across the bars above the guards. Take one of the horses from the stable to the north and ride to Kingdom. Arsuf is located in the southwestern end of Kingdom. It appears on your GPS, so simply follow the marker to reach the location.

To Arsuf
|
Arsuf Assassination
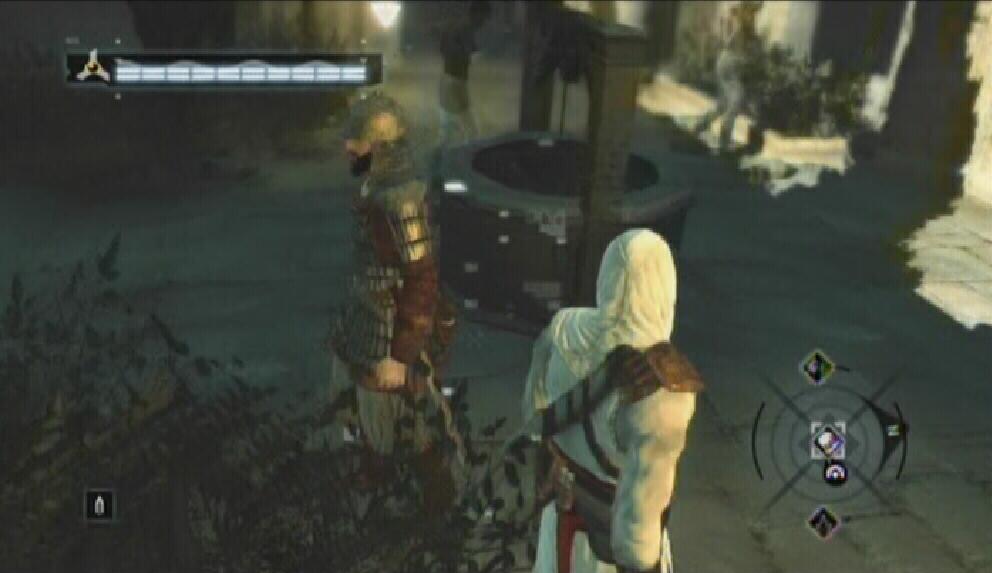
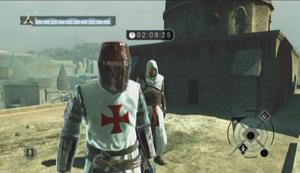
The marker on the GPS points to Robert. Travel down the trail. You'll soon reach a blockade, forcing you to dismount your horse and leave it behind. Climb up the ladder and kill the archers on the tower. Drop down from the tower to the area below. The rest of the path to Robert will have to be traveled on foot.
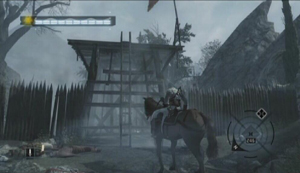
Blockade
|
The groups of enemies along the way must be killed to lower the memory barricades that block your path. Some of the groups are quite large, but you should be able to handle yourself in combat with all of your abilities. Continue to Free-Run down the trail, stopping only to fight off the enemies that appear along the way, until you reach the gathering.
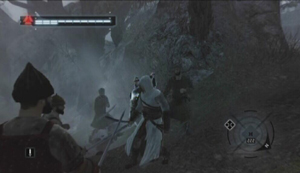
Enemies
|
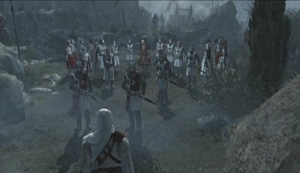
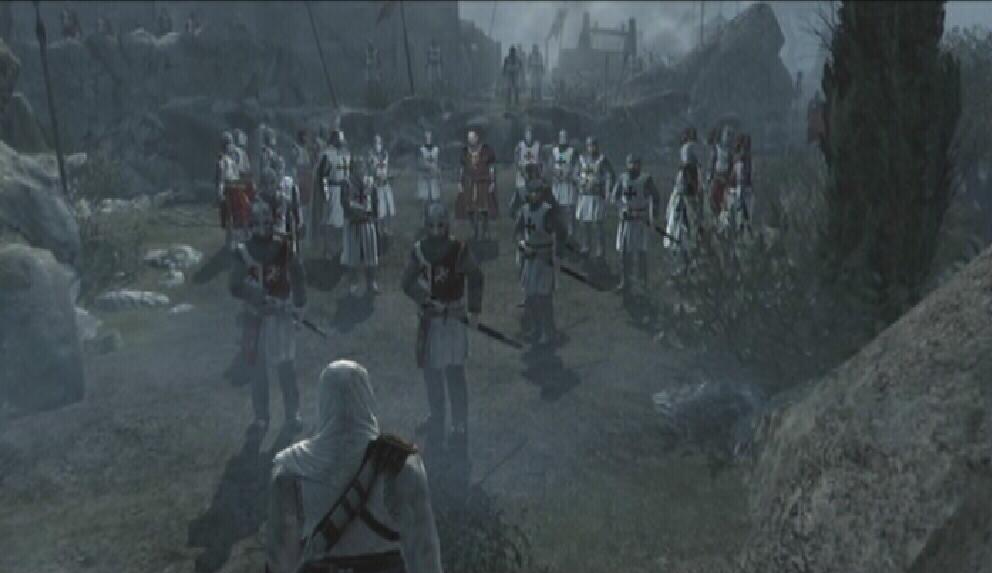
Gathering
|
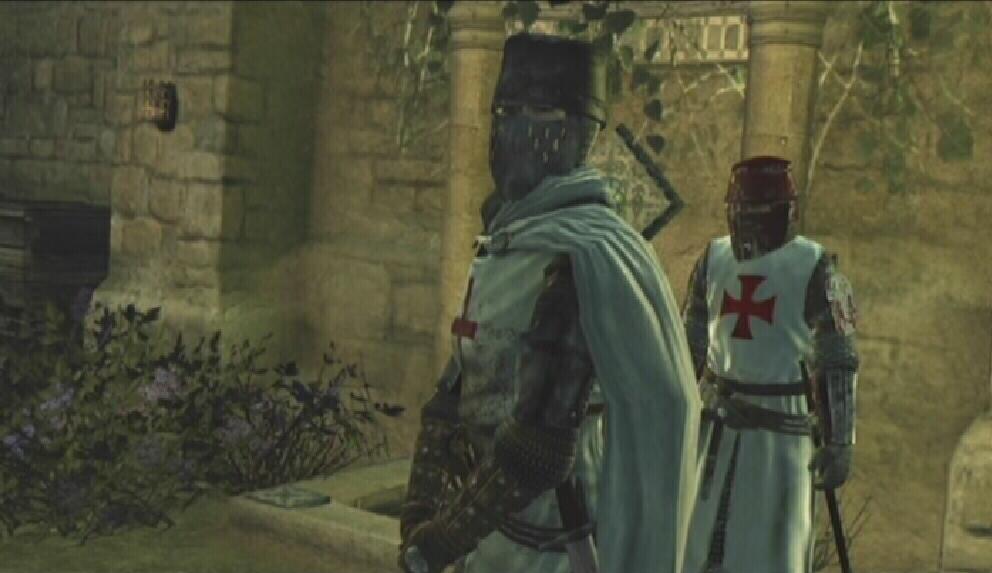
After a lengthy conversation, King Richard decides that the best way to determine whether Altair speaks the truth is by having him face Robert de Sable in combat. Before you can face Robert, however, the surrounding templar will attempt to soften you up. These guys are quite tough, both in defense and offense. Utilize Counter and Grab Break to succeed here. If during a counter, Altair kicks a templar to the ground, concentrate on slashing that downed templar until he is dead.
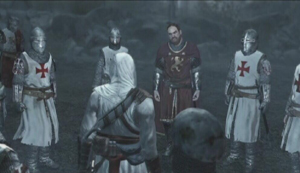
King Richard
|
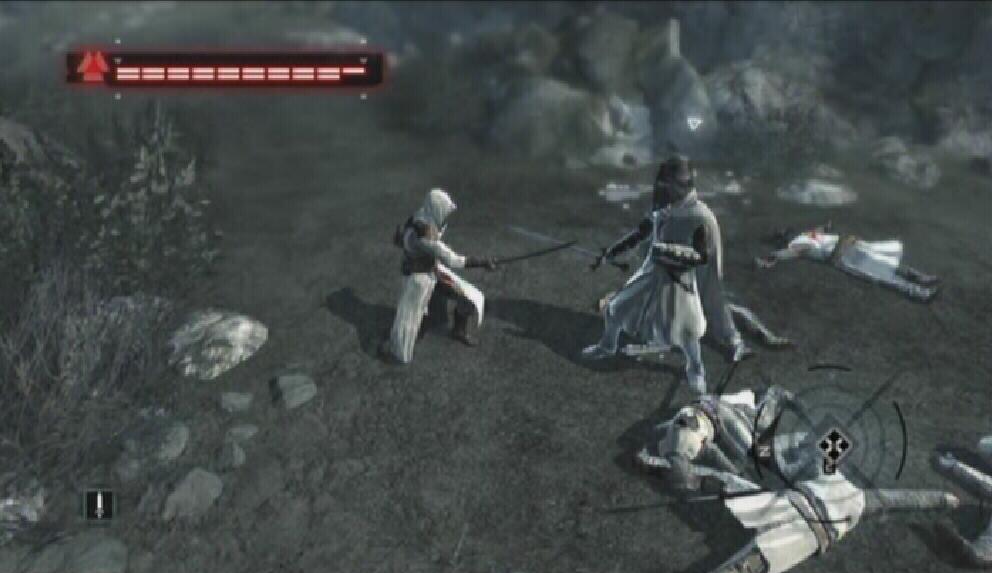
Once all of the templar lie dead, Robert steps up. He is definitely the toughest opponent in the game, so having a sizable Sync bar will help you here. Use Grab Breaks and Counters to get Robert down, though you cannot hit him while he's down. Rough him up a bit, and eventually Altair will pounce on him while he is down, killing him.
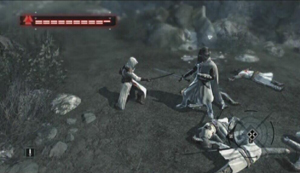
Robert
|
This guide is copyright 2007 SuperCheats.com, no part of it may be reproduced without permission.