Assassins Creed - Memory Block 5 Walkthrough
Skip to Sections...
Intermission
Al Mualim
To Acre
Acre Investigations
Acre Assassination
Al Mualim Promotion
To Damascus
Damascus Investigations
Damascus Assassination
Intermission
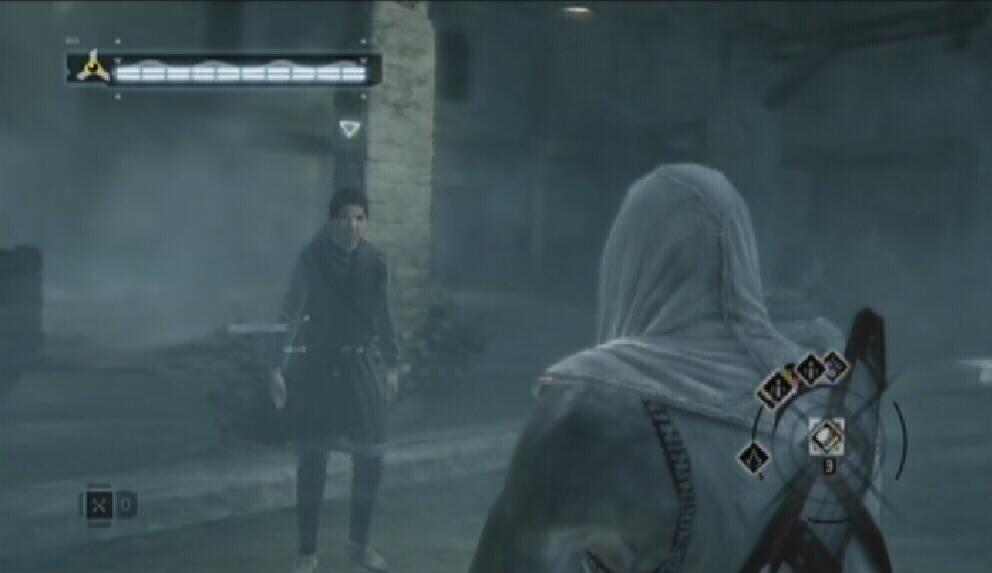
Enter Desmond's room after the conversation with Lucy. Don't use the bed just yet, instead use you keycard to reopen the door. Approach the Animus and take the Access-Key pen that Lucy left there. This pen can be used to view Lucy's inbox. If you took Warren's Access-Key Pen before Memory Block 4 you can access his inbox by using the computer on the desk at the back of the room. Enter Desmond's room and use the bed when you're ready to continue.
On the following morning, lie down on the Animus table to begin.
Al Mualim
After speaking with the master, you are promoted to Rank 7. With this new rank comes the Defense Break ability. To use this ability, step towards your enemy and attack to break their defense. Practice this ability with the Masyaf guards in the courtyard if you'd like. There are two men to assassinate in this block: Sibrand in Acre and Jubair Al Hakim in Damascus. When you are ready, make your way to the large wooden gate, grab a horse and ride to the Kingdom.
To Acre
From the list of cities, select 'Acre' to fast forward to the city's exterior. Ride to the city gate and dismount your horse once you reach the guards. Find the Scholars and Blend with them to get by the guards and enter the city. The investigations take place in the Middle District. Open up your map and place a marker in the northwest section of the district.
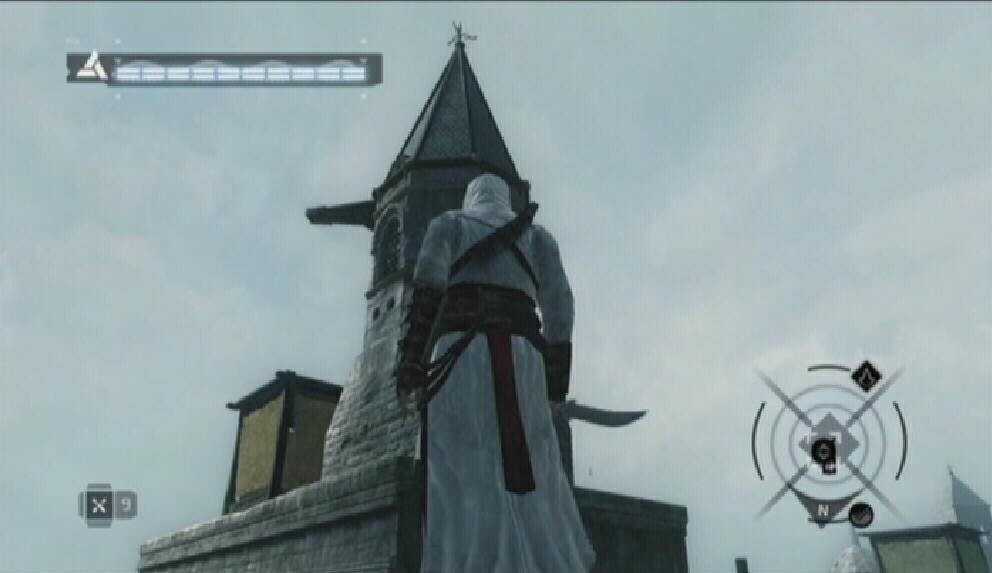
There aren't any View Points marked on your map, so you'll have to find one yourself to kick things off. Get up to the rooftops and look around for a small turret in the northwestern section of the Middle District. Climb the turret to reach the ledge attached to it. Use Eagle Vision to scan the area below. Doing so adds a couple of investigation locations to the map, as well as each and every View Point in the district.

Turret
|
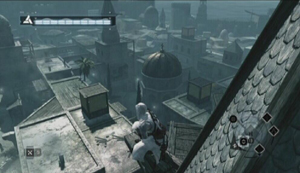
View Point
|
There are nine View Points to scale and seven citizens to rescue in this district. You can take the time to complete all of the optional objectives or you can jump right into the investigations. You must complete three of the six investigations to unlock the Assassination memory.
Acre Investigations
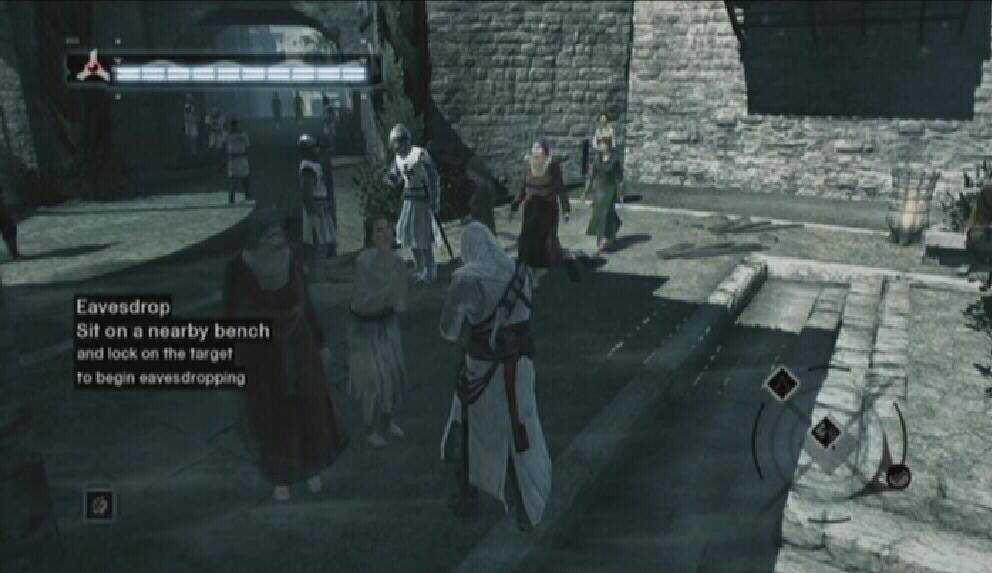
Memory Strand 1 - Eavesdropping Northwest: Scale the View Point in the northwestern corner of the district to add the location of this one to the map. Look for the two guards conversing in the square. Sit on the bench north of their location and lock onto one of them. By eavesdropping, you learn that your target, Sibrand, can be found hiding at the docks.

Target
|
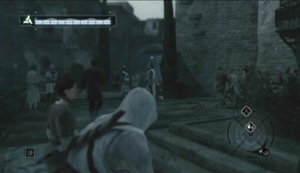
Bench
|
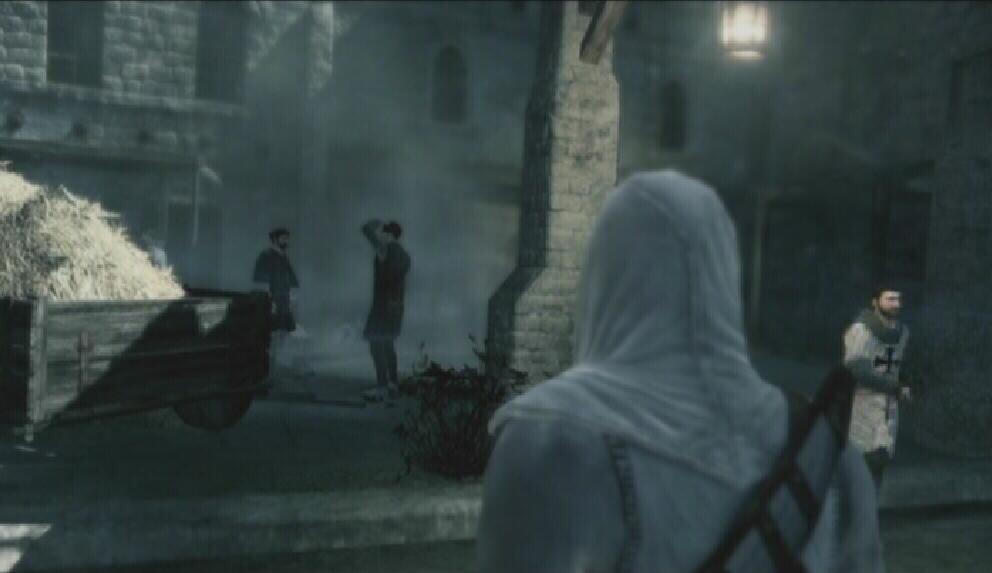
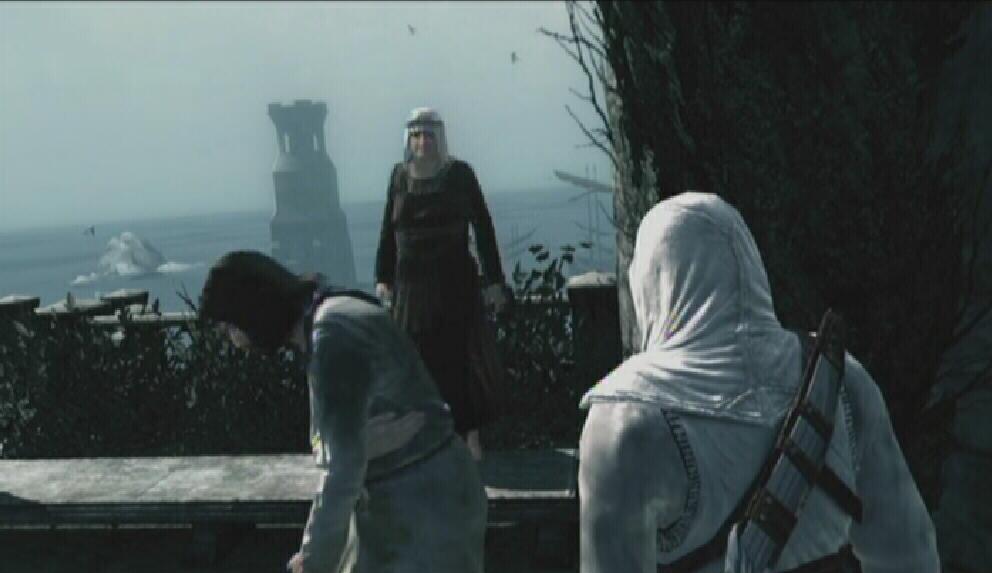
Memory Strand 2 - Pickpocket South: Climb the small tower in the southwestern section of the district and use Eagle Vision on the tower's ledge to pinpoint the location of this investigation. Look for two men standing near a haystack. Stand below the stairs south of their location and then lock on to begin. Blend as the letter carrier approaches. When he walks by, follow behind him and pickpocket when you're close enough. The letter that you obtain states that Sibrand will soon retreat to his private vessel.

Target
|

Pickpocket
|
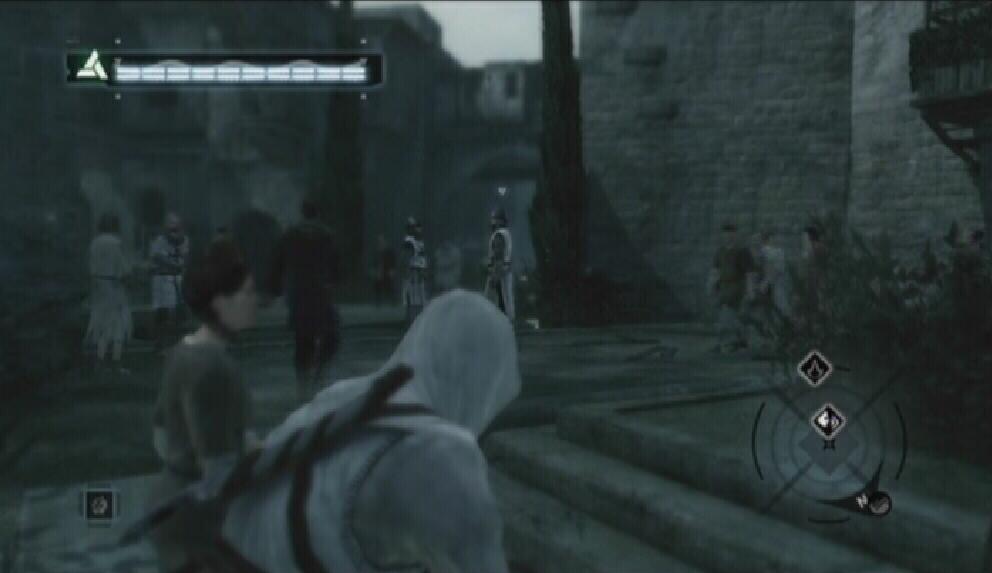
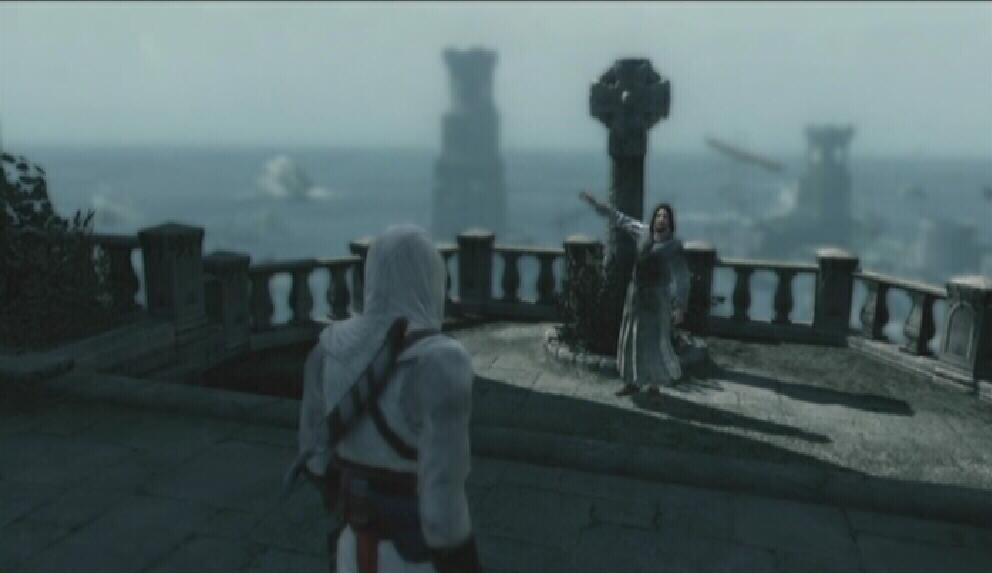
Memory Strand 3 - Interrogation East: Climb up the small tower in the eastern part of the district and use Eagle Vision once up on the ledge to reveal the location of this one. Look for a man giving a speech near a statue. Lock onto this man to begin. Start following him once he is finished speaking. Guards will not interfere with a fistfight, but any thugs in the area will. There may be some thugs near the speaker's platform, so follow the man somewhere more secluded. Don't attack if there are more than two thugs around, though this far into the game you could probably take them. Start punching the man when you reach an area that is relatively free of thugs. He tells you that Sibrand plans to install a naval blockade to prevent King Richard from receiving reinforcements.

Target
|

Interrogation
|
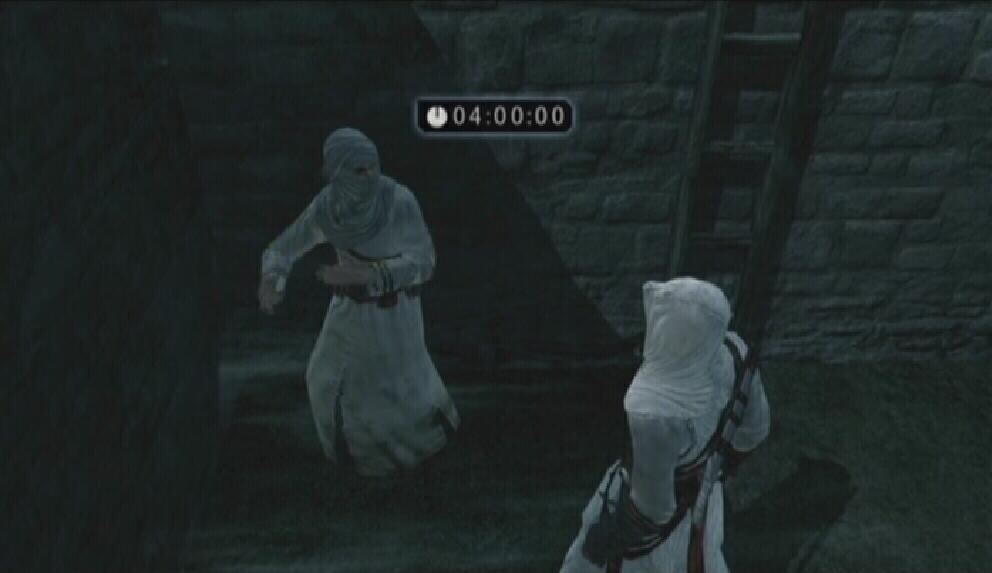
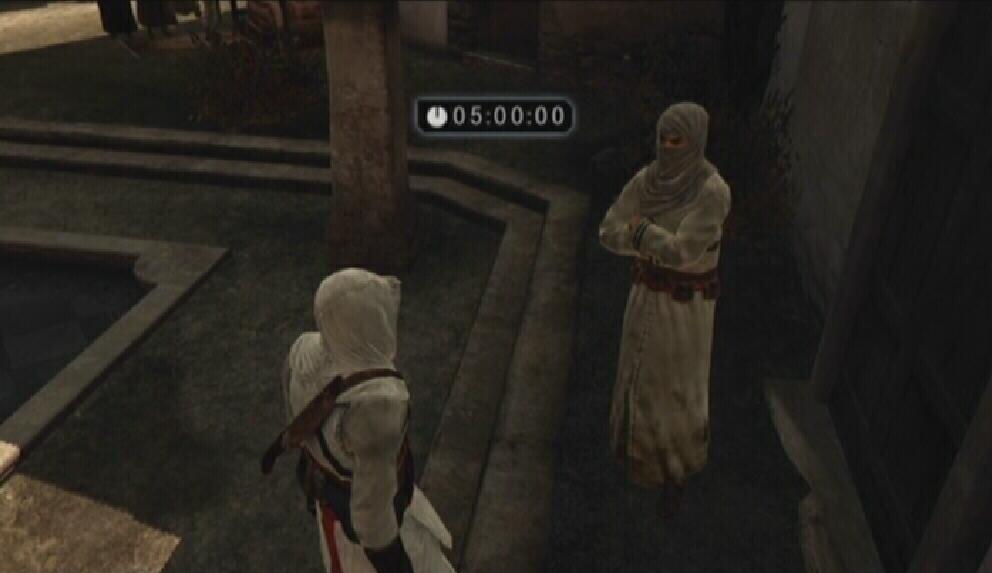
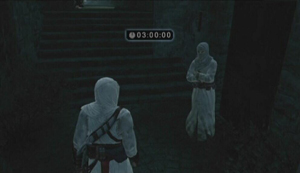
Memory Strand 4 - Informer Northwest: Scale the View Point in the northwestern corner of the district to add the location of this one to the map. The informer is hidden in a small area off of the square. He asks you to eliminate five knights for him. You have four minutes to kill the targets and return to the informer without being exposed. The targets are rather spread out this time around. Since you are pressed for time you're going to have to take some chances. Sprint (not Free-Run) instead of walking and only Blend if the status icon is blinking red and beeping. Sprint away as soon as you have killed one of the knights to avoid being caught by the guards once the target's body hits the ground. Once you have assassinated all five knights, return to the informer. Your assassin friend hands over a map that shows the positioning of Sibrand's guards as thanks.

Informer
|

Target
|
Memory Strand 5 - Informer Northeast: Climb to the top of the large square tower in the northeastern corner of the district to reveal the location of this investigation. The informer can be found at the bottom of some stairs near an alleyway. There are three knights that must be assassinated, and you are given three minutes to do so. All of the targets appear on the GPS and are relatively close to the informer's location. Assassinate them with the Hidden Blade while in Low Profile. Sprint away as soon as you have killed one to avoid being caught by the guards once the target's body hits the ground.
With all three targets eliminated, return to the informer to receive some information. He tells you that many drunken sailors populate the dock area. They are particularly dangerous because they may knock you into the water, which will lead to your death. If you've been to the docks already, you know this to be true.
Informer
|

Target
|
Memory Strand 6 - Pickpocket West: Scale the second western-most View Point in the district to add the location of this one to your map. Look for a guard and civilian standing together near an archway. The letter carrier will move underneath the archway, so as soon as the two men are finished speaking with each other sprint under the archway and place yourself somewhere along the carrier's path. When he walks past you, turn around and pickpocket him to acquire the letter. The letter states that Sibrand does not have any guards in the northern docks area.
Target
|

Pickpocket
|
Acre Assassination
Memory Strand 7 - Knowledge: Once you have completed at least three of the investigations in the Middle District of Acre, enter the city's Assassins' Bureau and speak to the bureau leader. Afterwards, take the feather that is placed on the counter and leave the Bureau.
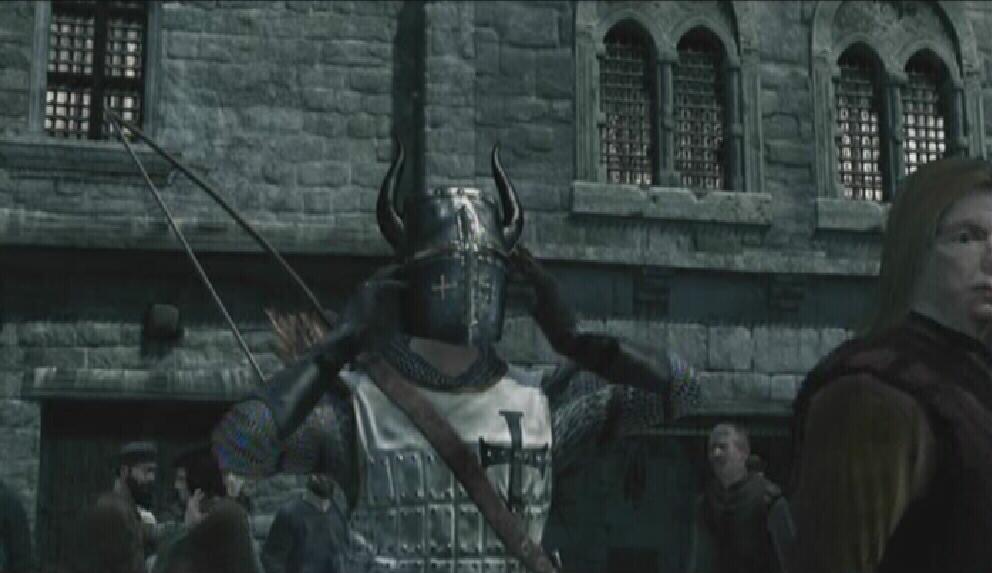
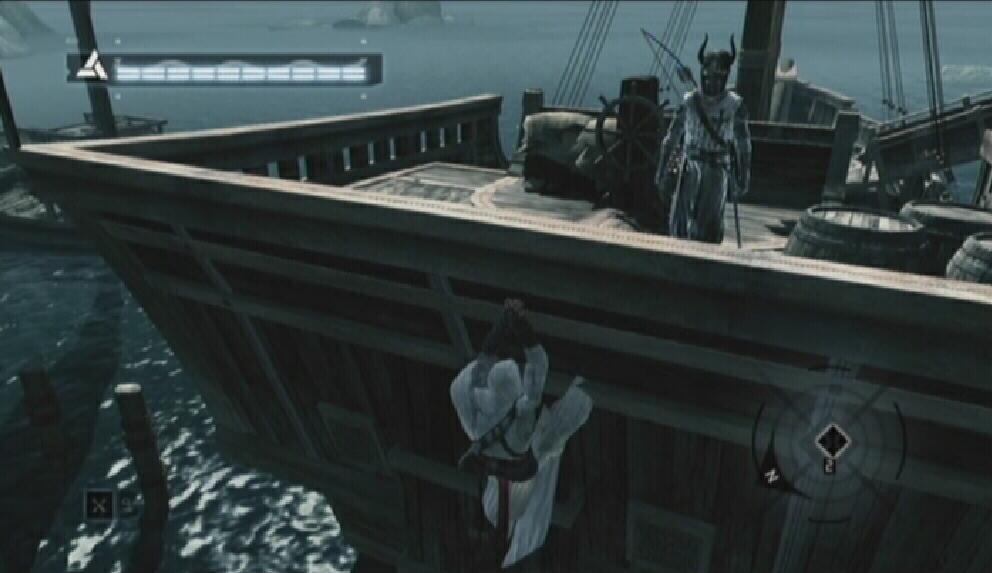
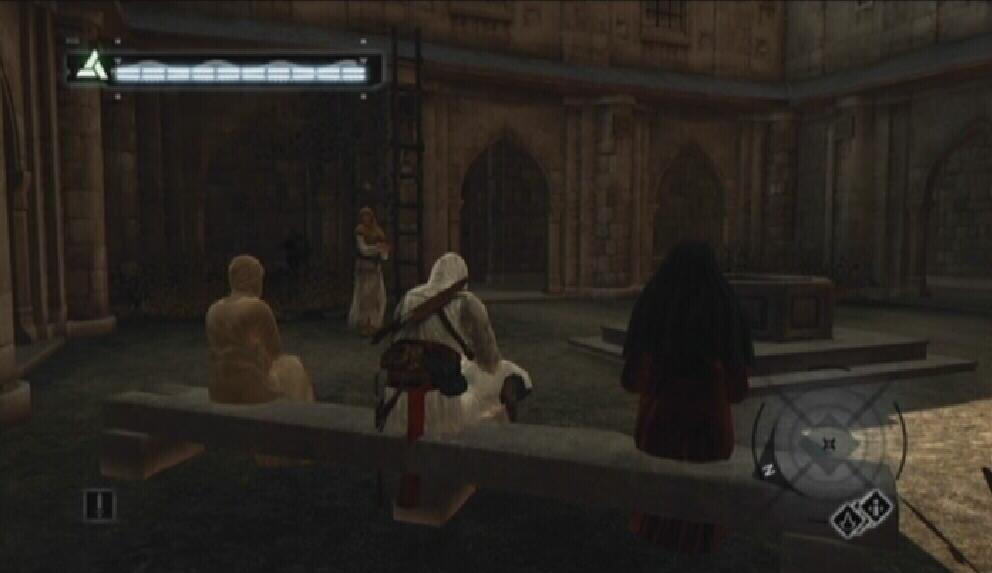
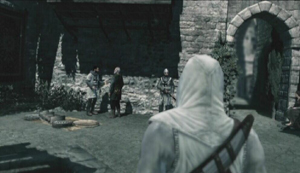
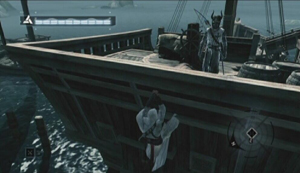
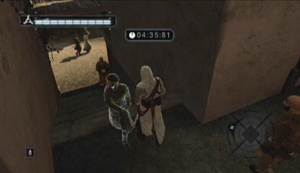
Memory Strand 8 - Assassination: Be sure to have some Throwing Knives with you before you begin. Travel down to the dock area located in the southeastern end of the Middle District and join the crowd that is gathered there. The crowd looks on as your target, Sibrand, kills an innocent man in a paranoid frenzy. It seems that your assassination of William and Garnier has not been forgotten. As the crowd disperses, take note that Sibrand is now wearing a horned-helmet.

Sibrand
|
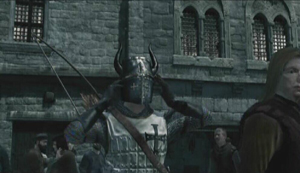
Helmet
|
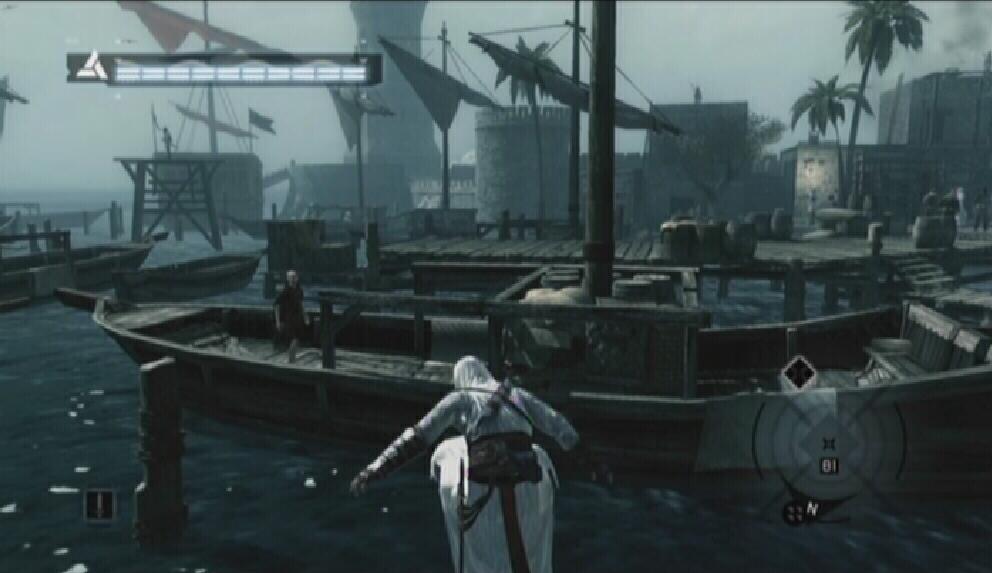
Afterwards, Sibrand will head off to his private vessel. Three guards stand to block entrance onto the docks. While facing the guards, turn right and climb up the steps. This area is not too populated by guards but if your status icon begins to flash red and beep, then Blend in order to avoid any trouble. At the top of the steps, hop down into the boat floating in the water. Be very careful as Altair really doesn't like water, and he will die if you fall in. Scan the waters for a trail of posts that stick out of the water. Jump across these posts to reach another boat. Avoid the drunken, cape-wearing man on this boat as he will strike out at you if you get too close which may cause you to fall into the water.
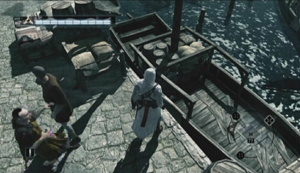
Boat
|
Posts
|
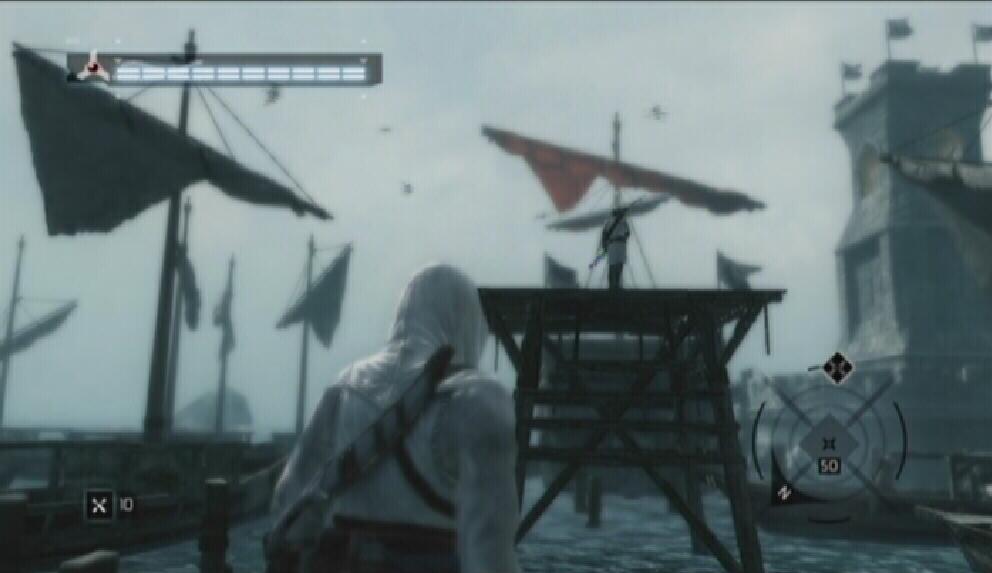
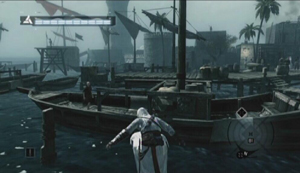
From the second boat, hop over to the docks. While on the docks, there is one guard you should eliminate to avoid being seen. Look for a platform in the middle of the water. An archer stands atop this platform. From the dock, jump onto a boat to get close enough to the archer's platform. Equip your Short Blade and lock onto the archer and throw a throwing knife at him. Avoid the group of patrolling guards on the nearby dock. Instead, jump across the boats and posts to reach Sibrand's private vessel. Jump onto the longest post behind the vessel. From there, jump towards the back of the vessel to grab onto it.

Guard
|

Private Vessel
|
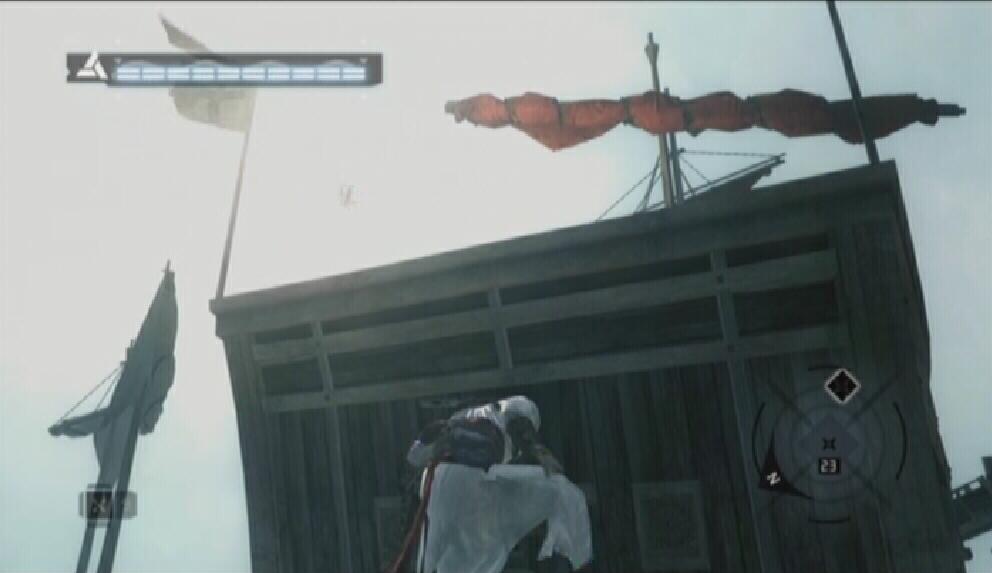
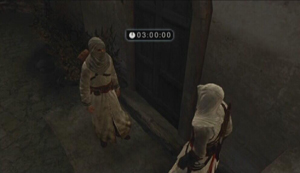
While hanging from the vessel, wait until Sibrand appears above and fires some arrows. Once he is done, he will turn around and move towards some steps that will take him down to the lower deck. Sibrand has two body guards on the ship with him. As soon as he turns around, pull yourself up onto the vessel and get behind him. Get close enough to him and end his life with the Hidden Blade before he reaches the lower deck.
Sibrand
|
Assassination
|
Head back towards the back of the ship and hop down onto one of the posts below. From there, jump across the boats in the water until you reach land. Free-Run out of the dock area and follow the marker on your GPS to reach the Bureau. When you are near the Bureau, lose the guards by first breaking the line of sight and then taking cover in a roof garden, haystack, or on a bench between two people. You can't enter the Assassins' Bureau unless you are Anonymous.
Tell the leader of your success once you have entered the Bureau. Afterwards, you have the option of fast forwarding to Al Mualim back in Masyaf. If you have done everything you wish to in Damascus (scaling View Points, rescuing civilians), then do so.
Al Mualim Promotion
You are promoted to Rank 8, which ups the damage you deal with the Short Blade. That's it. To the Kingdom!
To Damascus
From the list of cities, select 'Damascus' in order to fast forward to the city's exterior. Gallop down the slope towards the city gate and dismount your horse once you reach the guards. Locate the group of Scholars on your map and Blend with them to get by the guards and enter the city. The investigations take place in the Middle District, so open up your map and place a marker somewhere within the Middle District.
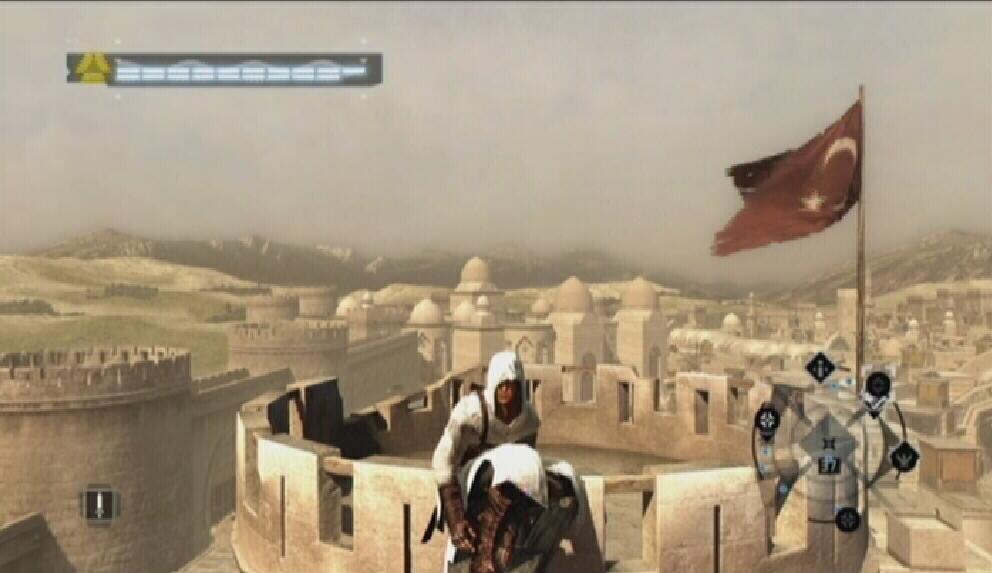
There aren't any View Points marked on your map, so you'll have to find one yourself to kick things off. Look for a large, circular tower in the northwestern end of the Middle District. Scale the tower's northern face to reach the top. Once on the tower, kill the guard and then use Eagle Vision to scan the area below. Doing so adds a couple of investigation locations to the map, as well as each and every View Point in the district.
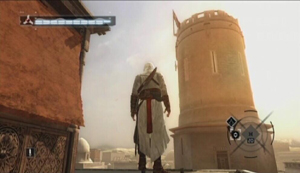
Tower
|

View Point
|
Climbing the second northeastern-most View Point will reveal the bulk of the investigations. There are seven View Points to scale and eight citizens to rescue in this district. You can take the time to complete all of the optional objectives or you can jump right into the investigations. You must complete three of the six investigations to unlock the Assassination memory.
Damascus Investigations
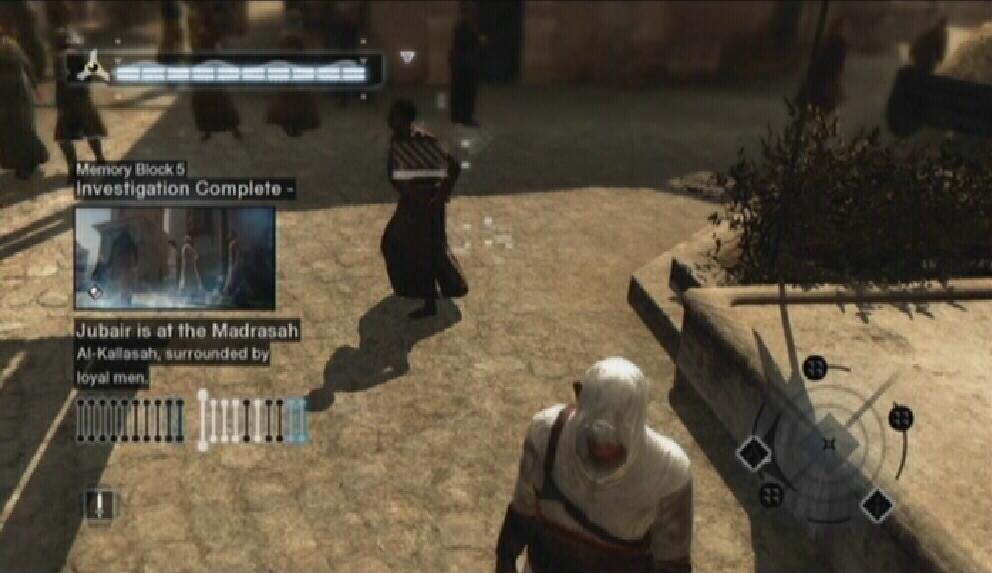
Memory Strand 1 - Pickpocket Northwest: Look for a large, circular tower in the northwestern end of the Middle District. Scale the tower's northern face to reach the top and then use Eagle Vision to pinpoint this investigation. Stand near the two men conversing beneath a palm tree. Lock onto the letter carrier to begin. Follow behind the letter carrier when he starts moving. When you are close enough, pickpocket the letter. The letter explains that Jubair is working to destroy every piece of writing in the city. He can be found surrounded by his most loyal men.
Target
|

Pickpocket
|
Memory Strand 2 - Eavesdropping Northeast: Climb to the top of the northeastern View Point and use Eagle Vision to add the location of this one to your map. Enter the enclosed area and look for two men conversing. Sit on the bench across from them. By eavesdropping, you discover the Jubair holds daily meetings with his students. The students then take to the streets to spread their master's message.
Target
|

Bench
|
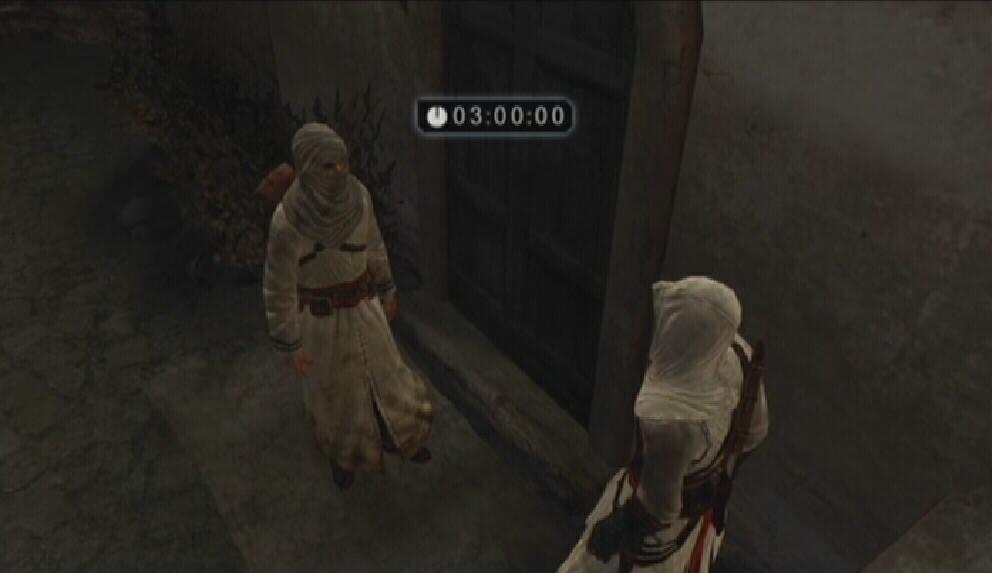
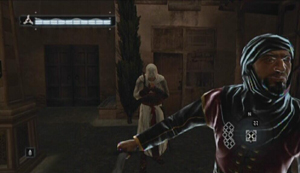
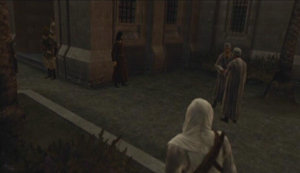
Memory Strand 3 - Interrogation North: Climb to the top of the second northeastern-most View Point and use Eagle Vision to add the location of this one to your map. Look for a man at the top of some steps, publicly speaking in front of a large door. Lock onto the man to begin. When he is finished speaking, follow him to a nearby street. Before you start the interrogation, scan the area for thugs. When you've beaten him up enough, the man tells you that Jubair's men take books and parchments from citizens and burn them.
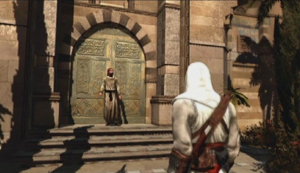
Target
|
Interrogation
|
Memory Strand 4 - Informer North: Climb to the top of the second northeastern-most View Point and use Eagle Vision to add the location of this one to your map. The informer is standing at the end of an enclosed area. He wants you to eliminate five of Jubair's men and return to him without being exposed. You are given five minutes to eliminate all five men and return to the informer. Three of the targets wander the street, the other two are on rooftops. Start with the ground level targets. Use your Hidden Blade on the targets when there aren't any guards nearby. The two rooftop targets are easy to kill since you won't have to worry about being seen by other guards.
If you become Exposed at all during this mission, do not kill the guards that confront you, but instead flee from them and take cover somewhere until your status reverts to normal. If you fail the investigation and decide to kill the guards, the corpses will remain when you retry. This will cause all guards in the area to be suspicious of you, making things needlessly difficult. When you have eliminated all five targets, return to the informer and tell him of your success. He hands over a map that shows Jubair's book burning locations as thanks.
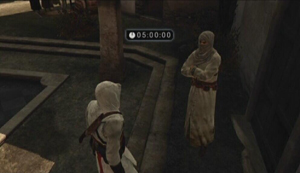
Informer
|
Target
|
Memory Strand 5 - Informer Northwest: Look for a large, circular tower in the northwestern end of the Middle District. Scale the tower's northern face to reach the top and then use Eagle Vision to pinpoint this investigation. The informer can be found standing next to a low wall, in front of a closed door. There are three targets to eliminate with three minutes to complete the task and return to the informer. Two of the targets are on ground level and one is on a rooftop. Seek out and assassinate the guards on ground level first, then move up onto the rooftops.
The rooftop target is on the roof of the building across from the informer's location, so once you have killed that target you can just drop back down into the street and talk to the informer. Your assassin friend tells you that Jubair wears rich, golden robes and carries a pouch. This distinguishes him from his followers.
Informer
|

Target
|
Memory Strand 6 - Pickpocket Northeast: Climb to the top of the second northeastern-most View Point and use Eagle Vision to add the location of this one to your map. Look for three men standing below a tall palm tree. Stand near the fountain that is in the middle of the courtyard. Blend while the letter carrier moves towards the fountain. When he passes by, turn around and pickpocket him to acquire a letter. You learn that Jubair should be within a garden.
Target
|
Pickpocket
|
Damascus Assassination
Memory Strand 7 - Knowledge: Once you have completed at least three of the investigations in the Middle District of Damascus, enter the city's Assassins' Bureau and speak to the bureau leader. Afterwards, take the feather that is placed on the counter and leave the Bureau.
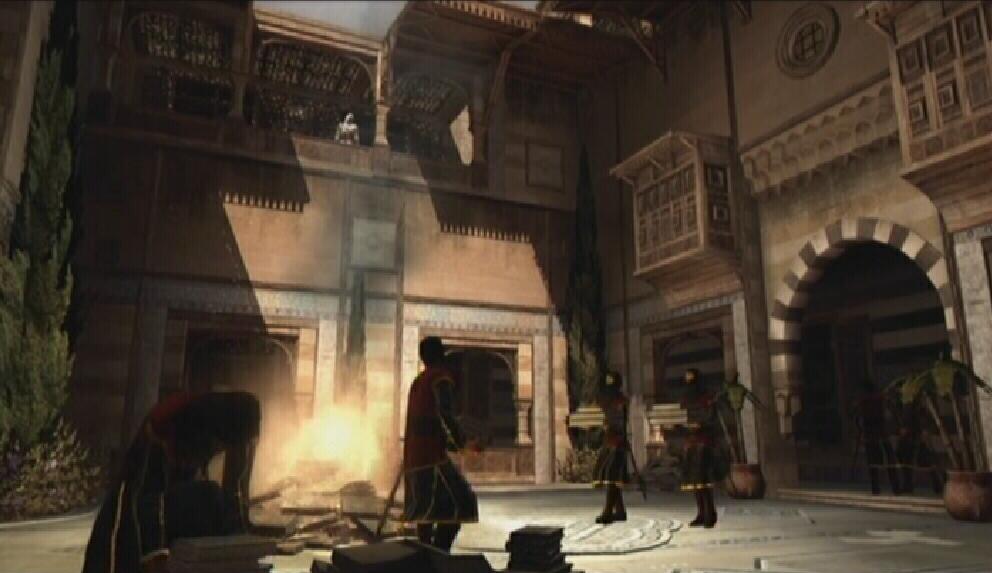
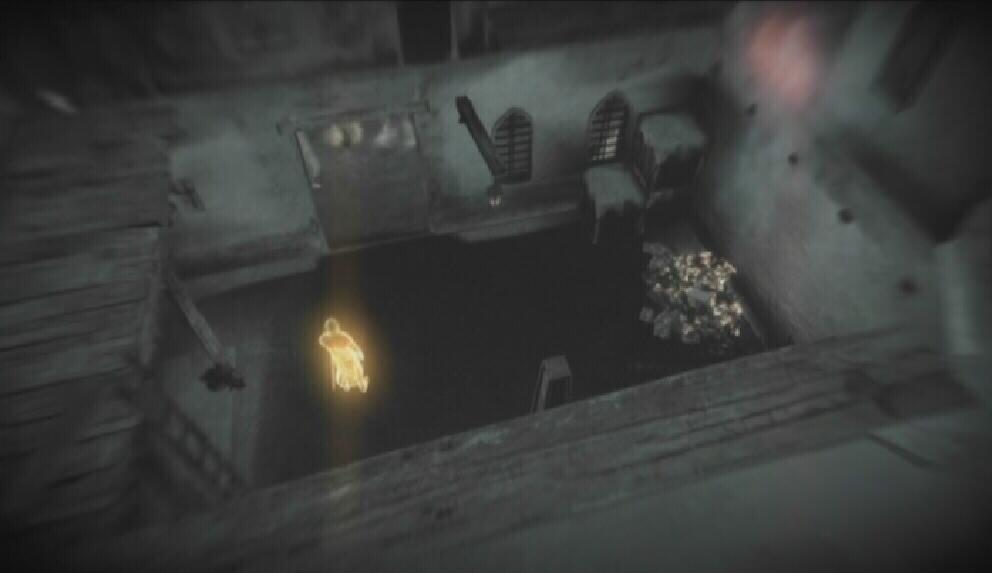
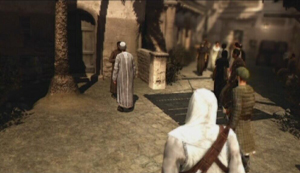
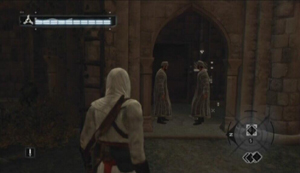
Memory Strand 8 - Assassination: Follow the marker on the GPS to the 'Madrasah Al-Kallasah' where Jubair and his students are having one of their daily meetings. Jump onto the rooftop of this building and go down the steps to reach a walkway. Watch the events that take place in the area below. Afterwards, Jubair and his followers take to the streets to collect more text to be burned.

Book Burning
|
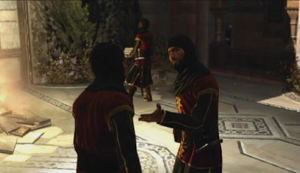
Jubair Al Hakim
|
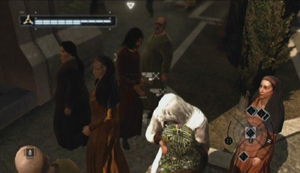
As you can see there are six markers on your map. Only one of these markers is Jubair. Unfortunately, Jubair and his followers are dressed similarly and mostly sound the same. Jubair's uniform differs slightly from his students' uniforms. He wears golden robes and carries a pouch at his side. A simple way to determine if you're looking at your assassination target is to use Eagle Vision while the Sync bar is full. When you use Eagle Vision, Jubair' students appear red, while he appears gold. There is no need to kill his students, so just move on if Eagle Vision shows a target to be one.
Student
|

Jubair
|
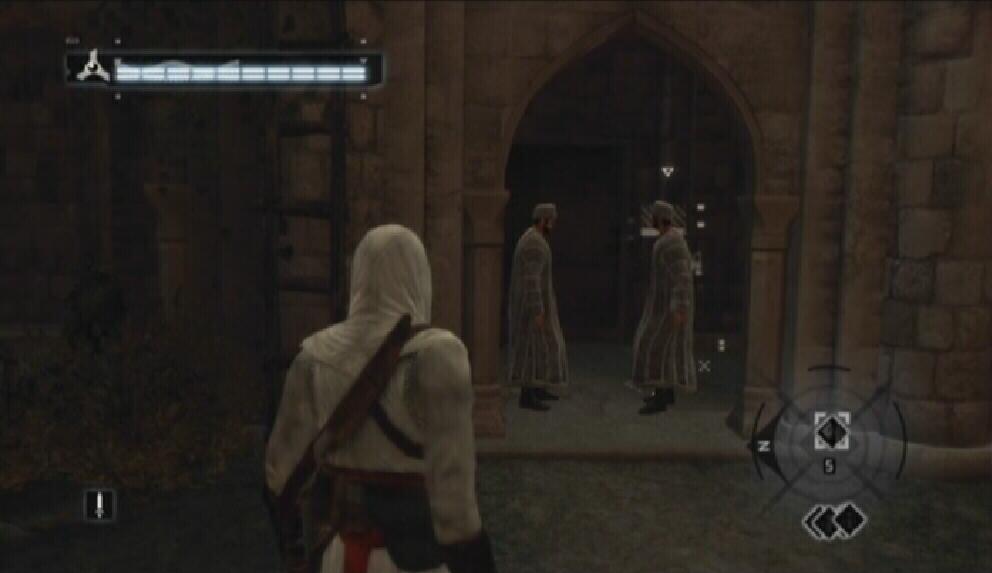
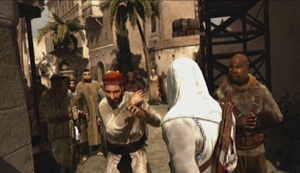
Start with the southeastern-most assassination target which might be Jubair, though it could be entirely random. When you have located your true target, be sure to eliminate all archers on the surrounding rooftops (using either your Hidden Blade or Throwing Knives) and then drop down into Jubair's area. Jubair won't perceive you as a threat, but Blend to keep the guards who are blocking the doorway from attacking you. With your Hidden Blade selected, approach Jubair and assassinate him.
Assassination
|
Now for your escape. Free-Run out of the enclosure and get up onto the roof if you can. When you are near the Bureau, lose the guards on the rooftop by first breaking the line of sight and then taking cover in a roof garden. You can't enter the Assassins' Bureau unless you are Anonymous. Tell the leader of your success once you have reached the Bureau.
This guide is copyright 2007 SuperCheats.com, no part of it may be reproduced without permission.