Assassins Creed - Memory Block 3 Walkthrough
Skip to Sections...
Intermission
Al Mualim
To Acre
Acre Investigations
Acre Assassination
Al Mualim Promotion
To Jerusalem
Jerusalem Investigations
Jerusalem Assassination
Intermission
Once Vidic has left the room, speak to Lucy a few times. When you�re done talking to her, check out the e-mails on her computer. After that, enter Desmond�s room and sleep. The following morning, chat with Warren until Lucy comes in. Hop onto the animus to start.
Al Mualim
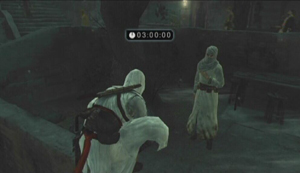
The master praises you for your successful assassination, promoting you to Rank 2. You receive the Short Blade and gain the Counter Attack and Combo Kill abilities. Being able to counter your opponents will make open combat much easier. To counter, hit the Weapon Hand button when your opponent is about to strike you. Step into the ring outside and practice countering with the Masyaf guards.
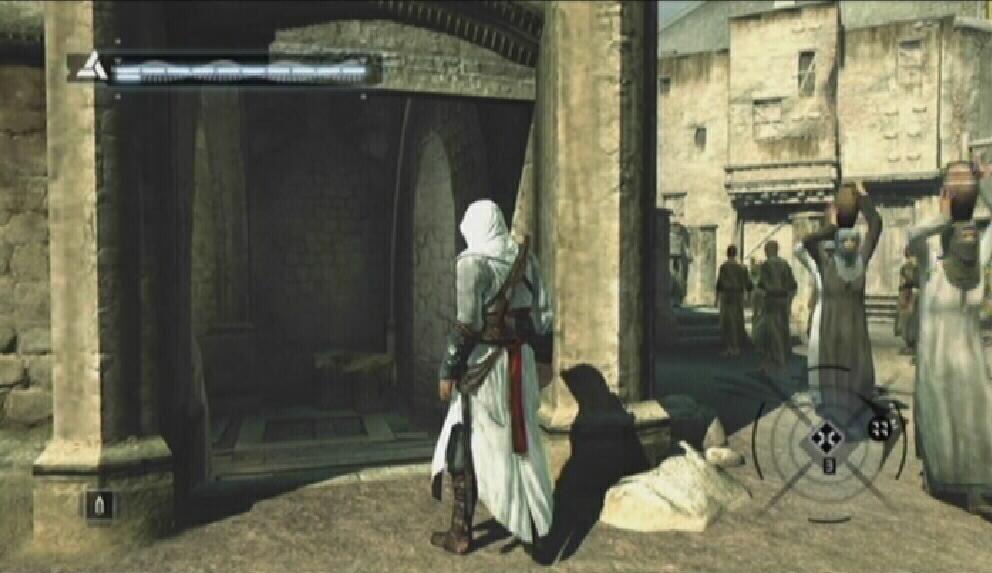
As for your mission, there are two men that need killing in this memory block. One of your targets is Garnier de Naplouse who can be found in Acre. The other is Talal in Jerusalem. You can do these in any order, but if you are following this walkthrough, we�re going to Acre first. Make your way to the large gate at the end of the village, get on one of the horses there and gallop to the Kingdom.
To Acre
The city of Acre is located at the southwest end of the Kingdom. To avoid confusion, open up your map and set a marker on Acre. Doing so not only highlights Acre�s location, it also displays your distance from the city. Follow the GPS and eventually you will reach a series of archways leading to Acre.
Acre
|
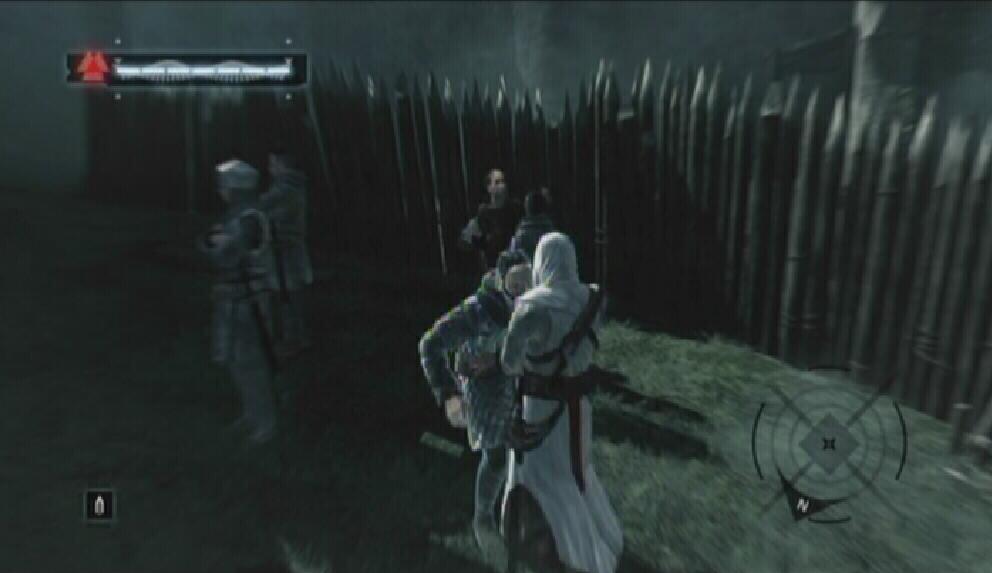
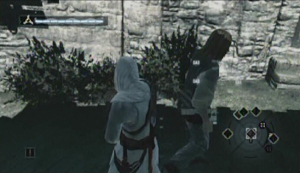
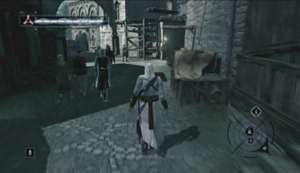
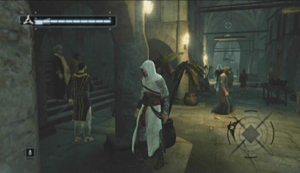
While riding your horse, be sure to Blend. There are plenty of guards outside of Acre, and the last thing you want to do is start trouble out here. Approach the city gate until you reach the guards. Dismount your horse at this point. Just as you did in Damascus, you�ll have to befriend some Scholars if you hope to enter Acre. Look behind the wooden fence near the city gates to find a group of guards terrorizing a man. With your Hidden Blade selected, stroll up to a guard that is standing by and Low Profile kill him. If possible, move on to the next idle guard and then onto one of the attackers. It is unlikely that you can take out more than two of them before you are noticed.
Save Citizen
|
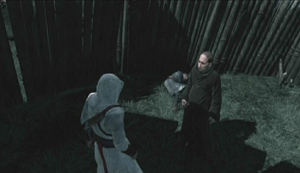
Rescued Man
|
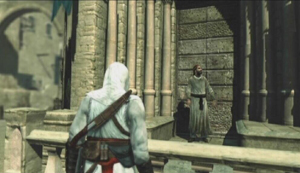
Afterwards, speak to the man and a group of Scholars will appear nearby. Approach the group and press the Legs button while in Low Profile to join them in their march. Their path leads directly into Acre. The guards blocking the entrance to the city will part, allowing the Scholars, and you, to pass. Once past the guards, tap the Legs button to step away from the group. There is a single View Point marked on your map, which is just a little ways west of the city entrance.
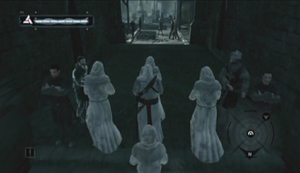
Scholars
|
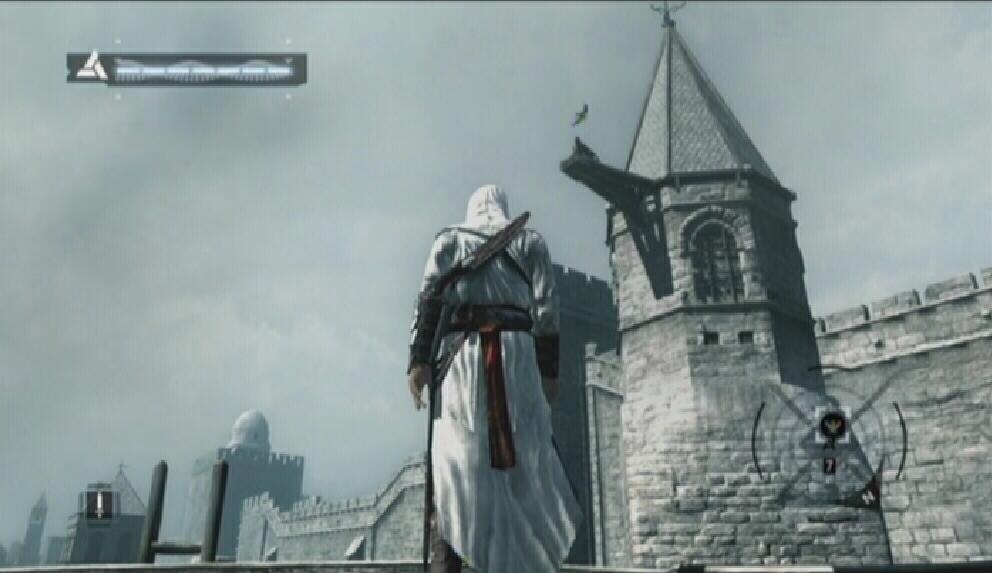
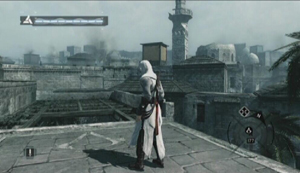
It�s a good idea to scale all eleven View Points and save all twelve of the citizens in the Poor District of Acre before you start the investigation. Doing so, however, is not the least bit necessary. You need to complete two of the six investigations in the Poor District before the Assassination memory is accessible. Regardless of your intentions, start by climbing the View Point marked on your map and use Eagle Vision on the ledge.
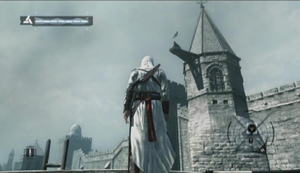
View Point
|
There are archers on the rooftops in Acre. If you come across one, Free-Run towards them with the Hidden Blade selected and High Profile kill them. Try to kill them this way while their back is turned, although you can get them before you reach Exposed status. If you can�t kill them with your Hidden Blade, use your Long Sword to deal with them.

High Profile Kill
|
Acre Investigations
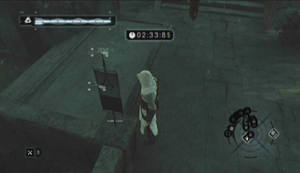
Memory Strand 1 - Informer Northeast: Climb the northeastern View Point to mark this investigation�s location on your map. You�ll find an informer near a haystack. Lock onto the informer to start the mission. You have three minutes to collect the twenty Masyaf flags in the area. This is simple enough, as they are all marked on your GPS. If you fail to find all of the flags in three minutes, stand by until the mission is reinitialized. Start with the two behind the informer and then move on to the trail of flags along the rooftops on the opposite end of the area. When you have all twenty flags, return to the informer in time to receive some information. You learn that your target, Garnier, can be found in the Hospitalier fortress.
Informer
|
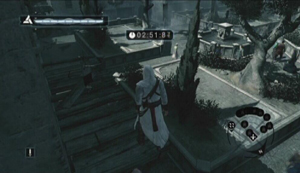
Flag
|
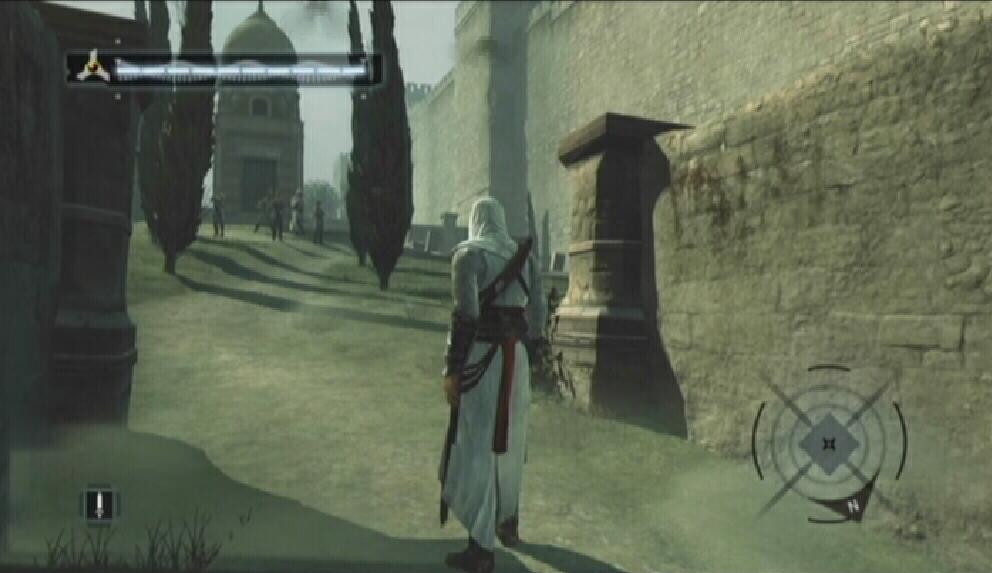
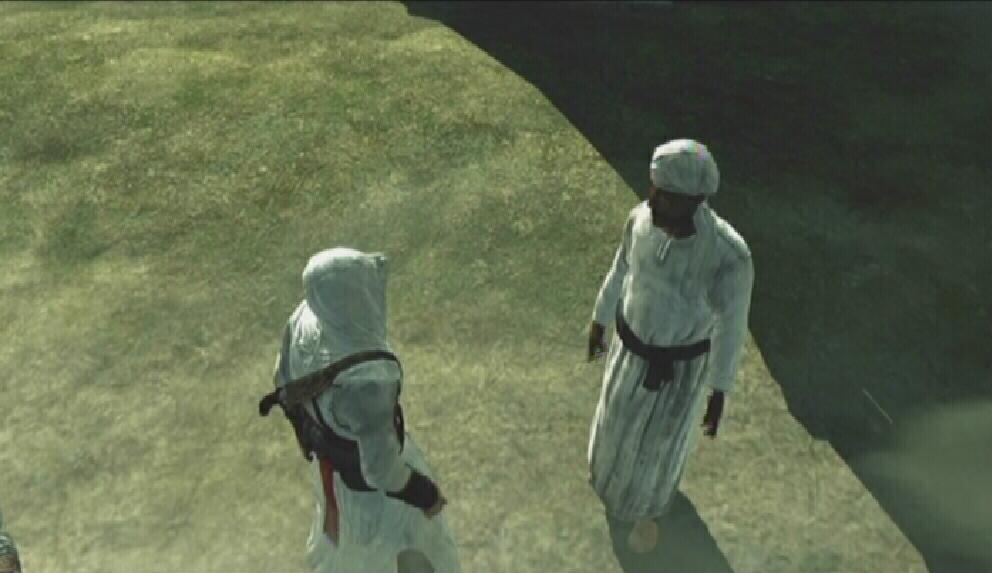
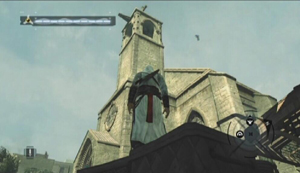
Memory Strand 2 - Interrogation South: Scale the church far west from the Bureau to find the location of this one. There is a man giving a speech near the church. Lock onto him and wait until he is finished speaking. Remember, guards will not interfere with a fistfight, but any thugs in the area will. The thugs are the large men wearing leather armor. There are a few thugs around the church, so follow the man somewhere away from them and start punching him. You should be clear once he heads down some steps. When you have punished him enough, he tells you that Garnier becomes quite preoccupied while he is tending to his patients.
Target
|
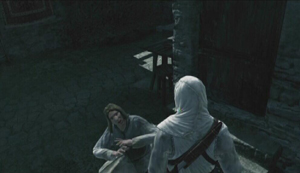
Interrogation
|
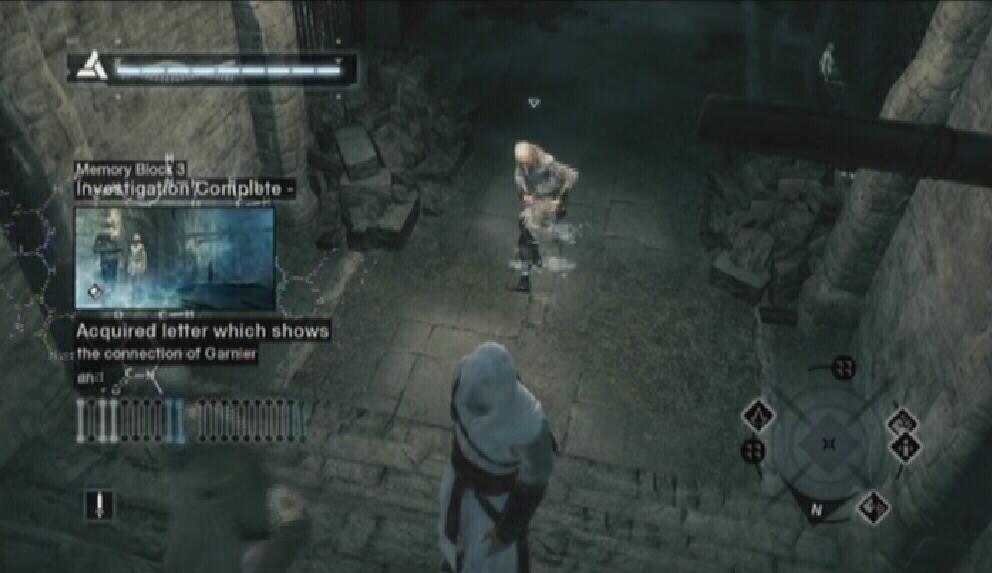
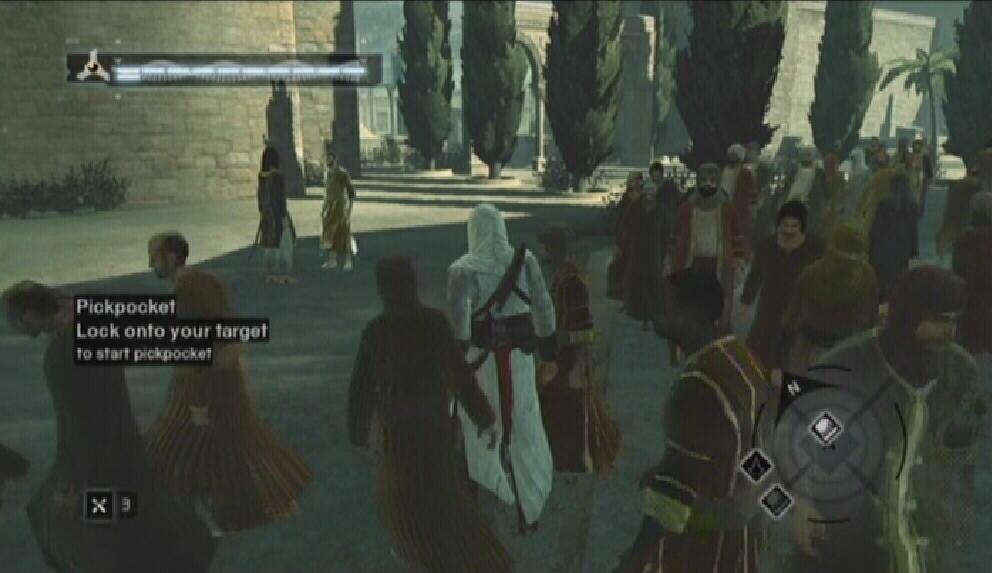
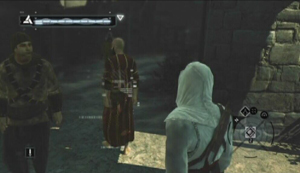
Memory Strand 3 - Pickpocket South: Scale the View Point northwest of the Assassin�s Bureau to mark the location of this investigation on your map. There are two men conversing in a narrow tunnel. You�ll have to get past a couple of guards if you take the direct route. Stand near the tunnel south of their location. Blend while the letter carrier approaches. Turn around and pickpocket him when he walks past you. You learn of a possible connection between Garnier and your target in Jerusalem, Talal.
Target
|
Pickpocket
|
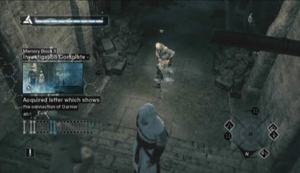
Memory Strand 4 - Pickpocket East: Scale the View Point that is north of the Bureau to reveal the location of this investigation. Find the two men speaking underneath a wooden shelter. Stand down near the stairs north of their location and lock onto the letter carrier. Blend as the letter carrier walks towards you. As he passes you, turn around and take the letter from him. The letter explains that the candelabras inside of the Hospitalier fortress are being replaced.

Target
|
Pickpocket
|
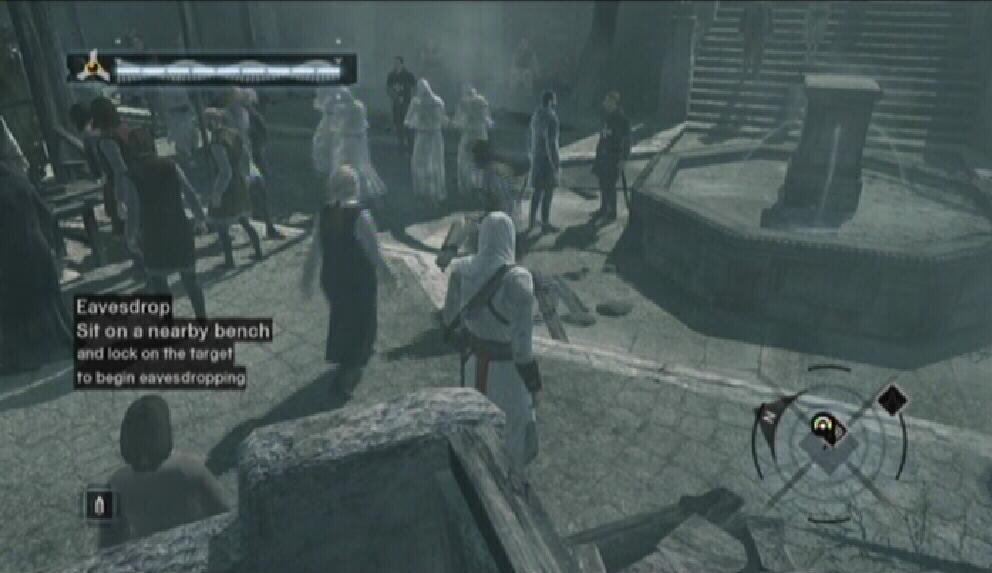
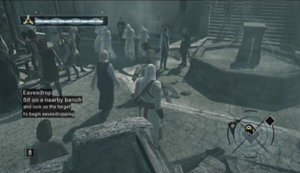
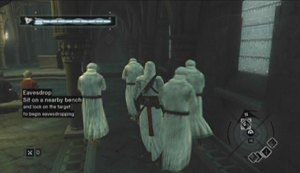
Memory Strand 5 - Eavesdropping Northwest: Using the View Point in the Northwest corner of the Poor District will reveal the location of this one. Look for the two guards conversing next to the fountain. Sit on the bench by the stairs, lock onto one of them and listen in on their conversation. By listening to them, you learn that there are some rooftop patrol guards absent from duty.
Target
|
Bench
|
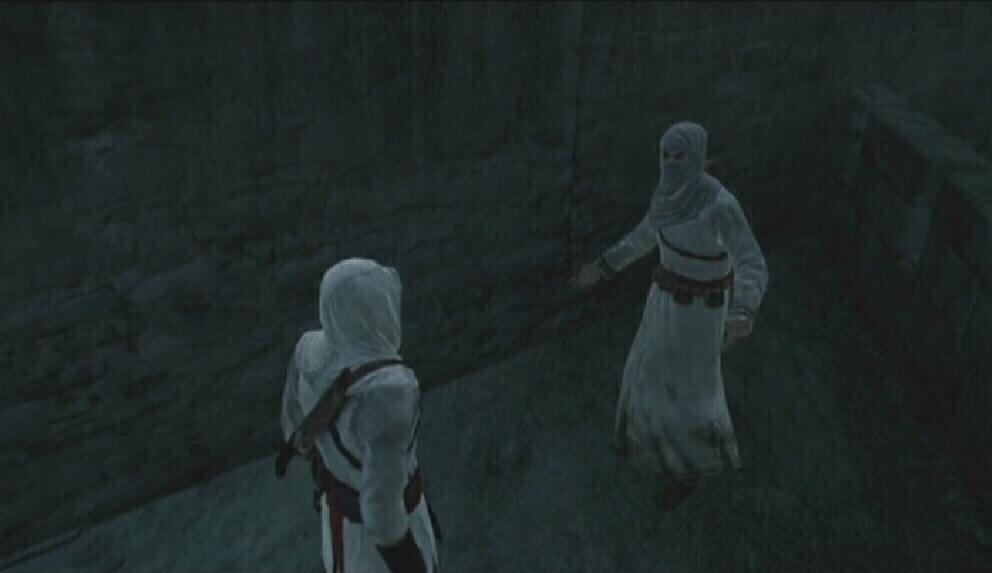
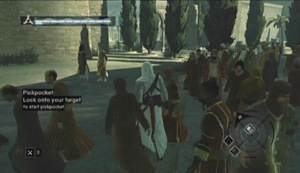
Memory Strand 6 - Informer Southwest: Scale the small tower in the southwest corner of the Poor District for this one. The informer can be found in the shadows next to a tall building near the guard rails. He asks you to assassinate one target and return to him without being exposed. Follow the target marker on the GPS to locate the objective. Have your Hidden Blade selected and follow behind the target. When close, kill him with your Hidden Blade while in Low Profile. Now you must make it back to the informer without alerting the guards. If you fail in this, lock onto the informer again to retry. There is no time limit, so Blend all the way back if your status is red and beeping. The informer tells you that only Scholars may enter the Hospitalier fortress rooftops area.

Informer
|
Target
|
Acre Assassination
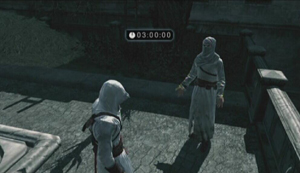
Memory Strand 7 - Knowledge: Once you have completed at least two of the investigations in the Poor District of Acre, enter Acre�s Assassins� Bureau and speak to the bureau leader. Afterwards, take the feather that is placed on the counter and leave the Bureau.
Bureau Entrance
|
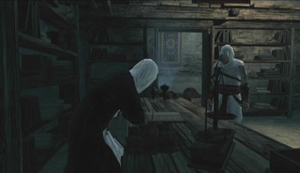
Bureau Leader
|
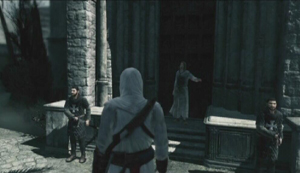
Memory Strand 8 - Assassination: Use the GPS to reach the Hospitalier fortress. You can enter the fortress by climbing up onto the building at the far end of its eastern wall. There is a ladder leaning up against the wall that you can use to reach the rooftop. Just be careful as there are archers on the rooftop. Stealth kill them with the Hidden Blade to avoid any trouble. With all of the guards on the rooftop slain, drop down into the area below to trigger a scene.
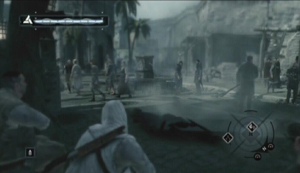
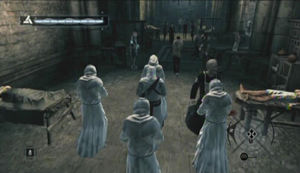
A crowd gathers as your target, Garnier de Naplouse, has one of his patients brutalized by a couple of guards. Following the scene, quickly Blend as the guards are already suspicious of you. Look for a doorway in the bottom left corner of the western wall. A group of Scholars stands just beyond the
threshold. Blend with the Scholars as they march around the inner area of the fortress.
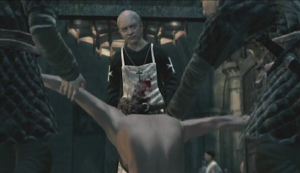
Garnier de Naplouse
|
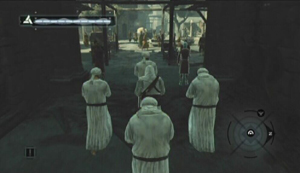
Scholars
|
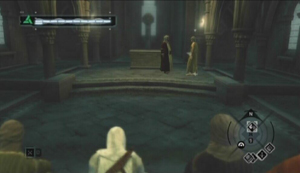
Keep an eye on your GPS as the Scholars move along. The number shown is your distance from Garnier. Be sure you have the Hidden Blade selected. When the Scholars march past Garnier, break away from the group and use the Hidden Blade on him while in Low Profile. Alternatively, you could Blend towards Garnier and wait until he has his back turned while he tends to a lying patient and strike him from behind.
Garnier
|

Assassination
|
All attention turns to you after the assassination. It�s time to high-tail it out of there! There are plenty of people here to get in your way, so be careful not to bump into them and fall over while free-running. With the city in high alert, there is no point in trying to lose the guards now, as they will quickly turn on you again as you make your way to the Bureau. Free-Run through the streets and try to get onto a rooftop so you can avoid the crowds at ground level.
Lose the guards on the rooftops when you are close to the Bureau. As soon as you have broken the line of sight, find a roof garden or haystack and hide there until your status reverts to Anonymous.
You can�t enter the Assassins� Bureau unless you are Anonymous. Tell the leader of your success once inside the Bureau. Afterwards, you will receive the option of fast forwarding to Al Mualim back in Masyaf. If you have done everything you wish to in Acre (scaling View Points, rescuing civilians), do so.
Al Mualim Promotion
Al Mualim promotes you to Rank 3 and rewards you with Throwing Knives and the Tackle ability. Throwing Knives are quite useful for taking out patrolling guards on rooftops. You are limited to five Throwing Knives at once, but you are able to carry more as you grow in rank. If you run out of Throwing Knives, you can pickpocket more from thugs. Thugs are the large men wearing leather armor that can be found roaming the streets of most cities. You can easily identify them due to the fact that they are targetable citizens. Just pickpocket the Throwing Knives as you would a letter during a Pickpocket investigation.
The Tackle ability is quite useful when you are on the run, as you can knock people down while free-running rather than bumping into them and being knocked down yourself. However while holding the Empty Hand button you will run more slowly, so only hold the button just as you are about to connect with a person. You can practice this ability with the Masyaf guards if you wish.
To Jerusalem
The city of Jerusalem is located at the southeast end of the Kingdom. To avoid confusion, open up your map and set a marker on Jerusalem. Doing so not only highlights Jerusalem�s location, it also displays your distance from the city. Follow the GPS and eventually you will reach a series of archways leading to Jerusalem. Gallop down the sloping path leading to the city. While riding your horse, be sure to Blend. There are plenty of guards outside of Jerusalem and the last thing you want to do is start trouble out here. Jerusalem�s guards are noticeably tougher than Acre�s brand, so you�ll want to be extra careful.

Jerusalem
|
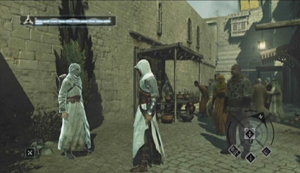
Approach the city gate until you reach the guards. Dismount your horse at this point. You�ll have to befriend some Scholars if you wish to get by the guards. While facing the gates, turn left and enter the small courtyard. A man in the distance is being terrorized by some guards. With your Hidden Blade selected, stroll up to a guard that is idle and Low Profile kill him. If possible, move on to the next idle guard and then onto one of the attackers. It is unlikely that you can take out more than two of them before you are noticed.

Save Citizen
|

Rescued Man
|
Afterwards, speak to the man and a group of Scholars will appear nearby. Approach the group and press the Legs button while in Low Profile to join them in their march. Their path leads directly into the city of Jerusalem. The guards blocking the entrance to the city will part, allowing the Scholars, and you, to pass. Once past the guards, tap the Legs button to step away from the group. There is a single View Point marked on your map, it is the bell tower of the church near the city gate.
Scholars
|
It�s a good idea to scale all nine View Points and save all twelve of the citizens in the Rich District of Jerusalem before you start the investigation. Doing so, however, is not the least bit necessary. You need to complete two of the six investigations in the Rich District before the Assassination memory is accessible. Regardless of your intentions, start by climbing the View Point marked on your map and use Eagle Vision on the ledge.
View Point
|
There are archers on the rooftops in Jerusalem. If you come across one, Free-Run towards him with the Hidden Blade selected and take him out with a High Profile kill. Try to kill guards this way while their backs are turned, although you can get to them before you reach Exposed status if you Free-Run. If you are unable to eliminate a guard with your Hidden Blade, use your Long Sword to deal with them.
Jerusalem Investigations
Memory Strand 1 - Informer North: Reach the ledge of the View Point true north of the Bureau for this investigation�s location. The Informant is standing near a merchant stand. He asks you to eliminate two of Talal�s men and return to him without being exposed. In return for your service, the informer promises to reveal some information about Talal. There is no time limit, so this should be simple enough.
Follow the markers on the GPS to locate one of the targets. Both men can be found by traveling down the alleyway next to the informer. One of the targets is idle, you can easily kill him by moving around the pillar to get behind him. Low Profile kill him with your Hidden Blade equipped. The second target patrols the alleyway. Wait until he passes by you and then turn around and Low Profile kill him. Be sure that he is not accompanied by any guards, because if he is, you�ll likely get caught. With both targets eliminated, return to the informer. He tells you that Talal is located in the north sector of the city.
Informer
|
Target
|
Memory Strand 2 - Interrogation East: Climb up to the bell tower of the church near the city gate and use Eagle Vision to find the location of this objective. A man stands on a platform below the church. Lock onto him and wait until he finishes his speech. Afterwards, follow him to a relatively empty location and start punching him until he gives you some information. Remember, guards will not interfere with a fistfight, but any thugs in the area will. The thugs are the large men wearing leather armor. You learn that Talal holds slaves in a warehouse.
Target
|
Memory Strand 3 - Pickpocket Southeast: Scale the southwestern View Point to add the location to the map. Use the marker on the GPS to locate two men conversing. Stand back and wait until their conversation is over. Afterwards, Blend in the carrier�s path. When he passes by, turn around and take the map from him.

Target
|
Pickpocket
|
Memory Strand 4 - Pickpocket Southwest: Scale the southwestern tower (the one just below the Bureau) to add this location to the map. Locate the two men and lock onto them when you are close enough. Give the carrier some time to walk away and then begin following him. Pickpocket a map from the man while he is not looking. The map shows the different locations that Talal may run to if he flees from a fight. The map shows the position of his personal guards.
Target
|
Memory Strand 5 - Informer Southeast: Scale the southwestern View Point to add the location to the map. You�ll find the informer in the marketplace beneath a tree. You have three minutes to collect the eighteen Masyaf flags and return to the informer. You are given more than enough time to collect the flags, so this task shouldn�t be a problem. Start with the flag behind the informer and then head up the stairs and start following the trail of flags onto the rooftops. If you fail to collect the flags in time, return to the informer and lock onto him again to retry. When you have delivered all of the flags, the informer tells you that Talal�s servants are particularly loyal and will sacrifice themselves to aid him in the event that he must escape.
Informer
|
Flag
|
Memory Strand 6 - Eavesdropping Northwest: Scale the View Point in the top-right corner of Jerusalem to add the location of this one to the map. Two men are conversing inside of a church. There are two guards blocking the entrance to this church. There is a citizen near the church that needs rescuing from the guards. Saving this citizen spawns a group of Scholars, allowing you to enter the church unharmed. Once inside, sit on the bench nearest the front and eavesdrop on the two men near the podium. You learn that Talal uses his bow during combat.
Scholars
|
Bench
|
Jerusalem Assassination
Memory Strand 7 - Knowledge: Once you have completed at least two of the investigations in the Rich District of Jerusalem, enter Jerusalem�s Assassins� Bureau and speak to the bureau leader. Afterwards, take the feather that is placed on the counter and leave the Bureau.
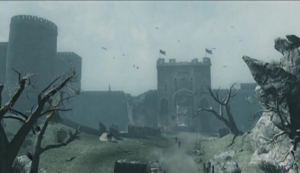
Memory Strand 8 - Assassination: Use the GPS to reach Talal�s location, which is a large building in the top right corner of the Rich District. Four guards seemingly block your progression, however there is a ladder on the wall to the right of their position. Climb up the ladder. There should be an archer up there standing on a wooden awning. Grab hold of the archer and throw him off the building (press the Empty Hand button while in High Profile). If done correctly, he will fall down to the ground below, causing the guards to leave their post. Quickly climb back down the ladder and move under the archway.
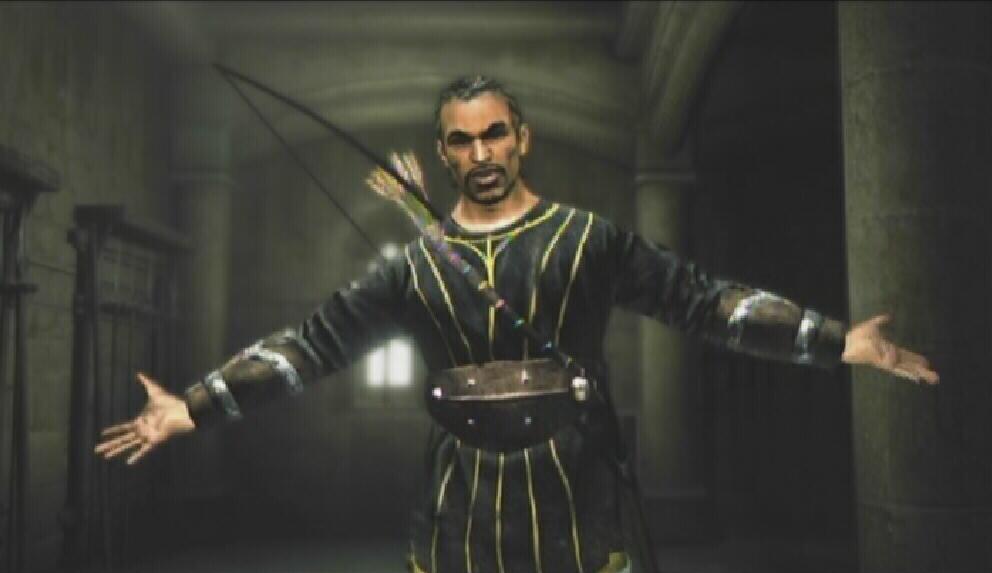
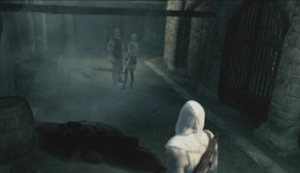
Remain Low Profile in this area, Blend only if the status icon is flashing red and beeping. Continue to follow the GPS until you reach a doorway. Step inside to trigger a cutscene. You�ll find yourself in Talal�s slave warehouse. After some brief dialogue with Talal, step through the gate that is opened.

Entrance
|
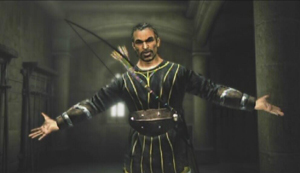
Talal
|
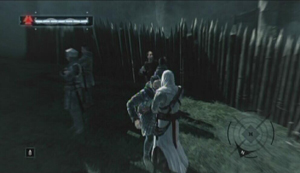
Use the Long Sword to fight Talal�s men. With them out of the way, climb up the ladder and start pursuing Talal. Move to the opposite end of the walkway and climb up the ladder there to continue following your target across the rooftops. Free-Run after Talal with your Hidden Blade equipped. When you are close enough behind him, press the Weapon Hand button while free-running to pounce on him and drive your blade into him. If you took the time to rescue the citizens in the Rich District, there is a good chance that Talal will be stopped by an allied Vigilante group if he manages to extensively evade you at ground level.
With the city in high alert, there is no point in trying to lose the guards now, as they will quickly turn on you again as you make your way to the Bureau. Free-Run through the streets and try to get onto a rooftop so you can avoid the crowds at ground level. Remember, you can Tackle people out of the way while free-running (this is if you carried out the Acre assassination first).
Lose the guards on the rooftops when you are close to the Bureau. As soon as you have broken the line of sight, find a roof garden or haystack and hide there until your status reverts to Anonymous. You can�t enter the Assassins� Bureau unless you are Anonymous. Tell the leader of your success once inside the Bureau.
This guide is copyright 2007 SuperCheats.com, no part of it may be reproduced without permission.