Tutorial
The Elder Scrolls IV: Oblivion Walkthrough and Guide
The Elder Scrolls IV: Oblivion Guide - Main Quest Walkthrough
Tutorial
Once the opening video has concluded, the game begins with your character in the Imperial Prison. Your first task here is to develop your onscreen persona. At this point, you are only able to define your character's physical features, race, and gender, and then name him or her. You will, however, be permitted to alter other aspects of your character at fixed points in the tutorial.
Due to the expansiveness of the character creator, you may want to avoid spending too much time perfecting your character's appearance at this point. You'll have another opportunity to tweak your character's final appearance at the end of the tutorial. If you are having difficulty deciding which race to choose for your character, refer to the “Character Creation” section of this guide for information on each race, as well as information on every other decision that must be made during the character creation process. Once you have named and designed your character, exit the character creation menu to begin.
Your character's story begins in a cold, dank cell in the Imperial City Prison. There isn't much in this cell, aside from some bones and a couple of jugs. Don't bother picking any of these items up, as they are virtually useless and serve as nothing more than deadweight in your inventory. Your character is not alone in this prison, as is evident by the rather belligerent Dark Elf who occupies the cell across the way. This rather detestable fellow immediately begins to hurl insults at your character shortly after you take control.
 Clear the way for the Emperor and his guards. |
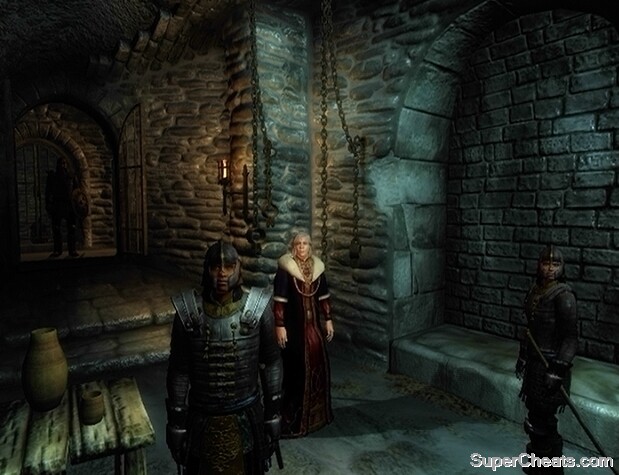
Just as you are becoming acquainted with you new friend, a group of guards enter the cell block. They're headed your way, and accompanied by the Emperor no less! One of the guards commands you to go and stand over by the cell window, with the assurance that you will not be harmed provided you follow their orders. Go and stand over by the window and the guards will proceed to unlock the door and enter the cell.
Emperor Uriel Septim apparently recognizes your character from a dream. A short dialogue sequence with the Emperor will ensue. Select whichever dialogue options you wish. The Emperor explains that his sons have been murdered by assassins, and he therefore must escape through a secret passage as it is believed that he is next on the chopping block. When your conversation with the Emperor comes to an end, one of the guards will activate a Press Block to reveal a secret passage in the cell. Follow the Emperor and his guards through this passage. The party eventually comes to a halt, and a group of assassins will then appear and attempt to take down the Emperor. Captain Renault is slain during this attack, so feel free to arm your character with the Steel Sword or Akaviri Katana she was carrying.
The Emperor and the two remaining guards will head through a door that leads into the Imperial Subterrane. You are not able to follow them through here, but luckily a new passage opens up just to the right of this door. There are some rats in this next area, so be sure to have a weapon equipped before venturing forth.
Notifications explaining the basic controls of Oblivion will pop-up throughout the tutorial. If you are confused at all about any of the mechanics that have been explained thus far, you can press the B button to call up the Journal menu and re-read any of the notifications from there. From the Journal menu, press RT or LT to move over to the Map/Quest section (the tab on the far right) to view the tips that have been displayed on screen so far.
In the proceeding area, search the Goblin corpse to find an Iron Key. Approach the door at the end of this area and attempt to open the door to the Imperial Substructure. It is locked, but can be opened using the Iron Key you just picked up.
Loot the Goblin's corpse for an Iron Key to gain easy access to the Imperial Substructure. |
Upon entering the Imperial Substructure area, head straight and turn left when you reach the opening. Follow this path until you reach some enemies. You'll most likely be facing a few rats, and perhaps a Zombie. If the rats and the Zombie are fighting each other when you encounter them, allow them to finish their fight, and then move in to take out the winner. The remainder of this area is quite straightforward. If you feel lost, press the B button to bring up the Journal menu and use RT or LT to go to the Quest/Map section (the tab on the far right). From this menu, use the Left Thumbstick to switch to the area map.
At the end of the Imperial Substructure is a wooden door to the Natural Caverns. Enter the Natural Caverns when you come to this door. Upon entering this area, move forward and you will eventually receive a quest update, which will explain the mechanics of sneaking. If you have a Torch equipped, be sure to put it away before proceeding, as the Goblin will definitely spot you otherwise. Once the Goblin has been dealt with, scour the small encampment to find a Chest behind some rocks. Attempt to open this chest to get a lesson on lockpicking.
Up ahead are more goblins, as well as some traps. As you exit the area with the first Goblin you encountered, keep an eye out for some hanging spike traps. Further ahead, there is a trip wire and a Goblin. Get the Goblin's attention and he should approach and trip the wire, which will most likely result in him being killed by the trap.
When the goblins have been dealt with, leave this area and head straight. You'll come to some logs that can be set loose to crush the goblins below. Run over to the logs and hit the A/X button when the prompt appears to activate the trap. Afterwards, press on and you will find yourself in a large, open room. There are rats, several goblins, and a Goblin Witch in this area, so be cautious as you move through.
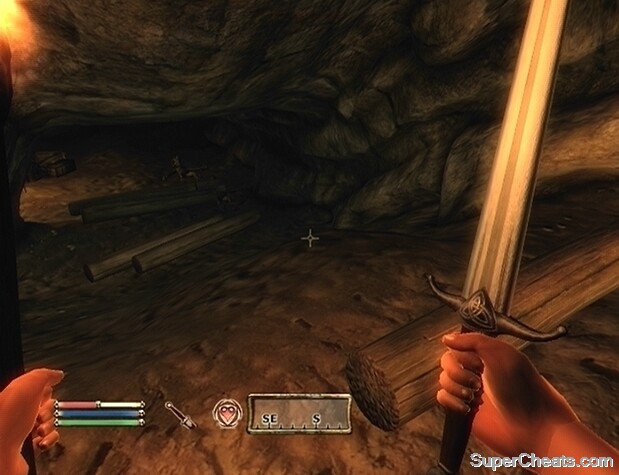 Use the Push Log trap to crush the goblins below. |
When you're ready to move on, head through the door to the Imperial Subterrane to regroup with the Emperor and his guards. You will witness the group being attacked by more assassins. When the fight is over, the Emperor will approach your character and another conversation will begin. At this point, you must choose one of the thirteen birthsigns to mark your character's birth. Each birthsign yields a different bonus. You will be able to finalize your character's birthsign at the end of the tutorial, so no need to put too much thought in selecting one right at this moment.
Once you've made your choice Baurus, one of the Blades tasked with escorting the Emperor, will initiate a conversation with your character. From him you can learn more about the Blades, as well as the Emperor if you wish. He'll also hand you a torch, though you more than likely acquired a few during your trek through the Imperial Substructure. The Emperor and his guards then proceed to move forward. Follow them.
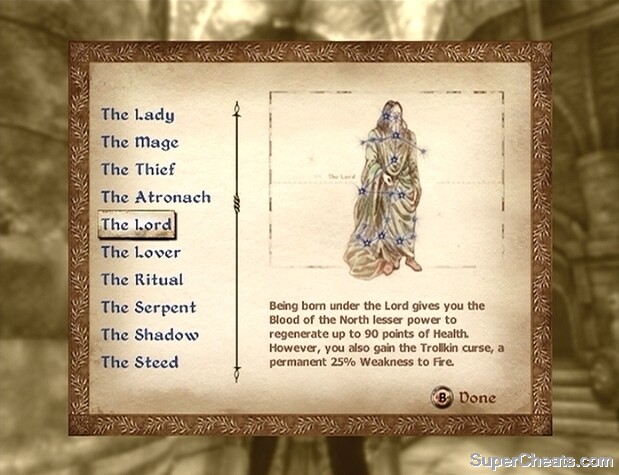 Each of the thirteen birthsigns offer a unique bonus. |
The group is soon attacked by another batch of assassins. When the attackers have been dealt with, continue following the group until yet another batch of assassins attack. Afterwards, the Emperor and his guards will head through a door to the Sanctum, so follow suit. Eventually, the group will reach a dead end. The guards go on ahead, leaving you with the task of defending Septim. The Emperor feels that this is the end of the line for him, and hands over the Amulet of Kings, entrusting you with the task of delivering it to Jauffre at Weynon Priory.
Following the exchange, an assassin enters the room and slays the Emperor where he stands. There is nothing you can do. After the battle with the remaining assassins, Baurus will initiate a conversation with your character. He describes a secret path through the sewers that can be used to escape the Imperial Prison. You are then given a key that will unlock the door to the sewers.
Now you are tasked with selecting a character class. There are twenty-one pre-made classes, but you can also choose to create your own class if you wish. One of the pre-made classes is suggested based on your performance in the tutorial. Refer to the “Character Creation” section of this walkthrough for some useful information to help guide you through this process.
As with your character's appearance and birthsign, you'll have one more chance to edit your character class at the end of the tutorial. Once you have decided on a class, Baurus stresses the importance of delivering the Amulet to Jauffre as soon as possible. If you happened to pick up Captain Renault's Akaviri Katana after she was slain, Baurus will take it from you.
To reach the sewers, proceed through the passage used by the assassin to enter the room. Locate the locked door and open it with Baurus' key to reveal the entrance to the sewers. As far as enemies go, you will most likely encounter some rats and a goblin or two inside. Since it is rather dark in the sewers, equip a torch if you haven't already, or cast the Nighteye spell if your character is a Khajiit.
From the starting point, head down the stairs and through the passage below. Cross the bridge furthest to the right. Be cautious as you proceed, because there are likely rats or goblins through this tunnel. At the end of the tunnel, climb up the stairs, cross the bridge to the other side of this area, and open the gate. Now just continue moving forward until you reach the gate to the City Isle and your freedom.
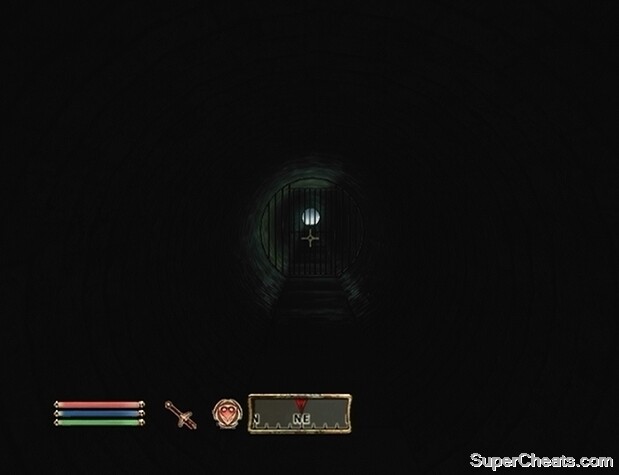 Freedom! |
This is it; the light at the end of the tunnel. At this point, pressing the A/X button when prompted at the grate opens up a menu. This is your only chance to revise your character. Once you step through that grate, you won't be able to edit your character at any other point in time.
It would be a good idea to create a separate save file just before exiting the sewers. This save file would serve several purposes. For one, if you progress a few hours into the game and your character just isn't working for you, you can load up this save file and tweak your character accordingly, without having to go through the entire character creation process and the tutorial again. Furthermore, if in the future you wish to start a new character, you can simply load up this save file and create character without having to go through the beginning tutorial sequence again.
From this menu, you can edit every aspect of your character, so take the time to make sure that you are completely satisfied with your creation before proceeding. Once you open the grate and set foot outside, you're free! Nothing is forcing you to proceed with the main questline, so feel free to go off and complete some side quests, join a guild or two, scour dungeons in search of new equipment, or embark on any other activity.
 A nice change of scenery. |
Is the object of this game, to be a vampire?
Oh My God. Thank you.