Hard Landing
Call of Duty: World at War Walkthrough and Guide
Call of Duty: World at War Guide
Hard Landing
USA
Airfield, Peleliu
September 15th, 1944
Co-op: Yes
We're still forging our way towards the airfield with the 1st Marine Division, but now without the life-saving expertise of Sgt. Sullivan. Follow the group through the suspicious-looking jungle-path until you reach the crashed plane.
 Get ready for the next battle! |
Ready your BAR for the inevitable conflict. Banzai warriors will come running at you as well as normal ranged infantry. Cover is extremely limited, so hunker down next to your allies and protect the angles. There is an odd concrete block on the right hand side which is probably the best cover in the area, though falling back obviously adds a lot of protection. Ditch your pistol for the Arisaka – a one-hit kill rifle - at the earliest opportunity, or the Type 100 which you should also be able to find amongst the dead.
As you move along there will still be enemy soldiers in the tree line. Once it quietens down and opens up into a fern-filled area within the jungle another Banzai strike will hit. Use the BAR or Type 100 if you have it to deal with the rushers. Head up the left-hand channel to flank while your team act as bait for the Banzai. With the immediate area clear, follow them up the right hand channel where more action awaits.
A well-defended bunker complete with sandbag emplacements outside now poses the threat. Use your long range weapon to try and take out the gunners in the bunker and any enemies nearby. Stay behind cover as far back as possible while still allowing for a clear shot on distant targets. Move in closer as it thins out and your allies push on.
With the immediate area clear, sprint into the bunker and take the Japanese inside unaware.
 Get the jump on the Japanese soldiers for a change. |
There may be seven or eight enemies in the small bunker, though if you use your Type 100 or BAR you can take them all out on your own on Hardened. Veteran may call for a bit more care, so move to the corners to get angles around them and at any enemies beyond. Be aware of at least one Banzai attacker too.
Upon exiting the bunker you will be greeted by a battle scene outside. Move up to the wooden fence as the first cover point. Continuing the theme of quick movement, jog up the left hand channel through the shelled-out building. There are enemies within and nearby outside, but if you stay crouched this is an easy route.
TIP: You can wait for a flamethrower unit to move up and smoke the building, which will allow an unhindered move forwards.
Your allies will move up on the outside as you push up too. This area then provides great cover to flank the enemy as your allies move forwards.
 Use the shelled out building as cover to get a flanking position on the enemy |
Once the friendlies get level with your position head on through the ruins to see the large concrete bunker, defended by multiple machine-gun emplacements: the next target. The guns will focus on you until some more targets move up with you, so stay in cover until a bit of respite can be gained. Use a smoke grenade to provide this if it is not forthcoming. One of our flamethrower soldiers will move up and try to burn out the emplacements but this inevitably fails. We need to reach his dropped weapon to achieve the objective.
Advance to the cover on the left, by the burning truck. Go prone and crawl out to the flamethrower.
TIP: Use a smoke grenade to give you some cover under which to reach the flamethrower.
 Stay prone to reach the flamethrower |
Move up to the mound ahead, still prone, then stand and sprint to the wall of the bunker. If you stay left, the guns will not have time to adjust to you as the new threat. Fire the flamethrower with the Right Trigger while moving across the two gun windows to burn them out.
Enter the bunker in the door on the left hand section of the wall and burn out the rest of the inhabitants. The flamethrower is a great quick-assault and last-ditch weapon to use, especially in a small room filled with enemies such as these ones. Just be careful not to set yourself on fire! Flame your way through to the exit.
Run down the slope to the farthest burnt out vehicle and let your allies walk up the hill. Yet another Banzai attack will ensue, so stay behind the vehicle with a Type 10 or similarly rapid-fire weapon.
TIP: Use the flamethrower to burn down grass and vegetation to flush out Banzais before they surprise you.
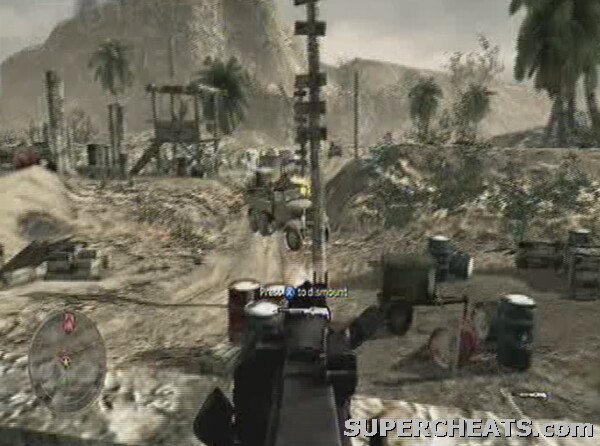
Your team will move up once the area is clear. Follow them up the hill and down the other side. Sprint down to the earth bank and move to its left hand side where an M1 Garand and a grenade attachment is waiting by the truck. Press D-Pad left to equip the grenade and then fire it (like a grenade launcher in Call of Duty 4) at your target.
TIP: You can continue to return to the location of the grenade attachment to get infinite grenades for it.
 Use the grenade attachment for the M1 Garand |
Direct hits at the sandbags and gun emplacements in the top floor of the building will take them out, but accounting for the dip on the grenades is quite tough to judge. Watch out for snipers on the very top of the bunker too. Clear the top floor, enjoying the rarity of destructible scenery in a Call of Duty game, before moving even further left to get an angle on the lower level.
TIP: You can also get close to the building and use the flamethrower, if you still have it, to flush out the enemy.
A checkpoint will trigger once the majority are clear and you can move up with your team. The left hand side is again the preferred route, so cover against the wall next to the opening on the bottom floor. Round the corner there is a host of enemies, so prime a grenade and send it their way. Use the M1 Garand and filing-cabinet cover to take out the rest, or the flamethrower's surprising range. Head into the room on the left.
Capture the stronghold
DEATH CARD: King of Hearts (Suicide King)
- Find the King of Hearts to the far right of this room as you look at the stairs going up, leaning against the wall with a lamp next to it.
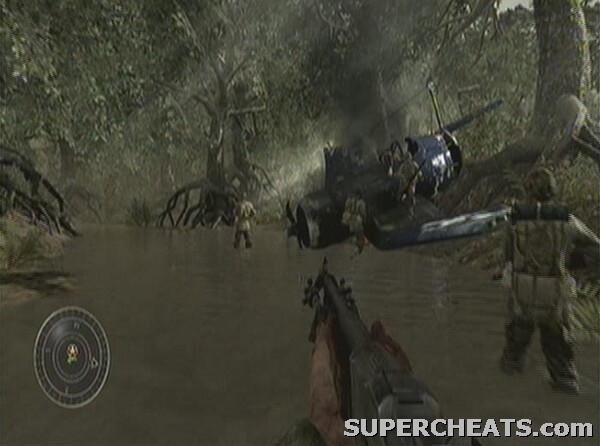
Now go up the stairs near where you came in. Follow the troops to the hole in the side of the upper-floor wall, then down onto the airfield itself. Get over on the right by the blown up tanks for cover and begin to work your way up towards the downed bomber. Move up with the squad across the road and down into the trenches. Pick up the RPG, as there are now enemy tanks in the area that must be destroyed.
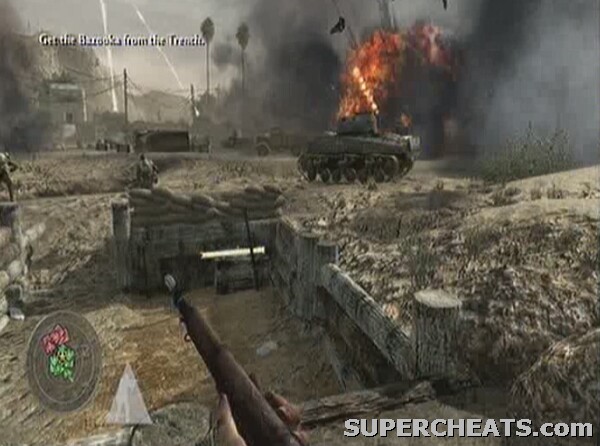 Get the RPG to take out the enemy tanks |
There are three tanks, some of which you should have a line of sight to from the trench, but you may well have to climb out and use the vehicle carcasses as cover against their shells. Two hits on each tank should do it. There should be few, if any, enemy infantry in the area.
With that objective ticked off, move to the right hand side of the area and begin to attack the enemy trenches with ranged fire using the vehicle remains for cover. Once the enemy have been thinned out a little, move down into the front trench. You may well get Banzai attacked while down here, but considering the proximity to the bunker it's the best place to be. Stay on its right hand side if possible. Push up once the majority of enemies behind the log barricades have been eliminated, and head into the main trench connected to the building itself. This area is crawling with enemies, so proceed with caution.
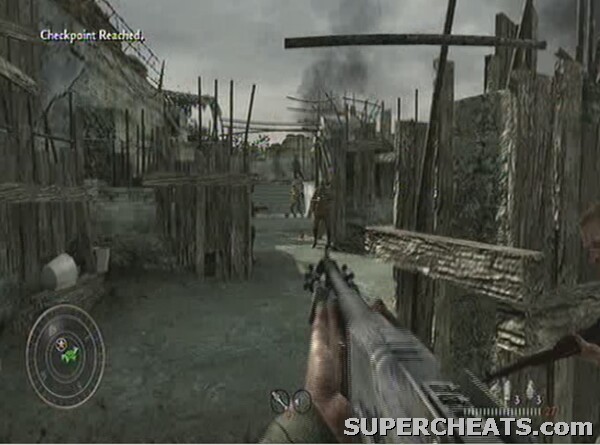 There are many enemies in the trenches |
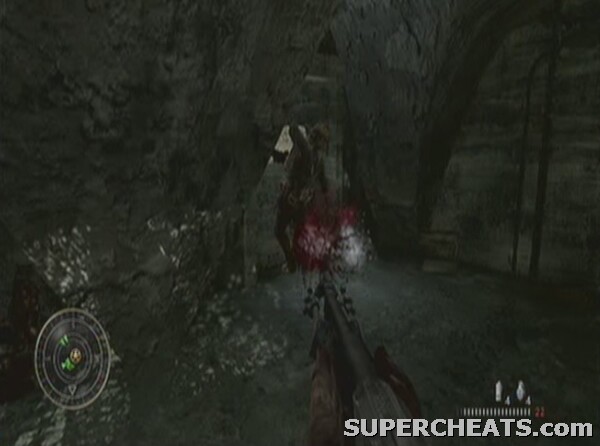
Take those that are in the first corridor out before moving cautiously up the steps at the end. Use a ranged weapon to take down the ones in the concrete tower. Use the downward alcove with the door next to the slope as good cover for this task. Move slightly to the right to get a view of the AA guns we need to destroy. Pick off the gunners to tick one of the four targets off your objectives list. Move up past the gun, taking out all the enemies en route.
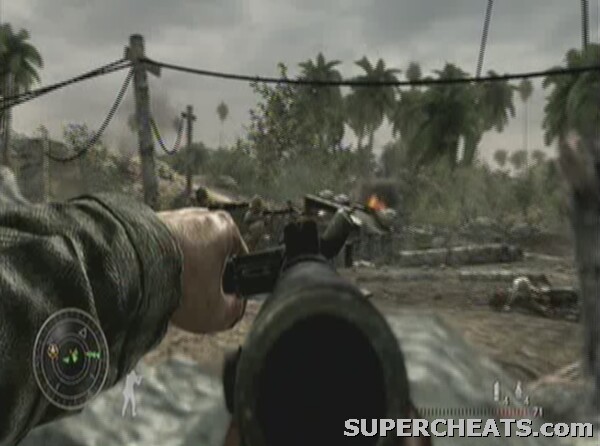
You should soon be able to see the remaining AA guns in the distance. Use a ranged weapon to take out the gunners. Watch for the bright white flashes from their gunfire to locate them if you are struggling.
TIP: You can man an AA gun after taking out the gunners, then use it to destroy the rest!
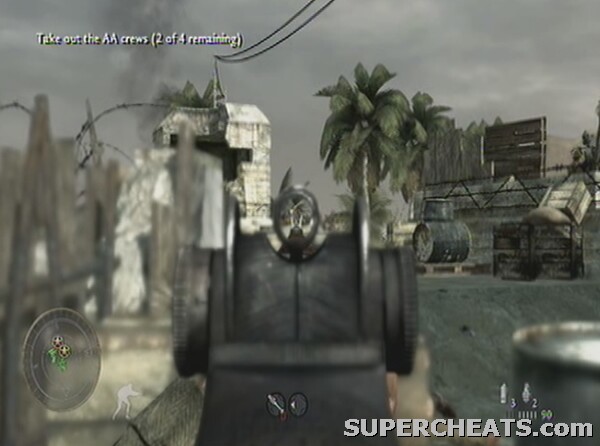 You can take out the gunners from an extremely long distance to complete the objective |
Clear the roof of the building and await your squad to catch up. You will then be informed of a counter attack on your position. This is a tough section as we are required to destroy both incoming infantry and vehicles.
TIP: Taking a permanent station on either the mounted machine guns or the AA emplacements will draw enemy fire to too great a degree.
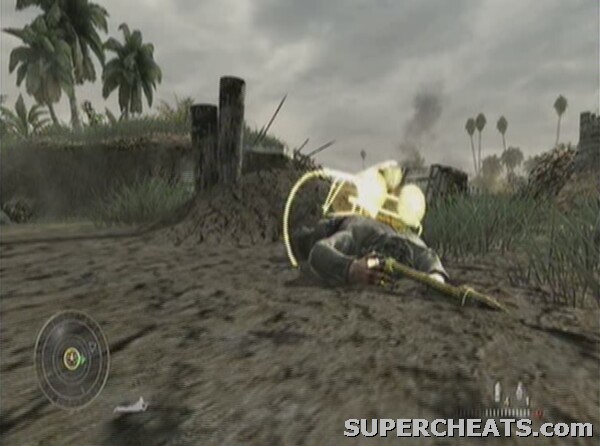
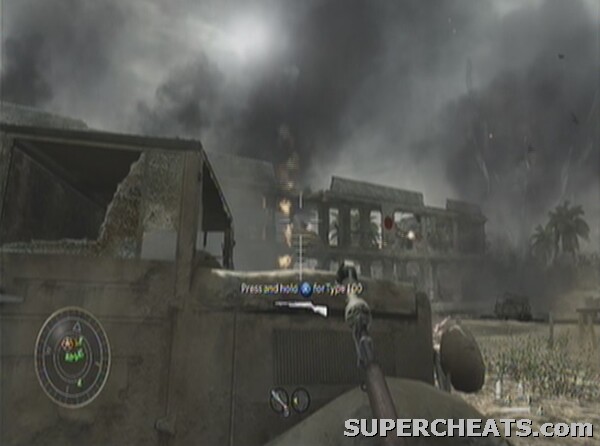
Pick off as many of the initial incoming ground troops as you can as they run towards the bunker using one of the mounted machine guns. Once the enemy trucks arrive, hop onto the AA gun and barrage them.
 Use the AA gun to take out the trucks. This idea may sound stupid, but it's still a powerful weapon! |
A tank will then emerge from the corner of the area. You must use the AA guns for this, so try to take it out as quickly as possible. The enemy infantry will undoubtedly be focusing all their efforts on you at this point. It should only take a few direct hits. Jump down and back onto the machine gun, clearing up as many Japanese infantry as possible.
After a checkpoint notice appears, a further truck and two more tanks will come rolling in. Repeat the tactics from before and use the AA gun's power to take them out. It is advisable to get off the gun at the first sign of trouble as you are a sitting duck otherwise. There's no immediate rush, though enemies will climb the wall of your building when they get close enough. Better late than never, some friendlies come in to finish off the straggling infantry.
Ahem... Well, I have now successfully eliminated all enemy squads at the AA-guns field, but no checkpoint or new objectives came up. When I killed the last enemy trooper, two guys walked up to watch the view and some fancy music played for a while, but then went quiet.
Now I'm stuck and there is nothing I can do about it but restart the entire level, which considering that I came this far on Veteran diffeculty, would be a pain in the ass, not only because it was hard to do, but also since the glitch could happen again and i would be wasting my time.
I do know, that to continue you need all three guys to stand together for the next objective to appear, the third and missing pearson be Rodriques or whatever. I searched the field where all the tanks blew up and found the imbassil crouching behind a broken down tank.
Now what? He won't move, he doesn't speak up if shot, he doesn't run away from granates...
Other relevant information: I was playing on Veteran diffeculty on Xbox 360, though I have found a lot of PS3 players who, like me, can't finish the level and move on because of the exact same problem. This needs to be fixed on both consoles.
If anyone have a solution for this problem, please leave a comment.
No person on Youtube or google have come up whith a solution that doesn't involve restarting the entire mission.
Sincerely, Tom K
test
Is there any cheat cod waw for the PS3?