Cliffside Map
Call of Duty: World at War Walkthrough and Guide
Call of Duty: World at War - Multiplayer Guide
Cliffside Map
Cliffside is a well balanced map with a large valley in the middle, numerous bunkers and a cliffside portion where kills can be guaranteed and much of the action happens. This is another great map that suits a number of play styles. Snipers can see from one end of the map to the other, and there is a hill and bunker which provide good cover and views. Machine-gunners will delight in the amount of cover and proliferation in enemies that you can find on the cliffside and in the main bunker.
The rocks and bushes dotted around the valley should mean you can use this as a route across the map, but just beware. The corridor of rocks that leads to the cliffside is a great area to throw grenades or plant Bouncing Betties, or if you come from the other end, through the bunker, take cover behind the wealth of cover here and hold it to rack up the kills.
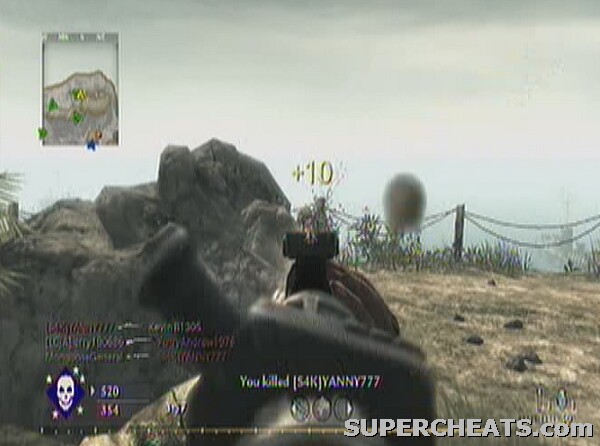 You can always rely on there being enemies on the cliff-edge |
Gun Selection:
There are possibilities for sniping, but as an overall tactic for this map it's not very effective. Machine guns and rifles are the way to go, with the final choice coming down to personal preference. Tabun Grenades are useful for the cliffside area itself, though Bouncing Betties also have a role to play on this map.
Perk Selection:
Slot one is open for debate, though it would not be a bad map to try out Bomb Squad on due to the predominance of Bouncing Betties in certain areas of the map. Slot two could be occupied by Camouflage, as this is a map where stealth can certainly pay off, though sacrificing Stopping Power or Juggernaut is always a tough choice to make. Slot three boasts a few possible options. Deep Impact isn’t terribly useful here, but Extreme Conditioning is not a bad selection due to the large valley in the centre of the map where running for longer can be a matter of life and death (or a kill if you are pursuing someone). You may also wish to pick Second Chance as there are areas of the map where you would be able to retrieve a downed ally, which isn't often the case elsewhere.
No comments yet. Tell us what you think to be the first.