Courtyard Map
Call of Duty: World at War Walkthrough and Guide
Call of Duty: World at War - Multiplayer Guide
Courtyard Map
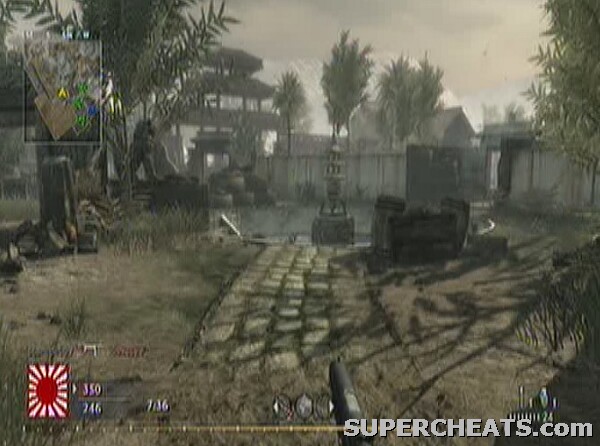
This is a map similar to Castle in its appearance, but is much smaller and basically consists of a square, with a central pit and sparing use of buildings. Most of the action is concentrated on the centre, where there is the option for particular players to get a height advantage amongst the trees and pick off plenty of enemies before they even know where the fire is coming from. Once you've played this map a few times, however, you know what to look for, and if you are playing against experienced opposition you are unlikely to be able to get too much out of this tactic without dying.
Parts of the map, in particular the corners, are well shielded from the centre and some fighting takes place in these areas, especially in the building in one such location. Towards the large and inaccessible building at the head of the map, the stairs and walls around can be used for some intense combat and easy kills providing you are looking in the right direction.
 The centre of the level, somewhere not to be! |
Gun Selection:
This is one of the smallest maps in the game, so sniping is instantly out of the equation. Shotgunners can have a riot if they play sensibly and avoid the open areas of the courtyard. Rifle-players may struggle to make use of their range, because, as the map is square, the distance is pretty much limited wherever in the arena you are. Machine-guns are therefore the obvious choice, with the smallest ones (MP40, Thompson) allowing you to watch both angles as you skirt around the edge of the centre of the map. Bouncing Betties are out as you generally don't have time to set them or stay alive for long enough for them to go off. Satchel Charges could be used more tactically (i.e. planting one in two of the opposite corners and then waiting in between for any enemies).
Perk Selection:
This is a map where that extra bit of health or bullet damage can be crucial, so it's almost impossible to recommend anything else than Stopping Power, Juggernaut or Double Tap as your main perk. You could use Gas Mask in slot two and then go overboard with the Tabun Gas grenades in the centre of the map. Some may choose to select Flak Jacket to reduce the effect of explosives, but in my experience they aren't too much of a problem in this map. This is despite the fact that they probably should be, so don't be afraid to select Fireworks to increase your own explosive damage. Martyrdom is probably the best perk in slot 3 on such a small map, otherwise Deep Impact is as reliable as always and Steady Aim can be crucial in the frantic fighting.
No comments yet. Tell us what you think to be the first.